
Troubleshooting Cracks in Your Frosting

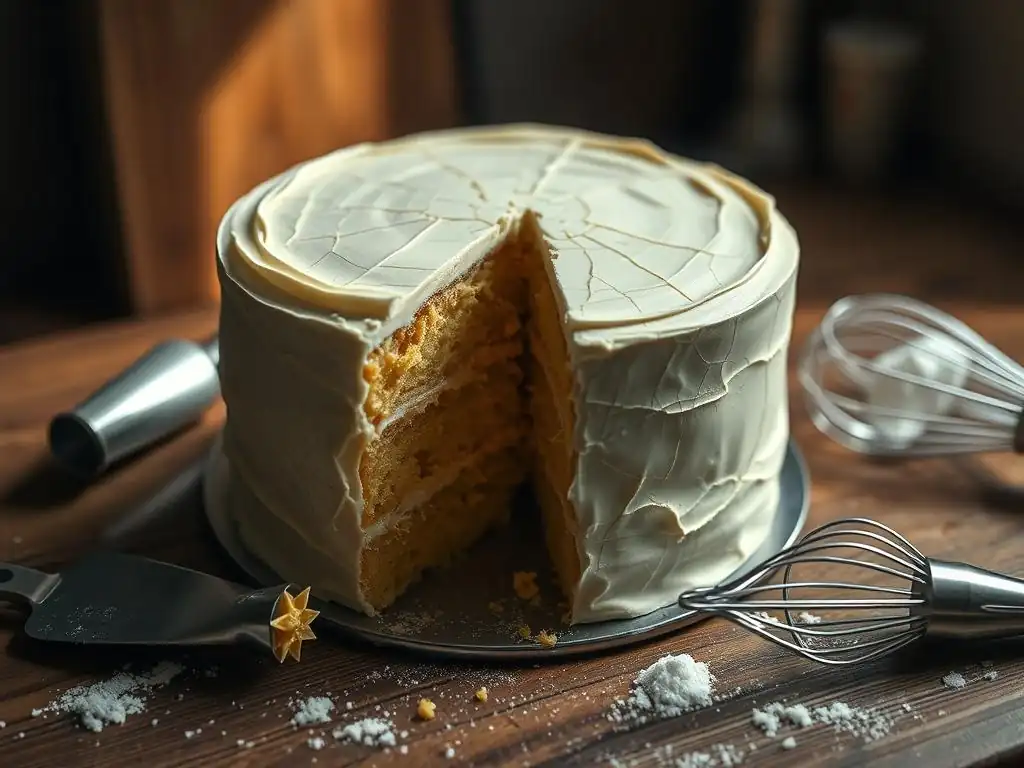
Welcome to BakeWithEase, where even the trickiest baking challenges become conquerable! Ever wondered why your beautiful frosting develops unsightly cracks, ruining your perfect creation? This article dives deep into cracked frosting troubleshooting tips, revealing the secrets to achieving flawlessly smooth and delicious finishes. Discover the common culprits and simple solutions that will transform your frosting game from frustrating to fantastic. Ready to unlock the secrets to picture-perfect frosting? Let's get started!
- Troubleshooting Cracks in Your Frosting: A BakeWithEase Guide
- Understanding Frosting Cracks: Why Does Frosting Crack?
- Cracked Frosting Troubleshooting: Identifying the Problem
- Fixing Cracked Frosting: Solutions for Smooth Results
- Frosting Types and Crack Prevention: Choosing Wisely
- Baking Environment: Controlling Temperature and Humidity
- Mastering Frosting Techniques: Achieving a Flawless Finish
- Advanced Solutions: When Simple Fixes Don't Work
- Best Practices: A Checklist for Crack-Free Results
- BakeWithEase: Your Guide to Perfect Frosting
- Frequently Asked Questions
- Final Reflection: The Sweet Science of Frosting Perfection
- Rescue Your Frosting: Perfect Your Piping!
Troubleshooting Cracks in Your Frosting: A BakeWithEase Guide
Frosting a cake should be the triumphant final step, a moment of smooth, sweet perfection. But sometimes, disaster strikes in the form of unsightly cracks. These fissures can appear hours or even days after you've finished decorating, turning your beautiful creation into a source of frustration. Don't despair! Understanding why frosting cracks is the first step toward preventing and fixing the problem. This guide offers practical cracked frosting troubleshooting tips to help you achieve that flawless finish every time.
Whether you're dealing with a delicate buttercream or a rich ganache, cracked frosting is a common issue faced by bakers at all levels. Identifying the root cause is crucial for effective cracked frosting troubleshooting. It could be something as simple as how the cake cooled or a subtle imbalance in your frosting recipe. Let's dive into the common culprits behind this frosting faux pas.
Understanding Frosting Cracks: Why Does Frosting Crack?
Cracks in frosting are essentially a sign of stress. As the frosting dries, cools, or settles, it loses elasticity. If there's movement beneath it, uneven tension, or if the frosting itself is too stiff or dry, it can pull apart, resulting in cracks. Think of it like dried mud on a riverbed – as the moisture evaporates, the surface tightens and cracks.
The environment plays a significant role, as do the ingredients you use and how you handle both the cake and the frosting. Temperature fluctuations, humidity levels, and even the structural integrity of the cake itself can contribute to the problem. Effective cracked frosting troubleshooting begins with understanding these underlying factors.
Common Causes of Cracked Frosting on Cakes
One frequent cause is frosting a cake that hasn't fully cooled. A warm cake releases steam, which can destabilize the frosting applied over it. As the cake then cools and contracts, the frosting, having already set slightly, doesn't contract with it and cracks. For example, applying buttercream to a cake that is even just lukewarm (say, 80°F or 27°C) can lead to significant cracking later compared to waiting until it reaches room temperature (around 70°F or 21°C).
Another common issue is applying frosting that is too stiff or overmixed. A very firm buttercream, while seemingly easy to sculpt, lacks the necessary flexibility. As the cake inevitably settles slightly or experiences minor temperature changes, the stiff frosting can't flex and instead breaks. Likewise, beating air into frosting for too long can create a fragile structure prone to cracking, especially when smoothed tightly onto a cake surface.
Environmental Factors Affecting Frosting Integrity
Temperature is a major player in frosting behavior. Extreme cold can cause frosting to become brittle and crack easily, especially if the cake is then moved to a warmer environment where condensation forms or expansion occurs. Conversely, excessive heat can cause frosting to soften and potentially slide or bulge, creating uneven stress that leads to cracking as it cools down again. Maintaining a consistent room temperature, ideally between 68-72°F (20-22°C), is beneficial during the frosting process and while the cake sets.
Humidity also has a profound impact. High humidity can make some frostings (like those high in sugar) absorb moisture from the air, becoming sticky or soft, and then crack as they dry out. Low humidity, on the other hand, can cause frostings to dry out too quickly on the surface while remaining soft underneath, leading to a brittle crust that cracks with minimal movement. For instance, a room with less than 30% humidity can dry out a crusting buttercream significantly faster than one with 50-60% humidity.
Recipe Imbalances Leading to Cracking
An imbalance in the sugar, fat, and liquid ratios within the frosting itself is a critical factor. Too much sugar, especially powdered sugar without enough fat or liquid, can result in a very stiff, dry frosting that hardens like cement and is highly prone to cracking as it dries. A common example is a basic American buttercream that is overloaded with powdered sugar to achieve stiffness, often requiring extra milk or water which can then evaporate and cause issues.
Conversely, too little fat can make the frosting less pliable, while too much liquid can weaken its structure and cause it to collapse or crack as it dries unevenly. A well-balanced recipe ensures the frosting remains smooth and flexible enough to withstand minor stresses without breaking. For example, a standard ratio for a stable buttercream might be approximately 1 part fat (butter) to 2-3 parts powdered sugar, plus a small amount of liquid (1-2 tablespoons per pound of sugar). Deviating significantly from this without adjustment can increase the risk of cracks.
Cracked Frosting Troubleshooting: Identifying the Problem
When you spot a crack, don't panic. The first step in effective cracked frosting troubleshooting is to accurately assess the situation. Is it a tiny hairline fracture or a gaping chasm? Is it just on the surface, or does it seem to go deep into the frosting layer? The nature of the crack often provides clues about its cause and the best way to fix it.
Observing the cake itself is also important. Has it settled? Is it leaning slightly? Is the frosting layer uniform? Gathering these details will help you determine the most likely culprit and guide your cracked frosting troubleshooting efforts towards the most effective solution.
Diagnosing the Crack: Surface vs. Deep Cracks
Surface cracks, often appearing as fine lines or a spiderweb pattern, typically indicate issues with the frosting drying out too quickly or the outer layer being too stiff compared to the inner layer. This can happen if the frosting is exposed to dry air or a fan, or if it formed a crust before the underlying layers set. These cracks are often less severe and easier to repair.
Deep cracks that extend through the entire frosting layer, sometimes revealing the cake beneath, suggest a more significant issue. This could be due to the cake settling, a major temperature fluctuation causing expansion or contraction, or severely stiff and inflexible frosting. These require more substantial cracked frosting troubleshooting and repair efforts.
Assessing the Cake's Condition: Is the Cake Stable?
Before attempting repairs, examine the cake itself. Has it cooled completely? A cake that is still warm will continue to settle and potentially release steam, causing further cracking. Ensure the cake has been at room temperature for several hours, ideally 2-3 hours or more for larger cakes, before frosting.
Check if the cake layers are level and stable. Uneven layers or a cake that is leaning can put undue stress on the frosting, particularly around the points of instability. If you used filling between layers, ensure it is stable and not likely to shift or compress significantly. A cake that shifts even a millimeter can cause a rigid frosting layer to crack.
Evaluating Your Recipe: Sugar, Fat, and Liquid Ratios
Revisit your frosting recipe. Was the consistency correct before you applied it? If it felt too stiff or dry, this is a major indicator. A frosting that is difficult to spread smoothly is often too stiff and will be prone to cracking.
Consider the proportions of your ingredients. Did you add extra powdered sugar for stiffness? Did you reduce the amount of butter or liquid? These adjustments, while sometimes necessary, can throw off the balance required for a flexible frosting. For instance, adding 1/2 cup extra powdered sugar to a recipe designed for 4 cups without increasing the liquid or fat can dramatically increase stiffness and cracking risk.
Fixing Cracked Frosting: Solutions for Smooth Results
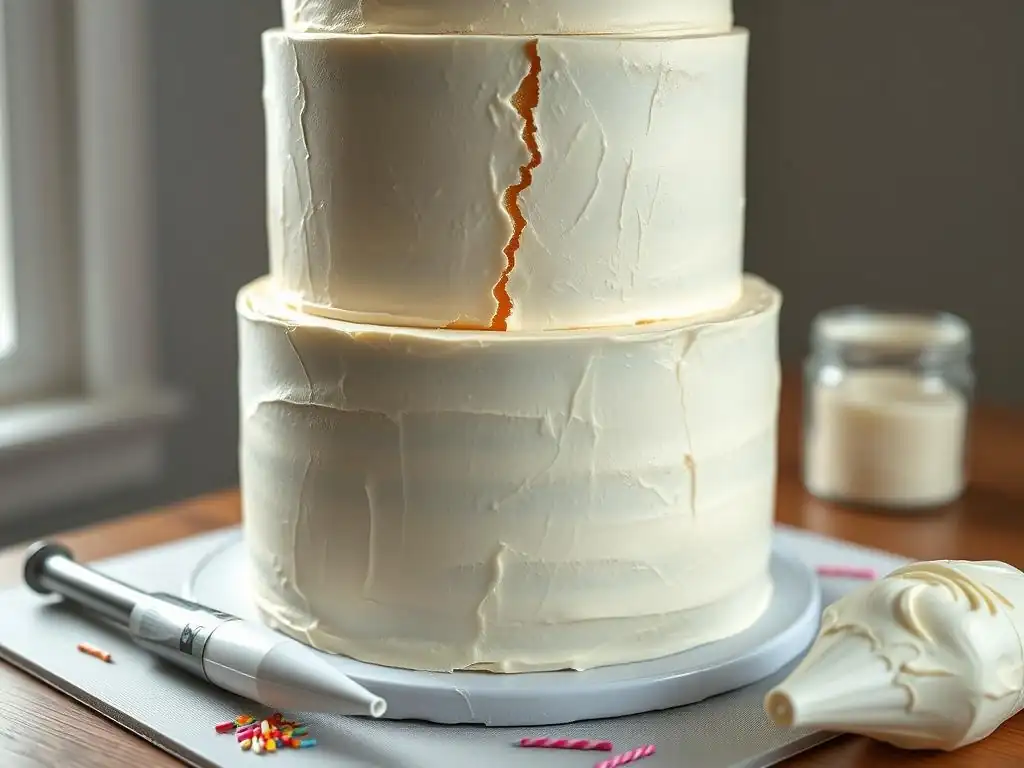
Once you've diagnosed the problem, it's time to implement some cracked frosting troubleshooting tips to repair the damage. The method you choose will depend on the severity and type of crack you're dealing with. Patience is key here; rushing the repair can sometimes make the problem worse.
Minor cracks are often easily fixed with simple tools and techniques, while deeper cracks may require a bit more effort and potentially adding a bit more frosting. Remember, the goal is to gently coax the frosting back together or fill the gap seamlessly.
Repairing Minor Surface Cracks
For small hairline cracks, you can often smooth them out using a warm spatula or bench scraper. Heat your tool slightly by dipping it in hot water and wiping it completely dry. Gently glide the warm, dry surface over the cracks. The slight heat will soften the frosting just enough to allow you to smooth the surface and meld the edges of the crack back together.
Alternatively, you can use your finger, slightly dampened with water or dusted with a tiny amount of powdered sugar, to gently rub over the crack until it disappears. This works best on frostings that are not overly sticky. These simple cracked frosting troubleshooting tips can often make minor imperfections vanish.
Addressing Deep Cracks and Major Imperfections
Deep cracks require filling. If the crack is wide, you may need to pipe a small amount of fresh, softened frosting into the gap using a piping bag with a small round tip. Once filled, use a warm, dry spatula or a small offset spatula to gently smooth the area, blending the new frosting into the surrounding layer.
For large imperfections or areas with extensive deep cracking, it might be necessary to scrape off the affected area of frosting, re-soften it slightly (perhaps by gently warming a small portion or adding a tiny bit of liquid), and reapply and smooth that section. This is a more drastic measure but can save a cake with significant damage.
Preventing Future Cracks: Best Practices
Prevention is always easier than repair. Ensure your cake is fully cooled before frosting – internal temperature should be at or below room temperature (around 70°F or 21°C). Use a frosting recipe that is known to be stable and pliable; avoid overly stiff frostings unless specifically required for piping intricate details.
Apply frosting in a consistent layer, avoiding excessive thickness in some areas and thinness in others, as uneven drying can cause stress. Smooth the frosting gently but firmly, ensuring good adhesion to the cake surface. These proactive cracked frosting troubleshooting tips will significantly reduce the likelihood of cracks appearing.
Frosting Types and Crack Prevention: Choosing Wisely
Different types of frosting behave differently and have their own unique challenges when it comes to cracking. Understanding the properties of the frosting you're using is key to anticipating potential issues and applying the right cracked frosting troubleshooting tips.
Some frostings, like certain types of buttercream, are more prone to cracking due to their high fat and sugar content and tendency to form a crust. Others, like ganache, are generally more stable but can still crack if subjected to rapid temperature changes or applied incorrectly.
Buttercream: Tips to Avoid Cracking
Buttercream, especially American buttercream (butter and powdered sugar), is notorious for crusting and potentially cracking. To prevent this, ensure your butter is properly softened (not melted) before mixing. The ideal temperature for softened butter is around 65-68°F (18-20°C) – it should yield slightly to pressure but not be greasy.
Add enough liquid (milk, cream, or water) to achieve a smooth, spreadable consistency. The frosting should be soft enough to spread easily without tearing the cake but firm enough to hold its shape. Avoid over-beating after adding the powdered sugar, as this can incorporate too much air, making it fragile. Applying a thin coat first (a crumb coat) and chilling before the final layer can also help stabilize it.
Cream Cheese Frosting: Maintaining Smoothness
Cream cheese frosting is generally softer and less prone to cracking than crusting buttercreams, but it can still develop issues, especially if it's too warm or too cold. Ensure your cream cheese and butter are both properly softened and at the same temperature before mixing to prevent lumps and achieve a smooth emulsion.
If the frosting seems too soft, chill it briefly in the refrigerator for 15-20 minutes to firm it up before using. If it's too stiff, add a tiny splash of milk or cream, one teaspoon at a time, mixing until smooth. Because of its softer nature, cream cheese frosting is less likely to crack from being too stiff, but rapid temperature changes can still cause issues.
Ganache: Techniques for a Crack-Free Finish
Ganache, a mixture of chocolate and cream, is usually quite stable once set. However, it can crack if it's applied too thinly over an unstable surface or if it's chilled too quickly after application. Use a high-quality chocolate with sufficient cocoa butter content for better stability.
Ensure the ratio of chocolate to cream is appropriate for the desired consistency – more chocolate for a firmer ganache, more cream for a softer one. Allow the ganache to cool to the correct temperature and consistency before pouring or spreading; it should be thick but pourable or spreadable, not hot. Chill the finished cake gradually rather than placing it directly into a very cold refrigerator, which can cause the ganache to contract too rapidly and crack.
Baking Environment: Controlling Temperature and Humidity
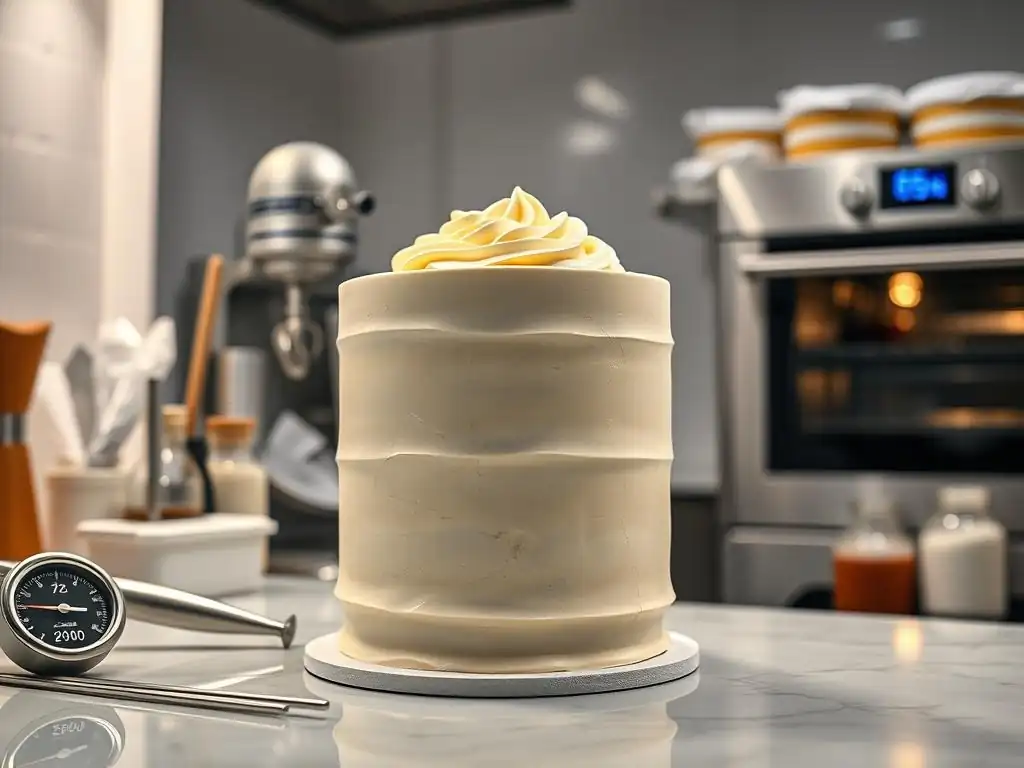
The environment in which you bake and decorate has a significant impact on the success of your frosting. Controlling temperature and humidity levels in your kitchen and the area where the cake is stored is a critical part of effective cracked frosting troubleshooting.
Extreme fluctuations in either temperature or humidity can stress the frosting, leading to cracking. Creating a stable environment provides the best chance for your frosting to set smoothly and remain intact.
Temperature Control: Preventing Meltdown and Cracking
Work in a cool, stable environment, ideally between 68-72°F (20-22°C). High temperatures (above 75°F or 24°C) can cause butter-based frostings to soften excessively, making them difficult to apply smoothly and prone to bulging or sliding, which leads to cracks as they cool. Keep the cake away from direct sunlight or hot ovens.
Once frosted, store the cake at a consistent temperature. Moving a cake rapidly from a warm room to a very cold refrigerator (or vice versa) can cause the frosting to expand or contract too quickly, resulting in cracks. If chilling is necessary, allow the cake to set at room temperature for 15-30 minutes first, then chill gradually.
Humidity: Maintaining the Right Moisture Balance
Both very high and very low humidity can cause problems. In high humidity (above 60-70%), frostings high in sugar can absorb moisture and become sticky or soft, potentially cracking as they dry out unevenly. Using a dehumidifier in your workspace can help.
In low humidity (below 30-40%), frostings, especially those that crust, can dry out on the surface too quickly, creating a brittle shell that cracks easily. If you live in a dry climate, you might need to slightly increase the liquid in your frosting recipe or cover the cake loosely with plastic wrap after frosting to slow down surface drying.
Mastering Frosting Techniques: Achieving a Flawless Finish
Even with the perfect recipe and environment, poor technique can lead to cracked frosting. How you prepare the cake and apply and smooth the frosting is just as important as the ingredients themselves. Proper technique minimizes stress on the frosting layer.
Focus on smooth, even application and gentle handling. Rushing the process or forcing stiff frosting onto the cake can introduce stress points that will later manifest as cracks.
Proper Cake Cooling Before Frosting
This step cannot be stressed enough. Ensure your cake is completely cool, not just cool to the touch. The internal temperature should match the ambient room temperature. For an average 8-inch cake, this usually takes at least 2-3 hours at room temperature after removing it from the pan.
Frosting a warm cake traps heat and steam, which destabilizes the frosting. As the cake continues to cool and contract, the set frosting layer will not move with it, resulting in cracks. Patience during the cooling phase is a fundamental cracked frosting troubleshooting tip.
Applying Frosting Evenly: Avoiding Stress
Apply frosting in a consistent layer around the entire cake. Avoid creating areas of significantly thicker or thinner frosting. Uneven thickness means the frosting will dry and set at different rates, creating internal tension that can lead to cracking.
Use a generous amount of frosting initially and then remove the excess as you smooth. Don't try to spread a thin amount of stiff frosting, as this requires too much force and can pull at the cake and the frosting itself, introducing stress.
Smoothing Techniques: Achieving a Professional Look
When smoothing the frosting, use a light, even pressure. Tools like offset spatulas, bench scrapers, or cake combs work well. For a super smooth finish, dipping your smoothing tool in hot water and wiping it dry before use can help melt the very surface of the frosting for a seamless look.
Avoid overworking the frosting, which can incorporate too much air or make it tough. Smooth in sections if necessary, and try to complete the smoothing process efficiently. The less you manipulate the frosting once it's on the cake, the less likely you are to introduce stress points that could lead to cracks.
Advanced Solutions: When Simple Fixes Don't Work
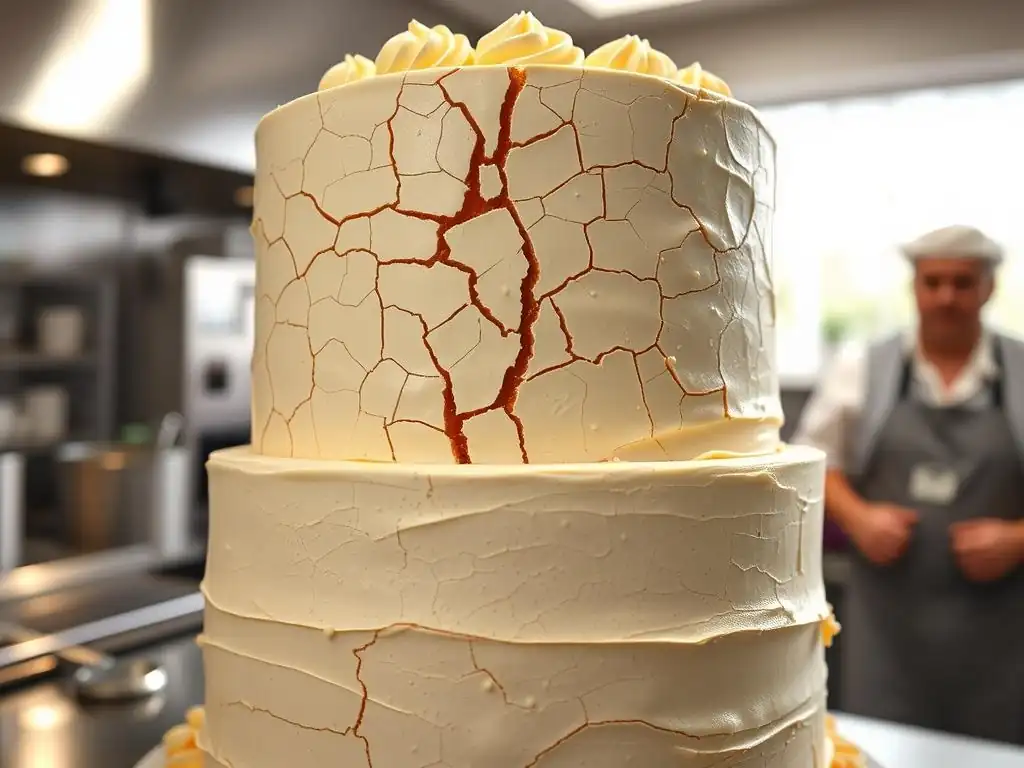
Sometimes, despite your best efforts, cracks still appear, or you might be working with a particularly challenging recipe or environment. In such cases, slightly more advanced cracked frosting troubleshooting techniques might be necessary.
These techniques often involve adding an extra layer of protection or modifying the frosting's structure to make it more resilient to movement and environmental changes.
Using a Crumb Coat: Preventing Cracks from Crumbs
A crumb coat is a thin layer of frosting applied directly to the cake layers before the final decorative coat. It serves two main purposes: trapping loose crumbs (preventing them from marring the final layer) and providing a stable, sealed surface for the final frosting.
Apply a thin layer of frosting, scrape off any excess, and chill the cake for 15-30 minutes until the crumb coat is firm. This creates a solid base. The final frosting layer is then applied over this stable surface, reducing the chance that crumbs shifting or small movements in the cake surface will cause cracks in the outer layer.
Adding Stabilizers: Improving Structure
For frostings that are particularly prone to cracking or if you need a very stable finish, consider adding a small amount of a food-safe stabilizer. Stabilizers can improve the frosting's elasticity and resistance to temperature changes and settling.
However, use stabilizers sparingly, as too much can alter the texture and flavor of your frosting. Common stabilizers include cornstarch, gelatin, meringue powder, or commercial frosting stabilizers. The type and amount needed will depend on your specific frosting recipe and the desired outcome.
Stabilizer Examples: Cornstarch, Gelatin
For buttercream, a small amount of cornstarch can sometimes help improve stability without significantly altering texture. Sift a tablespoon or two of cornstarch into the powdered sugar before mixing, or whisk it into the finished frosting.
Gelatin is a powerful stabilizer often used in frostings like Swiss or Italian meringue buttercream, or mousses used as frosting. It provides a very stable structure that is less prone to cracking, especially in warmer temperatures. Typically, a small amount of bloomed and dissolved gelatin (perhaps 1-2 teaspoons of gelatin powder bloomed in 1-2 tablespoons of cold water, then gently heated until dissolved, per batch of frosting made with 1 cup of butter) is whisked into the finished frosting while it's still slightly warm from mixing.
Best Practices: A Checklist for Crack-Free Results
To sum up the essential cracked frosting troubleshooting tips, here is a handy checklist and a simplified process flow to help you achieve smooth, beautiful frosting every time. Following these steps diligently will drastically reduce your encounters with dreaded frosting cracks.
Remember that practice makes perfect. Even experienced bakers sometimes face challenges, but understanding the principles behind why frosting cracks empowers you to fix issues and improve your technique over time.
Frosting Checklist: Ingredients, Environment, Technique
- Cake fully cooled? Check internal temperature, not just surface.
- Frosting consistency correct? Spreadable, not too stiff or too soft.
- Butter properly softened? Ideal temp around 65-68°F (18-20°C).
- Recipe ratios balanced? Enough liquid and fat for flexibility.
- Work environment stable? Consistent temperature (68-72°F / 20-22°C) and controlled humidity.
- Crumb coat applied and chilled? Provides a stable base.
- Frosting applied evenly? Consistent thickness throughout.
- Smoothing done gently? Avoids overworking and stress.
- Cake stored properly? Avoid rapid temperature changes.
Troubleshooting Flowchart: Diagnose and Fix Cracks
[START] --> Is there a crack? --> [YES]
    |                               |
    |                               V
    |                           What kind of crack?
    |                               |
    |       --------------------------------------------------
    |       |                                                |
    |       V                                                V
    |   Surface Crack?                               Deep Crack?
    |       |                                                |
    |       V                                                V
    |   Smooth with warm, dry spatula or finger.     Is cake stable? --> [NO] --> Let cake cool/settle completely.
    |       |                                                |
    |       V                                                V                      Repair? --> [YES] --> Fill with fresh frosting.
    |   Crack gone? --> [YES] --> [END]              Evaluate frosting recipe/consistency.
    |       |                                                |
    |       [NO] --> Re-evaluate cause.                      V
    |                                             Is frosting too stiff? --> [YES] --> Add tiny bit of liquid, mix gently.
    |                                                |      |
    |                                                |      [NO] --> Consider environmental factors.
    |                                                V
    |                                            Attempt repair: Fill, then smooth with warm spatula.
    |                                                |
    |                                                V
    |                                            Crack gone? --> [YES] --> [END]
    |                                                |
    |                                                [NO] --> Consider scraping & reapplying section or using advanced techniques (stabilizer, crumb coat).
    |                                                        |
    |                                                        V
    |                                                    [END]
    |
    [NO] --> Monitor cake. --> [END]
BakeWithEase: Your Guide to Perfect Frosting
Achieving smooth, crack-free frosting is a skill that improves with practice and knowledge. By understanding the common causes – from cake temperature and environmental factors to recipe imbalances and technique – you are well-equipped for effective cracked frosting troubleshooting. The cracked frosting troubleshooting tips provided here offer practical steps to prevent issues before they start and address them if they arise.
Remember to cool your cake completely, ensure your frosting has the right consistency, work in a stable environment, and apply frosting smoothly and evenly. Whether you're tackling a simple birthday cake or an elaborate tiered creation, these techniques will help you achieve professional-looking results. Keep baking, keep practicing, and enjoy the sweet reward of perfectly frosted cakes!
Frequently Asked Questions
Why is my frosting cracking after I frost my cake?
Cracking often happens due to rapid temperature changes or the frosting drying out too quickly. Also, using too much powdered sugar can contribute to cracking.
What are some common causes of frosting cracks?
Common causes include applying frosting to a cake that's still warm, using an excessive amount of powdered sugar, or exposing the frosted cake to dry air.
How can I prevent frosting from cracking in the first place?
Ensure your cake is completely cooled before frosting. Consider adding a small amount of liquid (milk or cream) to your frosting recipe. Also, cover the frosted cake to retain moisture.
My frosting has already cracked. Is there a way to fix it?
A quick fix is to gently smooth the cracks with a warm spatula. Alternatively, you can create a thin layer of fresh frosting to cover the existing cracks.
Does the type of frosting affect whether it's prone to cracking?
Yes, some frostings like buttercream are more prone to cracking than others, especially if they contain a high proportion of butter. Ganache or cream cheese frosting are less likely to crack.
Final Reflection: The Sweet Science of Frosting Perfection
The seemingly simple act of frosting a cake reveals a surprising depth of culinary science, and mastering this seemingly simple task is more relevant than ever in our visually-driven food culture. A perfectly smooth, flawless frosting is no longer just a desirable aesthetic; it's a mark of skill and attention to detail that can elevate a home-baked treat to professional levels. The cracks, the imperfections, they tell a story – a story we can learn to decipher and prevent.
The pursuit of the perfect frosting, free from those dreaded cracks, reflects a broader human desire for perfection and control. We strive for flawlessness in our creations, mirroring our aspirations for flawlessness in our lives. The frustration of a cracked frosting, however, can teach us valuable lessons in patience, attention to detail, and the acceptance of imperfection. The art of baking is not just about following a recipe, but about understanding the science behind it.
This quote perfectly encapsulates the journey from frustration to mastery that we've explored in this article.
Now, consider your own "frosting." What are the "cracks" in your own endeavors, the imperfections that challenge you? Perhaps it's a project at work, a personal relationship, or even a creative pursuit. Remember the lessons learned here – the importance of temperature, humidity, and the careful application of technique. Apply that same mindful approach to your own challenges, and you'll discover that even the most seemingly insurmountable cracks can be overcome with patience, knowledge, and a little bit of sweet science. Go forth and create your masterpiece, crack-free and brimming with success!
Rescue Your Frosting: Perfect Your Piping!
Thanks for taking the time to level up your frosting game! You've now got the knowledge to tackle those pesky cracks and achieve flawlessly smooth surfaces. Ready to put your new skills to the test?
- Practice your piping technique: Try different piping bags and tips to find your perfect match, then practice swirling and smoothing techniques on a test cake. This is your key to consistent success!
- Share your frosted masterpiece: Show off your perfectly smooth frosting on social media using #BakeWithEasePerfection! Let's inspire each other!
- Explore our frosting recipes: Dive into our extensive recipe collection for more flavor inspiration and frosting variations.
What unique frosting design will you create next?