
Troubleshooting Gummy GlutenFree Bread Texture

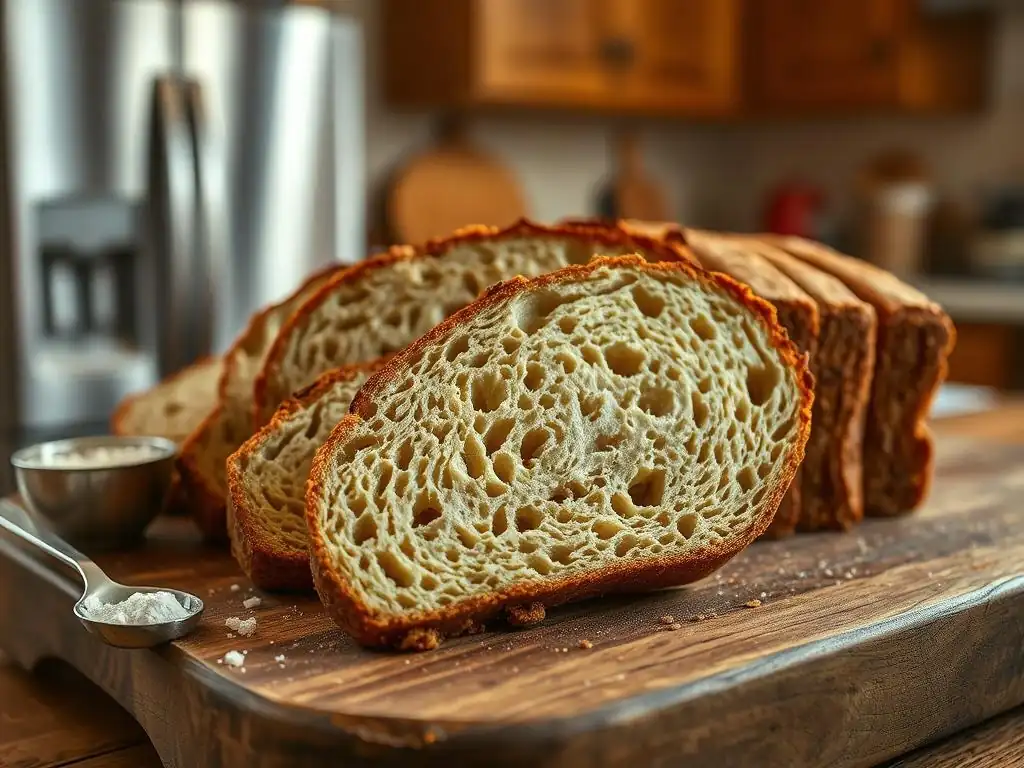
Welcome to BakeWithEase, your haven for delightful baking adventures! Ever wondered why your gluten-free bread sometimes suffers from that dreaded gummy texture? This is a common hurdle, but fear not! We're diving deep into troubleshooting that specific issue, offering insights and solutions to achieve the perfect, airy crumb. Discover the secrets to mastering a gummy glutenfree bread texture and unlock the potential of your gluten-free baking. Ready to transform your bread from gummy to glorious? Let's get started!
- Troubleshooting Dense and Gummy Gluten-Free Bread: A Comprehensive Guide
- Understanding Dense and Gummy Gluten-Free Bread
- Identifying the Root Cause of Your Dense and Gummy Gluten-Free Bread
- Solutions for Fixing Dense and Gummy Gluten-Free Bread Texture
- Preventing Dense and Gummy Gluten-Free Bread in the Future
- Troubleshooting Common Issues
- Advanced Techniques for Improving Gluten-Free Bread Texture
- Enjoying Your Perfectly Textured Gluten-Free Bread
- Frequently Asked Questions
- Final Reflection: Beyond the Gummy: Mastering Gluten-Free Baking
- Unlock the Secret to Perfectly Chewy Gluten-Free Bread!
Troubleshooting Dense and Gummy Gluten-Free Bread: A Comprehensive Guide
Understanding Dense and Gummy Gluten-Free Bread
Common Causes of Dense and Gummy Texture in Gluten-Free Bread
Achieving a light, airy crumb in gluten-free bread can sometimes feel like a baking mystery, often resulting in a frustratingly dense and gummy gluten-free bread texture. One primary culprit is often the hydration level. Gluten-free flours absorb liquid differently than wheat flour, often requiring significantly more water or other liquids. If the dough is underhydrated, the starches won't gelatinize properly, leading to a dry, crumbly texture, but paradoxically, overhydration can also cause issues. Too much liquid prevents the structure from setting, resulting in a heavy, wet, and gummy interior that doesn't bake through evenly. It's a delicate balance.
Another frequent cause relates directly to the ingredients themselves, specifically the flour blend and the binder used. Many commercial or homemade gluten-free flour blends rely heavily on starchy flours like tapioca, potato, or corn starch. While these provide softness, an excess can create a sticky, gummy texture, especially when combined with insufficient protein or fiber.
Furthermore, the binder, such as xanthan gum, psyllium husk, or guar gum, is crucial for providing structure in the absence of gluten. Using too little binder results in a loaf that crumbles, but using too much can lead to a dense, rubbery, and yes, gummy gluten-free bread texture.
The Role of Ingredients and Baking Techniques in Gluten-Free Bread Texture
The specific ingredients chosen play a monumental role in the final texture of your gluten-free loaf. Unlike wheat flour, which develops structure through gluten networks, gluten-free baking relies on a careful balance of different flours and binders. A blend might include nutrient-rich flours like brown rice, sorghum, or almond flour alongside starches.
The ratio of these components significantly impacts water absorption, rise, and the final crumb. For instance, using too much fine white rice flour can lead to a gritty or pasty texture, while an abundance of tapioca starch might result in a sticky, gummy interior if not properly balanced and baked.
Baking techniques are equally critical in preventing a gummy gluten-free bread texture. Proper mixing ensures ingredients are evenly distributed and the binder is fully activated, which is vital for structure. Allowing adequate proofing time lets the leavening agents (yeast or baking powder) create air pockets, contributing to a lighter crumb, but over-proofing can cause the structure to collapse. Crucially, baking at the correct temperature and for sufficient time is non-negotiable. Gluten-free bread often requires a longer bake time than wheat bread to ensure the interior is fully cooked and the starches are set, preventing that dreaded gummy center.
Identifying the Root Cause of Your Dense and Gummy Gluten-Free Bread
Evaluating Your Gluten-Free Flour Blend Composition
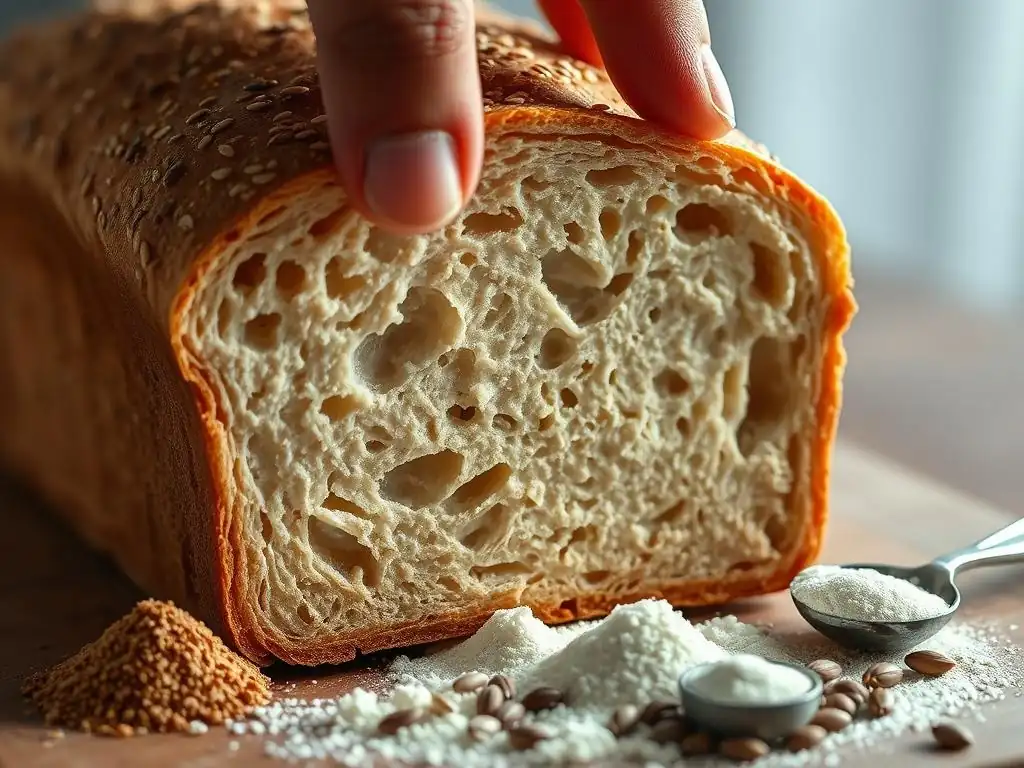
Understanding what's in your gluten-free flour blend is the first step to troubleshooting a gummy gluten-free bread texture. Many commercial blends are starch-heavy, containing a high percentage of ingredients like white rice flour, tapioca starch, corn starch, and potato starch. While starches contribute softness and help bind, an over-reliance on them can lead to a dough that becomes overly sticky and fails to develop a stable structure during baking, resulting in a dense, gummy crumb. A common ratio might be 60-70% starch to 30-40% whole grain or protein flours, which often needs adjustment for optimal bread texture.
Consider the balance of different flour types. Whole grain gluten-free flours like brown rice, sorghum, millet, or buckwheat offer more fiber and protein, contributing to structure and better liquid absorption compared to pure starches. For example, replacing some tapioca starch with sorghum flour can improve the overall texture and reduce gumminess. Look at the ingredient list: if the first few ingredients are all starches, this could be a major factor contributing to your gummy gluten-free bread texture issues. Aim for a blend that balances starches with more robust, nutrient-dense flours.
Starch Types and Their Impact on Gluten-Free Bread Texture
Different starches behave uniquely in gluten-free baking and can significantly influence the gummy glutenfree bread texture. Tapioca starch, for instance, is excellent for chewiness and crust development but can become slimy and gummy if too much is used or if the bread is underbaked. Potato starch provides softness and helps with moisture retention but can also contribute to gumminess if not balanced with other flours. Corn starch is often used as a thickener and can contribute to a fine crumb, but in excess, it can make the bread dry yet somehow still gummy in texture.
Using a variety of starches in moderation is generally better than relying on just one. A blend might use a combination of tapioca, potato, and corn or rice starch. The key is their proportion relative to the total flour weight and the other types of flours in the blend. If your blend is 50% or more pure starch, it's highly susceptible to developing a gummy gluten-free bread texture, especially in the center, unless hydration and baking are absolutely perfect. Understanding the typical characteristics of each starch helps predict its behavior in your dough.
Protein Content and Its Influence on Bread Structure
Protein is crucial for building structure in bread, even in the absence of gluten. Gluten-free flours vary widely in protein content. Almond flour, quinoa flour, and even some blends containing legumes (like chickpea or fava bean flour) offer higher protein levels than rice flour or pure starches. This protein helps create a more stable network alongside binders like xanthan gum or psyllium husk, providing strength that allows the loaf to hold its shape and develop a less dense, less gummy texture.
A common issue leading to a gummy gluten-free bread texture is a flour blend that is too low in protein and too high in starch. For example, a blend primarily of white rice flour and tapioca starch will have much less inherent structure than one that includes a significant portion of sorghum, millet, or almond flour.
Aiming for a blend where protein-rich flours make up at least 30-40% of the mix can dramatically improve the loaf's structure and reduce the likelihood of a gummy outcome. This added protein helps create a framework that supports the rise and prevents collapse during baking.
Analyzing Hydration Levels in Gluten-Free Bread Dough
Proper hydration is perhaps the most critical factor in preventing a gummy gluten-free bread texture. Gluten-free doughs typically require significantly more liquid than traditional wheat doughs, often absorbing anywhere from 80% to over 100% of the flour weight in liquid. However, simply adding more liquid isn't always the answer; it's about adding the right amount for your specific flour blend. Different flours absorb liquids differently – psyllium husk, for instance, can absorb many times its weight in water, while white rice flour absorbs less.
If your dough feels stiff or crumbles easily, it's likely underhydrated, which can result in a dry crumb that still feels dense and potentially gummy because the starches haven't fully gelatinized. Conversely, if the dough is excessively wet, more like a thick batter than a traditional dough, it can be difficult for the structure to set during baking, leading to a heavy, wet, and gummy interior. Recognizing the correct hydration level for your specific recipe and flour blend is key to avoiding a gummy gluten-free bread texture.
Excessive Moisture: Contributing to a Gummy Result
One of the most common reasons for a gummy gluten-free bread texture is excessive moisture trapped within the loaf. When a dough is too wet, the heat from the oven struggles to penetrate the center effectively. This can leave the starches in the middle only partially cooked and gelatinized, resulting in a sticky, dense, and uncooked-like texture. It's like trying to bake a very wet batter in a single step; the outside might look done, but the inside remains raw and pasty.
This problem is exacerbated by insufficient baking time or temperature. Even with the correct hydration, if the loaf doesn't spend enough time in the oven to allow the internal temperature to reach the point where starches fully set and excess moisture evaporates (typically around 200-210°F or 93-99°C), you'll end up with a gummy gluten-free bread texture. The outer crust might be perfectly browned, but the core remains undercooked and dense.
Achieving Optimal Dough Consistency
Determining the optimal dough consistency for gluten-free bread can be tricky, as it often differs significantly from wheat dough. Instead of a firm, elastic dough, gluten-free doughs are typically softer, stickier, and more like a thick batter or very wet cookie dough. The exact consistency will vary depending on the flour blend and binder used, but it should generally be scoopable or spreadable rather than kneadable.
A good indicator of optimal consistency is when the dough holds its shape relatively well but is still moist and slightly sticky to the touch. If using yeast, the dough should look somewhat like thick cake batter that you can spoon into a pan. If it's too dry, it won't rise properly and will be dense. If it's too wet, it will spread excessively and be prone to developing a gummy gluten-free bread texture. Learning to recognize the correct consistency for your specific recipe through practice is invaluable.
Assessing Baking Time and Temperature Accuracy
Baking time and temperature are critical variables that, if incorrect, almost guarantee a gummy gluten-free bread texture. Gluten-free bread needs sufficient time at the correct temperature for the internal structure to set, the starches to fully cook, and excess moisture to evaporate. Unlike wheat bread, which can rely on the gluten network for strength, gluten-free bread's structure is more fragile and requires thorough heat penetration to become stable.
Underbaking is a prime suspect when dealing with a gummy gluten-free bread texture. Even if the crust looks golden brown, the interior may still be wet and uncooked. This is particularly true for larger loaves. Using an oven thermometer to verify your oven's accuracy is also important, as many ovens can be off by 25°F (approx. 15°C) or more, potentially leading to underbaking at the perceived temperature.
Insufficient Baking and Its Effect on Gluten-Free Bread
Insufficient baking is a leading cause of a gummy gluten-free bread texture. When bread is removed from the oven too soon, the internal temperature hasn't reached the point necessary for the starches to complete their gelatinization process and for the proteins (from flours or binders) to fully set. This leaves the interior moist, dense, and sticky, even if the crust appears done. Think of it like baking a cake – if you pull it out too early, the center is wet and uncooked.
This issue is compounded in larger or taller loaves, where heat takes longer to penetrate to the center. The outer layers might bake quickly, forming a crust, while the middle lags behind. The result is a loaf with a beautiful exterior but a core that is dense, heavy, and exhibits that characteristic gummy gluten-free bread texture. It's always better to slightly overbake gluten-free bread than to underbake it.
Determining Full Doneness: Visual Indicators and Internal Temperature
Relying solely on visual cues like crust color isn't sufficient to determine if your gluten-free bread is fully baked and will not have a gummy texture. While a golden-brown crust is a good sign, the true indicator of doneness is the internal temperature. For most gluten-free yeast breads, the interior should reach between 200°F and 210°F (93°C to 99°C) when measured with an instant-read thermometer inserted into the center of the loaf.
Another helpful test is tapping the bottom of the loaf; a fully baked loaf will sound hollow. However, the thermometer test is the most reliable method to ensure the center is cooked through and prevent a gummy gluten-free bread texture. Don't be afraid to leave the bread in the oven for an extra 5-15 minutes if the internal temperature hasn't been reached, even if the crust looks done. You can loosely tent the top with foil if the crust is browning too quickly.
Solutions for Fixing Dense and Gummy Gluten-Free Bread Texture
Fine-Tuning Your Gluten-Free Flour Blend
If you're consistently getting a gummy gluten-free bread texture with a specific flour blend, it's time to experiment with its composition. If your current blend is very high in starches (like tapioca or potato starch), try substituting some of the starch with a whole-grain gluten-free flour like sorghum, millet, or brown rice flour. For example, if your recipe calls for 1 cup of a starch-heavy blend, try using 3/4 cup of that blend and 1/4 cup of sorghum or millet flour. This can add structure and reduce the potential for gumminess.
Alternatively, if your blend feels low in protein or fiber, consider adding a small amount of a higher-protein flour like almond flour or even some psyllium husk powder (which adds fiber and helps with structure). For instance, adding 1-2 tablespoons of psyllium husk powder per cup of flour blend can significantly improve texture and hydration management, helping to combat a gummy gluten-free bread texture. Keep notes of your adjustments to track what works best.
Adjusting Starch Ratios for Improved Crumb
A common cause of gummy gluten-free bread texture is an imbalance in starch ratios within the flour blend. If your blend contains too much tapioca or potato starch, it can result in a sticky, heavy crumb. Try reducing the amount of these specific starches slightly and increasing the proportion of a less 'gummy' starch like corn starch or a non-starchy flour. For instance, if a recipe uses 1/2 cup tapioca starch, try reducing it to 1/3 cup and adding 1/6 cup corn starch or another flour.
Experiment with blends that use a diversity of starches rather than relying heavily on one. A blend might benefit from incorporating arrowroot starch, which can provide a lighter texture, or using a smaller overall percentage of pure starches relative to the total flour weight. The goal is to find a ratio where starches contribute softness without overwhelming the structure and causing that undesirable gummy gluten-free bread texture.
Incorporating Higher Protein Flours for Structure
Increasing the protein content in your gluten-free flour blend is an effective way to improve the internal structure and combat a gummy gluten-free bread texture. Flours like sorghum, millet, quinoa, amaranth, and even finely ground almond flour contain more protein than rice flour or pure starches. This protein helps build a more stable network alongside your chosen binder, allowing the bread to rise better and hold its shape without collapsing into a dense, gummy mass.
If your current recipe uses a blend that is primarily rice flour and starches, try replacing 15-25% of the total flour weight with a higher-protein alternative. For example, if a recipe uses 3 cups of flour blend, substitute about 1/2 to 3/4 cup with sorghum or millet flour. This adjustment can significantly enhance the crumb structure, reduce the likelihood of a gummy gluten-free bread texture, and often add more flavor and nutritional value.
Mastering Hydration for Gluten-Free Bread
Precise hydration is crucial for avoiding a gummy gluten-free bread texture. Unlike wheat dough where you can often feel the correct consistency, gluten-free dough consistency varies greatly by recipe and flour blend. Always measure liquids accurately using a liquid measuring cup at eye level, or even better, weigh both your flour blend and your liquids using a kitchen scale. Weighing is more precise as flour density can vary.
Start with the amount of liquid specified in the recipe, but be prepared to adjust slightly based on the dough's appearance and feel. It should resemble a thick batter that holds its shape when scooped but is still moist and sticky.
If it looks dry or crumbly, add a tablespoon of liquid at a time until the right consistency is achieved. If it looks too runny or thin, you may need to add a small amount (1-2 tablespoons) of your flour blend or a bit of psyllium husk powder, which absorbs a lot of moisture, to prevent a gummy gluten-free bread texture.
Precise Water Measurement Techniques
In gluten-free baking, even small variations in liquid measurement can lead to significant texture issues, including a gummy gluten-free bread texture. Using a kitchen scale to weigh your liquids is the most accurate method. Water weighs approximately 1 gram per milliliter or 1 ounce per 28.35 grams. Weighing ensures you have the exact amount specified, regardless of measuring cup inaccuracies or how you pour the liquid.
If you don't have a scale, use liquid measuring cups designed for liquids (with a spout) and place them on a flat surface. Bend down so your eye is level with the desired measurement line and fill carefully. Avoid using dry measuring cups for liquids, as they are less accurate. Consistent, precise measurement of water, milk, or other liquids is a fundamental step in preventing a gummy gluten-free bread texture right from the start.
Recognizing the Ideal Dough Consistency
Learning to recognize the ideal consistency of gluten-free bread dough is key to preventing a gummy gluten-free bread texture. Unlike traditional wheat dough, which develops elasticity and can be kneaded, gluten-free dough is typically more like a thick, scoopable or spreadable batter. It should be wet enough to allow starches and binders to hydrate fully but not so wet that it can't hold any shape at all.
The consistency will vary depending on the recipe and the type of binder used. Doughs made with xanthan gum might be slightly less sticky than those made with psyllium husk, which becomes gel-like. Generally, the dough should be thick enough that you need to use a spoon or spatula to transfer it to the baking pan.
If it pours easily, it's likely too wet and prone to gumminess. If it's so stiff you can form it by hand without significant sticking, it might be too dry. Aim for something in between – moist, sticky, and able to hold a soft peak or mound when scooped.
Perfecting Baking Time and Temperature for Gluten-Free Bread
Correct baking is paramount to avoiding a gummy gluten-free bread texture. Preheat your oven fully to the specified temperature, and consider using an oven thermometer to confirm its accuracy. Many home ovens fluctuate or are significantly off the dial setting. Baking at the correct temperature ensures the loaf rises properly and the crust develops, but the duration is just as important.
Gluten-free bread almost always requires a longer baking time than you might expect for a similar-sized wheat loaf, often ranging from 45 to 75 minutes or even longer for very large loaves. This extended time allows heat to penetrate all the way to the center, fully cooking the starches and evaporating excess moisture. Don't rush the baking process; pulling the bread out too early is a guaranteed way to end up with a gummy gluten-free bread texture.
Recommended Baking Temperatures for Various Gluten-Free Bread Types
While specific recipes vary, general temperature ranges can guide you in preventing a gummy gluten-free bread texture. Many standard gluten-free sandwich loaves bake well at temperatures between 350°F and 375°F (175°C to 190°C). These moderate temperatures allow the loaf to bake through evenly without the crust burning before the interior is done.
For artisan-style loaves or those baked in a Dutch oven, higher temperatures, around 400°F to 425°F (200°C to 220°C), are often used, especially initially. Baking in a Dutch oven helps trap steam, which is beneficial for the crust and initial rise, before potentially lowering the temperature or removing the lid to finish the bake and prevent a gummy center. Always follow your specific recipe's guidance, but be prepared for baking times that might seem long compared to wheat bread.
Utilizing a Thermometer to Confirm Doneness
The most reliable tool for ensuring your gluten-free bread is fully baked and won't have a gummy gluten-free bread texture is an instant-read thermometer. Insert the thermometer into the very center of the loaf, avoiding the bottom crust or sides. For most standard gluten-free yeast breads, the internal temperature should register between 200°F and 210°F (93°C to 99°C).
If the thermometer reads below this range, return the bread to the oven for additional baking time, checking the temperature again every 5-10 minutes. This simple step eliminates the guesswork and is the best way to guarantee that the starches in the center are fully cooked and set, preventing that disappointing dense and gummy texture. Don't skip this step, especially if you've struggled with gummy bread in the past.
The Role of Additives in Gluten-Free Bread
Additives like xanthan gum, psyllium husk, and others are essential for providing structure in gluten-free baking and preventing a gummy gluten-free bread texture. They mimic some of the functions of gluten, helping to bind ingredients together, trap gases produced by leavening, and provide elasticity and chewiness. The type and amount of additive used significantly impact the final texture.
Using the correct amount of your chosen binder is critical. Too little results in a crumbly loaf that lacks structure. Too much, however, can lead to a dense, gummy, or even rubbery texture. Recipes typically provide specific amounts based on the total flour weight, but sometimes slight adjustments are needed depending on the specific blend or desired outcome.
Optimizing Xanthan Gum Usage
Xanthan gum is a common binder in gluten-free baking, effective at providing structure and preventing a gummy gluten-free bread texture. The typical usage ranges from 1/4 teaspoon to 1 teaspoon per cup of gluten-free flour blend, depending on whether the blend already contains binders and the type of bake (cakes usually use less, breads more). Using too much xanthan gum is a frequent cause of a gummy or slightly slimy texture.
If you suspect too much xanthan gum is contributing to your gummy gluten-free bread texture, try slightly reducing the amount in your next bake. For instance, if a recipe calls for 2 teaspoons per 2 cups of flour, try reducing it to 1.5 teaspoons. Ensure it's thoroughly mixed into the dry ingredients before adding liquids to disperse it evenly and prevent clumping, which can also lead to gummy spots.
Exploring Other Additives for Enhanced Texture
Beyond xanthan gum, other additives can help improve gluten-free bread texture and combat gumminess. Psyllium husk, either whole or powdered, is highly effective. It absorbs a large amount of water, forming a gel that provides excellent structure and a chewier texture, often resulting in a crumb closer to traditional wheat bread. It's typically used at a ratio of 1-2 tablespoons per cup of flour blend.
Other options include guar gum (often used in combination with xanthan gum) or even ingredients like ground flaxseed or chia seeds, which form a gel when soaked and can contribute to binding and moisture retention. For example, replacing half of the xanthan gum with psyllium husk (using the recommended psyllium ratio) can sometimes yield a less gummy and more satisfying texture. Experimenting with different binders can help you find the best solution for your gummy gluten-free bread texture issues.
Preventing Dense and Gummy Gluten-Free Bread in the Future
Recipe Optimization for Consistent Results
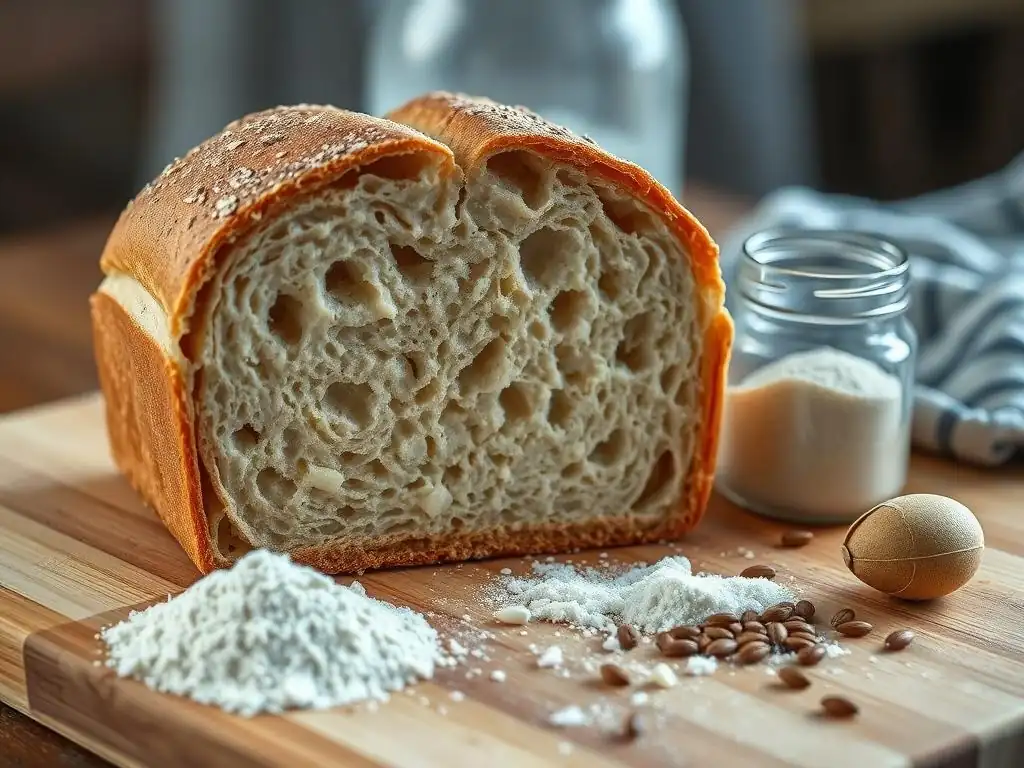
To consistently avoid a gummy gluten-free bread texture, treat your baking like a science experiment initially. Start with a well-regarded recipe specifically designed for gluten-free bread. Follow it precisely the first time, paying close attention to ingredient weights (not just volumes) and temperatures. If the result is still gummy, make one small change at a time in subsequent bakes – perhaps reduce the liquid slightly, increase the baking time by 10 minutes, or adjust the binder amount by a small increment.
Once you achieve a result you're happy with, document the exact measurements, brand of flour blend used, and any modifications you made. This optimized version becomes your reliable recipe. For example, you might find that for your specific oven and flour blend, a recipe calling for 500g flour and 450g water works best when you reduce the water to 430g and add 5 minutes to the bake time. This level of detail is key to reproducible success and consistently avoiding a gummy gluten-free bread texture.
Detailed Baking Log for Reproducible Success
Keeping a detailed baking log is perhaps the single most effective strategy for preventing a gummy gluten-free bread texture on future attempts. For each loaf you bake, record everything: the exact recipe used (including any modifications), the brand and type of every ingredient (especially the flour blend and binder), precise weights or volumes of all ingredients, mixing time and method, proofing time and ambient temperature, oven temperature (verified with a thermometer), total baking time, and the final internal temperature of the loaf.
After the bread has cooled and you've assessed its texture (specifically noting if it's dense or gummy), add notes about the outcome. Was the crust good? Was the crumb open or dense? Was the center gummy? Use this log to identify patterns. If multiple bakes result in a gummy gluten-free bread texture despite varying other factors, it might indicate an issue with your core flour blend or a consistent error in temperature/time. This systematic approach helps pinpoint the problem and replicate successful bakes.
Troubleshooting Common Issues
My Gluten-Free Bread is Dense and Gummy Despite Being Fully Baked
If your gluten-free bread has reached the target internal temperature (200-210°F or 93-99°C) but still has a dense and gummy texture, the issue likely lies with your ingredients or initial dough consistency rather than underbaking. This often points to a problem with the flour blend composition or the hydration level being too high for the specific blend used. Even if fully cooked, a dough with too much starch or too little structure-building flour/binder will set into a gummy mass.
Consider the ratio of starchy flours to whole-grain or protein flours in your blend. A high starch content, especially tapioca or potato starch, is a prime suspect. Also, evaluate the amount of binder (xanthan gum, psyllium) relative to the flour. Too much binder can also create a rubbery, gummy texture even when fully baked. Try adjusting your blend towards more structure-providing ingredients or slightly reducing the binder in your next attempt.
The Crust is Well-Formed, but the Interior Remains Dense and Gummy
This scenario is a classic sign of underbaking, especially in larger loaves. The outer crust, being exposed to direct heat, browns and sets relatively quickly. However, the heat takes much longer to penetrate to the center of the loaf. If you remove the bread based on crust color alone, the interior hasn't had enough time to reach the temperature required for starches to fully gelatinize and moisture to evaporate, resulting in a dense and gummy gluten-free bread texture in the middle.
Using an instant-read thermometer is essential here. Ignore the crust and focus on getting the center temperature up to 200-210°F (93-99°C). If the crust is browning too fast while the interior is still cool, loosely tent the loaf with aluminum foil for the remainder of the baking time. This protects the crust while allowing the inside to continue cooking.
Specific Gluten-Free Flour Concerns and Solutions [e.g., Rice Flour Issues]
Certain gluten-free flours can contribute specifically to a gummy gluten-free bread texture if not managed properly. White rice flour, commonly used, can sometimes lead to a slightly gritty texture if not finely ground, and in excess, it can contribute to density. Brown rice flour adds nutrients but can make bread heavy and potentially gummy if used as the sole flour because it absorbs a lot of liquid and lacks elasticity.
- Rice Flour Solutions: Ensure you use finely ground rice flour ("superfine"). Combine rice flour with other flours and starches for a balanced blend. Hydrate adequately, but don't overdo it. Consider recipes that use a smaller proportion of rice flour relative to other ingredients.
- Tapioca Starch Concerns: While great for chewiness, too much tapioca starch leads to a sticky, gummy, almost slimy interior. Reduce the amount if it's a primary ingredient in your blend and supplement with other starches or flours. Ensure thorough baking to set the tapioca starch properly.
- Sorghum/Millet Concerns: These flours are great for structure but can make bread dry or slightly crumbly if not enough binder or moisture is used. Balance them with softer starches and ensure sufficient hydration and binder to prevent a dense, dry-yet-somehow-gummy result.
Advanced Techniques for Improving Gluten-Free Bread Texture
The Autolyse Method for Gluten-Free Bread
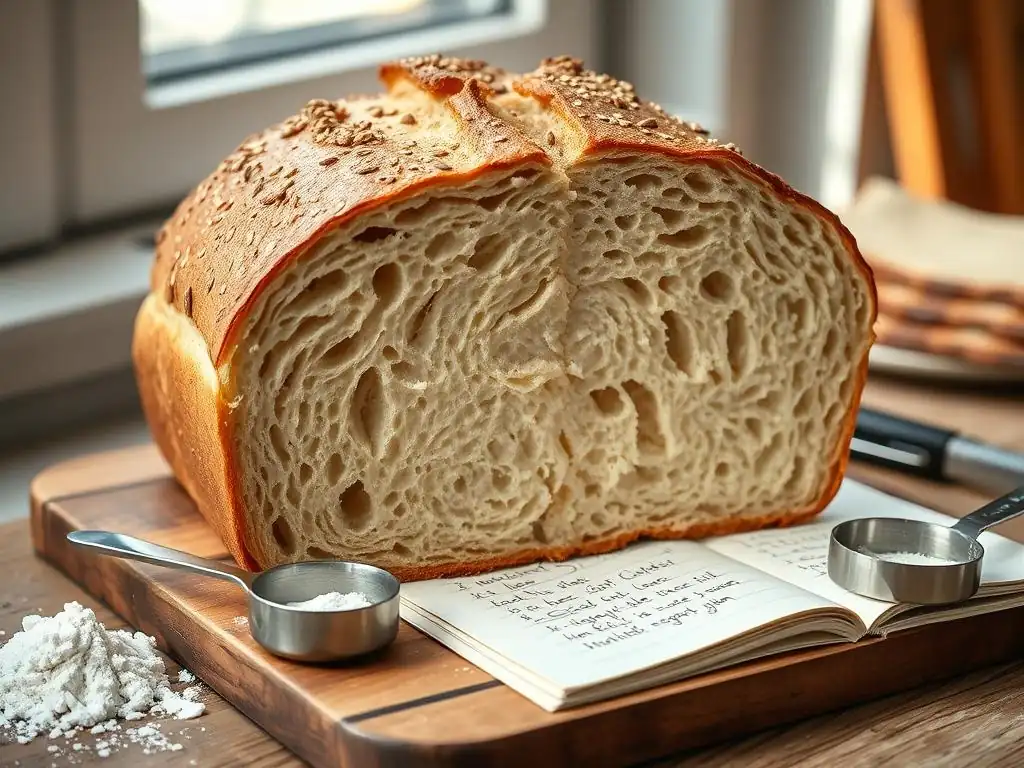
The autolyse method, traditionally used in wheat baking, can be adapted for gluten-free bread to potentially improve texture and reduce gumminess, though its mechanism differs. In wheat, it allows gluten development. In gluten-free baking, it involves mixing the flours and liquid without the salt and binder (like xanthan gum or psyllium) and letting it rest for 20-60 minutes. This allows the flours, particularly whole grains, to hydrate more fully and evenly before the binder is added.
This pre-hydration step can lead to a smoother dough and better overall absorption. When the binder is finally added and mixed, it disperses more effectively in the already hydrated flour matrix. Some bakers find this process leads to a less dense, more uniform crumb and helps prevent areas of unhydrated starch or binder that could contribute to a gummy gluten-free bread texture. It's an extra step, but one worth experimenting with if you're still struggling with texture.
Incorporating a Sourdough Starter for Flavor and Texture
Using a gluten-free sourdough starter can significantly improve the texture and flavor of gluten-free bread, often helping to combat a gummy texture. Sourdough fermentation produces organic acids that modify the starches and proteins in the flour blend, creating a more extensible dough structure. The natural leavening also contributes to a more open crumb structure compared to solely relying on commercial yeast.
The acidity from the starter can help break down some of the components that contribute to gumminess and provides a different kind of structure than binders alone. Gluten-free sourdough starters are typically fed with a specific gluten-free flour blend (like brown rice, sorghum, or millet). Incorporating an active, bubbly gluten-free starter into your recipe can lead to a lighter, airier loaf with a pleasant tang and less propensity for a gummy gluten-free bread texture.
Enjoying Your Perfectly Textured Gluten-Free Bread
Tips for Storing Gluten-Free Bread to Preserve Freshness
Once you've successfully baked a loaf without that frustrating gummy gluten-free bread texture, proper storage is key to keeping it fresh. Gluten-free bread tends to dry out faster than wheat bread because it lacks the gluten network that helps retain moisture. Store your cooled loaf in an airtight container or bag at room temperature for 2-3 days. Avoid refrigerating, as this can actually accelerate staling and lead to a dry, crumbly texture.
For longer storage, freezing is the best option. Slice the loaf completely, then wrap individual slices or halves tightly in plastic wrap or beeswax wraps, followed by a layer of aluminum foil or a freezer-safe bag. Properly frozen, gluten-free bread can last for up to 3 months. Thaw slices as needed by toasting or warming gently, which helps revive the texture without making it gummy.
Serving Suggestions for Your Homemade Gluten-Free Loaf
Now that you've conquered the challenge of a gummy gluten-free bread texture, it's time to enjoy your delicious homemade loaf! Serve it warm with your favorite spread – butter, jam, or nut butter. Its sturdy structure should hold up well to toppings. Use slices for sandwiches, trusting that the crumb won't collapse or feel heavy.
Toasted slices are excellent for breakfast, topped with avocado or eggs. Cubes of slightly stale gluten-free bread make fantastic croutons or bread pudding. Don't let your hard work go to waste; appreciate the texture you've achieved and savor the flavor of your perfectly baked, non-gummy gluten-free bread.
Frequently Asked Questions
What causes a gummy texture in gluten-free bread?
A gummy texture in gluten-free bread is often due to insufficient baking time or excessive moisture. The starches need adequate time to fully cook and the moisture to evaporate.
How can I ensure my gluten-free bread is fully baked?
Use a reliable internal thermometer to check the bread's internal temperature. It should reach at least 200-210°F (93-99°C) for most gluten-free bread recipes.
What ingredients might contribute to a gummy texture?
Certain ingredients, like too much starch or gums (such as xanthan gum), can contribute. Carefully measure these ingredients and follow the recipe precisely.
Can the type of flour blend affect the texture?
Yes, the specific gluten-free flour blend greatly impacts the texture. Some blends retain more moisture, leading to a gummy final product, while others provide a better crumb.
What are some general tips to avoid gummy gluten-free bread?
Ensure accurate measurements, use a reliable recipe, and allow the bread to cool completely before slicing. This allows the starches to set properly and reduces gumminess.
Final Reflection: Beyond the Gummy: Mastering Gluten-Free Baking
The quest for perfectly textured gluten-free bread is a journey many undertake, and the frustrating reality of gummy loaves remains a common pitfall. This article has explored the science behind this texture, highlighting the crucial role of starch, hydration, and the careful selection of ingredients. Understanding these factors is not just about avoiding a gummy mess; it's about unlocking the potential for truly delicious gluten-free baking.
The struggle with gummy gluten-free bread transcends mere culinary frustration; it speaks to a broader desire for inclusivity and access to enjoyable food. It's a testament to the ingenuity and perseverance of gluten-free bakers who constantly strive for improvement. The best things in life are worth fighting for,
and for many, that fight includes achieving the perfect gluten-free loaf. This journey of experimentation and adaptation reflects a larger cultural shift towards mindful eating and accommodating diverse dietary needs.
Now, I invite you to consider your own gluten-free baking experiences. What techniques have you found most effective in avoiding that gummy texture? What new experiments will you try based on the insights shared in this article? Remember, the path to mastering gluten-free bread is paved with experimentation and a willingness to learn. Don't be discouraged by setbacks – embrace them as opportunities to refine your skills and create truly satisfying gluten-free loaves that you'll be proud to share.
Unlock the Secret to Perfectly Chewy Gluten-Free Bread!
Thanks for taking the time to explore the world of gluten-free baking with us! We hope you gained valuable insights into troubleshooting those gummy textures. Ready to take your gluten-free bread to the next level?
- Master the Art of Gluten-Free Baking: Dive deeper into the techniques and recipes we've covered, experimenting with different flours and methods to achieve your perfect loaf. This is your chance to truly perfect your gluten-free bread recipe.
- Share Your Success (or Challenges!): Let's build a supportive community. Share your baking journey – your triumphs and even your flops – in the comments below! We're all learning together.
- Experiment with a New Flour Blend: Try a completely new combination of gluten-free flours based on what you learned. You might discover a surprising favorite!
What unique ingredient or technique are you most excited to try in your next gluten-free bread adventure?