
Understanding Bread Proofing: Avoid the Most Common Error

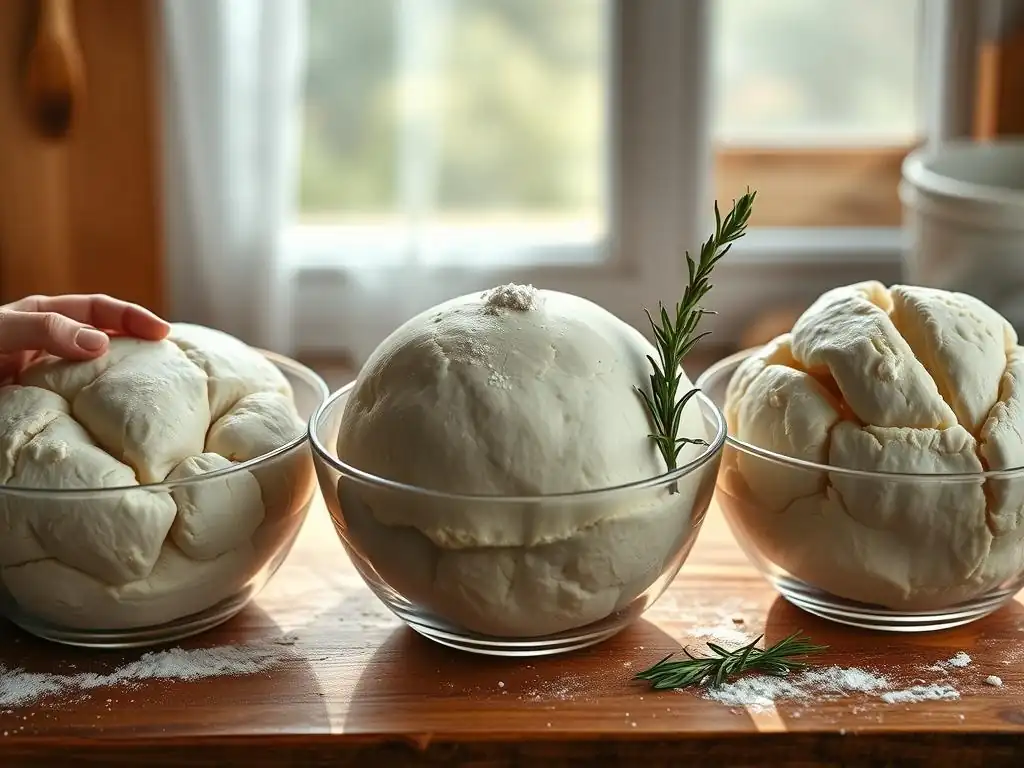
Welcome to BakeWithEase, your companion in the delightful world of baking! Unlock the secrets to consistently perfect bakes and say goodbye to frustrating flops. Ever wondered if you're really getting bread proofing right? Dive into our latest article, " Understanding Bread Proofing: Avoid the Most Common Error", and discover the key to achieving that perfect rise and airy texture. Learn how to proof bread dough like a pro, starting now!
- Understanding Bread Proofing: Avoid the Most Common Errors
- Introduction to Bread Proofing: Achieving the Perfect Rise
- The Most Common Bread Proofing Error: Over-Proofing Explained
- Other Common Bread Proofing Mistakes and How to Avoid Them
- How to Proof Bread Dough Correctly: A Step-by-Step Guide
- Troubleshooting Bread Proofing Problems: Solutions for Common Issues
- Advanced Bread Proofing Techniques for Enhanced Flavor and Texture
- Essential Tools for Successful Bread Proofing
- Bread Proofing Best Practices: Tips for Success
- Conclusion: Mastering the Art of Bread Proofing for Delicious Homemade Bread
- Frequently Asked Questions
- Final Reflection: The Humble Rise of Perfect Bread
- Unlock Perfectly Proofed Bread: It's Easier Than You Think!
Understanding Bread Proofing: Avoid the Most Common Errors
Proofing is a cornerstone of successful bread baking. It's the crucial period where your dough rests and rises, thanks to the tireless work of yeast. Mastering how to proof bread dough correctly is essential for achieving that perfect loaf with a light, airy texture and deep, complex flavor. Skipping or rushing this step, or doing it incorrectly, can lead to disappointing results, from dense bricks to flat pancakes. This article will guide you through the intricacies of bread proofing, highlighting common pitfalls and showing you exactly how to proof bread dough like a pro.
Introduction to Bread Proofing: Achieving the Perfect Rise
Proofing, also known as the final rise or second fermentation, is the stage after shaping your dough but before baking. It's when the dough expands significantly, developing its structure and contributing to the overall quality of the finished bread. This process allows the gluten network, developed during kneading, to relax and become pliable, while the yeast produces gases that inflate the dough. Understanding this phase is fundamental to learning how to proof bread dough effectively.
The duration and conditions of proofing are critical. Too short, and your bread will be dense; too long, and it could collapse. The ideal proofing environment varies depending on the recipe, type of yeast, and ambient conditions, but typically involves a warm, humid spot. Getting this right is a major step in perfecting your bread-making skills and knowing precisely how to proof bread dough for consistent, delicious results every time you bake.
The Role of Yeast in Bread Dough Proofing
Yeast, whether it's active dry, instant, or fresh, is the engine behind bread proofing. These single-celled microorganisms consume sugars in the dough and produce carbon dioxide gas and ethanol. The carbon dioxide gets trapped within the elastic gluten network, causing the dough to expand and rise. This process is most active within a specific temperature range; too cold, and the yeast is sluggish; too hot, and it can die. For most bread yeasts, activity peaks between 75°F and 95°F (24°C and 35°C).
Beyond gas production, yeast also contributes significantly to the flavor profile of the bread through fermentation. As it consumes sugars, it produces various organic acids and alcohols, which impart those desirable complex aromas and tastes we associate with well-made bread, like sourdough or a slow-fermented baguette. Understanding how yeast behaves at different temperatures and hydration levels is key to controlling the proofing process and mastering how to proof bread dough for optimal flavor development.
How Proofing Affects Bread Texture and Flavor
The proofing process directly impacts the internal texture, or crumb, of your bread. As the dough rises, the gluten network stretches, creating pockets that will become the air cells in the baked loaf. Proper proofing results in a light, open crumb structure. If the dough is under-proofed, the gluten hasn't relaxed enough, and the gas hasn't fully expanded the dough, leading to a dense, tight crumb. Conversely, over-proofing can weaken the gluten structure, causing the dough to collapse and resulting in a coarse, uneven crumb.
Flavor development is also intrinsically linked to proofing, particularly during longer, slower proofs. While gas production is the primary visible sign, the yeast and other naturally occurring microbes (in the case of sourdough) are busy breaking down starches and producing flavor compounds. A longer, colder proof, like retarding dough in the refrigerator for 12-48 hours, allows for more complex flavors to develop compared to a quick, warm proof. This is why understanding the relationship between time, temperature, and yeast activity is vital when learning how to proof bread dough for both texture and taste.
The Most Common Bread Proofing Error: Over-Proofing Explained
Without a doubt, the most frequent mistake beginners make when learning how to proof bread dough is over-proofing. This happens when the dough is allowed to rise for too long or in too warm an environment, causing the yeast to produce an excessive amount of gas and weakening the gluten structure beyond its capacity to hold the gas. It's like inflating a balloon too much – eventually, it will pop or stretch thin and collapse.
Over-proofing is particularly common in warmer kitchens or when a baker is unsure of the visual cues and relies solely on a recipe's time guideline, which is often just an estimate. A recipe might say "proof for 1-1.5 hours," but if your kitchen is significantly warmer than the recipe writer's, your dough could be ready in 45 minutes. Learning to read the dough itself, rather than just the clock, is the critical skill needed to avoid this common pitfall when figuring out how to proof bread dough.
Identifying Over-Proofed Dough: Signs to Look For
Recognizing over-proofed dough is crucial for salvaging a bake or learning for next time. One of the most telling signs is that the dough looks significantly larger than doubled in size, often appearing puffy and fragile. If you gently poke the dough with a floured finger (the 'poke test'), the indentation will remain completely, without springing back at all. The surface might also look stretched thin, sometimes with visible large gas bubbles just beneath the surface.
Another indicator is the dough feeling extremely airy and potentially starting to deflate slightly in spots, particularly around the edges. It might also have a slightly boozy or overly yeasty smell due to the excess alcohol produced by the yeast. If you attempt to score or shape the dough at this stage, it will likely tear easily or lose its structure quickly, making it difficult to handle. These signs are strong indicators that you've gone past the optimal proofing point when learning how to proof bread dough.
The Science Behind Over-Proofing: Yeast Overactivity
Over-proofing is a direct consequence of yeast activity continuing unchecked for too long. The yeast consumes the available sugars in the dough and produces carbon dioxide gas. Initially, this gas expands the gluten network beautifully. However, if this continues past the dough's peak capacity, the gluten strands, which provide the dough's structure and elasticity, become overstretched and weakened.
Simultaneously, the yeast produces organic acids and enzymes that can start to break down the gluten structure itself over extended periods. This breakdown, combined with the physical stress of holding too much gas, causes the gluten network to lose its ability to contain the gas bubbles. The dough essentially runs out of structure before it runs out of gas production capacity, leading to collapse or fragility. Understanding this interplay between yeast, sugar, and gluten is fundamental to mastering how to proof bread dough and avoiding structural failure.
Consequences of Over-Proofing: Flat, Dense Bread
The most immediate and noticeable consequence of baking over-proofed dough is a loaf that struggles to rise properly in the oven, resulting in a flat or significantly lower profile than expected. This poor oven spring happens because the gluten structure is already weakened and cannot withstand the final burst of gas production when it hits the heat. The dough essentially deflates or spreads outwards instead of rising upwards.
Beyond the lack of height, over-proofing leads to a dense, sometimes gummy texture. The large, unstable gas bubbles collapse during handling or baking, leaving large voids alongside areas of compressed, heavy crumb. The flavor can also be negatively impacted, sometimes tasting overly yeasty or slightly sour due to the extensive fermentation and potential production of off-flavors. Learning how to proof bread dough just right is key to avoiding these disappointing outcomes.
Other Common Bread Proofing Mistakes and How to Avoid Them
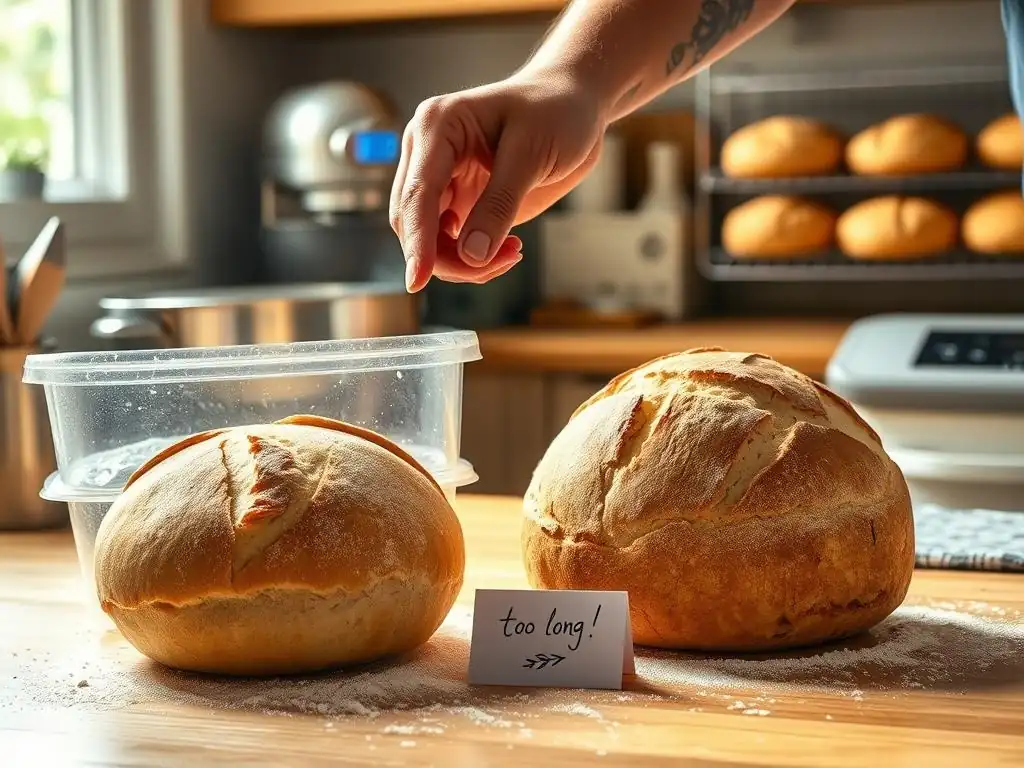
While over-proofing is common, it's not the only error aspiring bakers encounter. Understanding other potential issues is vital for consistent success when learning how to proof bread dough. Mistakes related to insufficient proofing, incorrect temperature, or using unsuitable containers can also derail your baking efforts and lead to less-than-ideal loaves.
Fortunately, most proofing problems are easily identifiable and correctable once you understand the underlying principles. Paying attention to the dough's look and feel, rather than strictly adhering to time, is a recurring theme in avoiding these pitfalls. Developing this intuition is a key part of mastering how to proof bread dough through practice.
Under-Proofing: Recognizing the Signs of Insufficient Rise
Under-proofing is the opposite of over-proofing and occurs when the dough hasn't had enough time or warmth to rise sufficiently before baking. The yeast hasn't produced enough gas to properly expand the gluten network. When you poke under-proofed dough, the indentation will spring back almost immediately, indicating a tight, unrelaxed structure. The dough will look smaller than expected, maybe only 50-75% increased in volume, rather than doubled.
Baking under-proofed dough results in a dense, heavy loaf with a tight, often tough crumb. While it might get a significant burst of oven spring (as the yeast works furiously in the heat), this often leads to large, irregular tunnels or blowouts in the crumb, rather than an evenly open structure. The crust can also be thick and potentially split in uncontrolled ways. Recognizing these signs is essential when learning how to proof bread dough to give your loaf the best chance for a beautiful rise and texture.
Incorrect Temperature: Finding the Ideal Proofing Environment
Temperature is perhaps the most critical factor influencing the speed of proofing. Yeast activity is highly sensitive to temperature. Too cold (below 70°F or 21°C), and the yeast becomes sluggish, leading to extremely slow proofing that can take many hours, sometimes even overnight at cool room temperature. While slow, cold proofing develops great flavor, it requires patience and can still lead to under-proofing if time isn't adjusted.
Too warm (above 85°F or 30°C), and the yeast becomes hyperactive, producing gas rapidly. This speeds up the proofing process significantly, increasing the risk of over-proofing before flavor has a chance to develop. An ideal proofing temperature for many standard bread recipes is between 75°F and 80°F (24°C and 27°C). Finding a consistent spot in your kitchen within this range, or creating one, is vital for predictable results when learning how to proof bread dough.
Using the Wrong Type of Container for Proofing
The container you use for proofing the shaped loaf (the final proof) matters for both shape and texture. Using a container that is too large for the dough volume won't provide enough support as the dough rises, potentially leading to a flatter loaf. Conversely, a container that is too small will restrict the rise and can cause the dough to spill over.
For many rustic loaves, proofing baskets (bannetons) are ideal. A 9-inch round banneton is typically suitable for doughs made with around 500g of flour, providing support and wicking away a small amount of moisture from the surface, which helps create a good crust. If you don't have a banneton, a bowl lined with a floured tea towel or parchment paper can work, but ensure it's roughly the right size to support the dough as it doubles. Choosing the right vessel is an often-overlooked detail when learning how to proof bread dough for specific loaf shapes.
How to Proof Bread Dough Correctly: A Step-by-Step Guide
Mastering how to proof bread dough involves more than just letting it sit. It's a controlled process that starts with properly prepared dough and ends with recognizing the perfect moment to bake. Following a systematic approach helps ensure consistent, successful results every time you bake.
This section breaks down the key steps involved in the final proofing stage, from preparing your shaped dough to determining its readiness for the oven. Understanding each phase is crucial for achieving that ideal balance of rise, texture, and flavor in your homemade bread.
Preparing Your Dough for Proofing: Shaping and Resting
Before the final proof, your dough typically undergoes bulk fermentation (the first rise) and then needs to be shaped. Proper shaping is essential because it creates tension on the surface of the dough, which helps it hold its structure during the final rise and provides the necessary 'skin' for oven spring. Techniques vary depending on the loaf shape (batard, boule, etc. ), but the goal is to create a smooth, taut surface.
After shaping, the dough usually needs a short resting period, often 10-20 minutes, especially if the shaping was vigorous. This allows the gluten to relax slightly before the final proof begins. Place the shaped dough into its proofing container immediately after this short rest, ensuring the container is properly prepared (e.g., floured banneton or lined bowl) to prevent sticking. This preparation sets the stage for a successful final rise when learning how to proof bread dough.
Choosing the Right Proofing Method: Room Temperature Proofing
The most common method for the final proof in many home baking recipes is room temperature proofing. This involves placing the shaped dough in a warm, draft-free environment, typically between 70°F and 80°F (21°C and 27°C). The duration will vary significantly based on the temperature and the amount of yeast used, but it often ranges from 1 to 2.5 hours for standard lean doughs.
To create a suitable environment, you can place the dough (covered to prevent drying) in a slightly warm oven that is turned off, perhaps with the light on. Another option is placing it in a microwave (turned off) with a cup of hot water to create humidity. This method is relatively fast and provides a visual indication of readiness as the dough visibly expands. Learning how to proof bread dough at room temperature is a fundamental skill for most bread types.
Maintaining Optimal Temperature and Humidity for Bread Proofing
Consistency in temperature and humidity is key to predictable proofing. Significant temperature fluctuations can speed up or slow down the process unexpectedly. Aim for that sweet spot between 75°F and 80°F (24°C and 27°C) for many standard recipes. Using an oven with the light on can often achieve a temperature around 80-85°F (27-30°C), which is suitable but requires careful monitoring to avoid over-proofing.
Humidity is also important because it prevents the surface of the dough from drying out and forming a skin, which would restrict expansion. Covering your proofing container with plastic wrap, a damp cloth, or placing it in a humid environment (like the oven with hot water) helps maintain surface moisture. A dry surface can inhibit the final rise and impact the crust. Paying attention to both temperature and humidity is crucial when mastering how to proof bread dough for reliable results.
Determining When Your Dough is Properly Proofed: The Poke Test and Visual Cues
Knowing exactly when your dough is ready to bake is the most critical skill in proofing. Relying solely on time is unreliable. The best method is the 'poke test'. Gently flour a finger and press it about half an inch into the side of the dough. If the indentation springs back immediately, the dough is under-proofed. If it springs back slowly, leaving a slight indentation, it's likely properly proofed. If the indentation remains completely and doesn't spring back at all, it's over-proofed.
Visual cues are also helpful. Properly proofed dough will look significantly expanded, often appearing about 80-90% of its final baked size. It should look puffy and feel airy, but still have some structure. The surface should appear smooth and taught from shaping. Learning to combine the poke test with visual assessment is the most accurate way to determine readiness and is the hallmark of someone who knows how to proof bread dough successfully.
Troubleshooting Bread Proofing Problems: Solutions for Common Issues
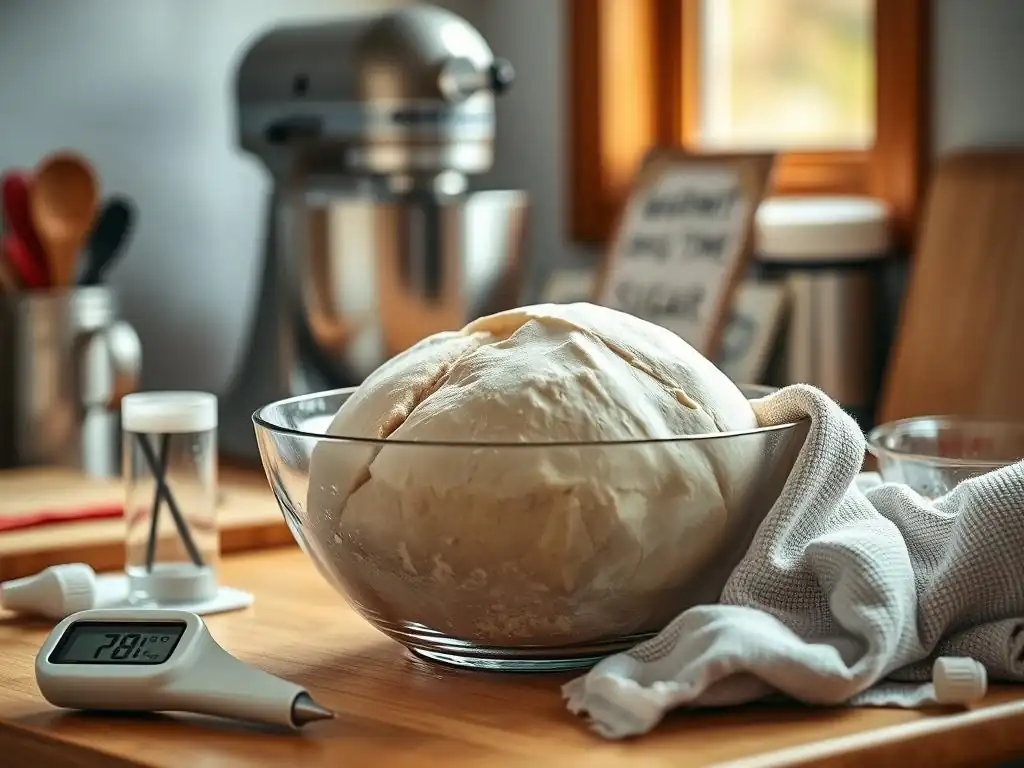
Even with the best intentions, proofing doesn't always go according to plan. Dough can be stubborn and refuse to rise, become too sticky to handle, or be affected by environmental conditions. Knowing how to diagnose and address these common issues is part of the journey to mastering how to proof bread dough.
This section offers practical solutions to some of the most frequent problems encountered during the proofing stage, helping you get back on track and save your bake. Don't despair if things aren't perfect; troubleshooting is a key skill in baking.
My Dough Isn't Rising: Yeast Issues and Solutions
If your dough isn't rising at all, or rising very slowly, the most likely culprit is inactive yeast. This can happen if the yeast is old or has been killed by using water that is too hot (above 130°F or 54°C). To check if your yeast is alive, dissolve a teaspoon of sugar in about 1/4 cup of warm water (around 105-115°F or 40-46°C), then sprinkle 2 1/4 teaspoons (one packet) of active dry yeast on top. If it doesn't become foamy and bubbly within 5-10 minutes, your yeast is dead and you'll need a new packet.
Another reason for slow or no rise is a temperature that is too cold. Yeast activity slows dramatically below 70°F (21°C). Try moving your dough to a warmer spot, like a turned-off oven with the light on, or placing it near a warm appliance.
If the dough has been sitting for an hour or two with no visible activity and you've confirmed your yeast is alive, you might need to add a little more warm water and a pinch more yeast, gently kneading it in, though this isn't ideal. Ensuring active yeast and a warm environment are fundamental when learning how to proof bread dough.
My Dough is Too Sticky: Hydration Levels and Adjustments
Dough that is excessively sticky can be challenging to handle and shape, impacting its ability to hold structure during proofing. This is usually due to a high hydration level (the ratio of water to flour). While high hydration doughs often result in a more open crumb, they require careful handling. If your dough is too wet to form a taut shape, you might need to adjust.
During the initial mixing or kneading phase, if the dough seems too wet, you can gradually add small amounts of flour, perhaps a tablespoon at a time, until it reaches a manageable consistency. Be cautious not to add too much, as this can result in a dry, dense loaf.
If the dough is sticky after the first rise and shaping is difficult, try using wet hands or a bench scraper to manipulate it, rather than dusting with excessive flour, which can toughen the crumb. Learning to work with different hydration levels is part of mastering how to proof bread dough for various bread types.
Dealing with a Cold Kitchen: Creating a Warm Proofing Environment
A cold kitchen can significantly slow down bread proofing, turning a 1-2 hour rise into a 3-4 hour (or longer) wait. Consistent warmth is crucial for predictable results when learning how to proof bread dough. If your kitchen is consistently below 70°F (21°C), you need to create a warmer microclimate for your dough.
The easiest method is often using your oven. Turn the oven on for just a minute or two to warm it slightly, then turn it off. Place the covered dough inside. Alternatively, place the dough in the oven with the oven light on – this often raises the temperature to a suitable 75-85°F (24-30°C).
Placing a bowl of hot water in the oven with the dough also helps add warmth and crucial humidity. Another simple trick is to place the dough near a warm appliance like a refrigerator vent or even on a heating pad set to low. These methods ensure your yeast stays active and your dough rises predictably, even on a chilly day.
Advanced Bread Proofing Techniques for Enhanced Flavor and Texture
Once you've mastered the basics of how to proof bread dough at room temperature, you might want to explore techniques that can elevate your bread to the next level. Advanced methods often involve manipulating temperature and time to influence both the dough's structure and the complex flavors developed during fermentation.
These techniques, while requiring a little more planning, can yield bread with superior crust, crumb, and depth of flavor. They are particularly common in artisan bread baking and can transform a simple recipe into something truly special.
Cold Fermentation (Retarding): Slowing Down the Proofing Process
Cold fermentation, also known as retarding, involves placing the dough in a cool environment, typically the refrigerator (around 38-40°F or 3-4°C), for an extended period, often 12 to 48 hours. At these temperatures, yeast activity is significantly slowed but not stopped. This slow fermentation has profound effects on the dough.
The primary benefit of cold fermentation is flavor development. The yeast and enzymes have more time to break down starches and proteins, producing a wider range of aromatic compounds that contribute to a more complex, nuanced flavor profile, including subtle tangs. It also strengthens the gluten structure over time, which can contribute to better oven spring and a more open crumb. Cold proofing is an excellent technique to explore once you're comfortable with how to proof bread dough at room temperature and want to enhance flavor.
Bulk Fermentation vs. Proofing in a Banneton: Understanding the Differences
It's important to distinguish between bulk fermentation (the first rise of the entire dough mass) and final proofing (the rise of the shaped loaf). Bulk fermentation allows the yeast to initially leaven the dough and develop gluten structure throughout the entire mass. This stage often lasts longer than the final proof and is typically done in a large bowl.
Final proofing, often done in a banneton or proofing basket, focuses on the shaped loaf. The banneton helps the dough hold its shape as it expands and provides tension on the surface, which aids in achieving a good crust and oven spring. The duration of the final proof is shorter than the bulk fermentation because the yeast is already very active and the dough is closer to its final volume. Understanding the purpose and characteristics of each stage is key to successfully navigating how to proof bread dough from mixing to baking.
Using a Proofing Box or Oven: Controlling Temperature and Humidity
For bakers seeking maximum control and consistency, especially when working with sourdough or in variable climates, a proofing box is an invaluable tool. A proofing box is an appliance designed to maintain a precise temperature and humidity level, creating the ideal environment for yeast activity. Some ovens also have a dedicated "proof" setting that performs a similar function, often holding a temperature around 80-90°F (27-32°C) with some humidity.
Using a proofing box or oven setting eliminates the guesswork associated with finding a warm spot in your kitchen. It allows for predictable proofing times and consistent results, regardless of the ambient temperature. While not strictly necessary for learning how to proof bread dough, these tools can significantly improve the reliability of your bakes, particularly for sensitive doughs or specific techniques like high-hydration doughs or sourdough.
Essential Tools for Successful Bread Proofing
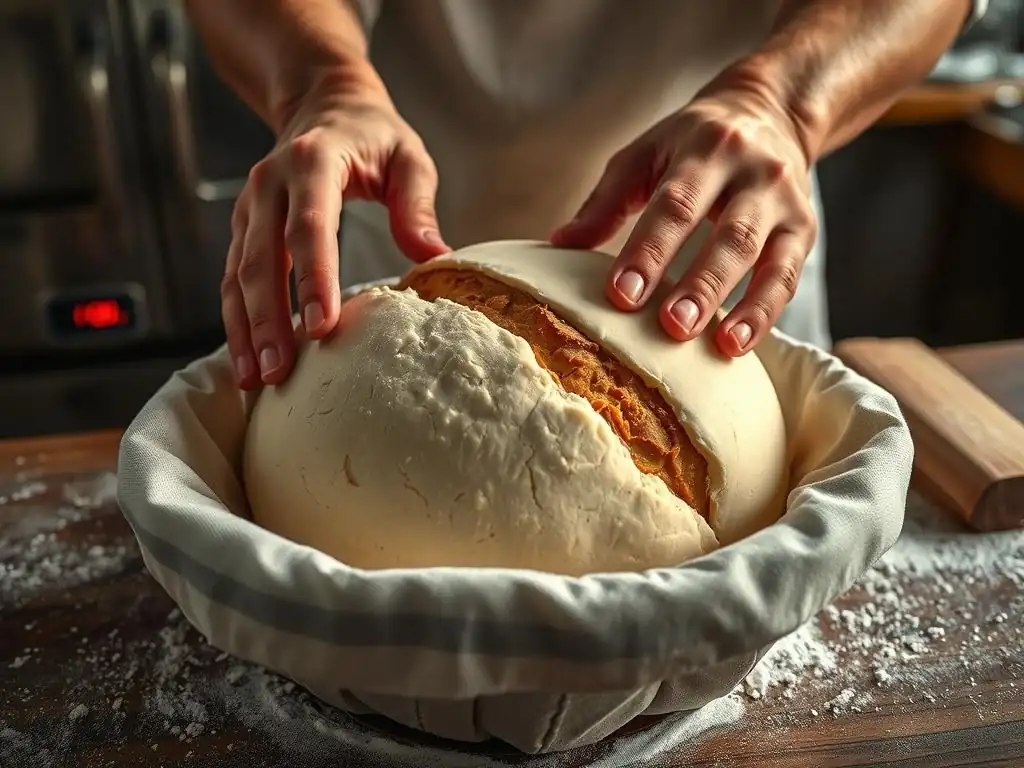
While you can certainly bake bread with minimal equipment, having a few key tools can make the proofing process much easier, more controlled, and ultimately more successful. These tools help manage temperature, humidity, and the dough itself, contributing to better results when learning how to proof bread dough.
Investing in a few specific items can significantly enhance your bread-making experience and help troubleshoot common issues. They are designed to support the dough and monitor the conditions that are most critical during the final rise.
Proofing Baskets (Bannetons): Choosing the Right Size and Material
Proofing baskets, or bannetons, are specially designed containers used for the final proofing of shaped loaves. They come in various shapes (round for boules, oval for batards) and materials, most commonly rattan cane or wood pulp. Bannetons provide essential support to the dough as it expands, helping it maintain its shape and structure.
Rattan bannetons are very common; they should be well-floured (rice flour works particularly well as it's less likely to be absorbed) to prevent the dough from sticking. Wood pulp bannetons are naturally non-stick and don't require flouring. Choosing the right size is crucial; a basket that is too large won't support the dough, while one too small will cause it to spill over. A 9-10 inch round banneton is generally suitable for doughs made with 500-700g of flour, providing ample support when learning how to proof bread dough for standard size loaves.
Dough Scrapers: Handling Sticky Dough with Ease
Dough scrapers are incredibly useful tools throughout the bread-making process, including during preparation for proofing. They are typically flat blades, either metal or plastic, with a handle. A bench scraper (with a straight edge) is excellent for portioning dough, cleaning your work surface, and moving sticky dough. A bowl scraper (often curved) is perfect for getting every last bit of dough out of a mixing bowl.
When dealing with higher hydration doughs that are naturally sticky, a bench scraper is invaluable for lifting and manipulating the dough during shaping without tearing it or getting it stuck to your hands. It allows you to work more cleanly and efficiently, which is important for maintaining the dough's structure before it goes into the proofing basket. Using the right tools like scrapers makes the physical handling aspects of learning how to proof bread dough much simpler.
Thermometers: Monitoring Dough Temperature Accurately
As we've discussed, temperature is a critical factor in proofing. Having a reliable thermometer allows you to accurately measure both the temperature of your dough and your proofing environment. An instant-read thermometer is perfect for checking the internal temperature of your dough after mixing or during bulk fermentation to gauge yeast activity.
An oven thermometer or a small digital thermometer placed in your proofing spot (like the oven with the light on) helps you ensure the environment is within the optimal range you're aiming for, typically 75-80°F (24-27°C) for a standard proof. Relying on guesswork for temperature can lead to unpredictable proofing times and outcomes. Using a thermometer provides concrete data, making it easier to control the process and refine your understanding of how to proof bread dough effectively.
Bread Proofing Best Practices: Tips for Success
Achieving consistently great bread requires attention to detail throughout the entire process, and proofing is certainly no exception. By adopting a few best practices, you can minimize errors and maximize your chances of baking a beautiful, well-risen loaf every time you learn how to proof bread dough.
These tips cover aspects from ingredient measurement to continuous learning, emphasizing consistency and observation as key elements of successful baking. Incorporating these habits into your routine will significantly improve your results.
Measuring Ingredients Accurately for Consistent Results
Precision in measuring ingredients is fundamental to baking success, and it directly impacts proofing. The ratio of flour to water determines the dough's hydration, which affects its consistency and how it handles during proofing. The amount of yeast used, relative to the flour and temperature, dictates the speed of fermentation. Using a kitchen scale to weigh ingredients, especially flour and water, is far more accurate than using volume measurements (cups).
Even a slight variation in the flour-to-water ratio can make dough significantly stickier or drier, affecting how it rises and holds shape during proofing. Similarly, using too much or too little yeast will drastically alter the proofing time. Accurate measurement ensures that your dough starts with the intended characteristics, making it much easier to predict and control the proofing process when learning how to proof bread dough.
Understanding Different Types of Flour and Their Proofing Requirements
Different types of flour behave differently due to their protein content (which affects gluten development) and how they absorb water. All-purpose flour has a moderate protein content (around 10-12%), while bread flour has a higher content (12-14%), leading to stronger gluten. Whole wheat and rye flours have components that can interfere with gluten development and also absorb water differently.
Doughs made with bread flour often require slightly longer or warmer proofing to fully develop and relax the stronger gluten structure compared to those made with all-purpose flour. Whole grain doughs can sometimes proof faster due to the presence of bran and germ, which contain enzymes that can accelerate fermentation. Being aware of the flour type in your recipe and how it might influence the dough's behavior is an important consideration when figuring out how to proof bread dough for various bread styles.
Practice Makes Perfect: Experimenting with Different Proofing Times and Temperatures
Ultimately, mastering how to proof bread dough comes down to practice and observation. Every kitchen is different, and factors like ambient temperature, humidity, and even the specific brand of flour or yeast can influence proofing times. Don't be afraid to experiment slightly with proofing durations and temperatures once you're comfortable with the basics.
Try proofing a familiar recipe for slightly shorter or longer times, or in slightly different warm spots, and observe the results. Take notes on how the dough looks and feels at different stages and how that translates to the final baked loaf. This hands-on experimentation will build your intuition and help you learn to read your dough, allowing you to adjust proofing on the fly based on conditions rather than rigidly following a clock.
Conclusion: Mastering the Art of Bread Proofing for Delicious Homemade Bread
Proofing is a critical, yet often misunderstood, stage in the bread-making process. It's where the magic of fermentation transforms simple dough into a light, flavorful foundation for a great loaf. While errors like over-proofing are common, they are also entirely avoidable with a little knowledge and practice.
By understanding the role of yeast, paying attention to temperature and time, learning to read your dough through the poke test, and utilizing basic tools, you can confidently navigate the proofing process. Whether you stick to simple room temperature proofs or explore advanced techniques like cold fermentation, mastering how to proof bread dough will undoubtedly elevate your baking. Be patient, observant, and enjoy the journey towards consistently baking delicious, perfectly proofed homemade bread.
Frequently Asked Questions
How long should I proof my bread dough?
The proofing time varies depending on the recipe and environment. Generally, aim for a doubling in size, which can take anywhere from 1 to 2 hours. Check for the poke test to confirm readiness.
What temperature is best for proofing bread dough?
The ideal temperature range for proofing is between 75-85°F (24-29°C). This encourages optimal yeast activity and ensures proper dough rise.
What is the "poke test" and how do I perform it?
The poke test involves gently pressing a finger into the dough. If the indentation slowly springs back, leaving a slight depression, the dough is sufficiently proofed. If it springs back immediately, it needs more time.
What happens if I over-proof my bread dough?
Over-proofing results in a deflated dough that may collapse during baking. The bread will have a sour taste and poor texture.
Can I proof my bread dough in the refrigerator?
Yes, you can cold-proof bread dough in the refrigerator. This slows down the yeast activity, resulting in a more complex flavor and better crumb structure. It requires a longer proofing time.
Final Reflection: The Humble Rise of Perfect Bread
Understanding the nuances of bread proofing is not merely a culinary skill; it's the cornerstone of achieving a truly exceptional loaf. Mastering this seemingly simple process unlocks a world of flavor, texture, and satisfaction that elevates baking from a task to an art. The seemingly small details discussed in this article—temperature control, time management, and recognizing the signs of a properly proofed dough—are crucial to avoiding common pitfalls and achieving consistently delicious results.
The journey of bread proofing mirrors the journey of life itself; it requires patience, attention to detail, and a willingness to learn from both successes and failures. The subtle shifts in the dough, the gentle expansion, the delicate aroma—these are all indicators of a process unfolding, a transformation taking place. This process, so often overlooked, speaks to a deeper appreciation for the natural world and the transformative power of time. The best bread is made with love and patience.
This simple statement encapsulates the essence of successful bread proofing, and indeed, successful baking in general.
Now, consider your own baking journey. Have you experienced the frustration of a dense, under-proofed loaf? Or the joy of a perfectly risen, airy masterpiece? Remember the lessons learned here—the importance of consistent temperature, the subtle art of recognizing readiness, and the patience required to allow the yeast to do its work. Take this knowledge, apply it to your next loaf, and experience the profound satisfaction of creating something truly beautiful and delicious from simple ingredients. The journey to perfect bread is a continuous one, and each loaf is a step closer to mastery.
Unlock Perfectly Proofed Bread: It's Easier Than You Think!
Thanks for taking the time to learn about bread proofing! You've now got the knowledge to avoid those common pitfalls and create amazing loaves. Ready to put your newfound expertise to the test?
- Bake your best loaf yet: Try proofing your next bread using the techniques we discussed – pay close attention to temperature and time. You'll be amazed by the difference!
- Share your baking journey: Post a picture of your perfectly proofed bread on social media and tag us! We'd love to see your creations.
- Consider experimenting with different flours and techniques to further refine your proofing skills.
What unique proofing challenges have you encountered, and how did you overcome them? Let's share our experiences in the comments below!