
Modeling Chocolate: Sculpting Edible Masterpieces with Ease

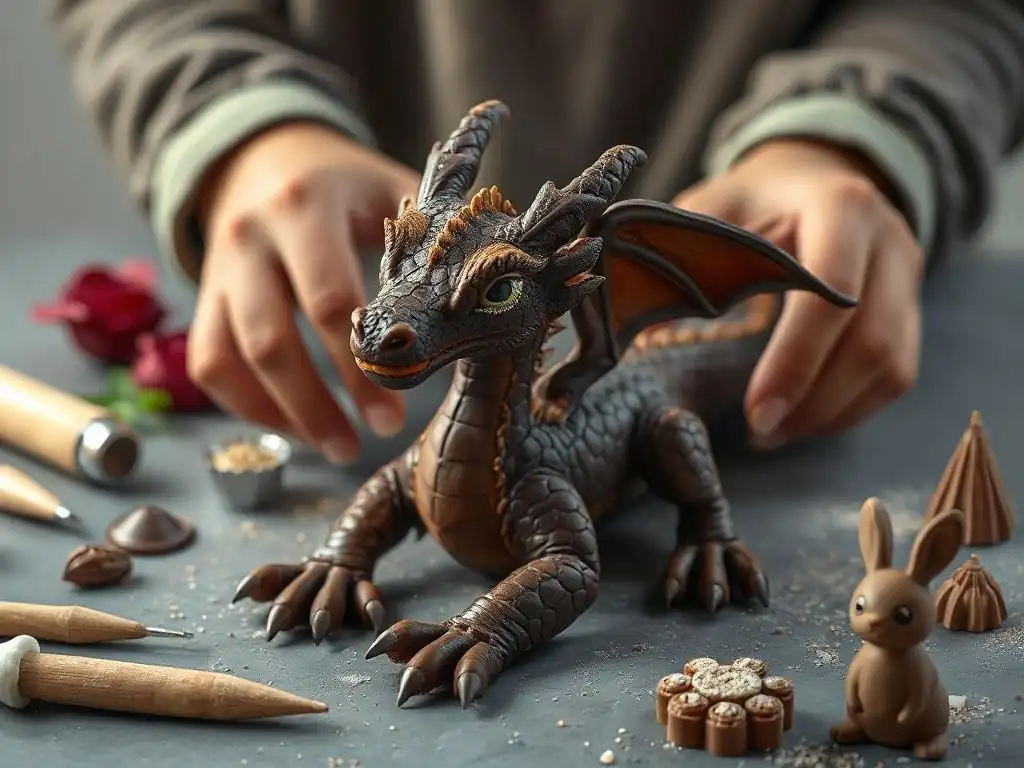
Welcome to BakeWithEase, your trusted guide to unlocking baking brilliance! Ever dreamt of crafting edible masterpieces? Dive into the world of modeling chocolate and discover how simple it is to sculpt breathtaking decorations. Intrigued? Keep reading to uncover our easy modeling chocolate recipes and transform your baking into edible art!
- Introduction to Modeling Chocolate for Cake Decorating
- Easy Modeling Chocolate Recipes: Your Step-by-Step Guide
- Mastering the Basics: Working with Modeling Chocolate
- Sculpting Techniques: Creating Stunning Edible Art
- Troubleshooting Modeling Chocolate: Common Issues and Solutions
- Modeling Chocolate Project Ideas: Inspiration for Your Next Creation
- Storing and Preserving Your Modeling Chocolate Creations
- Conclusion: Unleash Your Creativity with Easy Modeling Chocolate Recipes
-
Frequently Asked Questions
- What exactly is modeling chocolate, and why is it useful?
- Is modeling chocolate difficult to make at home?
- Can I use different types of chocolate when making modeling chocolate?
- How should I store modeling chocolate once it's made?
- What are some common uses for modeling chocolate beyond cake decorating?
- Final Reflection: The Enduring Allure of Edible Art
- Unleash Your Inner Chocolatier: Craft Stunning Edible Art!
Introduction to Modeling Chocolate for Cake Decorating
What is Modeling Chocolate and Why Use It?
Modeling chocolate is a versatile, edible sculpting medium made from just two ingredients: chocolate and a liquid sugar, typically corn syrup or glucose syrup. When these ingredients are gently heated and mixed, the cocoa butter in the chocolate emulsifies with the sugar, creating a pliable paste that can be kneaded, rolled, and shaped much like clay.
Unlike traditional buttercream or ganache, modeling chocolate holds its shape exceptionally well once set, making it ideal for creating intricate 3D decorations, figures, flowers, and detailed accents on cakes and other confections. Its firm yet flexible texture allows for fine detail work that might be challenging with softer mediums.
Beyond its structural advantages, one of the primary reasons bakers gravitate towards modeling chocolate is its superior taste compared to many other decorating materials like gum paste or some types of fondant. It retains the rich flavor of the chocolate used (whether dark, milk, or white), offering a more pleasant eating experience when incorporated into a finished dessert.
This makes it a popular choice for cake toppers and decorations that are intended to be eaten along with the cake itself. Learning how to make and use modeling chocolate opens up a world of creative possibilities for stunning edible art, and starting with easy modeling chocolate recipes is the perfect way to begin this rewarding journey.
Modeling Chocolate vs. Fondant: Which is Right for You?
Deciding between modeling chocolate and fondant often comes down to the specific project and desired outcome. Fondant, typically made from sugar, water, gelatin (or agar-agar), and vegetable fat, is excellent for covering entire cakes smoothly due to its elasticity and ability to roll very thin. It provides a clean, professional finish and is generally easier to roll out into large sheets than modeling chocolate. Fondant also dries firmer and faster than modeling chocolate, which can be advantageous for creating structural elements that need to hold their shape quickly.
Modeling chocolate, while less elastic for covering large surfaces thinly, excels in sculpting and detail work. It has a richer taste and a more pleasant texture to eat than most fondants. It is less prone to tearing when manipulated for intricate shapes and can be re-kneaded if it becomes too firm, offering more working time than fast-drying fondants or gum pastes.
While fondant can be great for covering cakes and simple cut-outs, modeling chocolate is often preferred for realistic figures, delicate flowers with thicker petals, or any decoration where taste and moldability are key. Many decorators even combine the two, using fondant for the cake covering and modeling chocolate for sculpted details, leveraging the strengths of both mediums.
Easy Modeling Chocolate Recipes: Your Step-by-Step Guide
Simple Recipe for White Modeling Chocolate
Creating your own white modeling chocolate is straightforward and requires minimal ingredients. You'll need good quality white chocolate and light corn syrup. For a standard batch, measure out approximately 1 pound (about 450 grams) of white chocolate and 1/3 cup (about 80 grams) of light corn syrup.
Start by finely chopping the white chocolate or using white chocolate melts to ensure even melting. Gently melt the chocolate in a heatproof bowl set over a saucepan of simmering water (a double boiler) or carefully in the microwave on low power, stirring frequently until smooth and completely melted. Avoid overheating, as white chocolate can seize easily.
Once the chocolate is fully melted and smooth, remove it from the heat. Add the corn syrup to the melted chocolate. Using a spatula, gently fold the corn syrup into the chocolate until just combined. Do not overmix or stir vigorously, as this can cause the mixture to separate or become oily.
The mixture will thicken quickly and may look slightly curdled or separated – this is normal. Pour the mixture onto a piece of plastic wrap, press it flat into a disc, wrap it tightly, and let it rest at room temperature for several hours, preferably overnight, to allow it to firm up properly. This resting period is crucial for achieving the right consistency for sculpting.
Recipe for Dark Modeling Chocolate: Rich and Decadent
Dark modeling chocolate offers a deeper flavor and is often easier to work with than white chocolate due to its higher cocoa solid content. For a delicious dark modeling chocolate, you'll typically use a slightly different ratio of chocolate to corn syrup compared to white chocolate. A good starting point is about 1 pound (around 450 grams) of good quality dark chocolate (with 60-70% cocoa solids) and 1/4 cup (about 60 grams) of light corn syrup.
As with white chocolate, finely chop the dark chocolate or use wafers for easier melting. Melt the dark chocolate gently using a double boiler or microwave, stirring until completely smooth.
Once the dark chocolate is melted and smooth, remove it from the heat. Gently stir in the corn syrup with a spatula until the mixture comes together and starts to thicken. Again, avoid overmixing. It will form a thick, paste-like consistency.
Scrape the mixture onto plastic wrap, flatten it into a disc, wrap it securely, and let it rest at room temperature for at least 4-6 hours, or ideally overnight. This resting time allows the fats to stabilize and the mixture to become pliable for kneading and sculpting. This easy modeling chocolate recipe delivers a rich flavor perfect for many decorative applications.
Vegan Modeling Chocolate Recipe: Dairy-Free Delight
Creating a dairy-free or vegan modeling chocolate is achievable using vegan chocolate and a liquid sugar. The key is finding a good quality vegan chocolate that melts smoothly. You'll need approximately 1 pound (about 450 grams) of your chosen vegan dark or "milk" chocolate (ensure it's truly dairy-free) and about 1/4 cup (around 60 grams) of light corn syrup or agave nectar. Finely chop the vegan chocolate and melt it gently using a double boiler or microwave, stirring until it is completely smooth and lump-free. Ensure the temperature doesn't get too high.
Once the vegan chocolate is melted, remove it from the heat. Add the corn syrup or agave nectar and gently fold it into the melted chocolate with a spatula. Mix only until the ingredients are just combined and the mixture starts to thicken into a paste. Do not overmix.
Pour the mixture onto plastic wrap, flatten, wrap tightly, and let it set at room temperature for at least 6-8 hours, or overnight. The exact resting time can vary slightly depending on the specific vegan chocolate used. This easy modeling chocolate recipe allows those with dietary restrictions to enjoy sculpting with this versatile medium.
Mastering the Basics: Working with Modeling Chocolate
Tips for Kneading and Preparing Modeling Chocolate
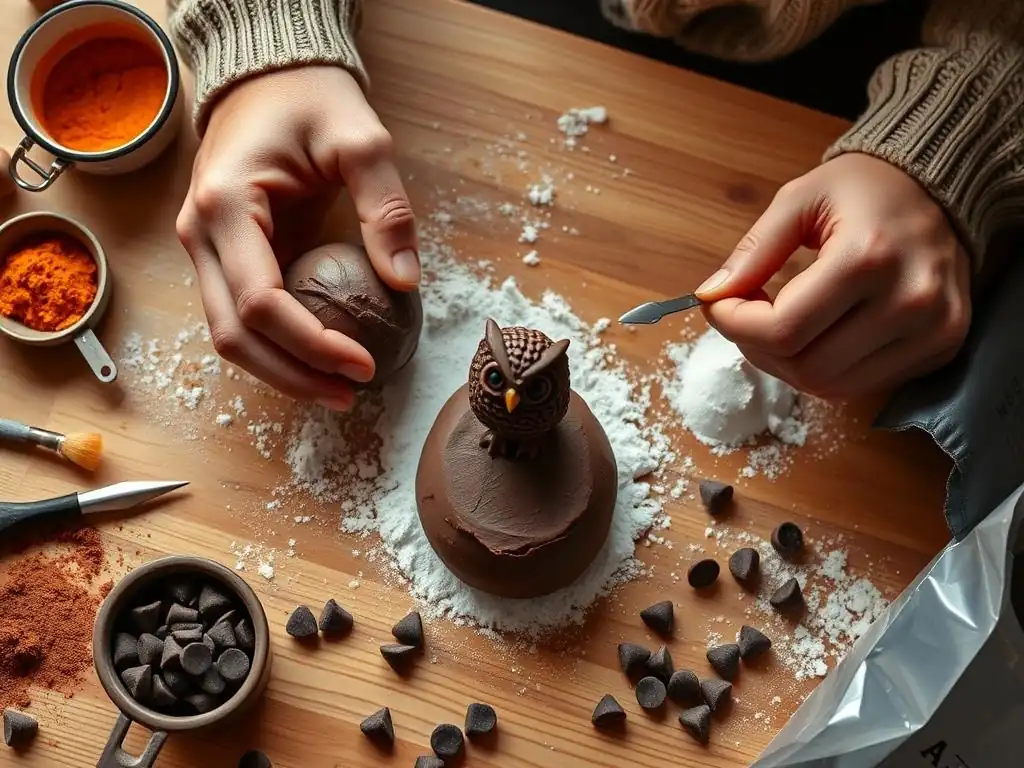
Before you can start sculpting, your rested modeling chocolate needs to be properly prepared. It will be quite firm straight from resting. To make it pliable, break off a piece (start with a small amount, like a golf ball size) and begin kneading it with your hands. The heat from your hands will gradually warm the chocolate, making it softer and more workable.
Knead it gently and consistently until it becomes smooth, pliable, and free of any stiffness or cracks. This process might take a few minutes, typically 3-5 minutes for a small piece. Avoid kneading too vigorously or for too long, as excessive heat can cause the cocoa butter to separate, resulting in an oily mess.
If the modeling chocolate is too hard to knead easily, you can warm it slightly. Place the piece in a microwave-safe bowl and microwave on a very low power setting (like 10-20%) for just a few seconds at a time (e.g., 5-10 seconds), checking and flipping it after each interval. Be extremely cautious not to overheat it.
Alternatively, you can place the wrapped modeling chocolate in a warm spot for a short while. If it becomes too soft or oily from kneading, let it rest at room temperature for a few minutes, or even pop it in the refrigerator for 5-10 minutes, until it firms up slightly, then resume kneading. Proper kneading is key to achieving a smooth, crack-free surface for your sculptures.
Coloring Modeling Chocolate: Achieving Vibrant Hues
Coloring modeling chocolate allows you to bring your edible creations to life with vibrant hues. The best way to color modeling chocolate is by using oil-based or candy-specific food coloring. Water-based gel or liquid food colorings can seize the chocolate, making it hard and crumbly. To color, take a piece of kneaded, pliable modeling chocolate.
Add a small amount of oil-based coloring gel to the surface. Knead the color into the chocolate thoroughly until the color is evenly distributed and streak-free. Start with a small amount of color and add more gradually until you achieve the desired shade. It's easier to add more color than to remove it.
For deeper or very specific colors, you might find it easier to start with white modeling chocolate, as the base color is neutral. However, dark modeling chocolate can be used for darker shades or to create richer, muted tones. If you need a large quantity of colored modeling chocolate, it's often more efficient to color the entire batch at once after its initial rest period, kneading in the color as you make it pliable.
Remember that the color may deepen slightly as the chocolate cools and sets. Wearing gloves can help prevent staining your hands while kneading in the color.
Essential Tools for Sculpting with Modeling Chocolate
While you can do a surprising amount of sculpting with just your hands, having a few essential tools can significantly enhance your ability to create detailed and refined modeling chocolate pieces. A non-stick surface, like a silicone mat or parchment paper, is crucial for rolling and working the chocolate without it sticking. Basic rolling pins, including small ones for fine details, are indispensable for flattening and shaping. A sharp craft knife or pizza cutter can be used for cutting straight lines or shapes.
For more intricate sculpting, a set of modeling tools designed for sugar work or clay can be very helpful. These often include ball tools, pointed tools, and tools with various shaped ends for creating textures, indentations, and smooth surfaces. A small palette knife or offset spatula is useful for lifting and transferring pieces.
A ruler and templates can help with precise measurements and shapes. For adding texture, consider using texture mats, silicone molds, or even everyday items like toothpicks or clean brushes. Having these tools readily available streamlines the sculpting process and allows for greater creativity and detail in your modeling chocolate art.
Sculpting Techniques: Creating Stunning Edible Art
Basic Shapes: Rolling, Cutting, and Shaping
Mastering basic techniques like rolling, cutting, and shaping is fundamental to working with modeling chocolate. Once your modeling chocolate is properly kneaded and pliable, you can roll it out on a non-stick surface using a rolling pin. For even thickness, use rolling guides. Roll it to your desired thickness, whether thin for petals or thicker for structural pieces. Ensure the surface is smooth before cutting.
Cutting shapes from rolled modeling chocolate can be done using various tools. Cookie cutters are perfect for simple, consistent shapes like circles, stars, or hearts. For more complex or custom shapes, use a sharp craft knife or scalpel, tracing around a template if needed. Always cut on a protective surface like a cutting mat.
Once cut, the shapes can be gently lifted using a palette knife or spatula. Shaping involves manipulating the cut pieces or small balls of modeling chocolate by hand. You can roll balls, coils, or cones, press them flat, or curve them to create petals, leaves, or other simple forms. Combining these basic shapes is the starting point for more complex sculptures.
Advanced Sculpting Techniques: Adding Detail and Texture
Once comfortable with basic shapes, you can move on to adding detail and texture to elevate your modeling chocolate creations. Modeling tools are essential here. Use ball tools to create indentations, eye sockets, or to thin the edges of petals. Pointed tools can be used for scoring lines, creating hair or fur texture, or making small holes. Silicone veiner molds are fantastic for adding realistic textures to leaves and petals by pressing the modeling chocolate into the mold.
You can also create texture by hand. Use a toothpick or skewer to create wood grain or stitch marks. A clean, stiff brush can be used to dab the surface for a stippled effect. Pressing objects with interesting textures, like lace or patterned fabrics, onto the surface can transfer the pattern.
For adding fine details like eyes or facial features on figures, use small amounts of modeling chocolate and tiny tools to sculpt them into place. Layering thin pieces of modeling chocolate is another technique for building dimension and complexity in your sculptures. Practice and experimentation are key to mastering these detailed techniques.
Creating Realistic Figures with Modeling Chocolate
Sculpting realistic figures with modeling chocolate is a rewarding but more advanced technique. It typically involves building the figure in stages, often using internal supports or armatures for stability, especially for larger or standing figures. Start by planning your figure – its pose, proportions, and key features. You might sketch it out or use reference images. For the body, you can build up the form using spheres, cylinders, and cones of modeling chocolate, blending the seams smoothly.
Work from the inside out, building the core shape first, then adding limbs, head, and details. For limbs, you might roll coils and attach them, smoothing the joints. The head is often sculpted separately and attached later. Use modeling tools to refine features like eyes, nose, and mouth. For stability, especially with standing figures or those with outstretched limbs, insert food-safe skewers or wires before the chocolate fully hardens. Allow sections to firm up slightly before adding more weight or detail on top. Patience and careful layering are crucial for successful figure sculpting.
Troubleshooting Modeling Chocolate: Common Issues and Solutions
Modeling Chocolate Too Soft: How to Fix It
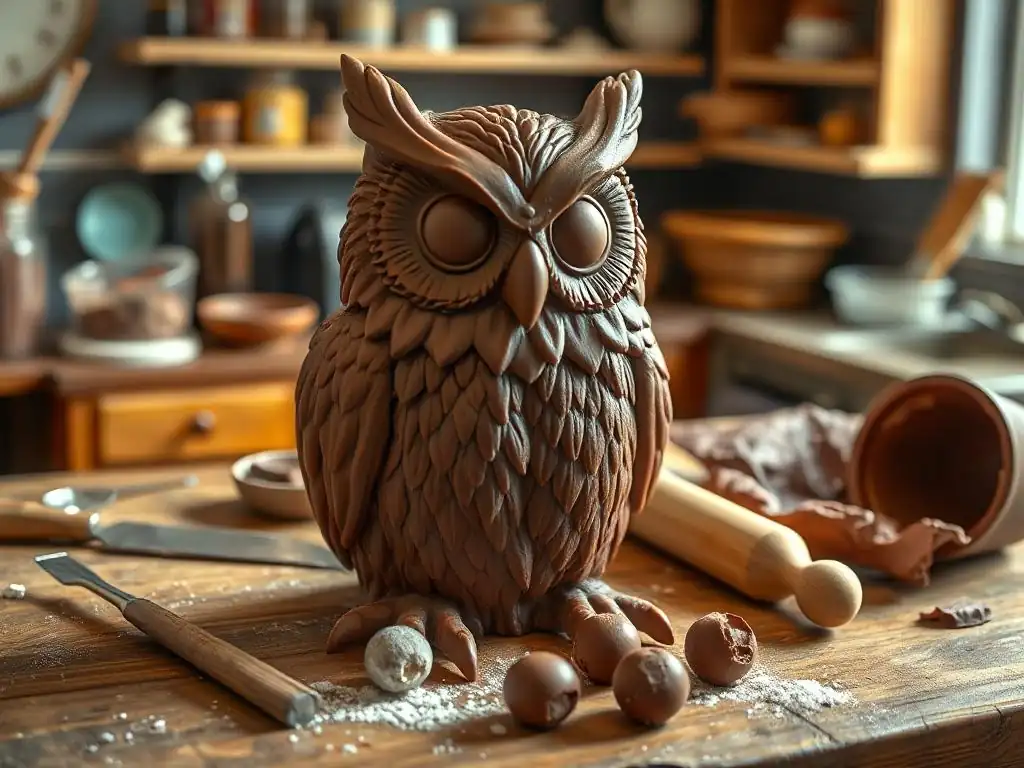
If your modeling chocolate is too soft, sticky, or oily after kneading, it's usually a sign that it's too warm or contains too much liquid sugar relative to chocolate. The easiest fix is to let it cool down. Place the modeling chocolate on a piece of parchment paper or plastic wrap and leave it at room temperature in a cool spot for 15-30 minutes. If your room is warm, you can place it in the refrigerator for 5-10 minutes, checking it frequently.
Avoid leaving it in the fridge for too long, as it will become too hard. Once it has firmed up slightly, try kneading it again. If it still feels too soft or oily, you can try incorporating a small amount of powdered sugar (confectioners' sugar) while kneading. Add just a pinch at a time and knead until it's absorbed. Be careful not to add too much, as this can make the chocolate dry and crumbly. Sometimes, letting it rest wrapped overnight again can help the fats re-stabilize and improve the texture.
Modeling Chocolate Too Crumbly: Getting the Right Consistency
Modeling chocolate that is too hard or crumbly is often the result of being too cold, overmixing during preparation, or having too little liquid sugar. If it's just too cold, the solution is to gently warm it. Break off a small piece and knead it with your hands. The heat from your hands should soften it within a few minutes. If it's still very hard, warm it very cautiously in the microwave on a low setting for just a few seconds at a time, or place the wrapped chocolate in a warm spot briefly.
If the chocolate was overmixed during preparation, the emulsion may have broken, leading to a crumbly texture. While difficult to fully reverse, you can sometimes improve it by gently re-melting the crumbly chocolate (very low heat!) and carefully stirring in just a tiny amount of additional corn syrup (perhaps a teaspoon per pound of chocolate). Stir minimally until it just starts to come back together, then let it rest again completely before attempting to knead. Prevention is key here – always mix gently when combining the melted chocolate and syrup for your easy modeling chocolate recipes.
Preventing Cracking and Tearing in Your Sculptures
Cracking and tearing in modeling chocolate sculptures usually occur when the chocolate is too cold, too dry, or overworked. To prevent this, ensure your modeling chocolate is properly kneaded and pliable before you start shaping. Work in a comfortable room temperature environment – rooms that are too cold will make the chocolate stiff and prone to cracking, while rooms that are too warm can make it too soft.
When rolling or shaping, apply even pressure. If you notice the chocolate starting to crack around the edges as you work, it might be getting too cool or dry. Stop working it and gently knead it again for a few seconds to warm it up slightly.
If it seems dry, you can try kneading in a tiny amount of vegetable shortening (like Crisco) or cocoa butter, though use sparingly as too much fat can make it greasy. Keep unused modeling chocolate wrapped tightly in plastic wrap to prevent it from drying out while you are working on a piece. Working efficiently and not over-handling the chocolate also helps maintain its smooth texture and prevents tearing.
Modeling Chocolate Project Ideas: Inspiration for Your Next Creation
Easy Modeling Chocolate Flowers: Beginner-Friendly Project
Creating simple modeling chocolate flowers is a perfect project for beginners getting started with easy modeling chocolate recipes. You can make basic five-petal flowers or roses using minimal tools. For a simple five-petal flower, roll out a small amount of colored modeling chocolate thinly. Use a small round cutter or just a knife to cut out circles for petals.
Gently shape each circle by pressing one edge thinner between your fingers or with a ball tool. Pinch the opposite edge slightly to form the base of the petal. Arrange five or six petals in a circle, overlapping them slightly, and add a small ball of contrasting color for the center.
For a simple rose, roll a small ball for the base bud. Roll out several small circles for petals. Wrap the first circle around the bud. For subsequent petals, slightly thin one edge and attach them around the bud, overlapping and slightly curling the top edge outwards. Continue adding petals, making them slightly larger as you work outwards, until your rose is the desired size. These easy modeling chocolate recipes are ideal for practicing basic techniques like rolling, shaping, and attaching pieces.
Sculpting a Cake Topper with Modeling Chocolate: Intermediate Project
Sculpting a personalized cake topper with modeling chocolate is a great intermediate project that allows for more creativity and detail. This could be a simple figure, an object related to the cake's theme (like a sports ball or a favorite animal), or decorative elements like bows or stylized shapes. Start by sketching your design. For figures or objects that need to stand, consider using a food-safe internal support like a skewer or wire embedded within the modeling chocolate as you sculpt.
Work in stages, building up the main form of the topper first. For a figure, this might involve sculpting the body and head separately and joining them. Use your modeling tools to add details like clothing folds, hair texture, or facial features.
Allow parts of the topper to firm up slightly before adding more weight or detail to prevent sagging. For multi-part toppers, use a tiny amount of melted chocolate or edible glue (made from tylose powder and water) to adhere pieces together. Creating a cake topper is a rewarding way to practice more complex sculpting techniques and personalize your cakes.
Creating a 3D Animal Figure: Advanced Modeling Chocolate Project
Sculpting a realistic or stylized 3D animal figure pushes your modeling chocolate skills further and is considered an advanced project. This requires a good understanding of animal anatomy (even simplified), proportion, and more refined sculpting techniques. Choose an animal and gather reference images from different angles. You will likely need internal supports for legs, neck, or tail, depending on the pose.
Begin by forming the basic shapes for the body parts – spheres, cylinders, and cones for the torso, head, limbs, etc. Gradually refine these shapes, blending seams smoothly. Use modeling tools to define muscles, bone structure, and features like eyes, ears, and nose. Pay close attention to texture – use tools or molds to create fur, feathers, or scales. Work patiently, allowing sections to firm up as needed before adding more detail or weight. This type of project requires time, practice, and attention to detail, but the result is a stunning, fully edible sculpture.
Storing and Preserving Your Modeling Chocolate Creations
Best Practices for Storing Unused Modeling Chocolate
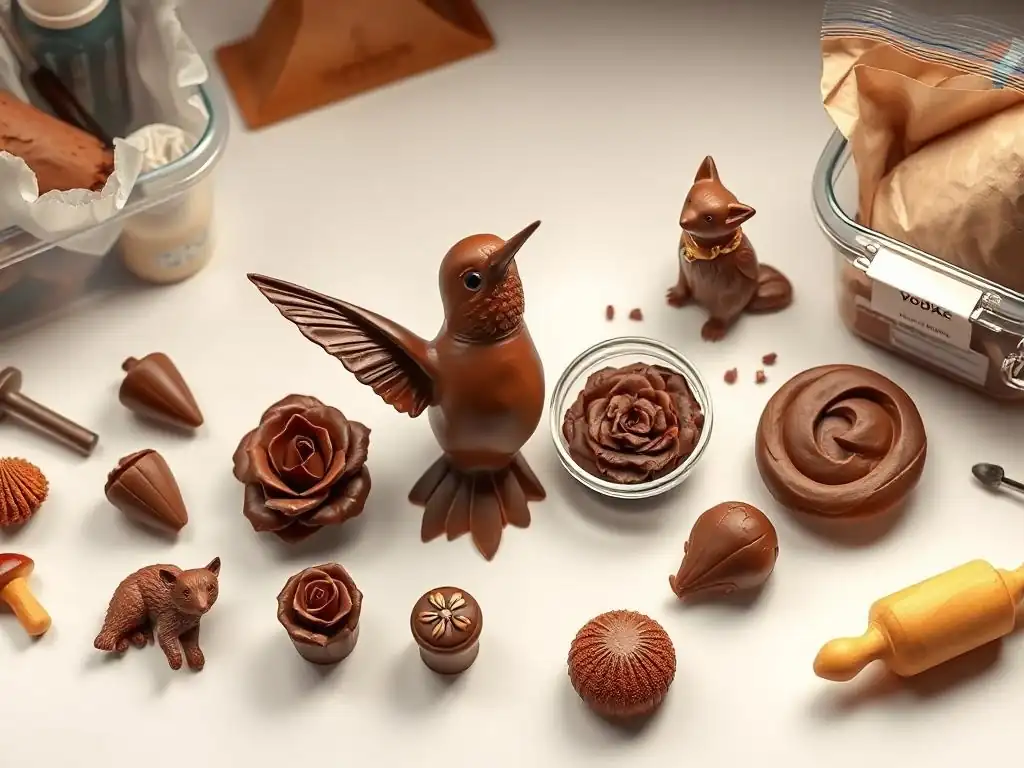
Proper storage is key to keeping your unused modeling chocolate pliable and ready for your next sculpting session. The enemy of modeling chocolate is air, which can dry it out and make it hard and crumbly. Once you've finished working with a batch, wrap any unused portion tightly in plastic wrap. Press out as much air as possible, ensuring there are no gaps where air can reach the chocolate.
For added protection, place the tightly wrapped modeling chocolate in an airtight container or a zip-top bag, pressing out the air again before sealing. Store the container at cool room temperature, away from direct sunlight or heat sources, as warmth can cause it to soften or become oily. Avoid storing it in the refrigerator unless your kitchen is very warm, as refrigeration can make it too hard and prone to cracking when you try to use it again.
Stored correctly, modeling chocolate can last for several months. When ready to use it again, let it come to room temperature if necessary, and knead it until pliable.
How to Preserve Finished Modeling Chocolate Sculptures
Finished modeling chocolate sculptures, especially cake toppers or decorative pieces, can be preserved for display if desired, though their edible quality diminishes over time. Once your sculpture is complete and has fully set (which can take several hours or even a day or two depending on size and thickness), it should be stored away from moisture, heat, and direct sunlight. Moisture can cause the surface to become sticky or dull, heat can cause it to soften or melt, and sunlight can cause the colors to fade.
The best way to store finished sculptures is in a cool, dry place, ideally in a display case or a box that protects them from dust and physical damage. Do not refrigerate or freeze finished sculptures, as condensation upon thawing can damage the surface. While they remain technically edible for a long time if stored correctly, their texture and flavor are best within a few weeks.
For long-term preservation as a keepsake, storing them in a cool, dark, and dry environment is crucial. Remember that the primary purpose of modeling chocolate is for edible decoration, so enjoying your creation is often the most rewarding outcome!
Conclusion: Unleash Your Creativity with Easy Modeling Chocolate Recipes
Modeling chocolate is a truly remarkable medium that bridges the gap between delicious confectionery and stunning visual art. With just a few simple ingredients and some basic techniques, you can transform chocolate into a pliable, moldable paste capable of becoming intricate flowers, realistic figures, or whimsical cake toppers. Starting with easy modeling chocolate recipes demystifies the process and makes this versatile decorating material accessible to bakers of all skill levels.
From understanding the difference between modeling chocolate and fondant to mastering kneading, coloring, and basic sculpting, the journey into working with this medium is both educational and incredibly fun. While some techniques, like detailed figure sculpting, require practice and patience, the foundational steps are straightforward and achievable. Don't be afraid to experiment with different types of chocolate and explore the myriad of possibilities modeling chocolate offers. So, grab your ingredients, try an easy modeling chocolate recipe, and start sculpting your own edible masterpieces today – the only limit is your imagination!
Frequently Asked Questions
What exactly is modeling chocolate, and why is it useful?
Modeling chocolate is an edible clay made from chocolate and corn syrup or glucose. It's useful for creating sculptural decorations on cakes and other desserts because it's pliable and holds its shape well.
Is modeling chocolate difficult to make at home?
No, making modeling chocolate at home is surprisingly easy, especially with simple recipes like the ones found on BakeWithEase.com. The key is to use the right ratio of chocolate to corn syrup.
Can I use different types of chocolate when making modeling chocolate?
Yes, you can! Dark, milk, and white chocolate all work. Just be aware that the texture and color will vary depending on the type of chocolate you choose, impacting the final look of your creation.
How should I store modeling chocolate once it's made?
Wrap it tightly in plastic wrap to prevent it from drying out and store it at room temperature in an airtight container. Avoid storing it in the refrigerator, as this can cause the chocolate to seize or bloom.
What are some common uses for modeling chocolate beyond cake decorating?
Besides cake toppers, modeling chocolate can be used to create edible flowers, figurines, and other intricate designs for cupcakes, cookies, and even plated desserts. Its versatility makes it a great tool for bakers.
Final Reflection: The Enduring Allure of Edible Art
The art of modeling chocolate is more than just a hobby; it's a testament to the enduring human desire to create beauty, even from the most unexpected of mediums. This accessibility, coupled with the delicious results, makes it a craft that continues to gain popularity in a world increasingly focused on visual appeal and personalized experiences. The ease of creating stunning edible sculptures, as detailed in this article's easy modeling chocolate recipes, empowers individuals to express their creativity in a tangible and delightful way.
The impact of this simple yet powerful skill extends far beyond individual kitchens. It fosters a sense of accomplishment and encourages exploration of artistic expression, regardless of prior experience. The ability to transform a simple ingredient into a breathtaking masterpiece is incredibly empowering. The best way to find yourself is to lose yourself in the service of others,
while not directly about chocolate sculpting, speaks to the transformative power of creative endeavors, allowing us to connect with something larger than ourselves. The shared joy of creating and presenting these edible works of art strengthens bonds and creates lasting memories.
Now, it's your turn. Don't just read about the magic of modeling chocolate; experience it. Choose a recipe, gather your ingredients, and let your imagination run wild. Embrace the mess, celebrate the small victories, and savor the sweet reward of creating your own edible masterpiece. The journey of learning is as important as the final product; so, dive in, get your hands dirty, and discover the artist within. You might surprise yourself with what you can create.
Unleash Your Inner Chocolatier: Craft Stunning Edible Art!
Thanks for joining us on this chocolate sculpting adventure! We hope you've discovered the joy and ease of creating edible masterpieces. Now it's time to put your newfound skills to the test.
- Dive into your first chocolate sculpture project: Choose a simple design from the article or let your imagination run wild! Remember, practice makes perfect.
- Share your creations: Post a picture of your finished project on social media and tag us – we’d love to see your edible art!
- Explore further chocolate sculpting techniques: Search online for tutorials on advanced techniques like tempering or using different chocolate types.
Ready to transform ordinary chocolate into extraordinary art? What's the first design you're going to tackle?