
Meringue for Beginners: Your First Steps to Creating Airy Delights with Confidence

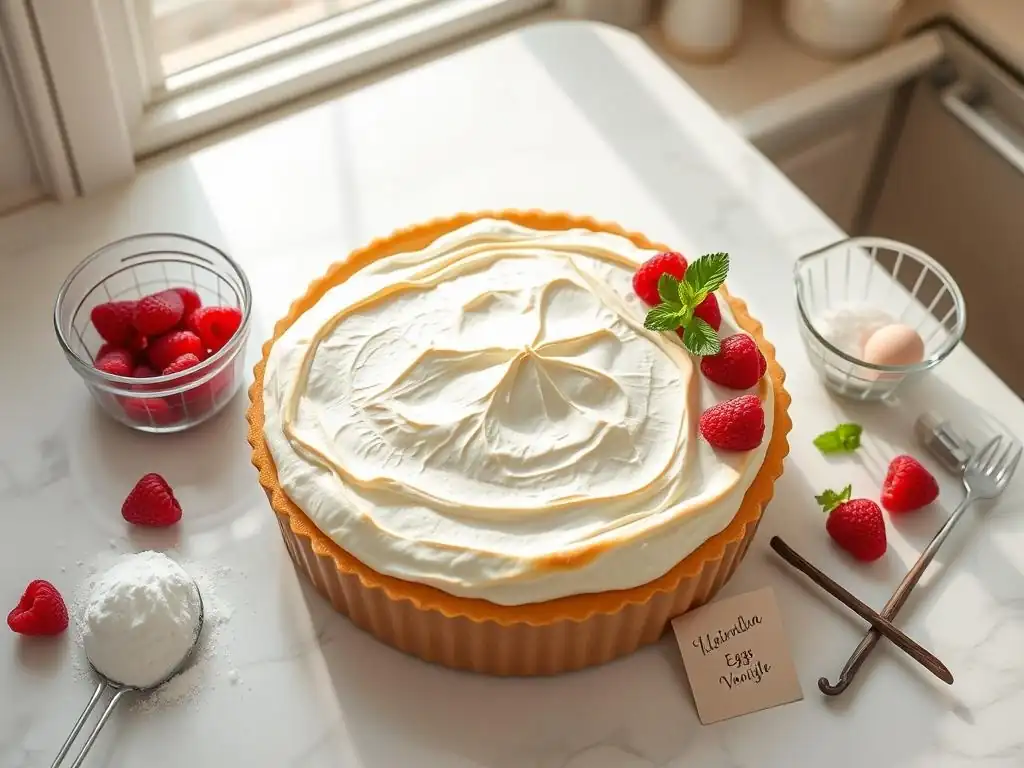
Welcome to BakeWithEase, your guide to baking bliss! Ever dreamt of creating those ethereal, cloud-like delights known as meringues? Think they're too tricky? Think again! This week, we're demystifying the art of meringue with our easy meringue recipe beginners guide. Discover the secrets to achieving perfect peaks and textures, and prepare to impress your friends and family with your newfound baking prowess. Intrigued? Let's get started and unlock the secrets to baking success, one meringue at a time!
- Mastering Meringue: A Beginner's Guide to Airy Delights
- Understanding Meringue: The Science and Types
- Basic French Meringue Recipe
- Step-by-Step: Creating French Meringue
- Troubleshooting Common Meringue Issues
- Flavoring Meringue: Simple Additions
- Storing Meringue
- Using Meringue: Beginner-Friendly Applications
- Beyond the Basics: Expanding Your Meringue Skills
-
Frequently Asked Questions
- What is the most important thing to remember when making meringue as a beginner?
- What type of sugar is best to use in an easy meringue recipe for beginners?
- How do I know when my meringue is stiff enough?
- Can I add flavorings to my meringue, and if so, when should I add them?
- What's the best way to prevent my meringue from cracking during baking?
- Final Reflection: The Sweet Success of Mastering Meringue
- Unlock Your Inner Pastry Chef: Bake Your First Perfect Meringue!
Mastering Meringue: A Beginner's Guide to Airy Delights
Meringue might seem intimidating with its cloud-like appearance and delicate texture, but mastering it is an achievable goal for any beginner baker. Think of it as a fundamental skill, like creaming butter and sugar or kneading dough. Once you understand the basics, a world of light, ethereal desserts opens up to you. This guide is designed to provide an easy meringue recipe beginners can follow with confidence, leading to perfect results every time.
Understanding Meringue: The Science and Types
Before diving into whisking egg whites, let's explore what meringue actually is and why it behaves the way it does. Understanding the science makes the process less mysterious and helps you troubleshoot when things go wrong.
The Science Behind Meringue's Structure
Meringue is essentially a foam made from egg whites and sugar. When you whisk egg whites, you introduce air, and the proteins in the egg whites, primarily albumin, start to denature and unfold. These unfolded proteins then rearrange themselves around the air bubbles, creating a network that traps the air and forms a stable foam. This initial foam is delicate.
Adding sugar plays a crucial role in stabilizing this protein network. Sugar dissolves in the moisture of the egg whites and forms a syrup. This syrup coats the protein network, strengthening the walls of the air bubbles and preventing them from collapsing. Gradual addition of sugar allows it to dissolve properly, resulting in a smooth, stable foam that holds its shape. The typical ratio for a stable meringue involves adding at least twice the weight of sugar as egg whites; for example, two large egg whites (around 60-70 grams) might require 120-140 grams of sugar.
Types of Meringue: French, Italian, and Swiss
There are three main types of meringue, differentiated by how the sugar is incorporated and heated. Each type offers a unique texture and stability, making them suitable for different applications. An easy meringue recipe beginners often start with is French meringue due to its simplicity.
| Meringue Type | Sugar Incorporation Method | Texture | Stability | Best For |
|---|---|---|---|---|
| French | Granulated sugar whipped into raw egg whites | Light, airy, slightly crisp when baked | Least | Baked meringue kisses, pavlova bases |
| Italian | Hot sugar syrup whipped into raw egg whites | Smooth, glossy, very stable, uncooked | Most | Frostings, mousses, pie toppings (torched) |
| Swiss | Egg whites and sugar heated over a water bath before whipping | Smooth, dense, glossy, cooked | Medium | Buttercreams, stable pie toppings, cookies |
French Meringue: Simple and Light
French meringue is the simplest form and the one most commonly used in an easy meringue recipe beginners attempt first. It involves whipping raw egg whites until they form soft peaks, then gradually adding granulated sugar while continuing to whip until stiff, glossy peaks are achieved. Because the egg whites remain raw, French meringue is typically baked at a low temperature for a long time to cook the egg whites and dry out the structure, resulting in a crisp texture.
This type of meringue is the least stable of the three. It's prone to weeping (leaking liquid) if left uncooked for too long or if exposed to high humidity. However, its ease of preparation makes it ideal for simple baked goods like meringue kisses or as a light base for pavlova, where its delicate structure is a desirable quality. A standard ratio might be 1 part egg white to 2 parts granulated sugar by weight.
Italian Meringue: Stable and Cooked
Italian meringue is considered the most stable type and involves a cooking step, though not by baking. Instead, a hot sugar syrup (heated to the soft-ball stage, typically 115-121°C or 240-250°F) is slowly poured into raw egg whites that have been whipped to soft peaks. The heat from the syrup cooks the egg whites as they are whipped, resulting in a very stable, smooth, and glossy meringue that doesn't need baking to be safe to eat.
This stability makes Italian meringue perfect for frostings (like on lemon meringue pie that gets torched), mousses, and as a lightener in other desserts. It holds its shape exceptionally well and is less prone to weeping than French meringue. While slightly more complex due to the sugar syrup step, it offers a superior texture and reliability for certain applications.
Swiss Meringue: Smooth and Versatile
Swiss meringue involves gently heating egg whites and sugar together over a double boiler (or bain-marie) while whisking constantly until the sugar is dissolved and the mixture reaches a temperature of around 60-70°C (140-160°F). This heating step partially cooks the egg whites and dissolves the sugar smoothly. The mixture is then removed from the heat and whipped vigorously until it cools and reaches stiff, glossy peaks.
Swiss meringue strikes a balance between the simplicity of French and the stability of Italian. It's smoother and more stable than French meringue, making it excellent for meringue cookies that require a chewier interior or as a base for Swiss meringue buttercream. The heating step ensures the sugar is fully dissolved, preventing a grainy texture, and provides a moderate level of stability suitable for piping and shaping before baking or using as a topping.
Basic French Meringue Recipe
This easy meringue recipe beginners will find straightforward focuses on the French method, perfect for making simple baked meringue cookies or kisses. It requires minimal ingredients and equipment.
Ingredients
You only need two primary ingredients for a basic French meringue:
- Fresh large egg whites (ensure they are at room temperature for best volume)
- Granulated sugar (fine granulated sugar dissolves more easily)
A common ratio for an easy meringue recipe beginners can remember is using twice the weight of sugar to egg whites. So, for about 2 large egg whites (approx. 60-70g), you would use 120-140g of granulated sugar.
Equipment
Having the right equipment is crucial for successful meringue. Even the cleanest bowl can cause issues if it has residual fat.
- A clean, dry mixing bowl (preferably glass or metal, as plastic can retain grease)
- An electric mixer (handheld or stand mixer) with whisk attachment
- Measuring scale (for accuracy)
- Measuring cups/spoons (optional, but weighing is preferred)
- Spatula
- Piping bag and tips (optional, for shaping)
- Baking sheets lined with parchment paper
Step-by-Step: Creating French Meringue
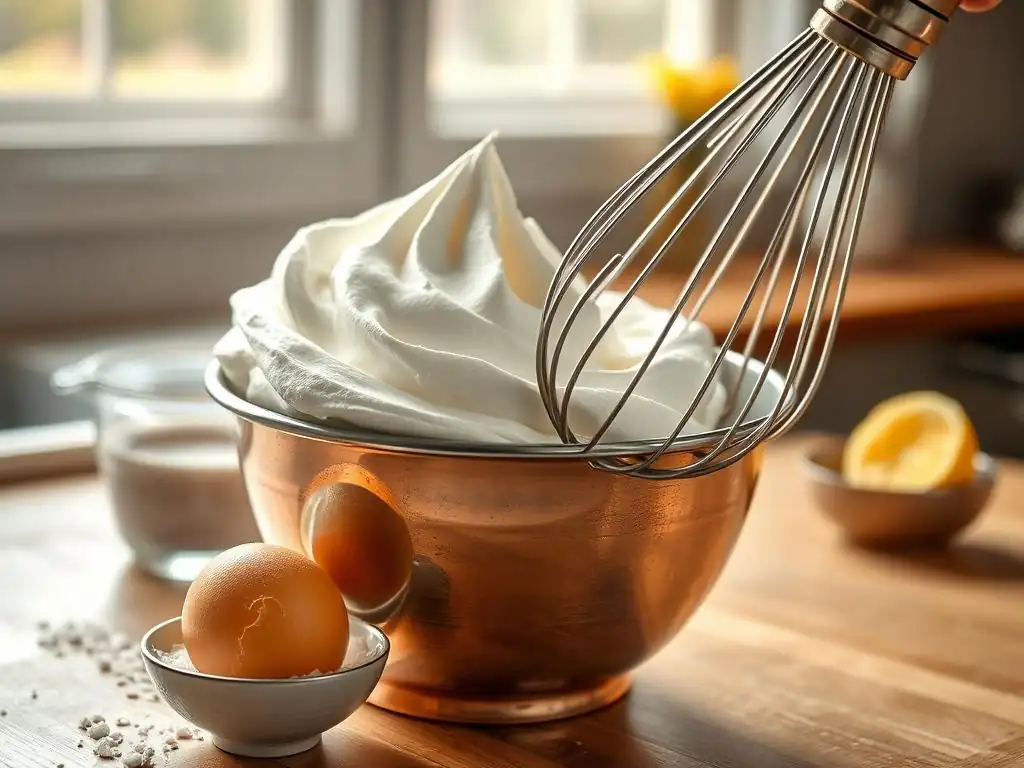
Follow these steps carefully for an easy meringue recipe beginners can master. Precision and patience are key!
Step 1: Preparation
Ensure your equipment is meticulously clean and completely dry. Any trace of fat (from egg yolks, butter, or even soap residue) will prevent the egg whites from whipping properly. Wipe down your bowl and whisk with a paper towel dipped in a little vinegar or lemon juice for extra assurance, then dry thoroughly. Separate your egg whites from the yolks very carefully. Even a tiny drop of yolk can ruin the meringue. Use fresh, room-temperature egg whites; they whip up to a greater volume than cold ones. Let them sit out for 20-30 minutes before starting.
Preheat your oven to a very low temperature, typically between 90°C and 110°C (200°F and 230°F). Line your baking sheets with parchment paper. This low temperature is essential for drying out the meringues slowly rather than cooking them, which helps prevent cracking and ensures a crisp texture all the way through.
Step 2: Whipping Egg Whites
Pour the room-temperature egg whites into your clean, dry mixing bowl. Start whipping them on medium-low speed. This gentle start helps to break up the proteins evenly before introducing air rapidly. You will see the egg whites become foamy and opaque, like soap suds. Continue whipping until they start to hold soft peaks – this is when you lift the whisk and the peaks droop over slightly.
Achieving Stiff Peaks
Once soft peaks form, increase the mixer speed to medium-high. Continue whipping until the egg whites hold stiff, glossy peaks. You know you've reached stiff peaks when you lift the whisk and the peaks stand straight up without collapsing. The meringue should look smooth and shiny, not granular or dull. Be careful not to over-whip, which can cause the meringue to become dry and granular, leading to cracking during baking. This stage typically takes several minutes, depending on your mixer and the quantity of egg whites.
Step 3: Adding Sugar
This is a critical step in creating a stable, glossy meringue. Once the egg whites reach soft peaks, begin adding the granulated sugar very slowly, a tablespoon or two at a time, while the mixer is still running on medium-high speed. Give the sugar time to dissolve between additions. Don't dump it all in at once, as this can weigh down the egg whites and prevent them from reaching full volume and stability.
Continue adding sugar gradually until it is all incorporated and the meringue is stiff and glossy. You can test if the sugar is dissolved by rubbing a tiny bit of the meringue between your fingers; it should feel smooth, not gritty. This slow addition and complete dissolution of sugar are vital for a smooth texture and to prevent weeping later.
Step 4: Baking
Once your meringue is whipped to stiff, glossy peaks with the sugar fully dissolved, it's ready to be shaped and baked. You can spoon dollops onto the prepared baking sheet or use a piping bag for more uniform shapes like kisses or swirls. Try to make them roughly the same size so they bake evenly.
Bake the meringues in your preheated low-temperature oven. The goal is to dry them out completely, not brown them (unless specified by a recipe). The baking time will vary significantly depending on the size of your meringues and your oven, typically ranging from 60 minutes for small kisses to 2 hours or more for larger shapes. They are done when they lift easily off the parchment paper and feel light and dry. Turn off the oven and leave the meringues inside to cool completely with the door slightly ajar. This prevents thermal shock which can cause cracking.
Baking Temperatures and Times Chart
This is a general guideline for baking French meringue shapes:
| Meringue Size | Oven Temperature (approx.) | Baking Time (approx.) |
|---|---|---|
| Small Kisses | 90-100°C (200-215°F) | 60-90 minutes |
| Medium Shapes | 100-110°C (215-230°F) | 90-120 minutes |
| Large Shapes | 110-120°C (230-250°F) | 120+ minutes |
- Note: Always let meringues cool completely in the turned-off oven for best results.
Troubleshooting Common Meringue Issues
Even with an easy meringue recipe beginners might encounter hiccups. Don't be discouraged! Most problems have simple causes and solutions.
Flat Meringue
If your meringue doesn't whip up or collapses, the most likely culprit is fat contamination. Even a tiny amount of egg yolk or grease on your equipment can prevent the egg whites from forming a stable foam. Ensure your bowl and whisk are spotless and bone dry. Humidity can also affect meringue; high moisture in the air makes it harder for the meringue to dry out properly during baking, potentially leading to a softer, flatter result.
Another cause could be using cold egg whites. Room temperature egg whites whip to a higher volume and are more stable. Ensure your egg whites have sat out for at least 20-30 minutes before whipping. Under-whipping is also a factor; make sure you've reached true stiff peaks before stopping.
Grainy Texture
A grainy meringue is almost always due to undissolved sugar. If you add the sugar too quickly or don't whip long enough after adding it, the sugar crystals won't fully dissolve into the egg white mixture. This is particularly common with French meringue, where the sugar is added directly to the raw egg whites.
To avoid this, add the sugar very slowly, a tablespoon at a time, giving it a moment to incorporate and dissolve between additions. Continue whipping until the meringue is smooth and glossy, and you can no longer feel sugar granules when you rub a tiny bit between your fingers. Using superfine (caster) sugar instead of granulated sugar can also help, as its smaller crystals dissolve more readily.
Cracked Tops
Cracks on the surface of baked meringues usually indicate that they were baked at too high a temperature or that the temperature fluctuated too much. Baking meringue at too high a heat causes the outside to set and harden rapidly while the inside is still expanding, leading to stress and cracking. Rapid cooling can also cause cracks due to sudden contraction.
Ensure your oven temperature is accurate and set to the recommended low range (90-120°C / 200-250°F). Avoid opening the oven door frequently during baking. After baking, turn off the oven and let the meringues cool inside completely with the door slightly ajar. This slow, gradual cooling process minimizes thermal shock and helps prevent cracks.
Weeping Meringue
Weeping is when liquid (syrup) seeps out of the meringue, usually after it has been baked or left standing. This often happens with French meringue and is caused by undissolved sugar or exposure to humidity. When sugar doesn't fully dissolve, it can crystallize and push liquid out of the protein network. High humidity causes the sugar in the meringue to absorb moisture from the air, leading to stickiness and weeping.
Ensure all the sugar is completely dissolved during the whipping stage. Bake the meringues until they are completely dry and crisp throughout, as under-baked meringues are more prone to weeping. Store baked meringues in an airtight container immediately after they are cool to protect them from humidity. If humidity is a persistent problem, consider trying a more stable Swiss or Italian meringue for applications where weeping is undesirable.
Flavoring Meringue: Simple Additions
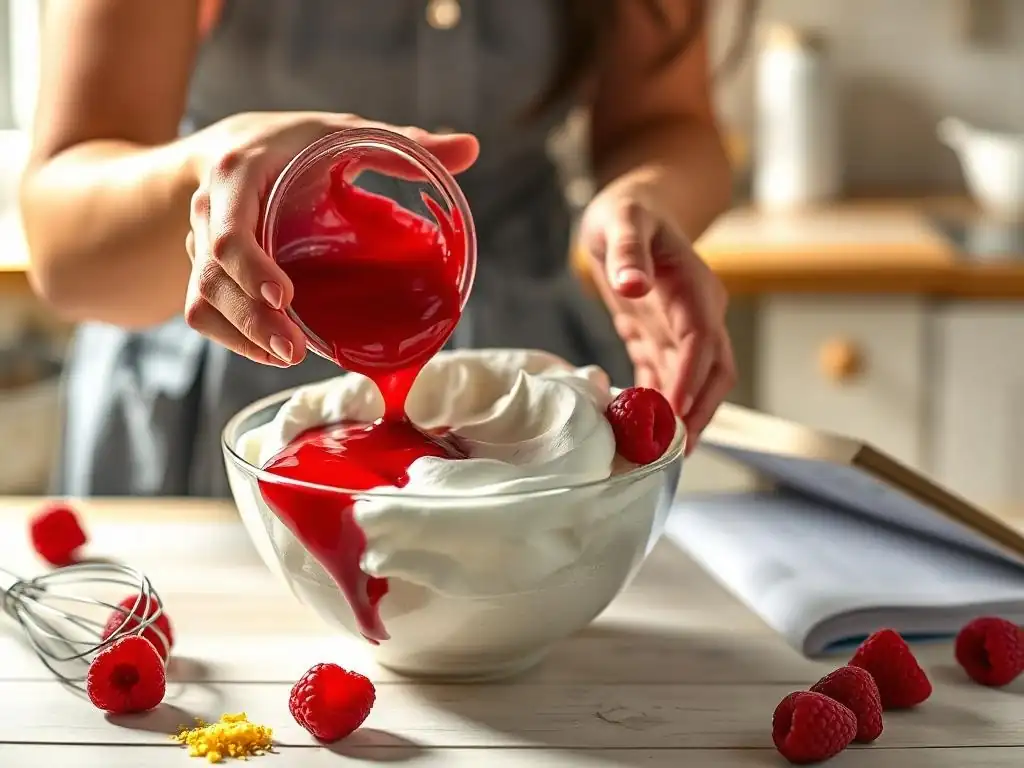
While plain meringue is delightful, adding simple flavors can elevate your airy creations. These additions should be incorporated at the very end of the whipping process.
Vanilla Extract
Vanilla extract is a classic choice and pairs beautifully with the sweet, light texture of meringue. Add a teaspoon of pure vanilla extract per batch made with 2-3 egg whites just after the stiff peaks have formed and the sugar is fully incorporated. Whip for just a few more seconds to distribute the flavor evenly.
Block Quote:
Adding liquid extracts like vanilla can slightly affect the meringue's stability, so don't add too much. A little goes a long way in imparting flavor without compromising texture.
Citrus Zest
For a bright, refreshing flavor, add finely grated zest from a lemon, lime, or orange. Use the zest from about half a citrus fruit per batch of meringue. Stir it in gently with a spatula after the meringue is fully whipped. Avoid the white pith, which is bitter.
Chocolate
For a subtle chocolate flavor, you can gently fold in a tablespoon or two of unsweetened cocoa powder after the meringue is fully whipped. Sift the cocoa powder first to avoid clumps. Be careful not to overmix, as this can deflate the meringue. This addition will slightly change the texture and color.
Storing Meringue
Proper storage is essential to keep your meringues crisp and delicious, especially baked French meringues which are susceptible to moisture.
Baked Meringue Storage
Baked French meringues are like little sponges for moisture. Once they are completely cool, store them immediately in an airtight container at room temperature. Layer them gently with parchment paper in between if necessary. Avoid refrigeration, as the humid environment of a fridge will make them sticky and soft very quickly. Stored properly, baked meringues can last for up to 2-3 weeks, though they are best enjoyed within the first week.
Unbaked meringue, particularly French meringue, should ideally be used immediately after whipping. As it sits, the air bubbles can start to collapse, and the sugar can begin to separate (weep). If you must store it briefly, cover the bowl tightly with plastic wrap and refrigerate for no more than a few hours. You may need to gently whisk it again before using, but it likely won't regain its original volume or stability. Swiss and Italian meringues are more stable uncooked and can be stored in the fridge for a day or two, but are still best used fresh.
Using Meringue: Beginner-Friendly Applications
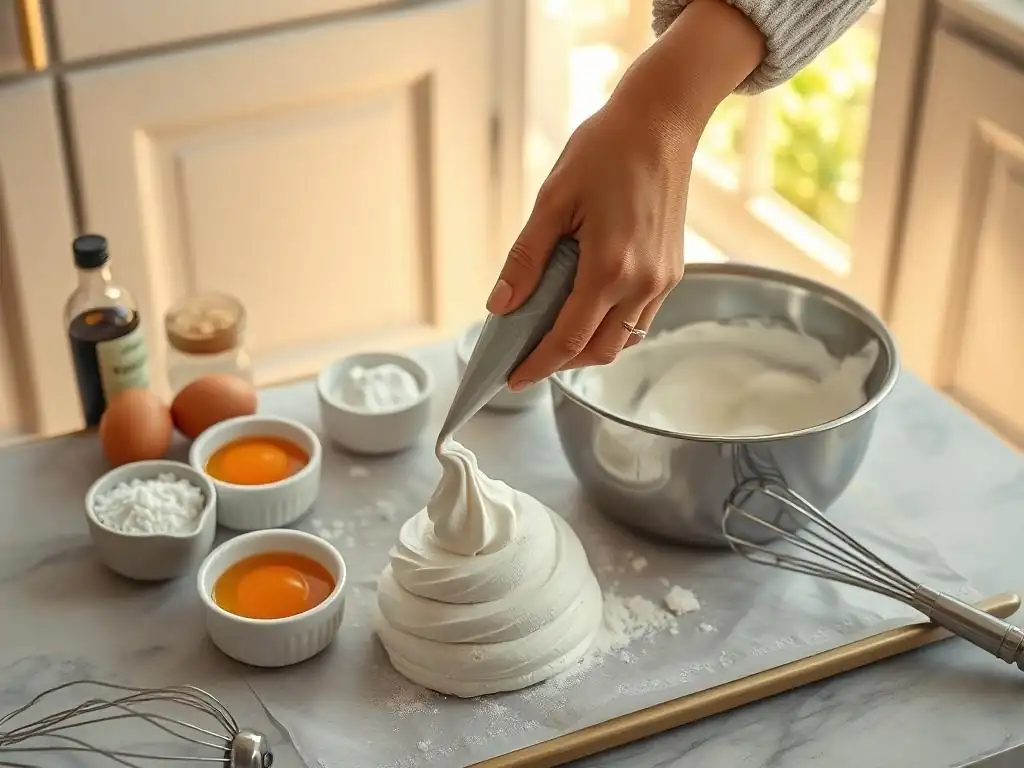
Now that you've mastered this easy meringue recipe beginners can confidently make, here are some simple ways to use your creation.
Meringue Kisses
These are perhaps the simplest and most classic use for French meringue. Pipe small dollops (like a Hershey's Kiss shape) onto your prepared baking sheet. Bake them at a low temperature until they are crisp all the way through. They make delightful, melt-in-your-mouth treats or decorations for cakes and cupcakes.
Similar to kisses, meringue cookies can be piped into various shapes like swirls, discs, or fingers. You can add color or sprinkles before baking for extra visual appeal. Bake as you would meringue kisses until completely dry. They offer a satisfying crunch and a light, sweet flavor, perfect for an easy meringue recipe beginners can turn into a finished dessert.
Meringue Pie Topping
While Italian or Swiss meringue is often preferred for uncooked or lightly torched pie toppings due to their stability, French meringue can be used if baked on top of the pie filling. Spread or pipe the meringue over a cooled pie filling (like lemon or chocolate). Bake in a moderate oven (around 170-180°C / 325-350°F) for just 10-15 minutes, or until the tips of the meringue are golden brown. Watch carefully as it browns quickly!
Beyond the Basics: Expanding Your Meringue Skills
Mastering an easy meringue recipe beginners can rely on is just the start. There's a whole world of meringue to explore!
Exploring Italian and Swiss Meringue
Once you're comfortable with French meringue, challenge yourself by trying Italian or Swiss meringue. Italian meringue is fantastic for stable frostings that won't melt, while Swiss meringue is the base for incredibly smooth and stable buttercreams. Learning these techniques will significantly broaden your baking repertoire and allow you to tackle more complex desserts.
Advanced Meringue Techniques
Beyond the basic types, you can explore techniques like adding cream of tartar (a pinch per egg white) to help stabilize the foam, using superfine sugar for a smoother texture, or experimenting with different flavoring extracts and colors. Learning how humidity affects meringue and adjusting your technique or storage accordingly is also a key skill for consistent results.
Meringue-Based Recipes
Meringue is a core component in many classic desserts. Think about making a classic Lemon Meringue Pie, a dramatic Pavlova topped with cream and fruit, or a light and airy chocolate mousse folded with Italian meringue. Understanding how to make a reliable meringue is the foundation for countless delicious possibilities in the world of baking. Keep practicing this easy meringue recipe beginners guide provides, and soon you'll be creating your own airy delights!
Frequently Asked Questions
What is the most important thing to remember when making meringue as a beginner?
The most important thing is to ensure your equipment is scrupulously clean and free from any grease. Even a tiny amount of fat can prevent the egg whites from whipping properly.
What type of sugar is best to use in an easy meringue recipe for beginners?
Granulated sugar is often the easiest to find and works well, but caster sugar is preferred for a smoother meringue. It dissolves more quickly, leading to a more stable and consistent final product.
How do I know when my meringue is stiff enough?
You're looking for stiff, glossy peaks. When you lift the whisk, the meringue should hold its shape and not droop or collapse. This indicates it's ready for baking or piping.
Can I add flavorings to my meringue, and if so, when should I add them?
Yes, you can! Add flavorings like vanilla extract after the meringue has formed stiff peaks. Be careful not to add too much liquid, as this can deflate the meringue.
What's the best way to prevent my meringue from cracking during baking?
Bake at a low temperature for a longer period. This allows the meringue to dry out slowly and evenly, minimizing the risk of cracking. Also, avoid opening the oven door frequently.
Final Reflection: The Sweet Success of Mastering Meringue
The seemingly simple art of meringue making holds a surprising power: the ability to transform readily available ingredients into delicate, airy wonders. It's a skill that, once mastered, opens a world of culinary creativity, from classic pavlovas to elegant French macarons. More than just a recipe, it's a journey of understanding texture, temperature, and the subtle magic of whipped egg whites.
The journey of learning to make meringue perfectly mirrors the journey of life itself – requiring patience, precision, and a willingness to embrace occasional failures. The process teaches valuable lessons about attention to detail and the importance of following instructions carefully. As the French culinary master, Auguste Escoffier, once said, The most important thing in cooking is to taste and adjust.
This holds true for meringue, where the subtle nuances of sweetness and texture require constant attention and refinement. The satisfaction of achieving that perfect peak, that airy lightness, is a reward in itself, a testament to perseverance and a celebration of simple ingredients transformed into something extraordinary.
Now, it's your turn. Don't be intimidated by the seemingly delicate nature of meringue. Take a deep breath, gather your ingredients, and embark on your own meringue adventure. Remember the lessons learned here – the importance of room-temperature eggs, the gradual addition of sugar, the crucial role of a clean, grease-free bowl. With a little practice and a lot of patience, you too can experience the joy of creating these airy delights. The sweet taste of success awaits!
Unlock Your Inner Pastry Chef: Bake Your First Perfect Meringue!
Thanks for joining us on this meringue journey! We hope you've gained the confidence to tackle this delightful dessert. Ready to take your baking skills to the next level?
- Whip up your own meringue masterpiece! Use the techniques we shared to create your first flawless meringue – experiment with flavors and toppings!
- Share your creation: Post a picture of your meringue on social media and tag us @BakeWithEase – we'd love to see your baking success!
- Explore our other beginner-friendly recipes for more baking inspiration! We’ve got plenty of easy-to-follow guides to help you grow your skills.
What unique flavor combination will you try in your first meringue? Let's hear your ideas in the comments below!