
From Chips to Chunks: Prepping HighQuality Chocolate for Baking

Welcome to BakeWithEase, your guide to unlocking baking brilliance! Ever wonder how to elevate your desserts from good to extraordinary? It all starts with the right ingredients. Let's delve into the secrets of using high quality baking chocolate to create truly unforgettable treats. Ready to discover the difference that premium chocolate can make?
- Understanding High-Quality Baking Chocolate
- Preparing Your High-Quality Chocolate for Baking Success
- Melting High-Quality Chocolate: Key Techniques for Baking
- Integrating High-Quality Chocolate into Your Baking Recipes
- Storing High-Quality Baking Chocolate for Optimal Freshness
-
Frequently Asked Questions
- How do I choose high-quality baking chocolate?
- What's the best way to melt high-quality baking chocolate?
- Can I substitute different types of high-quality baking chocolate in a recipe?
- How should I store high-quality baking chocolate?
- What is "blooming" and how can I prevent it in high-quality baking chocolate?
- Final Reflection: The Enduring Allure of Exquisite Chocolate
- Unlock Your Inner Chocolatier: Elevate Your Baking!
Understanding High-Quality Baking Chocolate
What Defines High-Quality Baking Chocolate?
High-quality baking chocolate is distinguished by several key factors, primarily its cocoa content and the purity of its ingredients. Unlike standard chocolate chips, which often contain stabilizers and less cocoa butter, premium baking chocolate typically features a higher percentage of cocoa solids and cocoa butter, resulting in a richer flavor and smoother texture when melted. Ingredients lists for top-tier high quality baking chocolate are usually short and simple: cocoa mass, sugar, cocoa butter, and perhaps vanilla and lecithin. The absence of vegetable oils or artificial flavors is a strong indicator of quality.
Furthermore, the processing of the cocoa beans significantly impacts the final product. High-quality producers often source fine-flavor beans from specific regions and control the roasting and conching processes meticulously. Conching, a process of mixing and aerating liquid chocolate, develops flavor and texture. Longer conching times, sometimes lasting for days, contribute to a smoother, more refined mouthfeel, which is crucial for achieving superior results in your baked goods, from silky ganaches to perfectly textured cookies.
Exploring Different Types of Baking Chocolate: From Unsweetened to Semisweet
The world of high quality baking chocolate offers a spectrum of sweetness and intensity, primarily defined by cocoa percentage. Unsweetened chocolate, often labeled as 100% cocoa, contains no added sugar and provides an intense, bitter chocolate flavor, ideal for balancing sweetness in rich desserts like flourless chocolate cake or certain brownie recipes. It requires careful handling and usually needs sugar added elsewhere in the recipe.
Moving up the scale, bittersweet chocolate typically ranges from 60% to 85% cocoa, offering a deep, complex flavor with varying degrees of sweetness. Semisweet chocolate, often around 50-60% cocoa, is sweeter and more approachable, making it a popular choice for classic recipes like chocolate chip cookies or basic chocolate glazes.
Milk chocolate (typically 30-40% cocoa, plus milk solids) and white chocolate (made from cocoa butter, sugar, and milk solids, with no cocoa solids) offer creamier, sweeter profiles and require different handling due to their composition. Understanding these types is the first step in selecting the best high quality baking chocolate for your specific needs.
Valrhona vs. Guittard: A Quality Comparison
When discussing high quality baking chocolate, brands like Valrhona and Guittard often come up as benchmarks for quality. Valrhona, a French chocolatier, is renowned for its single-origin and grand cru chocolates, emphasizing terroir and specific flavor profiles.
Their cocoa percentages are often clearly labeled, and they offer a wide range, from their popular Guanaja 70% (known for its bitterness and floral notes) to Caraïbe 66% (balanced and smooth). Valrhona is frequently used by professional pastry chefs for its consistent quality and nuanced flavors, although it tends to be on the higher end of the price spectrum for high quality baking chocolate.
Guittard Chocolate Company, an American, family-owned business based in California, also produces exceptional high quality baking chocolate with a focus on sustainability and ethical sourcing. They offer a variety of formats and cocoa percentages, including their popular baking bars and wafers. Guittard is known for its rich, classic chocolate flavors and reliable performance in baking applications. While also considered premium, Guittard is often more accessible in terms of availability and price for home bakers compared to some of the more specialized Valrhona products, making it an excellent choice for elevating everyday baking.
Preparing Your High-Quality Chocolate for Baking Success
Choosing the Right Chocolate Form: Bars, Chips, or Chunks?
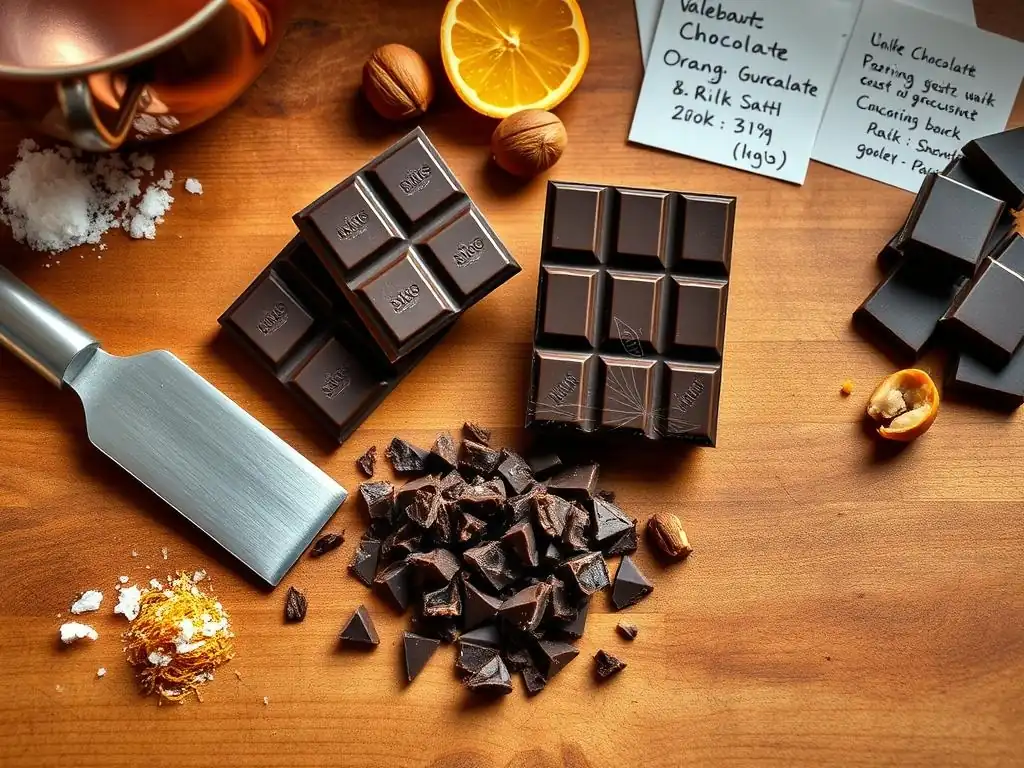
The form of your high quality baking chocolate can influence both the outcome of your recipe and the ease of preparation. Chocolate bars, often sold in 4-ounce or 1-pound blocks, are a favorite among serious bakers because they are typically made with pure chocolate liquor and cocoa butter, without the added stabilizers found in many chocolate chips. This pure composition allows bars to melt smoothly and evenly, making them ideal for ganaches, tempering, or creating perfectly dispersed chocolate pockets in cookies when chopped.
While convenient, standard chocolate chips are designed to hold their shape when baked, which is why they contain less cocoa butter and sometimes stabilizers. However, some high-quality brands now offer "baking chips" or "wafers" (like Callebaut or Valrhona fèves) that have a higher cocoa butter content similar to bars, melting beautifully while still being easy to portion.
If you're using traditional chips for cookies, be aware they won't spread and meld into the dough quite like chopped bar chocolate will, which affects texture. For the best results with high quality baking chocolate, starting with a bar and chopping it yourself is often the preferred method.
Tempering Chocolate: Achieving the Perfect Shine and Snap (Even if You're Not Tempering)
Why Tempering Matters for High-Quality Chocolate
Tempering is a process of heating and cooling chocolate to specific temperatures to stabilize the cocoa butter crystals. When high quality baking chocolate is properly tempered, the cocoa butter forms a stable crystalline structure, resulting in a finished product that is shiny, snaps cleanly when broken, and resists melting at room temperature.
This is essential for making confections like truffles, dipped strawberries, or chocolate decorations. Untempered chocolate, when cooled, will appear dull, be soft or crumbly, and may develop 'bloom' (white streaks or patches of separated cocoa butter) over time, although it remains perfectly fine for baking into doughs or batters where texture isn't critical.
Understanding tempering is key to unlocking the full potential of high quality baking chocolate for certain applications. While you don't need to temper chocolate that will be melted into a cake batter or mixed into cookie dough (as the baking process changes the structure anyway), it's crucial for achieving professional-looking and feeling chocolate coatings and solid pieces. The goal is to encourage the formation of the most stable type of cocoa butter crystal, known as Beta V. This requires precise temperature control during melting, cooling, and slightly reheating the chocolate.
Quick Tempering Methods for Home Bakers
Achieving perfect temper at home might seem intimidating, but several methods simplify the process. The "seeding" method is popular: melt about two-thirds of your chopped high quality baking chocolate gently (using a double boiler or microwave) until it reaches the correct temperature for its type (around 115°F/46°C for dark, lower for milk/white). Remove from heat and stir in the remaining one-third of finely chopped chocolate (the "seed"). Stir continuously until the seed chocolate melts and the mixture cools to the working temperature (typically 88-91°F/31-32°C for dark). The seed chocolate helps the cocoa butter crystals align correctly.
Another method, the "tabling" method, involves pouring melted chocolate onto a cool surface (like marble or granite) and working it with a scraper or palette knife until it cools and starts to thicken, then returning it to the remaining melted chocolate to reach the correct working temperature. For quick, small batches, sometimes simply melting chocolate gently and ensuring it doesn't exceed the required temperature can yield a decent temper, though it's less reliable. Regardless of the method, working quickly once the chocolate is tempered is important, as it will start to set.
Chopping Chocolate: Mastering the Art of Even Chunks
Using a Serrated Knife for Clean Cuts
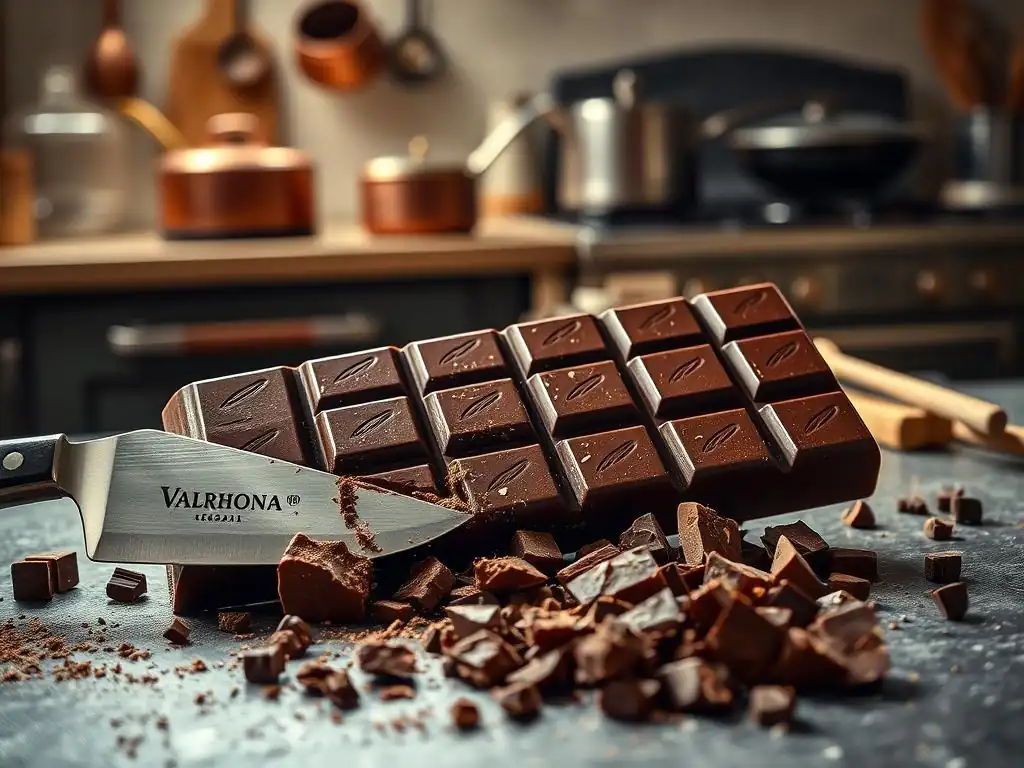
When preparing high quality baking chocolate bars for recipes like cookies or melting, proper chopping technique is essential for achieving uniform pieces and preventing a mess. Using a sharp serrated knife is highly recommended. A serrated blade grips the chocolate more effectively than a straight blade, allowing you to saw through the bar with controlled strokes rather than just pressing down, which can cause the chocolate to shatter unevenly. Place the bar on a stable cutting board. Start by cutting the bar into strips, then turn the strips and cut across them to create chunks of your desired size.
The goal is relatively even pieces so they melt or disperse consistently throughout your batter or dough. For cookies, aim for a mix of smaller shards and larger chunks – the shards will melt into the dough, creating pools of intense flavor, while the larger chunks will remain distinct, offering pockets of gooey or firm chocolate depending on how long you bake. A good serrated knife makes this process much easier and safer than struggling with a dull straight blade.
Preventing Chocolate Dust and Melting
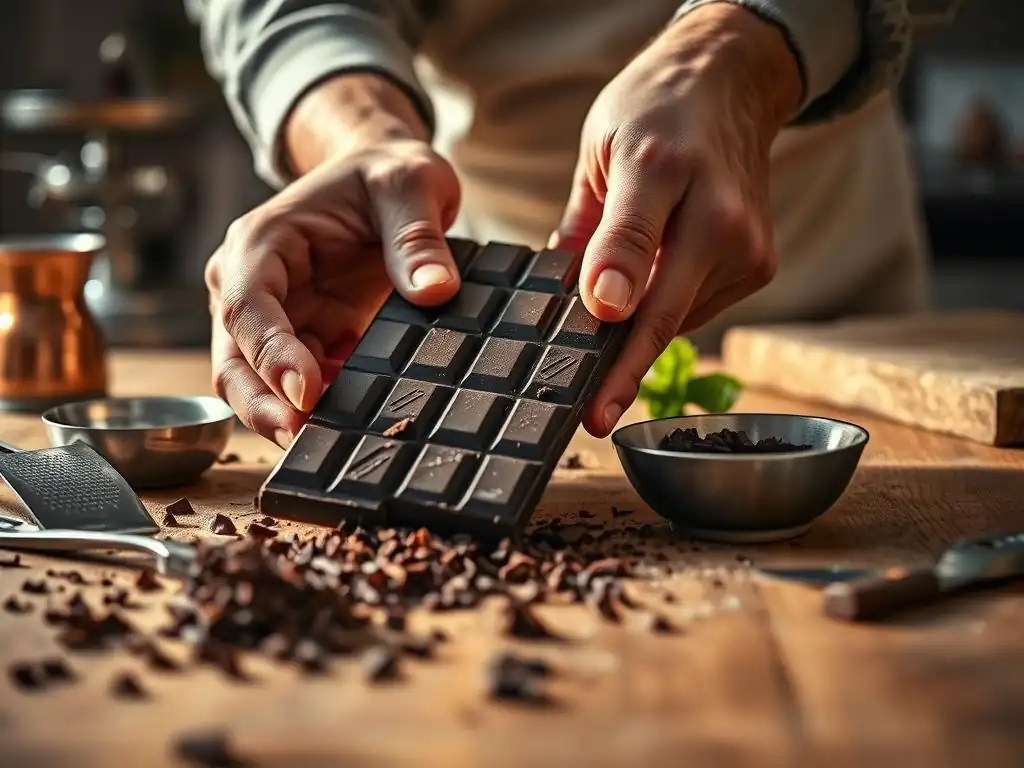
Chopping high quality baking chocolate can generate fine chocolate dust and can also cause the chocolate to melt slightly from the heat of your hands or knife friction, especially in a warm kitchen. To minimize dust, use firm, controlled sawing motions with your serrated knife rather than hacking at the chocolate.
Keeping the chocolate slightly cool before chopping can also help; avoid handling it excessively. If your kitchen is warm, you might even pop the chocolate bar into the refrigerator for 10-15 minutes before chopping, but avoid letting it get too cold, as it can become brittle and harder to cut.
Working quickly is also beneficial. Once chopped, transfer the chocolate pieces to a bowl and, if you're not using them immediately in a recipe like cookies, you can place the bowl in a cool spot away from direct sunlight or heat sources. If you're chopping for melting, this isn't as critical, but starting with well-defined pieces helps ensure even melting. Properly chopped high quality baking chocolate makes a noticeable difference in the final texture and appearance of your baked goods.
Melting High-Quality Chocolate: Key Techniques for Baking
The Double Boiler Method: Gentle and Controlled Melting
Ensuring the Bowl Doesn't Touch the Water
The double boiler method is a classic and highly recommended way to melt high quality baking chocolate because it provides gentle, indirect heat, significantly reducing the risk of burning or seizing. You'll need a saucepan and a heatproof bowl that fits snugly over the top without touching the bottom of the pan. Fill the saucepan with an inch or two of water and bring it to a gentle simmer – not a rolling boil. Place the chopped chocolate in the bowl and set the bowl over the simmering water.
Crucially, ensure the bottom of the bowl does not touch the water. The chocolate should be melted by the steam rising from the hot water, not by direct contact with the water or the hot bottom of the pan. Direct contact can cause the chocolate to overheat rapidly and seize (turn into a stiff, grainy mass). Stir the chocolate occasionally with a rubber spatula as it melts. This method gives you excellent control over the melting process, allowing the chocolate to become smooth and fluid without getting too hot.
Preventing Steam from Ruining Your Chocolate
While steam is what melts the chocolate in a double boiler, contact with even a tiny amount of water can ruin it, causing it to seize instantly. This is why it's vital that the bowl fits well and prevents steam from escaping and condensing into the chocolate. As the chocolate melts, stir it gently. Be careful when lifting the bowl off the pan; tilt it away from you so any condensation on the bottom drips into the pan, not into the melted chocolate.
Even a single drop of water can cause the cocoa solids to clump together, separating from the cocoa butter and turning your smooth, melted high quality baking chocolate into a thick, unworkable paste. If this happens, it's often difficult to fully recover the chocolate for certain uses, though sometimes you can stir in a teaspoon of vegetable oil or melted cocoa butter to smooth it out slightly for baking into a recipe. Prevention is key – keep water away at all costs!
Microwave Melting: A Quick and Easy Option
Using Short Bursts and Stirring Frequently
Melting high quality baking chocolate in the microwave is the fastest method, but it requires careful attention to avoid overheating. Place your chopped chocolate in a microwave-safe bowl. Microwave on 50% power for 30-second intervals, especially when starting with a larger quantity. After each interval, remove the bowl and stir the chocolate thoroughly, even if it doesn't look like it's melting much at first.
Chocolate retains its shape even when it's partially melted, so stirring is crucial to distribute the heat and prevent the edges from burning while the center remains solid. As the chocolate melts, reduce the microwave time to 15-second or even 10-second bursts, stirring well after each one. Continue until only a few small lumps remain. The residual heat will melt these as you stir, resulting in a perfectly smooth, melted high quality baking chocolate.
Avoiding Overheating and Seizing
Overheating is the primary risk when microwaving high quality baking chocolate. Unlike the gentle heat of a double boiler, microwaves heat from within, and chocolate can go from solid to burnt in seconds if not monitored. Using 50% power helps prevent this rapid heating. Stopping when there are still a few small lumps and relying on residual heat is a key technique to avoid exceeding the chocolate's melting point.
If high quality baking chocolate gets too hot, the cocoa solids can burn or seize, similar to the water issue with a double boiler. The chocolate will become grainy, stiff, and unusable for applications requiring a smooth texture. There's no easy fix for truly burnt chocolate. By using low power and frequent stirring, you maintain control and ensure your high quality baking chocolate melts smoothly and is ready to be incorporated into your delicious creations.
Melting Chocolate with Butter or Cream: Creating a Smooth Ganache
Ideal Ratios for Different Baking Applications
Melting high quality baking chocolate directly with butter or cream is the method used for making ganache, a versatile mixture used for glazes, fillings, and truffles. The ratio of chocolate to liquid (cream or butter) dictates the consistency. A 1:1 ratio of chocolate to warm heavy cream yields a pourable ganache, perfect for glazes or sauces. For a thicker ganache suitable for filling tarts or frosting cakes, a 1.5:1 or 2:1 chocolate to cream ratio is better.
Even thicker ratios, like 2.5:1 or 3:1, are ideal for rolling into truffles after the ganache has chilled. When using butter, it's often added to melted chocolate for richness and shine, rather than melted simultaneously in a high liquid ratio like ganache. For example, adding a tablespoon or two of unsalted butter to about 6 ounces of melted high quality baking chocolate can create a glossy glaze for cakes. Experimenting with these ratios allows you to achieve the desired texture for your specific baking project.
Incorporating Flavors into Your Ganache
Melting high quality baking chocolate with cream or butter also provides an excellent opportunity to infuse flavors. Extracts like vanilla, almond, or peppermint can be stirred into the warm cream just before pouring it over the chocolate. Liqueurs such as Grand Marnier, Kahlúa, or rum are also classic additions that complement chocolate beautifully; add them after the ganache is fully emulsified.
Other flavorings can include a pinch of sea salt to enhance the chocolate's sweetness, a swirl of espresso powder for depth, or even spices like cinnamon or chili powder for a hint of warmth. Add these flavorings sparingly at first and taste the ganache as you go. By melting your high quality baking chocolate with these additions, you create a rich, flavored base that elevates your baked goods beyond just simple chocolate flavor.
Integrating High-Quality Chocolate into Your Baking Recipes
Recommended Chocolate Percentages for Cookies
Using high quality baking chocolate in your chocolate chip cookies transforms them from good to extraordinary. For a balanced flavor that appeals to most palates, a chocolate with a cocoa percentage between 60% and 70% is often recommended. A 60-62% semisweet offers classic sweetness with a noticeable cocoa depth, while a 66-70% bittersweet provides a more intense, less sweet chocolate experience that beautifully contrasts with the sweet cookie dough.
Some bakers even use chocolates up to 75% or 80% for a truly dark, sophisticated cookie. Using a mix of different cocoa percentages, perhaps combining a 65% with a 72%, can add layers of flavor complexity. The higher cocoa butter content in high quality baking chocolate bars (compared to standard chips) ensures the chocolate melts into delectable puddles within the cookie as it bakes, creating that coveted gooey texture.
Pairing Chocolate with Different Cookie Doughs
The type of high quality baking chocolate you choose can also be paired strategically with the cookie dough itself. For a classic vanilla-based dough, almost any good quality chocolate works, but a 60-70% range offers a crowd-pleasing balance. If your dough has added brown sugar, which contributes moisture and a caramel note, a slightly darker chocolate (65-75%) can provide a nice counterpoint to the sweetness and molasses flavors.
For doughs flavored with nuts, spices like cinnamon, or even a hint of espresso, consider how the chocolate's profile complements these additions. A fruity single-origin high quality baking chocolate might pair wonderfully with a brown butter dough, while a chocolate with deeper, roasted notes could enhance a cookie with pecans. Using chopped chocolate from a bar, rather than chips, ensures better distribution and meltability, making each bite a luxurious experience.
Brownies and Cakes: Achieving Rich, Decadent Flavors
The Importance of Dutch-Processed Cocoa Powder
When baking brownies and chocolate cakes, using high quality baking chocolate is only one part of the equation; the type of cocoa powder you use also significantly impacts the final flavor and texture. Dutch-processed cocoa powder is cocoa beans that have been washed with an alkaline solution, which neutralizes their acidity. This process results in a darker, milder, and smoother chocolate flavor compared to natural cocoa powder, which is acidic and often brighter or fruitier.
Dutch-processed cocoa powder also reacts differently with leavening agents; it requires baking powder or a combination of baking powder and baking soda, whereas natural cocoa powder reacts with baking soda alone. For rich, fudgy brownies and moist, dark chocolate cakes, using Dutch-processed cocoa powder alongside your melted high quality baking chocolate often yields a deeper, more decadent chocolate flavor and a softer crumb structure, contributing significantly to the overall quality of the bake.
Enhancing Chocolate Flavor with Espresso Powder
A secret ingredient many bakers use to deepen and intensify the flavor of high quality baking chocolate in brownies and cakes is espresso powder (or instant coffee granules). While it might seem counterintuitive to add coffee to chocolate, a small amount doesn't make the dessert taste like coffee; instead, it amplifies the chocolate notes, making them taste richer and more pronounced.
Typically, adding 1 to 2 teaspoons of espresso powder per cup of cocoa powder or per 6-8 ounces of melted high quality baking chocolate is sufficient. Dissolve the espresso powder in the hot liquid called for in the recipe (like hot water or coffee) before adding it to the batter. This simple addition enhances the complexity and depth of the chocolate flavor without adding a distinct coffee taste, proving that sometimes, a little bit of another flavor can make the primary flavor shine brighter.
Frostings and Glazes: Creating Luxurious Finishes
Using High-Quality Chocolate for a Smooth, Glossy Finish
For frostings and glazes, the quality of your melted high quality baking chocolate is paramount for achieving a smooth, glossy, and professional-looking finish. Cheap chocolate can result in a dull, grainy, or oily glaze. By using high-quality chocolate with its higher cocoa butter content, you ensure that when melted and combined with other ingredients (like butter, cream, or sugar), it emulsifies beautifully, resulting in a naturally shiny and silky texture.
Whether you're making a simple chocolate glaze by melting chocolate with butter, a classic buttercream enriched with melted chocolate, or a pourable ganache, starting with premium chocolate makes a significant difference. The superior melting properties and richer flavor of high quality baking chocolate contribute to a more luxurious mouthfeel and a visually appealing sheen that elevates the entire dessert.
Adding a Touch of Sea Salt to Enhance Chocolate Sweetness
Just as a pinch of salt enhances the flavor of many dishes, adding a small amount of sea salt to chocolate frostings and glazes can dramatically improve their taste. Chocolate, especially bittersweet or dark high quality baking chocolate, benefits greatly from the contrast and enhancement provided by salt. The salt doesn't make the frosting taste salty; rather, it helps to balance the sweetness and brings out the complex bitter and fruity notes inherent in the chocolate.
Adding about 1/4 to 1/2 teaspoon of fine sea salt per batch of frosting or glaze (made with roughly 6-8 ounces of chocolate) is usually sufficient. Stir it in after the chocolate is melted and combined with the other ingredients. You can also sprinkle flaky sea salt on top of a glazed cake or brownies for a pleasant crunch and visual appeal. This simple addition elevates the flavor profile, making your high quality baking chocolate taste even more vibrant and delicious.
Storing High-Quality Baking Chocolate for Optimal Freshness
Proper Storage Techniques to Prevent Blooming
Proper storage is essential to maintain the quality of your high quality baking chocolate. The ideal storage conditions are cool, dry, and dark, with a consistent temperature between 60°F and 70°F (15°C and 21°C). Chocolate should be stored in its original packaging or wrapped tightly in plastic wrap and then placed in an airtight container to protect it from moisture, odors, and air. Avoid storing chocolate in the refrigerator if possible, as fluctuating temperatures and humidity can cause sugar bloom or fat bloom.
Bloom is the appearance of white or grayish streaks or spots on the surface of the chocolate. Sugar bloom occurs when moisture condenses on the surface, dissolving sugar crystals which then recrystallize as fuzzy white spots when the moisture evaporates. Fat bloom happens when cocoa butter separates and rises to the surface due to temperature fluctuations. While bloomed chocolate is still perfectly safe to eat and use in baking (the bloom usually disappears when melted), it affects the texture and appearance of solid chocolate and indicates suboptimal storage that can eventually lead to flavor degradation.
Shelf Life of Different Types of Baking Chocolate
High quality baking chocolate, when stored correctly, has a relatively long shelf life, though it does vary slightly by type. Dark high quality baking chocolate, with its lower sugar and no milk content, tends to last the longest, often retaining its quality for 18 to 24 months from the production date. Milk chocolate and white chocolate, containing milk solids and more sugar, are more susceptible to oxidation and absorbing odors, so their typical shelf life is shorter, usually around 6 to 12 months.
While chocolate doesn't truly "spoil" in the sense of becoming unsafe to eat (unless exposed to extreme moisture leading to mold), its flavor can degrade over time, becoming stale or developing off-flavors. It's always best to use high quality baking chocolate within its recommended timeframe for the freshest, most intense flavor in your baked goods. Checking the "best by" date on the packaging is a good guideline, but proper storage conditions are the most critical factor in preserving quality.
Where to Buy the Best High-Quality Chocolate for Baking: Online Retailers and Specialty Stores
Finding the best high quality baking chocolate often requires looking beyond the standard grocery store aisle. Specialty food stores, gourmet shops, and dedicated chocolate shops are excellent places to find premium brands like Valrhona, Callebaut, Guittard, Scharffen Berger, and others. These stores often have knowledgeable staff who can help you select the right type and cocoa percentage for your baking needs.
Online retailers offer an even wider selection, providing access to international brands and specific product lines that might not be available locally. Websites specializing in baking supplies or gourmet ingredients are good resources. When buying online, especially during warmer months, consider opting for expedited shipping or choosing retailers who use insulated packaging to prevent the chocolate from melting during transit. Investing in high quality baking chocolate from reputable sources is an investment in the flavor and success of your baking projects.
Frequently Asked Questions
How do I choose high-quality baking chocolate?
Look for chocolate with a high cocoa butter content and a clear percentage of cacao on the label. Consider the intended use, as different percentages are suitable for different recipes. Avoid chocolates with added oils or artificial flavors.
What's the best way to melt high-quality baking chocolate?
Use a double boiler or microwave in short intervals, stirring frequently. Ensure the bowl and utensils are completely dry to prevent seizing. Low and slow melting is crucial for smooth, even results.
Can I substitute different types of high-quality baking chocolate in a recipe?
While possible, it will impact the flavor and sweetness. Adjust sugar accordingly when substituting between dark, milk, and white chocolate. Understanding the cacao percentage is key to successful substitutions.
How should I store high-quality baking chocolate?
Store in a cool, dark, and dry place, away from strong odors. Properly stored chocolate can last for months, but temperature fluctuations should be avoided. This helps prevent blooming.
What is "blooming" and how can I prevent it in high-quality baking chocolate?
Blooming is a white or greyish coating that appears on chocolate due to fat or sugar crystals rising to the surface. Proper tempering and storage prevent blooming, but bloomed chocolate is still safe to eat.
Final Reflection: The Enduring Allure of Exquisite Chocolate
The pursuit of high-quality baking chocolate isn't merely a culinary pursuit; it's a commitment to elevating the entire baking experience. From the initial melt to the final bite, the quality of your chocolate profoundly impacts the texture, flavor, and overall success of your creations. This journey through selecting, prepping, and utilizing high-quality chocolate has highlighted the transformative power of a truly exceptional ingredient.
The impact of superior chocolate extends far beyond the individual baker; it influences the entire landscape of artisanal baking and pastry arts. The dedication to sourcing ethically produced cacao beans, understanding the nuances of different chocolate percentages, and mastering the art of tempering all contribute to a richer, more nuanced culinary culture. The best things in life are simple, but not easy.
This sentiment perfectly encapsulates the effort involved in working with high-quality chocolate, yet the reward is undeniably worth the dedication.
Now, consider your own baking journey. What will you do differently next time you reach for chocolate? Will you take the time to carefully select a bar that speaks to your palate and the recipe's needs? Will you embrace the process of tempering, understanding that it's an investment in the final product's brilliance? Embrace the challenge, and discover the profound difference that high-quality chocolate can make in your baking. The journey towards baking excellence begins with a single, carefully chosen piece of chocolate.
Unlock Your Inner Chocolatier: Elevate Your Baking!
Thanks for joining us on this delicious journey into the world of chocolate preparation! We hope you’ve gained valuable insights into achieving perfectly melted, flawlessly tempered chocolate for your baking creations. Now it's time to put your new knowledge into practice.
- Master the Melt: Try out the double-boiler method (or your preferred technique!) on your next baking project. Note the difference in texture and shine compared to previously used methods!
- Share Your Success: Post a photo of your amazing chocolate creation on social media and tag us – we'd love to see your results! Use #BakeWithEaseChocolate
- Experiment with Flavors: Take your chocolate skills further by experimenting with different types of chocolate and flavor infusions. What exciting new combination will you create?
Ready to transform your baking with rich, luxurious chocolate? What's your favorite chocolate-based recipe to perfect?