
Mastering Melting Chocolate Wafers: Quality Brands Explained

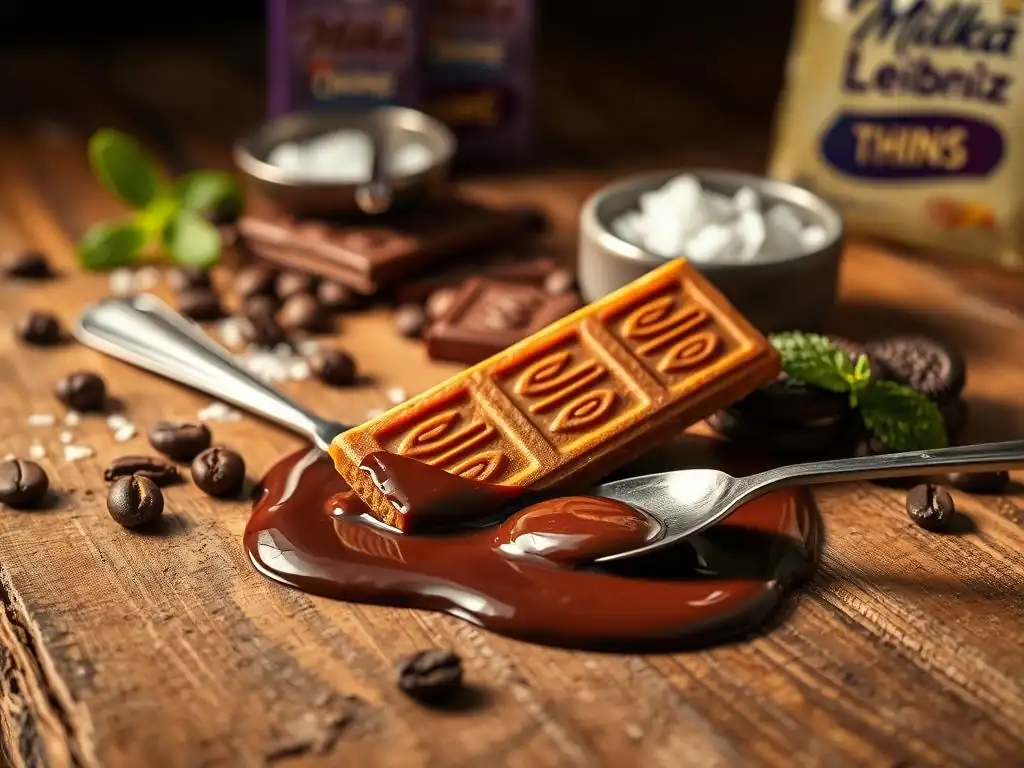
Welcome to BakeWithEase, your trusted companion in the delightful world of baking! Ever wondered how to achieve that perfectly smooth, decadent glaze using chocolate wafers? Dive into our comprehensive guide on the best chocolate wafers melting recipe and unlock the secrets to working with premium baking ingredients. Discover the quality brands that will elevate your creations and leave your taste buds wanting more. Intrigued? Let's get started!
- Introduction: The Secret to Silky Smooth Chocolate - A Guide to Melting Wafers
- Understanding Chocolate Wafers: Types and Quality Differences
- Best Chocolate Wafers for Melting: A Brand Comparison
- The Perfect Melting Technique: Achieving Silky Smooth Chocolate Wafers
- Recipes Using Melted Chocolate Wafers: Put Your Skills to the Test
- Conclusion: Elevate Your Baking with the Right Chocolate Wafers
-
Frequently Asked Questions
- What are chocolate wafers, and why are they often preferred for melting?
- What qualities should I look for when choosing the "best" chocolate wafers for melting?
- How does the brand of chocolate wafers affect the melting process and the final product?
- What are some common mistakes to avoid when melting chocolate wafers?
- Can I use regular chocolate chips instead of chocolate wafers for melting?
- Final Reflection: The Enduring Allure of the Perfect Melt
- Unlock Your Inner Chocolatier: Master Melting Chocolate Wafers!
Introduction: The Secret to Silky Smooth Chocolate - A Guide to Melting Wafers
Achieving that perfectly smooth, glossy chocolate coating or drizzle can feel like a baking superpower. Often, the secret lies not just in technique, but in the ingredients you choose. Enter chocolate wafers, specifically designed for melting. Unlike standard chocolate chips or bars, which contain stabilizers that prevent them from melting smoothly (and can result in a grainy texture), melting wafers are formulated to melt easily and consistently, providing that professional finish we all crave in our baked goods and confections. Whether you're dipping pretzels, making chocolate bark, or creating intricate decorations, using the right melting chocolate wafers is paramount.
This guide will dive deep into the world of melting chocolate wafers, exploring what makes them different, what qualities to look for, and comparing some of the most popular and reliable brands available. We'll also cover the best practices for melting them to achieve that coveted silky texture, and even provide a couple of simple recipes to put your newfound knowledge to the test.
Mastering the art of melting chocolate wafers is a fundamental skill for any baker looking to elevate their creations, from simple treats to more elaborate desserts. Let's unlock the secrets to achieving the best chocolate wafers melting recipe results every time.
Understanding Chocolate Wafers: Types and Quality Differences
What are Chocolate Wafers? Defining Melting Chocolate
Chocolate wafers, often referred to as melting wafers, candy melts, or compound chocolate, are confectionery products designed specifically for easy melting and coating. Unlike true chocolate, which is made primarily from cocoa mass, cocoa butter, and sugar, many melting wafers are based on vegetable oils (like palm kernel oil) instead of cocoa butter.
This substitution is what allows them to melt smoothly without needing tempering, a complex process required for real chocolate to achieve a stable, glossy finish. They come in various colors and flavors, including standard milk, dark, and white chocolate flavors, as well as vibrant artificial colors for decorative purposes.
The key characteristic of melting wafers is their low melting point and consistent flowability when melted. They harden quickly at room temperature, forming a firm coating that is ideal for dipping candies, fruits, or baked goods. While they offer convenience and ease of use, it's important to note that those made with vegetable oils (compound chocolate) will have a different flavor profile and texture compared to true chocolate. They typically lack the rich, complex taste and the characteristic "snap" of properly tempered chocolate but are excellent for applications where ease of melting and a smooth coating are the priority.
Key Qualities to Look For in Chocolate Wafers for Melting
When selecting chocolate wafers for your baking projects, quality matters, even within the category of melting wafers. One crucial factor is the fat content and type. Wafers made with cocoa butter, even if labeled as "melting wafers," will generally offer a richer flavor closer to traditional chocolate, though they may still require some form of tempering or careful handling to avoid blooming (white streaks).
Wafers made with vegetable oils (compound chocolate) are the easiest to melt and handle but will have a less intense chocolate flavor. Look at the ingredient list: cocoa butter higher up indicates better quality flavor from a chocolate perspective, while vegetable oils higher up indicate easier melting properties.
Another quality indicator is the consistency and smoothness when melted. High-quality melting wafers should melt into a fluid, lump-free liquid that coats smoothly without being too thick or too thin. Consistency between batches from the same brand is also important for reliable results in recipes.
While cost can be a factor, sometimes investing in a slightly higher-priced brand means a better flavor and a smoother, more predictable melting experience, which is crucial for achieving the best chocolate wafers melting recipe results. Consider the intended use: for simple dipping where flavor isn't paramount, a budget-friendly compound chocolate wafer might suffice, but for more flavor-sensitive applications, seek out options with cocoa butter or brands known for superior taste.
Best Chocolate Wafers for Melting: A Brand Comparison
Ghirardelli Melting Wafers: A Classic Choice
Ghirardelli is a well-respected name in the world of chocolate, and their melting wafers live up to the brand's reputation for quality. Often found in major grocery stores, Ghirardelli melting wafers are formulated for easy melting and a smooth finish, making them a popular choice for home bakers. They offer a good balance of convenience and flavor compared to some lower-quality compound chocolates. Their dark chocolate variety typically has a pleasant, not-too-bitter taste, while their white and milk chocolate options are also widely used.
These wafers melt smoothly in a microwave or double boiler and harden relatively quickly, providing a nice coating for various treats. While they are compound chocolate (containing vegetable oils), Ghirardelli manages to maintain a decent flavor profile that is generally superior to many other readily available candy melts. They are particularly favored for applications like dipping strawberries, pretzels, or cake pops where ease of use and a reliable set are important, contributing positively to the outcome of many a best chocolate wafers melting recipe.
Guittard is another historic American chocolate company known for its high-quality products, and their A'Peels are a premium option in the melting wafer category. These wafers are designed for easy melting and have a richer flavor than many standard compound chocolates, often using a blend of cocoa and fats that results in a superior taste closer to real chocolate. They are favored by professional bakers and serious home enthusiasts for their excellent performance and better flavor profile.
Guittard A'Peels melt into a very smooth, fluid consistency, making them ideal for dipping and coating applications where a thin, even layer is desired. They offer a noticeable step up in taste quality compared to basic candy melts, providing a more authentic chocolate experience without the need for tempering. While they might be slightly more expensive and harder to find than Ghirardelli in some areas, their performance and flavor make them a top contender for anyone seeking the best chocolate wafers melting recipe results with a focus on taste.
Merckens Chocolate Wafers: Budget-Friendly and Versatile
Merckens is a brand widely used by confectioners and home candy makers, known for offering a balance of affordability and decent performance. Their melting wafers are a type of compound chocolate available in a wide array of colors and flavors beyond the standard chocolate varieties, making them incredibly versatile for decorative purposes and colorful treats. They are often sold in bulk at specialty candy supply stores.
Merckens wafers melt very easily and consistently, providing a reliable coating that sets firmly. While their flavor is typical of compound chocolate (based on vegetable oils), they are a go-to for their ease of use, wide color selection, and cost-effectiveness, especially when making large batches of dipped items or colorful candies. For projects where visual appeal and ease of handling are the main priorities, and a strong, complex chocolate flavor is secondary, Merckens offers a practical and budget-friendly solution for various best chocolate wafers melting recipe applications.
Callebaut Callets: Professional-Grade Chocolate at Home
Callebaut is a renowned Belgian chocolate producer, and while their standard chocolate requires tempering, their "callets" (small, easy-to-melt drops) are often discussed alongside melting wafers. It's crucial to distinguish: most Callebaut callets are real chocolate (couverture) and do require tempering for a stable, glossy finish. However, their high quality and consistent form factor make them incredibly easy to melt and work with when tempering is performed. They offer a vastly superior flavor profile compared to compound chocolates.
For bakers willing to learn or practice tempering, Callebaut callets provide access to professional-grade chocolate results, including the desirable "snap" and melt-in-your-mouth texture of real chocolate. They are available in various cocoa percentages, allowing for fine-tuning the intensity of chocolate flavor in recipes. While not "melting wafers" in the compound chocolate sense, they are the choice for those seeking the absolute best chocolate wafers melting recipe results from a flavor perspective and are willing to undertake the tempering process.
The Perfect Melting Technique: Achieving Silky Smooth Chocolate Wafers
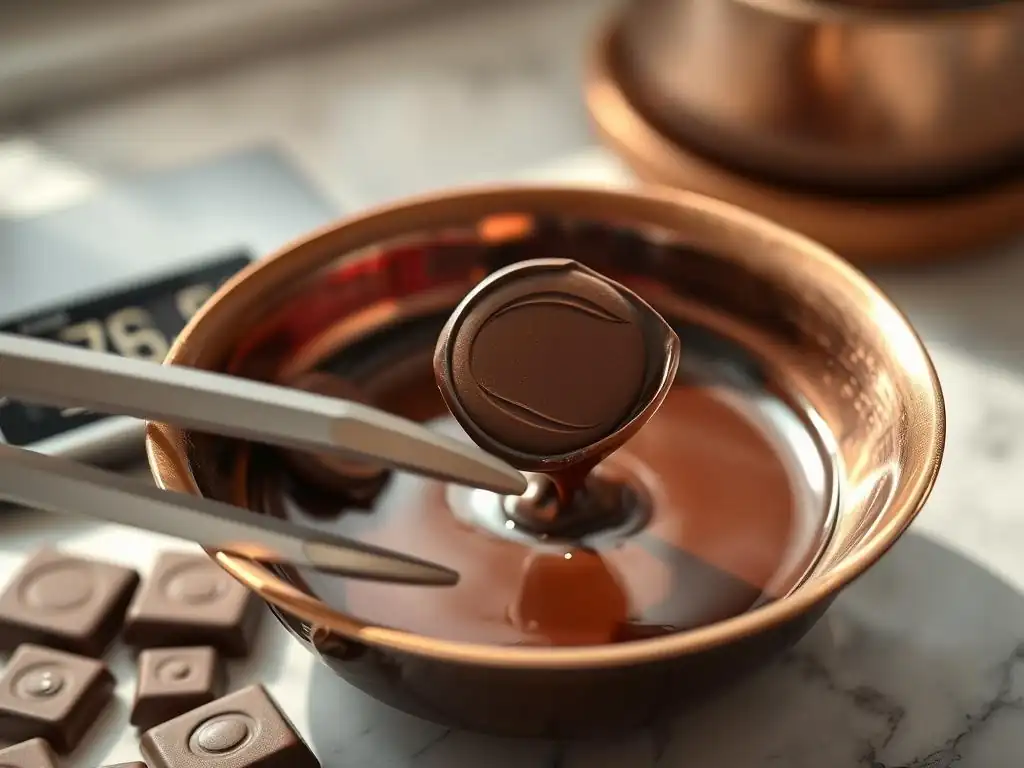
Step-by-Step Guide: How to Melt Chocolate Wafers Properly
Melting chocolate wafers properly is key to achieving a smooth, glossy finish without scorching or seizing the chocolate. The most common methods are using a microwave or a double boiler. For the microwave method:
- Place the chocolate wafers in a microwave-safe bowl. Ensure the bowl is completely dry, as even a drop of water can cause seizing.
- Microwave on 50% power for 30-second intervals. This low power and short bursts prevent overheating.
- Stir thoroughly after each 30-second interval. The chocolate will hold its shape even when it's starting to melt, so stirring is essential to distribute heat and check consistency.
- Continue microwaving and stirring until the wafers are mostly melted with just a few small lumps remaining.
- Remove from the microwave and stir continuously. The residual heat in the bowl and the melted chocolate will melt the remaining lumps, resulting in a perfectly smooth consistency. Avoid the temptation to keep microwaving until fully liquid in the microwave itself.
Using a double boiler (a bowl set over a pot of simmering water, ensuring the bottom of the bowl doesn't touch the water) is another excellent method, providing gentle, even heat. Place wafers in the dry bowl, heat the water to a simmer (not a rolling boil), and stir the chocolate frequently until smooth. This method offers more control and is less prone to scorching, making it a reliable choice for achieving the best chocolate wafers melting recipe outcomes.
Troubleshooting Common Melting Problems
Even with the right technique, sometimes things go wrong when melting chocolate wafers. The most common issue is seizing, which happens when the chocolate comes into contact with even a tiny amount of water or is overheated. Seized chocolate turns into a thick, grainy, unworkable paste.
If this happens, sometimes you can rescue it by stirring in a teaspoon of vegetable oil or melted shortening (not water or milk) at a time, until it smooths out, though the texture and finish may still be compromised. Prevention is key: always use dry bowls and utensils, and be extremely careful when melting over steam (ensure no steam or condensation gets into the chocolate).
Overheating is another frequent problem, especially in the microwave. Chocolate that is overheated can become thick, dull, or even burn, developing a scorched flavor. This is why using 50% power and short intervals, with lots of stirring, is crucial in the microwave. If chocolate seems too thick after melting, resist adding water.
For compound chocolates, adding a tiny bit of vegetable oil or melted shortening can thin it out. For real chocolate (like Callebaut callets that you are tempering), this would affect the temper. Always melt just until smooth, relying on residual heat to finish the job. Following these tips increases your chances of achieving the best chocolate wafers melting recipe results consistently.
Recipes Using Melted Chocolate Wafers: Put Your Skills to the Test
Easy Chocolate Covered Strawberries Recipe
Creating beautiful chocolate-covered strawberries is a simple yet impressive way to use melted chocolate wafers. This recipe is perfect for beginners and showcases the smooth coating ability of good melting wafers.
Ingredients:
- 1 pound fresh strawberries, washed and thoroughly dried (this is critical!)
- 10-12 ounces quality melting chocolate wafers (Ghirardelli, Guittard, or Merckens work well depending on preference)
- Optional: Sprinkles, chopped nuts, or white chocolate wafers for decoration
Instructions:
- Ensure strawberries are completely dry. Any moisture will cause the chocolate to seize.
- Melt the chocolate wafers using the microwave or double boiler method described above until perfectly smooth.
- Hold each strawberry by the stem and dip it into the melted chocolate, rotating to coat about two-thirds or three-quarters of the berry.
- Lift the strawberry out, allowing excess chocolate to drip back into the bowl.
- Place the dipped strawberry on a baking sheet lined with parchment paper or wax paper.
- Optional: While the chocolate is still wet, sprinkle with nuts or sprinkles, or drizzle with melted white chocolate wafers.
- Let the strawberries set at room temperature or in the refrigerator until the chocolate is firm (about 15-30 minutes).
This best chocolate wafers melting recipe for strawberries relies on the easy handling and quick set of quality melting wafers.
Ingredients:
- 1 lb fresh strawberries, dried
- 10-12 oz melting chocolate wafers
- Optional toppings
Steps:
1. Wash & dry strawberries completely.
2. Melt chocolate wafers until smooth.
3. Dip strawberries, let excess drip.
4. Place on parchment.
5. Add toppings if desired.
6. Let set until firm.
Decadent Chocolate Bark Recipe
Chocolate bark is incredibly easy to make and highly customizable, making it a fantastic application for melted chocolate wafers. It's a great way to experiment with different flavors and textures.
Ingredients:
- 12-16 ounces quality melting chocolate wafers (choose your preferred type and brand)
- Optional toppings: Chopped nuts, dried fruit, pretzels, candy pieces, sea salt, crushed cookies, other colors of melted wafers for swirls.
Instructions:
- Line a baking sheet with parchment paper or wax paper.
- Melt the chocolate wafers using your preferred method (microwave or double boiler) until completely smooth and fluid.
- Pour the melted chocolate onto the prepared baking sheet.
- Use an offset spatula or the back of a spoon to spread the chocolate into a thin, even layer, about 1/4 inch thick.
- While the chocolate is still wet, generously sprinkle your desired toppings over the surface. If using other colors of melted wafers for swirls, drizzle them over the base layer and swirl gently with a toothpick.
- Let the chocolate bark set completely at room temperature or in the refrigerator (about 1-2 hours).
- Once firm, break the bark into irregular pieces.
This best chocolate wafers melting recipe for chocolate bark allows for endless creativity and is perfect for using up various pantry staples as toppings.
Ingredients:
- 12-16 oz melting chocolate wafers
- Assorted toppings (nuts, fruit, pretzels, etc.)
Steps:
1. Line baking sheet with parchment.
2. Melt chocolate wafers until smooth.
3. Pour onto sheet, spread evenly.
4. Add toppings while wet.
5. Let set completely.
6. Break into pieces.
Conclusion: Elevate Your Baking with the Right Chocolate Wafers
Choosing the right chocolate wafers and melting them correctly can significantly enhance the quality and appearance of your baked goods and confections. From the smooth, easy-to-use nature of compound chocolates like Ghirardelli, Guittard A'Peels, and Merckens, to the superior flavor of real chocolate callets like Callebaut (requiring tempering), there's a melting chocolate option suited for every project and skill level. Understanding the differences and selecting a quality product tailored to your needs is the first step toward achieving professional-looking results at home.
Mastering the simple techniques for melting and troubleshooting common issues will ensure you get that consistently silky, dippable texture every time. Whether you're whipping up a batch of chocolate-covered strawberries or creating custom chocolate bark, the best chocolate wafers melting recipe starts with selecting a quality wafer and handling it with care. Experiment with different brands and techniques to find your favorites, and enjoy the process of adding a touch of chocolatey perfection to your sweet creations. Happy melting!
Frequently Asked Questions
What are chocolate wafers, and why are they often preferred for melting?
Chocolate wafers, sometimes called melting chocolate, are specifically formulated with a higher cocoa butter content than regular chocolate, which allows them to melt smoothly and evenly. This makes them ideal for dipping, coating, and candy making.
What qualities should I look for when choosing the "best" chocolate wafers for melting?
The best chocolate wafers should have a high cocoa butter content, a smooth texture, and a flavor you enjoy. Consider factors like brand reputation and ingredient quality for optimal results.
How does the brand of chocolate wafers affect the melting process and the final product?
Different brands use varying ratios of cocoa butter, sugar, and other ingredients, which can impact melting speed, smoothness, and flavor. Experimenting with different brands is recommended to find your preferred melting characteristics and ultimate taste.
What are some common mistakes to avoid when melting chocolate wafers?
Overheating or introducing water into the chocolate can cause it to seize or become grainy. Always use a double boiler or microwave in short intervals, stirring frequently to prevent burning, and ensure your equipment is completely dry.
Can I use regular chocolate chips instead of chocolate wafers for melting?
While possible, chocolate chips often contain stabilizers that prevent them from melting as smoothly as wafers. Wafers are specially formulated for melting, making them the preferred choice for a glossy and professional finish.
Final Reflection: The Enduring Allure of the Perfect Melt
The quest for the ideal melting chocolate wafer is far more than a culinary pursuit; it's a journey into the heart of texture, taste, and the transformative power of simple ingredients. From the initial crackle as the wafers yield to gentle heat, to the smooth, luscious cascade that results, the perfect melt is a testament to the artistry of baking. This journey, as explored in this article, highlights the crucial role of brand selection in achieving this culinary nirvana.
The impact of a flawlessly melted chocolate wafer extends far beyond the individual dessert. It's a cornerstone of countless recipes, from decadent brownies and rich cakes to elegant truffles and sophisticated mousses. The subtle nuances in flavor and texture imparted by different brands significantly influence the final product, shaping the overall culinary experience. As renowned pastry chef, Jacques Torres, once said, The best chocolate is the one that makes you happy.
And for me, that happiness is inextricably linked to the mastery of the perfect melt.
Now, consider your own baking journey. What have you learned about the subtle differences between brands? Which chocolate wafer consistently delivers the results you crave? I encourage you to experiment, to embrace the process of discovery, and to find the brand that unlocks your own personal definition of the perfect melt. The journey of mastering this seemingly simple technique is a rewarding one, filled with delicious surprises and the satisfaction of creating something truly special.
Unlock Your Inner Chocolatier: Master Melting Chocolate Wafers!
Thanks for joining us on this delicious journey into the world of melting chocolate wafers! We hope you now feel confident in choosing the perfect brand for your next baking project. Ready to put your newfound knowledge to the test?
- Dive into your next baking adventure: Try a recipe using your favorite chocolate wafer brand and share your masterpiece with us – we'd love to see it!
- Explore new flavor combinations: Experiment with different types of chocolate wafers and add-ins to discover your signature creations.
- Share the chocolate love: Spread the word! Tell your fellow baking enthusiasts about what you've learned.
What's your go-to tip for melting chocolate wafers perfectly? Let's chat in the comments!