
Get Confident Baking: Simple NoBake Cookie Bar Ideas (Beginner Level)

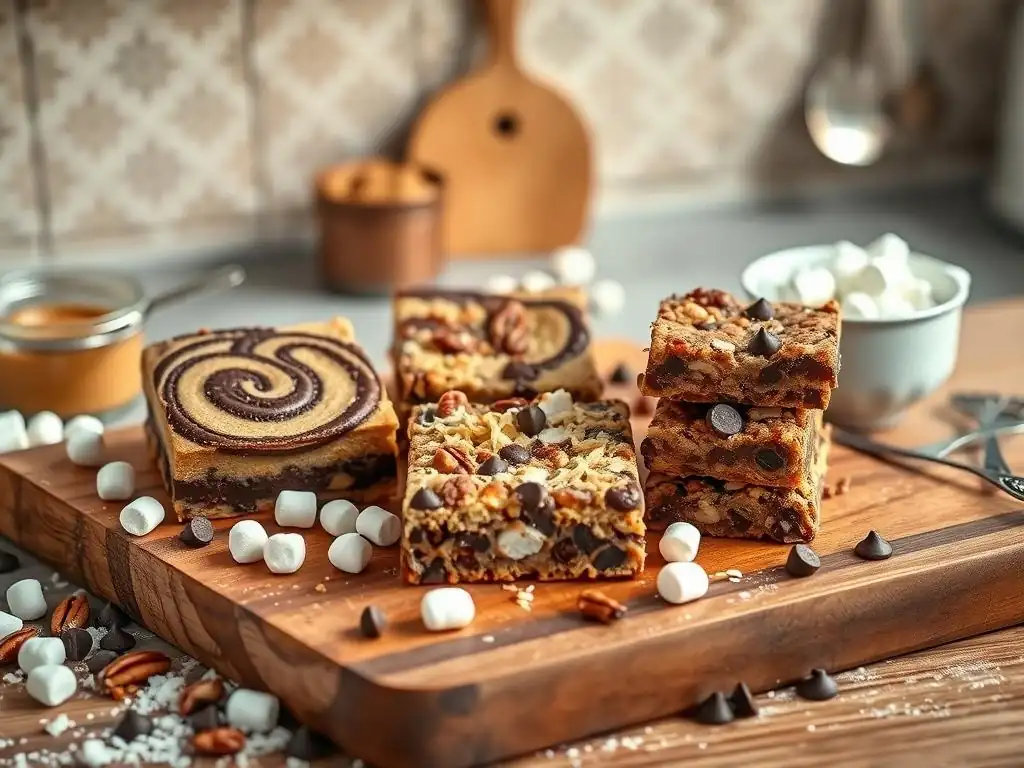
Welcome to BakeWithEase, your haven for conquering kitchen creations! Are you ready to whip up something delicious without even turning on the oven? Dive into our world of No Bake Cookie Bars and discover how unbelievably simple it is to create mouthwatering treats. We're about to unlock the secrets to these beginner-friendly delights – get ready to impress!
- BakeWithEase: Your Guide to Delicious No-Bake Cookie Bars
- Why No-Bake Cookie Bars are Perfect for Beginner Bakers
- Three Easy No-Bake Cookie Bar Recipes to Start With
- Essential Tips for No-Bake Cookie Bar Success
- Troubleshooting Common No-Bake Cookie Bar Problems
- Elevate Your No-Bake Cookie Bars: Flavor Variations & Add-Ins
- No-Bake Cookie Bar FAQs: Your Questions Answered
- Share Your No-Bake Cookie Bar Creations!
-
Frequently Asked Questions
- What exactly are no-bake cookie bars and why are they good for beginners?
- What are some common ingredients found in no-bake cookie bar recipes?
- What makes no-bake cookie bars different from traditional baked cookies?
- Can I customize no-bake cookie bar recipes easily?
- How should I store no-bake cookie bars to keep them fresh?
- Final Reflection: Embracing Confidence Through No-Bake Cookie Bars
- Unlock Your Inner Baker: No-Bake Bliss Awaits!
Welcome to BakeWithEase, your friendly corner for all things baking! We know starting out can feel a little daunting, but we're here to show you that creating delightful treats is absolutely within reach, even without turning on the oven. That's where the magic of no-bake cookie bars comes in – they're incredibly forgiving, require minimal equipment, and deliver maximum flavor satisfaction. Think of them as your first step into the wonderful world of creating delicious desserts right in your own kitchen.
This guide is specifically designed for you, the beginner baker. We'll walk you through why no-bake bars are the perfect starting point, share three easy-to-follow recipes for classic favorites, provide essential tips for success, and even help you troubleshoot common hiccups. By the end, you'll not only have a batch of tasty no bake cookie bars ready to enjoy but also the confidence to explore more simple baking adventures. Let's get started on your no-bake journey!
Quick and Easy Dessert Recipes for Baking Newbies
One of the biggest appeals of no-bake cookie bars for beginners is their inherent simplicity and speed. Unlike traditional baked goods that might require precise measurements, temperature control, and lengthy cooling times, many no-bake recipes can be whipped up in under 20-30 minutes of active prep time. This means you can satisfy that sweet craving or prepare a treat for friends without spending hours in the kitchen, making them ideal quick dessert recipes.
Moreover, the steps involved are generally straightforward: melting ingredients, mixing, pressing into a pan, and chilling. There's less room for common baking errors like overmixing dough or incorrect oven temperature. This low barrier to entry allows new bakers to build confidence quickly, seeing successful results on their first few attempts, which is a huge motivator to keep exploring the baking world.
No Oven Required: The Convenience of No-Bake Treats
Perhaps the most obvious advantage, especially for beginners or those in warm climates, is that no-bake cookie bars require absolutely no oven use. This eliminates concerns about preheating times, oven temperature variations, or burning your treats. It also means less cleanup involving sticky baking sheets or oven spills.
The convenience extends beyond just avoiding the oven. Many no-bake recipes utilize common pantry staples and often involve just a few simple steps completed on the stovetop or even just mixing in a bowl. This hands-off approach, relying primarily on chilling time to set the bars, makes them incredibly convenient for busy schedules or spontaneous dessert cravings. Just mix, chill, and slice!
Simple Ingredients, Big Flavor: Mastering No-Bake Bar Recipes
No-bake cookie bars are renowned for delivering rich, satisfying flavors using surprisingly simple ingredient lists. Often, you'll find staples like peanut butter, oats, chocolate chips, graham crackers, butter, and sugar forming the base of these delicious treats. These are ingredients readily available in most grocery stores and often already in your pantry, saving you a special trip.
Mastering no-bake bar recipes focuses more on the process of combining and setting ingredients rather than complex chemical reactions like leavening. This allows beginners to focus on fundamental techniques like melting chocolate or butter mixtures correctly and achieving the right consistency before chilling. The resulting bars are often dense, chewy, and packed with flavor, proving that simple ingredients can indeed create something truly delicious.
Recipe 1: Chocolate Peanut Butter No-Bake Bars
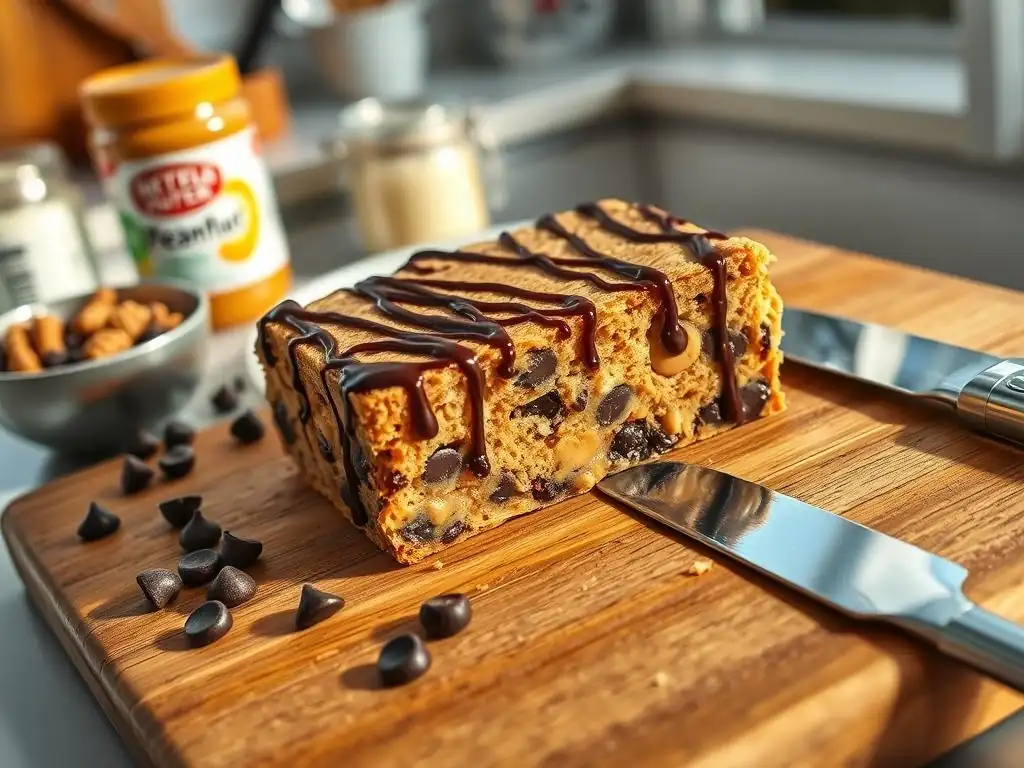
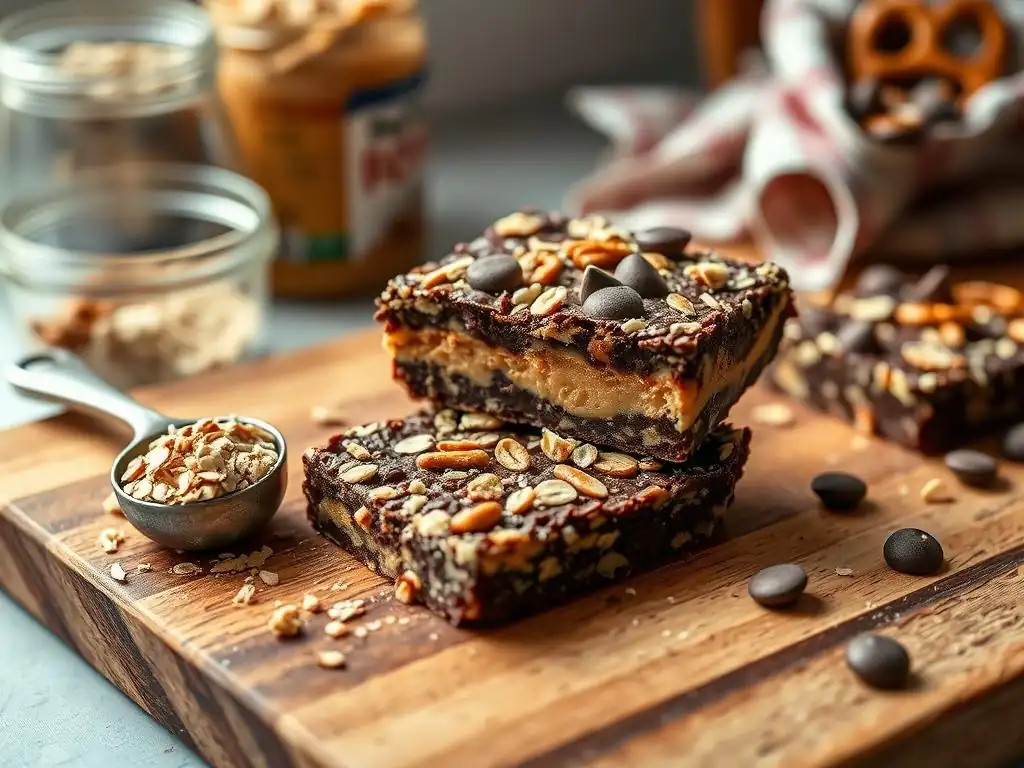
These classic no-bake cookie bars are a universal favorite for a reason! They combine the irresistible pairing of chocolate and peanut butter into a chewy, satisfying treat that sets up beautifully in the refrigerator. They are incredibly simple, requiring just a few common ingredients and minimal effort, making them a perfect first project for anyone new to making no bake cookie bars.
Typically, a batch yields about 16-24 bars depending on how you slice them, and the active prep time is usually under 15 minutes. The main waiting period is the chilling time, which is essential for the bars to set properly. This recipe relies on the fats in peanut butter and butter, combined with a sweetener and a binding agent like oats or graham cracker crumbs, to create a firm yet chewy texture once cooled.
Ingredients for Chocolate Peanut Butter Bars
- 1/2 cup (1 stick) unsalted butter
- 1/2 cup milk
- 1 cup granulated sugar
- 1/4 cup unsweetened cocoa powder
- 1/2 cup peanut butter (creamy or crunchy)
- 1 teaspoon vanilla extract
- 3 cups rolled oats (old-fashioned or quick)
Step-by-Step Instructions: Making Chocolate Peanut Butter No-Bakes
Here’s a simple task list to guide you through making these delicious no-bake treats:
- [ ] Line an 8x8 or 9x13 inch pan with parchment paper, leaving some overhang on the sides.
- [ ] In a medium saucepan over medium heat, combine the butter, milk, sugar, and cocoa powder.
- [ ] Bring the mixture to a rolling boil, stirring constantly.
- [ ] Boil for exactly 1 minute, still stirring.
- [ ] Remove the saucepan from the heat.
- [ ] Stir in the peanut butter and vanilla extract until completely melted and smooth.
- [ ] Add the rolled oats and stir until they are fully coated with the chocolate-peanut butter mixture.
- [ ] Quickly pour the mixture into the prepared pan.
- [ ] Using a spatula or the back of a spoon, press the mixture down firmly and evenly into the pan.
- [ ] Let the bars cool slightly at room temperature for about 30 minutes.
- [ ] Transfer the pan to the refrigerator and chill for at least 1-2 hours, or until completely set.
- [ ] Use the parchment paper overhang to lift the set bars out of the pan.
- [ ] Slice into squares or rectangles using a sharp knife.
Tips for Perfect Chocolate Peanut Butter Cookie Bars
Getting the boil time right is crucial for these no-bake cookie bars. Boiling for exactly one minute helps the sugar mixture reach the correct consistency to bind the oats without becoming too hard or too soft. Boiling for less than a minute might result in bars that don't set properly, while boiling for too long can make them crumbly.
Another key tip is to work quickly once you add the oats. The mixture will start to thicken as it cools, so it's important to mix the oats in thoroughly and press the mixture into the pan as soon as possible. If the mixture becomes too stiff to press, you can gently warm it slightly on the stovetop, but be careful not to overheat it. Ensure you press the mixture down very firmly for compact bars.
Recipe 2: Scotcheroo Bars (No-Bake)
Scotcheroos are another classic no-bake treat that are remarkably simple and incredibly addictive. They feature a crispy base made from peanut butter and crispy rice cereal, topped with a melted chocolate and butterscotch mixture. These no bake cookie bars offer a delightful textural contrast and a unique flavor profile that's slightly different from the pure chocolate-peanut butter bars.
This recipe also boasts a quick prep time, often under 15 minutes, with the majority of the time being dedicated to chilling and allowing the chocolate topping to set. A standard batch in a 9x13 inch pan can yield around 24 bars. They are a fantastic option when you need a crowd-pleasing dessert in a hurry, requiring no special baking skills, just a little melting and mixing.
Ingredients for Scotcheroo Bars
- 1 cup light corn syrup
- 1 cup granulated sugar
- 1 cup peanut butter (creamy is typical)
- 6 cups crispy rice cereal
- 1 cup chocolate chips (semi-sweet or milk)
- 1 cup butterscotch chips
Step-by-Step Instructions: Making Scotcheroo Bars
Follow these steps for perfect, chewy Scotcheroo no-bake cookie bars:
- [ ] Line a 9x13 inch pan with parchment paper.
- [ ] In a large saucepan over medium heat, combine the corn syrup and sugar.
- [ ] Bring the mixture to a boil, stirring constantly, and remove immediately from the heat once it reaches a boil. Do not boil for a full minute like the previous recipe.
- [ ] Stir the peanut butter into the hot syrup mixture until completely melted and smooth.
- [ ] Pour the crispy rice cereal into the saucepan and stir gently until the cereal is evenly coated.
- [ ] Press the mixture firmly and evenly into the prepared pan. A piece of wax paper or the back of a greased spoon can help prevent sticking.
- [ ] In a separate microwave-safe bowl or small saucepan, combine the chocolate chips and butterscotch chips.
- [ ] Microwave in 30-second intervals, stirring after each, until melted and smooth. Alternatively, melt them gently over low heat on the stovetop or using a double boiler.
- [ ] Pour the melted chocolate/butterscotch mixture over the cereal base in the pan, spreading it evenly to the edges.
- [ ] Let the bars cool at room temperature for about 30 minutes.
- [ ] Refrigerate for at least 1 hour, or until the topping is set.
- [ ] Lift the bars out using the parchment paper and slice into squares.
Variations: Adding Butterscotch Chips or Pretzels
While the classic Scotcheroo topping is a mix of chocolate and butterscotch chips, you can easily play with the ratios or even omit one if you prefer. Using only butterscotch chips creates a distinctly different, sweeter flavor profile. Conversely, using only chocolate chips results in a treat more akin to a crispy chocolate bar base, which is equally delicious.
For an interesting textural and flavor twist, consider adding crushed pretzels to the cereal mixture or sprinkling them over the melted topping before it sets. About 1/2 cup of crushed pretzels added to the cereal base can introduce a pleasant salty contrast that complements the sweetness of the bars. This simple addition elevates the standard no bake cookie bars into something a bit more complex and exciting.
Recipe 3: Graham Cracker No-Bake Bars
Graham cracker no-bake bars are perhaps one of the simplest no-bake recipes available, making them incredibly beginner-friendly. They typically involve a base of crushed graham crackers mixed with butter and sugar, sometimes with peanut butter or other binders, topped with a layer of melted chocolate or frosting. They offer a crumbly yet set texture and a sweet, comforting flavor reminiscent of s'mores or classic dessert crusts.
These bars are often made using just a few ingredients you likely already have, like graham crackers, butter, and powdered sugar. Prep time is minimal, often under 10-15 minutes, and the chilling time is relatively short, around 1-2 hours. This makes them an excellent choice for a quick dessert project, proving that even simple no bake cookie bars can be utterly delicious and satisfying.
Ingredients for Graham Cracker No-Bake Bars
- 1 cup (2 sticks) unsalted butter, melted
- 1 cup powdered sugar
- 1/2 cup milk
- 1 teaspoon vanilla extract
- 4 cups graham cracker crumbs (from about 2 sleeves of crackers)
- 1 cup chocolate chips (for topping)
Step-by-Step Instructions: Making Graham Cracker Bars
Here are the steps to create these easy graham cracker no-bake cookie bars:
- [ ] Line a 9x13 inch pan with parchment paper.
- [ ] In a large bowl, combine the melted butter, powdered sugar, milk, and vanilla extract. Whisk until smooth.
- [ ] Add the graham cracker crumbs to the wet ingredients and stir until everything is well combined and the crumbs are evenly moistened.
- [ ] Press the mixture firmly and evenly into the bottom of the prepared pan.
- [ ] In a microwave-safe bowl or small saucepan, melt the chocolate chips using 30-second intervals in the microwave, stirring, or gently on the stovetop until smooth.
- [ ] Pour the melted chocolate over the graham cracker base, spreading it evenly.
- [ ] Chill in the refrigerator for at least 1-2 hours, or until the chocolate topping is set and the base is firm.
- [ ] Lift the bars out of the pan using the parchment paper and slice into squares.
Fun Topping Ideas for Graham Cracker Cookie Bars
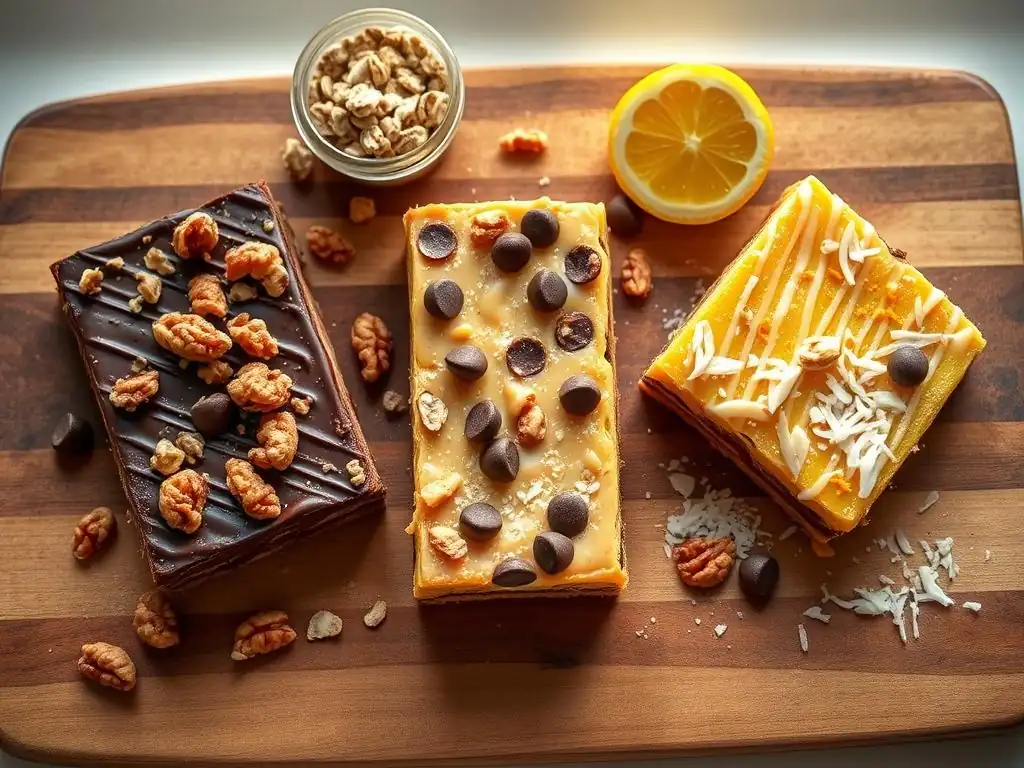
The basic graham cracker no-bake bar is a fantastic canvas for various toppings beyond simple melted chocolate. Once you've poured the melted chocolate layer, you can sprinkle on miniature marshmallows, chopped nuts like pecans or walnuts, or even some shredded coconut before the chocolate sets. These additions provide extra texture and flavor.
Another popular variation is to use a simple glaze or frosting instead of chocolate. A mix of powdered sugar, a little milk or lemon juice, and a touch of vanilla can create a sweet, simple topping. You could also add a layer of peanut butter or Nutella on top of the graham cracker base before adding the chocolate for an extra rich treat. Don't be afraid to experiment with your no bake cookie bars!
Choosing the Right Ingredients for No-Bake Recipes
The success of your no-bake cookie bars heavily relies on using the correct ingredients, especially when it comes to fats and binders. For recipes involving melting butter and sugar mixtures, like the Chocolate Peanut Butter or Scotcheroo bars, using the specified type of sugar (often granulated) and fat (like butter or peanut butter) is key, as they interact to create the binding structure when chilled. Substituting liquid sweeteners for granulated sugar, for example, can drastically change the texture and setting ability.
Similarly, using the right type of oats (rolled oats or quick oats as specified) or crispy rice cereal ensures the correct absorption of the liquid mixture and provides the desired chewiness or crispness. Using instant oats when rolled oats are called for might result in a mushier texture, while using steel-cut oats likely won't work at all as they require cooking to soften. Always check the recipe for specifics and use the ingredients indicated for the best results with your no bake cookie bars.
Mastering the Melt: Proper Melting Techniques for No-Bake Bars
Many no-bake cookie bars require melting ingredients like butter, chocolate, or a combination of sugar and liquid on the stovetop or in the microwave. Mastering this step is crucial. When melting butter or a butter/sugar mixture on the stovetop, use medium heat and stir constantly to prevent scorching, which can ruin the flavor and texture. For recipes requiring a boil (like the Chocolate Peanut Butter bars), timing the boil precisely is essential for proper setting.
When melting chocolate chips or a mix of chips, using a microwave in short 30-second bursts, stirring well after each, prevents the chocolate from overheating and seizing (becoming stiff and unusable). Alternatively, melting chocolate over a double boiler (a heatproof bowl set over a pot of simmering water) provides gentle, even heat, which is ideal for a smooth, glossy finish on your no bake cookie bars. Patience and low heat are your friends when melting.
Properly cutting and storing your no-bake cookie bars ensures they stay fresh and delicious. Before cutting, make sure the bars are completely chilled and set – usually at least 1-2 hours in the refrigerator. Using a sharp knife dipped in hot water and wiped clean between cuts can help create clean, neat slices, especially important for bars with a firm topping like chocolate.
For storage, layer the cut bars in an airtight container with parchment or wax paper between the layers to prevent sticking. Most no-bake cookie bars should be stored in the refrigerator to maintain their texture and prevent them from becoming too soft or melting, especially in warmer environments. Stored this way, they typically stay fresh for about 5-7 days.
Why are my bars too crumbly?
If your no-bake cookie bars are falling apart instead of holding together when you try to slice them, they are likely too crumbly. This is a common issue often caused by an imbalance in the wet and dry ingredients or not boiling the sugar mixture long enough (in recipes that require it). For recipes like the Chocolate Peanut Butter bars, not boiling for the full minute means the sugar didn't reach the proper temperature to create a binding syrup, resulting in a loose mixture.
Another cause can be not pressing the mixture firmly enough into the pan before chilling. The act of compacting the mixture helps the ingredients bind together as they cool. Ensure you use the back of a spoon, a spatula, or even a clean, flat bottomed glass to really press the mixture down firmly and evenly into the pan. Double-checking ingredient measurements is also wise; too much dry ingredient (like oats or graham cracker crumbs) compared to the wet binder will also lead to crumbly no bake cookie bars.
Why are my bars too soft?
Bars that are too soft and don't set up properly, even after chilling, usually point to an issue with the binding agent or insufficient chilling time. In recipes involving a cooked sugar mixture, not boiling for the specified time (or not reaching the correct temperature) means the syrup isn't concentrated enough to firm up when cooled. For recipes relying on melted chocolate or other fats to set, not using enough of these ingredients or using ingredients with lower fat content can be the culprit.
Ensure you are chilling the bars for the minimum recommended time, and ideally longer, especially if your refrigerator isn slowly or if the bars are very thick. Sometimes, an extra hour or two in the fridge is all that's needed for perfect no bake cookie bars. If the recipe calls for specific types of ingredients (like full-fat peanut butter or unsalted butter), using alternatives might affect the final texture and firmness.
A grainy or gritty texture in no-bake cookie bars, particularly those made with a cooked sugar syrup, is almost always due to undissolved sugar. When you combine sugar with liquid and heat it, the goal is to dissolve all the sugar crystals to create a smooth syrup that will set cleanly upon cooling. If the sugar doesn't fully dissolve before the mixture boils, or if crystals splash onto the sides of the pan and dry, they can act as seeds causing the syrup to crystallize and become grainy.
To prevent this, make sure you stir the sugar and liquid mixture thoroughly before bringing it to a boil. Once it starts boiling, try to avoid stirring excessively, but keep a close eye on it. Some bakers wipe down the sides of the saucepan with a wet pastry brush while the mixture is heating to dissolve any sugar crystals clinging to the sides. Unfortunately, once the bars have set with a grainy texture, it's difficult to fix, but preventing it during the cooking stage is key for smooth, delicious no bake cookie bars.
Adding Extracts and Spices to Enhance Flavor
One of the easiest ways to add complexity and depth to your no-bake cookie bars is by incorporating extracts and spices. Vanilla extract is a common addition that enhances overall sweetness, but consider other options. Almond extract can add a delightful nutty undertone, while a touch of peppermint extract works wonderfully with chocolate-based bars.
Spices like cinnamon, nutmeg, or even a pinch of cayenne pepper (for a little heat with chocolate) can transform the flavor profile. For example, adding 1/2 teaspoon of cinnamon to the graham cracker base mix gives it a warmer, cozier feel. Always start with a small amount, perhaps 1/4 to 1/2 teaspoon of a strong extract or spice, as their flavors can be quite potent in no bake cookie bars.
Incorporating Chocolate, Nuts, and Dried Fruit
Beyond the base ingredients, adding mix-ins like extra chocolate chips, chopped nuts, or dried fruit can significantly enhance the texture and flavor of your no-bake cookie bars. Stirring in an extra half cup of chocolate chips, white chocolate chips, or even mini marshmallows into the mixture just before pressing it into the pan adds pockets of gooeyness or chewiness.
Chopped roasted peanuts, pecans, walnuts, or almonds add a delightful crunch and nutty flavor that pairs exceptionally well with peanut butter or chocolate no-bake bars. Aim for about 1/2 to 1 cup of chopped nuts. Dried fruits like cranberries, raisins, or chopped apricots can add chewiness and a burst of tartness or sweetness. Mix these add-ins gently into the base mixture just before spreading it in the pan for even distribution throughout your no bake cookie bars.
Once you're comfortable with the basic recipes, you can start experimenting with more unique flavor combinations for your no-bake cookie bars. Consider a Salted Caramel version by adding a swirl of store-bought or homemade caramel sauce over the top of your bars before the chocolate sets, then sprinkling with flaky sea salt. This adds a sophisticated layer of flavor.
For a Mocha twist, dissolve a teaspoon or two of instant espresso powder in the hot liquid mixture (like milk or butter) before adding the dry ingredients in a chocolate-based recipe. This gives the no bake cookie bars a subtle coffee note that complements the chocolate beautifully. The possibilities are vast – think tropical with coconut and macadamia nuts, or autumnal with pumpkin spice and white chocolate chips.
Can I substitute ingredients in these no-bake recipes?
While no-bake cookie bar recipes are generally forgiving for beginners, substituting core ingredients can sometimes affect the final texture and set. For example, using margarine instead of butter might result in a softer bar that doesn't set as firmly. Similarly, using natural-style peanut butter (which separates) might not work as well as conventional stabilized peanut butter in some recipes.
Minor substitutions are often fine – swapping semi-sweet chocolate chips for milk chocolate, using quick oats instead of rolled oats if the recipe allows for either, or adding different types of nuts or dried fruit. However, for key structural ingredients like the type of sugar, butter, or primary binding agent (like corn syrup or milk mixture), it's best to stick to the recipe as written until you gain more experience and understand how different ingredients behave in no bake cookie bars.
When stored properly in an airtight container in the refrigerator, most no-bake cookie bars will maintain their quality for about 5 to 7 days. The high sugar and fat content helps preserve them, and refrigeration prevents them from becoming too soft or potentially spoiling, especially if they contain dairy.
While they might still be edible beyond this timeframe, their texture can start to change, potentially becoming drier or less fresh-tasting. Always trust your judgment – if they look or smell off, it's best to discard them. For optimal taste and texture, aim to enjoy your freshly made no bake cookie bars within the first few days.
Yes, many types of no-bake cookie bars freeze quite well, which is great if you've made a large batch or want to save some for later. To freeze, first ensure the bars are completely set and chilled. Cut them into individual portions.
Wrap each bar tightly in plastic wrap, then place the wrapped bars in a single layer in an airtight freezer-safe container or freezer bag. This double layer of protection helps prevent freezer burn. Frozen no-bake cookie bars can typically last for up to 2-3 months. When ready to enjoy, simply remove the desired number of bars from the freezer and let them thaw in the refrigerator for a few hours or at room temperature for about 30-60 minutes until soft enough to eat. Freezing is a fantastic way to extend the life of your delicious no bake cookie bars.
You've made it! You've tackled some simple no-bake cookie bars and hopefully built some baking confidence along the way. We love seeing what our community creates.
Show us your baking successes on [Social Media Platform] with #BakeWithEase. Let us know which recipe you tried, how it turned out, or if you experimented with any fun variations! Happy no-bake baking!
Frequently Asked Questions
No-bake cookie bars are desserts that don't require oven baking, making them easier and quicker to prepare. They're perfect for beginners because they often involve simply melting ingredients and combining them, reducing the risk of common baking errors.
Typical ingredients include oats, peanut butter, chocolate, butter, and sugar. Many recipes also incorporate extras like nuts, dried fruit, or marshmallows for added flavor and texture.
The key difference is the absence of oven baking. This results in a different texture, often chewier and denser than baked cookies, and a reliance on refrigeration to set.
Yes! No-bake cookie bar recipes are highly customizable. You can easily swap out ingredients like different nut butters, chocolate types, or add-ins to create unique flavor combinations.
No-bake cookie bars are best stored in an airtight container in the refrigerator. This helps them maintain their shape and texture and prevents them from becoming too soft or sticky.
The art of baking, especially with no-bake cookie bars, is not just about creating delicious treats; it’s about building confidence in the kitchen. In a world where culinary skills can often feel daunting, the simplicity and accessibility of no-bake recipes empower beginners to explore their creativity without the fear of failure. With each layer of a cookie bar, we are reminded that cooking can be a joyful and liberating experience.
Cookie bars have transcended mere desserts; they have become a symbol of community and connection. The ease of making no-bake cookie bars allows individuals to share their creations with friends and family, fostering bonds over shared experiences. As we whip up these delightful treats, we not only satisfy our sweet tooth but also create lasting memories. > “Baking is both an art and a science, but it is also a way to connect with those we love.”
As you reflect on the lessons from this article, I invite you to take a moment to consider how you can infuse your life with the same spirit of experimentation and joy that no-bake cookie bars represent. Whether you’re trying a new recipe or sharing your creations with loved ones, remember that each step in the kitchen is an opportunity to grow and express yourself. So, roll up your sleeves, gather your ingredients, and let the confidence you gain from baking inspire you in all areas of your life!
Unlock Your Inner Baker: No-Bake Bliss Awaits!
Thanks for taking the time to explore these delicious no-bake cookie bar recipes! We hope you feel inspired and ready to create some sweet treats. Now it's time to get baking!
- Dive into your kitchen and make your favorite recipe! Grab those ingredients and let's get started. Which one will you choose first?
- Share your creations with us – we'd love to see your baking journey! Tag us on social media with #BakeWithEaseNoBake.
- Experiment with variations! Try adding different nuts, chocolates, or dried fruits to personalize your cookie bars.
Ready to discover your new favorite no-bake dessert? What unique twist will you add to your cookie bars?