
Creating the Ideal Proofing Environment for Croissants

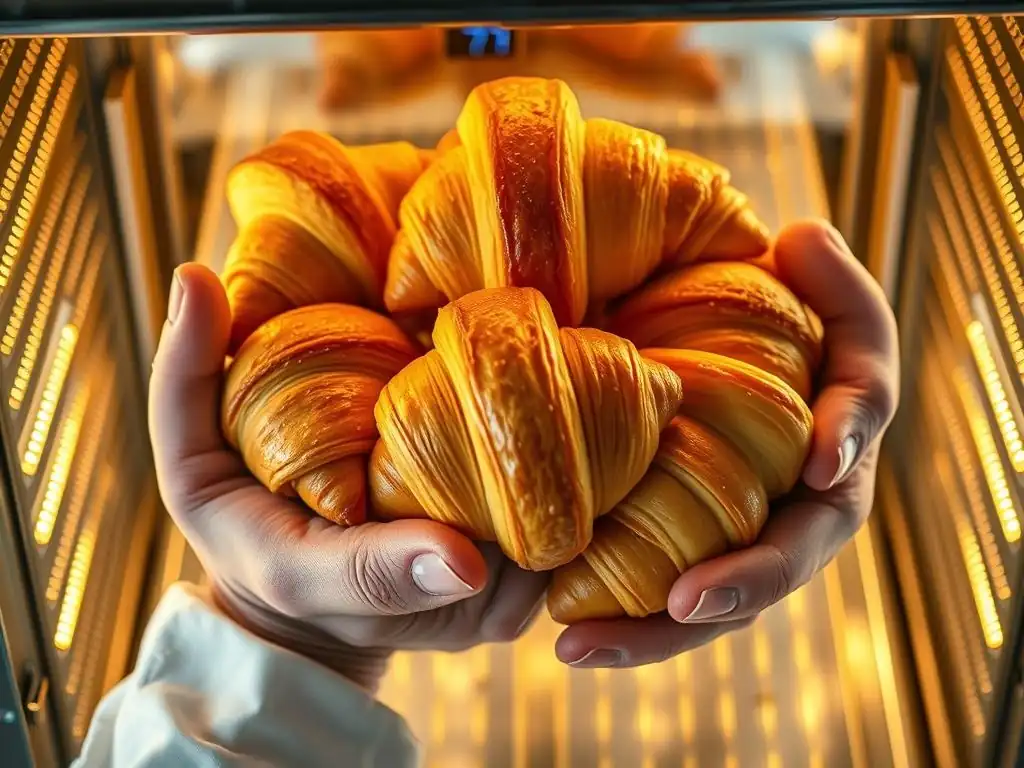
Welcome to BakeWithEase, where baking dreams become delicious realities! Ever wondered how to achieve that perfect, flaky croissant? This guide delves into the secrets of croissant making, focusing on a crucial element often overlooked: the perfect croissant proofing temperature. Understanding this key factor can be the difference between a flat, dense croissant and a golden, airy masterpiece. Intrigued? Let's unlock the secrets to that bakery-worthy result together and explore how to create the ideal proofing environment!
- Creating the Ideal Proofing Environment for Croissants: BakeWithEase Guide
- Introduction to Croissant Proofing: Achieving Bakery-Quality Results at Home
- Defining the Perfect Croissant Proofing Temperature
- Setting Up Your Croissant Proofing Environment
- Step-by-Step Guide to Proofing Croissants for Maximum Flakiness
- Troubleshooting Common Croissant Proofing Problems
- Advanced Croissant Proofing Techniques for Experienced Bakers
- Achieving the Perfect Bake: From Proofing to Oven
- Conclusion: Mastering Croissant Proofing for Exceptional Results
- Frequently Asked Questions
- Final Reflection: The Pursuit of the Perfect Croissant Proof
- Unlock Your Croissant Potential: Bake Perfection Today!
Creating the Ideal Proofing Environment for Croissants: BakeWithEase Guide
Introduction to Croissant Proofing: Achieving Bakery-Quality Results at Home
Creating perfect croissants at home is a rewarding challenge, and one of the most critical stages often overlooked by novice bakers is proofing. This isn't just about letting the dough rise; it's a delicate dance between temperature, humidity, and time that transforms a simple laminated dough into the light, airy, and flaky pastries we all adore. Proper proofing is the bridge between your meticulously crafted dough layers and that coveted honeycomb interior structure after baking. Without the right environment, even the most expertly laminated dough can result in dense, heavy, or uneven croissants.
Achieving bakery-quality croissants requires attention to detail at every stage, but mastering the proofing environment is arguably where many home bakers face the biggest hurdles. It's during proofing that the yeast produces carbon dioxide, causing the dough to expand and the layers of butter and dough to separate, setting the stage for that spectacular oven spring. This section will guide you through the fundamental importance of proofing and the science behind it, laying the groundwork for understanding how to create the perfect conditions for your croissant dough to flourish.
Why is Proofing Crucial for Perfect Croissants?
Proofing is the final fermentation step before baking, and its importance for croissants cannot be overstated. It's the period where the yeast consumes sugars and produces gases, primarily carbon dioxide, which inflates the dough structure. Simultaneously, enzymes in the dough are breaking down proteins and starches, contributing to flavor development and dough extensibility. For laminated dough like croissants, proofing also softens the butter layers, making them pliable enough to expand without breaking during the rapid heat exposure in the oven.
A properly proofed croissant will have doubled or nearly doubled in size, feel light and airy, and exhibit a delicate wobble. The layers should be visible but not completely separated. This expansion creates the necessary space between the dough and butter layers. During baking, the water in the butter turns to steam, forcing these layers apart and creating the signature flaky texture. If the dough is under-proofed, it won't have enough gas build-up for good oven spring, resulting in a dense crumb. If over-proofed, the structure weakens, and the gases can escape, leading to a collapsed or uneven bake.
Understanding the Science Behind Croissant Proofing
The science of croissant proofing revolves around yeast activity, gluten development, and the state of the butter within the dough layers. Yeast is a living organism that thrives within a specific temperature range. It converts sugars into ethanol and carbon dioxide gas. The rate of this conversion is highly dependent on temperature – warmer temperatures increase activity, while cooler temperatures slow it down.
Simultaneously, the gluten network, developed during mixing and folding, provides the structure to trap the gas produced by the yeast. During proofing, this network relaxes and becomes more extensible, allowing the dough to expand without tearing. The butter layers also play a critical role.
They need to be cool enough during lamination to remain distinct layers but warm enough during proofing (specifically around 75-80°F or 24-27°C) to become pliable. If the butter is too cold during proofing, it won't expand properly in the oven; if it's too warm, it can melt into the dough, destroying the distinct layers needed for flakiness.
Defining the Perfect Croissant Proofing Temperature
Finding the sweet spot for temperature is perhaps the most critical factor in achieving the perfect croissant proofing environment. It's a balance between encouraging sufficient yeast activity for rise and maintaining the integrity of the butter layers. Too cold, and proofing takes excessively long, potentially leading to flavor imbalances. Too warm, and the butter can melt prematurely, ruining the lamination, or the dough can over-proof rapidly, resulting in a fragile structure.
The perfect croissant proofing temperature is one that allows for a steady, controlled rise while keeping the butter firm enough to maintain its distinct layers. This temperature window is relatively narrow compared to other bread doughs, which is why controlling the environment is so crucial for consistent results. Understanding how temperature influences the core components of your croissant dough – yeast and butter – is key to mastering this stage.
The Impact of Temperature on Yeast Activity in Croissant Dough
Temperature is the primary driver of yeast fermentation speed. In a typical croissant dough using commercial active dry or instant yeast, activity is sluggish below 70°F (21°C), becomes optimal between approximately 75°F (24°C) and 85°F (29°C), and starts to decline rapidly above 100°F (38°C), where the yeast can even die. For croissants, however, we are limited by the melting point of butter, which is typically around 90-95°F (32-35°C).
Therefore, while yeast might be most active at higher temperatures, the ideal temperature for proofing croissant dough must be significantly lower to prevent the butter from melting. A temperature of 80°F (27°C), for example, will lead to faster proofing than 75°F (24°C). However, the warmer temperature also brings the butter closer to its melting point, requiring more careful monitoring. It's a trade-off between proofing speed and the risk of butter leakage or melting, which would compromise the final flaky texture.
Optimal Temperature Range for Croissant Dough Proofing: A BakeWithEase Recommendation
Based on extensive testing and common practice in professional bakeries, the optimal temperature range for achieving the perfect croissant proofing temperature at home is generally between 75°F (24°C) and 80°F (27°C). This range strikes a balance: it's warm enough to activate the yeast effectively for a good rise within a reasonable timeframe (typically 2-3 hours for the final proof, depending on the initial dough temperature and room conditions) but cool enough to keep the butter solid and distinct within the layers.
Proofing at the lower end of this range, say 75°F (24°C), might take a little longer but offers a safer buffer against butter melt and can sometimes contribute to slightly better flavor development due to the slower fermentation. Proofing closer to 80°F (27°C) will speed things up, which is useful if you're on a tighter schedule, but demands vigilant monitoring to prevent over-proofing or butter issues. Consistency within this range is far more important than hitting one specific degree precisely. Aiming for a stable 78°F (26°C) is often a great target.
Setting Up Your Croissant Proofing Environment
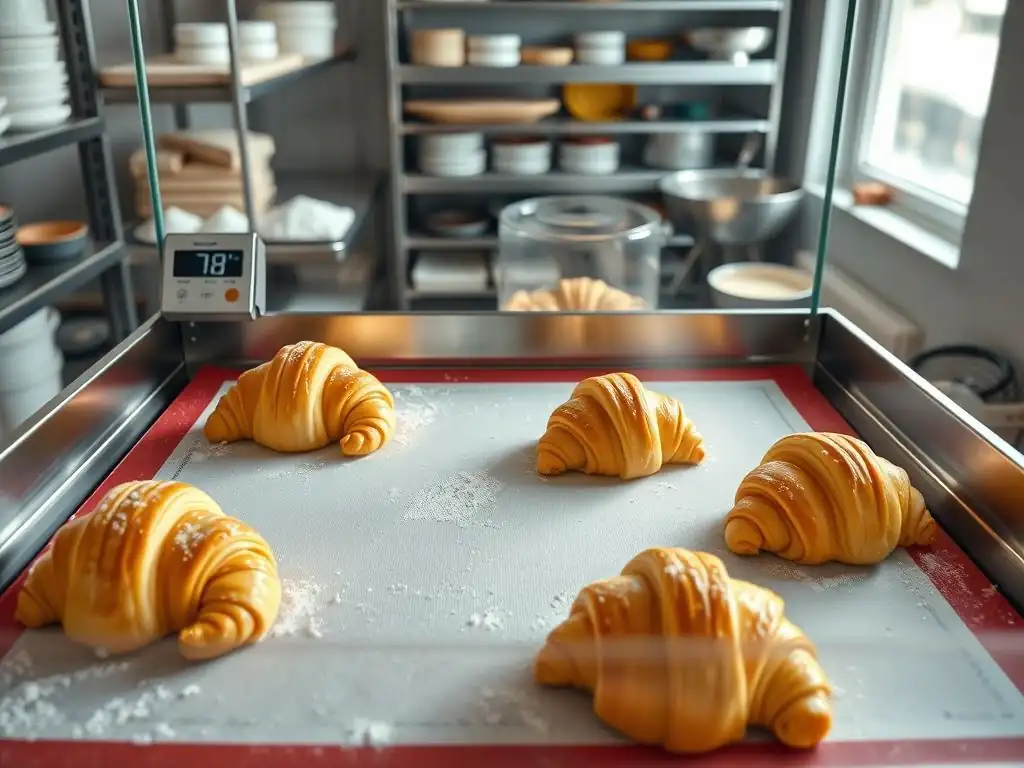
Achieving the perfect croissant proofing temperature and humidity at home often requires creating a controlled environment. Simply leaving croissants on the counter at room temperature can be unpredictable, especially if your kitchen fluctuates in temperature or is too cool or too warm. A consistent environment ensures reliable results and takes some of the guesswork out of proofing.
The goal is to maintain a steady temperature within the 75-80°F (24-27°C) range and a relatively high humidity level, ideally between 70% and 80%. High humidity is crucial because it prevents the surface of the dough from drying out and forming a skin. A dry skin restricts the dough's ability to expand evenly and can lead to a less airy crumb and a tougher crust. Fortunately, there are several effective ways home bakers can set up such an environment using common kitchen items.
Essential Equipment for Controlled Croissant Proofing
While professional bakeries use dedicated proofing cabinets, home bakers can improvise effectively. The key equipment isn't necessarily fancy; it's about creating a small, warm, and humid microclimate for your croissants. A simple oven with the light on is a classic method; the heat from the bulb can often raise the internal temperature to the desired range (check with an oven thermometer!). Combining this with a pan of hot water can provide the necessary humidity.
Other options include using a large plastic storage container with a lid, a microwave oven (turned off, but with hot water inside), or even a dedicated proofing box if you bake frequently. An accurate thermometer, preferably a probe thermometer or an oven thermometer, is essential for verifying that your improvised proofing environment is within the target temperature range. A small hygrometer (humidity meter) can also be helpful, though not strictly necessary if you use methods that reliably generate steam.
Proofing Box Alternatives for Home Bakers
If you don't have a dedicated proofing box, several common kitchen setups can serve as excellent alternatives.
- Oven with Light On: Place a pan of hot water on the bottom rack. Place your tray of shaped croissants on the middle rack. Close the oven door and turn only the oven light on. Monitor the temperature with a thermometer.
- Microwave Oven: Heat a cup of water until steaming. Place the cup of hot water in the microwave. Place your tray of croissants inside (ensure they fit without touching the water). Close the door. The residual heat and steam create a warm, humid environment.
- Large Plastic Container: Place your tray of croissants inside a large, clear plastic storage container with a lid. Place a bowl of hot water inside the container. Seal the lid. The trapped steam increases humidity. You can place this container in a slightly warm spot (like near a sunny window, away from direct sun which can melt butter, or in the oven with the light on) to help maintain temperature.
These methods allow you to control the temperature and humidity much more effectively than just leaving the dough on the counter, significantly increasing your chances of achieving the perfect croissant proofing temperature.
Maintaining Consistent Humidity Levels during Proofing
Maintaining high humidity (70-80%) is just as important as temperature for a successful croissant proof. It prevents the surface of the dough from drying out and forming a skin. A dry skin restricts the dough's ability to expand evenly and can lead to tearing during baking. The simplest and most effective way to maintain humidity is by creating steam within your proofing environment.
As mentioned in the proofing box alternatives, placing a pan or bowl of hot or steaming water inside your chosen proofing vessel (oven, microwave, plastic container) is the standard method. The water evaporates, saturating the air with moisture. Ensure there's enough hot water to last for the entire proofing duration, which can be 2-3 hours. If the water cools down significantly, you might need to refresh it with more hot water partway through the proofing process. Avoid direct contact between the croissants and the water or excessive condensation dripping onto the dough.
Step-by-Step Guide to Proofing Croissants for Maximum Flakiness
Once your croissants are shaped, they are ready for their final proof. This is where they will expand significantly and develop their final structure before baking. Following a systematic approach will help ensure you achieve the perfect croissant proofing temperature and conditions, leading to those coveted flaky layers and airy interior. Patience and observation are key during this stage.
The process involves preparing the shaped croissants, placing them in your controlled environment, and carefully monitoring their progress. It's crucial not to rush this stage. While the target temperature speeds things up compared to a cold proof, it still requires adequate time for the yeast to do its work and for the dough to reach the optimal state of expansion and relaxation.
Preparing Your Croissant Dough for Proofing
Before placing your shaped croissants into the proofing environment, arrange them on a baking sheet lined with parchment paper or a silicone baking mat. Ensure there is sufficient space between each croissant, as they will expand considerably during proofing and baking – they can easily double in size. Crowding them will prevent even proofing and can cause them to bake into each other.
Some bakers lightly spray the inside of their proofing container (like a plastic bin) with water before adding the hot water source, which can help boost initial humidity. However, avoid spraying the croissants themselves directly, as this can damage the delicate surface layers. Once arranged on the baking sheet, transfer the sheet carefully into your prepared proofing environment, ensuring the temperature is stable within the 75-80°F (24-27°C) range and the humidity source is in place.
Monitoring Dough Rise and Fermentation
Monitoring is the most critical part of the proofing process. Croissants are properly proofed when they are visibly puffy, have increased significantly in volume (often doubled or nearly doubled), and appear light and airy. The layers should look separated but still cohesive. A common test is the "poke test": gently press the side of a croissant with a finger. If the indentation springs back slowly, only partially, the croissant is likely perfectly proofed. If it springs back immediately, it needs more time. If the indentation remains completely, it is likely over-proofed.
Proofing time will vary depending on the exact temperature, humidity, initial dough temperature, and the yeast's activity level. In an environment maintained at 78°F (26°C) with good humidity, this might take between 2 and 3 hours. Check on your croissants every 30-45 minutes after the first hour. Look for the visual cues of expansion and use the poke test towards the end of the expected proofing time.
Recognizing the Signs of Over-Proofing and Under-Proofing
Identifying whether your croissants are under-proofed or over-proofed is essential for a successful bake.
- Under-Proofed: The croissants will look dense and not significantly expanded. The poke test will show the indentation springing back quickly. When baked, they will have poor oven spring, a dense, bready interior, and the layers might not separate well, resulting in less flakiness.
- Over-Proofed: The croissants will look excessively puffy, potentially fragile, and may have lost some definition in their layers. The poke test indentation will remain completely or cause the dough to deflate slightly. Over-proofed croissants have a weakened gluten structure. When baked, they may collapse in the oven, spread excessively, or have a coarse, uneven crumb with large, irregular holes rather than the desired honeycomb structure. The flavor can also be overly yeasty or alcoholic.
Striking the right balance by achieving the perfect croissant proofing temperature and monitoring closely is the key to avoiding these common pitfalls.
Troubleshooting Common Croissant Proofing Problems
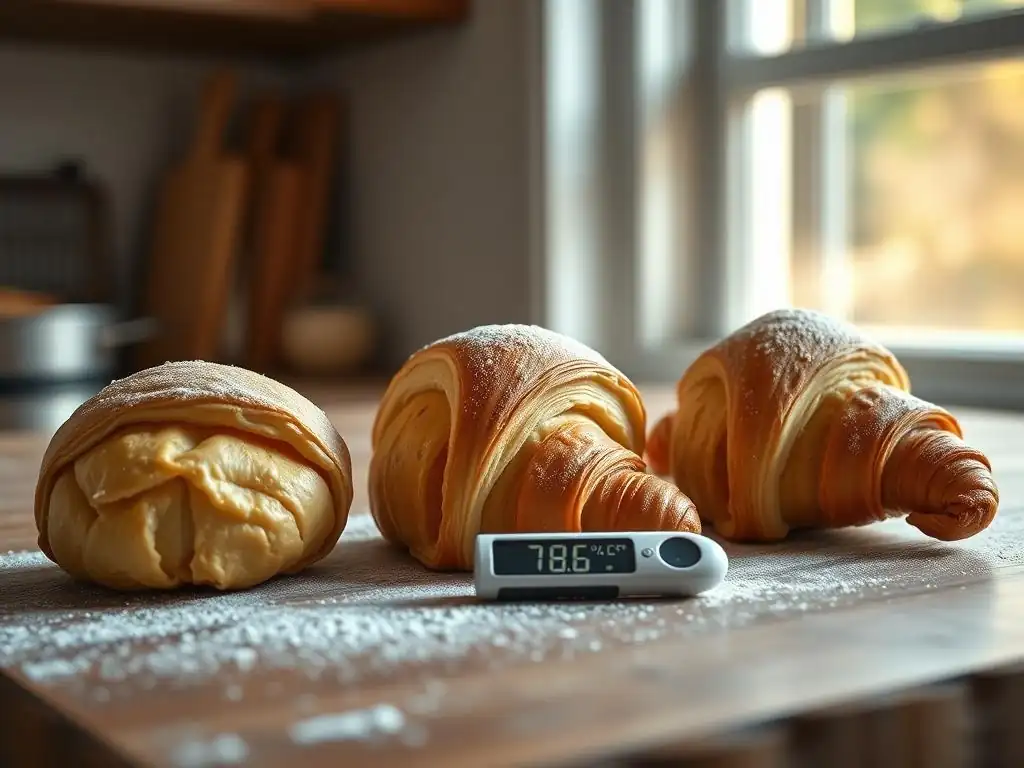
Even when aiming for the perfect croissant proofing temperature, issues can arise. Dough behavior can be influenced by many factors, including the ambient temperature of your kitchen before proofing, the temperature of the dough itself, and slight variations in your proofing setup. Knowing how to identify and address common problems can save your batch of croissants.
Common issues include dough that isn't rising fast enough, dough that over-proofs too quickly, or inconsistencies in proofing across the batch. Often, these problems can be traced back to temperature or humidity inconsistencies in the proofing environment or the initial state of the dough.
Addressing Slow Proofing Issues
If your croissants are proofing too slowly, the most likely culprit is a temperature issue. Your proofing environment might be too cool. Use a thermometer to verify the temperature inside your proofing setup. If it's below the 75-80°F (24-27°C) range, try one of the following:
- Ensure the oven light is on, or if using a microwave method, refresh the hot water.
- If using a plastic container, place it in a slightly warmer spot (but again, avoid direct sunlight or too much heat that could melt butter).
- You might need to experiment with your specific setup to find how to consistently maintain the target temperature. For instance, some oven lights generate more heat than others.
Another reason for slow proofing could be inactive or insufficient yeast, or the initial dough temperature was too cold. Ensure your yeast is fresh and active before starting your dough. Allow dough chilled from lamination to sit at room temperature for 15-20 minutes before placing it in the proofing environment to take the chill off.
Preventing Over-Proofing in Warm Environments
Conversely, if your proofing environment is too warm (above 80°F/27°C) or fluctuates significantly, you risk over-proofing rapidly or melting the butter. This is a common problem, especially in warm kitchens or if using an oven light that generates a lot of heat.
- Monitor the temperature of your proofing environment very closely with a thermometer. If it's creeping too high, slightly crack open the oven door or container lid to allow some heat to escape.
- Reduce the amount or temperature of the hot water source if humidity is sufficient but temperature is too high.
- Check your croissants more frequently (every 15-20 minutes) as they approach the expected proofing time. The poke test becomes your most important tool here.
If you realize your croissants are proofing too quickly, you can try moving them to a slightly cooler spot temporarily, but be cautious about drastic temperature changes. The best approach is prevention by setting up and monitoring the correct initial temperature.
Managing Dough Temperature Fluctuations
Dough temperature fluctuations can also impact proofing consistency. If your dough was very cold when you started shaping, it will take longer to warm up in the proofing environment, leading to uneven proofing or longer overall time. Conversely, if the dough was warmer than ideal (perhaps due to a warm kitchen during lamination), it might proof faster.
Aim to start with dough that is relatively consistent in temperature, ideally around 50-60°F (10-15°C) after shaping, before placing it in the warmer proofing environment. This allows it to gradually come up to the target temperature. Using a thermometer to check the dough's internal temperature occasionally can also give you insights into how proofing is progressing, though relying on visual cues and the poke test is generally more practical. Consistency in your process from start to finish helps manage these fluctuations.
Advanced Croissant Proofing Techniques for Experienced Bakers
For those who have mastered the basics of achieving the perfect croissant proofing temperature and humidity and are looking to elevate their croissant game, exploring advanced techniques can yield even better results in terms of flavor, texture, and convenience. These methods often involve more precise control or leveraging temperature differences for specific outcomes.
Advanced techniques might include cold proofing, which significantly extends the fermentation time at low temperatures to develop complex flavors, or utilizing specialized equipment designed for exact temperature and humidity control. While not strictly necessary for good croissants, these approaches can offer advantages for dedicated bakers.
Cold Proofing Croissants for Enhanced Flavor
Cold proofing, also known as retarding, involves proofing the shaped croissants in a refrigerator (typically 38-40°F or 3-4°C) for an extended period, often 8 to 12 hours or even longer. At these low temperatures, yeast activity is significantly slowed but not stopped. This slow fermentation allows enzymes more time to break down starches and proteins, resulting in a more complex, nuanced flavor profile.
Cold proofing also offers practical benefits. It allows you to prepare the croissants the day before and bake them fresh in the morning. However, it requires a final short proof at room temperature (or a slightly warmer environment like 65-70°F/18-21°C) before baking to allow them to finish expanding and become pliable enough for oven spring. While the initial cold proof isn't about the perfect croissant proofing temperature for rapid rise, it's a controlled temperature for flavor development and convenience. Ensure the croissants are well-wrapped to prevent drying out in the cold, dry environment of a refrigerator.
Using a Proofer for Precise Temperature and Humidity Control
For bakers who make laminated dough frequently or desire the utmost consistency, investing in a dedicated proofing box or a proofer can be worthwhile. These appliances are designed to maintain a precise temperature and humidity level, eliminating the guesswork and environmental challenges often faced by home bakers.
A proofer allows you to set the exact perfect croissant proofing temperature, say 78°F (26°C), and humidity, like 75%, and trust that the environment will remain stable for the entire proofing duration. This consistency leads to more predictable proofing times and results, reducing the risk of over- or under-proofing due to environmental fluctuations. While an investment, a proofer simplifies the proofing stage significantly and can be used for other types of bread and dough as well.
Achieving the Perfect Bake: From Proofing to Oven
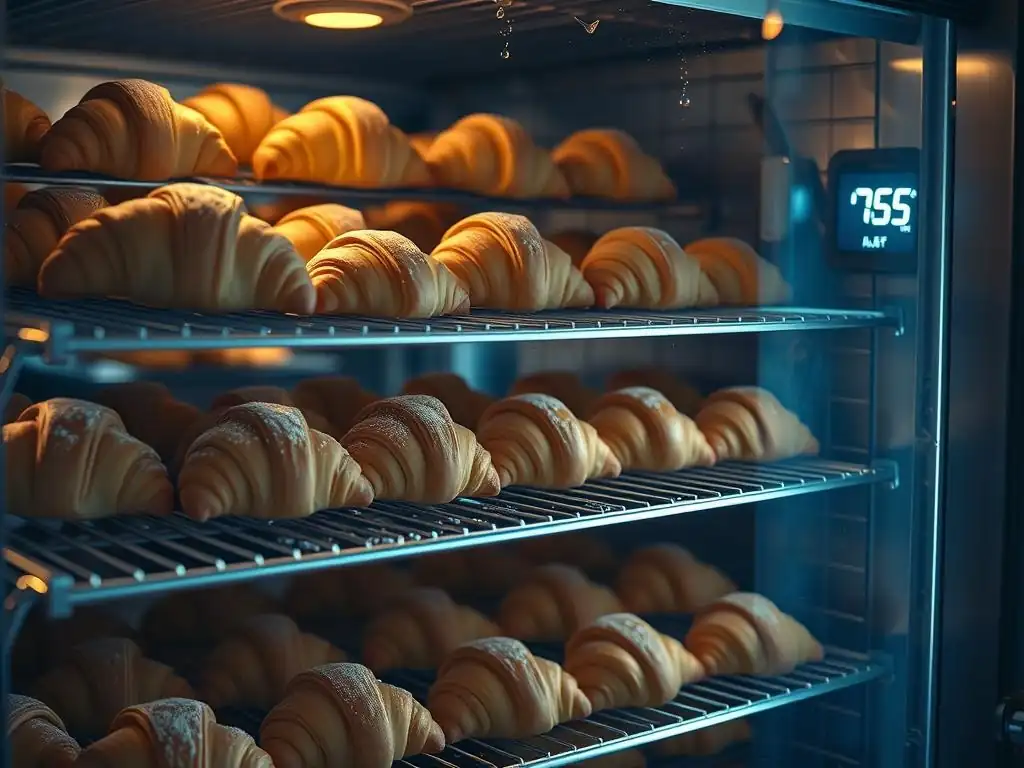
The proofing stage directly impacts the final bake. A perfectly proofed croissant is primed for maximum oven spring, leading to that desirable light, airy interior and flaky exterior. The transition from the proofing environment to the hot oven is a critical moment that requires care to preserve the delicate structure developed during proofing.
Ensuring your oven is properly preheated and handling the proofed croissants gently are the final steps before witnessing the magic of the bake. All the effort put into achieving the perfect croissant proofing temperature culminates here, as the rapid heat transforms the dough and butter layers.
The Importance of a Well-Proofed Croissant Before Baking
A well-proofed croissant is essential for a successful bake because it has developed the necessary gas volume and structural relaxation to expand dramatically in the oven. The butter layers have also softened just enough to facilitate separation during baking. When a perfectly proofed croissant hits the high heat of the oven (typically 400-425°F or 200-220°C), the trapped gases expand rapidly, and the water in the butter turns to steam, forcing the layers apart. This is oven spring.
If the croissant is under-proofed, it lacks sufficient gas and extensibility, resulting in poor oven spring and a dense crumb. If it's over-proofed, the structure is too weak to support the rapid expansion, potentially leading to collapse or an irregular shape. The signs of a properly proofed croissant discussed earlier – near doubling in size, puffiness, and the slow recovery of the poke test – are your indicators that the dough is ready for the heat.
Tips for Transferring Proofed Croissants to the Oven
Proofed croissants are delicate. Their structure is inflated and fragile, so handling them roughly can cause them to deflate, undoing all your careful proofing work.
- Use a sturdy baking sheet lined with parchment paper or a silicone mat for proofing, as this allows you to transfer the entire batch smoothly into the oven without touching the individual croissants.
- If you need to move croissants individually (e.g., from a proofing box to a baking sheet), do so with extreme care, using a wide, thin spatula if necessary, supporting the entire base of the croissant.
- Have your oven fully preheated before you decide the croissants are ready. The transfer should be swift to minimize temperature shock and prevent deflation.
Place the baking sheet directly into the hot oven. Avoid opening the oven door unnecessarily during the initial phase of baking (the first 10-15 minutes), as this is when oven spring is most active, and a drop in temperature can hinder it.
Conclusion: Mastering Croissant Proofing for Exceptional Results
Mastering the art of croissant proofing is a significant step towards achieving those elusive bakery-quality results in your home kitchen. It requires attention to detail, patience, and a controlled environment, particularly regarding temperature and humidity. Understanding the science behind how temperature affects yeast activity and butter integrity is fundamental to success.
By focusing on creating and maintaining the perfect croissant proofing temperature—ideally between 75°F (24°C) and 80°F (27°C)—and ensuring adequate humidity (70-80%), you provide your carefully crafted dough with the best possible conditions to develop its structure and flavor. Whether you use a simple oven-with-light method or a dedicated proofer, consistency is paramount.
Key Takeaways for Achieving the Ideal Croissant Proof
- The perfect croissant proofing temperature is crucial for balancing yeast activity and butter integrity.
- Aim for a stable temperature between 75°F (24°C) and 80°F (27°C).
- High humidity (70-80%) is essential to prevent the dough surface from drying out.
- Improvised proofing setups like an oven with a light and hot water can work effectively.
- Monitor proofing progress visually and with the gentle poke test.
- Recognize the signs of under-proofing (dense, little rise) and over-proofing (fragile, potentially collapsed).
- Handle proofed croissants with extreme care before baking.
Further Resources for Croissant Baking Success at BakeWithEase.com
Achieving the ideal croissant proof is one piece of the puzzle. For comprehensive guides on other stages of croissant making, from mixing and laminating the dough to shaping and baking, explore the other resources available here at BakeWithEase.com. Our detailed recipes and technique breakdowns can help you refine each step of the process. Practice makes perfect, and with attention to the crucial proofing stage, you are well on your way to baking exceptional croissants at home.
Frequently Asked Questions
How important is temperature for croissant proofing?
Temperature is absolutely crucial for successful croissant proofing. Too cold, and the dough won't rise adequately. Too warm, and the butter will melt, resulting in a greasy, dense croissant.
What is the perfect croissant proofing temperature?
The ideal temperature range is typically between 70-75°F (21-24°C). This allows the yeast to activate without melting the butter layers, which is essential for a flaky result.
How do I maintain a consistent proofing temperature?
You can use a proofing box, a slightly warmed oven with the light on, or even a microwave with a cup of hot water. Monitor the temperature with a thermometer to ensure it remains within the ideal range.
What happens if my croissants proof for too long at the correct temperature?
Over-proofing can lead to a sour taste and a deflated structure during baking. The dough becomes too relaxed and loses its ability to hold its shape.
What are the signs that my croissants are properly proofed?
Properly proofed croissants will appear puffy and doubled in size. They should feel light and airy, and a gentle poke should leave a slight indentation that slowly springs back.
Final Reflection: The Pursuit of the Perfect Croissant Proof
The quest for the ideal croissant proofing environment isn't just about achieving a golden-brown crust; it's about understanding the delicate dance between temperature, humidity, and time that transforms simple dough into flaky, buttery perfection. This pursuit, seemingly niche, speaks to a broader human desire for mastery and precision, a desire reflected in countless culinary endeavors and beyond. The principles we've explored—controlling temperature fluctuations, maintaining optimal humidity, and understanding the impact of time—are applicable far beyond the confines of the kitchen.
The journey of creating the perfect croissant, mirroring life itself, is filled with both triumphs and setbacks. The subtle shifts in temperature, the careful monitoring of dough rise, all contribute to the final product. This process has taught me the importance of patience, attention to detail, and the acceptance that even with meticulous planning, unforeseen variables can impact the outcome. The difference between ordinary and extraordinary is that little extra.
This quote, though often applied to success in general, perfectly encapsulates the essence of achieving that perfect croissant proof. The seemingly small details are what elevate the ordinary to the extraordinary.
Now, consider your own pursuits. What "perfect proofing environment" are you striving to create in your own life? Whether it's a project at work, a personal goal, or a relationship, the principles of careful planning, consistent attention, and a willingness to adapt to unforeseen circumstances are universally applicable. Take the lessons learned from the delicate art of croissant making and apply them to your own endeavors. Embrace the process, learn from the imperfections, and savor the sweet reward of achieving your own version of perfection.
Unlock Your Croissant Potential: Bake Perfection Today!
Thanks for taking the time to explore the art of croissant baking! We hope you've gained valuable insights into creating the ideal proofing environment for flawlessly flaky layers. Now it's time to put your newfound knowledge into action.
- Master the Proof: Try adjusting your proofing temperature and humidity based on the tips we shared, and notice the difference in your croissant rise! This is your chance to perfect that signature airy texture.
- Share Your Success: Snap a picture of your perfectly proofed croissants and share it on social media using #BakeWithEaseCroissants – let's inspire others!
- Join the Conversation: What unexpected challenges did you encounter during proofing, and how did you overcome them? Share your experiences in the comments below!
Ready to transform your baking game? Let's see those amazing croissants!