
The Ultimate Cheatsheet for Basic White Bread Success

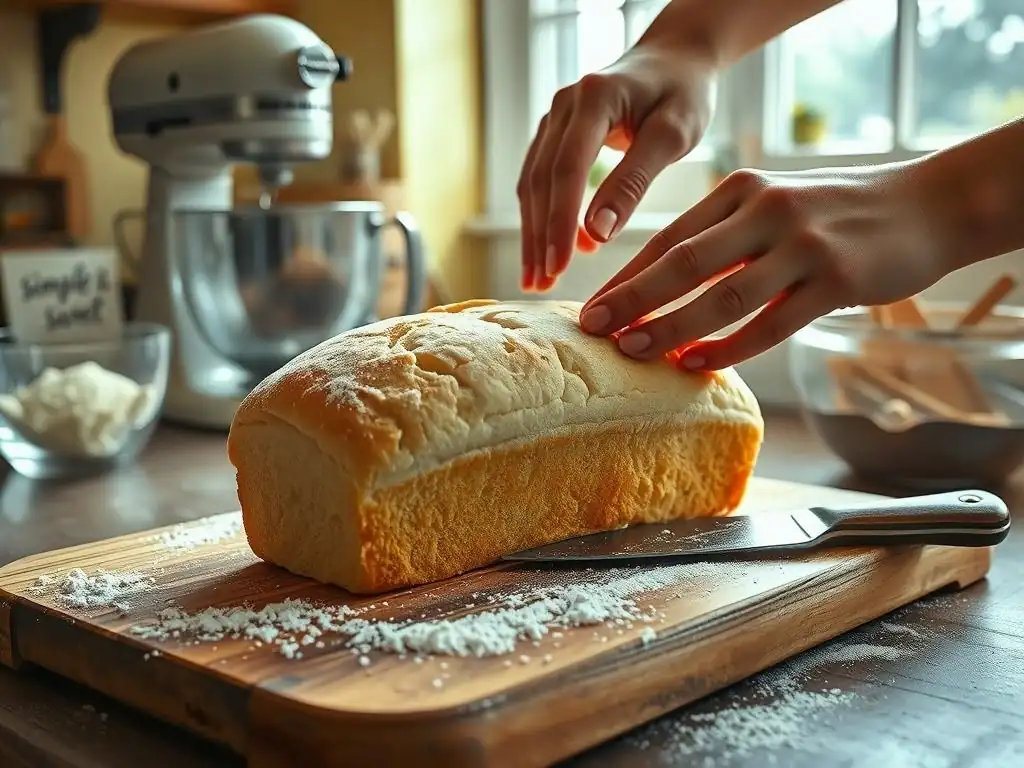
Welcome to BakeWithEase, your kitchen companion for unlocking baking brilliance! Ever dream of effortlessly pulling a warm, crusty loaf from your oven? Our Easy White Bread Recipe is the secret, and we're about to share all the insider tips. Get ready to transform simple ingredients into a masterpiece – and discover why this basic bread is anything but ordinary. Intrigued? Let's get baking!
- BakeWithEase' Guide to Perfecting Your Easy White Bread Recipe
- Understanding the Fundamentals of White Bread Baking
-
Step-by-Step: Mastering the Easy White Bread Recipe
- Step 1: Activating the Yeast for Your White Bread
- Step 2: Mixing the Dough: Achieving the Right Consistency
- Step 3: First Proofing: Allowing the Dough to Rise Perfectly
- Step 4: Shaping the Dough: Creating Your Perfect White Bread Loaf
- Step 5: Second Proofing: Preparing for Baking
- Step 6: Baking Your White Bread: Achieving a Golden Crust
- Troubleshooting Common White Bread Baking Problems
- Tips & Tricks for the Best Easy White Bread
- Variations on the Basic White Bread Recipe
- Storing Your Freshly Baked White Bread
- Enjoying Your Homemade White Bread
-
Frequently Asked Questions
- How easy is the "Ultimate Cheatsheet for Basic White Bread Success" recipe for a beginner?
- What kind of flour is best for this easy white bread recipe?
- How long does it take to make this basic white bread?
- Can I add any variations to the "Easy White Bread Recipe"?
- What are some common mistakes to avoid when making white bread?
- Final Reflection: The Enduring Power of Simple Bread
- Unleash Your Inner Baker: Make Perfect White Bread Today!
BakeWithEase' Guide to Perfecting Your Easy White Bread Recipe
Welcome to the BakeWithEase Basic White Bread Guide
Embarking on the journey of baking your own loaf of bread is incredibly rewarding, and starting with an easy white bread recipe is the perfect way to build confidence in the kitchen. This guide is designed to demystify the process, breaking down each step so you can achieve delicious, fluffy white bread right from your first attempt. Forget store-bought loaves; the aroma and taste of warm, homemade bread are unparalleled.
At BakeWithEase, we believe that everyone can bake, and mastering a basic white bread is a fundamental skill that opens the door to countless other bread-making adventures. We'll walk you through everything from understanding the simple ingredients to troubleshooting common issues, ensuring your path to baking success is smooth and enjoyable. Get ready to impress yourself and your loved ones with a beautiful loaf of bread baked with your own hands.
Understanding the Fundamentals of White Bread Baking
The Core Ingredients: What You Need for Easy White Bread
Every great easy white bread recipe starts with just a few simple ingredients, each playing a crucial role in the final texture, flavor, and rise of your loaf. The absolute essentials are flour, water, yeast, and salt. All-purpose flour is a common choice for its availability and reliable results in a basic white bread, typically containing about 10-12% protein, which helps develop gluten for structure.
Beyond the basics, many easy white bread recipes also include sugar or a touch of honey, which feeds the yeast and aids in browning, and sometimes a small amount of fat like butter, oil, or shortening. Fat contributes to a softer crumb and can extend the bread's shelf life slightly. For a standard loaf, you might use around 3-4 cups of flour, 1.5 cups of water, 1-2 teaspoons of salt, 1-2 tablespoons of sugar, and about 1-2 tablespoons of fat. The quality and correct measurement of these simple ingredients are key to a successful basic white bread.
Essential Baking Tools for a Successful White Bread Loaf
Having the right tools makes the process of baking an easy white bread recipe much smoother and more predictable. While you don't need a professional bakery setup, a few key items are highly recommended. Accurate measuring cups and spoons are fundamental for consistent results, as baking is a science where ratios matter. A large mixing bowl, ideally glass or metal, provides ample space for the dough to be mixed and to rise during the first proofing.
A sturdy loaf pan, typically a 9x5 inch metal one, is essential for shaping and baking your loaf into a classic bread form. Parchment paper can be a lifesaver, preventing sticking and making cleanup easier. While not strictly essential for every easy white bread recipe, a stand mixer with a dough hook attachment can significantly reduce kneading time and effort. Lastly, a cooling rack is vital to allow air circulation around the baked loaf, preventing a soggy bottom and ensuring the crust stays crisp as it cools completely.
Step-by-Step: Mastering the Easy White Bread Recipe
Step 1: Activating the Yeast for Your White Bread
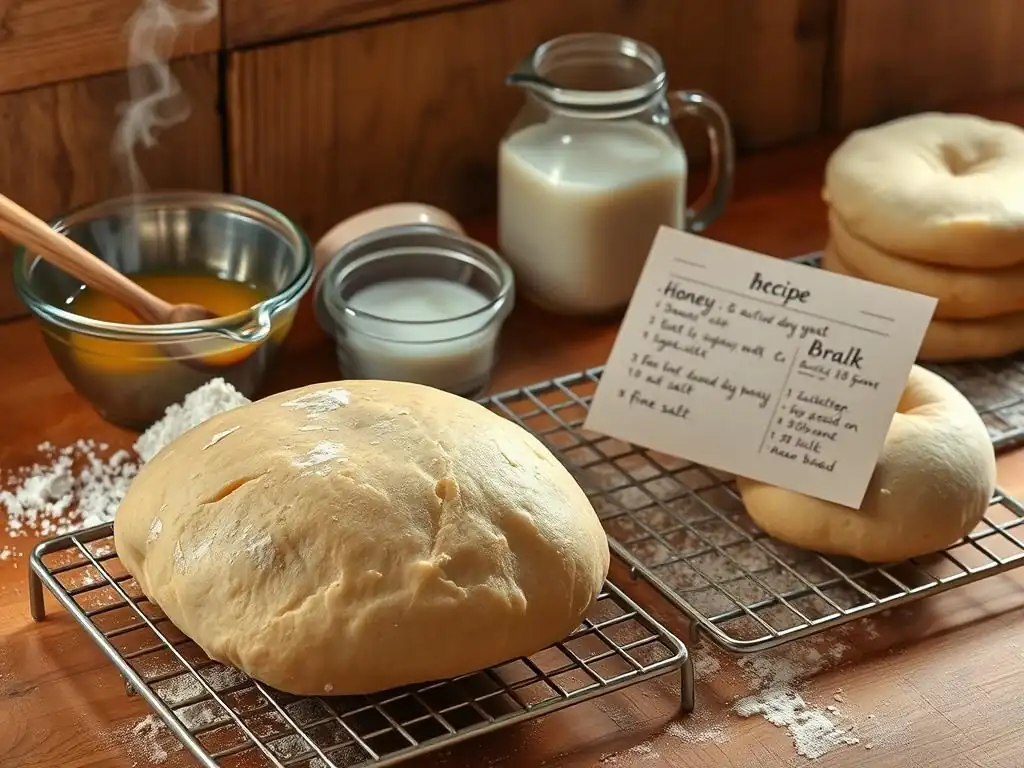
Yeast is the magical ingredient that makes your easy white bread light and airy. Most easy white bread recipes use active dry yeast or instant yeast. If using active dry yeast, you'll need to "proof" or activate it first. This involves dissolving the yeast in a small amount of warm liquid, usually water or milk, that is between 105°F and 115°F (40°C to 46°C), along with a pinch of sugar. This temperature range is crucial – too cold and the yeast won't activate; too hot and you'll kill it.
After about 5-10 minutes, the mixture should become foamy or bubbly on the surface. This foam indicates that the yeast is alive and active, ready to work its magic in your basic white bread dough. If you don't see this foam, your yeast may be dead, or the water temperature was incorrect, and you'll need to start this step over with fresh yeast. Instant yeast, on the other hand, can often be mixed directly with the dry ingredients, skipping this proofing step, making your easy white bread recipe even simpler.
Step 2: Mixing the Dough: Achieving the Right Consistency
Once your yeast is active (or if using instant yeast, mixed with the dry ingredients), combine it with the remaining liquid and the majority of the flour and salt in your mixing bowl. If your easy white bread recipe includes sugar or fat, add them now as well. Begin mixing, either by hand with a wooden spoon or spatula, or using the dough hook on a stand mixer, until the ingredients start to come together into a shaggy dough.
Gradually add the remaining flour, a little at a time, until the dough pulls away from the sides of the bowl but is still slightly sticky. The exact amount of flour can vary depending on humidity and the specific flour used, so trust the feel of the dough. It should be manageable but not dry. Over-mixing at this stage isn't a concern, but ensuring all ingredients are incorporated and the dough starts to form is the goal before moving on to kneading.
Step 3: First Proofing: Allowing the Dough to Rise Perfectly
The first rise, or bulk fermentation, is a critical step where the yeast produces carbon dioxide, causing the dough for your easy white bread to expand and develop flavor. After mixing and kneading (which we'll discuss next), place the dough in a lightly oiled bowl, turning it to coat the surface. Cover the bowl tightly with plastic wrap or a clean kitchen towel to prevent a skin from forming.
Leave the dough in a warm, draft-free place to rise. A common temperature is around 75-80°F (24-27°C). The time required varies based on temperature and yeast activity, but it typically takes 1 to 1.5 hours for the dough to double in size. You can test if it's ready by gently poking it with two fingers; if the indentations remain, it's proofed correctly. This slow fermentation is key to the flavor and texture of your basic white bread.
Step 4: Shaping the Dough: Creating Your Perfect White Bread Loaf
After the first proofing, gently punch down the dough to release the accumulated gases. Turn the dough out onto a lightly floured surface. Now, it's time to shape it into the classic loaf form that will fit your baking pan. There are several shaping techniques, but a simple method for an easy white bread recipe is to flatten the dough into a rectangle roughly the width of your pan.
Fold the rectangle in half lengthwise, pressing down to seal the seam along the edge. Then, starting from one end, roll the dough tightly towards the other end, creating tension on the surface. Pinch the final seam closed firmly and tuck the ends under. The goal is to create a taut surface on top and a sealed seam underneath. This shaping technique helps the loaf hold its structure and rise evenly in the oven.
Step 5: Second Proofing: Preparing for Baking
The second rise, or proofing in the pan, allows the shaped dough to expand again before baking. Place the shaped loaf seam-side down into your greased or parchment-lined loaf pan. Cover the pan loosely with plastic wrap or a towel to prevent drying.
Let the dough rise again in a warm place. This rise is usually quicker than the first, typically taking 30-45 minutes. The dough should rise until it crests about 1 inch above the rim of the pan and looks visibly puffy. Be careful not to over-proof at this stage, as it can lead to the loaf collapsing in the oven. While the dough is proofing, preheat your oven to the temperature specified in your easy white bread recipe, usually around 375-400°F (190-200°C).
Step 6: Baking Your White Bread: Achieving a Golden Crust
With the oven preheated and the dough perfectly proofed in the pan, it's time to bake your beautiful easy white bread loaf! Place the pan in the center of the preheated oven. Baking time will vary depending on your oven and the size of the loaf, but it generally takes between 25 to 35 minutes.
The bread is done when the crust is golden brown and the internal temperature reaches 200-210°F (93-99°C) when measured with an instant-read thermometer. If the top is browning too quickly, you can loosely tent the loaf with aluminum foil. Once baked, immediately remove the loaf from the pan and place it on a wire cooling rack. Allowing the bread to cool completely is essential for the internal structure to set and for the best texture.
Troubleshooting Common White Bread Baking Problems
My White Bread Didn't Rise: Troubleshooting Tips
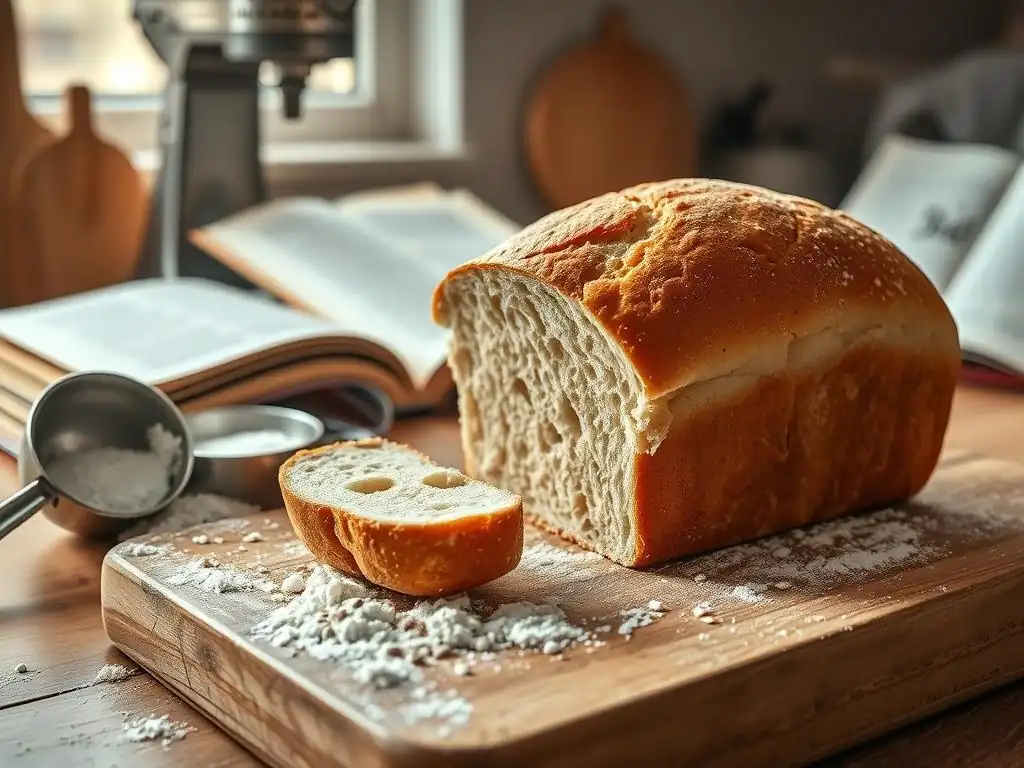
If your easy white bread dough stubbornly refuses to rise, the most likely culprit is inactive yeast. This could be due to the water temperature being too hot (killing the yeast) or too cold (inhibiting activation) during the initial proofing step. Ensure your water is within the 105-115°F (40-46°C) range for active dry yeast.
Another reason could be using expired yeast; yeast has a shelf life, and old yeast loses its potency. Check the expiration date on the packet or jar. Also, ensure your rising environment is warm enough and free from drafts. Temperatures below 70°F (21°C) can significantly slow down or halt yeast activity. Finally, make sure you didn't accidentally use too much salt, as excessive salt can also inhibit yeast.
My White Bread is Too Dense: Solutions for a Lighter Loaf
A dense texture in your easy white bread can be disappointing, but it's a common issue with straightforward solutions. One primary cause is insufficient kneading; proper kneading develops the gluten network, which traps the gases produced by the yeast, creating a light, open crumb structure. Ensure you knead for the recommended time, typically 8-10 minutes by hand or 6-8 minutes in a stand mixer, until the dough is smooth and elastic.
Another reason for density is inadequate proofing time. The dough needs sufficient time during both the first and second rises to double in size and become airy. Make sure your rising environment is warm and allow the dough to fully proof according to the recipe's visual cues (doubled in size, springs back slowly when poked). Using the correct amount of liquid in your easy white bread recipe is also key; too little liquid can result in a dry, dense dough from the start.
My White Bread Crust is Too Hard: Achieving a Soft Crust
Achieving a soft crust on your easy white bread is often desired, especially for sandwich bread. If your crust turns out too hard or tough, it might be due to overbaking or baking at too high a temperature. Ensure your oven temperature is accurate, perhaps using an oven thermometer to verify. Baking for the correct duration until the internal temperature reaches 200-210°F (93-99°C) is key – don't rely solely on visual cues.
Another factor can be a lack of moisture in the oven environment during baking. Some bakers create steam by placing a pan of hot water on the bottom rack of the oven when they start baking. This steam keeps the crust pliable longer, allowing the loaf to expand fully before the crust hardens. You can also brush the top of the loaf with melted butter or milk immediately after it comes out of the oven; the residual heat will help it absorb and soften the crust.
My White Bread Tastes Bland: Enhancing the Flavor
A bland-tasting easy white bread is usually a sign that something is missing or out of balance, most commonly salt. Salt is crucial not just for flavor but also for controlling yeast activity and strengthening the gluten structure. Ensure you are using the correct amount of salt specified in your easy white bread recipe, typically 1.5 to 2 teaspoons per loaf.
Other ways to enhance flavor include adding a small amount of sugar, honey, or a touch of fat like butter or oil, as these ingredients contribute to taste beyond just structure and rise. Allowing for a longer, slower first proofing, perhaps in a slightly cooler spot (like the refrigerator overnight after an hour at room temp), can also develop more complex flavors through fermentation. Consider using bread flour instead of all-purpose flour for a slightly richer flavor profile and better structure.
Tips & Tricks for the Best Easy White Bread
Pro Tip 1: Using a Dough Thermometer for Accuracy
Precision in baking often leads to more consistent and successful results, especially when working with yeast. Using a simple digital thermometer to check the temperature of your liquid when activating yeast is highly recommended. As mentioned, the ideal range for active dry yeast is 105-115°F (40-46°C). This small step eliminates guesswork and ensures your yeast is happy and ready to perform.
Beyond yeast activation, a thermometer can also be useful for checking the internal temperature of your easy white bread loaf when it comes out of the oven. Aiming for an internal temperature of 200-210°F (93-99°C) guarantees that the bread is fully baked through, preventing a gummy interior. Investing a few dollars in a reliable thermometer can significantly improve your basic white bread baking game.
Pro Tip 2: The Importance of Room Temperature Ingredients
While some recipes, like certain pastries, benefit from cold ingredients, most easy white bread recipes work best with ingredients that are at room temperature, especially liquids and fats. Warm liquids (within the specified range) are essential for activating yeast. Cold liquids, even if within the acceptable range for yeast, can significantly slow down the rising process.
Butter or other fats, if used, should be softened to room temperature so they incorporate smoothly into the dough during mixing. Cold fat can create pockets in the dough, affecting gluten development and the final texture of your basic white bread. Taking your eggs (if used), milk, and butter out of the refrigerator about 30-60 minutes before you plan to start mixing can make a noticeable difference in the consistency and rise of your dough.
Pro Tip 3: Kneading Techniques for Optimal Gluten Development
Kneading is the process of developing the gluten structure in the dough, which is essential for trapping gases and creating a light, airy crumb in your easy white bread. Proper kneading transforms a shaggy, sticky mass into a smooth, elastic dough. You can knead by hand or with a stand mixer.
- By hand: Turn the dough onto a lightly floured surface. Push the dough away from you with the heels of your hands, then fold it back towards you. Rotate the dough slightly and repeat this push-fold-rotate action. Continue for 8-10 minutes until the dough is smooth and elastic. It should pass the "windowpane test" – when you stretch a small piece thinly, you should be able to see light through it without it tearing.
- By stand mixer: Use the dough hook attachment on medium speed. Mix for 6-8 minutes after the dough comes together. The dough should slap against the sides of the bowl and eventually gather around the hook, leaving the bowl relatively clean.
Insufficient kneading is a common cause of dense bread, so don't skimp on this step in your easy white bread recipe!
Variations on the Basic White Bread Recipe
Adding Herbs and Spices to Your White Bread
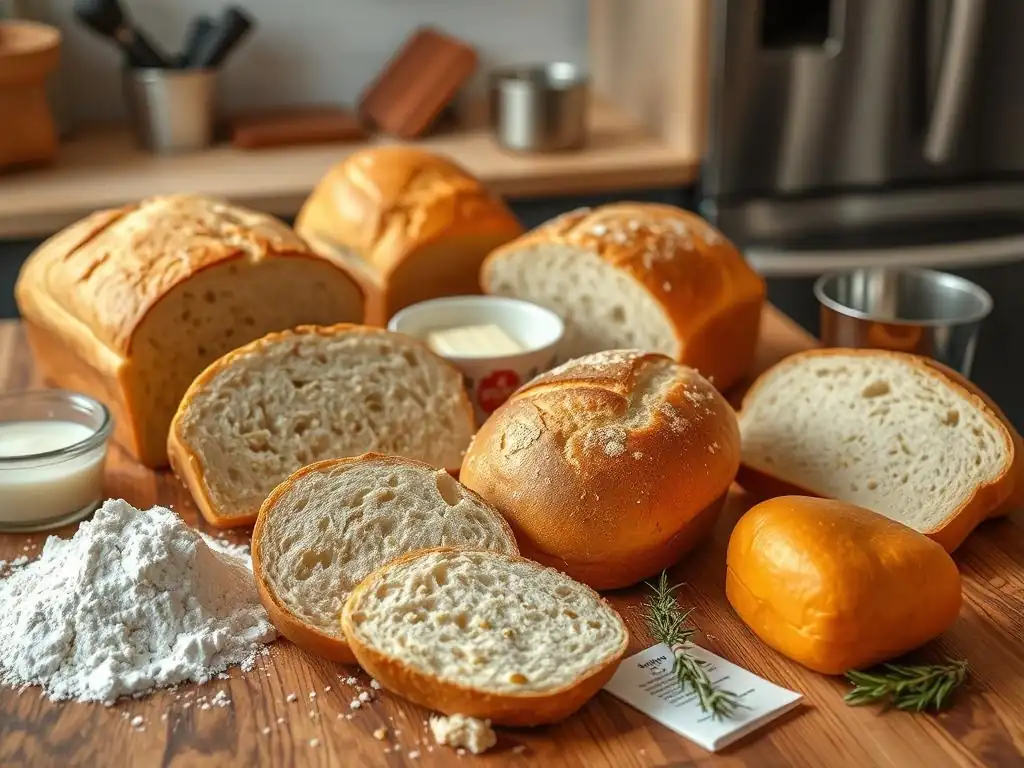
Once you've mastered the basic easy white bread recipe, experimenting with additions can add wonderful new dimensions to your loaf. Herbs like fresh or dried rosemary, thyme, or chives can be incorporated directly into the dough during the mixing stage. A general guideline is to add 1-2 tablespoons of dried herbs or 2-3 tablespoons of fresh herbs per standard loaf.
Spices such as garlic powder, onion powder, or even a pinch of black pepper can also enhance the flavor profile. Consider adding a teaspoon or two of garlic powder for a savory twist. For a slightly sweeter, aromatic bread, a touch of cinnamon or cardamom could be interesting, although less common in a traditional white bread. Mix these additions in during the initial combining of ingredients to ensure they are evenly distributed throughout the dough.
Making a Sandwich Bread Variation: A Softer Crumb
To achieve a particularly soft and tender crumb perfect for sandwiches, you can slightly modify your easy white bread recipe. One common adjustment is to increase the amount of fat used, perhaps up to 3-4 tablespoons of butter or oil. Fat interferes with gluten development just enough to create a softer texture.
Another technique is to use milk or buttermilk instead of water as the liquid component. Milk contains fat and proteins that contribute to a softer crumb and richer flavor. You might also consider using a tangzhong or yudane method, where a small portion of the flour is cooked with liquid to form a paste before adding it to the main dough. This technique increases the dough's hydration potential, resulting in an incredibly soft and moist loaf that stays fresh longer.
Turning Your White Bread into Dinner Rolls
Converting your easy white bread recipe into dinner rolls is a simple and satisfying variation. Follow the recipe as usual through the first proofing. After punching down the dough, instead of shaping it into one large loaf, divide the dough into equal portions. A standard loaf recipe typically yields 10-12 medium-sized rolls, each weighing approximately 60-80 grams.
Shape each portion into a round ball by pulling the edges underneath and rolling it gently on a clean surface with a cupped hand. Place the rolls on a baking sheet lined with parchment paper, leaving some space between them. Allow them to proof for the second rise until they are visibly puffy, usually 30-40 minutes. Bake at a slightly higher temperature, like 400°F (200°C), for a shorter time, typically 15-20 minutes, until golden brown and baked through.
Storing Your Freshly Baked White Bread
Best Practices for Keeping White Bread Fresh
Proper storage is essential to enjoy your delicious homemade easy white bread for as long as possible. The most important rule is to let the loaf cool completely on a wire rack before storing it. Storing warm bread traps steam, leading to a soggy crust and a gummy interior that can quickly mold.
Once cooled, store the bread at room temperature. Avoid refrigerating white bread, as this actually speeds up the staling process. The best storage methods include placing the loaf in a paper bag (which allows the crust to remain somewhat crisp), a bread box (ideal for moderate climates), or a clean, airtight plastic bag or container. For optimal freshness, consume your basic white bread within 3-4 days.
Freezing White Bread for Later Use
If you won't finish your easy white bread loaf within a few days, freezing is an excellent way to preserve its freshness. Ensure the bread is completely cooled before freezing. For best results, slice the loaf before freezing. This allows you to take out just the amount you need at a time.
Wrap the sliced loaf or individual slices tightly in plastic wrap, then place the wrapped bread in a freezer-safe bag or aluminum foil. This double layer of protection helps prevent freezer burn. Frozen white bread can maintain good quality for up to 2-3 months. To use, simply take out the desired number of slices and let them thaw at room temperature, or pop them directly into a toaster.
Enjoying Your Homemade White Bread
Serving Suggestions: What to Eat with Your Easy White Bread
The beauty of a fresh, homemade easy white bread loaf is its versatility. It's the perfect base for countless delicious meals and snacks. Enjoy a slice warm from the oven spread with butter, jam, or honey for a simple pleasure.
- Use thick slices for classic sandwiches like grilled cheese or turkey and swiss.
- Cut it into cubes for homemade croutons for salads or soups.
- Toast slices and top with avocado, eggs, or bruschetta for breakfast or a light meal.
- Serve alongside hearty soups, stews, or chili to soak up every last drop.
- Transform slightly stale bread into French toast or bread pudding.
The possibilities are truly endless with your delicious basic white bread!
From Our Kitchen to Yours: Happy Baking!
We hope this ultimate cheatsheet has provided you with the knowledge and confidence to bake a perfect easy white bread loaf. There's immense satisfaction in pulling a golden, fragrant loaf from your own oven. Don't be discouraged if your first attempt isn't absolutely perfect; baking is a skill that improves with practice.
Keep experimenting, paying attention to the feel of the dough and the cues it gives you. This easy white bread recipe is a fantastic starting point on your baking journey. We at BakeWithEase are thrilled to be a part of your baking adventures. Happy baking!
Frequently Asked Questions
How easy is the "Ultimate Cheatsheet for Basic White Bread Success" recipe for a beginner?
The recipe is designed to be extremely beginner-friendly, focusing on simple steps and readily available ingredients. It's a great starting point for anyone new to baking bread.
What kind of flour is best for this easy white bread recipe?
The recipe recommends using all-purpose flour for its accessibility and reliable results. You can also experiment with bread flour for a chewier texture.
How long does it take to make this basic white bread?
From start to finish, including proofing and baking, expect the entire process to take approximately 3-4 hours. Most of this time is hands-off proofing.
Can I add any variations to the "Easy White Bread Recipe"?
Yes! You can add herbs, cheese, or seeds to the dough for added flavor. Be sure to adjust the baking time if adding ingredients that retain moisture.
What are some common mistakes to avoid when making white bread?
Avoid using expired yeast or over-kneading the dough. Proper proofing is also essential for a light and airy loaf.
Final Reflection: The Enduring Power of Simple Bread
The seemingly simple act of baking a loaf of white bread remains profoundly relevant today, offering a potent antidote to the fast-paced, processed food culture that surrounds us. More than just a recipe, mastering basic white bread unlocks a deeper connection to food, fostering self-sufficiency and a profound appreciation for the transformative power of simple ingredients.
The influence of homemade bread extends far beyond the kitchen table. It's a tangible link to generations past, a comforting ritual that transcends cultural boundaries. The satisfaction derived from nurturing a simple dough into a golden-brown loaf is immeasurable. Bread is the staff of life,
a proverb that rings truer than ever in a world increasingly disconnected from its food sources. This simple act of baking connects us to something fundamental, something primal, and something deeply satisfying.
Now, consider your own kitchen. Imagine the aroma of freshly baked bread filling your home, the warmth radiating from the loaf as you slice into its soft, yielding crumb. This isn't just about following a recipe; it's about embracing a process, a journey of creation that culminates in a reward both delicious and deeply fulfilling. Take the leap, try your hand at this seemingly simple recipe, and discover the unexpected joy and satisfaction that awaits. You might just surprise yourself with what you create, and even more so, with what you discover within yourself.
Unleash Your Inner Baker: Make Perfect White Bread Today!
Thanks for taking the time to explore the world of perfect white bread baking! We hope you gained valuable insights and newfound confidence in your baking abilities. Now it's time to put that knowledge into action.
- Bake your first loaf: Grab those ingredients and follow the recipe! We're confident you'll be amazed by the results. (Don't forget to check out the troubleshooting section if you hit a snag! ).
- Share your baking journey: Post a picture of your masterpiece on social media and tag us @BakeWithEase – we’d love to see your creation!
- Explore advanced techniques: Dive deeper into our website and discover other recipes and guides to take your baking skills to the next level.
What unique twist will you add to your first perfect loaf of white bread?