
The Ultimate Victoria Sponge Recipe for Beginners

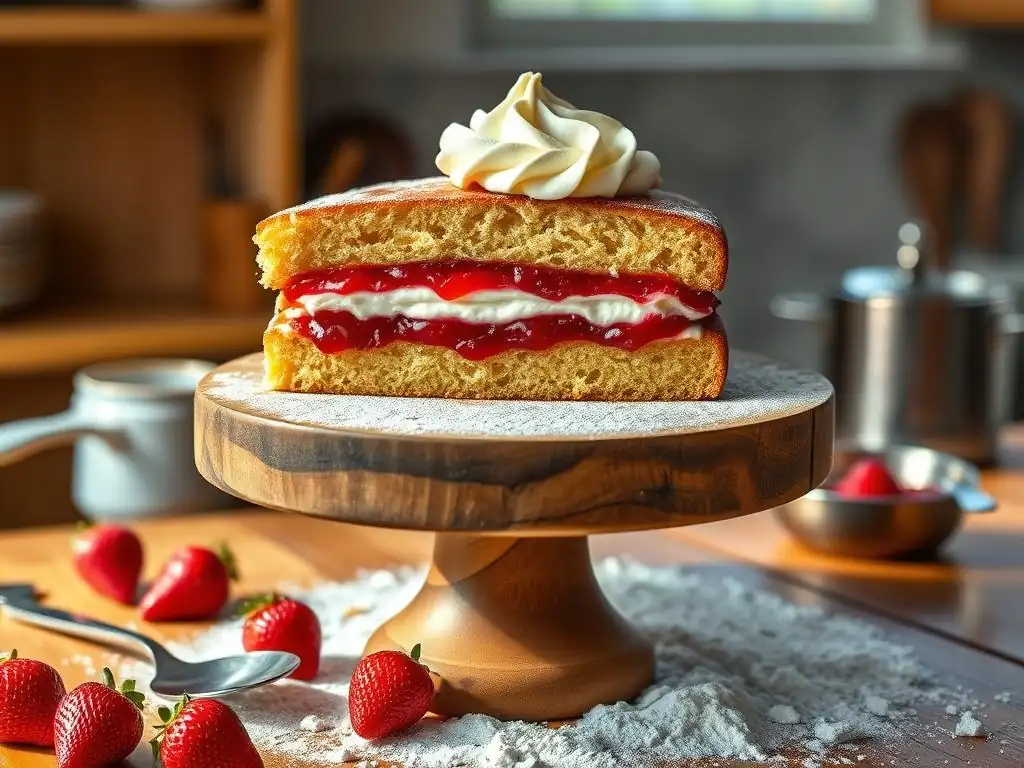
Welcome to BakeWithEase, your kitchen companion for all things baking! Ever dreamt of creating the perfect, light-as-air Victoria Sponge? Our easy Victoria sponge recipe for beginners, featured below, unlocks the secrets to this classic treat. Dive in to discover how simple ingredients and straightforward techniques can transform your baking game. Prepare to be amazed by the delicious results – and what other baking adventures await!
- Classic Victoria Sponge Cake Recipe
- Baking a Delicious Victoria Sponge
- Recipe: Step-by-Step Instructions
- Baking Instructions
- Baking Tips
- Storage Instructions
- Enjoy!
-
Frequently Asked Questions
- What makes this Victoria Sponge recipe easy for beginners?
- What are the key ingredients needed for this Easy Victoria Sponge recipe?
- Can I adapt this recipe if I don't have self-raising flour?
- What's the best way to avoid a sunken Victoria Sponge?
- How do I know when the Victoria Sponge is perfectly baked?
- Final Reflection: The Enduring Allure of a Simple Sponge
- Ready to Bake the Perfect Victoria Sponge?
Classic Victoria Sponge Cake Recipe
Baking a Delicious Victoria Sponge
Introduction
Welcome to the wonderful world of British baking! If you're just starting your baking journey, the Victoria Sponge cake is an absolutely perfect place to begin. It's a true classic, beloved across the UK, and surprisingly simple to master, making it an ideal easy Victoria sponge recipe for beginners. This iconic cake, traditionally filled with jam and whipped cream, is known for its light, fluffy texture and delightful sweetness, making it a staple for afternoon tea or any celebration.
Embarking on this easy Victoria sponge recipe for beginners will not only yield a delicious result but also teach you fundamental baking techniques. We'll walk through each step, from preparing your simple batter to assembling the layers, ensuring success even if this is your first attempt. Our goal is to demystify the process, showing you just how accessible and rewarding baking a classic Victoria Sponge can be.
Why Victoria Sponge is a Great Choice
The Victoria Sponge is an excellent choice for beginner bakers due to its straightforward method and forgiving nature compared to more complex cakes. The standard 'all-in-one' or creaming method used for the sponge is foundational to many other cake recipes, providing a solid skill base. Plus, the simple filling of jam and whipped cream requires no complex pastry techniques, keeping the process manageable and stress-free for newcomers.
Beyond its simplicity, mastering an easy Victoria sponge recipe for beginners offers immense satisfaction. It's a versatile cake that can be enjoyed plain, or slightly adapted with different fillings or subtle flavor variations as you gain confidence. This recipe provides a reliable foundation, giving you a repeatable success that builds confidence and encourages further baking exploration.
Recipe: Step-by-Step Instructions
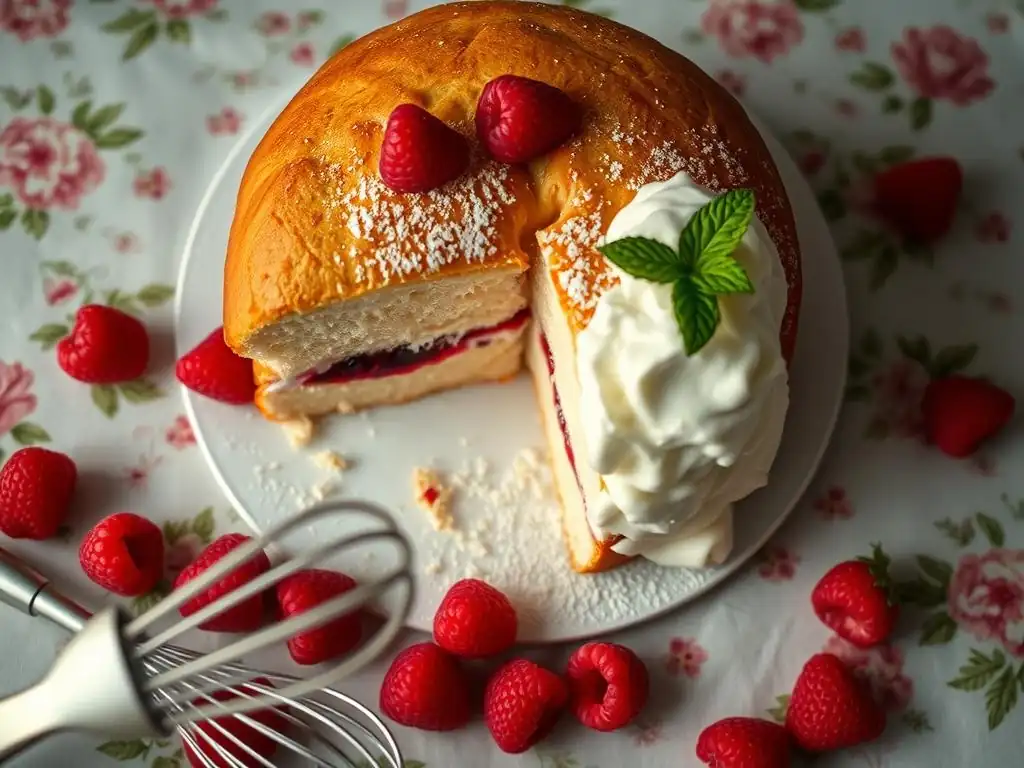
Ingredients
Cake Ingredients
- 200g unsalted butter, softened
- 200g caster sugar
- 4 large eggs, at room temperature
- 200g self-raising flour, sifted
- 1 teaspoon vanilla extract
- 2 tablespoons milk, at room temperature (optional, for consistency)
Filling Ingredients
- 150g good quality strawberry or raspberry jam
- 300ml double cream, chilled
- 1-2 tablespoons icing sugar, for dusting
Equipment
Essential Tools
- Digital kitchen scales
- Large mixing bowl
- Electric hand mixer or stand mixer
- Spatula
- Sieve
- 2 x 8-inch (20cm) round cake tins
- Baking parchment
- Wire cooling rack
Optional Tools
- Palette knife or offset spatula (for spreading)
- Cake leveller (for evening tops)
- Cake stand
Baking Instructions
Step 1: Preparing the Batter
Creaming Butter and Sugar
The first crucial step for a light sponge in this easy Victoria sponge recipe for beginners is creaming the butter and sugar. Ensure your softened butter is genuinely soft – it should yield easily when pressed. In your large mixing bowl, combine the softened butter and caster sugar. Using your electric mixer, beat them together on medium speed for about 3-5 minutes. The mixture should transform from a dense, yellowish mass into a pale, fluffy, and significantly increased volume. This process incorporates air, which is vital for the cake's rise and tender texture.
Continue creaming until the mixture is visibly lighter in color and texture. A good sign is when the sugar crystals are less discernible to the touch. Don't rush this step; it's foundational to a good sponge. Proper creaming ensures that air pockets are evenly distributed, leading to a consistent crumb structure after baking.
Incorporating Eggs
Once your butter and sugar are perfectly creamed, it's time to add the eggs. Whisk the four room temperature eggs together in a small bowl before adding them gradually to the butter-sugar mixture. Add about a quarter of the whisked egg at a time, beating well with the electric mixer after each addition until fully incorporated. If the mixture looks like it's starting to curdle slightly after an egg addition, add a tablespoon of your sifted flour along with the next egg portion.
Adding the eggs slowly allows the fat and liquid to emulsify properly, preventing the mixture from splitting. Ensure each addition is fully combined before adding the next. Beat until the mixture is smooth and glossy. The vanilla extract can be added with the final egg addition for flavor. If using milk, stir it in now.
Folding in Dry Ingredients
Now for the final step of the batter: incorporating the self-raising flour. Sift the flour directly over the wet mixture. Sifting helps to aerate the flour further and removes any lumps, contributing to a lighter sponge. Using a spatula or a large metal spoon, gently fold the flour into the mixture. Use a cutting and folding motion, bringing the mixture from the bottom up and over.
Be careful not to overmix at this stage. Overmixing develops the gluten in the flour, which can result in a tough cake. Fold just until there are no visible streaks of dry flour left. The batter should be smooth and airy. This gentle folding preserves the air you incorporated during creaming and egg addition.
Step 2: Baking the Cake Layers
Preparing the Pans
Proper pan preparation is key to ensuring your beautiful sponges don't stick. Take your two 8-inch (20cm) round cake tins. Grease the inside of each tin generously with butter or a non-stick baking spray. Then, cut two circles of baking parchment to fit the base of each tin. Place a parchment circle in the bottom of each greased tin. This extra layer of protection is highly recommended for an easy Victoria sponge recipe for beginners, guaranteeing easy release.
Pour the prepared cake batter equally into the two prepared tins. An easy way to ensure they are even is to use your kitchen scales to weigh the batter in each tin. Gently level the surface of the batter in each tin using your spatula. Avoid banging the tins on the counter, as this can knock out the air bubbles you worked hard to create.
Baking Time and Temperature
Preheat your oven to 180°C (160°C fan/350°F/Gas Mark 4). Place the prepared cake tins on the middle shelf of the preheated oven. The baking time for an 8-inch Victoria sponge is typically between 20 to 25 minutes. However, ovens vary, so it's crucial to start checking for doneness around the 20-minute mark.
Baking at the correct temperature ensures the cake rises evenly and cooks through without burning the edges. Avoid opening the oven door during the first 15-20 minutes of baking, as this can cause the cake to sink. Look for the cakes to be golden brown on top and starting to pull away slightly from the sides of the tin.
Checking for Doneness
To confirm your Victoria sponge layers are perfectly baked, use the classic skewer test. Carefully open the oven door and gently insert a clean skewer or toothpick into the center of one of the cakes. If the skewer comes out clean, with no wet batter attached, the cake is done. Repeat with the second cake.
If the skewer has wet batter on it, close the oven door and continue baking for another 2-3 minutes before testing again. Be mindful not to overbake, as this can lead to a dry cake. Once the skewer comes out clean, remove the cakes from the oven.
Step 3: Assembling the Cake
Cooling the Cakes
Once the cakes are out of the oven, let them sit in their tins for about 5-10 minutes. This allows them to firm up slightly before handling. Running a small knife around the edge of the tin can help loosen them, though with proper greasing and parchment, they should come out easily. Carefully invert each tin onto a wire cooling rack. Gently lift off the tins and peel away the baking parchment from the base of each cake.
It is absolutely essential that the cake layers cool completely on the wire rack before you attempt to fill and assemble the cake. Trying to fill warm cakes will melt the cream and make the jam runny, resulting in a messy, unstable cake. Allow them to cool for at least 30-60 minutes, or until they are cool to the touch.
Preparing the Filling: Whipped Cream and Jam
While the cakes are cooling, prepare your classic Victoria sponge filling. Pour the chilled double cream into a clean mixing bowl. Using an electric mixer (or whisk), beat the cream on medium-high speed until it forms soft peaks. Be careful not to overbeat, or you'll end up with butter! Soft peaks mean the cream holds its shape loosely but the peaks curl over when the whisk is lifted. For a slightly sweetened cream, you can add a tablespoon of icing sugar towards the end of whipping.
For the jam, use a good quality strawberry or raspberry jam. Some people prefer to warm the jam slightly in a small saucepan or microwave for a few seconds to make it easier to spread, but this is optional. Ensure it's not hot, just slightly looser. You'll need about 150g of jam for a generous layer.
Assembling the Layers
Once the cakes are completely cool, place one cake layer onto your serving plate or cake stand. This will be the bottom layer. If one cake has a slightly flatter top, use that one as the bottom layer. Using a spoon or palette knife, spread the jam evenly over the top of the bottom cake layer, leaving a small border around the edge. Use approximately 150g of jam for a good, classic layer.
Next, dollop the whipped cream over the layer of jam. Gently spread the whipped cream evenly over the jam, again leaving a small border. Place the second cake layer on top of the cream-covered layer. If the top layer has a slight dome, place it dome-side down for a flatter top to your cake.
Step 4: Finishing Touches
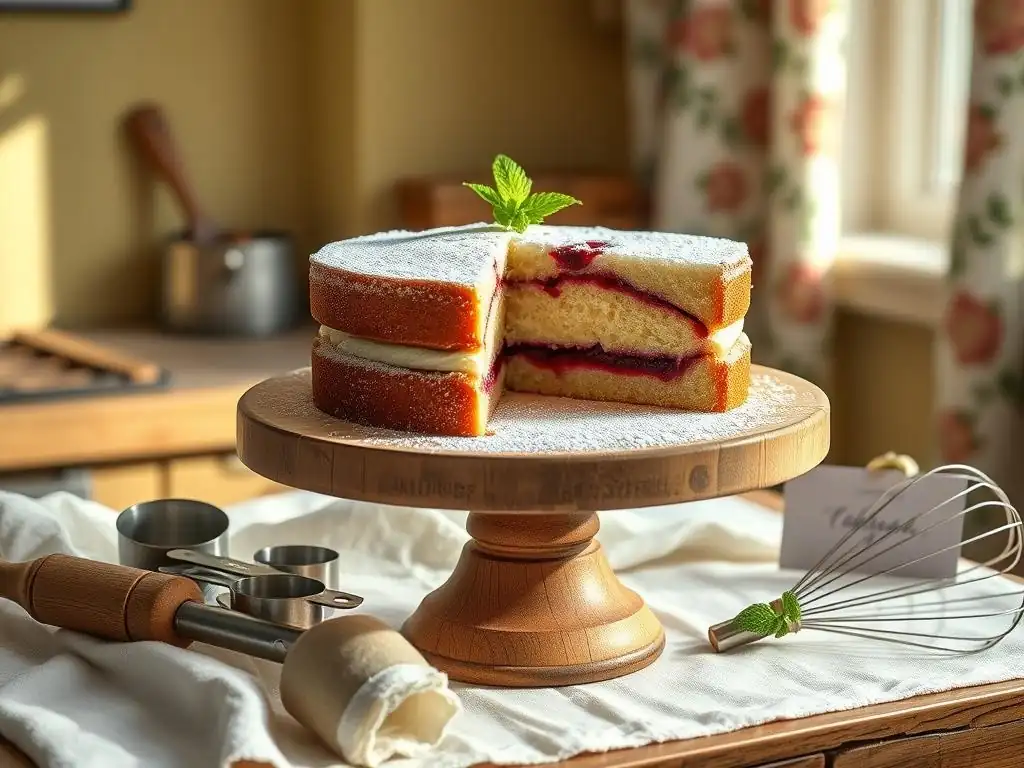
The traditional finish for a classic Victoria Sponge is a simple dusting of icing sugar. Using a small sieve, sprinkle a generous layer of icing sugar over the top of the assembled cake. This adds a touch of elegance and sweetness.
This easy Victoria sponge recipe for beginners is now complete and ready to be sliced and enjoyed!
Baking Tips
Common Problems and Solutions
Dry Cake Prevention
A dry Victoria sponge is a common disappointment, but easily avoided with a few simple practices. Firstly, ensure your ingredients, especially butter and eggs, are at room temperature before you start. Cold ingredients don't emulsify properly, leading to a less moist crumb. Using accurate measurements, particularly for flour, is also critical; too much flour absorbs excess moisture. Weighing ingredients is far more accurate than using volume measures like cups.
Furthermore, avoid overmixing the batter once the flour is added, as this develops gluten and results in a tough, dry texture. Baking for the correct time and temperature is also paramount. Overbaking, even by a few minutes, can significantly dry out the cake layers. Start checking for doneness at the lower end of the recommended baking time (e.g., 20 minutes for an 8-inch cake) and use the skewer test diligently.
Avoiding a Sunken Center
A sunken center in your Victoria sponge is often caused by instability during baking. Opening the oven door prematurely, especially within the first 15-20 minutes of baking when the cake is still setting, is a frequent culprit. The sudden temperature change can cause the delicate structure to collapse. Ensure your oven temperature is accurate; if your oven runs cool or hot, it can affect the rise.
Other reasons include using too much leavening agent (self-raising flour or baking powder), which causes the cake to rise too quickly and then fall, or overmixing the batter, which weakens the structure. Ensuring all ingredients are at room temperature and correctly measured helps create a stable batter that is less prone to sinking.
Preventing a Hard Crust
A hard or overly dark crust on your Victoria sponge can detract from its delicate nature. This is often a result of baking at too high a temperature or for too long. Ensure your oven thermostat is accurate; an oven thermometer can be very helpful here. Baking at the recommended 180°C (160°C fan) for 20-25 minutes should yield a soft, golden crust.
Also, ensure your cake tins are properly greased and lined with baking parchment. This provides a protective barrier against the heat of the tin itself. Placing the cakes on the middle shelf of the oven, away from direct heat elements, also helps promote even baking and prevents the bottom crust from becoming too hard.
Variations
Coffee Victoria Sponge
To make a delightful Coffee Victoria Sponge, simply dissolve 1-2 tablespoons of instant coffee granules in 2 tablespoons of hot water. Allow the coffee mixture to cool completely to room temperature before adding it to the cake batter along with the eggs and vanilla extract. This substitution is an easy way to introduce a new flavor profile to your easy Victoria sponge recipe for beginners.
For the filling, you can make a coffee-flavored buttercream instead of whipped cream, or simply add a teaspoon of cooled dissolved coffee to your whipped cream before beating. A coffee-flavored sponge pairs beautifully with a classic vanilla or coffee buttercream filling.
Orange Victoria Sponge
Adding citrus zest is another simple variation. For an Orange Victoria Sponge, finely grate the zest of one large orange. Add the orange zest to the creaming butter and sugar stage. The oils in the zest will infuse into the fat, distributing the flavor throughout the cake. You can also add 1-2 tablespoons of fresh orange juice along with the milk (if using) or liquid ingredients.
For the filling, a classic jam and cream work well, or you could make an orange-flavored buttercream or add a little orange zest to your whipped cream. Using orange curd instead of jam is also a delicious alternative for this easy Victoria sponge recipe beginners can explore.
Storage Instructions
Keeping the Cake Fresh
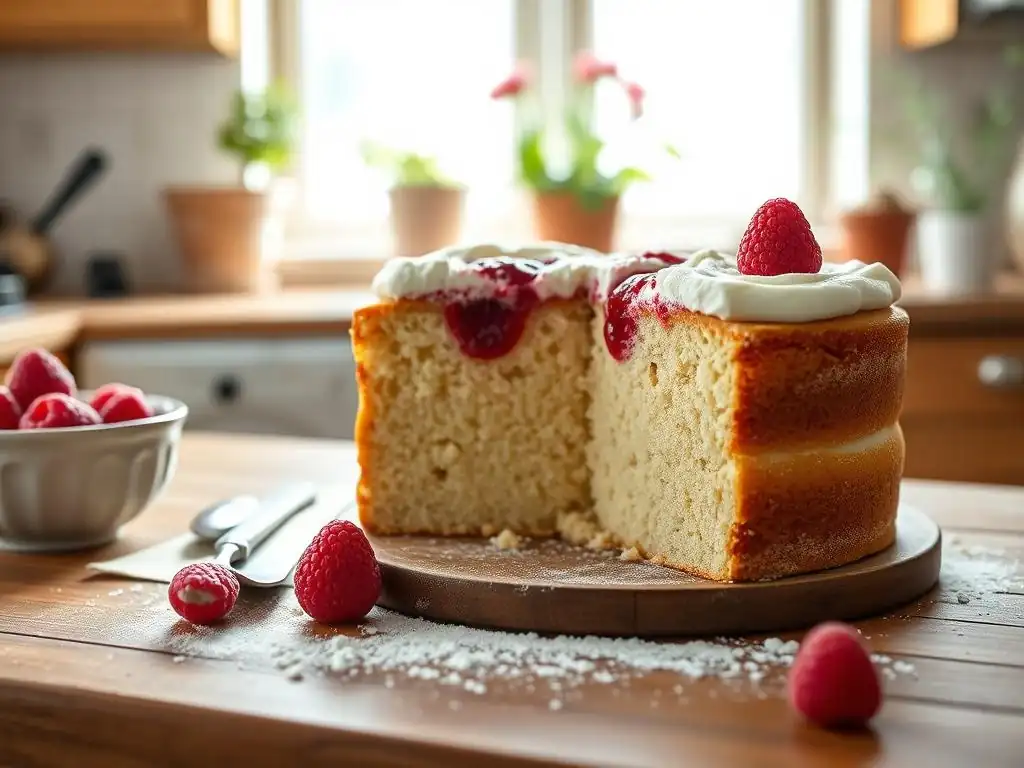
Once assembled, a Victoria Sponge cake is best enjoyed within 2-3 days. Store the cake in an airtight container at room temperature. If your kitchen is very warm, or if you have used a perishable filling like fresh cream (rather than stabilized whipped cream or buttercream), it's safer to store the cake in the refrigerator.
If refrigerated, the sponge can sometimes become a little drier. To combat this, you can allow a refrigerated slice to come closer to room temperature for about 15-20 minutes before serving. Always ensure the container is well sealed to prevent the cake from drying out or absorbing odors.
Freezing Instructions
Victoria sponge cake layers freeze very well, allowing you to bake ahead of time. Once the cake layers are completely cool, wrap each layer individually and tightly in plastic wrap, followed by a layer of aluminum foil. Freeze the layers flat. They can be stored in the freezer for up to 2-3 months.
To thaw, unwrap the frozen layers and place them on a wire rack at room temperature. Allow them to thaw completely, which can take several hours. Once thawed, they are ready to be filled and assembled as usual. Freezing the assembled cake is also possible, but the texture of the whipped cream filling might change slightly upon thawing.
Enjoy!
Frequently Asked Questions
What makes this Victoria Sponge recipe easy for beginners?
This recipe focuses on simple ingredients and straightforward instructions, minimizing potential errors. It also uses common baking tools readily available to most home cooks.
What are the key ingredients needed for this Easy Victoria Sponge recipe?
The core ingredients are self-raising flour, caster sugar, eggs, and butter (or margarine). You'll also need jam and cream for the filling.
Can I adapt this recipe if I don't have self-raising flour?
Yes, you can! Use plain flour and add baking powder (typically 2 teaspoons per cup of flour). Ensure it's well mixed for even rising.
What's the best way to avoid a sunken Victoria Sponge?
Avoid opening the oven door prematurely during baking. Also, ensure the oven temperature is accurate and don't overmix the batter.
How do I know when the Victoria Sponge is perfectly baked?
Insert a skewer into the center; if it comes out clean, the sponge is done. It should also be golden brown and spring back lightly when touched.
Final Reflection: The Enduring Allure of a Simple Sponge
The perfect Victoria sponge isn't just a cake; it's a gateway to baking confidence. This seemingly simple recipe, demystified throughout this article, holds a surprising power to connect us to the joy of creating something delicious from scratch. In a world of increasingly complex culinary trends, the enduring appeal of this classic lies in its accessibility and the undeniable satisfaction of a perfectly risen, light-as-air sponge.
The Victoria sponge's influence extends far beyond the kitchen table; it's a symbol of home baking, of shared moments, and of simple pleasures. It evokes memories of childhood tea parties and family gatherings, a testament to the power of food to bring people together. Baking is at once child's play and adult joy. And love, of course.
- This sentiment perfectly captures the essence of the Victoria sponge experience, transforming a simple recipe into a meaningful act of creation.
Now, I invite you to take what you've learned and embark on your own Victoria sponge journey. Don't be afraid to experiment, to adjust the recipe to your own taste, and most importantly, to enjoy the process. The true reward isn't just the delicious cake itself, but the sense of accomplishment and the joy of sharing your creation with others. So, gather your ingredients, preheat your oven, and let the baking begin!
Ready to Bake the Perfect Victoria Sponge?
Thanks for taking the time to explore our ultimate Victoria Sponge recipe! We hope you gained the confidence to tackle this classic bake. Now it's time to put your newfound skills to the test.
- Bake your own masterpiece! Follow the recipe and share your creation with us – we'd love to see your stunning Victoria Sponge.
- Explore our other beginner-friendly recipes to expand your baking repertoire and discover new favorites.
- Share this recipe with a friend who also dreams of mastering the perfect Victoria Sponge.
What unique twist will you add to your Victoria Sponge to make it truly your own?