
Simple Molasses Rye Bread Recipe

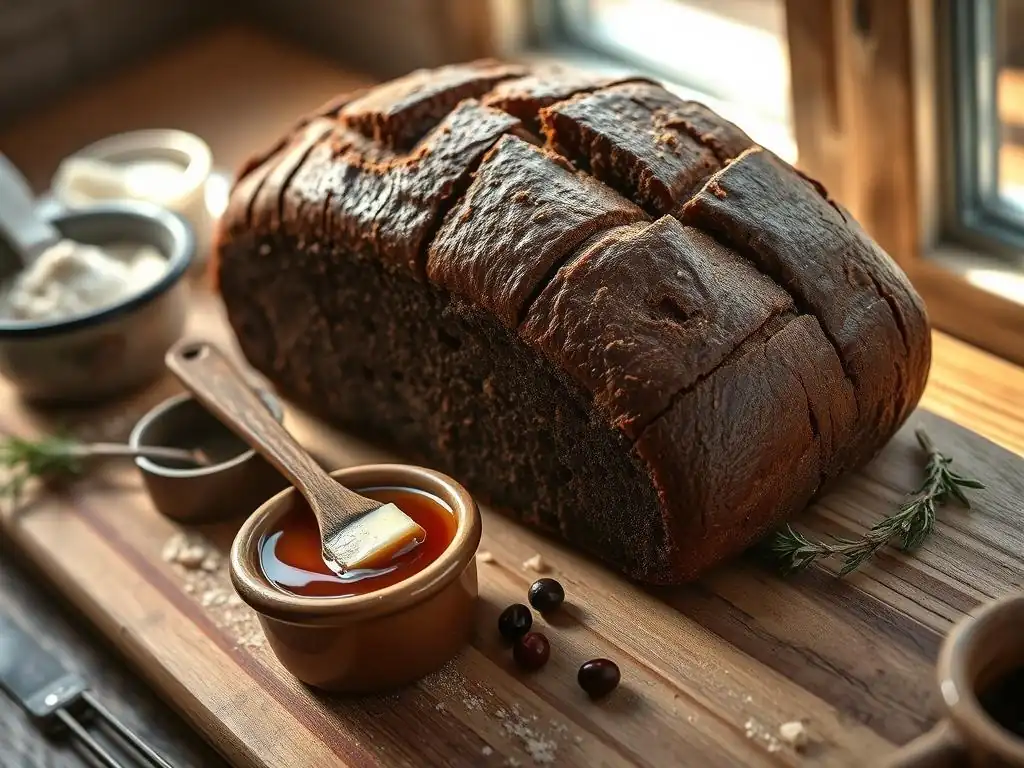
Welcome to BakeWithEase, your guide to unlocking baking brilliance! Ever dreamt of a hearty, flavorful loaf that's surprisingly simple to create? Then you're in the right place. Discover the secrets to crafting an unforgettable Easy Molasses Rye Bread, and prepare to be amazed at how effortlessly you can achieve bakery-worthy results. Intrigued? Keep reading to learn how!
- Simple Molasses Rye Bread Recipe: Bake With Ease
- Introduction to Easy Molasses Rye Bread Baking
- Ingredients for Your Homemade Molasses Rye Bread
- Step-by-Step Guide to Baking Molasses Rye Bread
- Cooling and Storing Your Freshly Baked Rye Bread
- Tips and Tricks for Perfect Molasses Rye Bread
- Serving Suggestions for Your Easy Molasses Rye Bread
- Conclusion: Enjoy Baking Easy Molasses Rye Bread
-
Frequently Asked Questions
- What makes this molasses rye bread recipe considered "easy"?
- Can I substitute any ingredients in this easy molasses rye bread recipe?
- How long does it take to make this easy molasses rye bread?
- What equipment do I need to bake this easy molasses rye bread?
- How should I store the baked easy molasses rye bread?
- Final Reflection: The Enduring Comfort of a Simple Loaf
- Unleash Your Inner Baker: Bake This Molasses Rye Today!
Simple Molasses Rye Bread Recipe: Bake With Ease
Introduction to Easy Molasses Rye Bread Baking
Baking bread at home can seem daunting, but with the right recipe and guidance, it becomes a truly rewarding experience. Among the vast world of homemade loaves, molasses rye bread holds a special place. Its distinct flavor profile, slightly sweet and earthy, paired with a wonderfully chewy texture, makes it a favorite for sandwiches, toast, or simply enjoyed with butter. This article is designed to walk you through creating a delicious easy molasses rye bread, making the process accessible and enjoyable for bakers of all skill levels, especially beginners.
Embarking on the journey of baking an easy molasses rye bread means bringing warmth and inviting aromas into your kitchen. Unlike some complex sourdoughs or highly enriched doughs, this recipe simplifies the core steps while delivering authentic flavor. We'll focus on straightforward techniques and readily available ingredients, ensuring that your first attempt, or your hundredth, is met with success and a beautifully baked loaf. Get ready to discover how simple and satisfying baking this classic bread can be right in your own home.
Why Bake This Easy Molasses Rye Bread?
Baking your own bread offers unparalleled satisfaction, and choosing an easy molasses rye bread recipe amplifies this joy. The unique taste combination of robust rye flour with the deep, slightly bitter sweetness of molasses creates a loaf far superior to most store-bought options. This specific recipe is designed to minimize common pitfalls, such as overly dense crumb or difficult handling often associated with high-rye doughs, making it an ideal starting point for anyone new to baking with rye flour. It's a chance to create something truly delicious from scratch with minimal fuss.
Furthermore, baking bread is a sensory experience – from the feel of the dough as you knead it to the incredible aroma filling your kitchen as it bakes. This easy molasses rye bread provides that full experience without requiring advanced techniques or specialized equipment. It's a practical project that yields tangible, edible results, perfect for boosting confidence in the kitchen. Plus, knowing exactly what ingredients went into your bread offers peace of mind, allowing you to enjoy a wholesome and flavorful loaf made with care.
What Makes This Molasses Rye Bread Recipe Special? (Beginner-Friendly)
This easy molasses rye bread recipe is specifically formulated with the beginner baker in mind, focusing on simplicity and reliability. Unlike traditional rye bread recipes that might involve multiple lengthy fermentation steps or complex shaping, this approach streamlines the process. We use active dry yeast, which is straightforward to work with, and rely on standard kitchen equipment. The ingredient ratios are balanced to ensure the dough is manageable, even with the lower gluten content of rye flour, reducing the stickiness often encountered by novices.
A key element that makes this easy molasses rye bread particularly beginner-friendly is the forgiving nature of the dough. While rye flour can be tricky, the inclusion of a portion of all-purpose or bread flour provides structure and makes kneading easier. The recipe also uses clear, step-by-step instructions with visual cues to guide you through each stage, from activating the yeast to the final bake. We bypass techniques like poolish or preferments, common in more advanced recipes, sticking to a simple direct dough method that delivers great results with minimal complexity.
Ingredients for Your Homemade Molasses Rye Bread
Gathering the right ingredients is the first step to baking a successful easy molasses rye bread. Each component plays a crucial role in developing the flavor, texture, and structure of the final loaf. Using fresh, quality ingredients will significantly impact the outcome, so it's worth taking a moment to ensure you have everything you need.
Essential Ingredients List for Easy Baking
Here is a checklist of the core ingredients required for your easy molasses rye bread:
- [ ] Warm Water (approx. 105-115°F or 40-46°C)
- [ ] Active Dry Yeast (typically 2 ¼ teaspoons, or one standard packet)
- [ ] Molasses (unsulphured is preferred for flavor)
- [ ] Salt (fine sea salt or table salt)
- [ ] Rye Flour (light or medium rye flour recommended for beginners)
- [ ] All-Purpose Flour or Bread Flour
Using warm water within the specified temperature range is vital for activating the yeast properly. Water that is too cold won't wake up the yeast, while water that is too hot can kill it. The amount of yeast, typically 2 ¼ teaspoons, is standard for leavening a loaf of this size and ensures a good rise without imparting an overly yeasty flavor. Molasses is not just for sweetness; it adds color, moisture, and that characteristic tangy depth unique to molasses rye bread. Salt is critical for flavor development and also helps control the yeast's activity.
Understanding Rye Flour Types for Bread Making
Rye flour comes in several varieties, each with different characteristics that affect bread baking. The type of rye flour you choose for your easy molasses rye bread will influence the density, color, and flavor of the final loaf. Light rye flour is milled from the inner part of the rye berry and has a lighter color and milder flavor, producing a loaf with a finer crumb structure, closer to wheat bread. It's often the easiest type for beginners to work with as it contains less pentosans, complex sugars that absorb a lot of water and can make dough sticky.
Medium rye flour contains more of the outer layers of the rye berry than light rye and offers a slightly darker color and more pronounced rye flavor. Dark rye flour, milled from the whole rye berry including the bran, is darkest in color and has the strongest, most robust flavor. Pumpernickel flour is a very coarse-ground dark rye flour. For an easy molasses rye bread, starting with light or medium rye flour is recommended as they are more forgiving and result in a less dense loaf, making the baking process simpler for those new to rye baking.
The Importance of Molasses in Rye Bread
Molasses is a cornerstone ingredient in authentic molasses rye bread, contributing significantly more than just sweetness. It's a byproduct of sugar refinement and its type depends on the stage of the process. Unsulphured molasses is generally preferred for baking as it has a cleaner, less chemical taste than sulphured varieties. Blackstrap molasses is the darkest and most concentrated, offering the most robust flavor, but it can also be slightly bitter; lighter or dark molasses (not blackstrap) often provides a better balance for a classic easy molasses rye bread flavor.
Beyond flavor, molasses adds moisture to the dough, which helps keep the finished bread soft and extends its shelf life. The sugars in molasses also provide food for the yeast, aiding in fermentation, and contribute to the beautiful dark brown crust color during baking through the Maillard reaction. Its slightly acidic nature can also interact with baking soda if present (though not typically in yeasted bread), but primarily, in this easy molasses rye bread recipe, it's about achieving that signature taste, color, and moist crumb.
Optional Add-ins for Enhanced Flavor
While a simple molasses rye bread is delicious on its own, incorporating optional add-ins can elevate its flavor profile and texture. These additions are easy to mix into the dough and can customize your loaf to your preference.
Common and popular additions include:
- Caraway Seeds: Perhaps the most classic companion to rye bread, caraway seeds add a distinctive aromatic, slightly anise-like flavor. About 1-2 tablespoons per loaf is a good starting point.
- Chopped Walnuts or Pecans: These add crunch and nutty depth, pairing well with the earthy rye and sweet molasses. A half cup to a full cup is usually sufficient.
- Dried Fruits: Raisins, currants, or dried cranberries can add pockets of sweetness and chewiness. Start with about a half cup.
- Orange Zest: A teaspoon or two of fresh orange zest can add a bright, citrusy note that complements the richness of the molasses and rye.
When adding these ingredients to your easy molasses rye bread dough, it's best to incorporate them during the final stages of kneading or just before the first rise. This prevents them from being overly broken down and ensures even distribution throughout the loaf. Experimenting with small amounts first can help you find your favorite combinations and customize your simple molasses rye bread experience.
Step-by-Step Guide to Baking Molasses Rye Bread
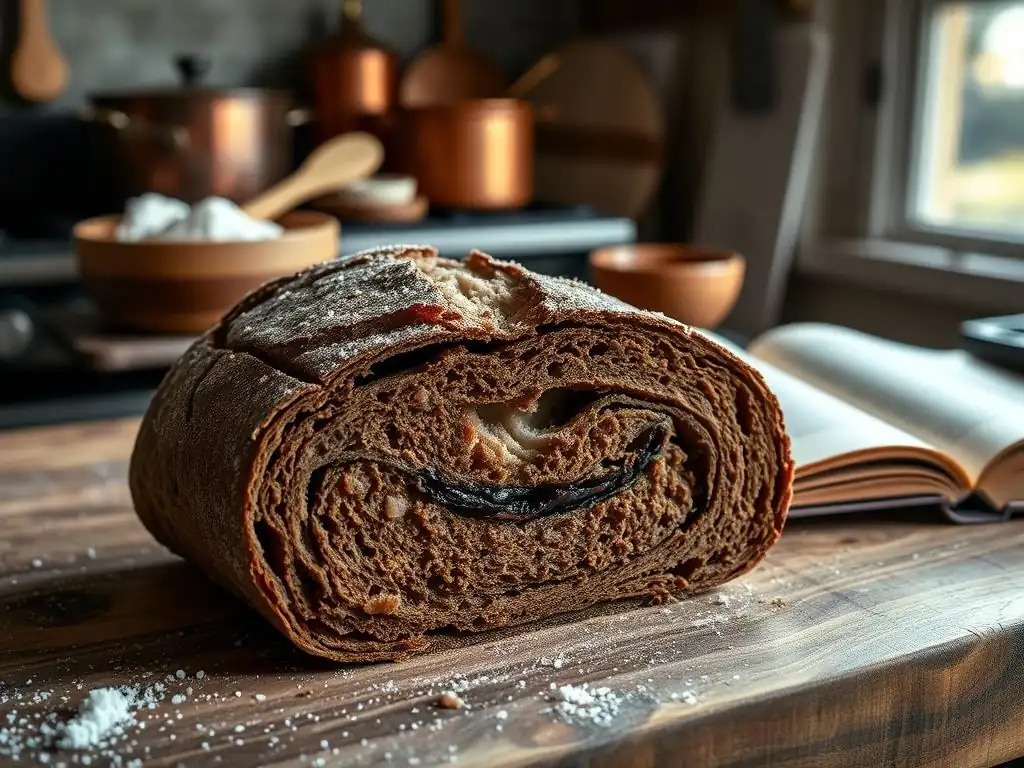
Baking this easy molasses rye bread involves a series of straightforward steps, designed to guide you from ingredients to a finished loaf with minimal fuss. Following these stages methodically will help ensure success, even if you're new to bread making.
Step 1: Preparing the Dough for Molasses Rye Bread
The initial stage involves activating the yeast and bringing together the core wet and dry ingredients to form the basic dough for your easy molasses rye bread. Precision in this step sets the foundation for the rest of the process.
Activating the Yeast for Best Results
Yeast activation is a critical first step in most yeasted bread recipes, including this easy molasses rye bread. You'll typically use warm water, ideally between 105°F and 115°F (40-46°C), which is the optimal temperature range for active dry yeast to thrive. Measure out the specified amount of warm water and sprinkle the yeast over the surface. Add a pinch of sugar or a teaspoon of molasses from the recipe's measured amount; this gives the yeast some immediate food. Let this mixture sit undisturbed for about 5-10 minutes.
During this time, the yeast should 'bloom' or become foamy and bubbly on the surface of the water. This visual cue indicates that the yeast is alive and active, ready to leaven your easy molasses rye bread dough. If you don't see significant foaming after 10 minutes, your water might not have been the right temperature, or the yeast may be expired. In this case, it's best to discard the mixture and start again with fresh yeast and correctly tempered water to ensure a good rise.
Mixing the Dry and Wet Ingredients Correctly
Once your yeast is active, it's time to combine all the ingredients to form the dough for your easy molasses rye bread. In a large mixing bowl, whisk together the rye flour, all-purpose flour, and salt. In a separate bowl or directly into the yeast mixture, add the molasses and any other wet ingredients specified in the recipe (sometimes a little oil or butter is included for tenderness).
Pour the activated yeast mixture and the molasses into the bowl with the dry ingredients. Use a sturdy spoon or a stand mixer with a dough hook attachment to bring everything together. Mix until a shaggy dough forms and all the flour is incorporated. At this stage, the dough might look a bit dry or a bit sticky depending on the humidity and specific flours used, but it should start to come together into a cohesive mass. Resist the urge to add too much extra flour immediately; the dough will become smoother and less sticky as you knead it.
Step 2: Kneading and First Rise of the Rye Dough
Kneading develops the gluten structure in the flour, which is essential for the bread's texture. The first rise allows the yeast to ferment, producing carbon dioxide gas that makes the dough expand and develop flavor.
Proper Kneading Techniques for Rye Bread
Kneading rye dough is slightly different than kneading pure wheat dough because rye flour contains less gluten. While you still need to develop some structure, you don't need to knead as vigorously or for as long as you would for a crusty white loaf. For this easy molasses rye bread, aim for about 8-10 minutes of kneading by hand on a lightly floured surface, or 6-8 minutes using a stand mixer on medium-low speed. The dough should become smoother and more elastic, though it may remain slightly sticky compared to a wheat-only dough.
A good test for sufficient kneading is the windowpane test, although this is harder to achieve perfectly with rye dough due to its lower gluten. A simpler indicator for this easy molasses rye bread is when the dough feels less shaggy, more cohesive, and springs back slowly when gently poked. Avoid adding excessive amounts of flour during kneading, as this can result in a dry, dense loaf. Use just enough flour to prevent sticking.
Achieving the Perfect First Rise
The first rise, also known as bulk fermentation, is crucial for flavor development and texture in your easy molasses rye bread. After kneading, shape the dough into a ball and place it in a lightly oiled bowl, turning to coat all sides. Cover the bowl tightly with plastic wrap or a damp kitchen towel to prevent the dough from drying out. Place the bowl in a warm, draft-free spot. An oven with the light on (but the oven off) is often an ideal proofing environment, maintaining a temperature around 75-80°F (24-27°C).
Allow the dough to rise until it has roughly doubled in size. This usually takes about 60 to 90 minutes, but timing can vary significantly depending on the temperature of your room and the activity of your yeast. Don't rely solely on the clock; look for the visual cue of doubled size. A gentle poke test can also help: if you gently press your finger into the dough and the indentation slowly springs back about halfway, it's ready. If it springs back immediately, it needs more time; if it collapses, it might be slightly over-proofed.
Step 3: Shaping the Molasses Rye Bread Loaf
Shaping the dough gives your easy molasses rye bread its final form and helps create tension on the surface, which contributes to a good oven spring. For a simple loaf, a basic round or oval shape works perfectly and is easy for beginners.
Simple Shaping Methods for a Rustic Loaf
After the first rise, gently turn the dough out onto a lightly floured surface. The goal is to deflate it just enough to remove large air bubbles but retain some of the gas produced during fermentation. For a rustic, freeform loaf (a "batard" or "boule"), gently pat the dough into a rectangle or circle depending on your desired shape.
To shape a basic oval (batard), fold the dough in half lengthwise and gently seal the seam with the heel of your hand. Then, starting from the top, roll the dough downwards, sealing the seam with each turn, until you have a log. Gently taper the ends if desired.
For a round loaf (boule), gently pull the edges of the dough towards the center, pinching them together to form a seam on the bottom. Then, cup your hands around the dough ball and gently rotate it on the surface, creating tension on the top surface (this is called "rounding"). Place the shaped loaf seam-side down on a baking sheet lined with parchment paper or in a prepared loaf pan.
Step 4: Second Rise and Scoring the Dough
The second rise, or proofing, is the final fermentation period before baking. Scoring the dough just before it goes into the oven allows for controlled expansion.
Ensuring a Perfect Second Proof
Once shaped, your easy molasses rye bread loaf needs a second rise. Cover the shaped loaf loosely with plastic wrap or a light kitchen towel to prevent a skin from forming. Let it rise in a warm, draft-free place for about 30-45 minutes, or until it looks visibly puffy and has increased in size by about 50-75%. It won't double in size like it did during the first rise.
To test if the loaf is ready for baking, use the poke test again. Gently press a finger into the side of the loaf. If the indentation remains or springs back very slowly, it's perfectly proofed. If it springs back quickly, it needs a little more time. If it collapses, it's likely over-proofed, which can happen if the environment is too warm or the proofing time is too long. Proper proofing ensures a light texture and good oven spring.
Scoring Techniques for Oven Spring
Scoring involves making shallow cuts on the surface of the dough just before it goes into the hot oven. These cuts, made with a sharp knife, razor blade (lame), or scissors, serve a critical purpose. As the bread bakes, the gases inside expand rapidly (this is the "oven spring"). Without scores, the crust would split unpredictably, often along the sides.
Scoring allows the bread to expand in a controlled manner through the cuts. For a simple molasses rye bread, basic cuts are sufficient. A single slash down the length of an oval loaf, or a simple cross or hash mark pattern on a round loaf are common. Aim for cuts about ¼ to ½ inch deep. Be decisive and quick with your cuts to avoid deflating the dough. Scoring also adds a decorative element to your easy molasses rye bread, giving it a professional, rustic appearance.
Step 5: Baking Your Delicious Molasses Rye Bread
The final step is the baking process, where heat transforms the proofed dough into a golden-brown loaf with a delicious crust and tender crumb. Proper oven temperature and timing are key.
Oven Temperature and Baking Time
Preheat your oven well in advance, ideally for at least 20-30 minutes, to ensure it reaches and maintains the correct temperature. For this easy molasses rye bread, a baking temperature between 375°F and 400°F (190-200°C) is typical. Placing a baking stone or steel in the oven while preheating can help create a crispier bottom crust, though it's not strictly necessary for a good loaf.
Carefully transfer the scored loaf to the preheated oven. If baking on a baking sheet, simply place the sheet in the oven. If using a baking stone/steel, you might need a peel or another flat surface to slide the loaf onto it. The baking time will vary depending on your oven and the size of your loaf, but it generally takes between 30 to 40 minutes. The bread is done when the crust is a deep golden brown and the internal temperature reaches around 200-210°F (93-99°C) when measured with an instant-read thermometer inserted into the center of the loaf.
Achieving a Golden-Brown Crust
A beautiful, golden-brown crust is a hallmark of well-baked bread, and this easy molasses rye bread is no exception. The molasses in the dough contributes significantly to the rich color of the crust as it caramelizes during baking. To help develop a good crust and improve oven spring, some bakers like to create steam in the oven during the initial minutes of baking. This can be done by carefully pouring a cup of hot water into a preheated pan on the bottom rack of the oven just as you load the bread.
The steam keeps the surface of the dough moist initially, allowing it to expand fully before the crust hardens. After about 10-15 minutes, the steam dissipates, and the dry heat helps the crust crisp up and brown. Keep an eye on the bread towards the end of the baking time; if it's browning too quickly, you can loosely tent it with aluminum foil. A perfectly baked easy molasses rye bread will have a firm crust and sound hollow when tapped on the bottom.
Cooling and Storing Your Freshly Baked Rye Bread
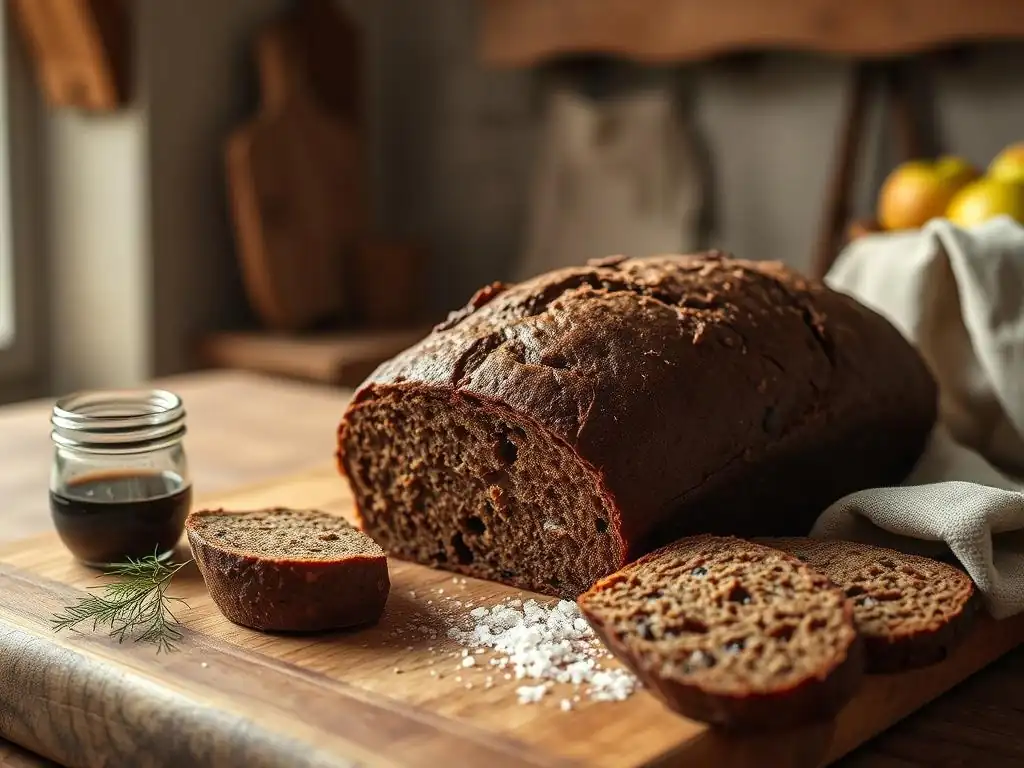
Patience is required after baking! Proper cooling is just as important as the baking process itself for achieving the best texture and flavor. Storing your easy molasses rye bread correctly will help maintain its freshness.
The Importance of Proper Cooling
Once your delicious easy molasses rye bread is out of the oven, it's crucial to let it cool completely on a wire rack. This allows air to circulate around the entire loaf, preventing the bottom crust from becoming soggy due to trapped steam. While it's tempting to slice into a warm loaf, the internal structure is still setting, and steam is still escaping. Cutting too early can result in a gummy or dense crumb.
Allow the bread to cool for at least 1-2 hours, or ideally until it reaches room temperature. During this cooling period, the starches inside the bread stabilize, and the flavors mature. This resting time is essential for achieving the desirable texture and ensuring your easy molasses rye bread has the perfect crumb structure when sliced.
Best Storage Practices for Rye Bread Freshness
Proper storage is key to keeping your easy molasses rye bread fresh for as long as possible. Once completely cooled, the best way to store it is at room temperature. Avoid refrigerating bread, as this can actually speed up the staling process.
For short-term storage (1-2 days), simply placing the cut side down on a cutting board can work, or wrapping the loaf loosely in a linen bread bag. For longer storage (up to 4-5 days), wrap the cooled loaf tightly in plastic wrap or place it in a resealable plastic bag or bread box.
If you won't finish the loaf within a few days, slicing it and freezing the slices in a freezer-safe bag or container is an excellent option. Frozen slices can be popped directly into a toaster for quick enjoyment, retaining much of the fresh-baked quality of your easy molasses rye bread.
Tips and Tricks for Perfect Molasses Rye Bread
Even with an easy molasses rye bread recipe, a few tips and tricks can help you achieve consistently excellent results and troubleshoot common issues.
Troubleshooting Common Rye Bread Baking Issues
Rye bread dough can behave differently than wheat dough due to its lower gluten content and higher proportion of pentosans, which absorb more water. If your dough feels too sticky, resist the urge to add large amounts of extra flour; try wetting your hands slightly or using a bench scraper to handle it. If the finished loaf is too dense, it might be due to insufficient kneading (not enough structure), under-proofing (not enough rise), or over-proofing (causing collapse). Ensure your yeast is active and your proofing environment is warm and consistent.
Another common issue is a tough crust. This can sometimes happen if the oven temperature is too low, leading to a longer baking time that dries out the crust, or if there wasn't enough steam in the oven during the initial bake. Conversely, if the crust is too soft, the bread might need a few more minutes in the oven, or it wasn't cooled properly on a wire rack. Adjusting oven temperature slightly or ensuring thorough cooling can often resolve these issues with your easy molasses rye bread.
Achieving the Perfect Crust and Crumb
The ideal easy molasses rye bread has a moderately firm, flavorful crust and a moist, even crumb that is slightly chewy. To enhance crust development, preheating your oven thoroughly and using a baking stone or steel can help. As mentioned, creating steam at the beginning of the bake is also highly effective in promoting a good crust and maximizing oven spring.
For the crumb, proper hydration (the ratio of water to flour) and sufficient, but not excessive, kneading are key. Rye flour absorbs water differently, so sticking to the recipe's hydration level is important. Allowing for adequate proofing time ensures a lighter, more open crumb structure. Cutting the loaf only after it has fully cooled is also crucial for achieving that desirable, non-gummy crumb texture in your easy molasses rye bread.
Variations and Flavor Enhancements for Your Rye Bread
Once you've mastered the basic easy molasses rye bread, you can experiment with variations to find your favorite version. As mentioned earlier, adding caraway seeds (a classic! ), dried onions, or even cocoa powder (a small amount, like a tablespoon, can deepen the color and add complexity) can significantly alter the flavor profile.
Consider using different types of molasses – blackstrap will yield a darker, more robust loaf, while a lighter molasses will result in a milder flavor. You can also experiment with using a higher percentage of rye flour for a more intense rye flavor, though this might make the dough slightly more challenging to handle and result in a denser loaf. For a sweeter loaf, a touch more molasses or a tablespoon of brown sugar can be added. These simple tweaks allow you to personalize your easy molasses rye bread experience.
Serving Suggestions for Your Easy Molasses Rye Bread
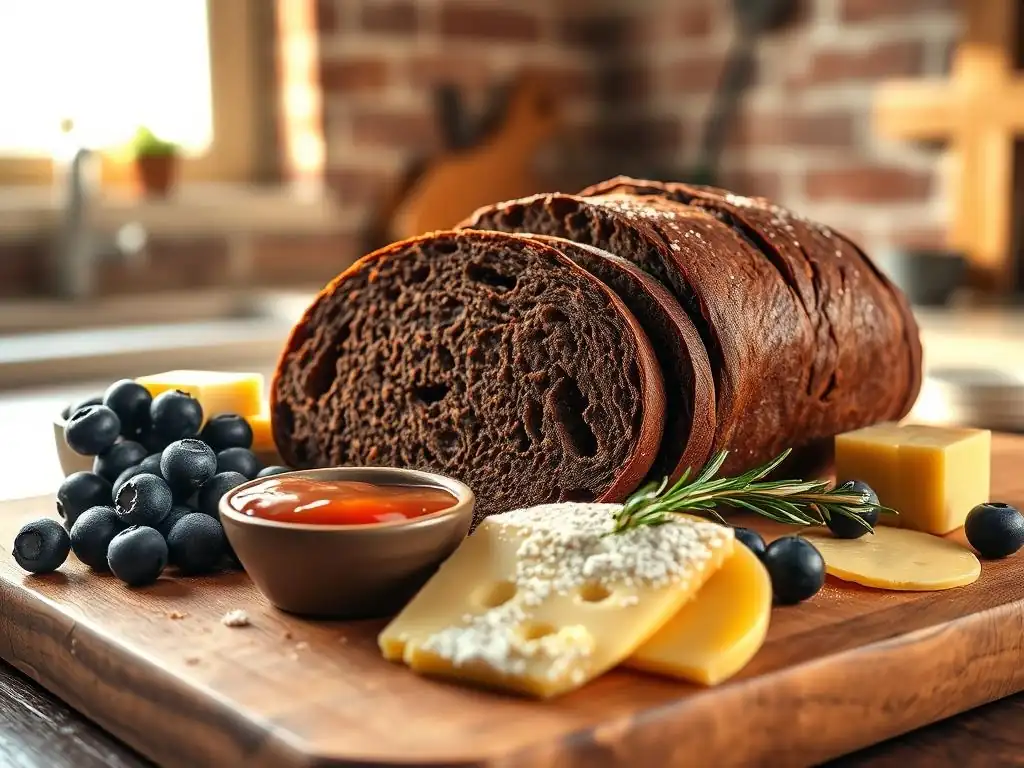
Your freshly baked easy molasses rye bread is incredibly versatile and can be enjoyed in countless ways. Its unique flavor profile makes it a fantastic base for both sweet and savory toppings.
Delicious Ways to Enjoy Your Homemade Bread
One of the simplest and most satisfying ways to enjoy easy molasses rye bread is toasted, spread with butter. The heat from toasting brings out the subtle sweetness of the molasses and the earthy notes of the rye. It's also perfect for classic deli-style sandwiches, particularly those featuring pastrami, corned beef, or smoked turkey.
Beyond sandwiches, consider using slices for open-faced toasts topped with cream cheese and smoked salmon, or avocado and a sprinkle of everything bagel seasoning. It makes a hearty accompaniment to soups and stews, perfect for soaking up flavorful broths. You can also क्यूब the stale bread to make delicious croutons or breadcrumbs. The slightly sweet and robust nature of easy molasses rye bread stands up well to strong flavors.
Pairing Suggestions for Rye Bread
The distinct taste of easy molasses rye bread pairs wonderfully with a variety of foods. It has a natural affinity for cheeses, especially sharp cheddar, Swiss, or cream cheese. Its flavor also complements cured meats and smoked fish beautifully.
Think about classic pairings like rye bread with pickles and sauerkraut – the tanginess cuts through the richness of the bread and any accompanying meats. For a sweeter note, try pairing it with apple butter, fig jam, or a drizzle of honey. Beverages like dark beers, coffee, or even a robust tea can also be excellent companions to a slice of easy molasses rye bread. Don't be afraid to experiment and find your own favorite combinations!
Conclusion: Enjoy Baking Easy Molasses Rye Bread
Baking an easy molasses rye bread at home is a rewarding process that yields a delicious, flavorful loaf. From understanding the unique properties of rye flour and molasses to mastering simple techniques for kneading, rising, and baking, this recipe provides a clear path to success. The satisfaction of pulling a warm, fragrant loaf from your oven, knowing you made it yourself with ease, is truly unparalleled.
Embrace the Art of Rye Bread Baking at Home
Embarking on baking this easy molasses rye bread is more than just following a recipe; it's embracing a craft. Each step, from mixing to baking, offers a chance to connect with your food and create something wonderful. Don't worry if your first loaf isn't absolutely perfect; baking is a skill that improves with practice.
With this simple guide, you have the tools to create a delicious, easy molasses rye bread that you'll be proud to share (or keep all to yourself!). So, gather your ingredients, clear your counter, and get ready to fill your home with the irresistible aroma of fresh-baked rye bread. Happy baking!
Frequently Asked Questions
What makes this molasses rye bread recipe considered "easy"?
The recipe emphasizes simple step-by-step instructions and uses easy-to-find ingredients, making it accessible for bakers of all skill levels. It avoids complex techniques often found in traditional rye bread recipes.
Can I substitute any ingredients in this easy molasses rye bread recipe?
While substitutions are possible, they may affect the final result. Substituting flours will significantly alter the texture, and changing the molasses will impact the flavor profile.
How long does it take to make this easy molasses rye bread?
The entire process, including preparation, proofing, and baking, takes approximately 3-4 hours. Active baking time is relatively short, with most of the time dedicated to proofing.
What equipment do I need to bake this easy molasses rye bread?
You'll need basic baking equipment such as mixing bowls, measuring cups, a loaf pan, and an oven. A stand mixer is helpful but not essential; you can mix the dough by hand.
How should I store the baked easy molasses rye bread?
Store the cooled bread in an airtight container at room temperature for up to 3 days, or in the freezer for longer storage. Slicing before freezing helps for easier thawing.
Final Reflection: The Enduring Comfort of a Simple Loaf
The humble molasses rye bread, a seemingly simple recipe, speaks volumes about the enduring power of tradition and the comforting magic found in homemade food. In a world increasingly dominated by fast food and processed ingredients, the act of baking—and particularly baking something as deeply satisfying as this bread—offers a powerful antidote to the frenetic pace of modern life. It's a reminder that genuine nourishment extends beyond mere sustenance; it’s about connection, process, and the quiet joy of creating something beautiful and delicious from scratch.
The aroma of baking rye bread, with its distinctive molasses sweetness, evokes powerful memories for many. It’s a scent that transcends generations, linking us to family kitchens, shared meals, and the comforting rituals of home. Bread is the staff of life,
a simple phrase, yet it encapsulates the profound significance of this staple food in human history and culture. This recipe, in its simplicity, allows us to connect with that rich history, to participate in a tradition that has sustained communities for centuries. It's a tangible link to the past, a comforting presence in the present, and a legacy we can pass on to future generations.
Now, consider the flour dusting your hands, the satisfying knead, the warm glow of the oven. This isn't just about baking a loaf of bread; it's about slowing down, engaging your senses, and finding solace in the process. Take the time to bake this easy molasses rye bread.
Share it with loved ones. Savor the taste, the texture, the connection to something larger than yourself. Let the simple act of baking remind you of the enduring power of tradition, the importance of slowing down, and the profound satisfaction of creating something truly nourishing, both for the body and the soul.
Unleash Your Inner Baker: Bake This Molasses Rye Today!
Thanks for taking the time to explore this delicious molasses rye bread recipe! We hope you found the instructions clear and inspiring. Now it's time to get baking!
- Dive right in and make this bread! Follow the recipe step-by-step, and enjoy the rewarding experience of creating something delicious from scratch.
- Share your baking journey: Snap a picture of your finished loaf and tag us on social media – we'd love to see your creation!
- Explore more rye recipes: Discover other exciting rye variations on our website (bakewithease.com) to expand your baking repertoire.
What unique twist will you add to this classic recipe to make it your own?