
Mastering the Final Proof for Optimal Baguette Volume

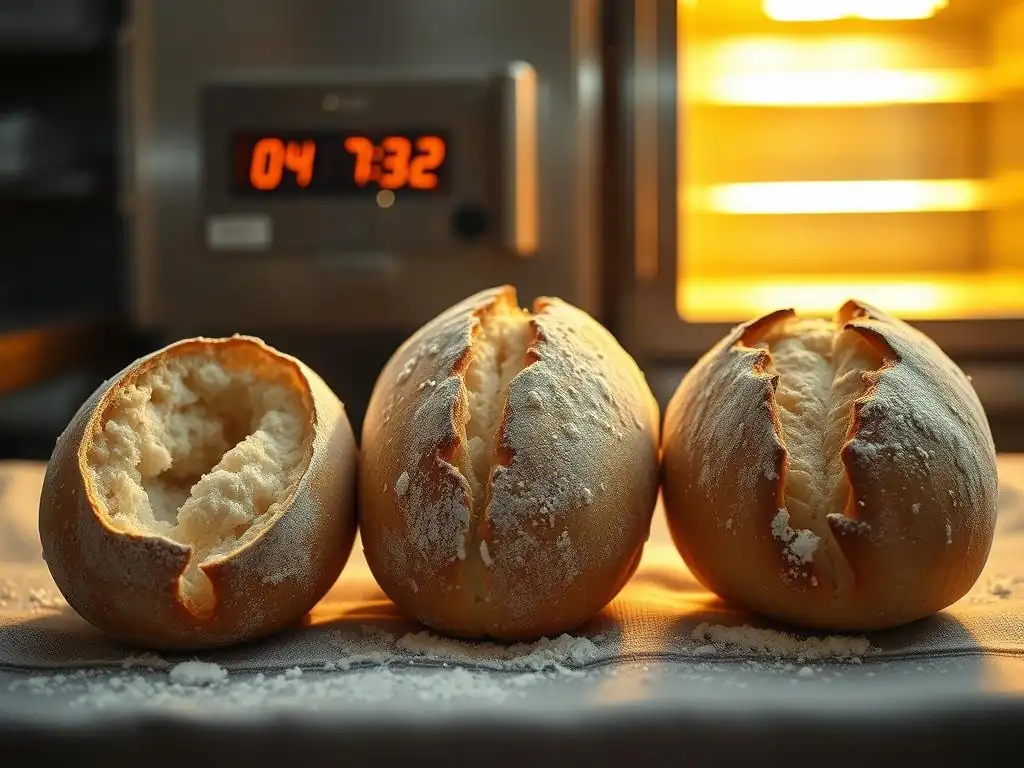
Welcome to BakeWithEase, your ultimate guide to the delicious world of baking! Ever wondered if you're really getting the most out of your baguettes? This week, we're diving deep into the crucial stage that separates a good baguette from a truly exceptional one: baguette proofing time. Discover the secrets to achieving that perfect airy crumb and golden crust. Ready to unlock the secrets to optimal volume and flavour? Let's get baking!
- Mastering the Final Proof: Your Baguette Proofing Time Guide for Optimal Volume (BakeWithEase.com)
- Factors Influencing Baguette Proofing Time: A Comprehensive Guide
- Visual Cues for Determining Optimal Baguette Proofing
- Step-by-Step Baguette Proofing Process: A Detailed Walkthrough
- Troubleshooting Common Baguette Proofing Problems
- Advanced Baguette Proofing Techniques for Enhanced Flavor and Texture
- Baguette Proofing Time Guide Summary: Key Takeaways for Perfect Results
- Frequently Asked Questions
- Final Reflection: The Art and Science of the Perfect Baguette Proof
- Unleash Your Inner Boulanger: Perfect Baguette Volume Awaits!
Mastering the Final Proof: Your Baguette Proofing Time Guide for Optimal Volume (BakeWithEase.com)
Why Proofing Time Matters for Baguette Volume and Texture
Proofing, often called the final rise, is a crucial step in baking baguettes that directly impacts their ultimate volume, crumb structure, and crust development. During this phase, the yeast continues to produce carbon dioxide gas, which expands the dough, creating air pockets. The timing of this expansion is critical; under-proofed dough won't have sufficient gas production for a good oven spring (the final burst of expansion in the oven), resulting in dense, small baguettes.
Conversely, over-proofed dough will have exhausted its leavening power, leading to a collapsed structure or poor oven spring and a potentially gummy texture. Getting the baguette proofing time right is fundamental to achieving those coveted airy interiors and crisp crusts.
Beyond just volume, proper proofing time also influences the flavor and texture of your baguettes. As the dough proofs, enzymatic activity breaks down starches into simpler sugars, which contributes to browning and flavor complexity during baking. A well-proofed dough develops a delicate, open crumb structure, characteristic of artisan baguettes. Rushing or prolonging this stage disrupts these processes, compromising not only the size but the overall quality of the finished loaf. This section of our baguette proofing time guide will delve into the nuances of this critical step.
Understanding the Stages of Baguette Dough Development
Baguette dough undergoes several distinct stages from mixing to baking, each contributing to its final characteristics. It begins with mixing and kneading, developing gluten structure. This is followed by the bulk fermentation (first rise), where the dough doubles in size and flavors begin to develop. After bulk fermentation comes dividing and preshaping, allowing the gluten to relax. Then, the dough is shaped into its final baguette form. The stage immediately following shaping is the final proof, or proofing, where the formed baguettes rise before baking.
The final proof is less about massive volume increase and more about achieving the right level of lightness and internal structure before hitting the heat. Think of it as the dough taking a final breath. The gluten network, developed during kneading and bulk fermentation, needs to be strong enough to hold the gas produced during proofing and oven spring, yet relaxed enough to expand easily. Understanding this progression is key to using any baguette proofing time guide effectively, ensuring you don't confuse bulk fermentation signs with final proofing signs.
Factors Influencing Baguette Proofing Time: A Comprehensive Guide
The Impact of Yeast on Baguette Dough Proofing
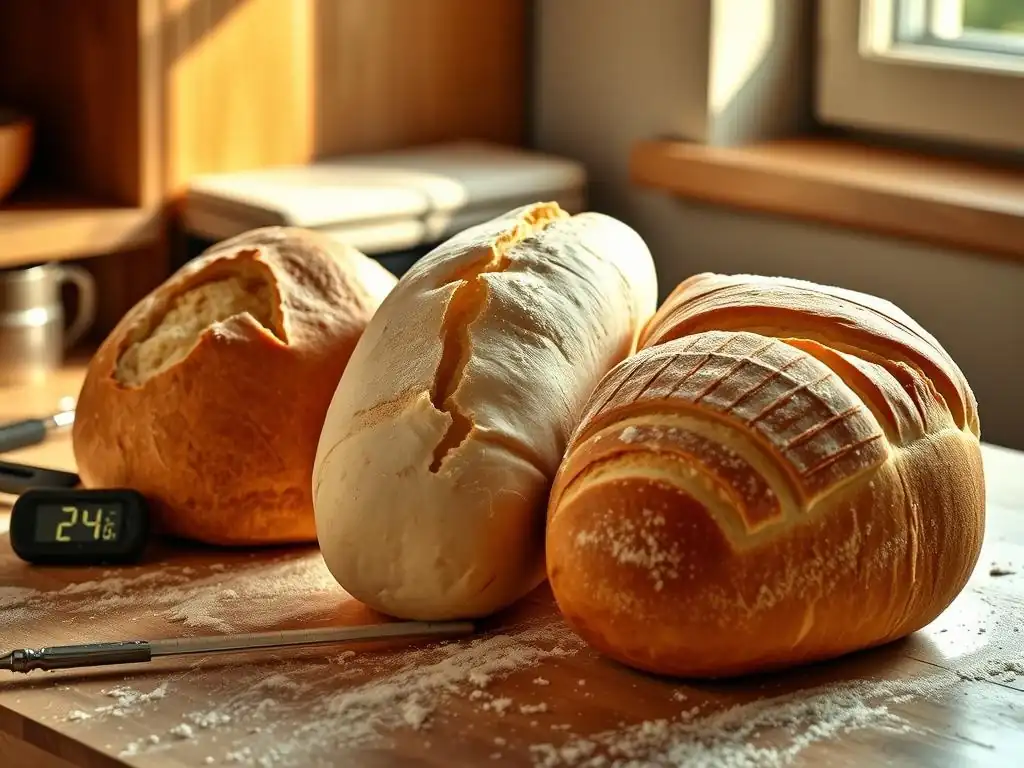
Yeast is the engine of fermentation, and its type, amount, and activity level significantly influence baguette proofing time. Active dry yeast and instant yeast are common choices. Instant yeast is typically more vigorous and requires no rehydration, often leading to faster proofing times compared to active dry yeast, which needs to be proofed in warm water first.
The amount of yeast used is perhaps the most direct factor: more yeast generally means faster fermentation and a shorter proofing time. For example, a recipe using 0.5% instant yeast relative to flour weight might proof in 60-90 minutes at room temperature, while one using only 0.2% might take 2-3 hours under similar conditions.
The viability of the yeast is also crucial. Old or improperly stored yeast may be less active, resulting in sluggish or stalled proofing. Using yeast within its expiration date and storing it properly (often in the refrigerator or freezer for longer-term storage) ensures optimal activity. Bakers often test yeast viability by dissolving a small amount in warm water with a pinch of sugar; if it foams within 5-10 minutes, it's active. This activity level directly impacts how long your baguette proofing time will be.
Flour Type and its Role in Proofing Baguettes
The type of flour used plays a considerable role in how quickly and effectively baguette dough proofs. Flours with higher protein content, like bread flour (typically 12-14% protein), develop a stronger gluten network. This strong network can trap gas more efficiently, leading to good volume, but the dough might be slightly slower to relax and expand compared to doughs made with lower-protein flours. Artisan baguette recipes often call for bread flour or a blend that includes some lower-protein all-purpose flour to balance strength and extensibility.
Whole wheat or other non-white flours introduce bran and germ, which can interfere with gluten development and sometimes contain enzymes that affect dough structure over time. Doughs with a significant percentage of whole grains may proof slightly differently and require adjustments to the baguette proofing time guide compared to those made solely with white flour. For instance, a 100% white flour baguette might proof perfectly in 75 minutes, while a 20% whole wheat blend could take 90 minutes or more under the same conditions due to the bran structure.
Temperature's Effect on the Baguette Proofing Process
Temperature is arguably the most critical environmental factor affecting baguette proofing time. Yeast activity is highly sensitive to temperature. Warmer temperatures accelerate fermentation, while cooler temperatures slow it down. The ideal temperature range for proofing most bread doughs, including baguettes, is typically between 70°F and 80°F (21°C to 27°C). Within this range, proofing might take 60-90 minutes.
Proofing at significantly warmer temperatures, say 85°F (29°C), could reduce the time to 45-60 minutes, but it also increases the risk of over-proofing and can negatively impact flavor development. Conversely, cooler temperatures, like standard room temperature around 68°F (20°C), will extend the proofing time, potentially to 90-120 minutes or longer, but can lead to more complex flavors due to slower fermentation. This temperature sensitivity is why a baguette proofing time guide often provides ranges and emphasizes observation over strict timing.
Hydration Levels and Their Influence on Baguette Proofing Time
Hydration, the ratio of water to flour in the dough, significantly impacts the dough's consistency and, subsequently, its proofing behavior. Higher hydration doughs (those with more water, often 70% or more hydration for baguettes) are typically wetter, slacker, and can expand more readily because the gluten network is more easily stretched by the gas produced. This can sometimes mean slightly faster proofing times compared to lower hydration doughs, assuming all other factors are equal.
However, high hydration doughs can also be more challenging to handle and shape, and they might spread out more during proofing if not adequately supported. A dough with 75% hydration might seem fully proofed sooner than a 65% hydration dough, but it might also be closer to the point of collapse if proofed too long. Understanding the hydration level of your specific baguette recipe is essential when using any baguette proofing time guide, as it affects how the dough behaves during the final rise.
Visual Cues for Determining Optimal Baguette Proofing
Recognizing the Signs of a Properly Proofed Baguette Dough
Determining when your baguette dough is perfectly proofed relies heavily on visual cues and the "finger poke test." Visually, a properly proofed baguette should have increased noticeably in size, appearing puffy and well-rounded, but not overly inflated. The surface should look smooth and slightly domed. You should see some signs of life, maybe tiny bubbles just beneath the surface, but no large, gaping bubbles that threaten to pop. The shaped form should be maintained, without significant spreading or flattening.
The most reliable method is the finger poke test. Gently and lightly flour your finger and press it about half an inch deep into the side of a baguette. A properly proofed dough will show an indentation that springs back slowly, about halfway, but doesn't completely disappear. This indicates the dough has enough structure to hold the gas but is relaxed enough to expand further in the oven. Mastering this test is a cornerstone of using any baguette proofing time guide effectively.
Avoiding Over-Proofing: What to Watch Out For
Over-proofing occurs when the dough has risen too much and the gluten structure can no longer support the gas produced by the yeast. Visually, over-proofed baguettes will often appear excessively large, puffy, and potentially flatter or wider than intended, especially if they weren't well-supported during proofing. The surface might look very bubbly, sometimes with large, fragile bubbles that might even pop.
The finger poke test for over-proofed dough reveals an indentation that remains fully or almost fully indented without springing back at all. This tells you the gluten network is weakened and unable to hold its shape or support oven spring. Baking over-proofed dough typically results in loaves that collapse slightly in the oven, have poor volume, a dense or gummy crumb, and a pale crust because the sugars needed for browning were consumed during the excessive proofing time. Recognizing these signs is vital for salvaging a batch or adjusting your baguette proofing time guide for the next bake.
Under-Proofing Baguettes: Understanding the Consequences
Under-proofing means the dough hasn't had enough time to develop sufficient gas or relax properly before baking. Visually, under-proofed baguettes will look smaller and denser than expected after the final proof. They might still appear quite firm and tight, lacking the characteristic puffiness of a ready-to-bake baguette. The surface will likely be smooth with few to no visible bubbles.
When performing the finger poke test on under-proofed dough, the indentation will spring back immediately and completely. This indicates that the gluten structure is still quite tight and hasn't relaxed enough to allow for significant expansion. Baking under-proofed baguettes usually results in dense, heavy loaves with poor volume and a tight, closed crumb structure. They might also develop large, irregular tunnels inside (called "blowouts") as trapped gas tries to escape during baking. Understanding the signs of under-proofing is just as important as knowing the ideal baguette proofing time guide.
Step-by-Step Baguette Proofing Process: A Detailed Walkthrough
Preparing Your Proofing Environment for Baguettes
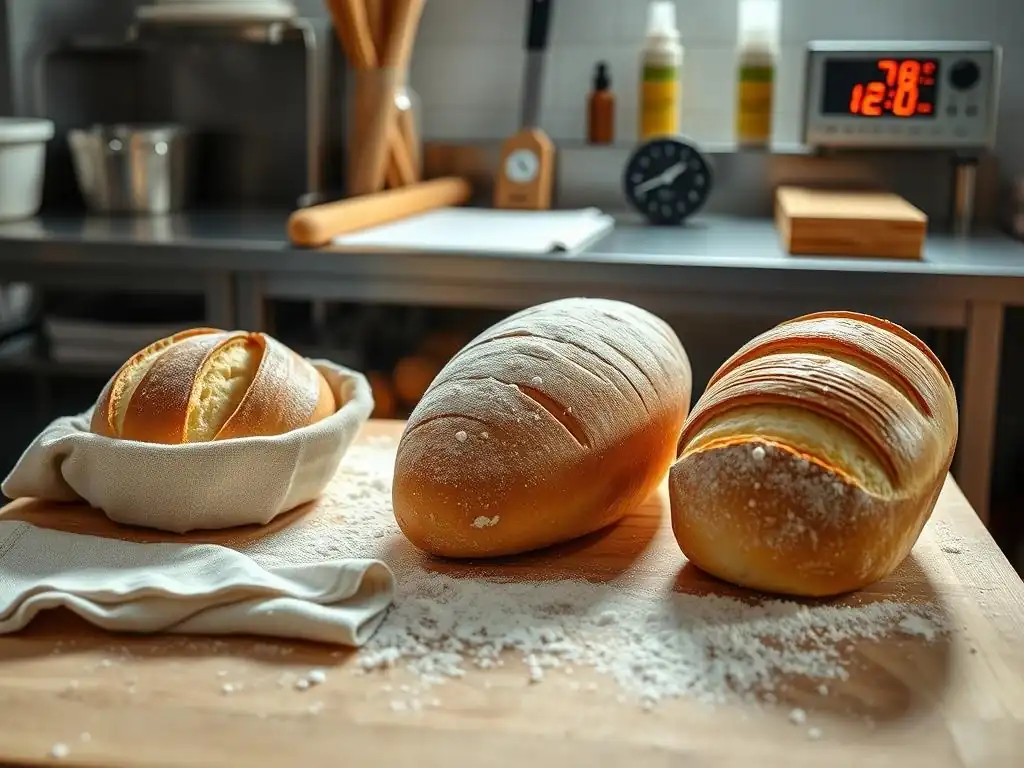
Creating the right environment is key to controlling your baguette proofing time. Baguettes are typically proofed on a couche, which is a piece of linen or canvas cloth heavily floured with rice flour (or a mix of bread and rice flour) to prevent sticking. The couche is folded into pleats to support the shape of the baguettes and prevent them from spreading sideways. Lay your couche flat on a baking sheet or peel, then create deep pleats where each baguette will rest. Flour the pleats generously.
Aim for a proofing temperature between 70-80°F (21-27°C). If your kitchen is cooler, you can create a warmer microclimate. Options include:
- Using your oven with the light on (often provides a gentle warmth around 75-85°F).
- Placing the baking sheet with the couche and baguettes inside a large plastic bag or covering them with a proofing cover to maintain humidity and warmth.
- Using a dedicated proofing box if you have one.
Consistent temperature helps make your baguette proofing time guide more predictable.
Shaping Your Baguettes Before the Final Proof
Proper shaping is critical for achieving the classic baguette form and influencing how the dough proofs. After preshaping and a short rest, the dough piece is typically flattened slightly, then folded into thirds lengthwise, and finally rolled or elongated into a cylinder. The goal is to create tension on the surface while avoiding tearing the gluten. Each fold and roll helps build surface tension that supports the structure during proofing and baking.
Once shaped, the baguettes are immediately placed onto the floured couche, seam-side up or down depending on preference (seam-side up is common for placing directly on the baking stone/steel later, as the seam becomes the bottom). Ensure there is sufficient space between the baguettes and the pleats of the couche to allow for expansion without them sticking together. Gentle handling is key after shaping to preserve the structure and gas bubbles formed during earlier stages.
Determining the Ideal Baguette Proofing Time: A Practical Approach
Determining the ideal baguette proofing time is more about observation than strictly following a clock, though time serves as a useful estimate based on conditions. Start with a general guideline based on your recipe, yeast amount, and room temperature (e.g., 60-90 minutes at 75°F). As the estimated time approaches, begin observing the baguettes closely. Look for the visual cues mentioned earlier: noticeable increase in size, puffiness, and a smooth surface.
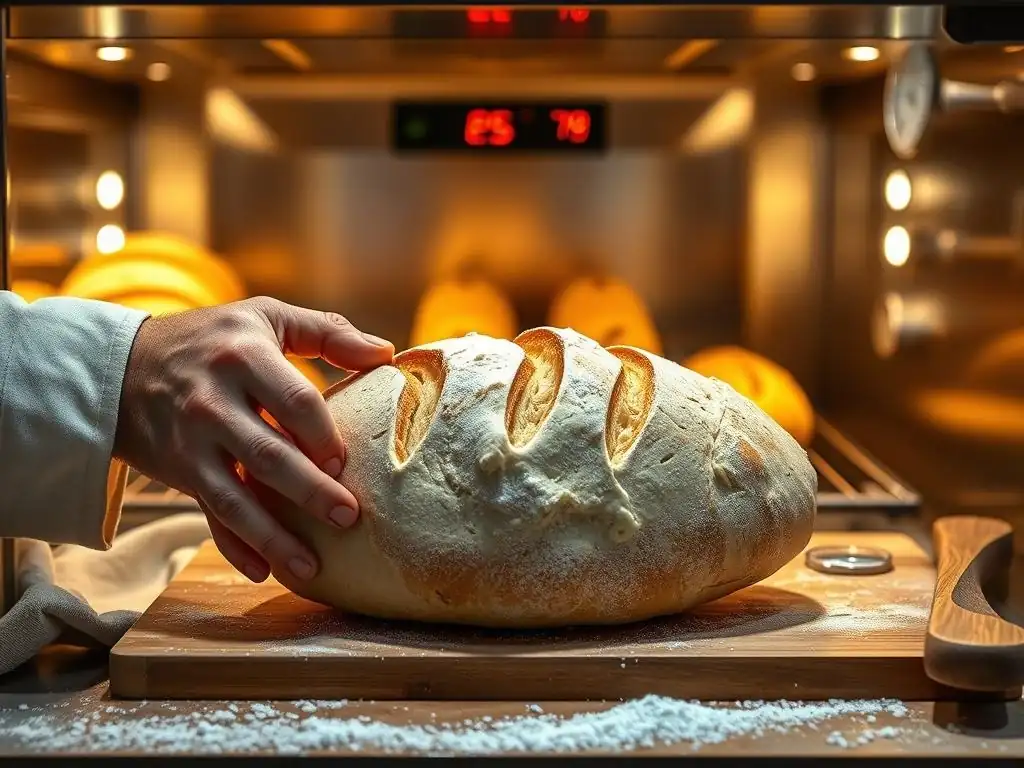
Regularly perform the finger poke test (gently!) on one of the baguettes. Check every 10-15 minutes as the proofing nears its expected end. The moment the indentation springs back slowly and partially is your signal. This empirical approach, combining timing with sensory evaluation, is the most effective way to use any baguette proofing time guide. Remember that slight variations in humidity, flour batch, and even how you shaped the loaf can alter the exact timing.
How to Perform the Finger Poke Test for Baguette Proofing
The finger poke test is the baker's best friend for assessing optimal proofing. Here's how to do it correctly:
- Lightly flour one of your fingers (index or middle finger works well).
- Locate a spot on the side of the baguette, preferably towards the middle, where you can gently press without deflating the entire loaf.
- Gently but firmly press your floured finger into the dough about half an inch deep.
- Observe how quickly and how much the indentation fills back in.
- Under-proofed: Indentation springs back immediately and completely.
- Properly proofed: Indentation springs back slowly, about halfway.
- Over-proofed: Indentation remains fully or almost fully indented.
Practice this test to develop a feel for the different stages. It's a tactile and visual skill that refines your ability to judge the perfect baguette proofing time.
Troubleshooting Common Baguette Proofing Problems
Dealing with Slow Proofing Times: Tips and Tricks
If your baguette dough is proofing much slower than expected according to your baguette proofing time guide, the most likely culprit is temperature. Yeast activity slows down significantly in cooler conditions.
- Increase the temperature: Move the baguettes to a warmer spot. Use the oven with the light on, a proofing box, or simply a warmer room.
- Check yeast viability: If this is a recurring issue, test your yeast. It might be old or inactive.
- Ensure sufficient moisture: While less common for slow proofing, very dry air can slightly impede surface expansion. Covering the baguettes loosely can help maintain humidity.
Sometimes, dough with a very strong gluten structure or lower hydration can also proof a bit slower because it's more resistant to expansion. Giving it extra time in a warm environment is usually the best solution. Be patient; slower proofing can sometimes lead to better flavor development.
Correcting Over-Proofed Baguette Dough: Salvaging Your Batch
Discovering over-proofed baguette dough is frustrating, but not always a total loss. If the dough hasn't completely collapsed, you might be able to salvage it.
- Gently reshape: Carefully deflate the dough slightly (don't punch it down rigorously) and gently reshape the baguettes. This incorporates some air and redistributes the yeast.
- Reduce proofing time: Bake immediately after reshaping, or give it only a very short rest (maybe 15-20 minutes) before baking. Since the yeast population is high and active, it will generate gas very quickly.
- Adjust expectations: The final volume and structure might not be perfect, but you can still get edible loaves.
If the dough has completely collapsed and is sticky and lifeless, it might be beyond saving as baguettes. In that case, you could potentially use it for a different application, like flatbread or pizza dough, where structure is less critical. Learning to identify over-proofing using your baguette proofing time guide's visual cues is key to preventing this issue.
Adjusting Proofing Times for Different Baguette Recipes
Every baguette recipe is slightly different, and this influences the ideal proofing time. Factors like hydration level, the amount and type of preferment (like a poolish or biga), the percentage of whole grains, and the overall formula balance all play a role. A recipe with a high percentage of preferment might proof faster because the yeast population is already very active. A recipe with a higher percentage of whole wheat might proof slower.
When trying a new baguette recipe, use the author's suggested proofing time as a starting point, but rely primarily on visual cues and the finger poke test. Pay attention to how the dough feels and looks throughout the process. Make notes about the temperature and how long it took to reach the optimal proofing stage. Over time, you'll develop an intuition for how different formulas behave, allowing you to adjust any generic baguette proofing time guide to fit your specific recipe and environment.
Advanced Baguette Proofing Techniques for Enhanced Flavor and Texture
Cold Proofing Baguettes: A Guide to Retarding Dough Development
Cold proofing, or retarding the dough, involves placing the shaped baguettes in a refrigerator (typically 39-45°F or 4-7°C) for an extended period, usually 12 to 24 hours. The cold temperature drastically slows down yeast activity but allows enzymes to continue breaking down starches into sugars. This process develops deeper, more complex flavors and improves the crust's browning capabilities. It also strengthens the gluten network, leading to better structure and oven spring.
When cold proofing, the baguettes are typically shaped and placed on a well-floured couche on a baking sheet, then covered tightly with plastic wrap or placed in a large plastic bag to prevent drying. The finger poke test works differently with cold dough; it will spring back much slower due to the cold temperature. Instead, rely more on the overall increase in size (they won't double, but should look noticeably puffy) and the duration of the cold proofing time guide provided by your recipe. Baking is usually done directly from the refrigerator onto a hot baking surface.
Using a Banneton for Perfect Baguette Shape and Proofing
While traditionally baguettes are proofed on a couche, some bakers use long, narrow bannetons (proofing baskets), often made of cane or wood pulp, to support the dough's shape during proofing. Bannetons help maintain the baguette's form, especially for higher hydration doughs that might otherwise spread excessively. Like a couche, bannetons should be well-floured, usually with rice flour, to prevent the dough from sticking.
When using a banneton, the shaped baguette is placed seam-side up in the floured basket. During proofing, the dough expands into the shape of the basket. For baking, the dough is inverted onto a peel or baking sheet, leaving the seam on the bottom (which can split attractively during oven spring) and the smooth, often ribbed, surface from the banneton on top. The baguette proofing time guide principles (visual cues, finger poke test) still apply, though the rigid support of the banneton might make the dough feel firmer than dough proofed on a couche.
Incorporating Poolish or Biga for Enhanced Baguette Flavor and Proofing
Many classic baguette recipes utilize a preferment like a poolish or biga. A poolish is a wet, liquidy starter (equal parts flour and water by weight) fermented for several hours or overnight. A biga is a stiffer preferment (lower hydration). These preferments contribute significantly to the flavor complexity of the final baguette and also influence the overall baguette proofing time guide.
Doughs made with a substantial percentage of preferment often have a head start in fermentation. The preferment is already teeming with active yeast and flavor compounds. This can sometimes lead to a slightly shorter bulk fermentation or final proofing time compared to straight doughs (those made without a preferment), depending on the percentage of preferment used. More importantly, they contribute a tangy depth of flavor and a more open crumb structure that is highly desirable in artisan baguettes.
Baguette Proofing Time Guide Summary: Key Takeaways for Perfect Results
Quick Reference Chart for Baguette Proofing Times Based on Conditions
Understanding that proofing time is highly variable is key, but this baguette proofing time guide offers approximate ranges to start with. Always use visual cues and the finger poke test as your primary indicators.
| Condition | Approximate Final Proofing Time | Notes |
|---|---|---|
| Warm Room (75-80°F / 24-27°C) | 60-90 minutes | Faster, risk of over-proofing if not watched |
| Standard Room (68-72°F / 20-22°C) | 90-120 minutes | Good balance of speed and flavor |
| Cool Room (65-68°F / 18-20°C) | 120-180 minutes (or longer) | Slower, potentially better flavor |
| Cold Proofing (39-45°F / 4-7°C) | 12-24 hours | Develops complex flavors, bake from cold |
Note: These are general estimates for doughs using standard amounts of commercial yeast. Recipes using less yeast or preferments may vary.
Achieving Consistent Baguette Volume Through Proper Proofing Techniques
Consistent baguette volume and quality are the result of mastering the entire process, with proofing being a critical final step. By paying close attention to the factors influencing proofing time—temperature, yeast activity, hydration, and flour type—and by relying on the visual cues and the finger poke test, you can confidently determine when your baguettes are perfectly proofed.
- Monitor ambient temperature and adjust proofing time or environment accordingly.
- Ensure your yeast is fresh and active.
- Develop your skill in shaping to build adequate surface tension.
- Always perform the finger poke test before baking.
- When in doubt, it's often better to slightly under-proof than severely over-proof.
By following this baguette proofing time guide and practicing these techniques, you'll be well on your way to baking beautiful, airy baguettes with fantastic volume every time. Happy baking!
Frequently Asked Questions
What exactly is baguette proofing and why is it so important?
Proofing is the final rise of your baguette dough before baking. It's crucial because it allows the yeast to produce carbon dioxide, giving the baguette its light and airy texture and optimal volume.
How long should I proof my baguette dough?
Baguette proofing time varies depending on factors like room temperature and yeast activity. Generally, it ranges from 60 to 90 minutes, but it's best to rely on visual cues rather than strictly adhering to a time.
What are the visual cues that indicate my baguette is properly proofed?
A properly proofed baguette will have increased in size noticeably, be slightly puffy, and leave a slowly recovering indentation when gently poked.
Can I over-proof my baguette dough? What happens if I do?
Yes, over-proofing is possible! Over-proofed dough will collapse easily, have a sour smell, and result in a flat, dense baguette.
What's the best temperature for proofing my baguette dough?
The ideal temperature range for proofing is between 75-80°F (24-27°C). Using a proofing box or a warm, draft-free environment helps maintain consistent temperature for optimal yeast activity.
Final Reflection: The Art and Science of the Perfect Baguette Proof
Mastering the final proof is not merely a technicality; it's the culmination of a baker's artistry, directly impacting the final volume and texture of the baguette. A seemingly small detail, the final proof dictates whether your baguette will rise to its full potential, boasting a crisp crust and airy crumb, or fall short, resulting in a dense and disappointing loaf. This understanding is crucial for any baker, from seasoned professional to enthusiastic home enthusiast, striving for consistent excellence.
The journey to understanding the perfect baguette proof is a testament to the delicate balance between science and intuition. It's a process that demands patience, observation, and a deep respect for the natural leavening process. The subtle nuances of temperature, humidity, and dough hydration all play a critical role, highlighting the interconnectedness of each stage in bread making. The proof is in the pudding,
they say, and in the case of the baguette, the proof is undeniably in the final rise. This seemingly simple step underscores the profound impact of meticulous attention to detail in achieving culinary perfection.
Now, consider your own baking journey. What have you learned about the subtle art of proofing? I invite you to reflect on your own experiences, to experiment with different proofing techniques, and to embrace the challenges and rewards of mastering this crucial step. The pursuit of the perfect baguette is a continuous learning process, a testament to the enduring power of culinary exploration. Don't be afraid to adjust your methods, to observe your dough closely, and to savor the delicious results of your dedication. The perfectly proofed baguette awaits!
Unleash Your Inner Boulanger: Perfect Baguette Volume Awaits!
Thanks for taking the time to explore the secrets of achieving perfect baguette volume! We hope you found the tips and techniques insightful and inspiring. Ready to put your new knowledge into practice?
- Bake your perfect baguette today! Use the techniques we've outlined and share your results—we'd love to see them!
- Experiment with different flours to discover your perfect blend for maximum oven spring. What surprising flour combination will you try?
- Join our BakeWithEase community and share your baking journey with other passionate bakers! Let's learn from each other.
What adjustments will you make to your baking routine to consistently achieve that beautiful, airy crumb?