
Achieve a Golden, Crispy Crust on Basic White Bread

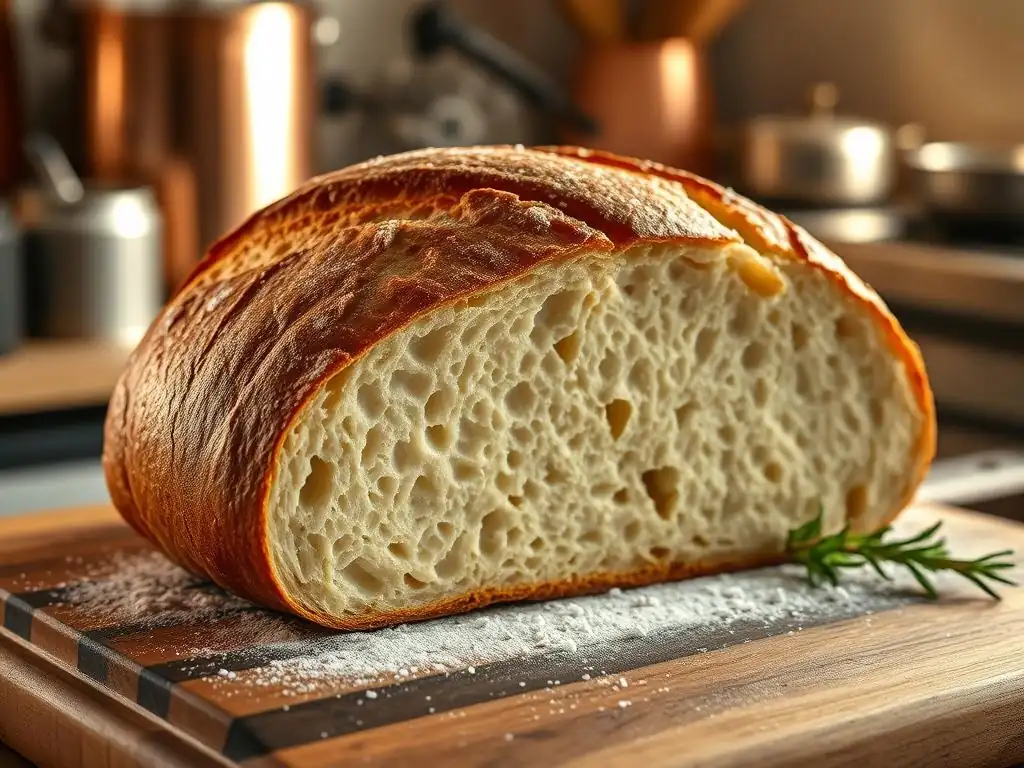
Welcome to BakeWithEase, where delicious homemade bread is just a recipe away! Ever dreamt of that perfectly golden, crispy crust on your basic white bread? Well, dream no more! We're diving deep into the secrets of achieving bread baking perfection. Ready to unlock the secrets to that irresistible texture and color? Let's get baking and discover how to create your own bakery-worthy masterpiece!
- Introduction: The Allure of a Perfect Golden Crust on White Bread
- Understanding the Science Behind a Golden Crust
- Essential Ingredients for a Golden Crust White Bread
- Step-by-Step Guide to Achieving a Golden, Crispy Crust
- Troubleshooting Common Crust Problems
- Tips and Tricks for a Superior Golden Crust
- Golden Crust White Bread Recipe: BakeWithEase's Signature
- Beyond the Basics: Experimenting with Crust Variations
- Conclusion: Mastering the Art of the Golden Crust
-
Frequently Asked Questions
- What are the key ingredients needed for achieving a golden crust white bread?
- What baking techniques contribute most to a golden, crispy crust?
- How does oven temperature affect the golden crust development on white bread?
- What role does steam play in achieving a perfect golden crust?
- What are some common mistakes to avoid when aiming for a golden crust on white bread?
- Final Reflection: The Pursuit of the Perfect Crust – A Baker's Journey
- Unlock Your Bread Baking Potential!
Introduction: The Allure of a Perfect Golden Crust on White Bread
Why a Golden Crust Matters for Your White Bread
A truly exceptional loaf of basic white bread isn't just about the soft, fluffy interior; it's significantly defined by its crust. A golden, crispy crust is the hallmark of a well-baked loaf, offering a delightful contrast in texture and a depth of flavor that you simply don't get from a pale, soft exterior.
It's the first thing you see, the satisfying crackle you hear when you slice into it, and the pleasant chew that complements the tender crumb. This beautiful golden crust on white bread isn't just for show; it's a direct result of chemical reactions that unlock complex aromas and tastes, making every bite more rewarding.
Beyond the sensory pleasure, the development of a robust, golden crust indicates that the bread has been baked correctly, reaching the optimal internal temperature and allowing the starches to gelatinize and the proteins to set. A proper golden crust white bread is less likely to be underbaked or dense. For home bakers, achieving this perfect finish is a significant milestone, transforming a simple recipe into a source of pride and a testament to growing skill. It elevates the humble loaf from basic sustenance to a truly delicious experience, perfect for everything from simple toast to hearty sandwiches.
BakeWithEase's Guide to Crust Perfection
Welcome to BakeWithEase, your partner in mastering the craft of baking! We understand the desire to bake that picture-perfect loaf with an irresistible golden crust. This comprehensive guide is designed to walk you through the process, demystifying the science and technique required to achieve that coveted finish on your basic white bread. We'll cover everything from ingredient selection to crucial baking steps, ensuring you have the knowledge and tools to succeed.
Throughout this guide, we'll share specific tips and techniques honed through countless loaves baked right here in the BakeWithEase kitchen. We believe that understanding why certain steps are important is key to consistent results. By focusing on precise temperature control, strategic use of steam, and proper cooling, you'll learn how to reliably produce golden crust white bread that is not only visually stunning but also boasts that satisfying crispness and depth of flavor every time you bake. Let's embark on this journey to crust perfection together!
Understanding the Science Behind a Golden Crust
Maillard Reaction: The Key to Color and Flavor
The Maillard reaction is a complex chemical process that occurs when amino acids and reducing sugars are present together and heated, typically starting noticeably around 140°C (284°F). This reaction is responsible for the browning of many foods, including the crust of your golden crust white bread.
It's not just about color; the Maillard reaction produces hundreds of different flavor compounds, contributing significantly to the bread's aroma and taste profile – think of the difference between boiled chicken and roasted chicken. As the crust reaches temperatures well above the boiling point of water, these reactions kick into high gear, creating the signature depth and richness of a well-baked loaf.
In the context of baking a golden crust white bread, the Maillard reaction is crucial for developing that desirable brown hue and complex flavor. Flour contains proteins (amino acids) and starches that break down into sugars (reducing sugars). During fermentation, yeast consumes some sugars, but residual sugars remain. When the bread enters the hot oven, the surface quickly dries and heats up, providing the perfect conditions for the Maillard reaction. The longer the crust is exposed to high heat above 140°C (284°F), the more intense the browning and flavor development will be, leading to a richer golden crust.
Caramelization: Adding Sweetness to the Crust
While the Maillard reaction involves sugars and proteins, caramelization is the browning of sugars alone when heated to high temperatures. For sucrose (common table sugar), this process begins around 160°C (320°F). Although less complex than the Maillard reaction in terms of flavor compounds, caramelization contributes nutty, slightly sweet, and sometimes slightly bitter notes to the golden crust, adding another layer to its overall taste.
In bread baking, residual sugars in the dough (from the flour itself or any added sugar) undergo caramelization on the hot surface of the crust as it reaches temperatures exceeding 160°C (320°F). This process works in tandem with the Maillard reaction to achieve the deep golden brown color and contributes to the subtle sweetness often found in a perfectly baked golden crust white bread. While the Maillard reaction is the primary driver of the overall brown color and savory-like flavors, caramelization plays an important supporting role in the final color and adds those distinct sugar-derived notes.
The Role of Sugars and Proteins in Crust Development
Sugars are fundamental to both the Maillard reaction and caramelization. The flour itself contains complex carbohydrates that are broken down into simpler sugars by enzymes during mixing and fermentation. Any sugar added to the recipe also contributes directly. These residual sugars on the surface of the dough become the fuel for the browning reactions when exposed to high heat. Without sufficient available sugars on the crust's surface, achieving a deep golden crust white bread is much more difficult, often resulting in a pale, lackluster finish.
Proteins, primarily gluten formed from the flour's proteins, are essential participants in the Maillard reaction alongside sugars. A well-developed gluten network provides the structure that allows the bread to rise properly, leading to a lighter crumb and a larger surface area for crust formation. The amino acids within these proteins react with the sugars under heat. Furthermore, proteins contribute to the crust's structure and stability once set by the heat, helping to create that desirable crispy texture. The interaction between sugars and proteins is the very foundation upon which a beautiful golden crust white bread is built.
Essential Ingredients for a Golden Crust White Bread
Flour: Choosing the Right Type for a Crispy Crust
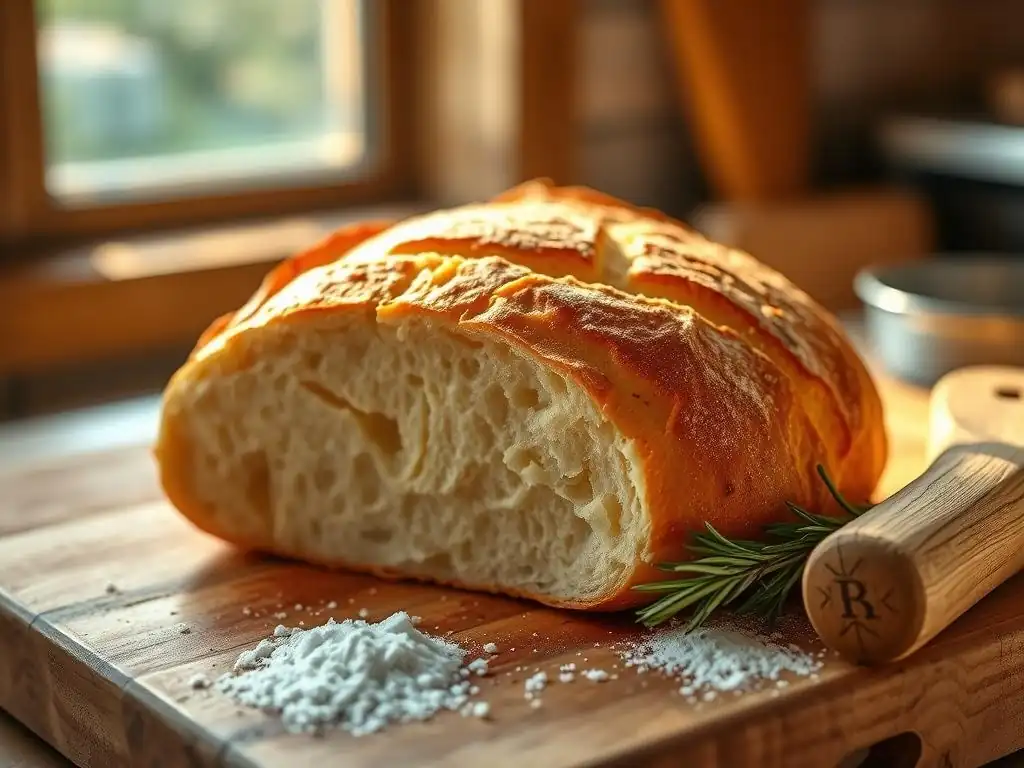
The type of flour you use has a significant impact on the potential for a crispy golden crust. Bread flour, with its higher protein content (typically 12-14%), is often preferred for white bread. This higher protein level means more gluten development is possible, leading to a strong structure that supports good oven spring. Excellent oven spring allows the crust to stretch and thin out during the initial phase of baking, which can contribute to a crispier texture once it sets.
All-purpose flour (around 10-12% protein) can also produce a good golden crust white bread, but the texture might be slightly different. Flours with lower protein content may result in a less robust structure and potentially a thicker, less delicate crust if not managed carefully. The enzymes naturally present in flour also play a role by breaking down starches into sugars, providing the necessary reactants for the Maillard reaction and caramelization. Using a high-quality flour with appropriate protein content sets a strong foundation for achieving that desirable golden crust.
Water: Hydration's Impact on Crust Formation
The amount of water in your dough, known as hydration (expressed as a percentage of the flour weight), profoundly affects the crust. Higher hydration doughs (e.g., 70% or more) tend to stay moist longer in the oven's initial heat. This extended moisture keeps the crust pliable, allowing the loaf to expand fully during oven spring before the crust hardens. A crust that sets too early restricts expansion and can lead to a thicker, less airy texture.
Conversely, lower hydration doughs (e.g., 60-65%) set faster in the oven. While easier to handle, they may result in a thicker, harder crust because the surface dries out and sets before maximum oven spring is achieved. For a classic crispy golden crust white bread, a hydration level between 65% and 75% is often a good starting point, providing enough moisture for good expansion and a balanced crust thickness. Experimenting within this range can help you find the hydration level that best suits your flour and desired crust texture.
Yeast: Contributing to Texture and Flavor
Yeast is the leavening agent in white bread, producing carbon dioxide gas that makes the dough rise. Proper yeast activity is essential for a well-aerated crumb and good oven spring, both of which indirectly contribute to crust quality. A loaf with good oven spring expands significantly in the first few minutes of baking, stretching the surface and influencing how the crust develops.
Furthermore, yeast fermentation breaks down complex sugars into simpler ones, providing more readily available reducing sugars for the Maillard reaction. The byproducts of fermentation also contribute subtle flavors to the bread, including the crust. Ensuring your yeast is active and that you allow sufficient, but not excessive, proofing time is key to a successful rise and the subsequent development of a beautiful golden crust white bread.
Sugar and Fat: Enhancing Crust Color and Tenderness
While basic white bread recipes can be made with just flour, water, yeast, and salt, many include small amounts of sugar and/or fat. Added sugar directly increases the amount of reducing sugars available for the Maillard reaction and caramelization, significantly contributing to a deeper, richer golden color on the crust. Even a small amount, like 1-2% of the flour weight, can make a noticeable difference in crust browning.
Fat, such as butter or oil, adds richness and can contribute to a more tender crumb and crust. While not a direct participant in the browning reactions like sugar, fat can influence the crust's texture, making it slightly less brittle and sometimes enhancing the overall golden hue. Recipes aiming for a softer golden crust white bread often include a higher percentage of fat compared to leaner, crispier loaves. The inclusion of these ingredients allows for greater control over the final appearance and texture of your bread's crust.
Step-by-Step Guide to Achieving a Golden, Crispy Crust
Step 1: Dough Preparation for Optimal Crust Development
Kneading Techniques for a Strong Gluten Network
Developing a strong gluten network through proper kneading is fundamental to achieving a good golden crust white bread. Gluten provides the structure that traps the gases produced by the yeast, allowing the dough to rise effectively and achieve maximum oven spring during baking. Whether you are kneading by hand or using a stand mixer, the goal is to stretch and align the gluten proteins. This creates a smooth, elastic dough that can hold its shape and expand significantly in the hot oven.
Insufficient kneading results in a weak dough that may not rise properly and could collapse, leading to a dense crumb and a less-than-ideal crust. Over-kneading, while less common for beginners, can also damage the gluten structure. Aim for a dough that passes the "windowpane test" – you should be able to stretch a small piece thinly enough to see light through it without it tearing easily. This indicates sufficient gluten development to support a beautiful golden crust.
The Importance of Proper Dough Hydration
As discussed earlier, dough hydration plays a crucial role in crust formation. Achieving the correct hydration level specified in your recipe is vital. If the dough is too dry, the crust will likely set too quickly in the oven, resulting in a thick, hard crust rather than a thin, crispy golden crust white bread. If it's too wet, the dough might be difficult to handle and could spread excessively, though it often results in a thinner crust if managed properly.
Measure your ingredients accurately, especially the water. Factors like flour type and even ambient humidity can affect how much water your flour absorbs. Be prepared to adjust slightly, adding a tiny bit more water if the dough seems excessively dry or a sprinkle more flour if it's too sticky to handle after the initial mix. The goal is a dough that is hydrated enough to be extensible but still manageable, setting the stage for optimal crust development.
Step 2: Proofing for a Light and Airy Texture
Creating the Ideal Proofing Environment
Proofing, or fermentation, allows the yeast to produce gas and flavor compounds, causing the dough to rise. The environment in which you proof your dough significantly impacts this process and, consequently, the final crust. An ideal proofing environment is warm and humid. Temperatures between 24-27°C (75-80°F) are generally considered optimal for yeast activity. Humidity is also key; covering your dough with plastic wrap, a damp cloth, or placing it in a slightly warm, humid spot (like a turned-off oven with a pan of hot water) prevents the surface from drying out.
A dry surface on the dough during proofing can form a skin. This skin restricts expansion during oven spring and can lead to a thicker, less even crust. By keeping the surface moist during proofing, you ensure it remains pliable and ready to stretch in the oven, contributing to a thinner, crispier golden crust white bread. Pay attention to both temperature and humidity for consistent proofing results.
Understanding the Proofing Time and Temperature
Proofing time is directly related to temperature and the amount of yeast used. Under-proofed dough will have insufficient gas production, leading to poor oven spring and a dense crumb with a thick crust. Over-proofed dough, where the yeast has exhausted its food supply and the gluten structure has started to weaken, may rise initially but then collapse in the oven, resulting in a flat loaf with a poor crust.
The goal is to proof the dough until it is "just right." A common test for the final proof is the "poke test": gently press your finger into the dough about half an inch deep. If the indentation springs back immediately, it needs more time. If it stays indented completely, it's likely over-proofed. If it springs back slowly, leaving a small indentation, it's ready to bake. Proper proofing ensures the dough has the potential for excellent oven spring, a critical factor for a great golden crust.
Step 3: Baking Techniques for a Golden Brown Crust
Oven Temperature: The Sweet Spot for Crust Formation
High initial oven temperature is paramount for achieving a crispy golden crust on white bread. When the dough enters a very hot oven (e.g., preheated to 220-240°C / 425-465°F), the sudden heat causes a rapid expansion of gases within the dough (oven spring) and quickly gelatinizes the starches on the surface. This high heat immediately starts the Maillard reaction and caramelization processes. Baking at too low a temperature from the start will result in slow oven spring and a pale, thick crust.
After the initial blast of high heat (typically the first 10-15 minutes), it's often beneficial to reduce the oven temperature slightly (e.g., to 190-200°C / 375-390°F) to allow the inside of the loaf to bake through without burning the crust. Maintaining a consistently high temperature throughout the initial phase is key to setting a foundation for a beautiful golden crust white bread. Ensure your oven is accurately calibrated; an oven thermometer is an inexpensive tool that can make a huge difference in baking success.
Steaming: Creating a Moist Oven Environment for Crust Development
Introducing steam into your oven during the first 10-15 minutes of baking is perhaps the single most effective technique for achieving a thin, crispy golden crust. Steam prevents the surface of the dough from drying out and setting too quickly. This allows the loaf to expand more fully during oven spring. Once the steam dissipates (typically after about 15-20 minutes), the moist, expanded surface is then exposed to the dry heat, which rapidly causes it to brown and crisp up beautifully.
There are several ways to create steam at home: placing a tray of hot water on the bottom rack before preheating, spraying the oven walls with water (be cautious of oven elements), or baking in a covered vessel like a Dutch oven. For a standard loaf baked on a baking sheet or stone, adding a source of steam is highly recommended for developing that desirable thin, crispy golden crust white bread. Without steam, the crust forms prematurely, resulting in a thicker, harder texture.
Baking Time: Monitoring Crust Color and Internal Temperature
Baking time is variable and depends on the size and shape of your loaf, the oven's accuracy, and your desired crust color. A standard loaf of white bread (around 500g flour) typically bakes for 25-40 minutes. It's essential not to rely solely on time but to use visual cues and internal temperature to determine doneness and ensure a perfect golden crust. The crust should be a rich golden brown all over, including the sides and bottom.
To ensure the loaf is fully baked through and not just beautifully colored, use an instant-read thermometer to check the internal temperature. For most white bread, the internal temperature should reach 93-99°C (200-210°F). Baking to this temperature ensures the crumb is fully set. If the crust is browning too quickly before the interior is done, you can loosely tent the loaf with foil for the remaining baking time. Achieving both the correct internal temperature and the desired golden crust white bread color is the mark of a perfectly baked loaf.
Step 4: Cooling Your White Bread for Crust Integrity
The Importance of Cooling on a Wire Rack
The cooling process is just as critical as baking for maintaining the crispness of your golden crust. As the bread cools, moisture from the hot interior continues to migrate outwards. If the loaf is left on a solid surface (like a baking sheet or counter), this moisture gets trapped underneath, making the bottom crust soggy. Cooling on a wire rack allows air to circulate freely around the entire loaf.
Placing your freshly baked golden crust white bread on a wire rack immediately after removing it from the oven ensures that steam can escape from all sides. This prevents moisture buildup on the bottom and sides, allowing the crust to cool down and crisp up properly. Skipping this step can quickly ruin the texture you worked hard to achieve during baking.
Preventing a Soggy Crust After Baking
To prevent a soggy crust, always cool your golden crust white bread completely on a wire rack before slicing or storing it. The internal temperature needs to drop significantly, and the moisture needs time to redistribute within the loaf and evaporate from the surface. Slicing into a hot loaf releases steam from the interior, which can condense on the crust, making it soft.
Allowing the bread to cool for at least 1-2 hours (depending on size) on a rack is crucial for the crust to firm up and maintain its crispness. Resist the urge to slice too early! While the aroma of fresh bread is tempting, patience during the cooling phase is rewarded with a much better texture, preserving that desirable crispy golden crust white bread quality.
Troubleshooting Common Crust Problems
Pale Crust: Solutions for Insufficient Browning
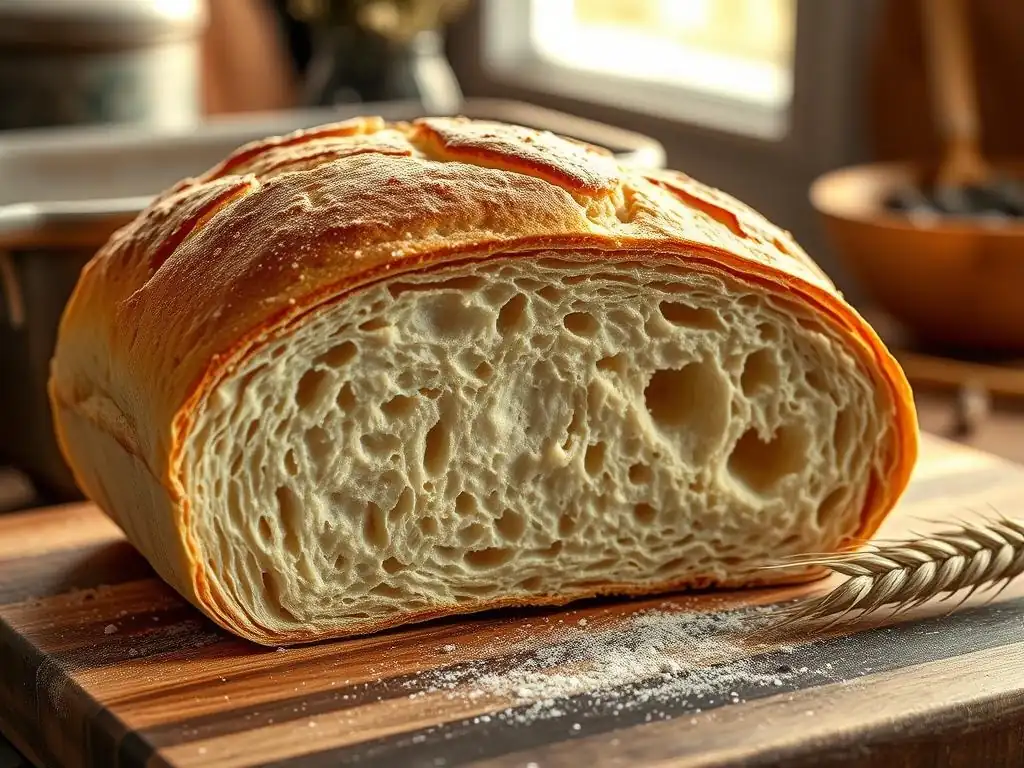
A pale crust on your white bread indicates that the browning reactions (Maillard and caramelization) did not occur sufficiently. This can be caused by several factors, including the oven temperature being too low, the baking time being too short, insufficient sugar in the dough, or under-proofing. If your oven isn't reaching the correct temperature, investing in an oven thermometer is a simple fix. Ensure you preheat the oven fully, often for 20-30 minutes or longer, especially if using a baking stone.
To address a pale golden crust white bread, try increasing your oven temperature slightly, perhaps by 10-15°C (25-35°F), or baking for an extra 5-10 minutes. Ensure your dough recipe contains at least a small amount of sugar (even 1-2% of the flour weight helps). Also, verify that your proofing process is adequate; under-proofed dough has less sugar available for browning. Using a wash (like milk or egg) before baking can also significantly enhance crust color.
Thick, Hard Crust: Achieving the Right Balance
A crust that is excessively thick and hard, rather than thin and crispy, can be disappointing. Common culprits include baking at too low hydration, over-baking, insufficient steam in the oven, or the oven being too hot initially without sufficient steam. Dough with lower hydration (below 65%) tends to form a thicker crust because it dries and sets faster. Baking for too long will simply dry out the crust excessively.
To achieve a better balance for your golden crust white bread, consider increasing your dough hydration slightly in future bakes, perhaps by 2-3%. Ensure you are using steam during the initial baking phase; this is critical for allowing the crust to remain pliable and thin as the loaf expands. If your oven is very powerful, you might need to lower the initial temperature slightly or ensure robust steam production. Checking the internal temperature for doneness (93-99°C / 200-210°F) helps prevent over-baking.
Soggy Crust: Preventing Moisture Buildup
A soggy bottom or side crust is almost always a result of improper cooling. When a hot loaf is placed directly onto a solid surface, the steam escaping from the bread condenses between the crust and the surface, making that part of the crust wet and soft. Wrapping the bread too early, before it has cooled completely, will also trap moisture and lead to a soggy golden crust.
The solution is straightforward: always cool your golden crust white bread on a wire rack. This allows air to circulate around the entire loaf, facilitating the evaporation of steam and preventing condensation. Ensure the rack is elevated so air can flow freely underneath. Patience is key; wait until the loaf has cooled completely to room temperature before storing it. This typically takes at least one hour for smaller loaves and up to two hours or more for larger ones.
Uneven Crust: Ensuring Consistent Heat Distribution
An unevenly colored or textured crust, with some parts pale and others too dark, often points to inconsistent heat distribution in your oven. Ovens frequently have hot spots, and the position of your loaf can also affect how evenly it bakes. Placing the loaf too close to a heating element or a fan can lead to rapid browning in that specific area while other parts remain pale.
To promote an even golden crust white bread, try rotating the loaf halfway through the baking time (e.g., after 15-20 minutes). Using a baking stone or steel can help by providing consistent heat from below, which can contribute to more even overall baking. If your oven has significant hot spots, you might need to experiment with loaf placement or consider investing in an oven thermometer to better understand your oven's temperature variations. Calibrating your oven if it consistently runs hot or cold can also help.
Tips and Tricks for a Superior Golden Crust
Egg Wash: Adding Shine and Color
Applying an egg wash to your golden crust white bread before baking is a classic technique for achieving a beautiful, glossy, deep golden brown finish. An egg wash is typically made by whisking an egg (whole, yolk, or white) with a small amount of water or milk. Brushing this mixture thinly and evenly over the surface of the proofed dough just before it goes into the oven provides proteins and fats that brown intensely when heated.
A whole egg wash diluted with a tablespoon of water or milk provides a balance of shine and color. Using just the egg yolk with a little liquid will result in a very rich, glossy, almost mahogany crust. Egg white washes tend to give a shinier, but less deeply colored, finish. Experimenting with different egg wash compositions can help you achieve your desired level of shine and depth of color on your golden crust.
Milk Wash: Enhancing Browning and Softness
A milk wash is another effective way to enhance the color and texture of your golden crust white bread. Brushing the surface with milk or cream before baking provides lactose (a sugar) and fats. Lactose is a reducing sugar that participates readily in the Maillard reaction, promoting browning. The fats contribute to a softer, more tender crust compared to the potentially crisper crust from an egg wash or no wash at all.
Using a milk wash results in a lovely, matte or semi-gloss golden brown crust that is typically softer than one achieved with steam or an egg wash. It's a great option if you prefer a less intensely crispy crust but still want that beautiful golden color. Whole milk or even cream can be used for a richer finish. Simply brush a thin, even layer over the dough just before placing it in the oven.
Sugar Glaze: Creating a Sweet and Shiny Crust
For a sweet and shiny golden crust white bread, a sugar glaze can be applied either before or after baking. A simple glaze can be made by dissolving sugar in water or milk. Applying a sugar solution before baking provides extra sugar on the surface for caramelization and Maillard reactions, resulting in a darker, often shinier crust.
Applying a sugar glaze after baking, while the bread is still hot, results in a very shiny, often slightly sticky crust with added sweetness. This is common for enriched breads or rolls. A simple glaze of powdered sugar mixed with a little milk or water, or a simple syrup (equal parts sugar and water heated until dissolved), can be brushed over the hot loaf. This post-bake glaze primarily adds shine and sweetness rather than contributing to the baked-in golden color, but it certainly makes for an appealing finish.
Using a Baking Stone or Dutch Oven for Enhanced Crust
Utilizing a baking stone, baking steel, or a Dutch oven are popular methods for achieving a superior golden crust white bread, especially in home ovens. A preheated baking stone or steel provides intense, consistent heat from below, encouraging rapid oven spring and developing a well-browned bottom crust.
Baking in a preheated Dutch oven is particularly effective because it traps the moisture released by the dough as steam during the initial phase of baking. This creates a perfectly steamy environment around the loaf, allowing the crust to remain pliable and expand fully before it sets. Once the lid is removed (typically after 15-20 minutes), the dry heat finishes the baking, resulting in an incredibly crispy, beautifully browned golden crust. These tools help replicate the conditions of a professional bread oven.
Golden Crust White Bread Recipe: BakeWithEase's Signature
Ingredients List for the Perfect Loaf
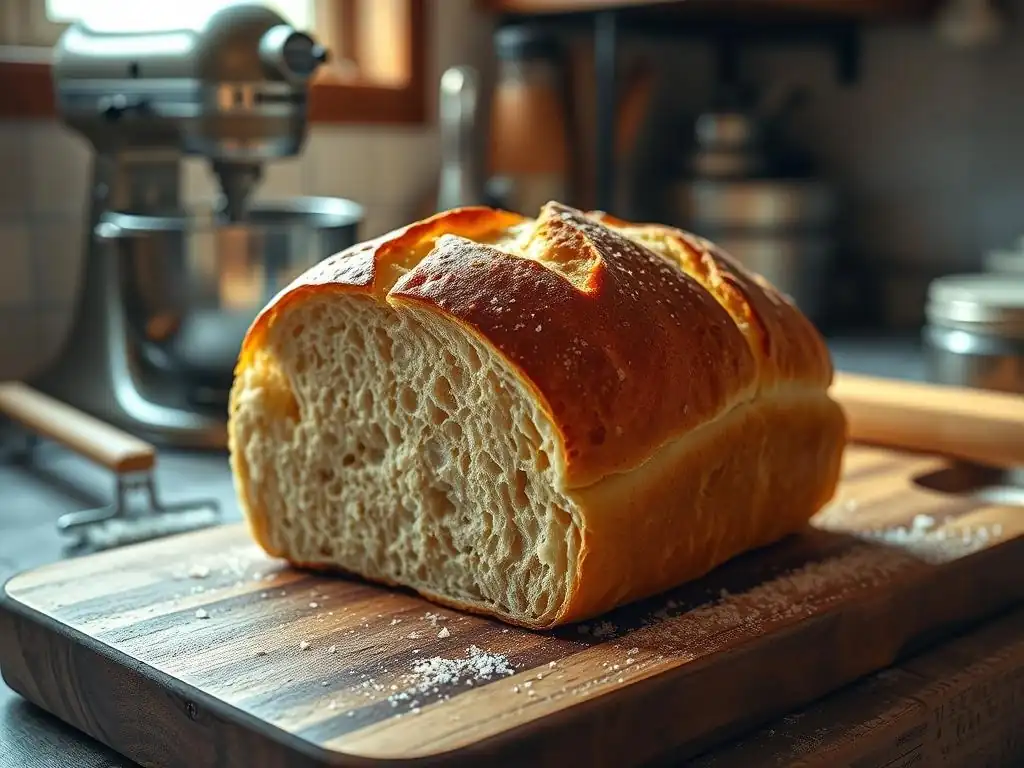
Here is a reliable recipe to help you bake a classic golden crust white bread loaf:
- 500g strong white bread flour (around 12-14% protein)
- 320g lukewarm water (around 64% hydration - adjust slightly based on flour)
- 7g instant dried yeast
- 10g fine sea salt
- 15g caster sugar (optional, for enhanced browning)
- 15g unsalted butter, softened (optional, for tenderness)
- Egg wash or milk wash (optional, for crust finish)
Using these approximate quantities, you can expect a dough that is easy to handle yet hydrated enough for good crust development. The small additions of sugar and butter contribute to both flavor and the rich golden crust.
Detailed Baking Instructions
Follow these steps precisely to achieve a fantastic golden crust on your white bread:
- In a large bowl, whisk together the flour, yeast, salt, and sugar (if using). If using butter, cut it into small pieces and add to the bowl.
- Add the lukewarm water and mix with a spoon or your hand until a shaggy dough forms and no dry flour remains.
- Turn the dough out onto a lightly floured surface and knead for 10-15 minutes by hand, or 6-8 minutes in a stand mixer fitted with a dough hook on medium speed, until the dough is smooth, elastic, and passes the windowpane test.
- Place the dough in a lightly oiled bowl, cover tightly with plastic wrap, and let it proof in a warm place (around 24-27°C / 75-80°F) until doubled in size, typically 1 to 1.5 hours.
- Gently punch down the dough to deflate it, then turn it out onto a lightly floured surface. Shape the dough into a loaf shape (batard or boule). Ensure the surface is taut.
- Place the shaped loaf seam-side down onto a baking sheet lined with parchment paper, or into a proofing basket. Cover loosely with plastic wrap or a damp cloth.
- Allow the loaf to undergo its second proof (final proof) in a warm place until it has increased in size by about 50-75% and springs back slowly when gently poked (the poke test). This usually takes 45-75 minutes.
- About 20-30 minutes before the end of the second proof, preheat your oven to 230°C (445°F). If using a baking stone, place it in the oven as it preheats. If using steam, place a metal tray on the bottom rack now.
- Optional: Prepare your egg wash or milk wash and gently brush it over the surface of the proofed loaf.
- Just before baking, score the top of the loaf with a sharp razor blade or knife. This allows controlled expansion.
- If using steam, carefully pour about a cup of hot water into the preheated tray on the bottom rack (be cautious of steam!). Quickly close the oven door.
- Carefully transfer the loaf to the preheated oven (onto the baking stone if using).
- Bake at 230°C (445°F) for 15 minutes with steam (if used).
- Reduce the oven temperature to 200°C (390°F), remove the steam tray (if used), and continue baking for another 20-30 minutes, or until the golden crust is a deep golden brown and the internal temperature of the loaf reaches 93-99°C (200-210°F). If browning too fast, tent loosely with foil.
- Remove the loaf from the oven and immediately transfer it to a wire rack to cool completely.
- [ ] Ensure oven is fully preheated.
- [ ] Use steam during the initial bake.
- [ ] Monitor crust color and internal temperature for doneness.
- [ ] Cool completely on a wire rack.
Beyond the Basics: Experimenting with Crust Variations
Adding Seeds and Grains for Texture and Flavor
Once you've mastered the basic golden crust white bread, you can easily add variations by incorporating seeds or grains onto the crust. Seeds like sesame, poppy, sunflower, or flax seeds add a delightful crunch and nutty flavor. You can also press rolled oats or other small grains onto the surface. To get seeds or grains to stick, you can lightly mist the proofed loaf with water or brush it with a thin layer of egg wash or milk wash just before rolling it in the seeds or sprinkling them over the top.
Adding seeds or grains not only enhances the texture and flavor but also contributes to the visual appeal of your golden crust white bread. The seeds themselves will also toast and brown slightly in the oven, adding another layer of complex flavor through their own Maillard reactions and oil heating. This simple modification offers an easy way to customize your loaf and explore different textural experiences while still achieving a beautiful golden finish.
Using Different Flours for Unique Crust Characteristics
While this guide focuses on golden crust white bread using primarily bread flour, experimenting with adding small percentages of other flours can subtly change the crust characteristics. Adding 10-20% whole wheat flour, for example, will result in a darker, often slightly tougher crust due to the presence of the bran and germ, but it also adds nutritional value and flavor complexity. Rye flour, even in small amounts (5-10%), can create a chewier crust and contribute unique tangy notes.
These additions affect the dough's hydration needs and fermentation time, so be prepared to make slight adjustments to your recipe. However, incorporating different flours allows you to explore a wider spectrum of crust colors, textures, and flavors beyond the standard golden crust white bread, opening up new possibilities in your baking journey.
Exploring Different Baking Methods for Varied Crusts
Beyond the standard oven bake with or without steam, exploring different baking vessels can yield distinct crust results. Baking your white bread in a Pullman pan (a lidded rectangular pan) results in a loaf with softer sides because they are not exposed to the dry oven air, but the top crust will still develop a golden hue, especially if brushed with a wash.
As mentioned earlier, baking in a Dutch oven is excellent for creating a very crispy, thin golden crust white bread due to the trapped steam. Freeform loaves baked on a stone or baking sheet with external steam tend to have a more rustic, all-around crispy crust. Experimenting with these different methods can help you discover your preferred crust style and understand how the baking environment directly influences the final outcome.
Conclusion: Mastering the Art of the Golden Crust
Enjoying Your Homemade Golden Crust White Bread
Congratulations! By understanding the science, selecting the right ingredients, and employing key techniques during preparation, proofing, and baking, you are well on your way to consistently achieving a beautiful, crispy golden crust on your basic white bread. The journey from raw ingredients to a perfectly baked loaf with that satisfying crackle is incredibly rewarding.
Take a moment to appreciate the visual appeal of your golden crust white bread, inhale its inviting aroma, and savor the delightful contrast between the crispy exterior and the soft, airy interior. Share your creation with friends and family, or simply enjoy a slice with your favorite toppings. Each loaf you bake is an opportunity to refine your skills and deepen your understanding of this wonderful craft.
Further Baking Resources on BakeWithEase.com
Mastering the golden crust is just one step in your baking adventure. Continue exploring the world of bread and pastries with the wealth of resources available on BakeWithEase.com. Find more recipes, technique guides, troubleshooting tips, and inspiration to expand your baking repertoire and continue honing your skills. Happy Baking!
Frequently Asked Questions
What are the key ingredients needed for achieving a golden crust white bread?
The essential ingredients are flour, water, yeast, salt, and often a touch of sugar or fat. The right flour type and a balanced ratio are crucial for a desirable crust.
What baking techniques contribute most to a golden, crispy crust?
High oven temperature, steam during the initial baking phase, and brushing the dough with an egg wash or milk are the most effective. These all promote the Maillard reaction and crust formation.
How does oven temperature affect the golden crust development on white bread?
A higher oven temperature encourages faster browning and crisping. Starting with a hot oven and potentially reducing it later ensures a well-baked interior and a deeply colored crust.
What role does steam play in achieving a perfect golden crust?
Steam keeps the dough's surface moist at the beginning of baking, allowing it to expand fully before the crust sets. This results in a thinner, crispier crust and a better overall rise.
What are some common mistakes to avoid when aiming for a golden crust on white bread?
Over-proofing the dough, using too much flour, or not providing enough steam are common pitfalls. Also, avoid opening the oven frequently, as this can lower the temperature and hinder crust development.
Final Reflection: The Pursuit of the Perfect Crust – A Baker's Journey
The quest for a golden, crispy crust on basic white bread is more than just a culinary pursuit; it's a reflection of our desire for perfection in the simplest of things. Achieving that ideal texture, that satisfying crackle, speaks to a deeper appreciation for the artistry involved in even the most fundamental baking techniques. This seemingly simple goal reveals a world of nuance – from the precise hydration of the dough to the careful management of oven temperature and baking time.
The impact of a perfectly crafted crust extends beyond the immediate sensory experience. It's a symbol of patience, precision, and the rewarding feeling of accomplishment that comes from mastering a craft. The best bread is made with love and patience.
– This simple adage encapsulates the essence of this journey, reminding us that the pursuit of excellence is often a slow and deliberate process, one that demands attention to detail and a willingness to learn from both successes and failures. The pursuit of the perfect crust mirrors our own personal journeys, requiring dedication and a willingness to refine our approach.
Now, consider your own baking endeavors. What seemingly small detail has yielded the most significant improvement? What lessons have you learned from imperfect loaves? I invite you to continue experimenting, to refine your techniques, and to savor the satisfaction of achieving that golden, crispy crust – a testament to your dedication and a delicious reward for your efforts. The journey to baking perfection is ongoing, and each loaf is a step closer to mastery.
Unlock Your Bread Baking Potential!
Thanks for joining us on this baking adventure! We hope you now feel confident in achieving that perfect golden, crispy crust. Ready to take your bread-making skills to the next level?
- Bake a loaf today! Use the tips and techniques we've shared to create your own masterpiece. Experiment with different flours or add-ins!
- Share your success (or challenges!) with our community on social media using #BakeWithEaseCrispyCrust – we'd love to see your creations!
- Consider exploring other bread recipes on BakeWithEase.com for more delicious possibilities.
What unique ingredient will you add to your next crust-perfect loaf?