
Decorate Cookies for Special Events: Wedding, Baby Shower, and More

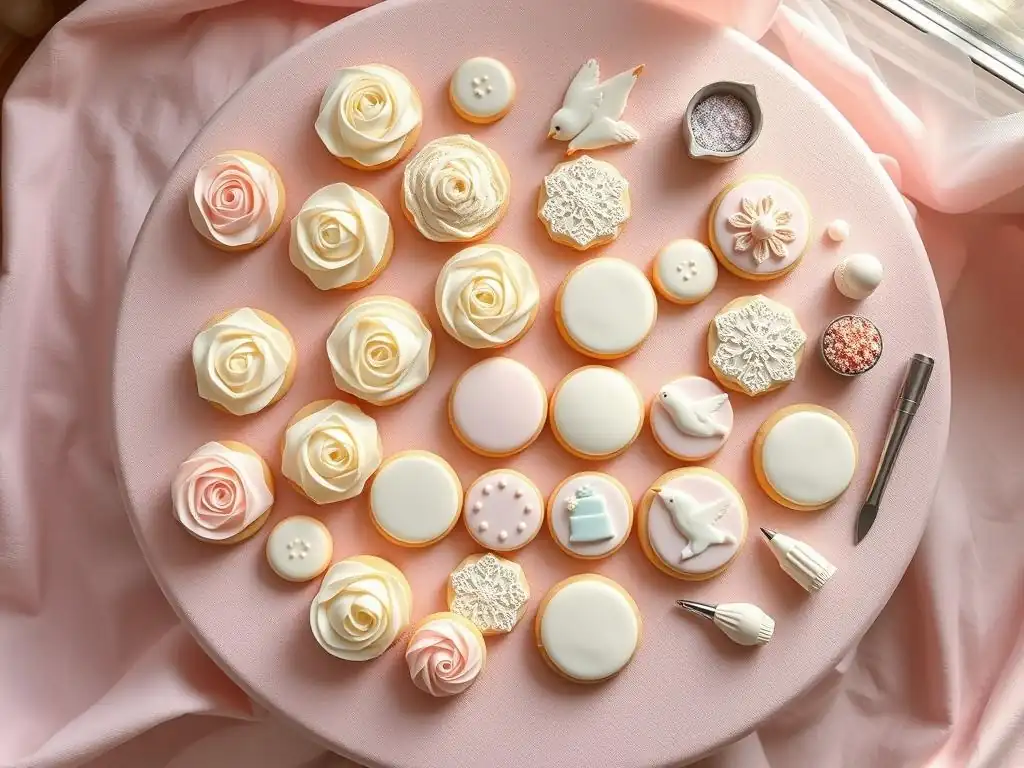
Welcome to BakeWithEase, your trusted companion on your baking journey! Ever dreamed of creating stunning cookies for special occasions? This article dives into easy wedding cookie decorating, revealing insider tips and tricks to transform simple treats into edible masterpieces. Get ready to wow your guests with unforgettable designs - let's unlock the secrets to beautiful and delicious cookies, one delightful decoration at a time!
- BakeWithEase Presents: Mastering Special Event Cookie Decorating
- Easy Wedding Cookie Decorating: A Step-by-Step Guide
- Baby Shower Cookie Decorating: Sweet Treats for the New Arrival
- Cookie Decorating for Other Special Events
- Tips for Successful Special Event Cookie Decorating
- Conclusion: Bake Beautiful Cookies for Every Occasion
-
Frequently Asked Questions
- What are some easy wedding cookie decorating techniques for beginners?
- Where can I find easy-to-find ingredients for wedding cookie decorating?
- What kind of cookies are best for easy wedding cookie decorating?
- How can I make easy wedding cookie decorating less stressful?
- What are some easy design ideas for wedding cookies?
- Final Reflection: The Sweet Art of Celebration
- Unleash Your Inner Cookie Artist!
Taking your cookie decorating skills beyond basic flooding opens up a world of possibilities, especially when preparing for significant life events like weddings or baby showers. Mastering advanced techniques allows for stunning, intricate designs that truly personalize your sweet treats. Think about techniques such as wet-on-wet marbling for beautiful watercolor effects, using stencils with royal icing or airbrushing for consistent patterns, or even creating dimensional elements with thicker icing or fondant accents.
These skills, while requiring practice, can transform a simple cookie into a miniature work of art. For example, a skilled decorator might spend 15-20 minutes or more on a single complex cookie featuring multiple layers of icing, piped details, and maybe even edible gold leaf, compared to just 3-5 minutes for a basic flooded design.
Investing time in learning techniques like pressure piping for delicate flowers or leaves, or using edible paints to add fine artistic details, significantly increases the visual impact of your cookies. This is particularly valuable for special occasions where guests notice and appreciate the effort and artistry.
While learning these methods requires patience and practice batches – perhaps dedicating a few hours each week to honing a specific skill like consistent piping pressure – the results are well worth it. Consider a set of wedding cookies; mastering a simple wet-on-wet heart technique can instantly elevate a basic shape, while learning to pipe delicate lace borders can add a layer of sophistication that store-bought cookies simply can't replicate.
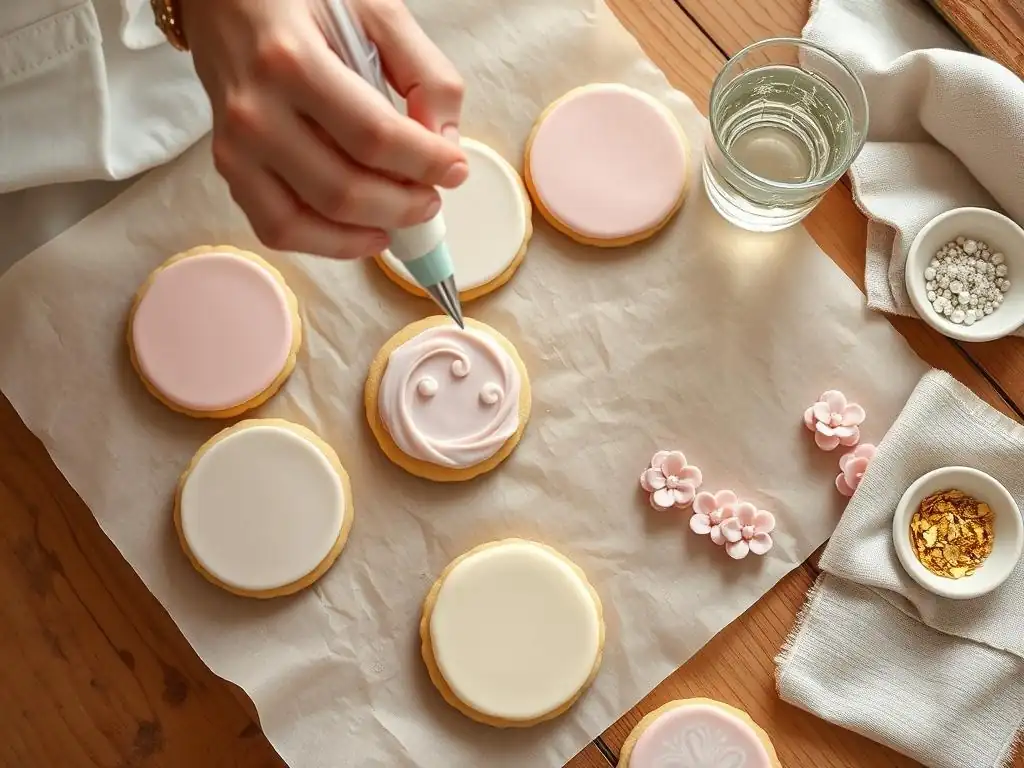
Creating beautiful cookies for a wedding doesn't have to be overwhelming. Focusing on easy wedding cookie decorating techniques and smart planning can result in elegant treats that impress your guests without causing undue stress. The key is breaking down the process into manageable steps, choosing designs that match your skill level, and preparing thoroughly.
Successful easy wedding cookie decorating begins long before you mix your first batch of icing. Proper planning is crucial for managing your time, budget, and expectations. Start by determining the number of cookies you'll need – a common estimate is 1 to 2 cookies per guest, so for a 100-person wedding, you might aim for 100-200 cookies, plus extras for potential breakage or unexpected guests. Consider the wedding theme and color palette; choosing 2-3 main colors will help simplify your icing preparation and design choices.
Next, set a realistic timeline. Baking the cookies can be done a few days to a week in advance, while decorating is best done closer to the event, typically 2-4 days prior, depending on the complexity of the designs and drying time required for the icing. Factor in time for potential issues, like needing to remake a batch of icing or fix a design flaw. Don't forget storage! Ensure you have enough airtight containers to store the finished cookies properly to keep them fresh.
Here's a simple planning checklist:
- [ ] Determine total cookie quantity needed.
- [ ] Select wedding colors and theme.
- [ ] Choose 2-3 easy wedding cookie decorating designs.
- [ ] Create a shopping list for ingredients and supplies.
- [ ] Set a baking schedule (e.g., 5-7 days before the event).
- [ ] Set a decorating schedule (e.g., 2-4 days before the event).
- [ ] Plan storage for finished cookies.
Having the right tools and high-quality ingredients is fundamental for any baking project, and especially for achieving beautiful easy wedding cookie decorating results. You'll need standard baking equipment like mixing bowls, measuring cups, and baking sheets, but also specialized items for decorating. This includes good quality cookie cutters, piping bags, various tips, and couplers.
Choosing the right ingredients is also vital. For cookies that hold their shape well during baking – essential for intricate designs – a reliable no-spread sugar cookie recipe is key. High-quality powdered sugar (often labeled confectioners' sugar) is necessary for smooth royal icing, and meringue powder provides stability and helps the icing dry hard. Food coloring should be gel-based, as liquid colors can add too much moisture and affect icing consistency.
Royal Icing Recipe for Wedding Cookies: Consistency is Key
Royal icing is the go-to for detailed cookie decorating because it dries hard with a smooth finish, making cookies stackable and designs durable. The basic ratio often involves powdered sugar, meringue powder, and water. A common starting point might be 1 pound (about 4 cups) of powdered sugar, 3-4 tablespoons of meringue powder, and about 1/2 cup of water, adjusted to achieve different consistencies. Achieving the correct consistency is paramount for easy wedding cookie decorating.
You'll typically need at least two main consistencies: outline and flood. Outline consistency is thicker, like toothpaste, and holds its shape when piped, creating a barrier. Flood consistency is thinner, like honey or thick syrup, and spreads smoothly to fill in the outlined areas. You can test flood consistency by dropping a ribbon of icing back into the bowl; it should disappear within 10-15 seconds. For fine details and piping, a consistency slightly thicker than outline may be desired. Mastering these variations through practice is key to smooth, professional-looking cookies.
Basic Royal Icing Ratio (Adjust as needed):
*   1 lb (approx. 4 cups) Powdered Sugar
*   3-4 tbsp Meringue Powder
*   1/2 cup lukewarm water (add more gradually)
*   1/2 tsp vanilla or almond extract (optional)
Cookie Cutters for Wedding Themes: Shapes and Sizes
The shapes of your cookies play a big role in setting the theme for easy wedding cookie decorating. Classic shapes like hearts, circles, and squares are always elegant and versatile. For a wedding, consider specific cutters like wedding bells, tiered cakes, rings, doves, or even simple plaque shapes that can be personalized with initials or dates.
Selecting various sizes can also add visual interest to your cookie platters. A mix of larger statement cookies (maybe 3-4 inches) and smaller accent cookies (1.5-2 inches) works well. Ensure your cookie cutters are sturdy and produce clean edges when cutting the dough, which is essential for sharp, easy-to-decorate shapes. Using cutters appropriate for the wedding theme immediately gives your cookies a celebratory feel.
Decorating Bags, Tips, and Couplers: Your Wedding Cookie Arsenal
Decorating bags, tips, and couplers are the tools that allow you to apply royal icing with precision. You'll need several piping bags, either reusable or disposable. Couplers are useful as they allow you to change piping tips on the same bag of icing, which is convenient when you need to switch between outlining and piping details with the same color.
For easy wedding cookie decorating, a few basic piping tips are essential. A small round tip (like a PME 1.5 or Wilton #1 or #2) is perfect for outlining and fine details. A slightly larger round tip (like a Wilton #3 or #4) is good for thicker lines or filling small areas. Having a few of each size, especially the small detail tips, is helpful, as you'll likely use multiple colors requiring different bags.
Once your cookies are baked and cooled, and your royal icing is mixed to the correct consistencies, it's time for the fun part: decorating! Focusing on simple yet effective techniques is key for easy wedding cookie decorating.
Flooding Cookies: Creating a Smooth Base for Wedding Designs
Flooding is the technique used to fill the outlined area of a cookie with a smooth, even layer of royal icing. This creates the base color upon which all other decorations will be added. After outlining a section of the cookie with thicker icing, switch to your flood consistency icing in a separate bag. Pipe the flood icing inside the outline, starting from the edges and moving inwards.
Use a scribe tool or a toothpick to gently spread the icing to the edges and pop any air bubbles. Working quickly is important before the outline starts to set. For a typical 3-inch heart cookie, flooding might take less than a minute per cookie, but it's crucial for a flawless foundation. Allow the flooded base to dry completely, ideally for several hours or even overnight, before adding any piped details or other decorations. This prevents colors from bleeding and ensures your top layers sit smoothly.
Piping Details: Adding Delicate Accents to Your Wedding Cookies
Adding piped details is where you can personalize your easy wedding cookie decorating with elegant touches. Using a small round tip and outline-consistency icing (or slightly thicker), you can pipe delicate lines, dots, scrolls, or even simple lace patterns. Practice piping on parchment paper first to get a feel for the pressure needed and the flow of the icing.
For a wedding cookie, consider piping the couple's initials, the wedding date, or simple patterns around the edge. Even a simple string of piped pearls or small dots along the border of a flooded cookie adds a touch of sophistication. If you're piping text, keep it concise for clarity on a small surface. Dedicate time to practicing fine line control; even spending 15-20 minutes practicing basic piping strokes daily can significantly improve your precision.
Using Sprinkles and Edible Glitters for Wedding Cookie Sparkle
Sprinkles and edible glitters are fantastic for adding sparkle and texture to easy wedding cookie decorating without requiring advanced piping skills. Apply sprinkles or glitter while the flood icing is still wet so they adhere. For more controlled placement, apply a small amount of fresh royal icing where you want the sprinkles to stick after the base has dried.
Consider using white nonpareils for a classic look, silver or gold edible glitter for glamour, or even custom sprinkle mixes that match the wedding colors. Small edible pearls can mimic jewels or beads for a touch of elegance. Be mindful of the type of glitter; ensure it is specifically labeled as "edible" and made from food-safe ingredients, not just "non-toxic" craft glitter. A little sparkle can go a long way in making a wedding cookie feel festive and special.
Finding inspiration for your easy wedding cookie decorating designs can be fun! Look at wedding invitations, floral arrangements, or the wedding dress for color and pattern ideas. Simple designs are often the most elegant and achievable, especially if you're decorating a large batch.
Classic White Wedding Cookies: Timeless Elegance
You can't go wrong with classic white-on-white wedding cookies. This approach is simple, elegant, and forgiving, making it perfect for easy wedding cookie decorating. Use white royal icing in different consistencies on a white flooded base. Pipe delicate white lace patterns, swiss dots, or scrollwork.
Another classic idea is a tuxedo or wedding dress design on simple rectangular or bell-shaped cookies. These designs primarily use white and black icing and rely on basic piping techniques, making them quite accessible. The beauty of classic white cookies lies in their simplicity and sophistication; they fit seamlessly into almost any wedding theme.
Floral Wedding Cookie Designs: Romantic and Delicate
Floral designs add a romantic and delicate touch to wedding cookies. For an easy wedding cookie decorating approach, you don't need to pipe intricate roses. Simple techniques like using small leaf tips (like Wilton #352) and round tips for basic flowers (like dots or simple rosettes) can create beautiful floral clusters.
Alternatively, consider using edible floral transfers or stencils with floral patterns on a flooded background. You can also use the wet-on-wet technique to swirl different shades of green for leaves or pinks and whites for abstract floral shapes directly into the wet base layer. Even adding a single piped flower or a few leaves to a simple heart or circle cookie elevates the design significantly.
Monogrammed Wedding Cookies: Personalized Touches
Monogrammed cookies add a highly personal touch to a wedding. Decorating cookies with the couple's initials or a single shared initial is a popular and relatively easy wedding cookie decorating option, depending on the method used. After flooding the cookie and allowing it to dry, you can pipe the monogram freehand using a fine tip.
For greater accuracy and ease, especially if you're decorating many cookies, consider using a stencil for the monogram. Simply place the stencil over the dry flooded cookie and spread royal icing or even edible paint over it. Lift the stencil carefully to reveal a clean, crisp monogram. Another method involves printing the monogram, placing it under parchment paper, tracing it with outline icing, letting it dry into a transfer, and then attaching it to the cookie with a dot of fresh icing.
Baby showers are another joyous occasion perfect for celebrating with decorated cookies. The themes are often playful and sweet, allowing for creative and colorful designs. Like wedding cookies, focusing on easy yet charming techniques is key for a successful baby shower cookie project.
Baby shower cookie themes are incredibly versatile, ranging from classic baby items to whimsical animals or storybook characters. Choosing a theme early helps streamline your design choices and cookie cutter selection.
Gender Reveal Cookies: Pink or Blue?
Gender reveal parties often use cookies to announce the baby's sex. Designs can be simple, like question marks on the outside and a hidden pink or blue center (achieved by placing a small amount of colored dough or candy inside before baking), or decorated with both pink and blue colors on the exterior, perhaps split down the middle.
Other ideas include cookies shaped like onesies or bottles decorated with both color schemes. You can even make two sets of cookies, one pink and one blue, and reveal the correct color set at the party. Simple designs with clear color palettes make these cookies easy to execute while being central to the celebration.
Animal-Themed Baby Shower Cookies: Cute and Cuddly
Animal themes are ever-popular for baby showers. Think adorable bears, elephants, giraffes, or woodland creatures. Simple animal shapes can be flooded in solid colors and then decorated with minimal piping for eyes, noses, and ears.
For an easy approach, use animal-shaped cutters and focus on simple flooding and perhaps using edible markers or small dots of icing for facial features. For example, flooding a bear-shaped cookie in brown and adding two small circles of lighter brown for the snout and ears, plus two black dots for eyes and a nose, creates a recognizable and cute design quickly.
Baby Clothes and Accessories Cookies: Adorable Designs
Cookies shaped like onesies, bibs, bottles, rattles, or booties are classic baby shower choices. These shapes lend themselves well to simple decoration. Onesies can be flooded in various pastel colors and decorated with simple dots, stripes, or even tiny piped collars.
Bibs can be flooded white and decorated with a simple piped border and maybe a small initial. Bottles and rattles are often flooded in a solid color with minimal detail added. Using a consistent color scheme across these different shapes creates a cohesive and adorable set of cookies.
Many of the techniques used for wedding cookies can be adapted for baby shower themes, often with brighter colors and simpler patterns.
Creating Fondant Accents for Baby Shower Cookies
While royal icing is primary, fondant can add quick, easy accents to baby shower cookies. Roll out fondant thinly and use small cutters (like mini stars, hearts, or circles) or even impression mats to create shapes or textures. These can be attached to a dry flooded cookie with a tiny dot of royal icing.
For example, you can flood a onesie cookie and, once dry, attach a small fondant bow or a few tiny fondant buttons. This adds a dimensional element without requiring complex piping skills. Fondant is also useful for creating simple cutouts like letters for a baby's name or simple animal shapes to place on a larger cookie.
Using Food Coloring Pens for Detailed Designs
Food coloring pens are excellent for adding fine details or text to cookies once the royal icing is completely dry. They work best on a smooth, light-colored surface. You can draw faces on animal cookies, add stitches or patterns to onesie cookies, or write a baby's name or shower date.
Using food coloring pens allows for a level of detail similar to drawing on paper, making them very intuitive. This is particularly helpful for adding small, intricate elements that might be difficult to pipe, like tiny eyelashes or freckles on a character cookie. Always ensure the icing is fully hardened before using the pens to prevent indentations or bleeding.
Airbrushing Techniques for Soft Baby Shower Cookie Effects
Airbrushing offers a way to create soft, gradient colors or stencil patterns on cookies, ideal for achieving gentle pastel shades or subtle backgrounds for baby shower themes. An airbrush machine sprays edible food coloring mist onto the cookie.
For baby shower cookies, airbrushing can be used to create a soft pink or blue background, a gentle gradient effect, or to apply patterns using stencils, such as polka dots, stars, or small footprints. While airbrush equipment is an investment, it can significantly speed up the process of applying base colors or simple patterns uniformly across many cookies, making it a valuable tool for bulk decorating.
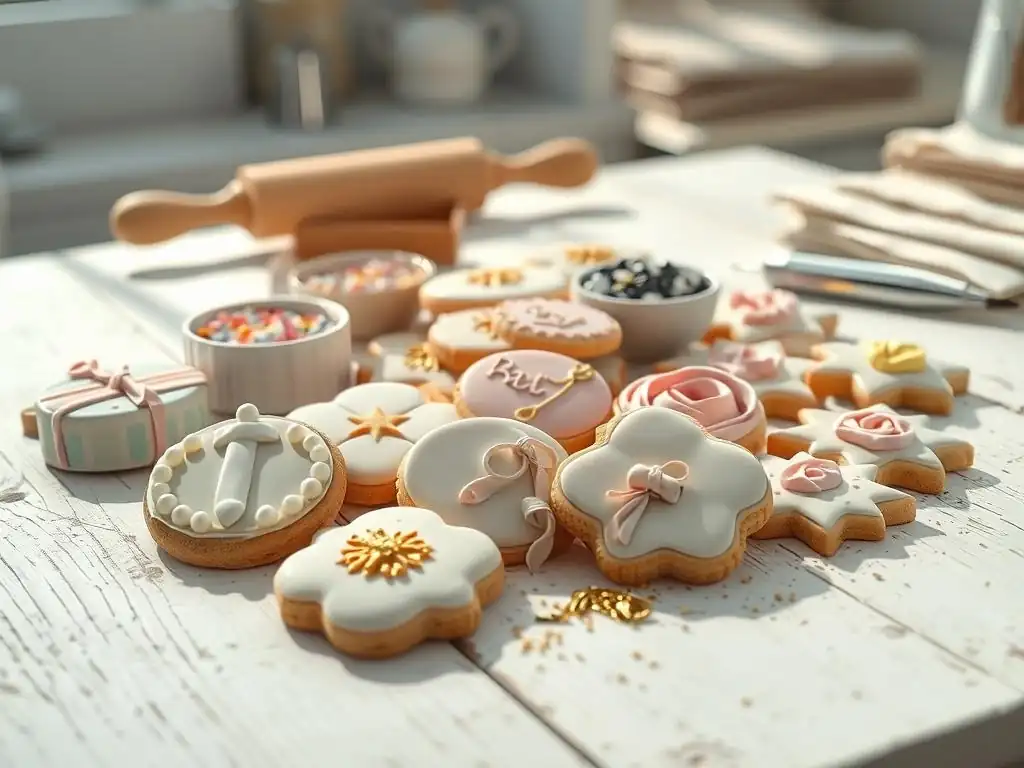
Beyond weddings and baby showers, decorated cookies are perfect for countless other special occasions, allowing you to tailor designs to specific celebrations.
Birthday cookies offer perhaps the most creative freedom. Themes can range from age-specific numbers and characters to hobbies, sports, or party themes. Bright colors, sprinkles, and playful designs are common. Think cookies shaped like cakes, balloons, presents, or characters from popular culture.
Techniques can include simple flooding and piping, using edible images, or incorporating edible glitter and sprinkles generously. For a child's birthday, simple shapes decorated with primary colors and fun patterns are often a hit and relatively easy to execute. For adult birthdays, designs might be more sophisticated, perhaps reflecting a favorite interest or a milestone year.
Holidays are a classic time for cookie decorating. Christmas, Halloween, Easter, Valentine's Day, and other holidays each come with their own iconic shapes and color palettes. Decorating holiday cookies is often a tradition enjoyed by families.
Designs range from simple (like ghosts or pumpkins for Halloween, hearts for Valentine's Day) to complex (intricate gingerbread houses or detailed Santa figures). Techniques like marbling for spooky effects, flooding with holiday colors, and using themed sprinkles are popular. Holiday cookies are often shared as gifts or served at festive gatherings.
Graduation is a significant milestone that calls for celebration cookies. Popular designs include graduation caps, diplomas, scrolls, stars, or cookies shaped like the graduation year numbers. School colors are typically used for decoration.
Decorating techniques often involve flooding cookies in school colors and piping details like tassels on caps, ribbons on diplomas, or the graduate's name or year. Using edible pens to write names or messages is also common. Creating a batch of personalized graduation cookies is a thoughtful way to honor the graduate's achievement.
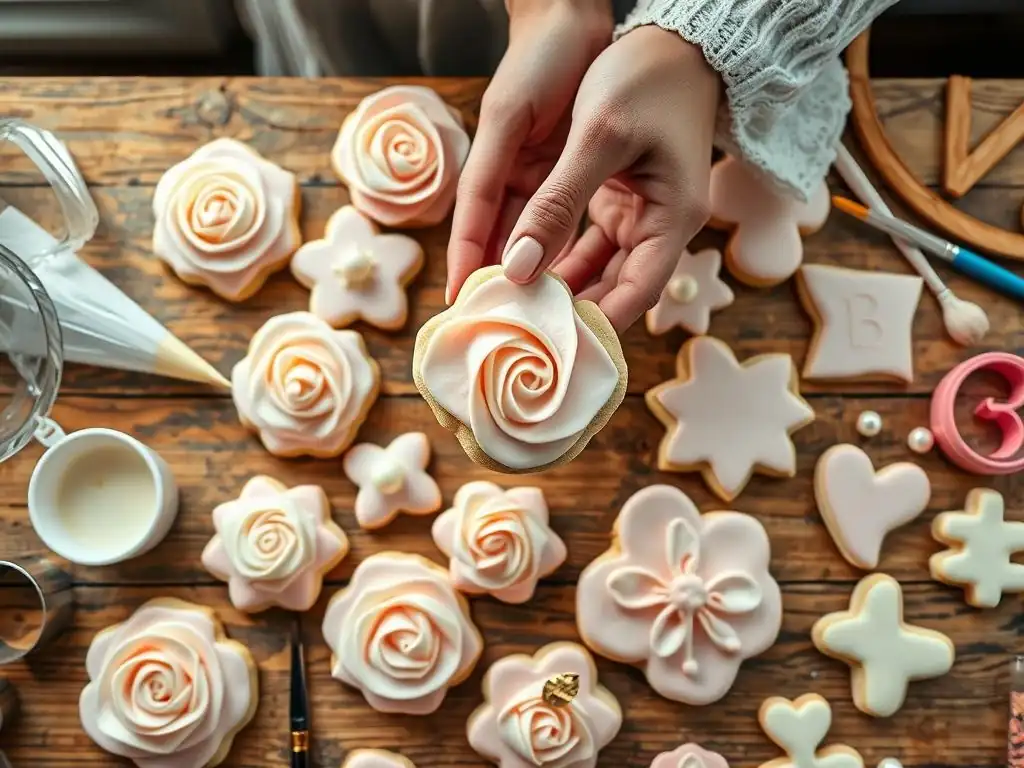
Regardless of the event, a few key tips can help ensure your cookie decorating project goes smoothly and results in beautiful, delicious treats.
The foundation of a great decorated cookie is a well-baked cookie that holds its shape. Use a reliable no-spread recipe. Ensure your dough is chilled sufficiently before cutting shapes; this helps prevent distortion in the oven. Bake cookies until the edges are just lightly golden, not overly browned, as this can affect the taste and appearance, especially with light-colored icing.
Crucially, allow cookies to cool completely on a wire rack before attempting to decorate them. Warm cookies will melt or cause royal icing to bleed and lose its shape. Ensure they are at room temperature throughout, which might take an hour or more depending on size and ambient temperature.
Proper storage is essential to keep your decorated cookies fresh and protect your beautiful designs. Once the royal icing is completely dry and hardened (this can take 8-24 hours depending on humidity and icing thickness), store cookies in airtight containers.
Layering cookies directly on top of each other can damage the icing. Place parchment paper or wax paper between layers to protect the designs. Store containers at room temperature, away from direct sunlight or heat. Properly stored, royal iced cookies can remain fresh for up to 2-3 weeks, although they are best enjoyed within the first week or two.
Even experienced decorators encounter issues. Knowing how to troubleshoot common problems can save your project.
Royal Icing Issues: Fixing Cracking and Bleeding
Cracking icing can occur if the icing is too thin, dries too quickly on the surface but not underneath, or if the cookie flexes. Adding a tiny amount of corn syrup (about 1 teaspoon per cup of icing) can help prevent cracking by making the icing slightly more flexible. Ensure cookies are on a flat surface while drying. If cracks appear after drying, you can often fill them carefully with a little fresh icing.
Color bleeding happens when colors run into each other, especially dark colors next to light ones. This can be caused by icing that is too wet, not letting layers dry completely between steps, or using too much liquid food coloring. Use gel colors sparingly. Ensure each section of color that touches another color has dried sufficiently before the adjacent color is applied. For easy wedding cookie decorating, sticking to a limited color palette can help minimize bleeding risks.
Cookie Shape Distortion: Preventing Spreading
Cookie spreading during baking ruins clean shapes needed for decorating. This is usually caused by using a recipe with too much leavening (baking powder/soda) or too much butter, or by not chilling the dough adequately before cutting and baking.
Use a recipe specifically designed for cut-out cookies that promises minimal spread. Ensure butter is at room temperature, not melted. Chill the dough thoroughly (at least 30-60 minutes, or longer) after mixing and again after cutting out shapes before baking. Baking on parchment paper or silicone mats can also help maintain shape.
Frequently Asked Questions
For beginners, focus on simple royal icing techniques like flooding and adding sprinkles. You can also use pre-made icing transfers to easily add intricate details.
Most grocery stores carry the basic ingredients you'll need, such as flour, sugar, butter, and eggs. Specialty ingredients like royal icing mix can be found at baking supply stores or online.
Sugar cookies are the most popular choice because they hold their shape well and are easy to decorate. Shortbread cookies are another good option, offering a delicious buttery flavor.
Plan ahead and break the process into smaller steps. Make the dough and bake the cookies one day, and decorate them the next. Consider using pre-made icing to save time.
Consider simple floral patterns, using a basic color palette. Monograms or the couple's initials are also elegant and easy to achieve with stencils or edible markers.
Final Reflection: The Sweet Art of Celebration
The art of cookie decorating transcends mere confectionery; it's a tangible expression of joy, a personalized touch that elevates any special occasion. From intimate gatherings to grand celebrations, beautifully decorated cookies offer a delightful and memorable element, adding a layer of personal care and artistry that store-bought treats simply can't match. This is especially true for weddings, where the details matter most.
The enduring appeal of homemade, decorated cookies lies in their ability to connect us to cherished memories and traditions. They are a visual representation of love, care, and celebration, a testament to the effort and thoughtfulness poured into their creation. As someone who has spent countless hours perfecting icing techniques and experimenting with designs, I understand the profound satisfaction of creating something beautiful and delicious to share with loved ones. The best things in life are the people we love, the places we've been, and the memories we've made along the way.
This quote perfectly encapsulates the essence of what decorated cookies represent: a sweet memory in the making.
Now, I invite you to consider the possibilities. Don't be intimidated by the seemingly intricate designs; even the simplest techniques can yield stunning results. Pick up your piping bag, gather your favorite sprinkles, and let your creativity flow. Whether it's for a wedding, a baby shower, or any other special occasion, the joy of creating and sharing these edible masterpieces is a gift you can give yourself and others. Embrace the process, experiment with different styles, and most importantly, have fun! Let your cookies tell a story, reflecting the unique beauty and joy of your celebration.
Thanks for joining us on this sweet journey into cookie decorating! We hope you're feeling inspired and ready to create some truly amazing treats. Now it's time to put your newfound skills to the test.
- Dive into your next project! Think about the upcoming event on your calendar – a birthday, anniversary, or even just a Tuesday that needs cheering up – and start sketching your design. Let your creativity flow!
- Share your cookie creations! We'd love to see your masterpieces! Tag us on social media with your baked delights.
- Explore our other cookie decorating tutorials. We have a whole library of recipes and techniques to help you become a true cookie decorating expert!
Ready to transform ordinary cookies into extraordinary works of art? What's the first special event you'll be decorating cookies for?