
Making Enriched Dough Ahead: Prep for Easy Baking

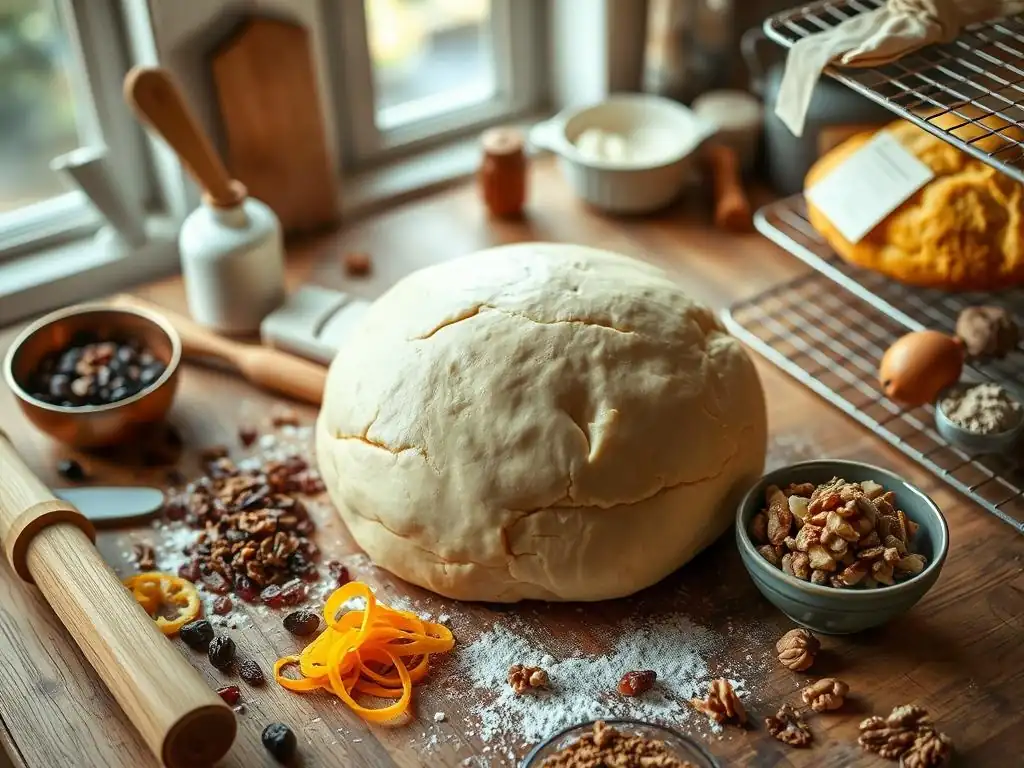
Welcome to BakeWithEase, your trusted guide to unlocking baking brilliance! Ever dreamt of effortlessly whipping up delectable treats? This week, we're diving deep into the secrets of Enriched Dough – and how to prepare it ahead of time for ultimate baking convenience. Discover time-saving techniques and expert tips that will transform your baking routine. Are you ready to simplify your creations and elevate your baking game? Let's get started!
- Bake Brioche on Your Schedule: An Introduction
- Why Make Brioche Dough Ahead of Time? Benefits for Bakers
- Understanding Brioche Dough: A Quick Review
- Best Practices for Making Brioche Dough Ahead
- Step-by-Step: Preparing Brioche Dough in Advance
- Storing Brioche Dough for Optimal Results
- Troubleshooting Common Issues with Make-Ahead Brioche Dough
- Brioche Recipes Perfect for Making Ahead
- Tips and Tricks for Baking with Pre-Made Brioche Dough
- Enjoy Delicious Brioche with Effortless Advance Preparation
-
Frequently Asked Questions
- What exactly is enriched dough and why is it beneficial to make it ahead?
- How far in advance can I prepare enriched dough and still get good results?
- What's the best way to store enriched dough in the refrigerator for make-ahead baking?
- Will the enriched dough rise properly after being refrigerated for an extended period?
- What if my enriched dough doesn't seem to be rising after being refrigerated?
- Final Reflection: The Joy of Prepared Dough, the Ease of Baking
- Unleash Your Inner Baker: Master the Art of Dough Prep!
Bake Brioche on Your Schedule: An Introduction
Imagine waking up on a weekend morning with the craving for warm, freshly baked brioche, but without the hours of mixing, kneading, and rising typically required on the same day. This is the magic of preparing enriched dough ahead of time. By completing most of the work the day before, you can dramatically simplify your baking process, making delicious brioche an achievable treat even on busy days. This approach transforms baking from a single, time-intensive event into a more manageable, multi-stage process.
Preparing your enriched dough make ahead allows the flavors to deepen and the texture to improve through a slow, cold fermentation in the refrigerator. This method is particularly well-suited for rich doughs like brioche, which benefit immensely from extended chilling. It’s a technique embraced by professional bakers and home enthusiasts alike to achieve superior results with less same-day effort. Let's explore the many advantages and techniques for mastering this convenient and rewarding baking strategy.
Why Make Brioche Dough Ahead of Time? Benefits for Bakers
Saving Time with Make-Ahead Brioche
One of the most compelling reasons to prepare enriched dough ahead is the significant time savings on baking day. A traditional brioche recipe might require 2-3 hours of active time spread throughout a day for mixing, kneading, multiple rises, shaping, and final proofing. By making the enriched dough ahead, you can shift the bulk of this work, particularly the mixing and initial kneading, to a less busy time, perhaps the evening before.
On baking day itself, you might only need 30-60 minutes for shaping, a final proof, and the actual baking. This dramatically reduces the time commitment needed right before you want to serve, making it feasible to enjoy fresh brioche on a weekday morning or before a brunch gathering without needing to wake up at the crack of dawn. It's about spreading the workload to fit your schedule.
Planning for Effortless Baking: The Convenience Factor
Beyond just saving time, making enriched dough ahead of time offers unparalleled convenience. It allows for a more relaxed baking experience, free from the rush often associated with trying to complete all steps in a single block of time. You can easily fit the initial dough preparation around other tasks or commitments.
This planning flexibility means you can decide to bake brioche on a whim, knowing the dough is ready in the refrigerator. It eliminates the pressure of hitting specific timing windows for multiple proofs in one day. For example, if you plan to bake brioche for a Saturday brunch, you can mix the dough Friday evening and let it develop slowly overnight, ready to be shaped and baked Saturday morning with minimal fuss. This makes baking a pleasure, not a chore.
Developing Flavor: The Advantage of Retarding Brioche Dough
Allowing enriched dough to ferment slowly in the cold, a process known as retarding, isn't just about convenience; it's a critical step for enhancing flavor. During this extended chill, yeast activity is slowed down significantly, but enzymes within the dough continue to break down complex carbohydrates into simpler sugars.
These simple sugars contribute to a richer, more nuanced flavor profile and can also lead to better browning during baking. The cold fermentation process allows the subtle flavors from the butter and eggs in the brioche dough to meld and deepen. While a quick proof might yield a decent loaf, an enriched dough make ahead, left to cold ferment for 12-24 hours (or even up to 72 hours for some recipes), will consistently produce a brioche with a more complex, desirable taste and aroma.
Understanding Brioche Dough: A Quick Review
What Makes Brioche "Enriched"?
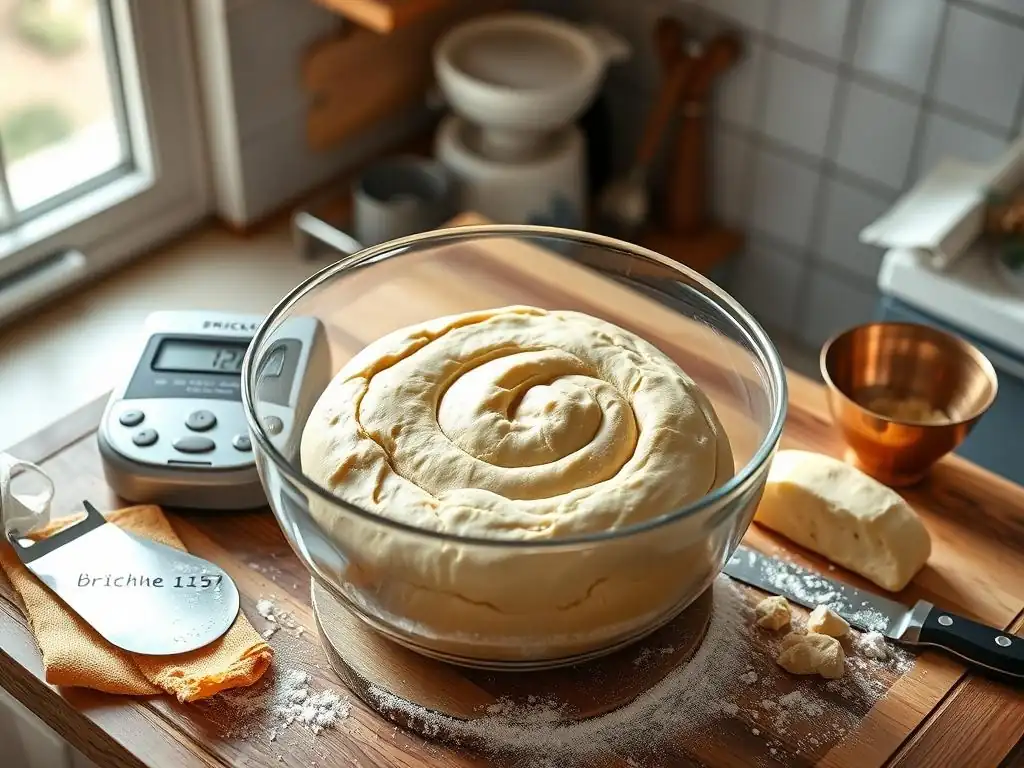
Brioche is classified as an enriched dough because of the significant amounts of fat and eggs added to the basic bread dough mixture of flour, water, and yeast. Unlike lean doughs (like baguettes), which rely on simple ingredients, enriched doughs incorporate ingredients like butter, eggs, milk, and sometimes sugar in substantial quantities.
A typical brioche recipe might include 50-75% butter relative to the flour weight and 4-6 eggs per 500 grams of flour. These additions contribute to the dough's characteristic richness, tenderness, and soft crumb structure. The high fat content also inhibits gluten development slightly, requiring careful mixing and kneading techniques to achieve the desired structure without making the dough tough.
Key Characteristics of Brioche Dough
Brioche dough is known for its beautiful golden color, thanks to the egg yolks, and its incredibly tender, soft crumb, which comes from the high fat content. It is also typically slightly sweet. The texture is often described as cake-like or pastry-like, distinct from the chewy crust and open crumb of lean bread.
Working with brioche dough can be challenging due to its richness. It's often very soft, sometimes even sticky, especially before chilling. Proper kneading is crucial to develop enough gluten to support the structure, despite the fat. The dough's richness also means it proofs more slowly than lean doughs, making it an ideal candidate for the enriched dough make ahead method, as the extended time in the refrigerator allows for gradual development.
Best Practices for Making Brioche Dough Ahead
Choosing the Right Brioche Recipe for Advance Preparation
Not all brioche recipes are equally suited for being made ahead. Look for recipes specifically designed for overnight or cold fermentation. These recipes often have slightly lower yeast amounts than same-day versions to prevent over-proofing during the long, cold rest.
Recipes that incorporate a significant amount of butter (50% or more of the flour weight) tend to perform very well with cold fermentation, as the fat helps keep the dough supple and moist in the refrigerator. Avoid recipes that call for extremely rapid proofing methods if you plan to retard the dough for more than 12 hours. A reliable enriched dough make ahead recipe will provide clear instructions for refrigeration times.
Ingredient Considerations for Make-Ahead Brioche
Using high-quality ingredients is always important in baking, but it's particularly beneficial when making enriched dough ahead. High-protein bread flour (around 12-14% protein) provides the necessary structure to support the rich additions and withstand the longer fermentation. European-style butter with a higher fat content (often 82% or more) contributes superior flavor and texture.
Ensure your yeast is fresh and active. While the long, cold fermentation uses less yeast, it's still critical that the yeast is healthy to provide lift during the final proof. Using ingredients at the correct temperature, such as room temperature eggs and softened (but not melted) butter, is also vital for proper emulsion and dough development during the initial mixing phase.
The Importance of Proper Mixing and Gluten Development for Brioche
Achieving the correct gluten development is paramount when making enriched dough ahead. The fat and sugar in brioche inhibit gluten formation, so thorough mixing and kneading are essential. This is often best accomplished using a stand mixer, though it can be done by hand with patience.
The dough should be kneaded until it passes the "windowpane test," where a small piece can be stretched thinly enough to see light through it without tearing. This strong gluten network is necessary to trap the gases produced during fermentation and provide structure during baking. Insufficient kneading will result in a dense, heavy brioche, while over-kneading can make the dough tough. Proper gluten development ensures the dough can withstand the long, cold proofing period without collapsing.
Step-by-Step: Preparing Brioche Dough in Advance
Step 1: Mixing and Kneading the Brioche Dough
Begin by combining the dry ingredients (flour, sugar, salt, yeast) in a large bowl or stand mixer. Add the wet ingredients (eggs, milk, sometimes water) and mix until a shaggy dough forms. Then, knead the dough until it starts to become smooth and elastic, typically 5-10 minutes in a stand mixer. At this point, gradually add the softened, cubed butter, a piece or two at a time, allowing each addition to be fully incorporated before adding more.
This process can take another 10-20 minutes. Continue kneading until the dough is smooth, elastic, and passes the windowpane test. The dough will be soft and slightly sticky due to the high fat content.
Step 2: The First Rise: Bulk Fermentation of Brioche
After kneading, the dough needs an initial bulk fermentation. Place the dough in a lightly greased bowl, turning to coat. Cover the bowl tightly with plastic wrap. Allow the dough to rest at cool room temperature (around 20-22°C or 68-72°F) for about 1-2 hours, or until it has increased in volume by about 25-50%. This initial rise helps kickstart fermentation before the long cold rest. Some recipes might omit a warm bulk rise and go straight to refrigeration after kneading, especially if using a very low amount of yeast or planning a very long cold proof (24+ hours).
Step 3: Shaping and Refrigerating the Brioche Dough
After the initial rise (or immediately after kneading, depending on the recipe), gently deflate the dough. Now, shape it according to your recipe's instructions – into loaves, buns, or other forms. For loaves, place the shaped dough directly into greased loaf pans. For buns or rolls, place them on a baking sheet lined with parchment paper.
Cover the shaped dough loosely but completely with plastic wrap. Ensure the plastic wrap doesn't stick to the dough as it may rise slightly in the fridge. Place the shaped and covered dough in the refrigerator (ideally between 2-4°C or 35-40°F) for the long, cold fermentation. This enriched dough make ahead step is where the magic happens, typically for 12-72 hours.
Step 4: Proofing the Chilled Brioche Dough
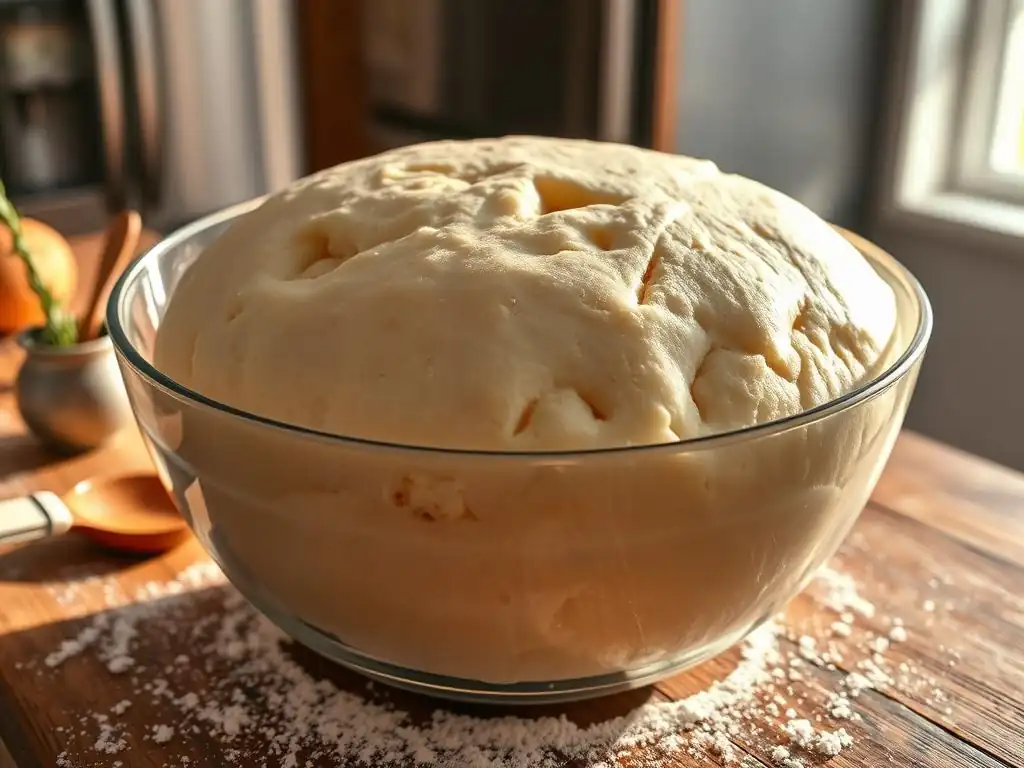
When you are ready to bake, remove the shaped, chilled brioche dough from the refrigerator. The dough will be firm and cold. It now needs a final proof at room temperature.
The time required for this final proof will be longer than for dough that hasn't been chilled, typically 2-4 hours, depending on the ambient temperature and how long the dough was refrigerated. The dough is ready when it is visibly puffy and has increased significantly in size (often doubled or nearly doubled), and springs back slowly when gently poked. Avoid over-proofing, which can lead to collapse in the oven.
Step 5: Baking Your Perfectly Proofed Brioche Dough
Once the dough is properly proofed, it's time to bake. Preheat your oven to the temperature specified in your recipe, typically between 175-190°C (350-375°F). Before baking, you might apply an egg wash for a beautiful golden crust (see Tips section).
Carefully place the dough in the preheated oven. Baking times will vary depending on the size and shape of your brioche, ranging from 15-25 minutes for buns to 30-45 minutes for a large loaf. The brioche is done when it is golden brown and sounds hollow when tapped on the bottom, or when an internal thermometer registers around 90-95°C (195-205°F).
Storing Brioche Dough for Optimal Results
Refrigerating Brioche Dough: Timing and Techniques
Refrigeration is the cornerstone of the enriched dough make ahead method. After the initial mixing and shaping, the dough should be placed in the refrigerator at a temperature between 2°C and 4°C (35°F and 40°F). This temperature range slows down yeast activity significantly, allowing for a long, slow fermentation.
The ideal refrigeration time for brioche dough is typically between 12 and 48 hours. Some recipes can extend this to 72 hours, depending on the yeast quantity and dough composition. For best results, ensure the dough is well-wrapped in plastic wrap or placed in an airtight container to prevent drying out or absorbing odors from the refrigerator. Proper wrapping is crucial for maintaining dough quality during the extended chill.
Freezing Brioche Dough: A Long-Term Solution
If you need to store your enriched dough for longer than 2-3 days, freezing is a viable option. Brioche dough can be frozen either after the initial bulk fermentation or after shaping. If freezing after bulk fermentation, punch down the dough, wrap it tightly in plastic wrap, and then place it in a freezer-safe bag or container.
Shaped dough (like buns or loaves in pans) can also be frozen. Shape the dough, place it on a baking sheet (or in the pan), and freeze until solid. Once solid, wrap the shaped dough tightly in plastic wrap followed by aluminum foil or place it in a freezer bag. Frozen brioche dough can be stored for up to 2-3 months. Freezing is an excellent way to have enriched dough make ahead ready whenever a craving strikes.
Thawing Frozen Brioche Dough: Maintaining Dough Quality
Thawing frozen brioche dough requires patience to maintain its quality. The best method is to transfer the wrapped, frozen dough to the refrigerator and let it thaw slowly overnight (about 8-12 hours). Slow thawing helps prevent excessive moisture loss and maintains the dough's structure.
Once thawed in the refrigerator, the dough will still be cold and will need to proof at room temperature before baking, just like refrigerated dough. If you froze the dough after shaping, you can often transfer the frozen shape directly to its baking pan (if not already in one) and let it thaw and proof at room temperature. This can take longer than thawing bulk dough, potentially 4-6 hours or more, depending on the size. Avoid thawing at room temperature alone, as this can lead to uneven thawing and potential over-proofing on the outside before the center is ready.
Troubleshooting Common Issues with Make-Ahead Brioche Dough
Dough Not Rising: Addressing Fermentation Problems in Brioche
If your enriched dough make ahead isn't rising adequately during the final proof after refrigeration, several factors could be at play. The most common issue is that the dough is still too cold; it needs sufficient time at room temperature to warm up and become active. Ensure your proofing environment is warm enough, ideally 22-25°C (72-77°F). Another cause could be insufficient initial yeast activity or damaged yeast (expired or exposed to too hot liquid).
- [ ] Check proofing temperature.
- [ ] Allow sufficient time for dough to warm up (2-4 hours at room temp).
- [ ] Verify yeast viability before mixing.
- [ ] Ensure dough wasn't over-kneaded, which can stress the yeast.
- [ ] Confirm refrigerator temperature was not too cold, potentially shocking the yeast.
Dough Too Sticky: Managing Hydration Levels in Brioche
Brioche dough is inherently soft and can be sticky due to its high fat and egg content, especially before chilling. However, if it's excessively sticky and difficult to handle even after chilling, it might indicate too much liquid relative to the flour, or insufficient gluten development. The amount of flour needed can vary slightly depending on humidity and the protein content of the flour.
- [ ] Ensure accurate measurement of flour and liquids (using a kitchen scale is recommended).
- [ ] Knead the dough sufficiently to develop a strong gluten structure capable of handling the moisture and fat.
- [ ] Avoid adding too much extra flour during kneading, as this can make the final product dry.
- [ ] Ensure butter was properly incorporated during kneading, not just mixed in at the end.
Dough Too Dense: Ensuring Proper Gluten Development in Brioche
A dense, heavy brioche is often a result of insufficient gluten development or under-proofing. As discussed earlier, proper kneading is crucial for building the gluten network needed to support the rich dough and trap fermentation gases. If the dough wasn't kneaded long enough, the structure will be weak.
- [ ] Knead the dough until it passes the windowpane test. This is a reliable indicator of sufficient gluten development.
- [ ] Ensure the dough is properly proofed before baking. It should be visibly puffy and significantly increased in size, springing back slowly when poked. Under-proofed dough will result in a dense crumb.
- [ ] Check yeast viability and ensure sufficient time for both the initial bulk rise (if applicable) and the final proof after refrigeration.
- [ ] Ensure the oven is preheated correctly. Baking in an oven that isn't hot enough can affect oven spring and result in a denser texture.
Brioche Recipes Perfect for Making Ahead
Overnight Brioche Loaf
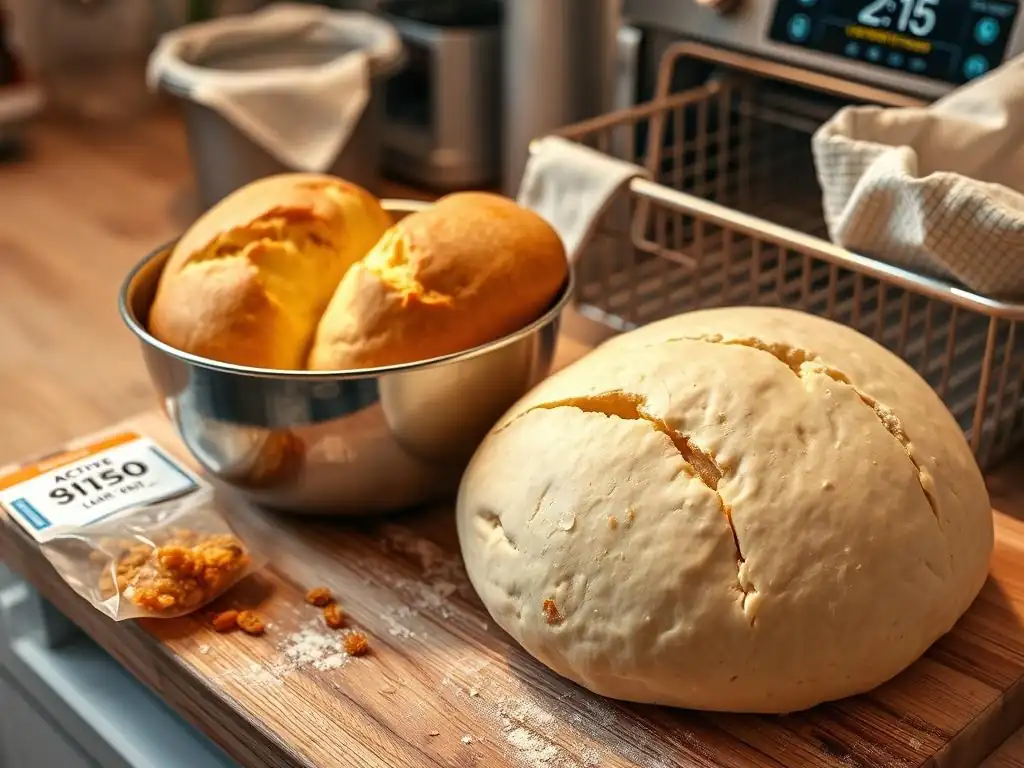
An overnight brioche loaf recipe is specifically designed for the enriched dough make ahead method. These recipes typically involve mixing the dough, an optional short initial rise, shaping the dough into a loaf, and then refrigerating the shaped loaf in its pan for 12-18 hours.
The slow, cold proof allows the flavor to develop beautifully and makes the dough firm enough to handle easily the next day. On baking morning, you simply remove the loaf from the fridge, let it proof at room temperature for a few hours until puffy, apply an egg wash, and bake. This method significantly reduces the morning workload, making fresh brioche on a weekend a reality.
Make-Ahead Brioche Buns
Brioche buns are wonderful for sandwiches or simply enjoyed on their own. A make-ahead brioche buns recipe follows a similar principle to the loaf. The dough is mixed and kneaded, then often given a short initial rise. The key difference is shaping the dough into individual buns before refrigeration.
The shaped buns are placed on a baking sheet, covered, and chilled overnight (12-24 hours). This makes them firm and easy to handle the next day. You simply take the sheet from the fridge, let the buns proof at room temperature until puffy (usually 1.5-3 hours), and then bake. This is ideal for preparing ahead for burgers, sliders, or breakfast rolls.
Easy Brioche Cinnamon Rolls for Advance Prep
Using enriched dough make ahead for cinnamon rolls is a game-changer for breakfast or brunch. A standard brioche dough recipe can be adapted for this purpose. After the dough has had its initial rise (or immediately after kneading), it is rolled out, filled with cinnamon sugar and butter, and rolled into a log.
The log is then sliced into individual rolls, placed in a baking dish, covered, and refrigerated overnight (8-16 hours). The cold helps set the filling and makes the rolls firm. The next morning, you remove the dish from the fridge, let the rolls proof at room temperature until puffy and nestled together (2-3 hours), and then bake. This allows you to wake up, proof, and bake warm, gooey brioche cinnamon rolls with minimal effort.
Tips and Tricks for Baking with Pre-Made Brioche Dough
Adjusting Baking Times for Cold Brioche Dough
When baking enriched dough make ahead that has just finished its final proof after being refrigerated, it's important to be aware that the dough might still be slightly cooler in the center than dough that has proofed from room temperature start to finish. While the final proof time accounts for warming, the core might retain some chill.
This can sometimes mean a slightly longer baking time is needed to ensure the center is fully cooked. Always rely on visual cues (golden brown crust) and internal temperature (90-95°C or 195-205°F) rather than just the clock. For a large loaf, adding 5-10 minutes to the suggested baking time might be necessary, but always check for doneness to avoid over-baking.
Achieving a Golden Crust: Using Egg Washes Effectively on Brioche
An egg wash is essential for giving brioche its signature glossy, golden-brown crust. For enriched dough make ahead, apply the egg wash just before putting the dough in the oven after the final proof. Applying it too early, especially before a long cold proof, can create a skin that restricts rising.
A standard egg wash is one whole egg whisked with a tablespoon or two of milk or water. For an extra glossy finish, use just the egg yolk mixed with a little cream or milk. Brush the surface of the dough gently and evenly, being careful not to deflate the perfectly proofed shape. Ensure the wash doesn't pool around the base of buns or loaves, which can glue them to the pan or baking sheet.
Enhancing Flavor with Toppings and Glazes for Brioche
Brioche's rich flavor is wonderful on its own, but it also serves as an excellent canvas for additional flavors. For savory applications, consider sprinkling flaky sea salt or sesame seeds on top after the egg wash. For sweet variations, pearl sugar adds a delightful crunch and sparkle before baking.
After baking and cooling slightly, a simple glaze can elevate your enriched dough make ahead creations. A classic choice is a simple powdered sugar glaze made by whisking powdered sugar with a little milk or lemon juice. For cinnamon rolls, a cream cheese frosting is traditional. Apply glazes while the brioche is still warm but not hot, allowing it to melt slightly and seep into the crumb.
Enjoy Delicious Brioche with Effortless Advance Preparation
Frequently Asked Questions
What exactly is enriched dough and why is it beneficial to make it ahead?
Enriched dough is bread dough that contains added fats, sugars, and often eggs, making it richer and more flavorful. Making it ahead allows for slow fermentation in the refrigerator, enhancing flavor and improving texture.
How far in advance can I prepare enriched dough and still get good results?
You can typically prepare enriched dough and refrigerate it for up to 24-48 hours. This allows the dough to develop a more complex flavor profile, while keeping it manageable for your baking schedule.
What's the best way to store enriched dough in the refrigerator for make-ahead baking?
Place the dough in a lightly oiled bowl, cover it tightly with plastic wrap, and refrigerate. This prevents the dough from drying out and allows it to slowly ferment.
Will the enriched dough rise properly after being refrigerated for an extended period?
Yes, the dough will rise, but it will take longer than dough proofed at room temperature. Allow the dough to warm up slightly at room temperature before shaping and baking.
What if my enriched dough doesn't seem to be rising after being refrigerated?
Ensure your yeast was active and fresh. Give the dough more time at room temperature to rise, and check that your refrigerator isn't too cold, which could significantly slow down the yeast activity.
Final Reflection: The Joy of Prepared Dough, the Ease of Baking
The ability to make enriched dough ahead of time is not merely a kitchen hack; it's a transformative shift in how we approach baking. It unlocks a world of delicious possibilities, freeing up precious time and reducing stress while simultaneously elevating the quality of our baked goods. This simple preparation allows for a more relaxed and enjoyable baking experience, regardless of skill level.
The impact of this simple technique extends beyond individual kitchens; it speaks to a broader cultural shift towards mindful preparation and efficient time management. We live in a fast-paced world, and finding ways to simplify complex tasks, like baking, is increasingly valuable. This method allows us to savor the process, rather than feeling rushed and overwhelmed. The best things in life are worth waiting for,
and this certainly applies to the rich flavors and textures that develop in a well-rested enriched dough.
Now, consider your own baking journey. Will you embrace the power of prepped dough? Imagine the aroma of freshly baked bread or pastries filling your home on a busy weeknight, effortlessly created from dough you prepared earlier. Take the time to plan, prepare, and experience the joy of baking without the pressure. The rewards are well worth the effort, promising delicious results and a renewed appreciation for the art of baking.
Unleash Your Inner Baker: Master the Art of Dough Prep!
Thanks for taking the time to explore the magic of making enriched dough ahead! You've now unlocked a secret weapon for effortless baking. Ready to put your new skills to the test?
- Craft your masterpiece: Use this knowledge to make a batch of your favorite enriched dough (brioche, challah, etc.) this week and experience the joy of effortless baking later.
- Share your dough-making journey: Let's inspire others! Post a picture of your dough on social media and tag #BakeWithEaseDough.
- Experiment with different enriched dough recipes – see what you discover!
What delicious creation will your prepped dough become?