
Basic Sourdough: Your First Step to Artisan Bread Explained

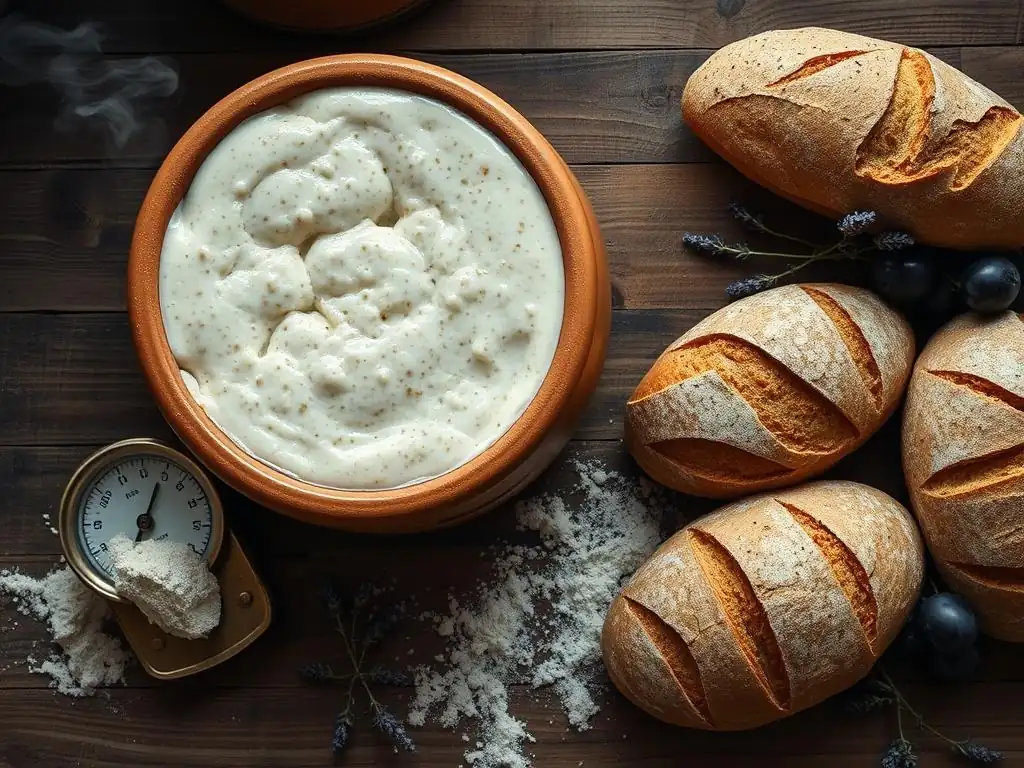
Welcome to BakeWithEase, your haven for all things baking! Ever dreamt of crafting your own tangy, crusty loaf of sourdough? Basic Sourdough: Your First Step to Artisan Bread Explained delves into the secrets of creating your very own starter. This guide, while categorized as 'Intermediate Baking', breaks down the process into manageable steps. Intrigued? Let's embark on this journey together and unlock the magic behind that bubbly, flavorful easy sourdough starter recipe guide! Prepare to transform simple ingredients into baking brilliance.
- Introduction to Sourdough Baking with BakeWithEase
- The Easy Sourdough Starter Recipe Guide for Beginners
- Your First Basic Sourdough Bread Recipe: A Simple Guide
- Tips and Tricks for Perfecting Your Basic Sourdough
- Advanced Sourdough Techniques: What's Next?
- Conclusion: Embrace the Art of Sourdough Baking with Ease
-
Frequently Asked Questions
- How long does it take to create a sourdough starter from scratch using BakeWithEase's Easy Sourdough Starter Recipe Guide?
- What ingredients do I need to begin the Easy Sourdough Starter Recipe Guide?
- What does it mean when my sourdough starter doubles in size, as mentioned in the Easy Sourdough Starter Recipe Guide?
- My Easy Sourdough Starter Recipe Guide starter smells unpleasant; is that normal?
- Can I use the Easy Sourdough Starter Recipe Guide method to make different types of sourdough bread?
- Final Reflection: The Humble Sourdough Starter – A Gateway to Baking Joy
- Unlock Your Inner Baker: Start Your Sourdough Journey Today!
Introduction to Sourdough Baking with BakeWithEase
Why Sourdough? Exploring the Benefits of Homemade Sourdough
Baking your own sourdough bread is a deeply rewarding process that connects you with ancient baking traditions. Unlike commercial bread that relies on packaged yeast, sourdough uses a natural leavening agent – a fermented mixture of flour and water called a starter. This natural leavening contributes to a unique depth of flavor, often described as slightly tangy, which develops slowly during the fermentation process. Beyond taste, sourdough fermentation breaks down gluten and phytic acid, potentially making it easier to digest for some people compared to conventional bread.
Moreover, baking sourdough at home allows you complete control over the ingredients. You can choose high-quality flours, avoid additives, and tailor the bread to your dietary needs or preferences. The process itself, from nurturing your starter to watching your loaf rise and bake, can be incredibly therapeutic. It's a tangible skill that yields delicious results, transforming simple ingredients into a truly artisanal product right in your own kitchen. Many home bakers find immense satisfaction in this craft, embracing the patience and attention it requires.
What is Sourdough Starter and Why is it Important?
A sourdough starter is essentially a living culture of wild yeast and beneficial bacteria, primarily lactobacilli, that are naturally present in flour and the environment. When flour and water are mixed and left to ferment, these microorganisms become active, feeding on the carbohydrates in the flour. The yeast produces carbon dioxide gas, which is what makes bread rise, while the bacteria produce lactic and acetic acids, contributing to the characteristic tangy flavor and helping preserve the bread.
The health and vigor of your starter are paramount to successful sourdough baking. A strong, active starter will reliably leaven your dough, producing loaves with good volume, a desirable open crumb structure, and that signature sourdough tang. It's a renewable resource; with proper care and regular feeding, a starter can live indefinitely, becoming stronger and more complex over time. Think of it as the heart of your sourdough operation – nurturing it is the first and most crucial step on your journey to baking beautiful artisan bread.
The Easy Sourdough Starter Recipe Guide for Beginners
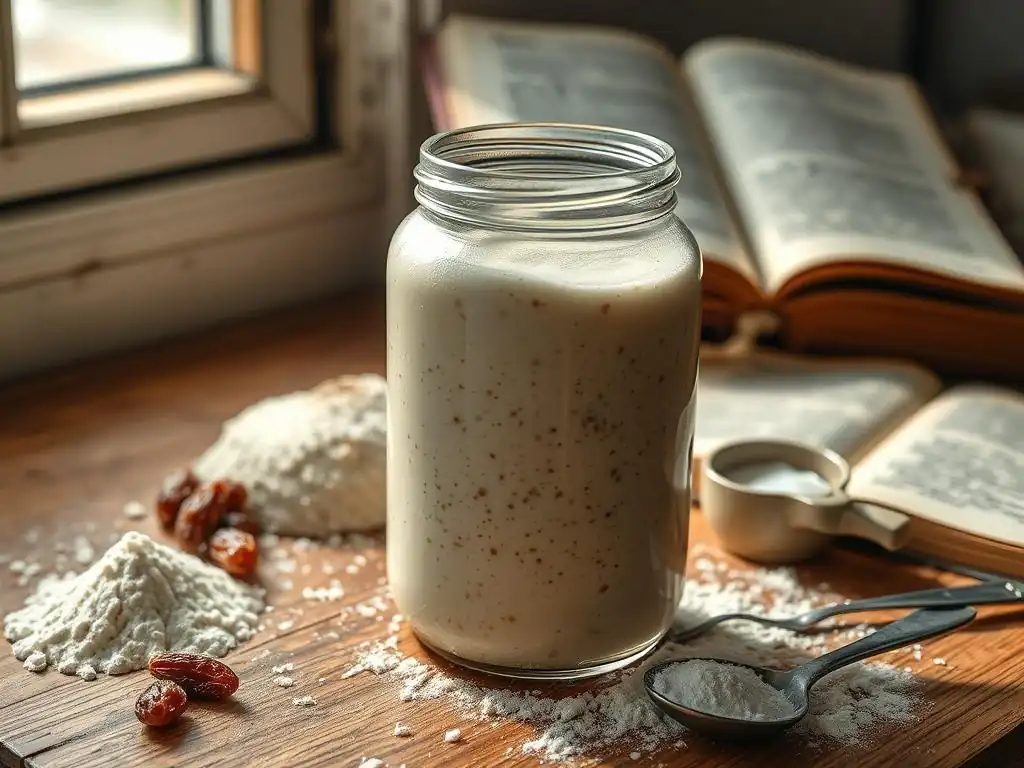
This section provides an Easy sourdough starter recipe guide designed specifically for beginners. We'll walk you through the simple steps needed to cultivate your own vibrant starter from scratch, setting you up for successful sourdough baking.
Preparing for Your Sourdough Starter: Essential Ingredients
Creating your first sourdough starter requires just two basic ingredients: flour and water. However, the type and quality of these ingredients can influence your starter's development. For the flour, a good quality unbleached all-purpose flour or rye flour is recommended for beginners. Unbleached flour contains more of the natural microorganisms needed to kickstart fermentation compared to bleached varieties. Rye flour is particularly rich in nutrients that wild yeast love, often leading to a very active starter quickly, though it can be a bit stickier to work with.
For the water, use non-chlorinated water. Chlorine can inhibit the growth of the beneficial microorganisms you're trying to cultivate. Filtered water, bottled spring water, or even tap water that has been left out uncovered for 24 hours (to allow chlorine to dissipate) are good options. You will also need a clean glass jar or container with a loose-fitting lid or cover (like plastic wrap or a clean cloth secured with a rubber band) and a scale for accurate measurements. Measuring by weight is highly recommended for consistency in sourdough baking.
Step-by-Step: Creating Your First Sourdough Starter
Embarking on the journey of making your own starter is exciting! This Easy sourdough starter recipe guide breaks down the process into simple, daily steps. Patience is key, as it typically takes about 7 to 14 days for a new starter to become strong and reliable enough for baking. Don't be discouraged if things look quiet in the first few days; activity will pick up.
Follow these steps carefully, and you'll soon have a thriving starter ready to leaven your first loaf. Maintaining consistency in feeding time and temperature helps establish a stable culture. Remember, this is a living organism, and like any pet, it thrives on routine and care.
Day 1: Mixing Flour and Water for Sourdough
To begin your starter, you will combine equal weights of flour and water. A common starting point is 50 grams of unbleached all-purpose flour and 50 grams of non-chlorinated water. In your clean glass jar, add the flour and then the water. Stir thoroughly with a spoon or spatula until there are no dry pockets of flour remaining and the mixture is a thick, paste-like consistency. Scrape down the sides of the jar to keep it tidy.
Cover the jar loosely. This is important because the starter needs to breathe, but you also want to protect it from drying out and from contaminants. A piece of plastic wrap placed loosely on top, or a lid resting gently without being screwed on tightly, or even a clean cloth secured with a rubber band works well. Place the jar in a warm spot, ideally between 70°F and 80°F (21°C to 27°C). A kitchen counter away from drafts is usually fine. Leave it undisturbed for 24 hours.
Day 2-7: Feeding Your Sourdough Starter - A Daily Routine
Starting on Day 2, you will begin the daily feeding routine. Each day, you will discard a portion of the starter and feed the remainder with fresh flour and water. This process ensures that the starter has a continuous supply of food and helps to concentrate the yeast and bacteria culture, making it stronger. Discarding might seem wasteful, but it's essential to prevent the starter from becoming too large and to maintain a healthy balance of microorganisms.
The standard feeding ratio is often 1:1:1 by weight (starter:flour:water). For example, you might discard down to about 50 grams of your existing starter, then add 50 grams of fresh flour and 50 grams of fresh water. Stir thoroughly, scrape down the sides, and cover loosely again. Return it to its warm spot.
You should start seeing some signs of activity, like small bubbles, by Day 3 or 4, and the volume might increase slightly after feeding. The smell might also change, perhaps becoming slightly acidic or yogurty. Continue this daily feeding process until your starter shows consistent signs of readiness.
Troubleshooting: Common Sourdough Starter Problems and Solutions
It's common to encounter a few hiccups when creating your first starter, but don't worry, most issues are easily fixable. One frequent problem is a lack of activity in the first few days. This is often due to temperature; if your kitchen is cool, try finding a warmer spot, like near a warm appliance or in a turned-off oven with the light on.
Another issue is a liquid layer forming on top, known as "hooch." This gray or dark liquid is a sign that your starter is hungry. Simply stir it back in or pour it off before feeding, and consider feeding slightly more frequently or with a slightly higher ratio of flour.
Mold is a less common but more serious problem. If you see any fuzzy, colored spots (green, black, pink, or orange), discard the entire starter and start over with fresh ingredients and a clean jar. This usually indicates contamination. Foul smells (like rotten eggs or cheese) can also indicate unwanted bacteria; if the smell persists after a few feedings, it's best to start again. Remember, a healthy starter should smell pleasantly acidic, yeasty, or like fermented fruit. Consistency in your feeding schedule and using clean equipment are your best defenses against problems.
Signs Your Sourdough Starter is Ready to Bake
Knowing when your starter is ready is crucial for baking a successful loaf. A mature, active starter will exhibit several key characteristics. Visually, it should have doubled or even tripled in volume within 4-8 hours after being fed, showing numerous bubbles throughout the mixture and on the surface. The texture should be light and airy, not dense or paste-like.
A common test for readiness is the "float test." Take a small spoonful of your starter and gently drop it into a glass of water. If the starter floats, it is sufficiently active and full of carbon dioxide bubbles, indicating it's ready to leaven bread.
If it sinks, it needs more time to develop or might need a slightly warmer environment or more consistent feeding. The smell should also be pleasantly tangy, yeasty, and slightly acidic, not overwhelmingly sour or unpleasant. When your starter consistently passes the float test and shows these visual cues after feeding, you are ready to use this Easy sourdough starter recipe guide to bake your first loaf!
Your First Basic Sourdough Bread Recipe: A Simple Guide
Now that you have a thriving starter thanks to our Easy sourdough starter recipe guide, it's time to bake your first loaf! This recipe is designed to be straightforward, focusing on the fundamental techniques required for delicious basic sourdough bread.
Ingredients for Easy Sourdough Bread
This simple recipe typically uses just four main ingredients: active sourdough starter, flour, water, and salt. The quality of these ingredients will significantly impact the final loaf. For the flour, a strong bread flour is recommended. Bread flour has a higher protein content (around 12-14%) compared to all-purpose flour (around 10-12%), which helps develop a strong gluten structure capable of trapping the gases produced by the starter and giving the bread good volume and chew.
You will need non-chlorinated water, ideally lukewarm (around 80-85°F or 27-30°C) to help activate the starter quickly. Fine sea salt or kosher salt is preferred over iodized table salt, as iodine can sometimes interfere with fermentation. The specific quantities will depend on the size of the loaf you want to make, but a common starting point might be around 100g active starter, 500g bread flour, 350g water (70% hydration), and 10g salt (2% of flour weight). Using a kitchen scale is essential for accuracy.
Step-by-Step: The Basic Sourdough Bread Baking Process
Baking sourdough bread involves several distinct stages, each crucial for developing flavor and structure. While it might seem complex at first, this step-by-step guide breaks it down into manageable parts. Patience is required throughout the process, as fermentation takes time.
Follow these steps and pay attention to the dough's feel and appearance at each stage. Learning to read your dough is a key skill in sourdough baking. Don't expect perfection on your first try; every loaf is a learning experience.
Mixing the Dough: Achieving the Right Consistency
The first step is often mixing the water and starter together in a large bowl, gently whisking to disperse the starter. Then, add the flour and mix with your hands or a spatula until no dry flour remains. This initial mix is called the autolyse (or just mixing if you add salt now, though some add salt later). The dough will be shaggy and sticky. At this point, if you are doing a separate autolyse, cover and let rest for 20-30 minutes. This allows the flour to hydrate fully and the gluten development to begin naturally with minimal effort.
After the rest (or immediately after mixing if adding salt now), add the salt. If doing an autolyse, sprinkle the salt over the rested dough and incorporate it by squeezing and folding the dough. Work the dough for a few minutes until the salt is evenly distributed and the dough starts to come together a bit more smoothly, though it will still be quite wet and sticky. Cover the bowl.
Bulk Fermentation: The First Rise and Its Importance
Bulk fermentation is the longest and arguably most critical stage, where the dough undergoes its primary rise and flavor development. This typically takes 4-6 hours at room temperature (around 75-80°F or 24-27°C), but can vary greatly based on your starter's activity and ambient temperature. During this time, the starter works to ferment the dough, producing gas and acids.
To build strength and structure in the dough, you will perform a series of "stretch and folds." Every 30-60 minutes during the first 2-3 hours of bulk fermentation, wet your hands slightly, grab one side of the dough, stretch it upwards gently, and fold it over the center. Rotate the bowl and repeat with the other three sides. This process aligns the gluten strands and incorporates air. By the end of bulk fermentation, the dough should have increased significantly in volume (perhaps 50-100%), feel airy and bubbly, and show good strength and elasticity.
Shaping the Dough: Techniques for a Beautiful Loaf
Once bulk fermentation is complete, gently turn the dough out onto a lightly floured surface. Avoid degassing the dough too much. The goal of shaping is to create tension on the surface of the dough, which helps the loaf hold its shape during proofing and baking and contributes to a good oven spring. There are several techniques for shaping, but a common one for a round loaf (a boule) involves gently pre-shaping the dough into a loose round and letting it rest for 20-30 minutes (bench rest).
After the bench rest, perform the final shape. For a boule, gently flatten the dough slightly, then fold the top down about two-thirds of the way. Fold the sides in, then roll the dough up from the top towards you, using your hands to create tension by tucking the dough under itself as you go. The surface should become taut. Place the shaped dough seam-side up into a floured banneton (proofing basket) or a bowl lined with a floured cloth.
Proofing: The Second Rise for Sourdough Bread
Proofing, or the second rise, allows the shaped dough to relax and accumulate a final burst of gas before baking. This stage is typically done in a cooler environment, most commonly in the refrigerator for 8-12 hours or even up to 24 hours. Cold proofing slows down fermentation, allowing for deeper flavor development and making the dough easier to handle and score before baking.
Alternatively, you can proof at room temperature for 1-3 hours, but this requires careful monitoring as the dough can overproof quickly. The dough is adequately proofed when it has increased in volume and feels airy, but still springs back slowly when gently poked (the poke test). If it springs back immediately, it needs more time; if the indentation remains, it's likely overproofed. Overproofing can lead to a loaf that collapses in the oven.
Baking: Achieving a Perfect Crust and Crumb
Baking is the moment of truth! For the best results and a beautiful crust, sourdough is often baked in a very hot oven, typically between 450°F and 500°F (230°C to 260°C), in a Dutch oven or on a baking stone with steam. Preheat your oven with the Dutch oven or stone inside for at least 30-60 minutes to ensure it's thoroughly hot.
Carefully turn the proofed dough out of the banneton onto parchment paper. Score the top of the loaf with a sharp razor blade or lame; this allows the dough to expand predictably as it bakes. If using a Dutch oven, transfer the dough on the parchment paper into the hot pot, cover with the lid, and bake for 20-25 minutes.
This creates steam, which keeps the crust soft initially, allowing the loaf to expand fully ("oven spring"). After this initial period, remove the lid and continue baking for another 20-30 minutes until the crust is deep golden brown and the internal temperature reaches around 205-210°F (96-99°C). If baking on a stone, create steam by placing a tray of hot water in the bottom of the oven.
Tips and Tricks for Perfecting Your Basic Sourdough
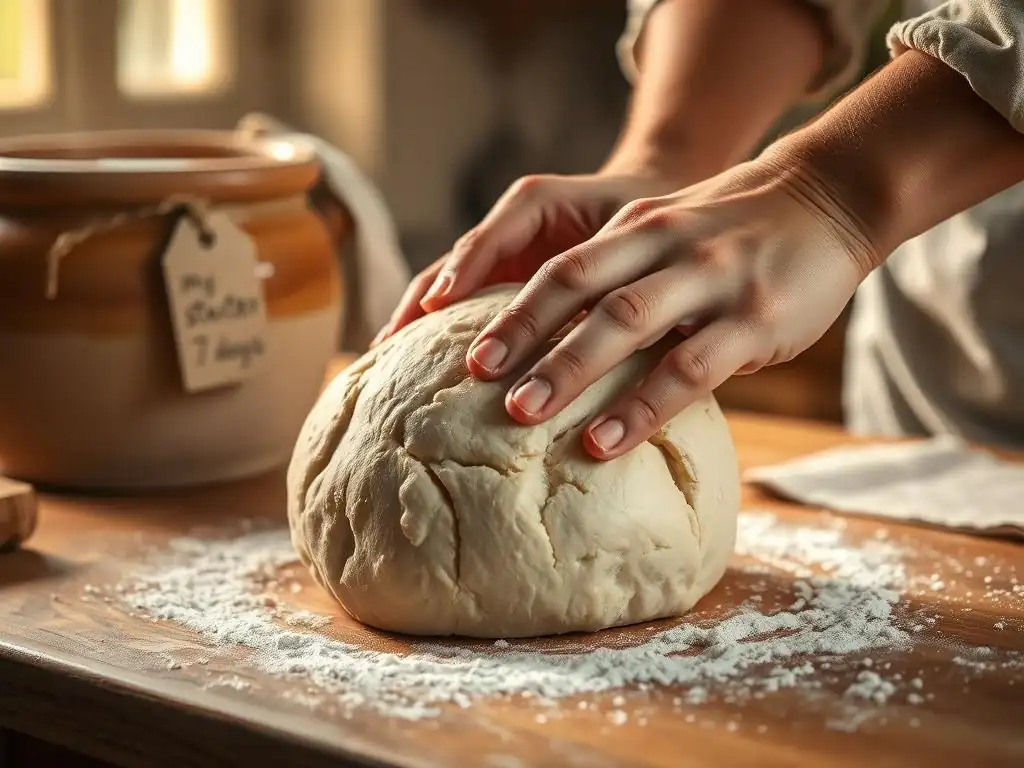
Mastering sourdough takes practice, but a few key tips can significantly improve your results as you follow this Easy sourdough starter recipe guide and basic bread method. Pay attention to the details, and don't be afraid to experiment slightly once you understand the fundamentals.
Understanding Flour Types for Sourdough Baking
The type of flour you use profoundly affects both your starter and your bread. As mentioned, unbleached all-purpose or rye flour is great for starting due to their nutrient content. For the bread itself, bread flour provides the necessary gluten strength for structure and volume. However, you can also experiment with adding other flours.
Incorporating a percentage of whole wheat flour (e.g., 10-20% of the total flour weight) can add nutty flavor and increase nutritional value, though it also absorbs more water and can make the dough slightly denser. Spelt, kamut, or other ancient grains can also be used, each lending unique flavors and textures. Understanding how different flours behave – their protein content, absorption rates, and nutrient profiles – will help you adjust your hydration and techniques for optimal results with various blends.
Mastering Sourdough Hydration for Optimal Results
Hydration refers to the ratio of water to flour by weight in your dough. It's expressed as a percentage (water weight / flour weight * 100). A recipe with 500g flour and 350g water has a hydration of (350/500)*100 = 70%. Beginners often start with lower hydration doughs (65-70%) because they are easier to handle. Higher hydration doughs (75-85% or even higher) can yield a more open, airy crumb but are stickier and require more developed handling skills.
Experimenting with hydration is key to finding what works best for you and your flour. If your dough feels too stiff, incrementally increase the water in your next bake. If it's too slack and hard to handle, reduce the water slightly. Environmental factors like humidity also play a role; you may need slightly less water on humid days. Learning to adjust hydration based on how the dough feels is a crucial step in becoming a confident sourdough baker.
Scoring Techniques for Beautiful Sourdough Loaves
Scoring, or making cuts on the surface of the dough just before baking, serves both functional and aesthetic purposes. Functionally, scores act as weak points, directing the expansion of the dough in the oven. Without scoring, the loaf might burst unpredictably in weaker spots. A well-placed score allows for maximum oven spring and helps achieve a beautiful "ear" – a lifted flap of crust along the score line.
Aesthetically, scoring allows you to create unique patterns on your loaves, turning them into edible art. Simple scores include a single long slash down the middle or a cross shape. More intricate patterns can be made with multiple overlapping cuts. Ensure your blade is sharp and make confident, swift cuts about 1/2 inch deep. Practice on dough scraps or even playdough to get a feel for the blade angle and depth before scoring your final loaf.
Storing Your Sourdough Bread for Freshness
Once your beautiful sourdough loaf is baked and cooled, proper storage is essential to maintain its freshness and crust. Sourdough bread is best stored at room temperature, not in the refrigerator, which can actually cause it to stale faster.
For short-term storage (1-2 days), simply leaving the cut side down on a cutting board can help preserve the crust's crispness. For slightly longer storage (3-4 days), wrap the cooled loaf in a linen bread bag or a clean tea towel. Avoid airtight plastic bags if you want to keep the crust crisp, as they trap moisture and soften the crust quickly. If you won't eat the loaf within a few days, slicing it and freezing the slices in an airtight bag or container is an excellent option. Thaw slices as needed and toast for a near-fresh experience.
Advanced Sourdough Techniques: What's Next?
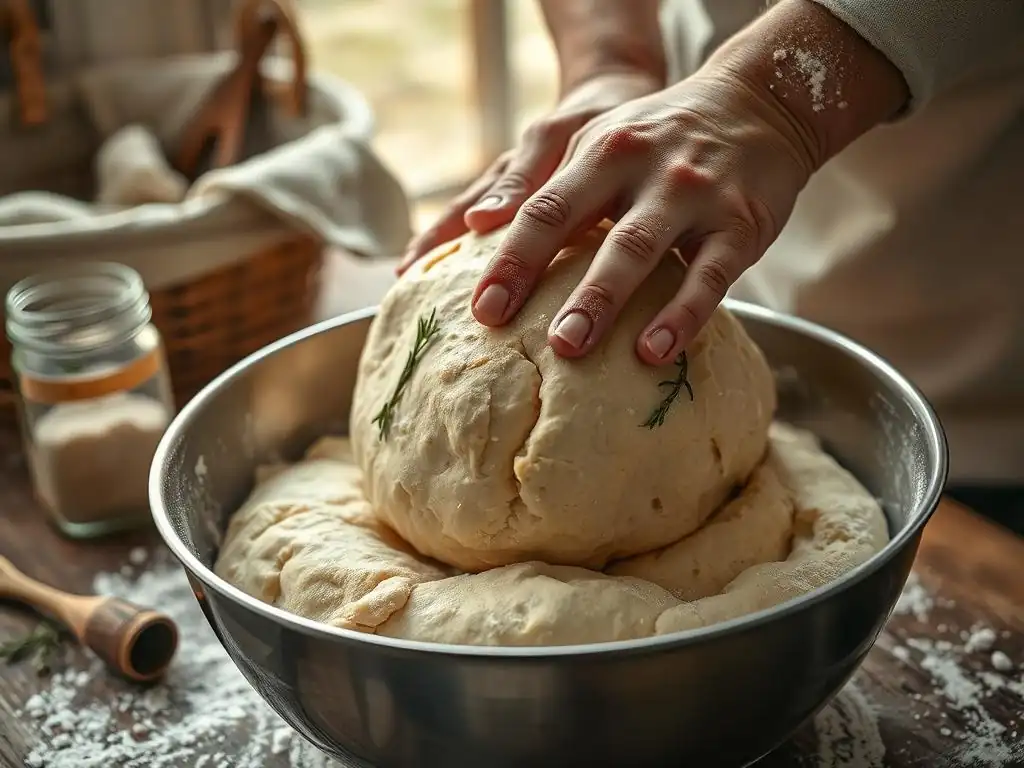
Once you've mastered the basic loaf using our Easy sourdough starter recipe guide and simple baking method, a world of advanced techniques and variations opens up. Sourdough baking offers endless possibilities for exploration.
Exploring Different Sourdough Recipes and Variations
Beyond the basic white loaf, you can delve into recipes that incorporate different flours, seeds, nuts, or dried fruits. Whole wheat sourdough, rye sourdough, seedy loaves, or loaves with cranberries and walnuts are popular variations. Each addition changes the dough's hydration needs, handling, and flavor profile, providing new challenges and rewards.
You can also explore different shaping methods, such as batards (oval loaves), baguettes, or even rolls. Techniques like lamination, where the dough is stretched thin and folded multiple times with additions, can create incredible layers and an even more open crumb. Experimenting with longer or shorter fermentation times, or different proofing temperatures, will also yield varied results in flavor and texture.
Experimenting with Flavors in Sourdough Bread
Adding flavor elements to your sourdough bread can elevate it from delicious to extraordinary. This can be done by incorporating ingredients directly into the dough during mixing or during stretch and folds. Common additions include roasted garlic, herbs like rosemary or thyme, olives, sun-dried tomatoes, or various seeds (sesame, poppy, flax, sunflower).
Another way to influence flavor is by adjusting the fermentation process. A longer, colder bulk fermentation or cold proofing period increases the production of organic acids, resulting in a more pronounced tang. Using a percentage of rye or whole wheat flour in your starter or dough also contributes a deeper, more complex flavor than using only white flour. Don't be afraid to get creative and try combinations that appeal to you!
Maintaining a Healthy Sourdough Starter Long-Term
A well-maintained starter is the foundation for consistently great sourdough. If you're baking frequently (several times a week), you can keep your starter at room temperature and feed it daily. However, if you bake less often, storing your starter in the refrigerator is more practical. Refrigeration slows down fermentation significantly, meaning you only need to feed it about once a week.
When storing in the fridge, make sure the starter is active and has been fed recently before placing it in the cold. To bake with a refrigerated starter, take it out a day or two beforehand and feed it at room temperature until it becomes active and bubbly again. This process is called "reviving" or "waking up" your starter. Keeping a small amount of "discard" in the fridge can also be useful for discard recipes like pancakes or crackers, reducing waste.
Conclusion: Embrace the Art of Sourdough Baking with Ease
Embarking on the sourdough journey is a rewarding endeavor that yields delicious, wholesome bread and connects you to a timeless craft. From cultivating your living starter using our Easy sourdough starter recipe guide to shaping and baking your first rustic loaf, each step offers opportunities for learning and discovery. While there might be flat loaves or unexpected outcomes along the way, these are simply part of the process. Every bake teaches you something new about fermentation, dough handling, and the subtle art of working with natural leaven.
We hope this guide empowers you to take that first step. The satisfaction of slicing into a warm loaf of bread you created from just flour, water, and salt is unparalleled. Sourdough baking is a journey of patience, observation, and delicious experimentation. Keep practicing, keep learning, and most importantly, enjoy the process and the incredible bread it produces.
We love seeing what our readers create! Your sourdough journey, from the first bubbly starter to your proudest loaf, is an inspiration to others. Sharing your experiences, successes, and even challenges is a great way to connect with fellow baking enthusiasts.
Consider posting photos of your starter's progress, your dough's development during bulk fermentation, or the final baked loaves. Describe what you learned from each bake. Engaging with the BakeWithEase community allows you to ask questions, get tips from more experienced bakers, and celebrate your achievements. Your experience, guided by resources like our Easy sourdough starter recipe guide, can help others just starting out, fostering a supportive environment where everyone can master the art of baking with ease.
Frequently Asked Questions
How long does it take to create a sourdough starter from scratch using BakeWithEase's Easy Sourdough Starter Recipe Guide?
The Easy Sourdough Starter Recipe Guide from BakeWithEase typically takes around 7-10 days to create a viable starter. The exact timing can vary based on your environment.
What ingredients do I need to begin the Easy Sourdough Starter Recipe Guide?
You only need two simple ingredients: unbleached flour and water. BakeWithEase emphasizes using easy-to-find ingredients.
What does it mean when my sourdough starter doubles in size, as mentioned in the Easy Sourdough Starter Recipe Guide?
Doubling in size indicates that your starter is active and producing carbon dioxide. This means it's ready to be used in your sourdough bread recipe.
My Easy Sourdough Starter Recipe Guide starter smells unpleasant; is that normal?
Initially, a sourdough starter can have a strong, even unpleasant, smell. This is usually due to unwanted bacteria that will eventually be outcompeted. Continue feeding it.
Can I use the Easy Sourdough Starter Recipe Guide method to make different types of sourdough bread?
Yes! Once your starter is active, you can use it as the basis for many different sourdough bread recipes. BakeWithEase offers various recipes to explore.
Final Reflection: The Humble Sourdough Starter – A Gateway to Baking Joy
The enduring appeal of sourdough bread lies not just in its delicious tang, but in the journey it represents. From a simple mixture of flour and water, a vibrant ecosystem blossoms, offering a tangible connection to baking traditions spanning centuries. This journey, though seemingly simple, unlocks a deeper understanding of fermentation and the magic of transforming basic ingredients into something truly extraordinary.
The process of nurturing a sourdough starter is a meditative practice, a daily ritual that fosters patience and observation. It's a reminder that good things take time, and that even the smallest of organisms can yield incredible results. This connection to a living culture, to the slow and deliberate process of fermentation, is profoundly rewarding. Bread is the staff of life,
a simple phrase, yet it encapsulates the profound role bread has played in human history, and sourdough, in its unique way, elevates that staff to an art form.
Now, armed with the knowledge and confidence gained from this guide, you are ready to embark on your own sourdough adventure. Don't be afraid to experiment, to embrace the imperfections, and to savor the journey. Your first loaf might not be perfect, but the satisfaction of creating something from scratch, something alive and vibrant, is a reward in itself. Remember the lessons learned here – patience, observation, and a touch of playful experimentation – and let them guide you as you continue to explore the wonderful world of sourdough baking.
Unlock Your Inner Baker: Start Your Sourdough Journey Today!
Thanks for taking the time to explore the wonderful world of sourdough! We hope you now feel confident in taking your first steps towards baking delicious, artisan bread. Ready to get your hands floury?
- Begin your sourdough starter today! Follow the simple steps outlined in the article and watch your starter come alive. This is the foundation of your sourdough adventure.
- Share your sourdough journey: Post a picture of your starter or your first loaf on social media using #BakeWithEaseSourdough – we'd love to see your progress!
- Consider exploring other sourdough recipes on BakeWithEase.com (link to bakewithease.com/sourdough-recipes) for even more inspiration and delicious options!
What unique flavor will your first sourdough loaf have? Let us know in the comments below!