
Baking French Madeleines: Troubleshooting Common Problems

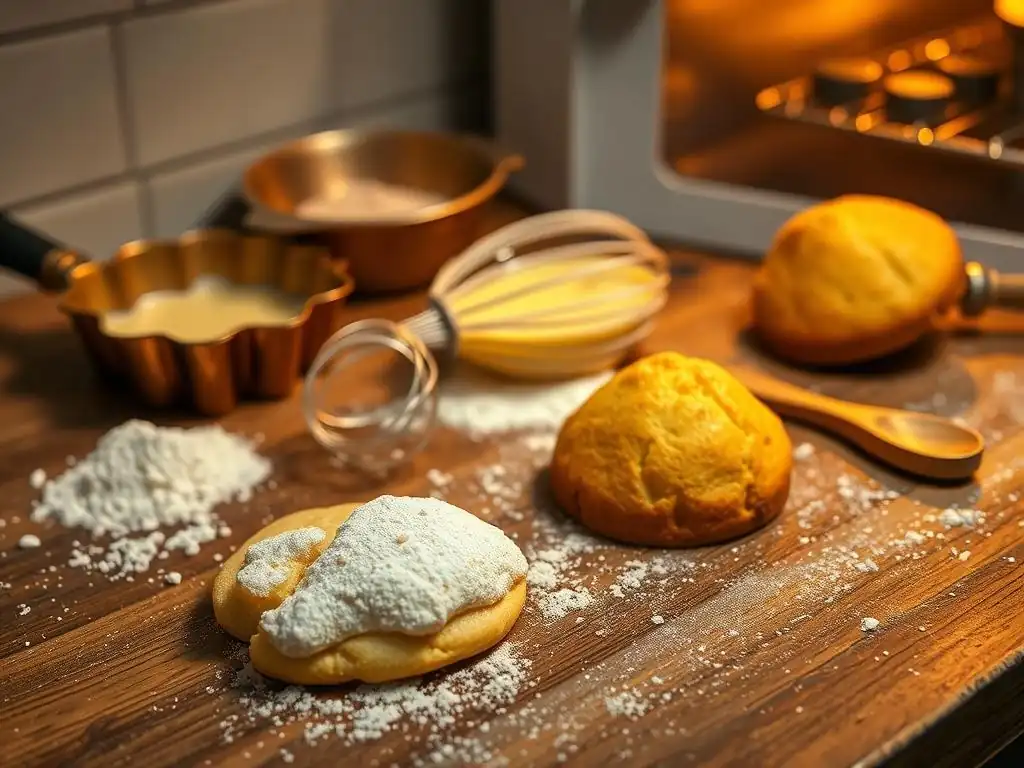
Welcome to BakeWithEase, your haven for baking brilliance! Ever wondered why your French madeleines aren't quite reaching that perfect, shell-shaped peak? Or perhaps struggling with a less-than-ideal texture? Dive in as we unravel common French madeleine baking troubleshooting tips, transforming your baking woes into delightful successes. Get ready to unlock the secrets of these delicate treats and achieve madeleine mastery!
- Introduction to Madeleine Baking
- Troubleshooting Madeleine Shell Formation
- Addressing Madeleine Texture Problems
- Troubleshooting Madeleine Flavor Issues
- Common Madeleine Baking Mistakes
- Madeleine Baking Troubleshooting Checklist
- Mastering French Madeleine Baking
-
Frequently Asked Questions
- What causes my madeleines to stick to the pan, even when it's non-stick?
- Why aren't my madeleines developing the signature hump?
- My madeleines are dry and crumbly; what did I do wrong?
- The madeleines taste bland. How can I enhance the flavor?
- My madeleine batter is too thin. What can I do to fix it?
- Final Reflection: The Sweet Science of Perfect Madeleines
- Unleash Your Inner Pâtissier: Perfect Madeleines Await!
Introduction to Madeleine Baking
Understanding Madeleine Baking
Baking French madeleines is a delightful journey into classic French patisserie. These small, shell-shaped sponge cakes are beloved for their delicate texture, buttery flavor, and characteristic hump or "shell" on one side. Achieving that perfect shape and tender crumb relies on a few key factors, including precise ingredient measurements, proper batter preparation, and careful control of baking temperature. While seemingly simple, they can present unique challenges, making effective French madeleine baking troubleshooting tips essential for success.
Understanding the science behind the bake is crucial. The signature hump forms primarily due to a thermal shock effect: cold batter is placed into a hot pan in a hot oven. The edges of the batter set quickly against the hot pan, while the center remains cooler. As the cake bakes, the leavening agents (often baking powder, sometimes aided by air whipped into the eggs) cause the center to rise more dramatically than the edges, pushing upwards to create the iconic shell shape. Mastering this process is key to avoiding common madeleine baking problems.
Common Madeleine Baking Issues
Bakers new to madeleines often encounter a few recurring frustrations. The most frequently cited problems involve the absence or poor formation of the shell, issues with texture such as dryness or density, and flavor nuances like a metallic aftertaste or simply blandness. Madeleines can also stick stubbornly to the pan, break when unmolding, or spread out flatly instead of rising.
Successfully addressing these common madeleine baking problems requires systematic troubleshooting. It's not just about following a recipe; it's about understanding why certain steps are taken and how small variations can impact the final outcome. By identifying the root cause of a flat madeleine, a rubbery texture, or a burnt edge, you can adjust your technique and ingredients to consistently achieve those perfect, tender, humped little cakes. This guide offers French madeleine baking troubleshooting tips to help you overcome these hurdles.
Troubleshooting Madeleine Shell Formation
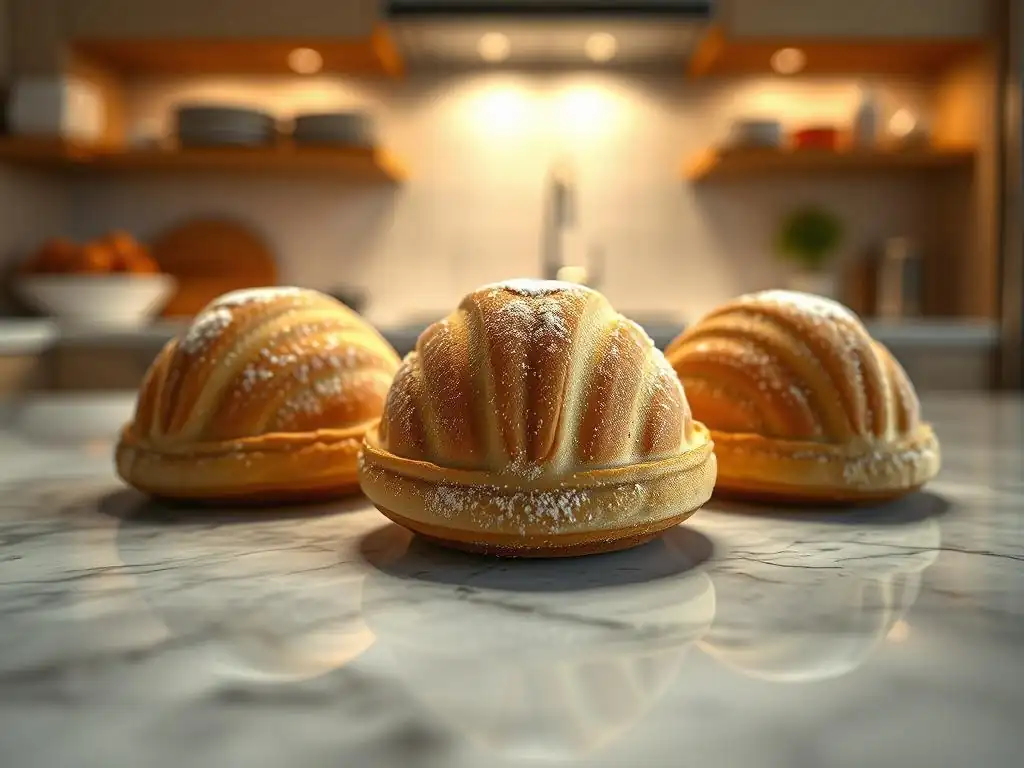
Madeleine Pan Preparation for Shells
Greasing and Flour Alternatives for Release
Proper pan preparation is paramount for both achieving the signature shell and ensuring easy release. Traditional madeleine pans are often metal, and a thorough greasing and flouring is typically the standard method. Using softened butter (not melted liquid butter, which can pool) or a baking spray containing flour works well. Apply a thin, even layer to every cavity, paying special attention to the intricate shell pattern. Excess grease can lead to a greasy texture or pooled spots on the finished cake, while insufficient coverage means sticking.
Beyond butter and flour, some bakers opt for non-stick sprays specifically designed for baking, which contain flour. Another effective alternative, particularly for achieving a crisp edge and easy release, is using melted butter brushed onto the cold pan, followed by a dusting of fine breadcrumbs or almond flour instead of wheat flour. This method can add a subtle extra layer of flavor and texture while ensuring the cakes pop out cleanly. The key is complete and even coverage of the pan cavities.
Cooling the Pan for Shell Development
A critical step for promoting the shell development is ensuring the madeleine pan is cold when the batter is added. The thermal shock created by placing cold batter into a hot environment is a primary driver for the hump. After greasing and flouring (or using your chosen release method), place the empty madeleine pan in the refrigerator or even the freezer for at least 15-30 minutes before adding the batter.
This chilling ensures that when the pan hits the hot oven, the edges of the batter in contact with the pan set rapidly. The center, insulated by the cold batter and the cake itself, heats up slower. As the leavening activates and the center expands, it has nowhere to go but up, forming the characteristic shell. Skipping this chilling step often results in flatter madeleines with little to no hump, as the batter heats too evenly.
Madeleine Batter Consistency and Shells
Mixing the Madeleine Batter
The way you mix your madeleine batter significantly impacts its final texture and rise. Unlike some cakes where extensive creaming is desired, madeleine batter often benefits from a more gentle approach after combining wet and dry ingredients. Overmixing develops gluten, which can lead to a tough or rubbery texture and hinder the delicate rise needed for the shell.
Typically, the process involves beating eggs and sugar until pale and thick (the ribbon stage), then gently folding in dry ingredients and finally melted butter. The goal is to combine ingredients just until no dry streaks remain. A common tip is to fold the melted butter in last; its fat coats the flour particles, further inhibiting gluten development and contributing to a tender crumb. Aim for a smooth, slightly thick batter that falls in a ribbon from the whisk or spatula.
Resting the Madeleine Batter
Resting the madeleine batter is another crucial step often cited in French madeleine baking troubleshooting tips for achieving a good shell and texture. After mixing, cover the batter and refrigerate it for a minimum of 1-2 hours, though overnight is often recommended for best results. This resting period serves several purposes.
Firstly, it allows the gluten developed during mixing to relax, resulting in a more tender cake. Secondly, it allows the flour to fully hydrate, leading to a more uniform texture. Most importantly for the shell, chilling the batter makes it very cold. This maximizes the thermal shock when the cold batter enters the hot oven, significantly enhancing the likelihood of a pronounced hump forming. A well-rested, cold batter is a key ingredient for a beautiful madeleine shell.
Oven Temperature and Shell Formation
Oven Temperature for Even Baking
The oven temperature plays a critical role in both the shell formation and the overall baking of madeleines. A common technique to encourage the hump is to start the madeleines in a relatively hot oven, often around 375°F (190°C) or even 400°F (200°C) for the first few minutes, and then reducing the temperature to around 350°F (175°C) for the remainder of the baking time. The initial blast of high heat helps set the edges quickly and promotes the rapid rise in the center.
However, maintaining an accurate and consistent oven temperature is vital. Hot spots or an oven that runs too hot can lead to burnt edges before the center is cooked, while an oven that is too cool might result in flat, pale madeleines. Using an oven thermometer is highly recommended to ensure your oven is preheated correctly and maintaining the target temperature throughout the bake. Adjusting your oven's set temperature based on an accurate thermometer reading can solve many baking inconsistencies.
Pan Placement for Uniform Shell Development
Where you place the madeleine pan in the oven can also affect how evenly they bake and how well the shells develop. Generally, placing the pan on the middle rack is best. This position allows for good air circulation around the pan and ensures the heat comes from both the top and bottom elements relatively evenly, promoting uniform baking and coloring.
Avoid placing the pan too close to the top element, which can cause the tops (the flat side with the batter) to brown or burn before the shell side is fully cooked. Similarly, placing it too low might lead to overly browned or burnt bottoms (the shell side). If you suspect your oven has hot spots, you might need to rotate the pan halfway through the baking time, though ideally, middle-rack placement in a properly calibrated oven should yield consistent results.
Addressing Madeleine Texture Problems
Avoiding Dry Madeleines
Adjusting Baking Time
One of the most common culprits behind dry madeleines is simply overbaking. Madeleines bake relatively quickly due to their small size, typically in just 8 to 12 minutes depending on the size of the mold and the oven temperature. Baking them even a minute or two too long can wick away precious moisture, resulting in a dry, crumbly texture instead of the desired tender, slightly moist crumb.
Start checking for doneness at the lower end of the recipe's suggested baking time. Madeleines are done when the edges are golden brown, the center springs back when gently touched, and a toothpick inserted into the thickest part comes out clean (or with only a few moist crumbs attached). Note the exact time your batch takes in your specific oven and pan, and use that as a guide for future bakes. Undercooking is better than overcooking when it comes to moisture.
Ingredient Ratios for Moist Madeleines
The ratio of ingredients, particularly fat (butter) and sugar, to flour and eggs, significantly impacts the final moisture level of your madeleines. Butter adds richness and moisture, while sugar is hygroscopic, meaning it attracts and retains moisture. Using too little butter or sugar relative to the dry ingredients can result in a drier cake.
A classic madeleine recipe often calls for roughly equal weights of flour, sugar, butter, and eggs. For example, a recipe might use 100g flour, 100g sugar, 100g butter, and 2 large eggs (which weigh approximately 100-120g). Slight variations exist, but maintaining a good balance is key. Ensure your butter is properly melted and incorporated, and that you are using the correct size eggs (large eggs are typically around 50-60g each). Using a recipe with a slightly higher butter or egg yolk content can also contribute to a moister crumb.
Avoiding Dense Madeleines
Leavening Issues
Dense madeleines often point to problems with leavening. Madeleines rely on a combination of chemical leaveners (usually baking powder) and mechanical leavening (air whipped into the eggs and sometimes air incorporated when folding ingredients). If the baking powder is old or inactive, the batter won't rise properly, resulting in a heavy, dense cake. Baking powder typically has a shelf life of 6-12 months once opened; test its freshness by adding a teaspoon to hot water – it should bubble vigorously.
Ensuring sufficient air is incorporated into the eggs is also vital. Eggs and sugar should be beaten until light, pale, and thick enough to form a ribbon when the whisk is lifted. Gentle folding of dry ingredients and melted butter is necessary to preserve this air. If the batter is mixed too vigorously after adding flour, or if the leavening agent is inactive, the madeleines will likely be dense and lack the desired lightness.
Impact of Overmixing
As mentioned earlier, overmixing the batter after adding the flour is a primary cause of dense, tough madeleines. Flour contains protein that develops into gluten when agitated in the presence of liquid. While some gluten structure is needed, too much makes the cake tough and chewy, preventing it from rising fully and resulting in a dense texture.
Mix the dry ingredients into the wet ingredients just until no streaks of flour are visible. It's okay if there are a few small lumps; these will often resolve during the resting period. Similarly, fold in the melted butter gently. Use a spatula and a folding motion, cutting down through the center of the batter and scooping up the sides, rotating the bowl as you go. Stop as soon as everything is combined. Undermixing slightly is preferable to overmixing when aiming for a tender crumb.
Avoiding Rubbery Madeleines
Controlling Gluten Development
Rubbery madeleines are almost always a result of excessive gluten development, stemming from overmixing the batter once the flour is added. The more you stir, beat, or whisk flour with liquid, the more gluten develops, leading to a tough, elastic texture that feels rubbery rather than tender and delicate.
To prevent this, use a gentle hand once the flour hits the bowl. Use a spatula or a whisk on a very low speed (if using a mixer) and mix only until the flour is just incorporated. Resting the batter in the refrigerator also helps relax any gluten that did develop, contributing to a more tender final product. Ensure your ingredients are at the correct temperature (melted but not hot butter, room temperature eggs for whipping) to help them combine smoothly with minimal mixing.
Cooling Techniques for Optimal Texture
How you cool your madeleines after baking also plays a small role in their final texture. While they are best enjoyed warm, they need a moment to set properly before being removed from the pan. Leaving them in the hot pan for too long can cause them to continue cooking from the residual heat, potentially leading to dryness or a slightly tougher texture.
Typically, madeleines should be removed from the pan within a minute or two of coming out of the oven. Gently tap the edge of the pan against a counter or use a small offset spatula to carefully lift them out. Transfer them to a wire rack immediately to cool completely (or just enough to handle) before dusting with powdered sugar or serving. Allowing air to circulate around them prevents steam from making them soggy and helps them set properly.
Troubleshooting Madeleine Flavor Issues
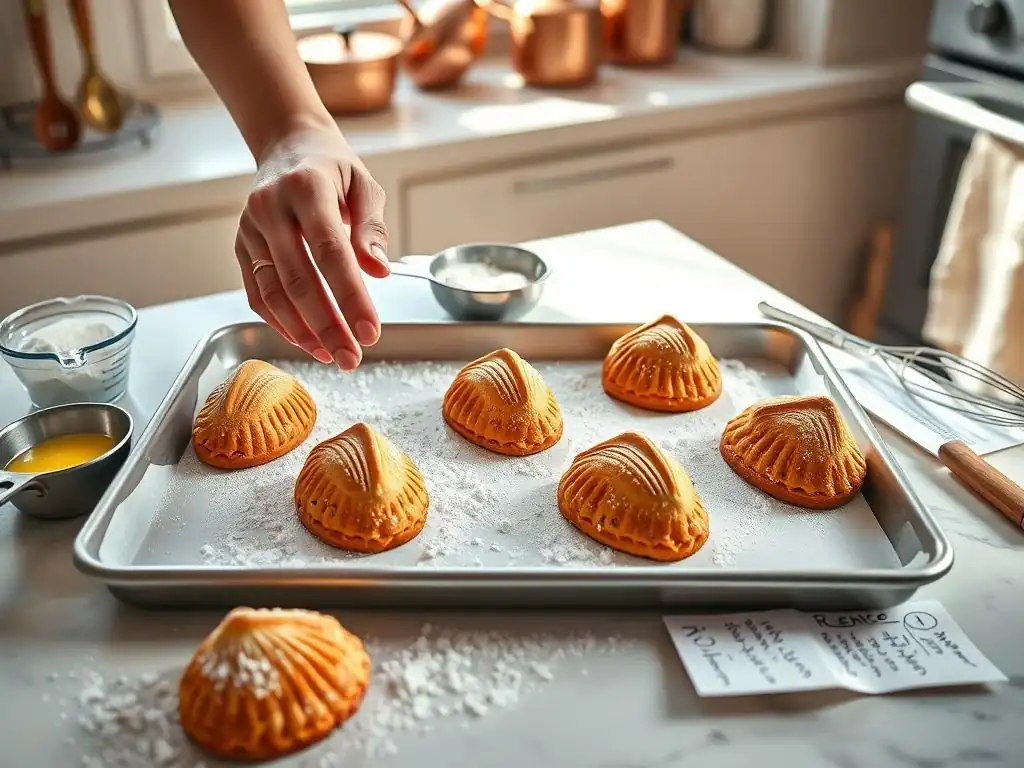
Enhancing Madeleine Flavor
Quality Ingredients
The delicate flavor of a madeleine shines brightest when made with high-quality ingredients. Since the ingredient list is relatively simple (flour, sugar, eggs, butter, usually a little leavening and flavoring), the quality of each component is noticeable. Using a good quality butter, ideally an unsalted European-style butter with a higher fat content (around 82% butterfat compared to 80% in many American styles), will impart a richer, more pronounced buttery flavor.
Similarly, using fresh eggs from a reliable source makes a difference. The type of flour can also subtly impact flavor and texture; using a good quality all-purpose flour or even a French pastry flour (Type 45) can contribute to a finer crumb and purer flavor. Don't underestimate the impact of using fresh baking powder if your recipe calls for it.
Adding Flavorings
While classic madeleines often rely solely on the flavor of butter, eggs, and sugar, many recipes incorporate flavorings to add complexity. The most traditional addition is vanilla extract, but lemon zest is equally classic and incredibly popular. The oils in fresh lemon zest provide a bright, aromatic counterpoint to the richness of the butter. Use a microplane to zest only the yellow part of the peel, avoiding the bitter white pith.
Other popular flavor variations include orange zest, almond extract, or even a touch of rum or floral extracts like orange blossom or rosewater. These flavorings are typically added to the wet ingredients or folded in with the melted butter. Start with a small amount (e.g., 1 teaspoon of vanilla extract or zest from half a lemon for a standard batch) and adjust to your preference. Ensure extracts are high quality for the best flavor.
Avoiding Metallic Tastes
Madeleine Pan Material
A metallic taste in baked goods can sometimes be attributed to the material of the pan, particularly with older, uncoated metal pans or those not properly seasoned. Traditional madeleine pans are often made of carbon steel or aluminum. While these materials conduct heat well, they can react with acidic ingredients or detergents if not properly cared for, potentially imparting an off-flavor.
Many modern madeleine pans are made from non-stick coated metal or silicone. Non-stick coatings generally prevent metallic flavors, provided the coating is intact and not scratched. If using a traditional metal pan, ensure it is well-seasoned (like a cast iron pan, though less intensely) or properly greased and floured to create a barrier between the batter and the metal.
Pan Cleaning and Maintenance
Proper cleaning and maintenance of your madeleine pan are essential for preventing off-flavors and ensuring longevity. Harsh detergents or abrasive scrubbing pads can damage non-stick coatings or strip the seasoning from metal pans, making them more prone to sticking and potential metallic reactions.
After baking, allow the pan to cool slightly, then gently wipe out any crumbs or residue. If needed, wash with warm, soapy water and a soft sponge. Rinse thoroughly and dry the pan immediately and completely to prevent rust, especially with carbon steel pans. For traditional metal pans, a light re-greasing before storing can help maintain their condition. Avoid putting metal pans in the dishwasher, as this can ruin the finish and lead to flavor issues.
Preventing Burnt Madeleines
Monitoring Baking Time and Temperature
Burnt madeleines are typically a result of either too high an oven temperature or baking for too long. As discussed earlier, using an accurate oven thermometer is crucial to ensure your oven isn't running hotter than you think. If madeleines are consistently burning on the edges or bottoms, try slightly reducing the oven temperature by 10-15°F (5-8°C).
Closely monitoring the baking time is equally important. Madeleines bake rapidly. Set a timer for the minimum time suggested in the recipe (e.g., 8 minutes). Check for visual cues of doneness: golden brown edges, a risen shell, and a cake that springs back. If they are browning too quickly on the bottom, consider moving the rack up one level or placing a baking sheet on the rack below the madeleine pan to act as a heat shield.
Protecting Madeleines
Sometimes, even with careful temperature and time management, madeleines can brown unevenly or get too dark on the bottom, especially in ovens with strong bottom elements. If you find the bottoms (the shell side) are consistently over-browning before the tops are done, you can try placing the madeleine pan on top of a standard metal baking sheet.
The baking sheet acts as an insulator, reducing the direct heat transfer from the oven rack and bottom element to the madeleine pan. This can help the madeleines bake more evenly and prevent the bottoms from burning before the tops are perfectly golden and the shell has fully developed. This simple technique can be a life-saver for achieving uniformly baked, beautiful madeleines.
Common Madeleine Baking Mistakes
Preventing Batter Spreading Too Thin
Reasons for a Runny Batter
If your madeleine batter spreads out thinly in the pan instead of holding its shape and rising upwards, it's likely too runny. This can be caused by several factors. Using too much liquid (like milk, if your recipe includes it, or too many eggs for the amount of dry ingredients) or using ingredients at the wrong temperature can contribute. For instance, adding butter that is too hot can "cook" the eggs slightly and thin the batter.
Another cause can be insufficient mixing of the eggs and sugar. This step is crucial for building structure and thickness in the batter. They should be beaten until pale, thick, and voluminous, reaching the ribbon stage where the mixture falls in a thick band from the whisk. If this initial step isn't done correctly, the base of the batter will be too thin to support the structure needed for rising.
Adjusting Liquid to Flour Ratio
If your batter is consistently too thin, review your recipe's ingredient ratios. Ensure you are measuring flour correctly, preferably by weight (e.g., 120g all-purpose flour per cup). Scooping flour directly from the bag with a measuring cup can compact it, leading to using too much flour and thus a relatively thicker batter, but if you're using too little flour relative to wet ingredients, the batter will be thin.
Ensure your eggs are the correct size specified in the recipe (typically large, around 50-60g each). If using extra-large eggs, you might be adding too much liquid. As a troubleshooting step, if your batter seems too thin after mixing (even after proper egg whipping), you might try adding a tablespoon or two more flour, carefully folding it in just until combined. However, it's better to get the initial ratios right by following a reliable recipe and measuring accurately.
Preventing Madeleines Sticking
Troubleshooting Pan Prep
Madeleines sticking to the pan is a frustrating problem that ruins their perfect shell shape. The primary cause is inadequate pan preparation. Simply using a non-stick pan isn't always enough, especially with the intricate shell pattern. Every nook and cranny needs to be coated.
Ensure you are generously greasing the pan cavities, including up the sides. Softened butter applied with a pastry brush or your fingers works well, ensuring complete coverage. Follow with a thorough dusting of flour, tapping out the excess. If using baking spray, choose one specifically designed for baking that contains flour. Make sure to spray evenly into every part of the mold. As mentioned earlier, using melted butter and breadcrumbs or almond flour can also provide an excellent non-stick surface and easy release.
Cooling Time and Removal
While cooling on a wire rack is essential after removal from the pan, leaving the madeleines in the hot pan for too long after baking can also contribute to sticking. As the pan cools, the cakes contract slightly, but if left too long, they can start to "glue" themselves to the pan as residual sugars cool and set.
As soon as the madeleines are done baking (golden edges, spring back), remove the pan from the oven. Let it sit on a heatproof surface for just 1-2 minutes. Then, invert the pan over a wire rack or a clean tea towel. A gentle tap on the edge of the pan should cause the madeleines to release. If any are stubborn, use a small, thin offset spatula to gently loosen the edges before attempting to invert again. Don't force them out, as this will break the delicate shell.
Preventing Unevenly Baked Madeleines
Oven Calibration and Hot Spots
Unevenly baked madeleines – where some are dark brown and others pale, or some are done while others are still raw in the middle – are almost always a sign of an oven issue. Ovens often have hot spots, areas that are significantly hotter than the rest of the oven cavity, or the thermostat may not be accurately calibrated.
Using an oven thermometer is the first step. Place it in the center of your oven and preheat the oven to the desired temperature. Check if the thermometer reading matches the oven's display. If there's a significant difference (more than 15-20°F or 8-10°C), you'll need to adjust your oven's setting accordingly. To identify hot spots, you can try baking a batch of biscuits or cookies placed evenly across a baking sheet and observe which ones brown fastest.
Rotating the Pan
Even in a relatively well-calibrated oven, rotating the madeleine pan halfway through the baking time can help ensure more even baking and consistent browning. If your madeleines consistently bake faster or brown more on one side of the pan than the other, this is a strong indicator of uneven heat distribution.
After about half the total baking time (e.g., after 4-5 minutes if the total time is 8-10), carefully open the oven and rotate the pan 180 degrees. This exposes all the madeleines to different parts of the oven, helping them cook at a more uniform rate. This simple step is a staple French madeleine baking troubleshooting tip for achieving beautiful, evenly colored results across the entire batch.
Madeleine Baking Troubleshooting Checklist
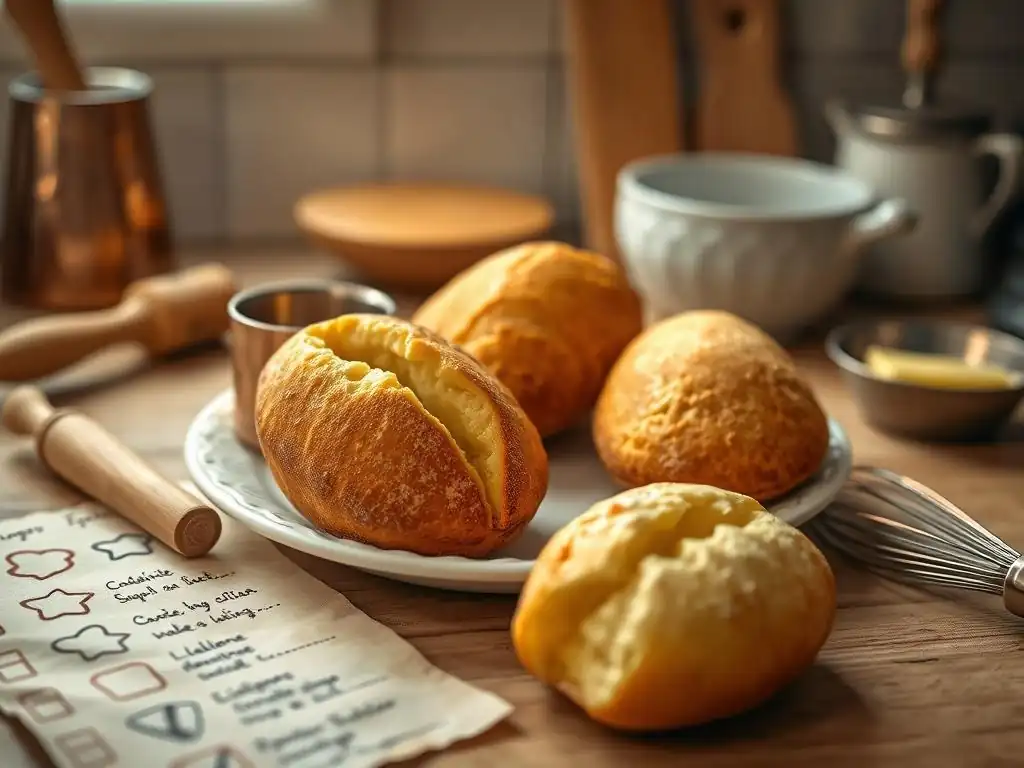
Here is a handy checklist to help you diagnose and solve common madeleine baking problems.
Shell Formation Checklist
- [ ] Pan is cold? Chilled pan is essential for thermal shock.
- [ ] Batter is cold and rested? Cold batter enhances the hump.
- [ ] Oven is preheated and hot? High initial temp promotes rise.
- [ ] Batter consistency is right? Not too thin, not too thick.
- [ ] Pan is placed correctly? Middle rack usually best.
Texture Troubleshooting Guide
- [ ] Checked baking time? Overbaking causes dryness.
- [ ] Ingredient ratios correct? Balance of fat/sugar/flour/eggs affects moisture.
- [ ] Baking powder fresh? Inactive leavening causes density.
- [ ] Eggs whipped enough? Need volume for lightness.
- [ ] Avoided overmixing? Overmixing causes density and rubberiness.
- [ ] Cooled correctly? Removed from pan promptly to prevent overcooking/sogginess.
Flavor Problem Solutions
- [ ] Using quality ingredients? Butter, eggs, and flavorings make a difference.
- [ ] Added flavorings? Vanilla, lemon zest enhance taste.
- [ ] Pan material and care? Clean, well-maintained pan prevents metallic taste.
- [ ] Monitored temperature/time? Prevents burning.
- [ ] Used heat shield? Baking sheet underneath can prevent burnt bottoms.
Mastering French Madeleine Baking
Experimenting with Recipes
Once you've tackled the common issues using these French madeleine baking troubleshooting tips, don't be afraid to experiment. Many excellent madeleine recipes exist, with slight variations in ingredient ratios, mixing methods, or chilling times. Try a few different reputable recipes to see which one yields the results you prefer in your kitchen with your specific equipment.
You might find that a recipe with a slightly higher butter content gives you a moister cake, or one that calls for more vigorous egg whipping produces a better hump. Note what works and what doesn't. Baking is an art as well as a science, and finding the recipe that clicks for you is part of the journey to mastering French madeleine baking.
Storing Madeleines
Madeleines are undeniably best eaten fresh, ideally within a few hours of baking, when their texture is most delicate and their flavor most vibrant. However, if you need to store them, allow them to cool completely on a wire rack first.
Store cooled madeleines in an airtight container at room temperature. They will keep reasonably well for 1-2 days, though they will lose some of their initial crispness and delicate crumb texture. Avoid refrigerating them, as this can dry them out quickly. For longer storage, madeleines freeze surprisingly well. Place cooled madeleines in a single layer on a baking sheet to freeze, then transfer to a freezer-safe bag or container. Thaw at room temperature. A quick warm-up in a low oven (around 300°F or 150°C) for a few minutes can help refresh their texture.
Frequently Asked Questions
What causes my madeleines to stick to the pan, even when it's non-stick?
Sticking is often due to insufficient greasing and flouring of the madeleine pan. Ensure you generously coat the pan with melted butter and dust it with flour, tapping out any excess. Using a high-quality non-stick pan can also help.
Why aren't my madeleines developing the signature hump?
The characteristic hump comes from a temperature difference between the batter and the oven. Chill the batter for at least 30 minutes (or up to overnight) before baking in a preheated hot oven.
My madeleines are dry and crumbly; what did I do wrong?
Overbaking is the most common cause of dry madeleines. Watch them carefully and remove them from the oven as soon as the edges are golden brown and they spring back lightly when touched. Measuring ingredients accurately is also crucial.
The madeleines taste bland. How can I enhance the flavor?
Flavor can be enhanced by using high-quality butter and adding extracts like vanilla or almond. A touch of lemon zest is a classic madeleine addition that brightens the taste.
My madeleine batter is too thin. What can I do to fix it?
A thin batter might be due to overmixing or using too much liquid. Gently fold in a tablespoon or two of flour at a time until the batter reaches a slightly thicker consistency, but be careful not to overmix.
Final Reflection: The Sweet Science of Perfect Madeleines
The seemingly simple act of baking a French madeleine is, in reality, a delicate dance between science and artistry. Mastering this classic pastry requires precision and patience, as highlighted throughout this guide. From understanding the crucial role of batter consistency to the nuances of oven temperature, each step contributes to the final, coveted result: a perfectly humped, subtly sweet, and utterly delightful madeleine.
The journey of baking, particularly with a notoriously temperamental treat like the madeleine, is a microcosm of life itself. It's a process of trial and error, of learning from mistakes, and of finding joy in the small victories. The subtle imperfections, the slightly uneven humps, even the occasional collapse – these are all part of the learning process, teaching us valuable lessons in attention to detail and the acceptance of imperfection. The best things in life are worth the wait, and sometimes, even the mess.
This sentiment perfectly encapsulates the experience of perfecting the madeleine recipe.
Now, armed with these troubleshooting tips, I invite you to embark on your own madeleine baking adventure. Don't be afraid to experiment, to adjust the recipe to your own preferences, and most importantly, to enjoy the process. Each perfectly formed madeleine is a testament to your dedication and a delicious reward for your efforts. Remember the lessons learned here, and let them guide you as you create your own batch of these exquisite little cakes. The journey to baking the perfect madeleine is a rewarding one; embrace the challenge and savor the sweet success.
Unleash Your Inner Pâtissier: Perfect Madeleines Await!
Thanks for joining us on this delicious journey into the world of French madeleines! We hope you gained valuable insights into conquering those pesky baking challenges. Now it's time to put your newfound knowledge to the test!
- Bake a batch of perfect madeleines: Use the tips and tricks from the article to create your own stunning, shell-shaped delights. Don't be afraid to experiment with different flavors!
- Share your baking triumphs (or even your mishaps!): Tag us on social media with your madeleine creations – we'd love to see them!
- Explore other BakeWithEase recipes: Discover more easy-to-follow recipes and baking tips on our website to expand your culinary skills.
Ready to transform your kitchen into a Parisian patisserie? What unique flavor combination will you try in your next batch of madeleines?