
Bake Authentic French Croissants: The Overnight Method


Welcome to BakeWithEase, where mastering the art of baking becomes refreshingly simple! Are you ready to unlock the secrets to flaky, golden perfection? This week, we're diving into the ultimate guide to crafting authentic French croissants. Intrigued by the thought of a French croissants overnight recipe easy enough for even a novice baker? Prepare to be amazed. We'll show you how to achieve bakery-quality results with minimal effort. Discover the step-by-step method and wake up to the irresistible aroma of homemade croissants, leaving you wondering why you haven't tried this sooner. Let's get baking!
- Introduction to Overnight Croissant Baking
- Essential Ingredients
- Step-by-Step Guide: Making Croissants Overnight
- Baking to Perfection
- Storing and Enjoying
- Troubleshooting
- Variations
- Conclusion: Enjoying Your Croissants
-
Frequently Asked Questions
- What makes this croissant recipe "easy" despite being French?
- What is the benefit of using an overnight method for croissants?
- Can I skip the overnight proofing if I'm short on time?
- What kind of butter is best for making French croissants?
- What are some common mistakes to avoid when making croissants?
- Final Reflection: The Enduring Allure of the Perfect Croissant
- Unleash Your Inner Boulanger: Bake Amazing Croissants Tonight!
Introduction to Overnight Croissant Baking
Why Choose the Overnight Method?
Embarking on the journey to bake authentic French croissants might seem daunting, but the overnight method simplifies the process significantly and offers compelling advantages. By allowing the dough to ferment slowly in a chilled environment, typically for 12 to 24 hours, you develop deeper, more complex flavors that are characteristic of traditional French pastries. This slow fermentation gives enzymes ample time to break down starches and proteins, resulting in a more tender crumb and a richer taste profile compared to faster methods. It's a technique favored by professional bakers for achieving superior flavor and texture.
Beyond flavor, the overnight method makes the demanding task of laminating dough much more manageable. Chilling the dough thoroughly before incorporating the butter block ensures that both components are at a similar, cool temperature. This temperature consistency is crucial for creating distinct layers of dough and butter during the folding process, preventing the butter from melting into the dough prematurely.
Furthermore, splitting the process over two days breaks down the work into less intimidating steps, making it a more accessible and enjoyable experience for home bakers, even when tackling a classic like French croissants. This makes the "French croissants overnight recipe easy" achievable for many.
Mastering Homemade Croissants
Mastering homemade French croissants is a rewarding culinary achievement, and the overnight method provides a structured path to success. It demystifies the lamination process, which is often perceived as the trickiest part. By working with well-chilled dough and butter, you gain better control over the folding and rolling, allowing you to create the dozens of ultra-thin layers essential for that signature flaky texture. Patience is key throughout this process, from the initial slow rise to the final proofing stage.
Achieving that perfect balance of a crisp, golden exterior and a light, airy interior with distinct honeycomb-like layers requires attention to detail at each stage. Understanding the role of temperature – keeping the dough and butter cold during lamination and providing a warm, humid environment for the final proof – is fundamental. While it requires practice, successfully baking your own French croissants overnight yields a product far superior to most store-bought options, filling your home with an irresistible aroma and providing a delicious taste of Paris right from your oven.
Essential Ingredients
High-Protein Flour for Perfect Croissants: Bread Flour
The choice of flour is paramount when baking French croissants, and high-protein bread flour is typically the preferred option. This type of flour, often containing between 12% and 14% protein, is essential for developing a strong gluten network. Gluten, formed when the proteins glutenin and gliadin interact with water and are developed through kneading, provides the dough with elasticity and structure.
A robust gluten structure is critical for croissant dough because it needs to withstand repeated rolling and folding during lamination without tearing. It also provides the framework that traps steam during baking, allowing the layers to separate and puff up, creating the characteristic airy interior and flaky texture. Using bread flour ensures your dough has the necessary strength and extensibility to achieve those beautiful, defined layers.
The Importance of Butter
Butter is arguably the most critical ingredient in French croissants, contributing significantly to both flavor and texture. High-quality, unsalted butter with a high fat content, ideally around 82% butterfat, is recommended. The high fat content means less water, which is crucial for creating distinct layers during baking. As the croissants bake, the water in the butter turns to steam, forcing the layers of dough apart and creating that signature flakiness.
The butter must be pliable yet cold for lamination. If it's too cold and hard, it will break into pieces; if it's too warm, it will melt into the dough. Preparing a butter block of the correct size and temperature is a key step. European-style butters often have a higher fat content than American varieties, making them an excellent choice for achieving optimal flakiness and a rich, buttery flavor.
Other Key Ingredients: Yeast, Sugar, Salt, and Water
Beyond flour and butter, several other ingredients play vital roles in an easy French croissants overnight recipe. Active dry yeast or instant yeast is the leavening agent, producing carbon dioxide that causes the dough to rise and contributes to the open structure. The amount of yeast is often reduced in overnight recipes compared to same-day methods, as the longer fermentation time allows even a small amount of yeast to work effectively and develop flavor without over-proofing.
Sugar provides food for the yeast, aids in browning, and adds a touch of sweetness to balance the richness of the butter. Salt is essential for controlling yeast activity, strengthening the gluten structure, and enhancing the overall flavor profile. Water, the hydration component, activates the yeast and allows for gluten development. The precise ratio of these ingredients, combined with the overnight cold fermentation, is what allows for the creation of authentic, flavorful French croissants.
Step-by-Step Guide: Making Croissants Overnight
Day 1: Preparing the Dough
Step 1: Mixing the Dough
Begin by combining the dry ingredients: the high-protein bread flour, sugar, salt, and yeast. Whisk them together in a large mixing bowl or the bowl of a stand mixer. In a separate container, combine the lukewarm water (or milk, depending on the specific recipe) and ensure it's at a temperature that activates the yeast, typically between 95°F and 105°F (35°C-40°C) for active dry yeast. Add the wet ingredients to the dry and mix using a spatula or the dough hook attachment on low speed until a shaggy dough forms and no dry flour remains.
This initial mixing stage is just about bringing the ingredients together. The dough will look rough and sticky at this point, which is perfectly normal. Avoid the temptation to over-mix initially; the primary gluten development will happen during kneading and the subsequent resting periods. Ensure all ingredients are incorporated evenly before moving to the next step.
Step 2: Kneading the Dough
Transfer the shaggy dough to a lightly floured surface or continue using the stand mixer with the dough hook. Knead the dough for about 5-8 minutes, or until it becomes relatively smooth and elastic. It shouldn't be as developed as a standard bread dough at this stage, but it should pass a basic windowpane test, meaning you can stretch a small piece thinly enough to see light through it without tearing easily.
Proper kneading develops the gluten structure, providing the necessary strength for the dough to handle the lamination process. If kneading by hand, use a push-and-fold motion, rotating the dough as you work. If using a stand mixer, keep the speed on medium-low to avoid overheating the dough. The goal is a smooth, cohesive ball of dough ready for its first rise.
Step 3: The First Rise
Shape the kneaded dough into a ball and place it in a lightly oiled bowl. Cover the bowl tightly with plastic wrap or a damp towel to prevent a skin from forming. Allow the dough to rest at room temperature for about 60-90 minutes, or until it has increased in size by about 50%. This initial rise allows the yeast to begin its work, developing flavor and structure.
The exact time for the first rise will depend on the ambient temperature. A warmer room will speed up the process, while a cooler room will slow it down. The goal isn't necessarily to double in size, but to achieve a noticeable increase and for the dough to feel slightly puffy. This brief room temperature rise is followed by a crucial chilling period that sets the stage for lamination.
Step 4: Chilling the Dough
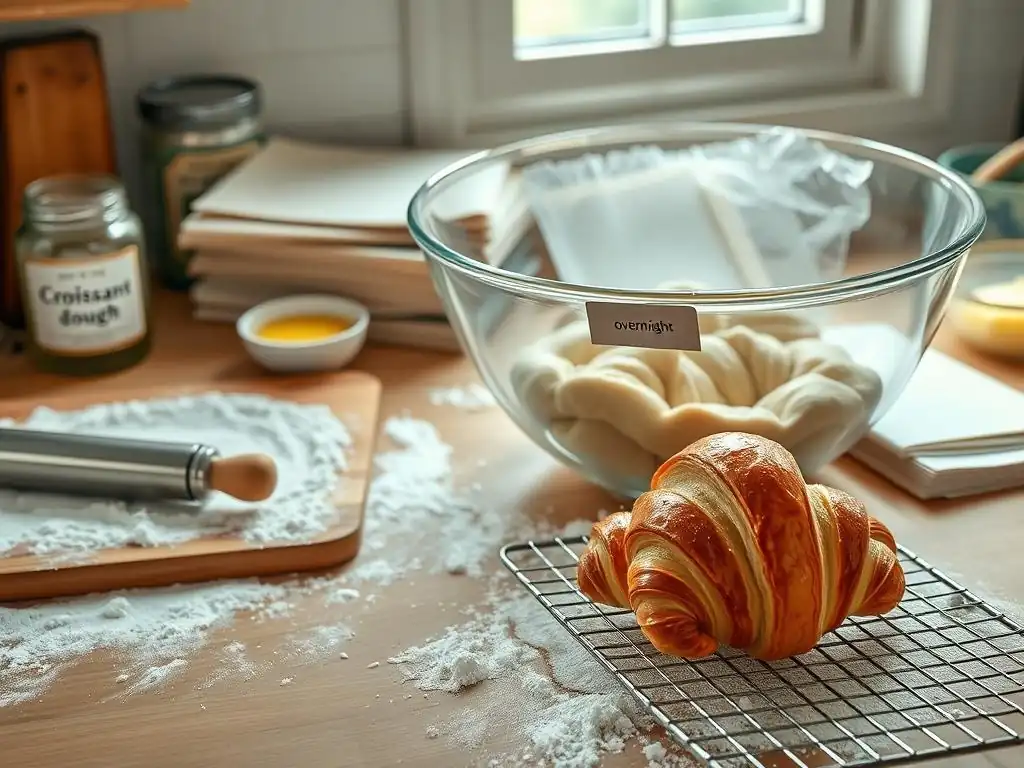
After the initial rise, gently punch down the dough to deflate it. Shape the dough into a rough rectangle or square, about 1 inch thick. Wrap it tightly in plastic wrap, ensuring no air pockets. Place the wrapped dough in the refrigerator to chill for at least 4 hours, but ideally overnight (8-12 hours). This chilling step is fundamental to the overnight method.
Chilling the dough slows down yeast activity significantly and, more importantly, firms up the dough. A firm, cold dough is essential for successful lamination, as it allows you to roll and fold the dough without it becoming too sticky or warm. The overnight chill also continues the slow fermentation, contributing to the depth of flavor that defines authentic French croissants.
Day 2: Laminating and Shaping
Step 5: Preparing the Butter Block
About 30-60 minutes before you plan to laminate, take your cold butter block out of the refrigerator. The butter needs to be pliable but still cold. Place the butter between two sheets of parchment paper and pound it with a rolling pin to soften it slightly. Then, roll it out into a rectangle, typically about 6x8 inches (15x20 cm) and about 1/4 inch (0.6 cm) thick, ensuring the edges are relatively straight.
The size of the butter block should be roughly half the size of your rolled-out dough rectangle. The butter's temperature and consistency are critical; it should bend without breaking and feel cool to the touch. If it's too hard, continue pounding gently. If it's too soft, pop it back in the fridge for a few minutes.
Step 6: Laminating the Dough
Remove the chilled dough from the refrigerator. On a lightly floured surface, roll the dough into a rectangle approximately 12x8 inches (30x20 cm) and about 1/2 inch (1.3 cm) thick. Place the prepared butter block on one half of the dough rectangle, leaving a small border around the edges. Fold the other half of the dough over the butter block, sealing the edges to fully encase the butter. You should now have a dough rectangle half the original size, with butter inside.
This step, known as 'locking in the butter', is the beginning of lamination. Ensure the butter is completely enclosed to prevent it from leaking out during subsequent rolling and folding. The dough and butter should be at similar temperatures to facilitate even rolling.
Step 7: Folding Techniques: Three Single Folds
The lamination process involves a series of rolling and folding steps to create layers. A common method for croissants is three "single folds" (also called letter folds).
- First Fold: Gently roll the dough-encased butter into a long rectangle, about 1/4 inch (0.6 cm) thick. Aim for a consistent thickness. Brush off any excess flour. Fold one-third of the dough rectangle up towards the center, then fold the other third down over the first fold, like folding a letter. This creates three layers of dough separated by two layers of butter. Wrap the folded dough tightly in plastic wrap and chill for at least 30-60 minutes.
- Second Fold: Repeat the process. Remove the dough from the fridge, unwrap it, and rotate it 90 degrees so the folded edge is to your side (like a book spine). Roll it out again into a long rectangle of similar dimensions and thickness. Perform another single (letter) fold. Wrap and chill for another 30-60 minutes.
- Third Fold: Repeat the process one last time. Remove, unwrap, rotate 90 degrees, roll into a rectangle, and perform the final single fold. Wrap tightly and chill for at least 2-4 hours, or up to 12 hours. This final chill is crucial for the dough to relax and the butter to firm up before shaping. After three single folds, you will have theoretically created 27 layers (3 x 3 x 3).
The chilling periods between folds are essential. They allow the gluten to relax, making the dough easier to roll without shrinking back, and keep the butter cold and distinct from the dough. If the dough or butter becomes too warm and soft at any point, stop, wrap the dough, and return it to the refrigerator until it's properly chilled again. Patience here prevents butter leakage and ensures crisp layers.
Step 8: Shaping the Croissants
Remove the chilled, laminated dough from the refrigerator. On a lightly floured surface, roll the dough into a large rectangle, approximately 1/8 inch (0.3 cm) thick. Aim for a rectangle around 10-12 inches wide and as long as needed (perhaps 20-30 inches, depending on your desired croissant size). Use a sharp knife or pizza cutter to trim the edges to create straight lines.
Cut the rectangle into triangles. For classic croissants, the triangles should have a base of about 4-5 inches (10-12 cm) and a height of 8-10 inches (20-25 cm). Make a small notch (about 1/2 inch) in the center of the base of each triangle. Gently stretch the triangle from the base, then starting from the base, roll it up towards the point, gently pulling the point as you roll to create tension. Curve the ends inward slightly to form the traditional crescent shape.
Step 9: The Second Proof
Place the shaped croissants on baking sheets lined with parchment paper, leaving ample space between them as they will expand significantly. Cover the baking sheets loosely with plastic wrap or a large, clean garbage bag (ensure it hasn't been used for trash!) to create a humid environment. Allow the croissants to proof at room temperature, ideally in a warm, draft-free spot (75-80°F / 24-27°C), for 2-3 hours.
This second proofing is vital. The yeast activity increases, causing the croissants to double in size and become visibly puffy and jiggly. You should be able to see the distinct layers starting to separate. A properly proofed croissant will look inflated but not collapsed. Do not rush this step; under-proofed croissants will be dense, while over-proofed ones may collapse in the oven. They should feel light and airy when gently touched.
Baking to Perfection
Oven Temperature and Baking Time
Preheat your oven to a high temperature, typically between 400°F and 425°F (200°C-220°C). The initial high heat is crucial for creating oven spring, causing the butter to melt rapidly and produce steam that forces the layers apart. Some recipes recommend starting at a high temperature for the first 10-15 minutes, then reducing the temperature to around 375°F (190°C) for the remaining baking time to ensure the croissants cook through without burning the exterior.
Baking time usually ranges from 15 to 25 minutes, depending on your oven and the size of your croissants. They are ready when they are deeply golden brown all over, including the sides and bottom. Baking them long enough is important to ensure the interior is fully cooked and the layers are set. A pale croissant is often underbaked and doughy inside.
Egg Wash: Achieving a Shiny Finish
Applying an egg wash before baking gives French croissants their characteristic beautiful, glossy, golden-brown finish. A standard egg wash is made by whisking one whole egg with a splash of milk or water (about 1 tablespoon). Some bakers prefer using just the egg yolk mixed with a little milk or cream for a deeper color and shine.
Gently brush the tops and sides of the proofed croissants with the egg wash, being careful not to let it pool between the layers at the base, as this can glue the layers together and inhibit rising. Apply the wash evenly for a uniform color. This simple step elevates the visual appeal of your homemade French croissants significantly.
Tips for Avoiding Common Mistakes
- Butter Leaking: This is often caused by the dough or butter being too warm during lamination, insufficient chilling between folds, or uneven rolling. Ensure your butter block is pliable but cold, and always chill the dough if it becomes soft.
- Dense Interior: Under-proofing is a common culprit. Give your croissants ample time to proof in a warm, humid environment until they are visibly puffy and jiggly. Under-baking can also lead to a doughy interior; bake until they are deeply golden brown.
- Uneven Layers: This can result from inconsistent rolling or folding techniques, or not rotating the dough 90 degrees between folds. Practice makes perfect with lamination!
- Croissants Losing Shape: Over-proofing can cause the structure to weaken. Also, ensure you are rolling the triangles tightly from the base during shaping.
Storing and Enjoying
How to Store Croissants
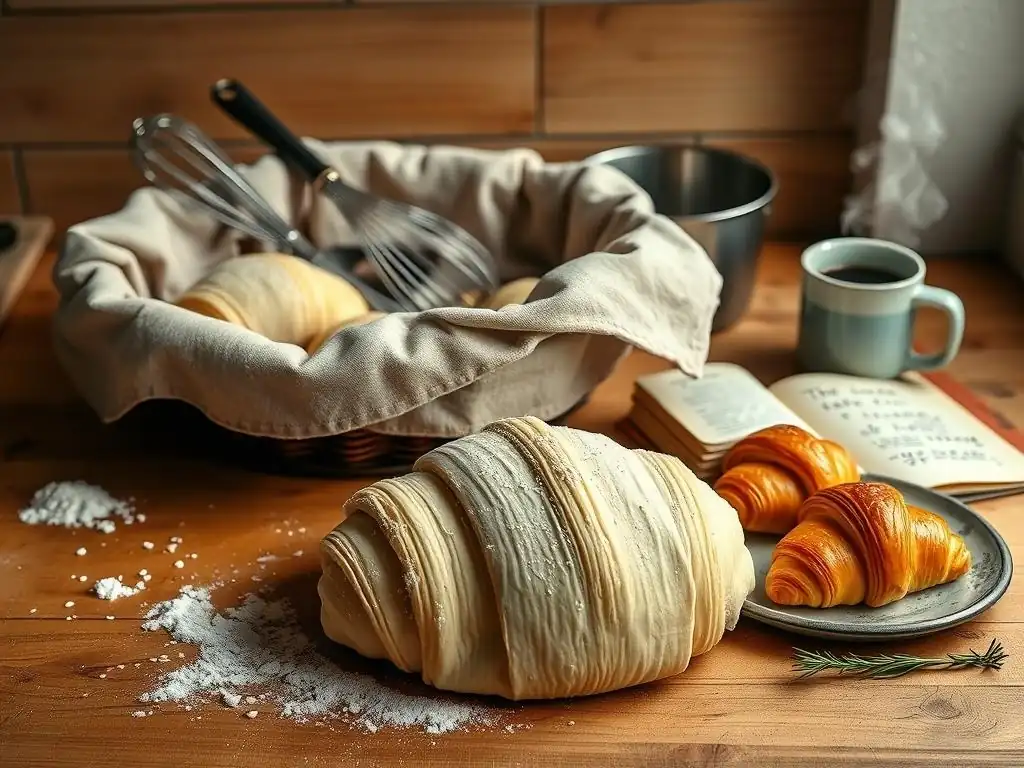
Freshly baked French croissants are best enjoyed within a few hours of coming out of the oven for optimal flakiness and texture. However, if you have leftovers, they can be stored. At room temperature, they will keep for about 1-2 days in a paper bag to maintain some crispness, though they will soften over time. Avoid storing them in airtight plastic containers at room temperature, as this traps moisture and makes them soggy.
For longer storage, croissants can be frozen. Once completely cool, place them in a single layer on a baking sheet and freeze until solid. Then, transfer them to a freezer-safe bag or container, removing as much air as possible. Frozen croissants can be stored for up to 1-2 months. To reheat, place frozen croissants directly on a baking sheet in a preheated oven at 350°F (175°C) for about 10-15 minutes, or until warmed through and crisp again.
Serving Suggestions: Coffee, Jam, Cheese
Authentic French croissants are incredibly versatile and pair wonderfully with a variety of accompaniments. The classic pairing is a simple cup of coffee or espresso, perfect for a leisurely breakfast or brunch. The rich, buttery flavor of the croissant complements the bitterness of the coffee beautifully.
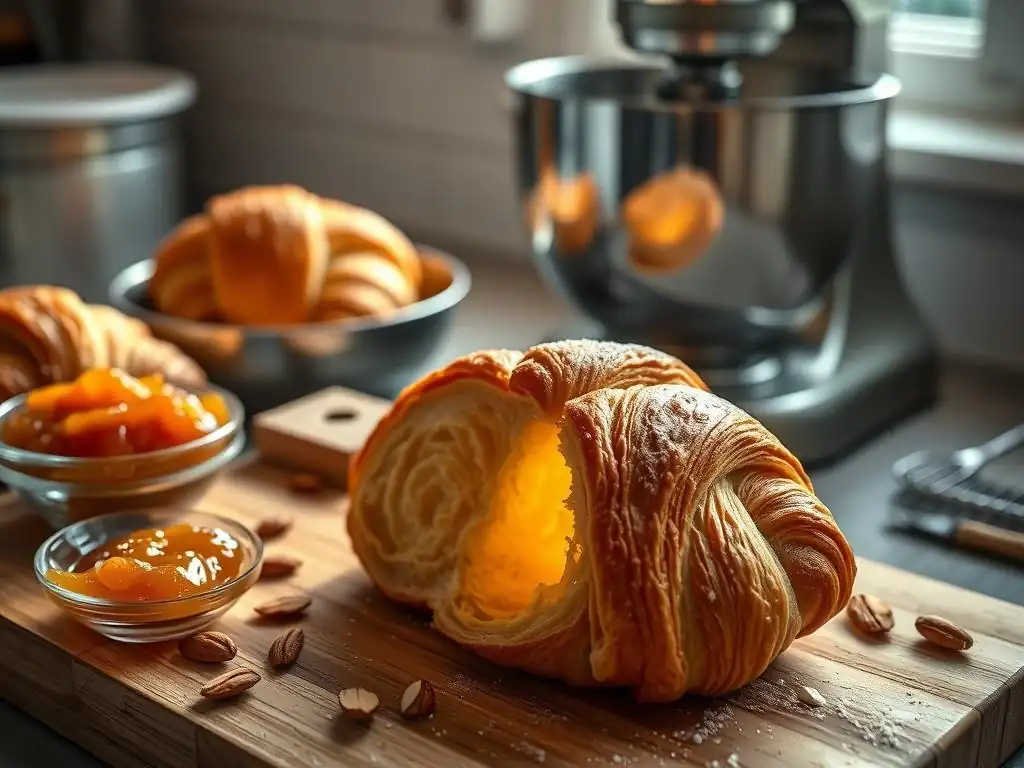
For a touch of sweetness, serve them with your favorite jam, preserves, or honey. The slight acidity of fruit preserves cuts through the richness. Savory options are also delightful; consider serving them alongside cheese, charcuterie, or even using them as the base for a simple ham and cheese sandwich. The flaky layers provide a lovely contrast to creamy or savory fillings.
Troubleshooting
Common Issues and Solutions: Dough Too Warm, Butter Leaking
One of the most frequent issues encountered when making French croissants, especially with an easy French croissants overnight recipe, is managing temperature. If your dough or butter becomes too warm during lamination, the butter can melt into the dough rather than staying in distinct layers. This results in croissants that are oily, dense, and lack that signature flakiness. The solution is vigilance: if you notice the butter becoming soft or oozing, immediately stop rolling, wrap the dough, and return it to the refrigerator for at least 30 minutes to firm up before continuing.
Butter leaking during baking is another common problem, often a symptom of the butter melting into the dough during lamination or the croissants being under-proofed. Ensure your butter is properly encased during the initial fold and that the dough remains chilled throughout the lamination process. Also, make sure your croissants have proofed sufficiently; a well-proofed croissant has developed enough structure to hold the melting butter within the layers initially.
Achieving the Perfect Texture: Troubleshooting Tips
Achieving that ideal flaky, airy texture is the ultimate goal for homemade French croissants. If your croissants turn out dense or heavy, several factors could be at play. Insufficient gluten development during kneading can lead to a weak structure that can't support the layers; ensure you knead until the dough is smooth and somewhat elastic. Under-proofing is perhaps the most common cause of density; always proof until the croissants are significantly puffed up and delicate.
Another factor is baking temperature and time. If the oven isn't hot enough initially, the butter melts too slowly, and the layers don't separate properly. If they are not baked long enough, the interior remains doughy. Ensure your oven is accurately preheated to the specified temperature and bake until the croissants are a deep golden brown, which indicates they are cooked through and the layers are set. Don't be afraid to bake them until they have significant color.
Variations
Chocolate Croissants (Pain au Chocolat)
Transforming classic French croissants into pain au chocolat is a delightful variation that is incredibly popular. The process is nearly identical to making standard croissants up to the shaping stage. Instead of cutting triangles, the laminated dough is typically cut into rectangles, about 4x8 inches (10x20 cm).
For each rectangle, place one or two bâtons de chocolat (chocolate batons or high-quality dark chocolate sticks) along the short edge closest to you. Roll the dough up tightly around the chocolate, ensuring the seam is on the bottom. The rolling motion encases the chocolate, creating a rich, molten center upon baking. Proof and bake as you would classic croissants for a truly decadent treat.
Almond Croissants
Almond croissants, often made from day-old croissants, are a fantastic way to repurpose pastries and create something new and delicious. The process involves slicing croissants horizontally and dipping or brushing them with a rich almond syrup or simple syrup. Then, the croissants are filled and topped with frangipane, a sweet almond cream made from butter, sugar, ground almonds, eggs, and a touch of flour.
Once filled and topped with frangipane, the croissants are typically sprinkled with sliced almonds and sometimes a dusting of powdered sugar before being baked a second time until golden brown and the frangipane is set and slightly puffed. This double-bake method results in a wonderfully moist interior and a crisp, nutty exterior, a delightful contrast to the plain croissant.
Conclusion: Enjoying Your Croissants
Celebrate Your Baking Achievement
Bringing a batch of warm, flaky French croissants out of your own oven is a truly special moment. The aroma filling your kitchen is a testament to your patience and effort in mastering the overnight method. Take a moment to appreciate the golden-brown exterior, the delicate layers, and the promise of a buttery, airy interior. You've successfully navigated the steps of mixing, kneading, chilling, laminating, shaping, proofing, and baking to create these iconic pastries.
Sharing your homemade French croissants with family and friends is one of the best parts of the baking experience. Whether enjoyed simply with coffee or dressed up with jam or chocolate, they are a delicious reward for your hard work. This easy French croissants overnight recipe has hopefully demystified the process and empowered you to bake these classics at home whenever the craving strikes. Savor every bite!
Frequently Asked Questions
What makes this croissant recipe "easy" despite being French?
This recipe focuses on a simplified overnight proofing method, reducing the active work time. It also uses easy-to-find ingredients readily available in most supermarkets, making it accessible for home bakers.
What is the benefit of using an overnight method for croissants?
The overnight method allows for a slow, cold fermentation which develops a richer flavor and more complex gluten structure. This results in a flakier, more flavorful croissant with less active kneading.
Can I skip the overnight proofing if I'm short on time?
While possible, skipping the overnight proofing will significantly impact the flavor and texture of the croissants. The slow fermentation is crucial for authentic results.
What kind of butter is best for making French croissants?
European-style butter with a high fat content (at least 82%) is recommended. This type of butter will create the best flaky layers and contribute to a richer flavor.
What are some common mistakes to avoid when making croissants?
Avoid over-mixing the dough, as this can lead to tough croissants. Also, ensure the butter stays cold throughout the lamination process to prevent it from melting and absorbing into the dough.
Final Reflection: The Enduring Allure of the Perfect Croissant
The pursuit of the perfect croissant, a seemingly simple pastry, reveals a profound connection to culinary tradition and the enduring power of patience. From the precise folding of the dough to the delicate dance of butter and flour, each step in the overnight method unveils a deeper appreciation for the artistry involved. The seemingly effortless elegance of the final product belies the dedication required, a testament to the rewards of slow, mindful creation.
The journey of baking these croissants, particularly using the overnight method, has been a deeply personal one. It's not just about the end result – the flaky, buttery layers melting in your mouth – but the process itself. The quiet time spent nurturing the dough, the anticipation building as it rests, and the satisfaction of witnessing its transformation from simple ingredients into something truly exquisite. The greatest pleasure in life is doing what people say you cannot do.
This quote resonates deeply with the challenge and ultimate triumph of mastering this classic French pastry.
Now, it's your turn. Don't be intimidated by the seemingly complex process. Embrace the challenge, savor the journey, and experience the profound satisfaction of creating something beautiful and delicious from scratch. The aroma alone, filling your kitchen with the promise of golden, buttery layers, is a reward in itself. So, gather your ingredients, find your inner baker, and embark on your own croissant adventure. You might surprise yourself with what you can achieve.
Unleash Your Inner Boulanger: Bake Amazing Croissants Tonight!
Thanks for joining us on this buttery, flaky journey! You've just unlocked the secrets to crafting authentic French croissants, even with a busy schedule. Ready to take your baking skills to the next level?
- Master the Overnight Method: Try our recipe again, focusing on perfecting your lamination technique. Even small improvements make a big difference!
- Share your croissant creations: Tag us on social media – we love seeing your baking triumphs!
- Challenge yourself: Experiment with different fillings or glazes. What unique flavor combinations will you create?
Ready to transform your kitchen into a Parisian patisserie? What’s your favorite croissant pairing – coffee, tea, or something else entirely?