
Using Cold Water for Controlled, Slow Fermentation and Flavor

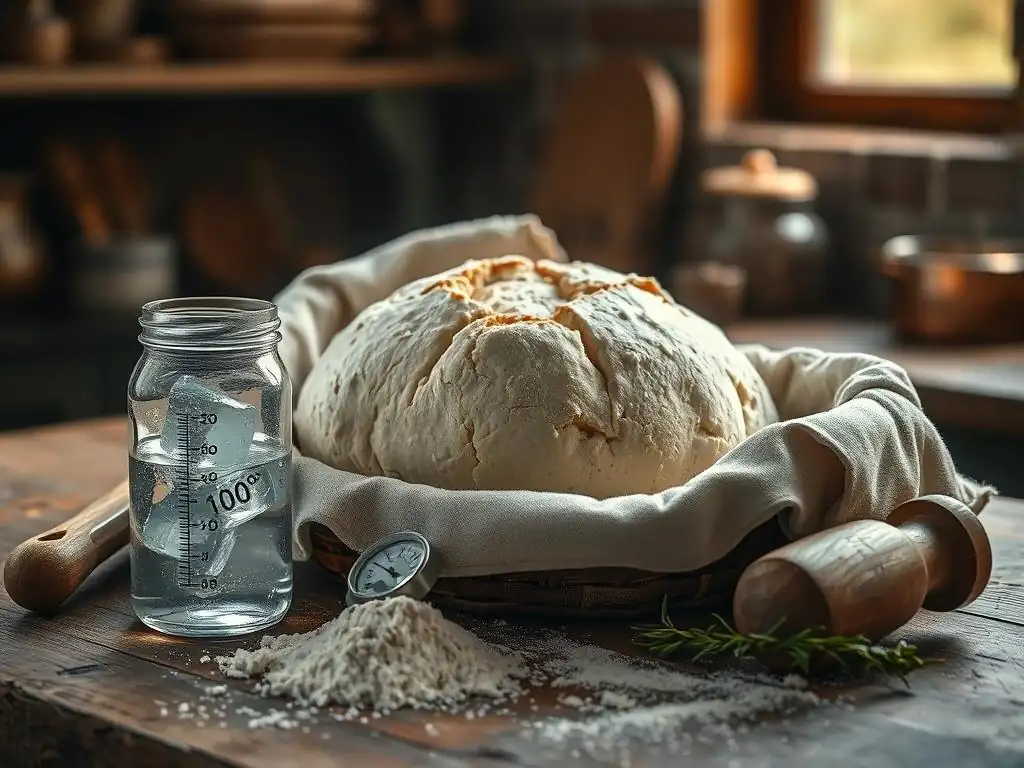
Welcome to BakeWithEase, where baking dreams rise! Ever wondered how to unlock a deeper, more complex flavor in your sourdough? Delve into the secrets of cold water sourdough fermentation – a game-changing technique that offers unparalleled control and incredible results. Discover how this simple adjustment can transform your loaves, and prepare to elevate your bread baking to a whole new level. Ready to bake smarter, not harder?
- Mastering Sourdough: The Art of Cold Fermentation
- Introduction to Cold Fermentation in Sourdough Baking
- The Science Behind Cold Fermentation in Sourdough
- Cold Fermentation: A Step-by-Step Guide
- The Benefits of Cold Fermentation
- Troubleshooting Common Issues
- Recipes and Variations
- Tips and Tricks for Success
- Conclusion: Elevate Your Sourdough Baking
-
Frequently Asked Questions
- What is cold water sourdough fermentation and why is it used?
- How does cold water affect the taste of my sourdough?
- What temperature should the water be for cold water sourdough fermentation?
- Are there any downsides to using cold water in sourdough?
- Can I use cold water for all my sourdough recipes?
- Final Reflection: The Cool Embrace of Slow Fermentation
- Unlock Your Baking Potential: Master the Art of Cold Fermentation
Mastering Sourdough: The Art of Cold Fermentation
Introduction to Cold Fermentation in Sourdough Baking
Why Cold Fermentation Enhances Sourdough Bread
Cold fermentation, often referred to as cold proofing or retarding, is a technique where the sourdough dough is placed in a cool environment, typically a refrigerator set between 4°C and 7°C (39°F and 45°F), for an extended period. This drastically slows down the activity of the yeast and bacteria in the sourdough starter.
Unlike a rapid fermentation at room temperature, which might take just 3-5 hours for the bulk rise, cold fermentation can last anywhere from 12 hours to several days, sometimes even up to 72 hours depending on the recipe and desired outcome. This prolonged, slow process is key to developing a more complex flavor profile and improving the dough's structure.
The magic of cold fermentation lies in its ability to allow specific metabolic processes within the dough to unfold gradually. While yeast activity is significantly reduced, the lactic acid bacteria (LAB) present in the sourdough starter remain relatively more active at cooler temperatures compared to yeast. This imbalance encourages the production of more organic acids, particularly lactic and acetic acids.
Lactic acid contributes a milder, creamy tang, while acetic acid provides a sharper, vinegary note. The extended time in the cold allows these acids to build up, resulting in the characteristic complex tang and aroma that differentiates truly exceptional sourdough bread from those fermented quickly. This is one of the most valuable cold water sourdough fermentation tips for achieving deep flavor.
A Comprehensive Guide to Slow Fermentation with Cold Temperatures
Embracing slow fermentation with cold temperatures involves more than just putting dough in the fridge; it's a deliberate technique that impacts every stage of the baking process. From the initial mixing with cold water to the final bake, temperature plays a crucial role. Using cold water initially helps control the dough temperature from the start, preventing it from fermenting too quickly before it even gets to the refrigerator. This is particularly important in warmer kitchens or when dealing with very active starters.
A typical schedule might involve mixing the dough, performing a short bulk fermentation at room temperature (perhaps 1-3 hours with folds), and then transferring it to the refrigerator for the main bulk fermentation or final proofing. The duration in the cold depends on the desired level of sourness and dough development. A longer cold period generally leads to a tangier bread and a more robust structure. Mastering these cold water sourdough fermentation tips allows bakers to not only improve flavor but also gain flexibility, as the dough can be proofed overnight or even longer, fitting baking into busy schedules.
The Science Behind Cold Fermentation in Sourdough
How Temperature Impacts Yeast Activity and Flavor Development
Temperature is a critical factor in the biochemical reactions occurring within sourdough. Yeast, the primary leavening agent, is most active at temperatures between 24°C and 28°C (75°F and 82°F). In this range, yeast consumes sugars and rapidly produces carbon dioxide gas, causing the dough to rise quickly. However, at refrigerator temperatures (around 4°C), yeast activity slows down dramatically – by as much as 90% or more. This means gas production is minimal during cold fermentation, preventing the dough from over-proofing rapidly.
Conversely, the various strains of lactic acid bacteria (LAB) in sourdough have different optimal temperature ranges, but many remain relatively active at cooler temperatures compared to yeast. For instance, Lactobacillus sanfranciscensis, a key LAB species in sourdough, thrives in a slightly wider range, including cooler temperatures. While overall acid production slows, the balance shifts.
The reduced competition from fast-acting yeast allows the LAB more time to produce organic acids from the flour's carbohydrates. This slow, deliberate acid production is what builds the nuanced flavor profile, contributing to both the acidity (tang) and the aromatic compounds that make sourdough so appealing.
The Effect of Cold on Gluten Development and Dough Strength
Beyond influencing microbial activity, cold temperatures also have a significant impact on the physical structure of the dough, particularly gluten development. Gluten, the protein network formed when water is added to flour and kneaded, provides the dough's elasticity and structure, trapping the gases produced during fermentation. While kneading is the primary method for developing gluten quickly, time is also a crucial factor. Autolysis (the resting period after mixing flour and water) and bulk fermentation allow enzymes in the flour to naturally strengthen the gluten network.
During slow, cold fermentation, these enzymatic processes continue over a much longer period. The cooler temperature slows down the enzymatic activity slightly compared to room temperature, but the extended duration compensates for this. This prolonged contact between water, flour, and enzymes, coupled with the gentle expansion from minimal gas production, allows the gluten network to relax and align without tearing. The result is often a stronger, more extensible dough that is easier to handle and shape after coming out of the refrigerator, and which can support a more open crumb structure during baking.
Retarding Fermentation: Unlocking Complex Flavors and Textures
Retarding fermentation is essentially the technical term for slowing it down, usually through the use of cold temperatures. This process is fundamental to developing the complex flavors and textures characteristic of artisan sourdough. As mentioned, the shift in the yeast-to-bacteria activity ratio at cooler temperatures favors the production of organic acids. These acids don't just add tang; they also contribute to the dough's structure by slightly weakening the gluten network, which can lead to a more tender crumb, and they interact with other compounds to create a wider range of volatile aromatics.
Furthermore, retarding fermentation allows enzymes called proteases, present in the flour, more time to break down proteins. While excessive protease activity can weaken gluten, a controlled, slow breakdown contributes to dough extensibility and can enhance flavor precursors. Similarly, amylase enzymes continue to break down starches into simpler sugars, providing more food for the microbes over time and contributing to crust browning during baking. This controlled, slow activity across multiple biochemical pathways is why cold water sourdough fermentation tips are so valuable for achieving depth of flavor and a desirable texture.
Cold Fermentation: A Step-by-Step Guide
Step 1: Preparing Your Sourdough Starter
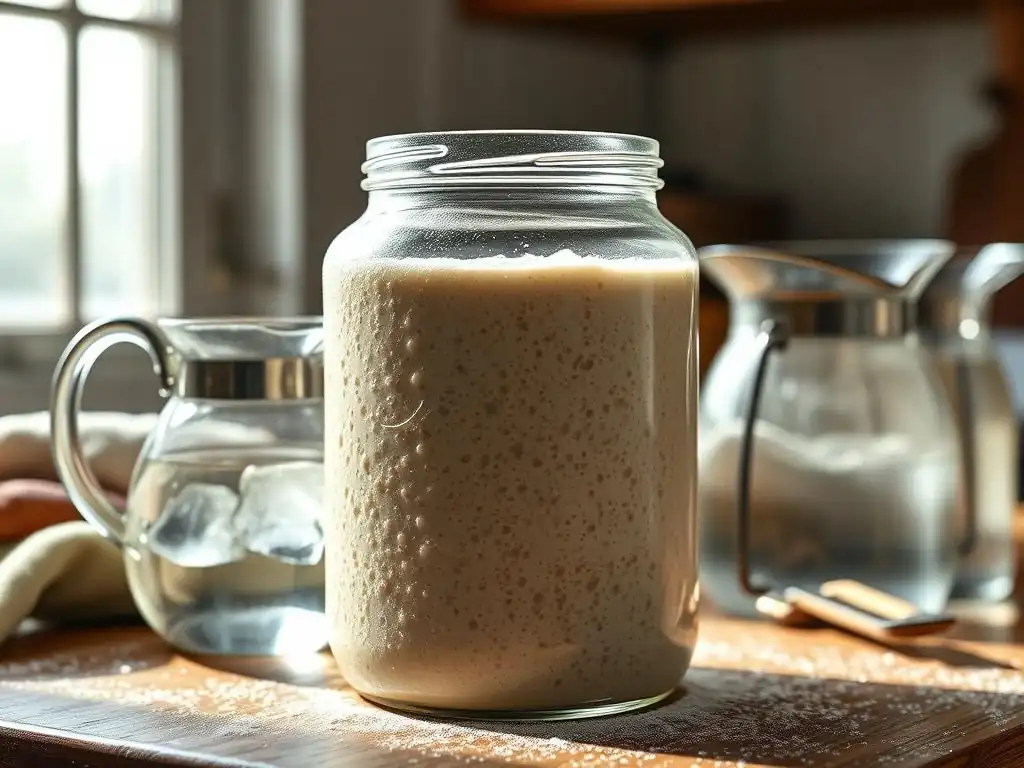
Maintaining a strong and active sourdough starter is the absolute foundation for any successful sourdough bake, especially when employing cold fermentation techniques. A vigorous starter ensures that you have a healthy population of both yeast and bacteria ready to work for you, albeit slowly, in the cold environment. An inactive or weak starter will struggle to perform adequately at refrigerator temperatures, potentially leading to under-proofed or dense loaves.
To prepare your starter for cold fermentation, ensure it's active and bubbly. This usually means feeding it 4-12 hours before mixing your dough, allowing it to rise and show signs of peak activity (like doubling or tripling in size and having a domed top before starting to fall).
Using a starter that has just passed its peak or is at its peak ensures maximum microbial vitality. The ratio you use for feeding (e.g., 1:1:1, 1:2:2, or 1:3:3 starter:water:flour by weight) can influence how quickly it peaks; a higher ratio will take longer but can result in a more robust culture.
Maintaining a Vigorous Starter for Optimal Results
- Feed your starter regularly, ideally daily or every other day if kept at room temperature.
- Use unbleached flour (like bread flour or whole wheat) and filtered water.
- Discard a portion before feeding to maintain a manageable amount and healthy microbial balance.
- Observe its activity: does it double or triple? Does it have many bubbles? Does it smell pleasant and tangy?
- Consider keeping a smaller "mother" starter in the fridge and taking a small amount out to refresh (build) for baking.
Step 2: Mixing the Dough with Cold Water
Incorporating cold water into your dough mix is a simple yet effective way to control the initial dough temperature. A lower starting temperature means the dough takes longer to warm up, giving you more control over the initial stages of fermentation before it goes into the refrigerator. This is particularly useful in warm kitchens where dough can start fermenting very rapidly.
The ideal temperature for your mixed dough before it enters the cold can vary depending on your recipe and environment, but aiming for a dough temperature below 24°C (75°F) is a good starting point when planning for significant cold fermentation. Using water directly from the tap or even chilled in the refrigerator can help achieve this. For example, if your kitchen is 25°C (77°F), using water at 5°C (41°F) will significantly lower the final dough temperature compared to using room temperature water.
Calculating Ideal Dough Temperature for Cold Fermentation
- The desired final dough temperature is often targeted around 22-24°C (72-75°F) for typical room temperature fermentation, but lower is better for starting a long cold proof, perhaps aiming for 20°C (68°F).
- Factors influencing final dough temperature include flour temperature, water temperature, starter temperature, ambient room temperature, and friction from mixing.
- A simple rule of thumb (desired dough temp x number of factors) - (sum of factor temps) = required water temp can be used, though it's an approximation. For example, (20 * 3) - (25 room + 22 flour + 24 starter) = 60 - 71 = -11°C. This negative result simply indicates you must use cold water and even then, you might not hit 20°C starting temp unless your ingredients are also very cold. Practical tip: just use cold water from the fridge or tap if it's cold.
Achieving Proper Hydration with Cold Water
- Cold water absorbs into flour more slowly than warm water.
- Allow for an autolyse period (mixing flour and water only and letting it rest for 20-60 minutes) to help hydration occur before adding starter and salt.
- The slower absorption with cold water can sometimes make the dough feel slightly stiffer initially, but the long cold fermentation period allows for full hydration over time.
- Ensure you weigh your ingredients accurately using a kitchen scale for precise hydration levels (e.g., 75% hydration means 75g water per 100g flour).
Step 3: Bulk Fermentation in the Refrigerator
After the initial mixing and perhaps a short period of room temperature fermentation (the "warm-up" phase), the dough is transferred to the refrigerator for the main bulk fermentation, also known as the first rise or primary fermentation. This is where the magic of slow, cold fermentation truly happens. The duration can range significantly based on the recipe, your starter's strength, and the desired outcome, but commonly spans 12 to 48 hours. Some bakers push this to 72 hours or even longer for maximum flavor development.
During this cold bulk fermentation, the dough will rise very slowly, perhaps only increasing by 20-50% depending on the time and temperature. The key is not necessarily significant volume increase in the cold, but rather the development of flavor and structure. Performing a few sets of coil folds or stretch and folds during the first 1-3 hours before placing the dough in the fridge can help build initial strength, which the cold temperature will then help maintain and enhance over the long fermentation.
Managing Time and Temperature for Optimal Bulk Fermentation
- Place the dough in a covered container (like a plastic tub or bowl with a tight-fitting lid or plastic wrap) to prevent a skin from forming.
- Ensure your refrigerator is consistently between 4°C and 7°C (39-45°F). Temperatures much lower can completely halt activity, while much higher can lead to over-proofing.
- Experiment with different durations (e.g., 12, 24, 36 hours) to find the sweet spot for your starter, flour, and taste preference regarding tanginess. A longer cold proof generally results in more sourness.
- Consider the dough's initial temperature and the fridge temperature when estimating time; colder dough or a colder fridge means slower fermentation.
Recognizing Signs of Proper Fermentation
- The dough will have increased in volume, but not necessarily doubled (unlike room temperature bulk). Look for a noticeable rise, perhaps 30-50%.
- The surface may show some bubbles, and the dough should feel somewhat gassy and alive when gently poked.
- The dough should feel stronger and more cohesive than when it went in, yet also feel relaxed and extensible.
- A small piece of dough placed in water (the float test) might float if sufficiently gassy, but this test is less reliable for cold dough. Rely more on visual cues and feel.
Step 4: Shaping and Proofing Your Sourdough
After the long cold bulk fermentation, the dough is typically divided (if making multiple loaves) and shaped. Working with cold dough straight from the refrigerator is often easier than working with warm, relaxed dough. It's less sticky and holds its shape better, making the shaping process more manageable, especially for beginners. Handle the dough gently to preserve the structure and gases developed during the long fermentation.
Once shaped, the dough enters the final proofing stage (sometimes called the secondary fermentation). This can be done either at room temperature or back in the refrigerator. Proofing again in the cold (cold proofing) is common for sourdough as it continues to develop flavor and allows for flexibility in baking time. If proofing at room temperature after a cold bulk, the time will be significantly shorter than if the entire bulk was at room temperature, often just 1-3 hours, as the dough is already well-developed.
Gentle Shaping Techniques for Cold-Proofed Dough
- Turn the cold dough out onto a lightly floured surface.
- Divide if necessary, then pre-shape into a round or log and let rest for 15-20 minutes (the bench rest) to allow the gluten to relax slightly, making final shaping easier.
- For the final shape, work relatively quickly and confidently. Avoid excessive flour, which can prevent seams from sealing.
- Shape into your desired form (batard, boule) using techniques like stitching or tension-building folds. The cold dough's firmness helps it maintain tension.
Final Proofing: Balancing Time and Temperature
- Cold Final Proof: Place the shaped dough (in a banneton or proofing basket lined with flour or rice flour) back into the refrigerator. This is very common for sourdough and can last from 4 to 24 hours. It further develops flavor and allows you to bake straight from the fridge, which is excellent for oven spring.
- Room Temperature Final Proof: If you plan to bake sooner, proof the shaped dough at room temperature. The time will vary greatly based on ambient temperature and how long the bulk was cold. It could be anywhere from 1 to 4 hours. Watch the dough, not the clock. It should look puffy and slightly increased in size, and a gentle poke should leave an indentation that slowly springs back halfway.
Step 5: Baking Your Cold-Fermented Sourdough
Baking cold-fermented sourdough often involves baking the loaf directly from the refrigerator. This technique offers several advantages. The cold, firm dough is easier to score cleanly, allowing for better control over oven spring. The cold surface also hits the hot oven and steam, causing the crust to set slightly slower than a warm dough, contributing to a better "oven spring" (the final rapid expansion in the oven).
Preheating your oven thoroughly is crucial, typically to a high temperature like 230-260°C (450-500°F). Baking in a Dutch oven or with steam (by placing a tray of hot water or ice cubes in the oven) is highly recommended for the first 15-20 minutes.
The steam keeps the crust pliable, allowing the dough to expand fully before the crust hardens, which is key to achieving a good rise and an open crumb structure. After the initial steamed phase, the steam source is removed (or the lid is taken off the Dutch oven), and the temperature may be reduced slightly to allow the crust to brown and crisp up.
Adjusting Baking Parameters for Cold-Proofed Dough
- Bake directly from the fridge whenever possible for easiest scoring and best oven spring.
- Preheat your oven and baking vessel (Dutch oven, baking steel/stone) for at least 30-60 minutes at a high temperature (e.g., 250°C / 480°F).
- Score the cold dough deeply and confidently just before loading into the oven.
- Bake covered (in a Dutch oven) or with ample steam for the first 15-20 minutes.
- Remove the lid/steam and reduce the temperature slightly (e.g., to 220°C / 430°F) for the remaining 20-30 minutes until the crust is deep golden brown and the internal temperature reaches about 96°C (205°F).
Achieving a Perfect Crust and Open Crumb
- The combination of high initial heat, steam, and baking the cold dough helps maximize oven spring, which is essential for an open crumb.
- The long, slow fermentation in the cold contributes to enzymatic activity that breaks down starches, leading to better caramelization during baking and a richer, darker crust color.
- Ensure the loaf is fully baked. An underbaked loaf, even with a good crust, will have a gummy crumb. The internal temperature target of 96°C (205°F) is a reliable indicator.
- Allow the baked loaf to cool completely on a wire rack for at least 2-3 hours before slicing. This allows the internal structure to set and moisture to redistribute, preventing a gummy texture.
The Benefits of Cold Fermentation
Enhanced Flavor Complexity and Tang
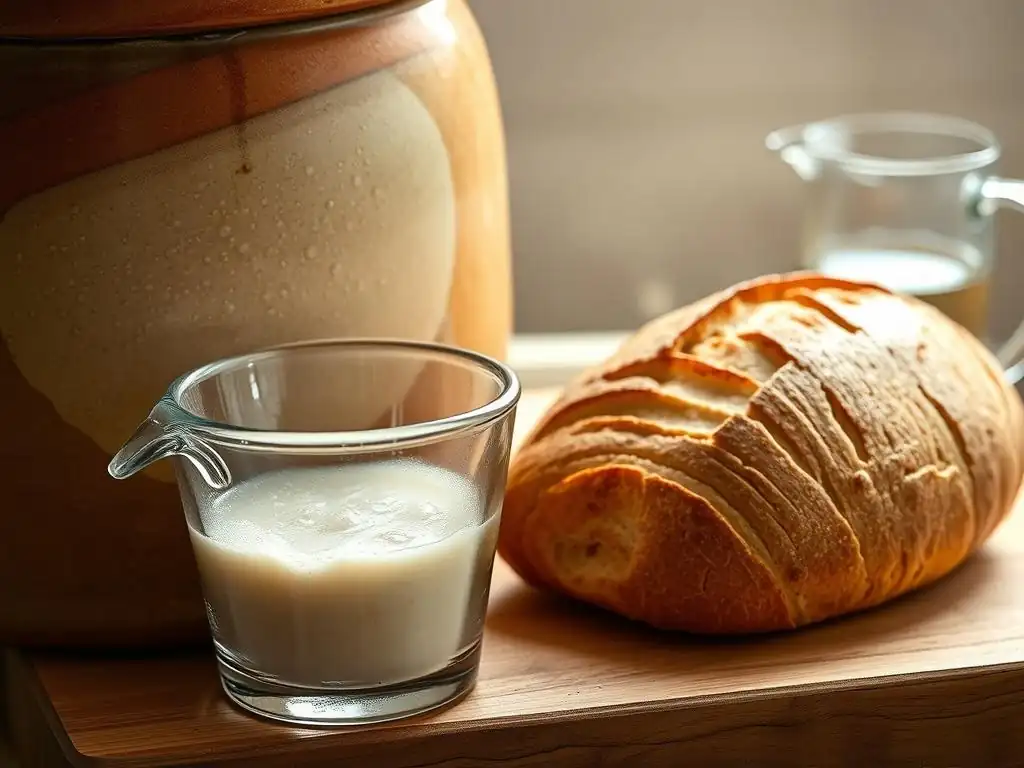
One of the most celebrated benefits of using cold water sourdough fermentation tips is the significant improvement in flavor. The extended, slow fermentation process at refrigerator temperatures gives the lactic acid bacteria (LAB) ample time to metabolize sugars and produce a higher concentration of organic acids, particularly lactic and acetic acids. Lactic acid provides a mellow, creamy tang, while acetic acid contributes a sharper, more vinegary note. The balance and intensity of these acids develop over time in the cold, resulting in a deeper, more nuanced flavor profile that simply cannot be achieved with rapid room temperature fermentation.
Consider a loaf proofed for 4 hours at 24°C versus one proofed for 24 hours at 4°C. The cold-proofed loaf will almost invariably have a more pronounced tang and a richer aroma. This extended time also allows for the breakdown of complex carbohydrates and proteins into simpler compounds, which serve as flavor precursors and contribute to the overall complexity and depth of the bread's taste.
Improved Dough Handling and Structure
Working with dough that has undergone a long cold fermentation is often a more pleasant experience. The cold temperature makes the dough firmer and less sticky straight from the refrigerator, which simplifies the shaping process. It holds tension better during shaping, allowing bakers to create a more defined structure before the final proof.
Furthermore, the extended time in the cold allows for continued, albeit slow, gluten development through enzymatic activity and hydration. This results in a stronger, more extensible gluten network without the need for excessive kneading. The dough becomes more manageable, resilient, and better able to hold its shape and trap gases during baking, contributing to improved oven spring and a more desirable open crumb structure.
Greater Flexibility in the Baking Schedule
Perhaps one of the most practical advantages of cold fermentation for home bakers is the flexibility it offers. Unlike room temperature fermentation, which requires constant monitoring and adherence to a strict timeline to avoid over-proofing, cold fermentation puts the dough's activity on pause. You can mix the dough one day, let it cold ferment in the fridge for 24, 36, or even 48 hours, and then bake it whenever it's convenient within that window.
This flexibility allows you to fit sourdough baking into a busy life. You can mix the dough in the evening, refrigerate it overnight or for a full day, shape it when you have a moment, and then bake it after its final cold proof when your schedule allows. This eliminates the pressure of needing to be available for several hours straight during the active fermentation phases.
Extended Shelf Life and Freshness
Sourdough bread is known for its relatively good keeping quality compared to commercial yeast breads, and cold fermentation further enhances this. The higher acidity developed during the long cold proof acts as a natural preservative, inhibiting the growth of mold and slowing down the staling process.
The organic acids produced by the LAB contribute to a lower pH in the dough, creating an environment less favorable for spoilage organisms. While no bread lasts forever, a cold-fermented sourdough loaf will typically stay fresh and palatable for several days at room temperature, and its unique flavor profile may even deepen slightly on the second day. This extended freshness is a welcome bonus for bakers and bread lovers alike.
Troubleshooting Common Issues
Preventing Over-Proofing During Cold Fermentation
While cold temperatures significantly slow down fermentation, over-proofing can still occur, especially with very long cold proofs (e.g., beyond 48-72 hours) or if your refrigerator temperature is warmer than ideal (above 7°C / 45°F). Signs of over-proofing in the cold include dough that appears very bubbly and spread out, feels overly fragile or collapses easily when handled, and may have a very strong, overly acidic smell.
To prevent this, ensure your refrigerator is consistently cold enough. Monitor your dough during longer cold proofs; check it after 24, 36, and 48 hours to see how it's developing. If it seems to be progressing too quickly or showing signs of significant spread, it might be ready to bake sooner than planned. Using a slightly less active starter or a lower percentage of starter in your recipe can also slow things down if you consistently find your dough is over-proofing in the cold within your desired timeframe.
Addressing Dough Stickiness and Weak Gluten
Sometimes, even after a long cold fermentation, dough can feel stickier or weaker than expected. This might be due to insufficient initial gluten development (not enough mixing or folds), using flour with lower protein content, or in rare cases, excessive protease activity breaking down the gluten over a very long cold proof.
If your dough feels weak after cold bulk, you can try incorporating an extra set of gentle folds during the shaping phase to build a little more tension. Ensure you are using a bread flour with adequate protein (typically 11-13%). If using a very high hydration (e.g., 80% or more), some stickiness is normal, but the dough should still have structure.
If it's consistently weak, consider slightly reducing the hydration in your next bake or ensuring your folding technique during bulk fermentation is effective. Using cold water sourdough fermentation tips properly, including adequate initial development, helps build a strong foundation.
Managing Excessive Sourness
While many bakers seek the tang of sourdough, sometimes a very long cold fermentation can result in a level of sourness that is too intense for personal preference. Excessive acetic acid production, which contributes the sharp, vinegary notes, is often favored by longer, colder fermentation periods.
To reduce sourness, you have a few options. Shorten the cold fermentation time (e.g., reduce from 48 hours to 24 hours). Use a higher hydration starter or feed your starter with a higher ratio of fresh flour and water (e.g., 1:3:3 instead of 1:1:1) before mixing, as this can encourage more lactic acid production relative to acetic acid. You can also try incorporating a slightly shorter room temperature bulk fermentation phase before refrigerating, allowing yeast to produce more carbon dioxide and slightly shifting the balance before the cold slows things down.
Recipes and Variations
Basic Cold-Fermented Sourdough Recipe
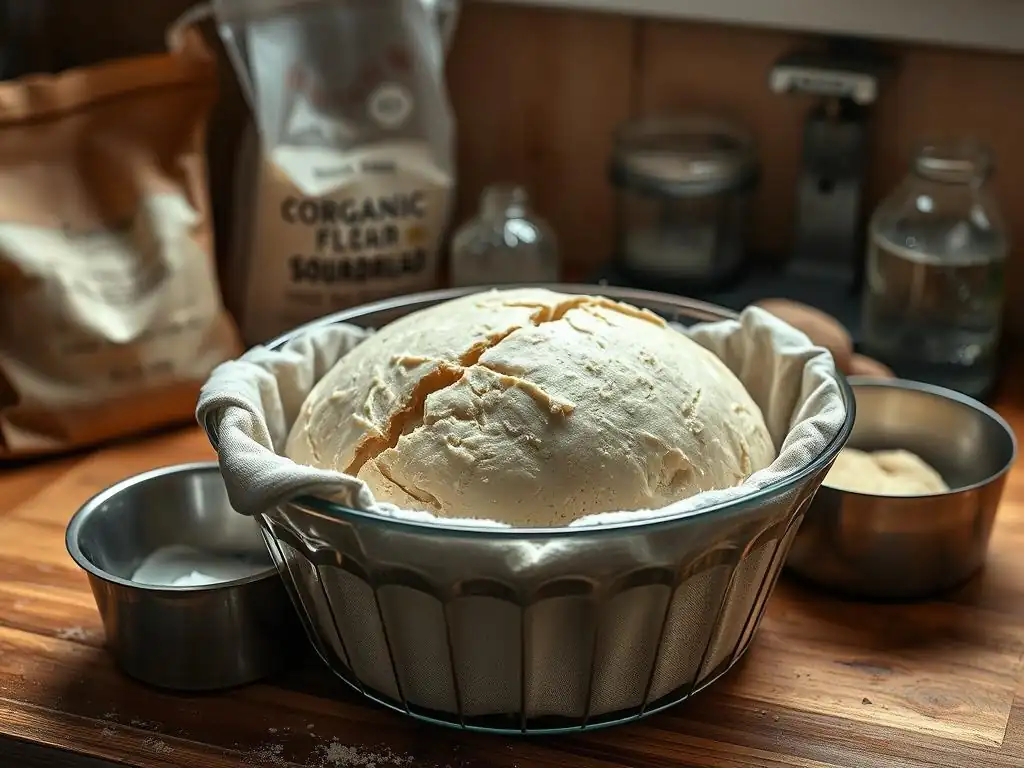
Here is a foundational recipe incorporating cold water sourdough fermentation tips. This is a guide; adjust based on your starter and environment.
- Ingredients:
- 400g Strong Bread Flour
- 100g Whole Wheat Flour (optional, for flavor)
- 375g Cold Water (75% hydration)
- 100g Active Sourdough Starter (fed 4-8 hours prior)
- 10g Fine Sea Salt
- Method:
- Autolyse: In a large bowl, mix flours and cold water until just combined. Cover and let rest for 30-60 minutes.
- Mix: Add starter and salt to the dough. Mix by hand or stand mixer until incorporated. Dough will be shaggy. Rest 20 mins.
- Folds: Perform 4 sets of stretch and folds or coil folds at 30-minute intervals over 2 hours.
- Bulk Fermentation (Room Temp): Let dough rest at room temperature for another 1-2 hours, depending on warmth, until slightly puffy.
- Cold Fermentation (Fridge): Cover the bowl and place in the refrigerator (4-7°C / 39-45°F) for 12-48 hours.
- Shape: Turn cold dough onto a lightly floured surface. Gently pre-shape, rest 20 mins, then final shape. Place in a floured banneton.
- Final Proof: Either cold proof in the fridge for another 4-12 hours, or proof at room temp for 1-3 hours (until slightly puffy).
- Bake: Preheat oven to 250°C (480°F) with a Dutch oven inside for 45-60 mins. Score cold dough, transfer to Dutch oven, bake covered for 20 mins. Uncover, reduce temp to 220°C (430°F), bake 20-25 mins more until deep golden.
- Cool: Cool completely on a wire rack.
Spelt Sourdough with Cold Fermentation
Spelt flour adds a lovely nutty flavor and softer texture. Using cold fermentation works beautifully with spelt, managing its slightly weaker gluten structure.
- Substitute 150-200g of the bread flour in the basic recipe with Whole or Light Spelt flour.
- Spelt absorbs water differently; you might need slightly more or less water depending on the specific flour. Start with 75% hydration and adjust.
- Be gentler with folds as spelt gluten is more delicate.
- Cold fermentation (24-36 hours) is ideal as it limits the breakdown of spelt's fragile gluten structure while still developing flavor.
- Baking parameters are similar, though spelt crust can brown faster.
Exploring Different Flour Combinations
Cold fermentation is versatile and works well with a variety of flour blends, allowing you to experiment with flavor and texture.
- Whole Wheat: Increasing whole wheat (up to 50%) adds nutrients and a robust flavor that is enhanced by cold fermentation's tang. Whole wheat doughs may ferment slightly faster.
- Rye: Adding a small percentage (5-15%) of rye flour contributes a distinct flavor profile. Rye benefits greatly from cold fermentation as it develops complex aromatics. Rye doesn't develop gluten like wheat, so handle gently.
- Ancient Grains: Flours like Einkorn or Kamut can be used in blends. Their unique flavors are often highlighted by the slow acid development in cold fermentation. These flours often require different hydration levels and gentler handling.
Tips and Tricks for Success
Optimizing Your Home Environment for Cold Fermentation
Success with cold water sourdough fermentation tips often comes down to controlling variables, and your home environment plays a role. The most critical aspect is the temperature of your refrigerator. Ensure it's consistently between 4°C and 7°C (39°F and 45°F). Use a separate thermometer to verify the temperature, as the fridge's internal gauge might not be perfectly accurate. Avoid placing the dough container right against the back wall or vents where it might freeze or be exposed to inconsistent temperatures.
Consider the temperature of your kitchen during the initial room temperature phase. If it's very warm (above 25°C / 77°F), reduce the room temperature fermentation time before refrigerating to prevent the dough from getting a head start and potentially over-proofing in the fridge. Conversely, in a very cold kitchen, you might need a slightly longer initial room temperature phase to get the fermentation going before the cold storage. Using cold water from the outset helps manage this initial phase regardless of kitchen temperature.
Adapting Cold Fermentation to Other Bread Recipes
While we've focused on sourdough, the principles of cold fermentation can be applied to other bread types that use commercial yeast, such as pizza dough, focaccia, or enriched doughs like brioche. The main difference is the speed; commercial yeast is much more active than sourdough yeast, so the cold fermentation times will often be shorter (e.g., 8-24 hours instead of 12-72).
For yeasted doughs, using cold water and refrigerating after mixing (or after a short room temp rise) will still slow down fermentation, build flavor, and improve dough handling. This is a classic technique for pizza dough, resulting in a crust with a more complex flavor and better texture. You might use a smaller amount of yeast than a standard same-day recipe when planning for a cold ferment.
Maintaining Consistency in Cold Fermented Sourdough
Achieving consistent results with cold water sourdough fermentation tips requires attention to detail and practice. Here are some points to help maintain consistency:
- Consistent Starter: Ensure your starter is fed and active in the same way each time you bake. Variations in starter strength are a major cause of inconsistent results.
- Accurate Measurements: Always weigh your ingredients using a digital scale. Hydration and ingredient ratios are critical.
- Monitor Temperatures: Pay attention to your kitchen temperature, water temperature, and especially your refrigerator temperature.
- Observe the Dough: Learn to read your dough. Look for visual cues regarding its development and feel its texture at different stages rather than relying solely on time.
- Keep a Baking Journal: Note down your recipe, temperatures, timings, and observations. This helps you understand what worked and what didn't, allowing you to refine your process.
Conclusion: Elevate Your Sourdough Baking
Embrace Slow Fermentation for Superior Results
Mastering the art of cold fermentation is a significant step in elevating your sourdough baking. By embracing the slow, deliberate process that happens at refrigerator temperatures, you unlock a depth of flavor and complexity that is simply unattainable through rapid fermentation alone. The extended time allows for the development of a more nuanced tang, a stronger yet more extensible gluten structure, and a dough that is easier to handle and shape.
The benefits extend beyond the loaf itself, offering invaluable flexibility in your baking schedule. No longer are you tied to a strict timeline dictated by aggressive yeast activity; you can proof your dough leisurely in the fridge, baking it when it suits you best. Incorporating cold water sourdough fermentation tips into your routine will undoubtedly lead to more delicious, professional-quality loaves straight from your home oven.
Resources for Further Learning and Exploration
To continue your journey with cold-fermented sourdough, explore resources that delve deeper into the science and techniques. Look for detailed guides on managing starter activity, understanding dough rheology at different temperatures, and advanced shaping methods for cold dough. Many experienced bakers share their specific cold fermentation schedules and observations online. Experimentation is key – try varying your cold proof times, hydration levels, and flour blends to discover your own perfect cold-fermented loaf. Embrace the process, and enjoy the incredible bread you create!
Frequently Asked Questions
What is cold water sourdough fermentation and why is it used?
Cold water sourdough fermentation involves using cold water in your sourdough recipe to slow down the fermentation process. This results in a more complex flavor development and better dough handling.
How does cold water affect the taste of my sourdough?
Using cold water allows for a longer fermentation period, which gives the bacteria and yeast more time to produce flavorful byproducts. This leads to a tangier and more nuanced sourdough loaf.
What temperature should the water be for cold water sourdough fermentation?
The water temperature typically ranges between 40-50°F (4-10°C). This temperature range effectively inhibits excessive yeast activity while still allowing for a slow, controlled fermentation.
Are there any downsides to using cold water in sourdough?
The main downside is the extended fermentation time. It requires patience and planning, as the dough might need to ferment for several hours or even overnight in the refrigerator.
Can I use cold water for all my sourdough recipes?
While cold water fermentation can enhance many sourdough recipes, it's not always necessary. It's best suited for recipes where you want a tangier flavor and have the time for a longer fermentation process.
Final Reflection: The Cool Embrace of Slow Fermentation
The art of cold water sourdough fermentation, once a niche practice, is experiencing a well-deserved resurgence. Its ability to unlock nuanced flavors and enhance the control over the fermentation process is proving invaluable to both seasoned bakers and enthusiastic beginners alike. This method offers a pathway to consistent, predictable results, even in challenging climates.
The shift towards slower, more deliberate processes in food production reflects a broader cultural movement towards mindful consumption and appreciation for artisanal techniques. We're moving away from instant gratification and embracing the beauty of patience. This resonates deeply with me, as I've found that the time spent nurturing a sourdough starter and carefully monitoring its cold fermentation is a meditative practice, a connection to a tradition that spans centuries. Slow food is good food, but it is also good culture, good economics, good ecology, good health and good company.
- Carlo Petrini
Now, consider your own baking journey. Will you embrace the cool embrace of cold water fermentation? Experiment with different temperatures, observe the subtle changes in your dough, and savor the unique flavors that emerge. The journey of discovery is as rewarding as the final loaf, so don't be afraid to explore the possibilities. Let the slow fermentation process become your own meditative ritual, a testament to the power of patience and the enduring magic of sourdough.
Unlock Your Baking Potential: Master the Art of Cold Fermentation
Thanks for diving into the world of cold fermentation with us! We hope you now understand how this technique can elevate your baking to new heights, resulting in deeper flavors and superior texture. Ready to put your newfound knowledge into practice?
- Start your first cold fermentation project today: Choose your favorite bread recipe and try substituting cold water – you’ll be amazed by the difference! Experiment with different durations to find your perfect balance of tang and complexity.
- Share your cold fermentation creations: Show us your baking journey by tagging #BakeWithEaseColdFermentation on social media – we can’t wait to see what you bake!
- Join our Baking Community: Connect with fellow bakers in our forums to share tips, recipes, and support each other on your cold fermentation adventures!
What unique flavor profile will you unlock with your next cold-fermented bake? Let’s hear about it in the comments!