
Beyond Basic: Elevating Your Cream Pie Game with Simple Tricks

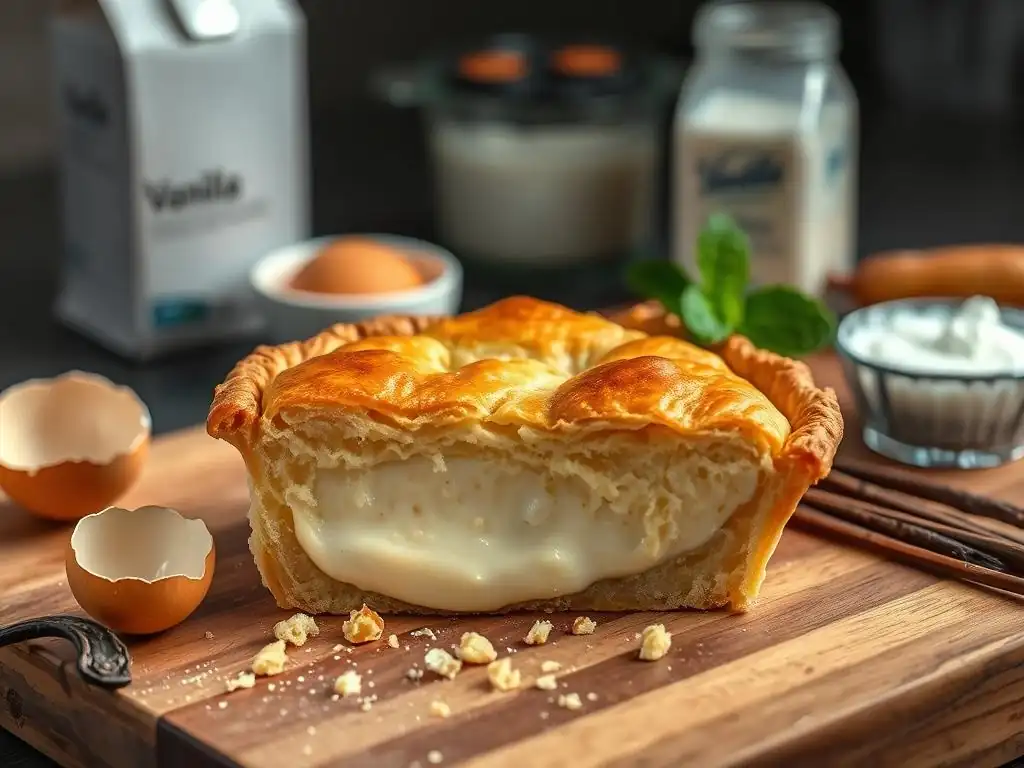
Welcome to BakeWithEase, your haven for all things baking! Tired of complicated recipes and lackluster results? You've come to the right place. This week, we're diving deep into the delightful world of easy cream pie recipes. But forget everything you think you know about basic pies – we're about to unveil simple tricks to elevate your cream pie game to a whole new level. Ready to impress with a slice of creamy perfection? Let's get started!
- Beyond Basic: Elevating Your Chocolate Cream Pie Game with Simple Tricks
- Introduction: Mastering Chocolate Cream Pie Recipes for Baking Success
- The Foundation: Crafting a Delicious Chocolate Cream Pie Crust
- The Star of the Show: Chocolate Cream Pie Filling Secrets
- Assembling Your Dreamy Chocolate Cream Pie
- Elevating the Presentation: Chocolate Cream Pie Topping Ideas
- Troubleshooting Common Chocolate Cream Pie Problems
- Easy Chocolate Cream Pie Recipes: Our Top Recommendations
- Conclusion: Baking Perfect Chocolate Cream Pies with Ease
-
Frequently Asked Questions
- What makes BakeWithEase.com a good resource for easy cream pie recipes?
- What kind of cream pie recipes can I expect to find on BakeWithEase.com?
- What are some simple tricks to elevate my cream pie?
- Are the easy cream pie recipes on BakeWithEase.com suitable for beginner bakers?
- Where can I find the step-by-step guides mentioned for the cream pie recipes?
- Final Reflection: The Unexpected Joy of a Perfect Cream Pie
- Unlock Your Inner Pastry Chef: Elevate Your Pies Today!
Beyond Basic: Elevating Your Chocolate Cream Pie Game with Simple Tricks
Introduction: Mastering Chocolate Cream Pie Recipes for Baking Success
Are you ready to move beyond the basic and truly master the art of crafting a perfect chocolate cream pie? While many easy cream pie recipes provide a great starting point, unlocking the secrets to a truly exceptional pie involves understanding the nuances of each component – from the foundational crust to the dreamy filling and the final flourish of topping. This article is designed to guide you through simple yet impactful techniques that will transform your next chocolate cream pie from good to absolutely unforgettable, impressing everyone who takes a bite.
Creating a stunning chocolate cream pie doesn't require professional pastry chef skills. It's about paying attention to detail and applying a few clever tricks. We'll walk you through selecting the best crust, ensuring your filling is luxuriously smooth, and adding those special touches that make your pie stand out. Whether you're looking for easy chocolate cream pie recipes for a quick dessert or aiming to perfect your signature dish, these tips will elevate your baking game and give you the confidence to tackle even more complex pastry projects in the future.
BakeLikeAPro Presents: A Guide to Perfect Chocolate Cream Pies
Welcome to your comprehensive guide for achieving chocolate cream pie perfection. Here at BakeWithEase, we believe that mastering classic desserts is a rewarding journey, and the chocolate cream pie is a prime example. We're diving deep into the science and art behind this beloved treat, breaking down each step into manageable, actionable advice. Get ready to explore the details that separate a decent pie from a truly spectacular one, focusing on techniques that are accessible to bakers of all levels.
This guide is structured to take you from the very beginning – selecting and preparing your crust – through the heart of the pie – creating a flawless chocolate filling – all the way to the final decorations. We'll share insights gleaned from countless hours in the kitchen, offering practical tips and addressing common pitfalls. Our goal is to empower you with the knowledge and confidence to bake chocolate cream pies that are not only delicious but also visually stunning, making every occasion a little sweeter.
The Foundation: Crafting a Delicious Chocolate Cream Pie Crust
The crust is the unsung hero of any great pie, providing crucial texture and flavor contrast to the rich filling. For a chocolate cream pie, a sturdy yet tender crust is essential to hold the creamy filling without becoming soggy. While options like traditional pastry crusts exist, a classic choice that pairs beautifully with chocolate is a graham cracker crust, offering a delightful crunch and subtle sweetness. Getting the crust right is the first step in mastering easy cream pie recipes and ensures your pie holds up beautifully.
Choosing the right crust also depends on your desired outcome and time constraints. A homemade graham cracker crust takes about 15-20 minutes of active prep time plus chilling/baking, while a traditional pastry crust requires more handling and chilling, potentially 1-2 hours total including rest times. Both can yield excellent results, but the graham cracker crust often feels like a more straightforward option for many easy chocolate cream pie recipes. The key is ensuring it's properly prepared and sealed to create a barrier against the moist filling.
Choosing the Right Crust: Homemade Graham Cracker Crust
A homemade graham cracker crust provides a wonderful texture and flavor that complements rich chocolate filling exceptionally well. To make one, you'll typically combine finely crushed graham cracker crumbs (about 1 ½ cups, which is roughly 10-12 full sheets), melted butter (around 6-8 tablespoons), and sometimes a little sugar (1-3 tablespoons). The amount of butter is critical; too little and the crust will be crumbly, too much and it will be greasy. A good rule of thumb is that the mixture should resemble wet sand and hold its shape when squeezed gently in your hand.
Once the ingredients are combined, press the mixture firmly and evenly into your pie plate. Pay special attention to the bottom and up the sides, using the bottom of a glass or a flat measuring cup to compact it tightly. A well-compacted crust is less likely to fall apart when sliced. Baking the crust for 8-10 minutes at around 350°F (175°C) helps to set the butter and create a sturdier foundation. Alternatively, chilling it for at least 30-60 minutes can work for no-bake fillings, but baking offers superior structure for wetter fillings like chocolate cream.
Mastering the Blind Bake: Preventing Soggy Bottoms
Blind baking is a crucial step when using a traditional pastry crust for a cream pie. It involves partially or fully baking the crust before adding the filling. This process sets the dough, creating a barrier that prevents the wet filling from soaking into the crust and turning it into a soggy mess – a common issue that can ruin even the best easy cream pie recipes. Skipping this step, especially with a delicate pastry crust, almost guarantees a less-than-ideal result.
For chocolate cream pie, where the filling is cooked and then chilled, a full blind bake is often recommended for pastry crusts. This ensures the crust is completely cooked and firm before the filling is added. If using a graham cracker crust and baking it, this is essentially a form of blind baking as you are setting the crust structure before adding the filling. The goal is always the same: a crisp, firm base that can support the weight of the creamy filling and provide a satisfying contrast in texture.
Tips for a Perfectly Blind-Baked Pie Crust
To achieve a perfectly blind-baked pastry crust, start by lining the chilled dough in your pie plate. Trim any excess dough, then crimp the edges decoratively. Prick the bottom of the crust all over with a fork; this is called docking and helps prevent the crust from puffing up during baking. Then, line the crust with parchment paper or foil, pressing it against the sides, and fill it with pie weights, dried beans, or rice. These weights help keep the crust from shrinking down the sides and bubbling up on the bottom.
Bake the weighted crust at your recipe's specified temperature (often around 375-400°F or 190-200°C) for about 15-20 minutes, or until the edges start to look dry and set. Carefully remove the weights and parchment/foil. Return the crust to the oven and continue baking for another 10-15 minutes, or until the bottom is golden brown and appears fully cooked. Allow the crust to cool completely on a wire rack before adding your chocolate cream filling; adding filling to a warm crust will create steam and lead to sogginess.
The Star of the Show: Chocolate Cream Pie Filling Secrets
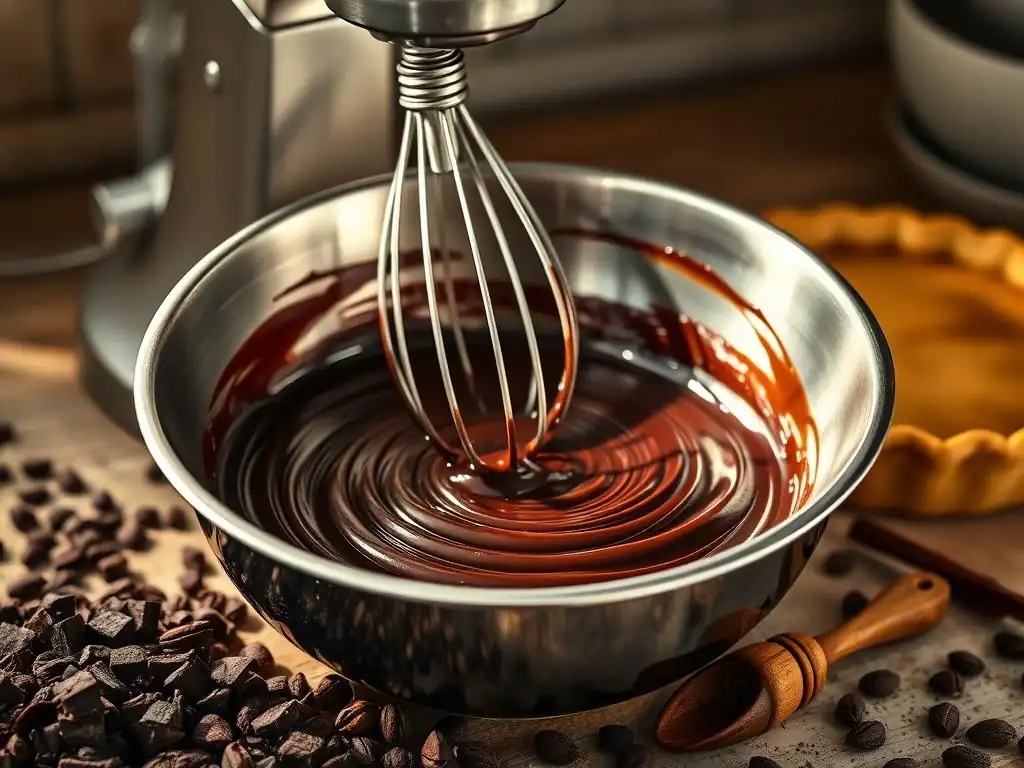
The filling is undoubtedly the heart of the chocolate cream pie, and achieving the perfect balance of rich chocolate flavor and smooth, luscious texture is key. A classic chocolate cream pie filling is essentially a cooked custard thickened with cornstarch or flour, enriched with eggs and butter, and infused with deep chocolate flavor from cocoa powder, melted chocolate, or a combination. Mastering this component is vital for creating truly memorable easy cream pie recipes.
The challenge often lies in cooking the filling just enough to thicken properly without scorching or becoming lumpy. Careful whisking, controlled heat, and using the right proportions of thickeners are paramount. The quality of your chocolate also makes a significant difference; using good quality cocoa powder or chocolate will yield a richer, more intense flavor compared to lower-quality options. Think about using a mix of unsweetened cocoa for depth and bittersweet or semi-sweet chocolate for sweetness and richness.
Achieving the Perfect Chocolate Cream Pie Consistency
The ideal chocolate cream pie filling should be thick enough to hold its shape when sliced but still smooth and creamy, not rubbery or overly firm. This consistency is typically achieved by cooking a mixture of milk or cream, sugar, eggs (usually yolks for richness), a thickener like cornstarch or flour, and chocolate until it reaches a pudding-like consistency. Cornstarch tends to give a glossier, more delicate set, while flour provides a slightly sturdier, more opaque result. Many recipes use cornstarch, often around 1/4 to 1/3 cup per 2-3 cups of liquid.
The cooking process involves tempering the eggs (gradually whisking some hot mixture into the yolks before adding the yolks back to the main pot) to prevent scrambling, and then cooking the mixture over medium heat, stirring constantly, until it thickens and bubbles. It's important to let it bubble gently for about 1 minute after it thickens initially; this ensures the thickener is fully activated. Overcooking can lead to a pasty texture, while undercooking will result in a runny filling that won't set properly in the fridge.
Avoiding Lumps: Smooth Chocolate Cream Pie Filling Techniques
Lumps in cream pie filling are often caused by uneven heating, insufficient whisking, or adding dry ingredients directly to hot liquid without mixing them first. To prevent this, always whisk your dry ingredients (sugar, cornstarch/flour, cocoa powder) together thoroughly in the pot before adding any liquid. This helps distribute the thickener evenly. Gradually whisk in the milk or cream, ensuring a smooth slurry before turning on the heat.
Once cooking, whisk constantly, paying attention to the bottom and edges of the pot where scorching can occur. If using eggs, temper them carefully. If, despite your best efforts, a few lumps form, you can press the finished filling through a fine-mesh sieve before pouring it into the crust. This extra step takes just a minute or two but guarantees a silky-smooth filling, elevating your easy cream pie recipes to a professional level.
Flavor Enhancement: Taking Your Chocolate Cream Pie Filling to the Next Level
While classic chocolate is delicious, you can add layers of complexity to your filling flavor. Consider enhancing the chocolate notes or adding complementary elements. A small amount of espresso powder (around 1 teaspoon per standard recipe) can significantly deepen the chocolate flavor without adding a coffee taste. A pinch of sea salt (1/4 teaspoon or less) can balance the sweetness and make the chocolate taste more intense. For adventurous palates, a tiny pinch of cayenne or chili powder can add a subtle warmth that is surprisingly delightful with chocolate.
Other extracts can also add depth. Vanilla extract is standard (1-2 teaspoons), but consider adding a splash of almond extract (1/4 teaspoon) or even a high-quality rum or orange extract (1/2 - 1 teaspoon) for a different dimension. Remember to add extracts after the filling has finished cooking to preserve their flavor. Experimenting with these additions can transform a simple chocolate cream pie into a gourmet experience, making your easy cream pie recipes truly unique.
Infusing Unique Flavors: [Espresso Powder, Sea Salt, Chili Powder]
Adding a teaspoon of instant espresso powder or finely ground coffee to the dry ingredients before cooking is a simple trick that dramatically enhances the richness of the chocolate. Coffee naturally amplifies chocolate flavors, making the pie taste more intensely chocolatey without tasting like coffee. This is a common technique used by pastry chefs to deepen the complexity of chocolate desserts.
A small pinch of flaky sea salt sprinkled over the top of the finished pie or even stirred into the warm filling (about 1/4 teaspoon for a standard 9-inch pie) creates a delightful sweet and salty contrast. This contrast makes the sweetness less cloying and highlights the different flavor notes in the chocolate. For a subtle kick, add a tiny pinch (think 1/8 teaspoon or less) of cayenne pepper or chili powder to the dry mix; it adds a barely-there warmth that intrigues the palate.
Adding Texture: [Chocolate Chunks, Chopped Nuts]
While the filling itself is smooth, adding textural elements can make each bite more interesting. Stirring in a handful of chopped bittersweet or semi-sweet chocolate chunks (about 1/2 cup) into the warm filling after it's cooked can create pockets of melted or semi-melted chocolate throughout the pie as it cools. This adds bursts of intense chocolate flavor and a pleasant variation in texture.
For those who enjoy nuts, adding about 1/2 cup of finely chopped toasted pecans or walnuts to the bottom of the cooled crust before adding the filling, or stirring them into the filling itself, provides a lovely crunch. Ensure the nuts are toasted to bring out their flavor. This adds another layer of complexity and makes the pie more substantial.
Assembling Your Dreamy Chocolate Cream Pie
Once your crust is cooled and your filling is prepared, the assembly process is straightforward but requires careful execution to ensure a beautiful and stable pie. Proper layering and adequate cooling time are paramount. Rushing this stage can lead to a pie that doesn't slice cleanly or collapses when served, undermining all your hard work on the crust and filling.
Think of assembly as building the final structure of your dessert. Each layer contributes to the overall experience. Pouring the smooth filling into the sturdy crust, allowing it to set properly, and then topping it with whipped cream completes the vision. This step is where the individual components of your easy chocolate cream pie recipes come together to form the final masterpiece.
Layering for Success: Crust, Filling, and Topping
The standard layering for a chocolate cream pie is logical: crust first, then filling, and finally topping. Ensure your crust is fully cooled before adding the filling. Pour the warm (but not boiling hot) filling into the cooled crust, smoothing the top with an offset spatula or the back of a spoon. Fill it almost to the top edge, leaving a small lip for the topping.
Avoid overfilling, as this can lead to spills or make the pie difficult to top neatly. If your recipe includes textural additions like chocolate chunks or nuts, decide whether to stir them into the filling or layer them on the bottom of the crust before adding the filling. Layering them on the bottom can help prevent them from sinking.
Cooling and Setting: Patience is Key for a Perfect Slice
After the filling is in the crust, the most critical step is cooling and setting. The pie needs adequate time in the refrigerator for the filling to firm up completely. This typically takes a minimum of 3-4 hours, but often 6-8 hours or even overnight is better for a clean slice. Covering the pie loosely with plastic wrap once it has cooled slightly (to prevent condensation) is recommended, but avoid letting the plastic touch the surface of the filling if possible.
Cutting into the pie before it is fully set will result in a runny, messy slice. The thickeners (cornstarch, eggs) need time in the cold to create their gel structure and firm up the custard. Allow the pie to chill undisturbed in the refrigerator until the center no longer jiggles when gently nudged. This patience is rewarded with clean slices and a firm, creamy texture.
Elevating the Presentation: Chocolate Cream Pie Topping Ideas
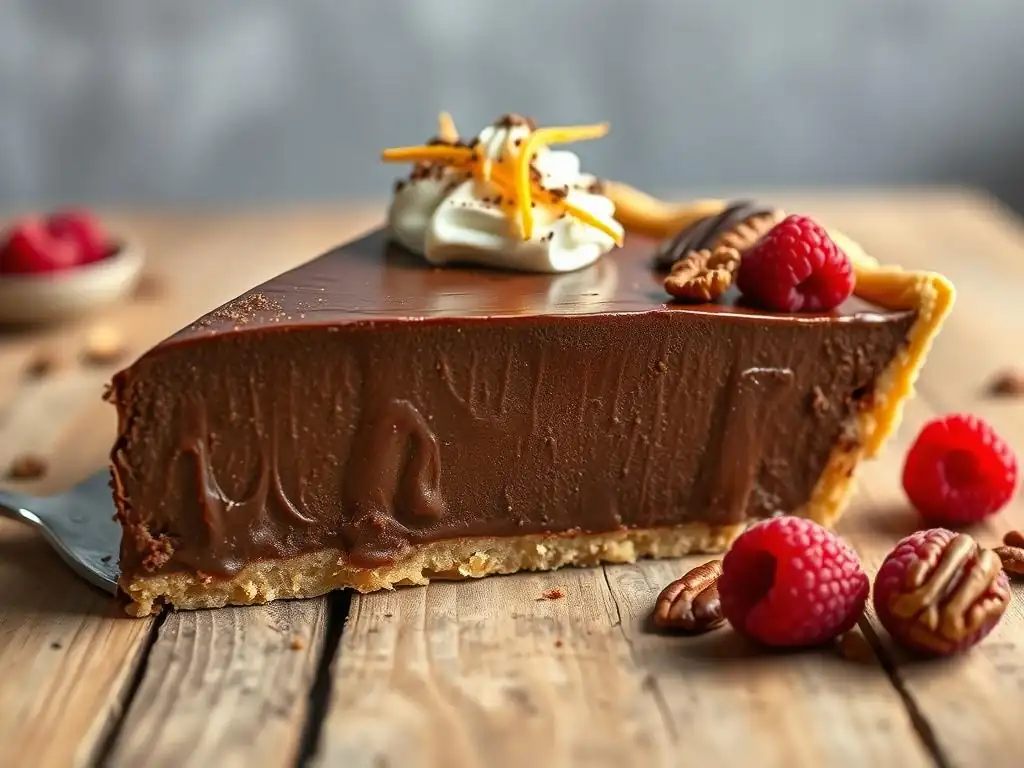
The topping is the crowning glory of the chocolate cream pie, adding a final layer of flavor, texture, and visual appeal. Whipped cream is the classic choice, providing a light, airy contrast to the rich, dense filling. How you prepare and apply the whipped cream can significantly impact the final look and taste of your pie.
Beyond simple whipped cream, garnishes offer an opportunity to add pops of color, texture, and extra flavor. Thinking creatively about how you finish your pie can turn a simple dessert into a showstopper, making your easy cream pie recipes truly impressive.
Whipped Cream Wonders: Homemade vs. Store-Bought
Homemade whipped cream, made from heavy cream, sugar, and vanilla extract, offers superior flavor and freshness compared to most store-bought options. It's surprisingly easy to make using a stand mixer, hand mixer, or even a whisk. Chill your bowl and whisk attachment beforehand for the best results. Whip cold heavy cream on medium-high speed until soft or stiff peaks form, gradually adding sugar (powdered sugar dissolves best, about 1-2 tablespoons per cup of cream) and vanilla (1 teaspoon per cup of cream) towards the end.
Store-bought whipped toppings or aerosol cans are convenient and perfectly acceptable for easy cream pie recipes when time is short. However, they often contain stabilizers and less dairy fat, resulting in a different texture and a less rich flavor. If using store-bought, choose a high-quality brand for the best taste. Applying whipped cream just before serving prevents it from deflating or weeping onto the filling.
Stabilizing Whipped Cream: Preventing Weeping
Homemade whipped cream can sometimes "weep" (release liquid) after sitting for a while, especially in warm environments. To prevent this and create a more stable topping that holds its shape longer, you can add a stabilizer. A common method is using powdered sugar which contains cornstarch. Using about 1-2 tablespoons of powdered sugar per cup of heavy cream helps stabilize it slightly.
For even greater stability, you can add a small amount of unflavored gelatin. Dissolve 1/2 teaspoon of unflavored gelatin in 2 tablespoons of cold water, then heat it gently (microwave for 10-15 seconds or over a double boiler) until fully dissolved and clear. Let it cool slightly (it should still be liquid but not hot), then slowly drizzle it into the whipping cream while the mixer is running on low speed, after soft peaks have formed but before stiff peaks.
Continue whipping until the desired stiffness is reached. This technique is particularly useful if the pie will sit out for an extended period.
Garnish Glory: Simple yet Stunning Chocolate Cream Pie Garnishes
Garnishes provide the final touch and offer a chance to add visual interest and complementary flavors. Keeping garnishes simple often works best, highlighting the beautiful layers beneath. A dusting of cocoa powder or finely grated chocolate over the whipped cream is classic and elegant.
Consider the overall theme and flavors of your pie when choosing garnishes. If you added espresso powder to the filling, a few chocolate-covered coffee beans could be a perfect fit. If you used sea salt, a final sprinkle of flaky sea salt just before serving can reinforce that flavor profile.
Creative Garnish Ideas: [Chocolate Shavings, Cocoa Powder, Chocolate Covered Coffee Beans]
One of the simplest and most effective garnishes is chocolate shavings or curls. You can make these easily by running a vegetable peeler or knife along the edge of a block of chocolate. Sprinkle them generously over the whipped cream for a professional look. Using different types of chocolate (milk, dark, white) can add visual contrast.
A light dusting of unsweetened cocoa powder over the whipped cream adds a sophisticated touch and a hint of bitter contrast to the sweetness. Use a fine-mesh sieve to sprinkle it evenly. Alternatively, a mixture of cocoa powder and powdered sugar can be used. For a more unique garnish, arrange a few chocolate-covered coffee beans or chocolate-covered nuts strategically on top of the whipped cream swirls. These add texture and a flavor boost that pairs wonderfully with chocolate.
Troubleshooting Common Chocolate Cream Pie Problems
Even with the best easy cream pie recipes, sometimes things don't go exactly as planned. Knowing how to identify and fix common issues can save your pie and your sanity. Most problems relate to the crust becoming soggy or the filling not setting correctly.
Understanding the potential causes of these issues allows you to either prevent them from happening in the first place or take corrective action if they do occur. Don't let a small setback discourage you; troubleshooting is a normal part of the baking process.
Soggy Crust Solutions: Rescue Your Chocolate Cream Pie
A soggy bottom is a common lament with cream pies. It typically happens because the crust wasn't properly blind-baked (if it's a pastry crust) or not adequately sealed/chilled (if it's a graham cracker crust), allowing moisture from the filling to seep in. If you discover your crust is soggy after adding the filling and chilling, there's unfortunately no magic fix to make the soggy part crisp again.
However, you can try to mitigate it slightly by serving the pie very cold. The cold temperature helps firm up the entire structure. For future pies, ensure your pastry crust is fully blind-baked until golden brown on the bottom, or that your graham cracker crust is well-compacted and baked or chilled according to the recipe, creating a good barrier. Brushing a thin layer of melted chocolate or egg white onto the baked crust before adding the filling can also help create a moisture barrier.
Runny Filling Fixes: Thickening Techniques
A runny filling usually means it wasn't cooked long enough, or the thickener wasn't properly activated. If you realize your filling is too thin before pouring it into the crust, you can return it to the pot and cook it longer over medium heat, whisking constantly, until it thickens and bubbles for a full minute. Be careful not to scorch it.
If the filling is already in the crust and chilled, and you discover it's runny, you have limited options without re-cooking. You could try carefully scooping the filling back into a saucepan, whisking in a slurry of cornstarch and cold milk (e.g., 1-2 tablespoons cornstarch mixed with 2-4 tablespoons milk), and gently heating and whisking until thickened, then re-chilling. This is risky as it can affect texture and potentially cook the crust further.
A simpler approach, if salvaging the pie for immediate consumption, is to serve it in bowls rather than trying to slice it, perhaps calling it a "chocolate cream parfait." For future pies, ensure you cook the filling until it is visibly thickened and bubbles for the recommended time.
Cracked Topping Prevention: Achieving a Smooth Finish
While not a structural issue, a cracked or uneven topping can detract from the pie's appearance. Cracks in a custard-style filling (less common in classic chocolate cream pie but possible if using many eggs and baking) can occur if the pie cools too quickly or is moved before it's set. For the whipped cream topping, unevenness or melting is the main concern.
To prevent the whipped cream topping from cracking or melting prematurely, always add it just before serving. If you need to add it ahead of time, stabilize it with gelatin or powdered sugar as discussed earlier and keep the pie refrigerated until needed. When applying, use an offset spatula or piping bag to create a smooth, even layer or decorative swirls, working quickly so the warmth of your hands doesn't melt the cream.
Easy Chocolate Cream Pie Recipes: Our Top Recommendations
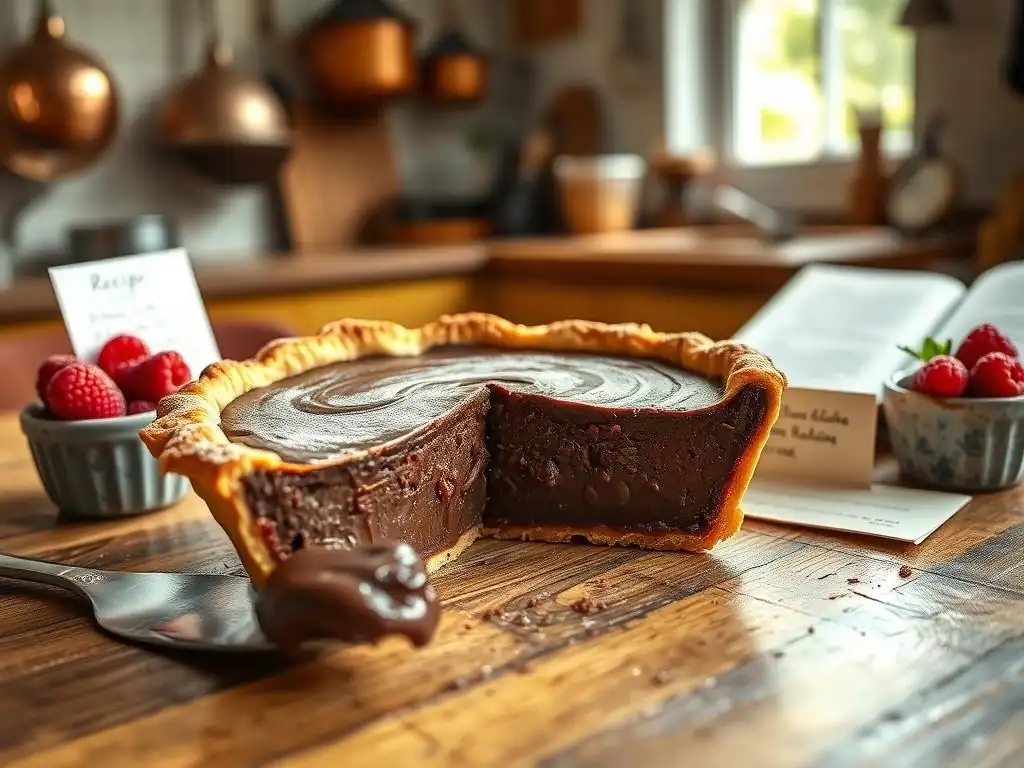
Ready to put these tips into practice? While we can't share full recipes here, we can highlight the characteristics of some favorite easy chocolate cream pie recipes that allow you to apply the techniques we've discussed. These variations build upon the basic foundation, offering delicious twists.
Exploring different recipes helps you understand how slight variations in ingredients or technique can yield different results. Look for recipes that clearly outline steps for crust preparation, filling consistency checks, and chilling times.
Classic Chocolate Cream Pie: A Timeless Favorite
A classic chocolate cream pie recipe typically features a smooth, rich custard filling made with milk, sugar, egg yolks, cornstarch, vanilla, butter, and cocoa powder or melted chocolate, all nestled in a graham cracker or pastry crust. The filling is cooked on the stovetop until thick, poured into the cooled crust, and chilled until set.
The beauty of the classic version lies in its simplicity and the pure, intense chocolate flavor. Many easy chocolate cream pie recipes focus on this basic formula, making it accessible for beginners. It's often topped simply with sweetened whipped cream, allowing the quality of the chocolate filling to shine through.
Double Chocolate Cream Pie: Indulge Your Sweet Tooth
For serious chocolate lovers, the double chocolate cream pie takes the classic to the next level. This version often uses both cocoa powder and melted chocolate in the filling for a deeper, more complex chocolate flavor. Some recipes might also incorporate chocolate into the crust (like a chocolate cookie crust) or add chocolate chips or chunks to the filling for textural contrast.
A double chocolate pie is an indulgence, perfect for special occasions. When making this, consider using a high-quality bittersweet or dark chocolate (around 60-70% cacao) for the melted component to provide intensity without being overly sweet, balancing the sweetness of the custard and topping.
Mexican Chocolate Cream Pie: A Spicy Delight
Drawing inspiration from Mexican hot chocolate, this variation adds warm spices to the traditional chocolate cream pie. Cinnamon is a key ingredient, often added to both the crust (if using graham cracker or cookie) and the filling. A pinch of cayenne pepper or chili powder is also common, adding a subtle heat that beautifully complements the chocolate.
Mexican chocolate cream pie offers a unique flavor profile that is both comforting and exciting. The spices add warmth and complexity, making it a great choice for those looking to try something a little different from the standard. Ensure the spices are well incorporated into the dry ingredients before cooking the filling.
Conclusion: Baking Perfect Chocolate Cream Pies with Ease
Mastering chocolate cream pie is a rewarding endeavor that elevates your baking skills and delights anyone lucky enough to share a slice. By focusing on the key components – a solid crust, a silky-smooth filling, and a beautiful topping – you can consistently produce pies that are beyond basic. Remember that even the most easy cream pie recipes benefit from attention to detail in technique and ingredient quality.
From choosing the right crust and preventing sogginess through blind baking, to achieving the perfect filling consistency and adding flavorful enhancements, each step contributes to the final delicious outcome. Don't be afraid to experiment with flavors and garnishes to make your pie truly your own. With practice and these simple tricks, you'll be baking perfect chocolate cream pies with ease in no time.
Your Journey to Chocolate Cream Pie Mastery Starts Now
You now have the knowledge and techniques to move beyond simple instructions and truly understand how to create an exceptional chocolate cream pie. Each attempt is a learning opportunity, refining your touch and understanding of how ingredients interact. Don't worry if your first pie isn't absolutely perfect; baking is a skill that improves with practice.
Armed with insights on crust preparation, filling secrets, assembly tips, and troubleshooting advice, you are well-equipped to tackle easy chocolate cream pie recipes and make them shine. So, gather your ingredients, preheat your oven, and embark on your journey to chocolate cream pie mastery. Happy baking!
Frequently Asked Questions
What makes BakeWithEase.com a good resource for easy cream pie recipes?
BakeWithEase.com provides simple recipes, step-by-step guides, and easy-to-find ingredients, making it perfect for bakers of all levels to master the art of cream pie making.
What kind of cream pie recipes can I expect to find on BakeWithEase.com?
You can explore a variety of cream pie recipes ranging from classic vanilla cream pie to more adventurous flavors, all designed to be easy to follow and create delicious results.
What are some simple tricks to elevate my cream pie?
Some simple tricks include using high-quality ingredients, ensuring your crust is perfectly baked, and adding a unique topping or garnish for an extra touch of elegance.
Are the easy cream pie recipes on BakeWithEase.com suitable for beginner bakers?
Yes, absolutely! The cream pie recipes are designed with beginners in mind, featuring clear instructions and helpful tips to ensure a successful baking experience.
Where can I find the step-by-step guides mentioned for the cream pie recipes?
The step-by-step guides are located directly within each cream pie recipe on BakeWithEase.com, providing detailed instructions and visual aids to guide you through the baking process.
Final Reflection: The Unexpected Joy of a Perfect Cream Pie
The seemingly simple act of making a cream pie transcends mere dessert; it's a journey of culinary exploration and self-expression. From the delicate balance of flavors to the satisfyingly smooth texture, crafting the perfect cream pie offers a rewarding experience that resonates far beyond the kitchen. This article explored simple yet impactful techniques to elevate your cream pie game, proving that even seemingly basic recipes can yield extraordinary results.
The enduring appeal of cream pie lies not just in its deliciousness, but in its ability to evoke memories and connect us to cherished traditions. It's a dessert that effortlessly bridges generations, a comforting classic that continues to inspire creativity and innovation. A pie is a love letter to the earth.
– This sentiment, while not directly about cream pies, perfectly captures the essence of the care and attention that goes into creating something truly special, something that nourishes both body and soul. The exploration of different flavor combinations and techniques, as discussed in this article, only serves to enhance this inherent connection.
Now, it's your turn. Don't be afraid to experiment! Take the simple techniques outlined here and let your creativity run wild. Try a unique flavor combination, experiment with different crusts, or even personalize your pie with a special touch. The journey to the perfect cream pie is a personal one, and the satisfaction of creating something delicious and beautiful is a reward in itself. So, gather your ingredients, embrace the process, and discover the unexpected joy that awaits you in the world of elevated cream pies.
Unlock Your Inner Pastry Chef: Elevate Your Pies Today!
Thanks for taking the time to explore the world of cream pies with us! We hope you discovered some delicious secrets to elevate your baking. Ready to put your new skills to the test?
- Master the Perfect Cream Pie: Try out one of the recipes mentioned today, and share your results with us! We’d love to see your creations.
- Experiment with Flavors: Dare to be different! Try substituting your favorite fruits or extracts into the recipes to create your signature pie.
- Join Our Community: Share your successes (and even your stumbles!) on our social media channels; we are always eager to see what you've baked!
What unique twist will you add to your next cream pie masterpiece?