
Baking in a Glass Dish: Time and Heat Tips to Avoid Burnt Edges

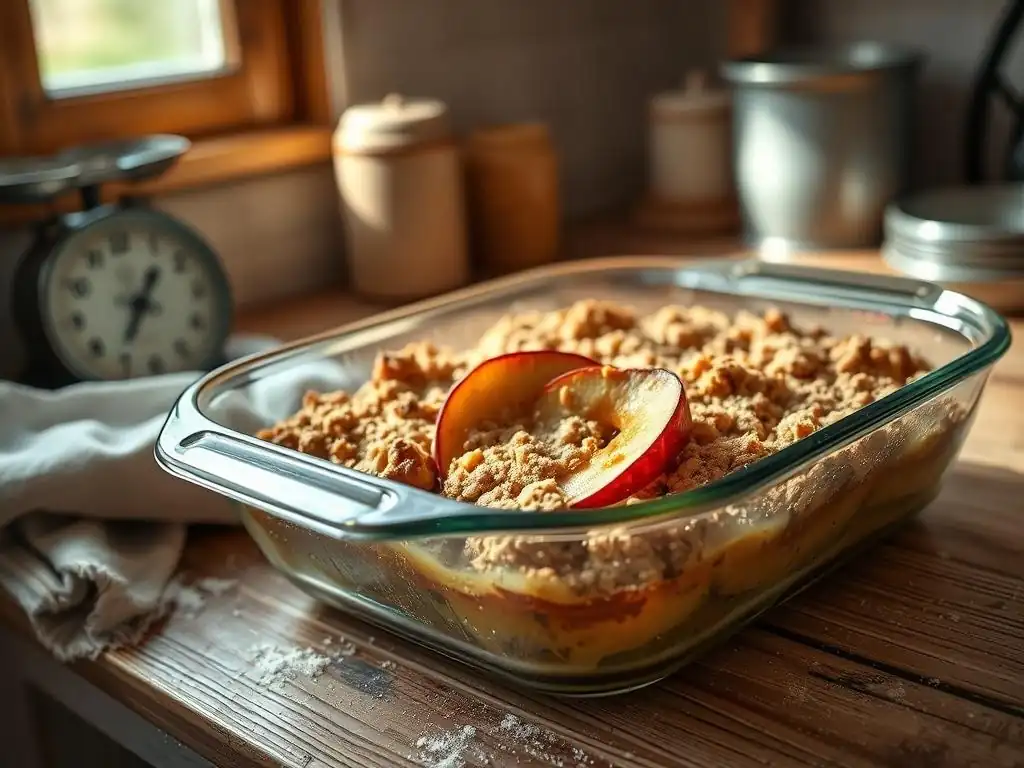
Welcome to BakeWithEase, your trusted guide to baking bliss! Ever wondered about the secret to perfectly baked goods in a glass dish? Discover the ultimate guide to glass dish baking tips right here, where we unlock the secrets to even baking, preventing burnt edges, and mastering the art of heat and time adjustments. Curious to know how to elevate your baking game? Let's dive in!
- Understanding Glass Dish Baking: A Comprehensive Guide
- Mastering Baking Temperatures in Glass Dishes
- Optimizing Baking Time in Glass Dishes
- Preventing Burnt Edges When Baking in Glass
- Choosing the Right Glass Dish for Baking
- Advanced Techniques for Glass Dish Baking
- Troubleshooting Common Glass Dish Baking Problems
- Glass Dish Baking: A Recipe for Success
- Frequently Asked Questions
- Final Reflection: The Art of Baking, Perfectly, in Glass
- Unlock Perfectly Baked Goods: Take Your Baking to the Next Level!
Understanding Glass Dish Baking: A Comprehensive Guide
Why Choose Glass for Baking? Benefits and Considerations
Glass bakeware is a popular choice in many kitchens, and for good reason. One of its primary benefits is its excellent heat retention. Once glass heats up, it holds onto that heat for a longer period compared to metal pans.
This property can be particularly useful for dishes that benefit from continued cooking even after being removed from the oven, such as casseroles or stratas, helping them stay warm on the table. Additionally, glass is non-reactive, meaning it won't interact with acidic ingredients like tomatoes or citrus, preserving the true flavor of your dish, unlike some metal pans which can impart a metallic taste.
Another significant advantage of glass dishes is their transparency. Being able to see the sides and bottom of your baked goods allows you to monitor the browning progress without having to remove the item from the oven or tilt the pan excessively. This visual cue is incredibly helpful for knowing when a crust is perfectly golden or if the bottom of a cake is cooked through.
Furthermore, glass is generally easier to clean than many metal pans, especially those without non-stick coatings, as baked-on food is often simpler to soak off. Its aesthetic appeal is also a plus, making it suitable for serving dishes directly from the oven to the table.
Potential Issues with Glass Bakeware: Uneven Heating and Burnt Edges
While glass offers several advantages, it also presents unique challenges in baking, primarily related to how it distributes heat. Unlike metal, which heats up quickly and distributes heat relatively evenly across its surface, glass is slower to heat up initially. However, once it reaches temperature, it retains heat very efficiently and can transfer it intensely to the food it's in direct contact with. This can lead to the edges and bottom of your baked goods cooking and browning much faster than the center, potentially resulting in burnt edges or an overdone crust while the middle remains undercooked.
This uneven heating is a key factor to consider when applying glass dish baking tips. The high heat retention can cause 'hot spots' where the glass is in direct contact with the oven rack or where the heat is most intense. For delicate items like cakes or quick breads, this can mean a dark, hard crust forms around the edges long before the interior is fully baked.
For dishes with a lot of liquid, like gratins or baked pasta, the liquid around the edges might bubble and evaporate too quickly, leading to dry or crispy edges while the center is still moist and bubbly. Understanding this characteristic is the first step in mastering baking in glass.
Mastering Baking Temperatures in Glass Dishes
The Importance of Accurate Oven Temperature for Glass Bakeware
Achieving precise oven temperature is paramount when baking in glass dishes. Glass absorbs heat differently than metal, and if the oven temperature is too high, the intense heat transfer from the glass to the food can rapidly overcook the edges and bottom. An oven that runs even slightly hotter than the set temperature can exacerbate the risk of burning, especially with recipes designed for metal pans. Conversely, an oven that is too cool will mean the glass takes even longer to heat up, potentially leading to a longer overall bake time, which can also affect texture.
Accurate temperature control is one of the most critical glass dish baking tips. Since glass retains heat so well, starting with a precisely preheated oven ensures that the dish begins heating evenly. If you place a glass dish into an oven that hasn't reached the target temperature, the dish will heat up gradually along with the oven air, potentially leading to a longer bake time and different cooking dynamics than expected. Knowing your oven's true temperature is the foundation for making necessary adjustments when using glass.
Recommended Baking Temperatures for Different Recipes in Glass
General glass dish baking tips often suggest adjusting oven temperatures when using glass instead of metal. While specific temperature recommendations vary by recipe, a common guideline is to reduce the oven temperature by 25°F (approximately 15°C) when substituting a glass dish for a metal one of the same size. This slight reduction helps to mitigate the intense heat transfer from the glass, giving the center of your dish more time to catch up with the edges and bottom without them becoming overcooked or burnt.
For recipes that bake at higher temperatures, such as roasted vegetables or some bread recipes, you might still be able to use the called-for temperature, but you'll need to monitor the dish closely and potentially employ techniques to shield the edges. For delicate baked goods like custards, cheesecakes, or soufflés, the reduced temperature rule is particularly important, often combined with a water bath, to ensure gentle, even cooking throughout. Always start checking for doneness slightly earlier than the recipe suggests for metal pans, as the overall baking time can still be shorter due to the efficient heat retention.
Adjusting Oven Temperature for Glass vs. Metal Pans
The fundamental principle behind adjusting temperature for glass is compensating for its heat retention properties. A recipe written for a shiny metal pan that reflects heat might call for 375°F (190°C). If you're using a glass dish, reducing this to 350°F (175°C) is a standard adjustment. This doesn't just prevent burning; it also promotes more even cooking from the outside in. Dark metal pans absorb heat more readily than shiny ones, somewhat bridging the gap to glass, but glass still retains heat more effectively once hot.
Consider a standard cake recipe baked at 350°F (175°C) in a metal pan. If using a glass dish, you might reduce the temperature to 325°F (160°C). This lower temperature allows the cake batter in the center more time to rise and set before the edges and bottom become excessively firm or browned. This adjustment is crucial for achieving a consistently moist and tender crumb throughout the cake, preventing that common issue of dry, overbaked edges contrasted with a perfectly cooked interior.
Using an Oven Thermometer for Precise Glass Dish Baking
Relying solely on your oven's built-in thermostat can be misleading, as oven temperatures can fluctuate significantly or be inaccurate by as much as 50°F (approximately 28°C). This inaccuracy is especially problematic when applying glass dish baking tips, where precise temperature control is key to preventing burnt edges and ensuring even cooking. An inexpensive, oven-safe thermometer placed inside your oven provides the true temperature reading, allowing you to make informed adjustments to your oven dial.
Before placing your glass dish in the oven, always preheat your oven for at least 15-20 minutes with the oven thermometer inside. This ensures the oven cavity has reached and stabilized at the desired temperature. If your thermometer shows the oven is running hot, you'll know to set your oven dial lower.
If it's running cool, you'll set it higher. For example, if you want to bake at 325°F (160°C) for a glass dish and your thermometer reads 300°F (150°C) when the oven is set to 325°F, you'll need to increase your oven setting until the thermometer shows the correct temperature. This simple step dramatically improves your chances of success when baking in glass.
Optimizing Baking Time in Glass Dishes
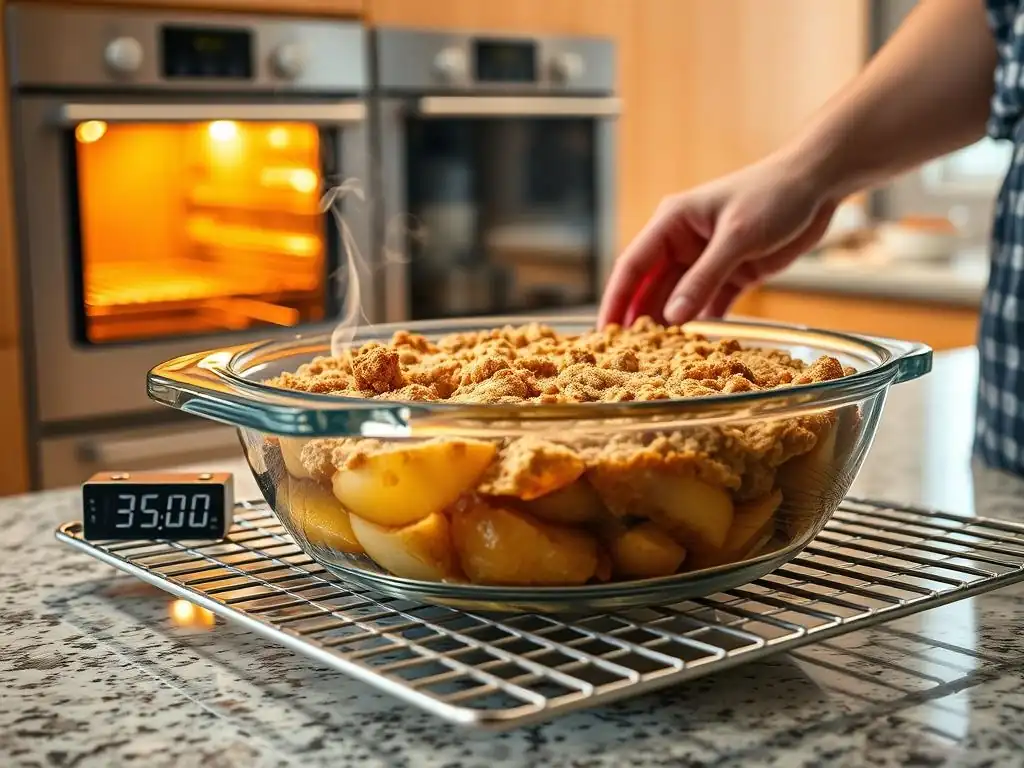
How Glass Bakeware Affects Baking Time: A Detailed Explanation
The impact of glass bakeware on baking time is closely tied to its heat retention properties. While glass takes longer to heat up initially compared to metal, once it's hot, it transfers heat very efficiently to the food. This intense heat transfer can cause the food in contact with the glass to cook faster. As a result, the overall baking time in a glass dish is often shorter than when using a metal pan of the same size, particularly for dishes that bake for longer periods or at moderate to high temperatures.
For instance, a casserole that might take 45-50 minutes to bake in a metal dish could be done in 35-40 minutes in a glass dish at a slightly reduced temperature. The dense, heat-retaining nature of glass means that once the internal temperature of the dish rises, it continues to cook efficiently.
However, the caveat is that this accelerated cooking often happens from the outside in, which is why monitoring is essential. The key is to find the balance where the center cooks through just as the edges reach perfect doneness, which is where adjusting time based on observation becomes crucial.
General Guidelines for Adjusting Baking Time in Glass
Given that glass bakeware tends to cook faster than metal once heated, a good general rule when applying glass dish baking tips is to start checking for doneness 10 to 15 minutes before the recipe's minimum suggested baking time, especially if you've also reduced the oven temperature. For a recipe that calls for baking at 350°F (175°C) for 30-35 minutes in a metal pan, if you're using glass at 325°F (160°C), you might start checking at the 20-minute mark.
This early checking is vital because the window between perfectly done and slightly overcooked can be narrow in a glass dish. Pay close attention to the visual cues discussed below. If the edges are browning rapidly but the center is still wobbly or raw, you might need to cover the edges or the entire dish with foil to slow down the exterior cooking while the interior finishes. Always use a probe thermometer for accuracy when baking items like bread or meatloaf to ensure the internal temperature is correct, regardless of how the exterior looks.
Recognizing Visual Cues: When Your Baked Goods are Done in a Glass Dish
Using a glass dish offers the advantage of being able to see how your baked goods are cooking from the bottom and sides, providing invaluable visual cues. For cakes and quick breads, look for the edges pulling away slightly from the sides of the dish. The top should be set and spring back lightly when gently pressed, and a toothpick inserted into the center should come out clean, with no wet batter attached (a few moist crumbs are okay for some recipes).
For casseroles and gratins, observe the bubbling. The edges should be actively bubbling, and the center should also be bubbling and appear set, not liquidy. The top, if it has cheese or a crumb topping, should be golden brown. Being able to see the bottom crust developing on pies or quiches is another benefit of glass; you're looking for a golden brown color. Trust your instincts and observations when baking in glass; the visual evidence is often more reliable than strictly adhering to a time guideline designed for a different material.
Preventing Burnt Edges When Baking in Glass
The Science Behind Burnt Edges in Glass Dishes
The primary culprit behind burnt edges when baking in glass is the material's high heat retention and efficient heat transfer. While metal pans heat up and cool down relatively quickly, glass heats up more slowly but holds heat for a much longer time and radiates it intensely. This means the part of your food in direct contact with the glass dish, particularly the edges and bottom, receives a more sustained and intense heat than the center, which is heated primarily by the oven air and the heat transferring through the food itself.
As the baking time progresses, the edges, being hotter, cook and brown faster. Sugars caramelize, proteins denature, and moisture evaporates more rapidly in these areas. If the oven temperature isn't adjusted or if the dish bakes for too long, this accelerated cooking leads to excessive browning and eventually burning of the edges, while the center lags behind, still needing more time to cook through. Understanding this differential heating is fundamental to applying effective glass dish baking tips to protect those vulnerable edges.
Practical Tips to Shield Edges from Over-Browning
Several practical strategies can be employed to shield the edges of your baked goods when using glass bakeware, preventing them from burning while the center finishes cooking. These methods aim to insulate the edges from the intense heat radiating from the glass dish and the oven air. They are particularly useful for recipes with longer baking times or those prone to edge burning, like pies, casseroles with crusts, or certain cakes.
The most common techniques involve creating a barrier around the perimeter of the dish. This barrier reflects or blocks some of the heat, allowing the edges to cook more gently. Implementing these techniques is a key part of mastering glass dish baking tips and ensuring uniformly cooked results. It's often best to apply these methods proactively, before the edges start to over-brown, but they can also be used reactively if you notice the edges browning too quickly during the bake.
Using Aluminum Foil to Protect Edges
Aluminum foil is a simple yet effective tool for protecting the edges of baked goods in glass dishes. For pies, you can crimp strips of foil around the edge of the crust to prevent it from browning too quickly. For casseroles or other dishes where the entire top might be browning too fast, you can loosely tent the entire dish with foil. If only the edges are the issue, you can cut a hole in the center of a large piece of foil and place it over the dish, covering just the perimeter.
When using foil, ensure it is crimped securely but not pressing directly onto the food, as this can cause sticking. For pie crusts, you can fold a large square of foil into quarters and cut out the center to create a ring that fits over the crust's edge. Place this ring over the pie for the first two-thirds of the baking time, then remove it to allow the crust to brown during the final minutes. This allows the filling to set and the center to cook without the edges burning.
Employing Baking Strips for Even Baking
Baking strips, often made from fabric or silicone, are another excellent tool for promoting even baking and preventing burnt edges, particularly for cakes baked in glass. These strips are dampened and wrapped around the outside of the baking dish. Their moisture and insulating material help to keep the sides of the pan cooler, slowing down the cooking of the edges. This encourages the cake to rise more evenly and cook through in the center at a rate closer to that of the edges.
Using baking strips is a straightforward process. Simply soak the strips in cold water, squeeze out the excess, and wrap them around the exterior of your glass baking dish before filling it with batter. Secure them with pins if necessary. The strips should cover the height of the batter. As the cake bakes, the moisture in the strips evaporates, cooling the sides of the dish. This is a particularly effective technique for achieving flat-topped cakes with tender, evenly colored sides when using glass bakeware.
Recipe-Specific Adjustments to Prevent Burnt Edges [Example Recipe: Apple Pie]
Applying glass dish baking tips often requires specific adjustments based on the type of recipe. Let's consider a classic apple pie baked in a glass pie plate. Apple pies typically bake for a relatively long time, often 45-60 minutes or more, to allow the apples to soften and the filling to thicken. The double crust is particularly susceptible to over-browning, especially the decorative edge.
To prevent the edges from burning while the filling cooks through in a glass pie plate, you would typically start by baking the pie uncovered for the first 15-20 minutes at the recipe's recommended temperature (perhaps slightly reduced, say from 425°F to 400°F or 220°C to 200°C, for the initial high heat phase, then reducing further). Once the edges of the crust begin to turn golden, carefully cover them with foil strips or a foil ring as described earlier.
Continue baking, potentially at a reduced temperature (e.g., 375°F or 190°C), until the filling is bubbly and the bottom crust is golden brown when viewed through the glass. This combination of temperature adjustment and edge protection is key to a perfectly baked apple pie in glass.
Choosing the Right Glass Dish for Baking
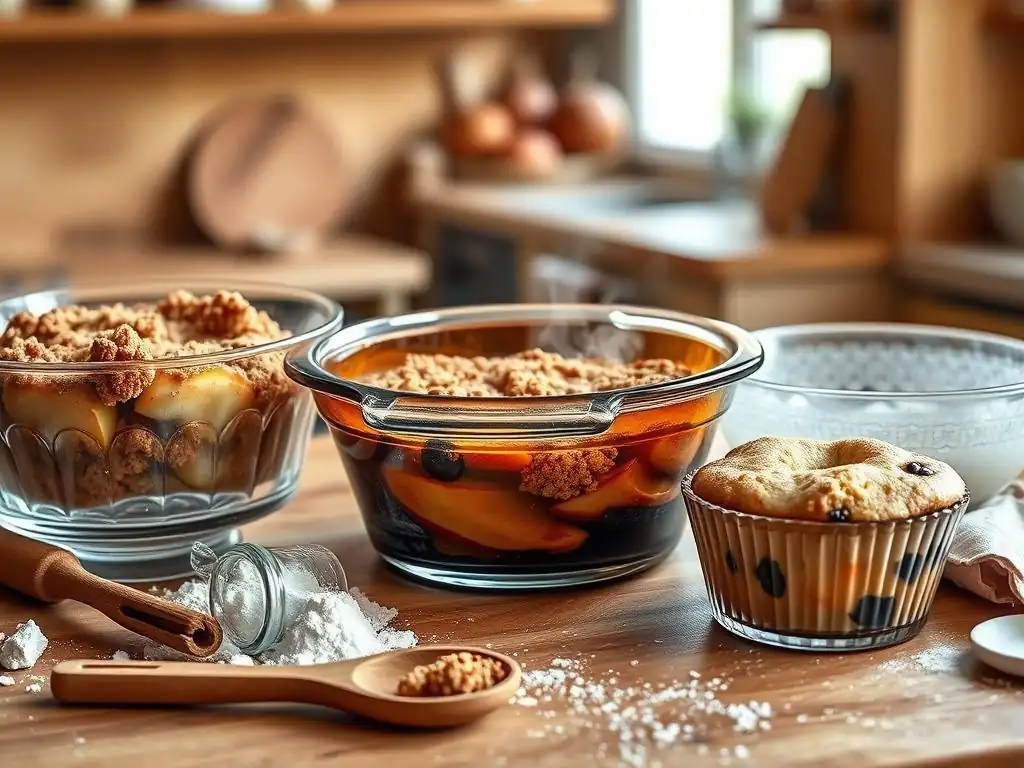
Different Types of Glass Bakeware: Borosilicate vs. Soda-Lime
Not all glass bakeware is created equal, and understanding the different types available is helpful for successful glass dish baking tips. The two main types are borosilicate glass and soda-lime glass. Borosilicate glass, often found in older Pyrex or Anchor Hocking dishes, contains boron trioxide, which makes it highly resistant to thermal shock – the stress caused by sudden changes in temperature. This means it's less likely to shatter when moved from a hot oven to a cooler surface or when hot liquid is added to a hot dish.
Modern glass bakeware, including many current Pyrex products, is often made from tempered soda-lime glass. This type of glass is durable and can withstand high temperatures, but it is more susceptible to thermal shock than borosilicate glass.
While generally safe for oven use, it's crucial to avoid placing hot soda-lime glass on wet or cold surfaces or adding cold liquids to a hot dish, as this can cause it to break or even shatter. For reliability and safety, especially when dealing with varying temperatures, borosilicate glass is often preferred if you can find it, though tempered soda-lime is adequate if used with caution.
Size and Shape Considerations for Even Baking in Glass
The size and shape of your glass baking dish significantly impact how your food bakes. A dish that is too large for the amount of food will result in a thinner layer of food, which will cook much faster and potentially dry out. Conversely, a dish that is too small will be overcrowded, leading to longer baking times, uneven cooking (raw in the middle, overcooked on the edges), and potential spillovers. Always try to match the dish size specified in the recipe as closely as possible.
The shape also matters. Square and rectangular dishes tend to have more corners and edges relative to their volume compared to round dishes, which can exacerbate the burnt edge issue in glass. Deeper dishes will take longer to cook through in the center than shallower ones. When following glass dish baking tips, using the correct size and shape ensures that the heat penetrates the food at the rate intended by the recipe, minimizing the risk of uneven cooking and making temperature and time adjustments more predictable.
Caring for Your Glass Bakeware to Ensure Longevity
Proper care of your glass bakeware is essential not only for its longevity but also for safe baking. Always allow a hot glass dish to cool on a dry, heat-resistant surface like a cooling rack or a thick towel before washing it. Avoid placing a hot dish directly into cold water or on a cold countertop, especially if it's soda-lime glass, to prevent thermal shock and potential breakage.
When cleaning, stubborn baked-on food can usually be loosened by soaking the dish in hot, soapy water. Avoid using abrasive scrubbers like steel wool, which can scratch the surface and potentially weaken the glass over time. For very tough residue, a paste of baking soda and water can be effective. Store glass dishes carefully to prevent chipping or cracking, ideally with a cloth or paper towel between stacked items. Following these simple care tips ensures your glass bakeware remains a safe and reliable tool for all your baking adventures.
Advanced Techniques for Glass Dish Baking
Using a Water Bath (Bain-Marie) for Delicate Desserts in Glass
For delicate desserts like cheesecakes, custards, and pâtés, a water bath (or bain-marie) is an indispensable technique when baking in glass dishes. This method involves placing the glass baking dish inside a larger pan and filling the outer pan with hot water, usually halfway up the sides of the inner dish. The water bath creates a consistent, moist heat environment around the delicate dessert, preventing the edges from cooking faster than the center and minimizing the risk of cracking or curdling.
The water in the outer pan regulates the temperature around the glass dish, ensuring gentle, even heat transfer. This is particularly beneficial when using glass, as it counteracts the tendency of glass to transfer intense heat directly to the sides and bottom of the dish. Using a water bath is a top glass dish baking tip for achieving smooth, creamy textures and perfectly set centers in notoriously tricky recipes when baked in glass. Ensure the outer pan is large enough and has high enough sides to accommodate the water level needed.
Preheating Your Glass Dish: When and Why
Unlike metal pans, which are often placed in a preheated oven with the batter or ingredients already inside, preheating a glass dish before adding food is generally not recommended and can be risky due to the potential for thermal shock. However, there are specific instances where a warm glass dish might be desired, though it should be done with extreme caution and typically involves heating the dish very gradually.
A more common "preheating" concept related to glass dish baking tips involves ensuring the oven is fully and accurately preheated before placing the glass dish inside. As mentioned earlier, placing a glass dish into an oven that is still heating up means the dish will heat slowly along with the oven, affecting the overall baking time and potentially the outcome. Always wait until your oven thermometer confirms the target temperature has been reached and stabilized before introducing your glass dish with food. This ensures the heat transfer begins immediately and evenly from the preheated oven air to the glass.
Experimenting with Different Rack Positions for Optimal Results
The position of your glass baking dish within the oven can significantly influence how it bakes. Heat distribution varies in different ovens, but generally, the lower rack receives more direct heat from the bottom element, while the upper rack receives more heat from the top element and convection if available. The middle rack is often considered the most neutral position, offering the most even heat distribution.
When baking in glass and aiming for even cooking without burnt edges, the middle rack is usually the best starting point. If you find the bottom of your dish is browning too quickly even with temperature adjustments, moving the dish to a higher rack might help.
Conversely, if the top is browning too fast but the bottom needs more cooking, a lower rack could be beneficial (though this increases the risk of burnt bottoms in glass). Experimenting with rack positions, combined with temperature adjustments and edge protection, allows you to fine-tune your glass dish baking tips for your specific oven and recipe.
Troubleshooting Common Glass Dish Baking Problems
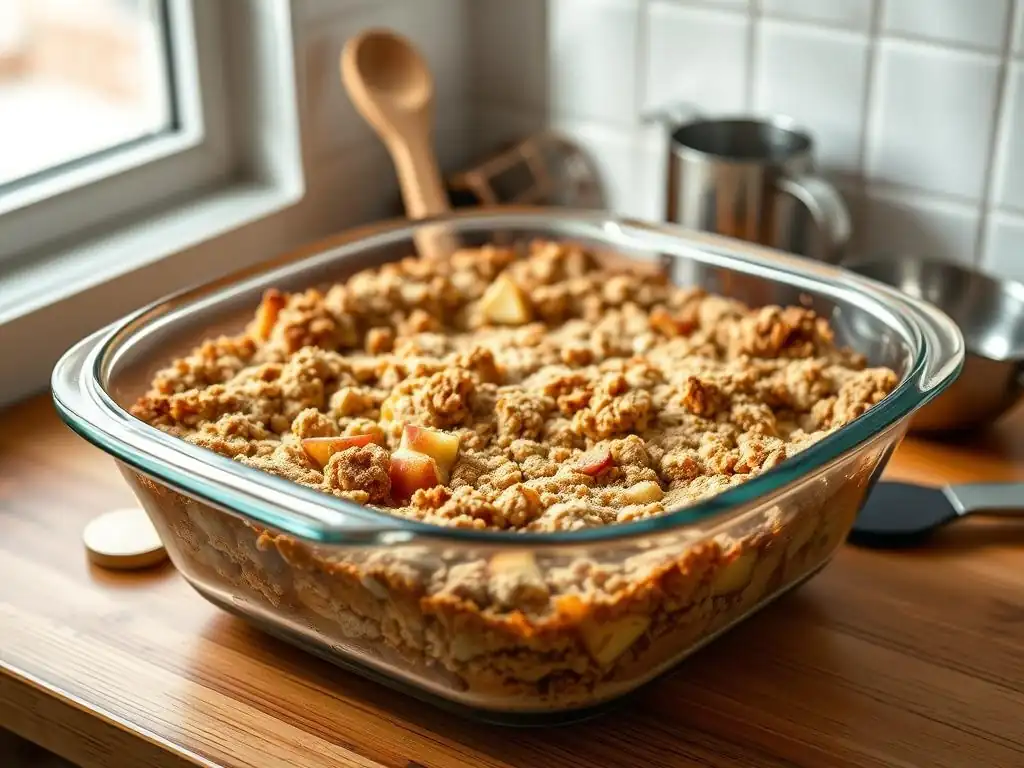
Dealing with Underbaked Centers
An underbaked center, especially when the edges are perfectly done or even slightly overdone, is a common issue when baking in glass dishes due as a result of the uneven heat distribution. This occurs because the edges and bottom, in contact with the hot glass, cook much faster than the interior. If you encounter this, resist the urge to simply increase the oven temperature, as this will likely just burn the edges further.
Instead, cover the entire dish loosely with aluminum foil. This shields the already cooked edges and top from the direct oven heat, slowing down their cooking, while allowing the residual heat within the dish and the lower, gentler oven temperature (if you adjusted it down) to finish cooking the center. Return the covered dish to the oven for an additional 5-15 minutes, checking periodically. For dense items like cakes or loaves, use a toothpick or probe thermometer to confirm the center is fully cooked before removing it.
Preventing Cracking or Shattering of Glass Bakeware
Preventing your glass bakeware from cracking or shattering primarily involves avoiding thermal shock. Never place a hot glass dish directly onto a cold or wet surface, such as a cold countertop, a damp towel, or into a sink of cold water. The sudden temperature change can cause the glass to expand and contract unevenly, leading to stress and breakage. Always use a dry pot holder or oven mitt when handling hot glass and place it on a dry, heat-resistant surface like a wooden cutting board, a cooling rack, or a thick, dry cloth.
Equally important is to avoid adding cold liquids to a hot glass dish. For instance, pouring cold broth into a hot casserole dish straight from the oven is a recipe for disaster. If a recipe requires adding liquid partway through, try to warm the liquid first or remove the dish from the oven and let it cool slightly before adding cooler ingredients. Also, avoid using glass bakeware under the broiler, as the intense, direct heat can exceed the glass's temperature tolerance and cause it to break.
Addressing Uneven Browning in Glass Dishes
Uneven browning in a glass dish, where one side or corner browns faster than the rest, can be a result of oven hot spots or the position of the dish relative to the heating elements. While glass itself can contribute to overall unevenness between edges and center, hot spots in the oven can make it worse. If you notice one part of your dish consistently browning faster, try rotating the dish halfway through the baking time. For example, if the back of the oven is hotter, turn the dish 180 degrees after half the estimated baking time.
Using an oven thermometer to identify if your oven has significant temperature variations in different areas can also be helpful. If rotation isn't sufficient, you might need to employ localized shielding tactics, like placing a small piece of foil over just the section that's browning too quickly. Adjusting rack position, as discussed earlier, can also mitigate the effects of oven hot spots. These refined glass dish baking tips help ensure a more uniform golden finish across your baked goods.
Glass Dish Baking: A Recipe for Success
Summarizing Key Tips for Baking in Glass
Mastering baking in a glass dish is entirely achievable by following a few key principles. Firstly, be mindful of glass's heat retention; it heats slower but holds and transfers heat intensely, especially to surfaces in direct contact. Secondly, always consider reducing your oven temperature, often by 25°F (15°C), from what a recipe designed for metal pans suggests. This is one of the most important glass dish baking tips to prevent burnt edges and bottoms.
Thirdly, anticipate a potentially shorter baking time and start checking for doneness earlier than the recipe indicates. Rely on visual cues – the browning of edges, bubbling of fillings, and firmness of the center – and use tools like toothpicks or thermometers to confirm doneness. Fourthly, proactively use methods to shield edges from over-browning, such as aluminum foil rings or baking strips, especially for recipes with longer bake times. Lastly, understand the type of glass you are using (borosilicate vs. soda-lime) and handle it carefully to avoid thermal shock, ensuring its safety and longevity.
Final Thoughts on Mastering Glass Bakeware for Delicious Results
Baking in glass dishes offers the distinct advantage of visual monitoring and excellent heat retention for serving, but it requires a slightly different approach than baking with metal. By understanding how glass interacts with heat and implementing these simple yet effective glass dish baking tips, you can confidently use your glass bakeware for a wide range of recipes, from casseroles and gratins to cakes and pies.
Don't be discouraged if your first attempt isn't perfect; baking is often a process of learning and adjustment, especially when changing materials or ovens. Pay attention to how your specific oven behaves and how different recipes respond to the heat transfer from the glass. With practice and the application of these glass dish baking tips, you'll be able to achieve consistently delicious, evenly baked results every time you reach for your favorite glass dish. Happy baking!
Frequently Asked Questions
How does baking in a glass dish differ from using metal pans?
Glass dishes heat up more slowly than metal pans, but they also retain heat for longer. This means you might need to reduce the oven temperature and be careful of over-baking.
What temperature adjustments should I make when using a glass dish?
It's generally recommended to reduce the oven temperature by 25°F (15°C) when baking in a glass dish compared to metal. This helps prevent burnt edges and uneven baking.
Why do the edges of my baked goods burn more easily in a glass dish?
Glass dishes retain heat, which can cause the edges to cook faster and potentially burn. Lowering the oven temperature and monitoring the baking time closely are crucial.
Can I use any type of glass dish for baking?
While most oven-safe glass dishes are suitable, always check the manufacturer's instructions. Avoid using glass dishes that are not specifically labeled for oven use, as they may shatter.
How can I prevent sticking when baking in a glass dish?
Thoroughly grease and flour your glass dish before adding the batter. Alternatively, you can use baking spray with flour for even better non-stick results.
Final Reflection: The Art of Baking, Perfectly, in Glass
The delicate dance between time, temperature, and glass remains a crucial element in achieving baking perfection. A seemingly simple act, baking in glass demands precision and understanding, as highlighted throughout this article. Mastering these techniques isn't just about avoiding burnt edges; it's about unlocking the full potential of your recipes and consistently creating delicious results.
The impact of understanding heat transfer in glass baking extends far beyond the individual kitchen. It's about appreciating the subtle nuances of cooking, the patience required to achieve culinary mastery, and the satisfaction of a perfectly browned crust. As Julia Child once said, Find something you're passionate about and keep tremendously interested in it.
For me, that passion lies in the precise science and creative artistry of baking, and understanding the quirks of glass baking is a vital part of that journey. This knowledge allows for greater control and creativity, opening up a world of possibilities for experimentation and culinary exploration.
Now, it's your turn. Consider the tips and techniques discussed here – the importance of preheating, the strategic placement of your dish, the subtle adjustments in baking time. Don't be afraid to experiment, to adjust, to learn from your successes and your "almosts." Each perfectly baked creation is a testament to your growing understanding of this fascinating process. Embrace the challenge, and the rewards of baking in glass will be truly delicious.
Unlock Perfectly Baked Goods: Take Your Baking to the Next Level!
Thanks for taking the time to learn about baking in glass dishes! You're now equipped with the knowledge to avoid those frustrating burnt edges and achieve perfectly golden-brown results every time. Ready to put your new skills to the test?
- Bake your signature dish in a glass dish today! See the difference these tips make in your baking.
- Share your baking triumphs (and challenges!) with our BakeWithEase community on social media. Let's inspire each other!
- Consider experimenting with different glass bakeware shapes and sizes to broaden your baking horizons.
What delicious creation will you bake next, and what glass dish will you use?