
Easy & Delicious: Recipes for Nut & Seed Bars

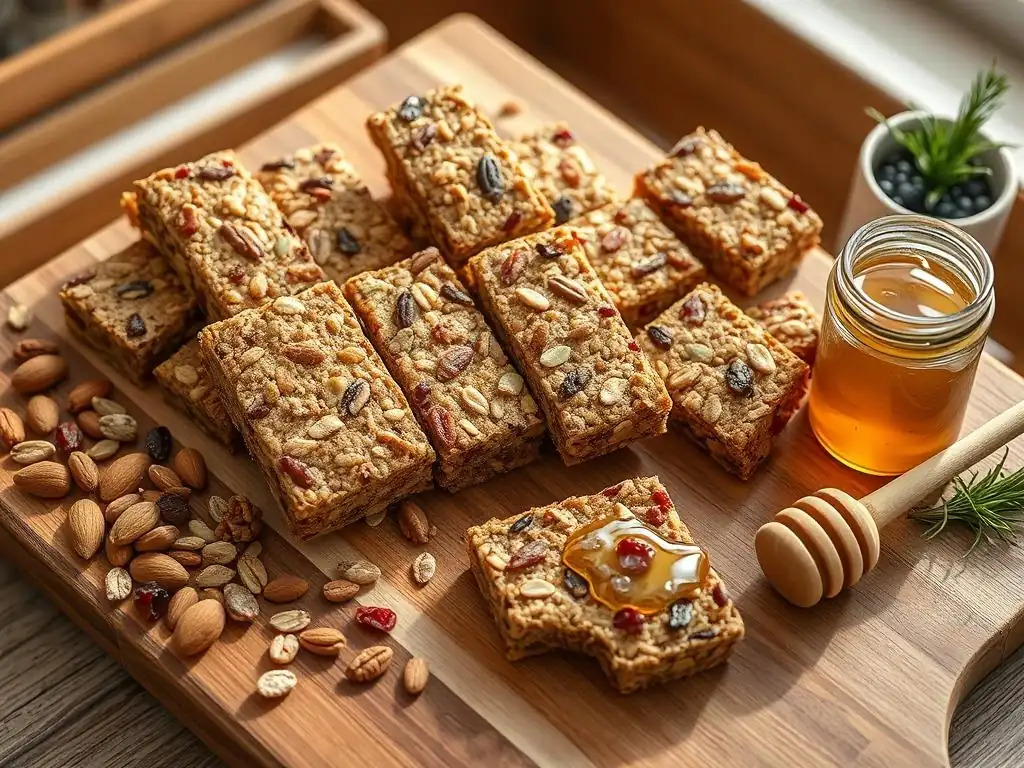
Welcome to BakeWithEase, your kitchen companion for conquering the world of baking! Ever wondered how to create the perfect, satisfyingly crunchy nut seed bar? These aren't your average granola bars! Dive in to discover easy, delicious recipes that will transform simple ingredients into healthy, flavorful treats. Intrigued? Keep reading to unlock the secrets to crafting your own homemade nut and seed bars, and prepare to be amazed!
- Fuel Your Day: Recipes for Homemade Energy Bars
- Introduction: The Power of Homemade Energy Bars
- Understanding the Essentials for Great Energy Bars
- Recipe 1: Peanut Butter Chocolate Chip Energy Bars
- Recipe 2: Vegan Date and Almond Energy Bars
- Recipe 3: Chewy No-Bake Cranberry Walnut Energy Bars
- Tips and Tricks for Energy Bar Baking Success
- Energy Bar Nutrition: A Healthy and Convenient Snack
- Troubleshooting Common Energy Bar Baking Problems
- Conclusion: Fueling Your Body with Homemade Energy Bars
-
Frequently Asked Questions
- What makes BakeWithEase's nut and seed bar recipes "easy"?
- Can I substitute ingredients in these nut and seed bar recipes?
- Are these nut and seed bar recipes suitable for dietary restrictions?
- How should I store my homemade nut and seed bars?
- What are some tips for preventing my nut and seed bars from crumbling?
- Final Reflection: The Enduring Power of the Simple Snack
- Unleash Your Inner Baker: Craft Your Perfect Nut & Seed Bar!
Fuel Your Day: Recipes for Homemade Energy Bars
Introduction: The Power of Homemade Energy Bars
Why Make Your Own Energy Bars? Health, Control, and Flavor
Making your own energy bars, especially those featuring delicious nut seed bar recipes, offers a multitude of benefits that store-bought options simply can't match. Foremost among these is control over ingredients. You decide exactly what goes into your bars, avoiding artificial additives, excessive sugars, and unhealthy fats often found in commercial products. This control is paramount for anyone mindful of their diet, whether managing allergies, seeking specific nutritional profiles, or simply preferring whole, unprocessed foods.
Beyond health, the ability to customize flavor is a major draw. With homemade nut and seed bars, the possibilities are nearly endless. You can tailor sweetness levels, mix and match your favorite nuts and seeds – from crunchy almonds and walnuts to tiny but mighty chia and flax seeds – and incorporate unique additions like dried fruits, spices, or even a touch of cocoa. This personal touch ensures your energy bars are not only nutritious but also perfectly suited to your taste preferences, making healthy snacking a truly enjoyable experience.
Your Guide to Simple and Delicious Energy Bar Recipes
Embarking on the journey of making your own energy bars is surprisingly simple, and this guide is designed to walk you through it. We'll explore the foundational elements that make a great energy bar, from selecting your base ingredients to understanding the role of binders and sweeteners. Whether you're a seasoned baker or just starting out, you'll find simple nut and seed bar recipes that are easy to follow and adapt.
Our goal is to empower you to create delicious, energy-boosting snacks right in your own kitchen. We'll provide step-by-step instructions for different styles of bars – baked and no-bake – along with tips for achieving the perfect texture and consistency. Get ready to discover the joy and satisfaction of fueling your body with wholesome, homemade nut and seed bars that taste incredible and provide sustained energy throughout your day.
Understanding the Essentials for Great Energy Bars
Choosing the Right Base: Oats, Quinoa, and More
The base ingredients form the bulk of your energy bars and provide essential structure and nutrients. Rolled oats are perhaps the most popular choice due to their excellent binding properties, high fiber content (approximately 4 grams per half-cup serving), and neutral flavor that pairs well with almost anything. They contribute to a satisfying chewiness and provide sustained energy release.
Other excellent base options include puffed rice, quinoa flakes, or even crushed whole-grain cereal. Quinoa flakes, for instance, offer a complete protein source, providing roughly 8 grams of protein per cup cooked, adding a significant nutritional boost. Experimenting with different bases can alter the texture and nutritional profile of your nut seed bar recipes, allowing you to create bars that are light and crispy or dense and chewy, depending on your preference.
Key Ingredients: Binders, Sweeteners, and Superfoods Explained
Beyond the base, several key ingredients play crucial roles in creating delicious and functional energy bars. Binders are essential for holding everything together; common choices include nut butters (like peanut or almond butter, providing healthy fats and protein, around 7-8 grams per two tablespoons), mashed ripe bananas (adding natural sweetness and moisture), or sticky dried fruits like dates or figs (dates offer about 2 grams of fiber per two dates and act as a natural sweetener and binder).
Sweeteners provide flavor and can also contribute to the binding process. Maple syrup, honey, agave nectar, or brown rice syrup are liquid sweeteners that help bind dry ingredients. Dried fruits also add natural sweetness and moisture. Finally, "superfoods" like chia seeds (rich in omega-3s and fiber, about 5 grams of fiber per ounce), flax seeds (similar benefits, often used ground), goji berries, or cacao nibs can be added for extra nutritional punch and interesting textures or flavors in your nut seed bar recipes.
Essential Equipment for Energy Bar Success
Making energy bars doesn't require a professional bakery setup, but a few key pieces of equipment will make the process much smoother. A sturdy mixing bowl is indispensable for combining your ingredients thoroughly. For pressing the mixture into a pan, a solid 8x8 or 9x13 inch baking pan (depending on the batch size) works well. Lining the pan with parchment paper or wax paper is highly recommended; it prevents sticking and makes lifting the finished block out for cutting incredibly easy.
If your recipe requires melting ingredients like nut butter or chocolate, a microwave-safe bowl or a small saucepan for the stovetop will be needed. For recipes involving chopping nuts or dried fruit, a good sharp knife and cutting board, or even a food processor, can save significant time. And finally, a reliable set of measuring cups and spoons ensures accuracy, helping you achieve the desired consistency for your homemade nut and seed bars.
Recipe 1: Peanut Butter Chocolate Chip Energy Bars
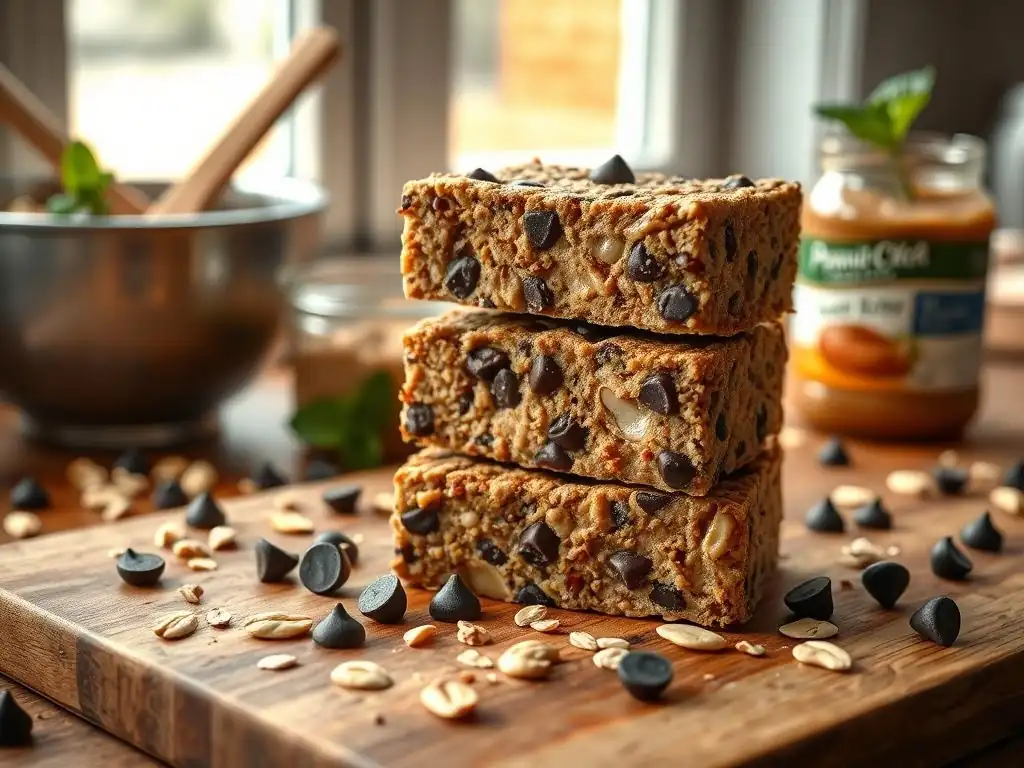
Ingredients for Peanut Butter Chocolate Chip Energy Bars
Creating these crowd-pleasing peanut butter chocolate chip nut seed bars is simple and requires common pantry staples. You'll need:
- 2 cups rolled oats (not instant)
- 1/2 cup peanut butter (creamy or crunchy, your choice)
- 1/4 cup honey or maple syrup (adjust to desired sweetness)
- 1/4 cup melted coconut oil or butter
- 1 teaspoon vanilla extract
- 1/2 cup chopped nuts (such as peanuts, almonds, or walnuts, adding crunch to your nut seed bar recipes)
- 1/4 cup seeds (like sunflower or pumpkin seeds for extra texture and nutrients)
- 1/2 cup chocolate chips (milk, dark, or mini)
- Optional: 1/4 teaspoon salt (if using unsalted nut butter)
These ingredients combine to create a satisfyingly chewy and flavorful energy bar, perfect for a quick snack or breakfast on the go. The combination of oats, nut butter, nuts, and seeds provides a good balance of carbohydrates, fats, and protein.
Step-by-Step Instructions: Baking (or Not!) the Perfect Batch
This recipe can be made either baked for a firmer, slightly crispier texture or no-bake for maximum simplicity and chewiness.
For No-Bake Bars:
- In a large bowl, combine the rolled oats, chopped nuts, and seeds.
- In a separate microwave-safe bowl or small saucepan, gently heat and stir together the peanut butter, honey/maple syrup, and melted coconut oil/butter until smooth and well combined. Stir in the vanilla extract and salt (if using).
- Pour the wet mixture into the dry ingredients and stir until everything is evenly coated. Fold in the chocolate chips.
- Line an 8x8 inch pan with parchment paper, leaving some overhang.
- Transfer the mixture to the prepared pan. Press down firmly and evenly using the back of a spoon or a spatula. Compacting the mixture well is key to preventing crumbling in your nut seed bar recipes.
- Refrigerate for at least 1-2 hours, or until firm, before lifting out and cutting into bars.
For Baked Bars (Optional, for a slightly firmer texture):
Follow steps 1-5 above. Instead of refrigerating, bake in a preheated oven at 325°F (160°C) for 15-20 minutes, or until the edges are lightly golden. Let cool completely in the pan before lifting out and cutting. Baking adds a subtle toastiness to the nuts and oats.
Tips for Achieving Desired Texture and Consistency
Achieving the perfect texture in your peanut butter chocolate chip nut seed bars often comes down to the binding agent and how well you pack the mixture. If your mixture seems too dry, you can add a tablespoon or two more of melted coconut oil or nut butter to help bind the ingredients. If it's too wet and sticky, a little extra oat flour (simply pulse some oats in a blender) or more oats can help absorb excess moisture.
Compacting the mixture firmly into the pan is critical, especially for no-bake versions. Use a flat bottom glass, the back of a spatula, or even your hands (slightly dampened to prevent sticking) to press the mixture down tightly and evenly into the corners. This compression helps the ingredients stick together as they cool and firm up, resulting in bars that hold their shape well when cut. Chilling time is also important; don't rush this step, as adequate refrigeration is what sets no-bake nut seed bar recipes.
Recipe 2: Vegan Date and Almond Energy Bars
Vegan-Friendly Ingredients: A Delicious and Nutritious Alternative
These vegan date and almond energy bars offer a naturally sweet and nutrient-dense option, perfect for those seeking plant-based snacks. The key binder here is the humble date, specifically Medjool dates, known for their soft, caramel-like texture and natural sweetness. You'll need about 1 cup of pitted Medjool dates, which provide natural sugars, fiber (around 2 grams per two dates), and essential minerals.
Other core ingredients include:
- 1 cup rolled oats
- 1 cup almonds (whole or roughly chopped, providing healthy fats and protein, about 6 grams per ounce)
- 1/2 cup seeds (like pumpkin, sunflower, or chia seeds, adding omega-3s and fiber)
- 2-3 tablespoons plant-based milk (almond, soy, or oat)
- 1 teaspoon vanilla extract
- Optional additions: cinnamon, shredded coconut, or cacao nibs for extra flavor and texture in these delightful nut seed bar recipes.
This combination creates a chewy, slightly sticky bar packed with natural goodness, free from animal products.
Baking/No-Bake Instructions: Vegan Energy Bar Perfection
This recipe is primarily designed as a no-bake bar, leveraging the stickiness of dates to hold everything together. It's incredibly straightforward and requires minimal effort.
- If your dates are not very soft, soak them in warm water for about 10 minutes, then drain well.
- In a food processor, combine the pitted dates and plant-based milk. Process until a thick, sticky paste forms. You might need to scrape down the sides a few times.
- Add the rolled oats, almonds, seeds, and vanilla extract to the food processor with the date paste. Pulse until the ingredients are well combined and the nuts/seeds are broken down to your desired consistency (some people like them chunkier, others finer). Be careful not to over-process into a smooth dough.
- If the mixture seems too dry or crumbly, add another tablespoon of plant-based milk and pulse again. It should be sticky enough to hold together when pressed.
- Line an 8x8 inch pan with parchment paper. Transfer the mixture to the pan and press down firmly and evenly.
- Refrigerate for at least 2-3 hours, or until completely firm, before lifting out and cutting into bars.
For a slightly firmer bar, you could experiment with baking at a low temperature (around 300°F/150°C) for 10-15 minutes after pressing into the pan, but this might dry out the dates slightly. The no-bake method is generally preferred for maintaining the chewy texture.
Customizing Your Vegan Bars: Spices and Superfood Additions
One of the joys of making your own nut seed bar recipes is the ability to customize them endlessly. For these vegan date and almond bars, spices can add wonderful depth of flavor. Try adding 1/2 teaspoon of cinnamon, a pinch of nutmeg, or even a dash of cardamom to the mixture with the oats and nuts. Orange zest can also provide a bright, fresh note.
Incorporating additional superfoods can further enhance the nutritional profile. A tablespoon or two of ground flaxseed or chia seeds can be mixed in for extra omega-3 fatty acids and fiber. Cacao nibs add a pleasant bitterness and crunch, while shredded coconut boosts healthy fats and tropical flavor. Feel free to experiment with different combinations of nuts and seeds as well – pecans, walnuts, cashews, hemp seeds, or poppy seeds can all add unique textures and nutrients to your vegan nut and seed bars.
Recipe 3: Chewy No-Bake Cranberry Walnut Energy Bars
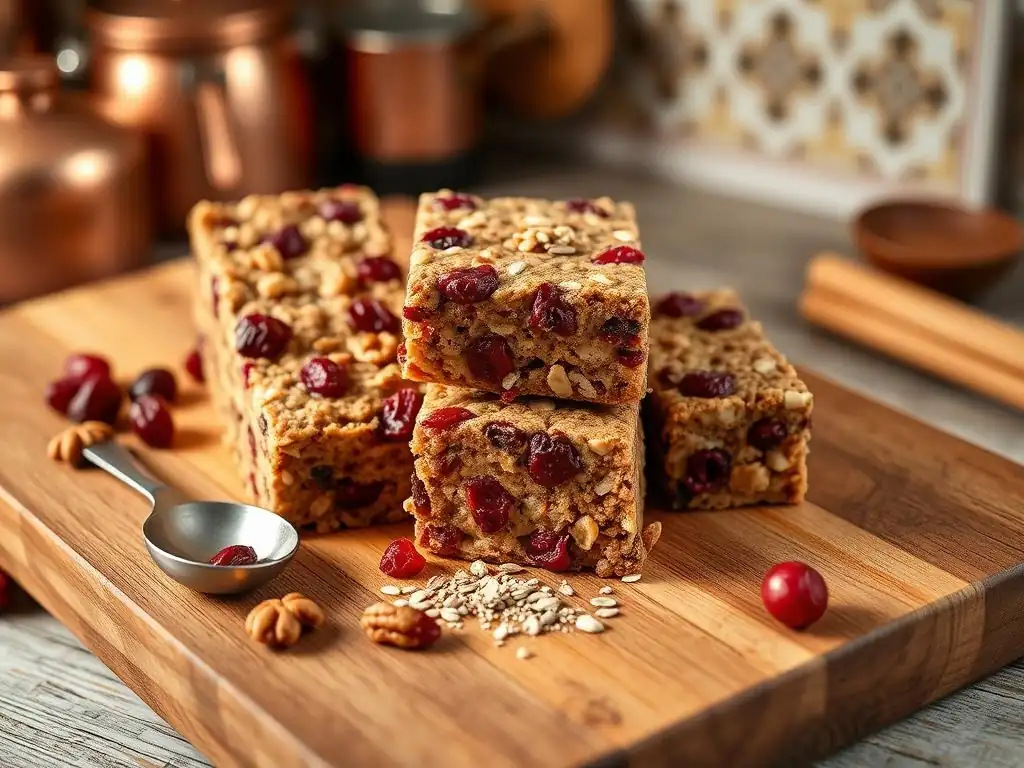
No-Bake Baking: The Easiest Energy Bar Recipe
Sometimes you just need a quick energy boost without turning on the oven. This chewy no-bake cranberry walnut energy bar recipe is perhaps the easiest way to make delicious nut seed bar recipes at home. It relies on the natural stickiness of ingredients like nut butter and a liquid sweetener to bind the dry components together, requiring only mixing and chilling.
The beauty of no-bake bars lies in their simplicity and speed. You can whip up a batch in under 20 minutes of active time, making them perfect for busy schedules. While they do require chilling time to set, the hands-on effort is minimal. This method also preserves the raw nutrients in ingredients like seeds and dried fruits that might be diminished by heat, offering a slightly different nutritional profile compared to baked versions.
Ingredients for No-Bake Cranberry Walnut Energy Bars
This recipe focuses on classic flavor combinations with a simple binding method. You'll need:
- 2 cups rolled oats
- 1/2 cup creamy or crunchy nut butter (peanut, almond, or cashew work well)
- 1/3 cup honey, maple syrup, or agave nectar
- 1/4 cup melted coconut oil (optional, adds firmness but can be omitted for a softer bar)
- 1 teaspoon vanilla extract
- 1/2 cup chopped walnuts (providing omega-3s and crunch, about 2.5g per ounce)
- 1/2 cup dried cranberries (adding chewiness and tartness)
- 1/4 cup seeds (like sunflower or pumpkin seeds)
- Optional: a pinch of salt
These ingredients come together to create a bar that's chewy, slightly tart from the cranberries, and nutty from the walnuts and seeds, making them a delightful addition to your collection of nut seed bar recipes.
Step-by-Step Guide: Creating Your No-Bake Masterpiece
Making these no-bake bars is incredibly straightforward, perfect for beginners.
- In a large mixing bowl, combine the rolled oats, chopped walnuts, dried cranberries, and seeds. Stir to distribute evenly.
- In a separate bowl, whisk together the nut butter, honey/maple syrup, melted coconut oil (if using), and vanilla extract until smooth. If the nut butter is very thick, you can gently warm the mixture slightly to make it easier to mix.
- Pour the wet ingredients into the bowl with the dry ingredients. Stir thoroughly with a sturdy spoon or spatula until all the dry ingredients are coated and the mixture is well combined.
- Line an 8x8 inch pan with parchment paper. Transfer the mixture to the prepared pan.
- Press the mixture down very firmly and evenly into the pan. This is a crucial step for no-bake nut seed bar recipes to ensure they hold their shape. Use the bottom of a glass or a heavy spatula to compact it tightly.
- Refrigerate for at least 2-3 hours, or until completely firm, before lifting the block out of the pan using the parchment paper overhang and cutting into bars using a sharp knife.
Allowing adequate chilling time is key to preventing crumbling when cutting. The bars will continue to firm up in the refrigerator.
Tips and Tricks for Energy Bar Baking Success
Preventing Crumbling: Achieving the Perfect Bar Consistency
One of the most common frustrations when making homemade nut seed bar recipes is ending up with a crumbly mess instead of neat bars. The key to preventing this lies primarily in the binder-to-dry ingredient ratio and proper compaction. Ensure you have enough sticky ingredients (like nut butter, dates, or syrup) to coat all the dry components like oats, nuts, and seeds. If your mixture looks too dry before pressing, add a little more liquid binder (like a tablespoon of syrup or melted coconut oil) or a bit more nut butter until the ingredients clump together when squeezed.
Equally important is how you press the mixture into the pan. Don't just lightly spread it; you need to really compact it down firmly and evenly. This pressure helps the ingredients adhere to each other as the bars set, whether through chilling or baking. Using parchment paper allows you to lift the entire block out easily for cutting, reducing the risk of breakage compared to cutting directly in the pan. For no-bake bars, sufficient chilling time is non-negotiable; rushing this step will result in soft, crumbly bars.
Cutting and Storing Your Homemade Energy Bars
Once your energy bar mixture has set firmly (either chilled or cooled after baking), it's time to cut them into individual bars. For clean cuts, especially with no-bake nut seed bar recipes, use a sharp knife. Warming the knife slightly under hot water and drying it between cuts can help, particularly if the bars are very sticky or contain ingredients like chocolate chips that can drag.
Lift the entire block out of the pan using the parchment paper overhang and place it on a cutting board before slicing. Aim for uniform sizes, typically 1.5 to 2 inches wide and 3 to 4 inches long, depending on your desired portion size.
Proper storage is essential to keep your homemade energy bars fresh and delicious. Store them in an airtight container at room temperature for up to 5-7 days. If your bars contain ingredients that are prone to melting (like chocolate chips in warmer climates) or if you want to extend their shelf life, storing them in the refrigerator is a good option; they will last for 2-3 weeks chilled.
For longer storage, individual bars can be wrapped tightly in plastic wrap or parchment paper and frozen for up to 3 months. Thaw at room temperature or in the refrigerator before eating.
Variations: Experimenting with Flavors, Textures, and Ingredients
The beauty of homemade nut seed bar recipes is their incredible versatility. Once you have a basic recipe down, feel free to experiment! Swap out nut butters – try almond butter instead of peanut, or cashew butter for a milder flavor. Mix and match nuts and seeds; pecans, macadamia nuts, hemp seeds, chia seeds, and poppy seeds all offer different textures and nutritional benefits.
Vary the dried fruits: apricots, figs, cherries, blueberries, or chopped dates can replace cranberries. Add spices like ginger, cardamom, or pumpkin pie spice. Incorporate other mix-ins like shredded coconut, cacao nibs, mini marshmallows, or different types of chocolate chips. You can also play with extracts beyond vanilla, such as almond extract or peppermint extract. Don't be afraid to adjust the sweetener type and amount to control sweetness and explore different flavor profiles in your energy bar recipes with nuts and seeds.
Energy Bar Nutrition: A Healthy and Convenient Snack
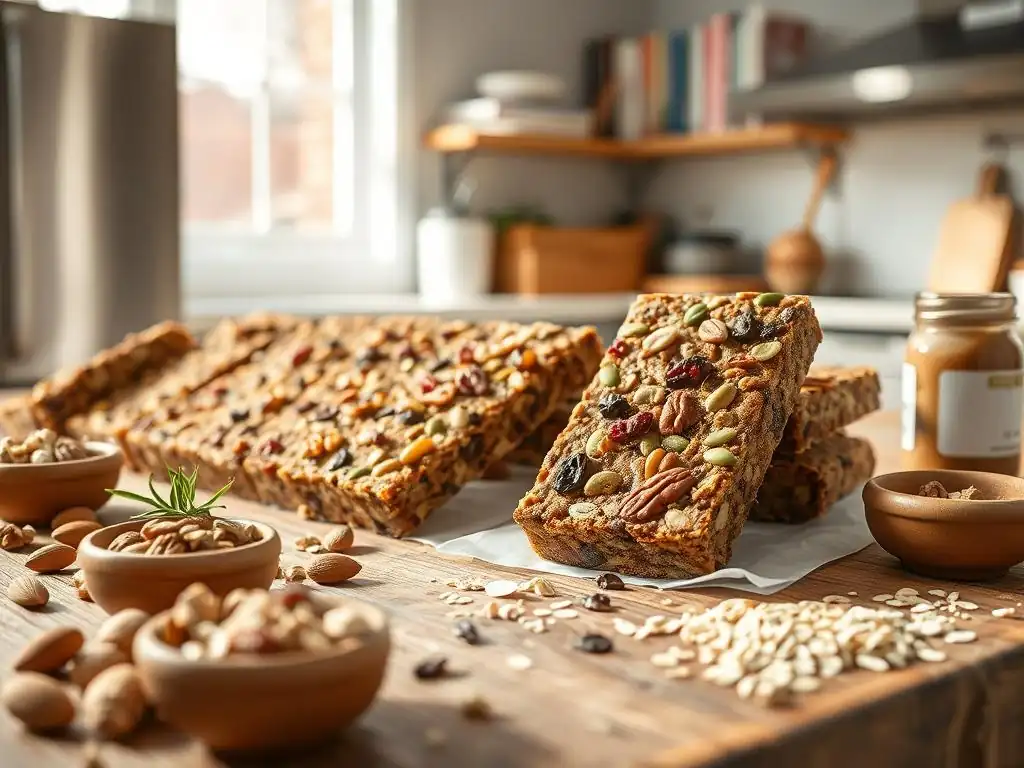
Understanding the Nutritional Benefits of Ingredients
Homemade nut seed bar recipes are powerhouses of nutrition, largely thanks to the quality ingredients you choose. Oats provide complex carbohydrates and soluble fiber (beta-glucan), which helps regulate blood sugar and cholesterol. Nuts and seeds are excellent sources of healthy fats (monounsaturated and polyunsaturated), protein (almonds have about 6g protein per ounce, walnuts about 4g per ounce), fiber, vitamins (like Vitamin E in almonds), and minerals (such as magnesium and zinc).
Dried fruits contribute natural sugars for quick energy, along with fiber and antioxidants. Ingredients like chia and flax seeds are particularly noteworthy for their omega-3 fatty acid content. While specific nutritional values vary greatly depending on the exact recipe and portion size, a typical homemade nut and seed bar can offer a balanced mix of macronutrients, providing sustained energy without the sugar crash often associated with highly processed snacks.
Controlling Sugar and Calorie Content in Your Homemade Bars
One of the primary advantages of making your own nut seed bar recipes is the ability to control the sugar and calorie content. Commercial bars can be surprisingly high in added sugars. At home, you can reduce the amount of liquid sweetener or rely more heavily on the natural sweetness of dried fruits like dates. Using unsweetened nut butters also helps.
Calorie content will naturally vary based on your ingredient choices, particularly the amounts of nuts, seeds, nut butter, and sweetener. A bar heavy on nuts and seeds will be more calorie-dense due to healthy fats (fats contain about 9 calories per gram, compared to 4 calories per gram for carbs and protein). If you're aiming for lower calorie bars, you might increase the proportion of oats and reduce the amount of nut butter or add puffed rice cereal to reduce density. Being mindful of portion size is also crucial, as even healthy ingredients contribute to overall calorie intake.
Making Energy Bars a Part of an Active Lifestyle
Homemade nut seed bars are an ideal snack for an active lifestyle. Their combination of complex carbohydrates, healthy fats, and protein provides sustained energy, making them perfect for pre-workout fuel or post-workout recovery. A bar consumed about an hour before exercise can provide the necessary carbohydrates to power through your activity.
After a workout, the protein and carbohydrates help replenish glycogen stores and support muscle repair. Their portable nature makes them incredibly convenient – just grab one as you head out the door for a hike, bike ride, or gym session. Keeping a batch of your favorite homemade nut and seed bars on hand ensures you always have a healthy, readily available snack option to support your energy needs throughout the day, whether you're hitting the trails or just navigating a busy schedule.
Troubleshooting Common Energy Bar Baking Problems
Bars Too Dry? Solutions and Adjustments
If your homemade nut seed bar recipes turn out too dry and crumbly, it's usually an issue with the balance of wet and dry ingredients or insufficient binder. The most common culprits are too many dry ingredients (oats, nuts, seeds) relative to the sticky binders (nut butter, syrup, dates).
To fix a batch that seems too dry before pressing and setting, you can add a tablespoon or two more of your liquid sweetener (honey, maple syrup), melted coconut oil/butter, or additional nut butter. For date-based bars, a splash more plant-based milk or water can help. Mix thoroughly until the mixture holds together easily when you squeeze a small amount in your hand. If the bars are already set and dry, unfortunately, they can't really be "fixed" back into cohesive bars, but they can often be repurposed as a delicious granola topping for yogurt or cereal.
Bars Too Sticky? Troubleshooting Tips
Conversely, if your energy bars are excessively sticky and difficult to handle or cut, you likely have too much liquid sweetener or not enough dry ingredients. This can happen if measurements aren't precise or if the humidity in your environment is high.
To remedy a mixture that's too sticky before setting, gradually add a few tablespoons of additional dry ingredients. Rolled oats work well, or you can pulse some oats in a blender to make oat flour, which absorbs moisture effectively. Stir well after each addition until the mixture is still sticky but manageable and holds its shape better when pressed. If the bars are already set and too sticky, try chilling them for even longer; colder temperatures can reduce stickiness. Also, ensure you are using parchment paper for lifting and cutting on a clean surface, which helps manage sticky surfaces.
Bars Not Holding Together? Binding Agent Advice
If your bars aren't holding together and are falling apart when you try to cut them, it points to a binding issue. This could be related to the ratio of ingredients, insufficient binder, or inadequate setting time/compaction. Ensure you are using the specified amount of binder (nut butter, dates, syrup) in your nut seed bar recipes. Sometimes, different brands or types of nut butter can vary in consistency, affecting the outcome.
For no-bake bars, pressing the mixture down very firmly into the pan is absolutely crucial. Think of it like compacting snow – the tighter it is, the more it holds its shape. Use significant pressure. Also, ensure the bars are chilled for the full recommended time, or even longer if needed, until they are very firm. For baked bars, ensure they are completely cooled before attempting to cut them. If a particular recipe consistently crumbles, you might need to slightly increase the amount of the binding agent in future batches.
Conclusion: Fueling Your Body with Homemade Energy Bars
Making your own energy bars, including exploring various nut seed bar recipes, is a rewarding way to take control of your snacking habits. You gain the power to choose wholesome ingredients, avoid unnecessary additives, and tailor flavors to your exact preferences. From chewy no-bake options packed with dates and nuts to slightly firmer baked variations with oats and seeds, the world of homemade energy bars is diverse and accessible to bakers of all skill levels.
These portable powerhouses offer a convenient and nutritious way to fuel your body throughout the day, providing sustained energy whether you're hitting the gym, tackling a busy workday, or simply need a healthy pick-me-up. With a little practice and willingness to experiment with different nut and seed bar recipes, you'll soon find your perfect go-to snack that's both delicious and incredibly good for you.
Frequently Asked Questions
What makes BakeWithEase's nut and seed bar recipes "easy"?
Our recipes focus on simple instructions and readily available ingredients, making them accessible even for beginner bakers. We prioritize clear, concise steps to minimize confusion.
Can I substitute ingredients in these nut and seed bar recipes?
While we recommend following the recipe for the best results, you can often substitute nuts and seeds with similar varieties. Be mindful of how substitutions might affect texture and flavor.
Are these nut and seed bar recipes suitable for dietary restrictions?
Many of our recipes can be adapted to suit dietary needs. Look for recipes that are already gluten-free, vegan, or dairy-free, or consider modifications to remove or replace specific ingredients.
How should I store my homemade nut and seed bars?
Store your bars in an airtight container at room temperature for up to a week, or in the refrigerator for longer storage. This helps to maintain their freshness and prevent them from drying out.
What are some tips for preventing my nut and seed bars from crumbling?
Ensure you are using the correct ratio of binding ingredients like honey or syrup. Press the mixture firmly into the pan and allow it to cool completely before cutting to prevent crumbling.
Final Reflection: The Enduring Power of the Simple Snack
The humble nut and seed bar, once a niche health food, has exploded in popularity, becoming a staple in lunchboxes, gym bags, and pantries across the globe. This surge isn't just a fleeting trend; it reflects a growing awareness of the need for convenient, nutritious, and delicious snacks that fuel our busy lives. These bars offer a perfect blend of portability, satisfying texture, and essential nutrients, making them a powerful tool in our quest for healthier eating habits.
The journey of creating these recipes has been a personal one, highlighting the surprising versatility of nuts and seeds. I've discovered the joy of experimenting with different flavor combinations, textures, and levels of sweetness, all while keeping the focus on simple, accessible ingredients. The process has reminded me of the importance of mindful eating and the satisfaction derived from crafting something nourishing and delicious from scratch. The best things in life are simple.
This simple truth rings especially true when it comes to the pleasure of a perfectly made nut and seed bar.
Now, I invite you to embark on your own culinary adventure. Don't be afraid to experiment with the recipes provided, substituting ingredients to suit your preferences and dietary needs. The possibilities are endless! Consider the impact of incorporating these wholesome snacks into your daily routine – not just for the immediate energy boost, but for the long-term benefits of improved nutrition and a more mindful approach to food. Let the simple act of making and enjoying a nut and seed bar be a small act of self-care, a testament to your commitment to a healthier, happier you.
Unleash Your Inner Baker: Craft Your Perfect Nut & Seed Bar!
Thanks for joining us on this delicious journey into the world of nut and seed bars! We hope you've discovered some new favorite recipes and gained the confidence to create your own healthy and tasty treats. Now it's time to put your newfound knowledge into action.
- Bake your own masterpiece! Choose your favorite recipe from the article and get baking. Let us know how it turns out!
- Share your creation! Post a picture of your finished bars on social media and tag us – we love seeing your baking adventures!
- Experiment with different nuts and seeds! What unique flavor combinations will you discover?
What's your favorite nut or seed to include in your baking? Let's discuss in the comments below!