
Bake Like a Pro: Creating the Iconic French Millefeuille

Welcome to BakeWithEase, your guide to baking brilliance! Ever dreamed of creating those delicate, layered pastries that grace Parisian patisserie windows? Prepare to be amazed! Our French millefeuille baking tutorial makes even this iconic dessert surprisingly accessible. Uncover the secrets to flaky pastry and creamy filling, and discover how you can achieve professional results at home. Ready to embark on a delicious adventure?
- Introduction to French Millefeuille: An Easy Baking Tutorial
- Mastering the Puff Pastry: The Foundation of Millefeuille
- Crème Pâtissière: The Heart of a Perfect Millefeuille
- Assembling Your French Millefeuille: A Step-by-Step Guide
- Icing and Decoration: The Finishing Touches for Your Millefeuille
- Tips and Tricks for the Best French Millefeuille Baking Experience
- Storing Your Millefeuille: Keeping it Fresh and Delicious
- Conclusion: You've Mastered the Art of Millefeuille Baking
-
Frequently Asked Questions
- How difficult is it to make a millefeuille from scratch, and is this tutorial suitable for beginners?
- What is the most crucial step in achieving the perfect millefeuille pastry?
- What are some common mistakes to avoid when making millefeuille?
- Can I substitute any of the ingredients in this millefeuille recipe?
- How long does it typically take to prepare and bake a millefeuille using this tutorial?
- Final Reflection: The Enduring Allure of the Millefeuille
- Unleash Your Inner Pâtissier: Master the Millefeuille!
Introduction to French Millefeuille: An Easy Baking Tutorial
What is Millefeuille? A Classic French Pastry Explained
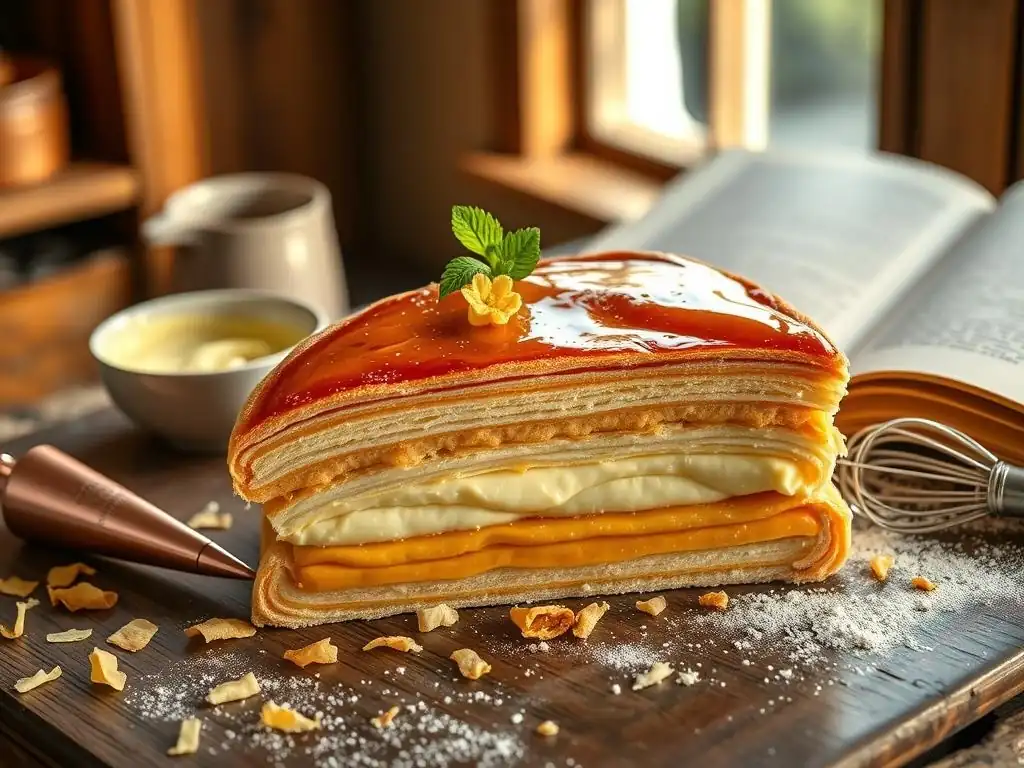
Millefeuille, translating literally to "thousand sheets," is a quintessential French pastry celebrated for its exquisite layers and textures. At its core, it consists of three layers of impossibly crisp puff pastry interleaved with two generous layers of smooth, rich crème pâtissière (pastry cream). This structural simplicity belies a complex interplay of textures and flavors that has captivated dessert lovers for centuries. Its origins trace back to the 17th or 18th century in France, solidifying its status as a true classic.
The magic of a well-made French millefeuille lies in the contrast. You experience the shattering crispness of the caramelized puff pastry, which gives way to the cool, creamy indulgence of the vanilla-infused crème pâtissière. The top layer is traditionally finished with a dusting of powdered sugar, a simple glaze, or the iconic fondant icing with feathered chocolate decoration. Each bite offers a delightful combination of flaky, creamy, and sweet.
Why Millefeuille is a Baker's Delight (and How to Simplify the Process)
For many bakers, mastering the French millefeuille represents a significant achievement. It requires precision and patience, particularly when working with puff pastry and achieving a perfectly smooth pastry cream. The process of creating those distinct, airy layers of pastry and assembling them with the luscious filling is incredibly rewarding, offering a tangible sense of accomplishment. It's a pastry that looks as impressive as it tastes, making it a favorite for special occasions.
While the classic French millefeuille might seem intimidating, especially the puff pastry component, it's entirely possible to make a stunning version without years of training. This article provides an easy French millefeuille baking tutorial by breaking down each step. We'll explore simplified methods, like using rough puff pastry or even high-quality store-bought options, and provide clear instructions for making the crème pâtissière and assembling this layered masterpiece. It's about making this classic accessible for your home baking adventures.
Mastering the Puff Pastry: The Foundation of Millefeuille
Homemade Puff Pastry vs. Store-Bought: Which is Best for Your Millefeuille?
Homemade puff pastry, made with layers of butter painstakingly folded into dough (the process known as lamination), offers unparalleled flavor and flakiness. A classic all-butter puff pastry can have hundreds of layers, resulting in an incredibly light and crisp texture when baked. However, making it from scratch is a time-consuming process, often taking several hours spread over a day due to the chilling required between each turn (fold). It's a labor of love that yields exceptional results.
Store-bought puff pastry provides a convenient shortcut for your easy French millefeuille baking project. While it may not achieve the exact same depth of flavor or the sheer number of layers as traditional homemade, many commercial brands offer good quality and consistent results. They are typically made with alternative fats or a combination of butter and other fats, which makes them easier to work with and less prone to melting issues. For busy bakers or beginners, using store-bought pastry is a perfectly valid way to enjoy homemade French millefeuille.
Step-by-Step Guide to Making Rough Puff Pastry for Millefeuille (Simplified)
Rough puff pastry is a fantastic compromise between the complexity of classic puff and the convenience of store-bought. It simplifies the lamination process by cutting chunks of cold butter directly into the flour before adding liquid, rather than enclosing a solid block of butter. This method still creates distinct layers of butter within the dough, which expand when baked, giving you a satisfyingly flaky result perfect for a French millefeuille without the extensive folding and chilling time of traditional puff.
To make rough puff, you'll typically combine flour and salt, then cut in cold, cubed butter until the pieces are about the size of small walnuts or peas. Add ice water gradually until the dough just comes together. After a brief chill (around 30 minutes), you perform a series of simple folds – usually 3 or 4 single folds or book folds – with short chilling periods (15-20 minutes) in between. This quicker process develops enough layers for a delicious and visually appealing French millefeuille.
- [ ] Combine 2 cups flour and 1/2 tsp salt.
- [ ] Cut in 1 cup very cold butter, cubed, until pieces are visible (pea to walnut size).
- [ ] Add ~1/2 cup ice water, 1-2 tbsp at a time, mixing until dough forms.
- [ ] Chill dough for 30 minutes.
- [ ] Roll dough into a rectangle. Perform a single fold (fold in thirds like a letter).
- [ ] Rotate dough 90 degrees. Chill for 15-20 minutes.
- [ ] Repeat the roll, single fold, rotate, and chill steps 2-3 more times.
- [ ] Chill final dough for at least 1 hour before rolling thin for baking.
Tips for Working with Store-Bought Puff Pastry for Optimal Millefeuille Results
If you opt for store-bought puff pastry for your easy French millefeuille, proper handling is key to success. Always thaw the pastry according to package directions, typically in the refrigerator overnight. Once thawed, keep it cold until you're ready to roll and bake. Cold pastry is essential because it keeps the fat solid, ensuring distinct layers during baking. Avoid letting it sit out at room temperature for too long.
To prepare store-bought sheets for your French millefeuille layers, gently unfold them on a lightly floured surface. You may need to roll them slightly thinner and more evenly, aiming for about 1/8 inch thickness, to ensure consistent crispness. Crucially, you must dock the pastry thoroughly with a fork all over before baking. This prevents the pastry from puffing up too much and unevenly, helping you achieve the flat, stackable layers needed for a classic French millefeuille structure. Baking with a baking sheet on top for the first part of the bake also helps keep them flat.
Crème Pâtissière: The Heart of a Perfect Millefeuille
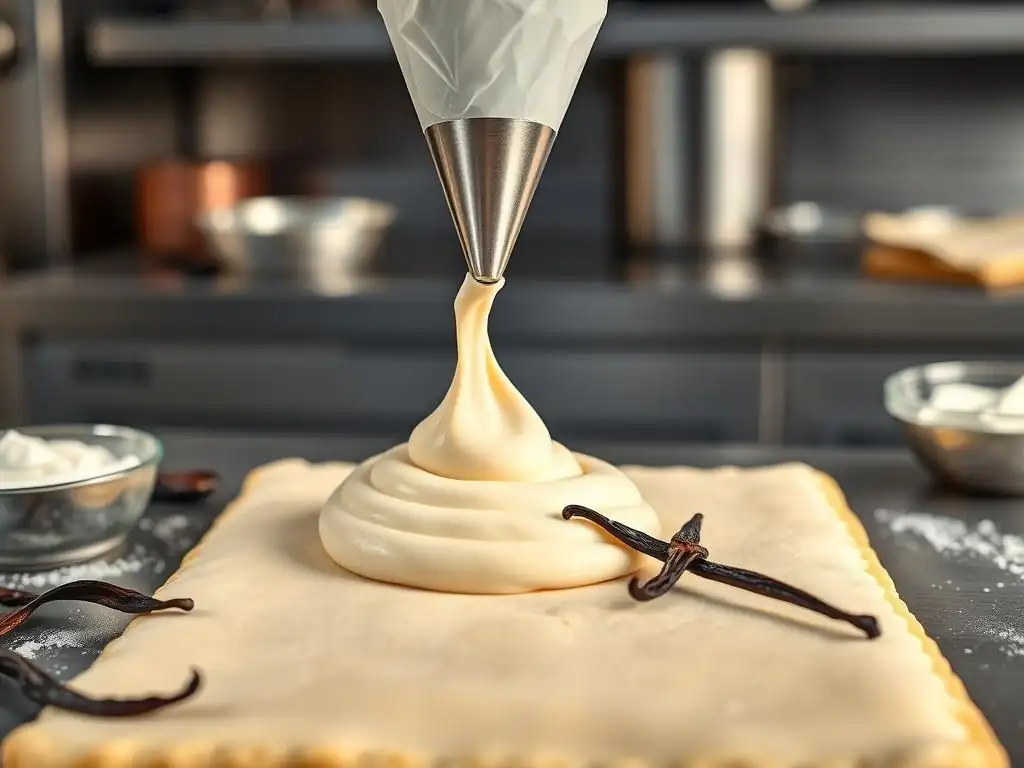
Vanilla Bean Crème Pâtissière Recipe for French Millefeuille
Crème pâtissière is the classic filling for French millefeuille, providing a smooth, creamy contrast to the crisp pastry. It's essentially a rich custard thickened with egg yolks and starch. For the most authentic and fragrant result, use a real vanilla bean. Split one vanilla bean lengthwise and scrape the seeds into the milk before heating. The speckles of vanilla bean in the cream are a hallmark of a quality French millefeuille.
Here's a simplified outline for a delicious vanilla bean crème pâtissière: Heat milk with sugar and vanilla bean (pod and seeds). In a separate bowl, whisk egg yolks with more sugar and a starch (like cornstarch or flour) until pale and thick. Temper the egg mixture by slowly whisking in a ladleful of the hot milk.
Pour the tempered mixture back into the saucepan with the remaining milk. Cook over medium heat, whisking constantly, until the cream thickens significantly and bubbles for a moment (about 1-2 minutes after thickening begins) to cook out the starch flavor. Strain the cream into a clean bowl, stir in butter (optional, for richness), cover the surface directly with plastic wrap to prevent a skin from forming, and chill completely before using in your French millefeuille.
- [ ] Heat 2 cups milk with 1/2 cup sugar and seeds/pod of 1 vanilla bean until simmering.
- [ ] Whisk 4 large egg yolks with 1/4 cup sugar and 1/4 cup cornstarch until pale.
- [ ] Slowly whisk 1/2 cup hot milk into the egg mixture to temper.
- [ ] Pour tempered mixture back into saucepan with remaining milk.
- [ ] Cook over medium heat, whisking constantly, until thickened and bubbling (1-2 mins).
- [ ] Strain cream into a bowl, add 2 tbsp butter (optional), stir.
- [ ] Cover surface directly with plastic wrap and chill until firm (at least 2-3 hours).
Variations on Crème Pâtissière: Flavors to Elevate Your Millefeuille
While classic vanilla is divine, you can easily create flavor variations for your French millefeuille. For a chocolate version, whisk in 4 ounces of finely chopped dark or semi-sweet chocolate into the hot crème pâtissière after straining. The residual heat will melt the chocolate; whisk until smooth. A coffee-flavored cream can be achieved by dissolving 1-2 tablespoons of instant espresso powder in the hot milk or adding coffee extract. Lemon zest can be steeped in the milk for a bright, citrusy twist.
Another popular variation is Crème Diplomate, which is crème pâtissière lightened with whipped cream. Once your crème pâtissière is completely chilled, whisk it until smooth, then gently fold in an equal amount of lightly sweetened whipped cream. This creates a lighter, airier filling that is still rich but less dense than pure pastry cream, offering a different texture experience in your French millefeuille. Liqueurs like rum or Grand Marnier can also be whisked into the chilled cream for adult-friendly flavors (start with 1-2 tablespoons).
Troubleshooting Common Crème Pâtissière Problems
One common issue when making crème pâtissière for your French millefeuille is lumps. This often happens if the starch isn't fully incorporated into the egg mixture before tempering, or if the cream isn't whisked constantly and vigorously while cooking. If your cream is lumpy, don't despair! Simply press it through a fine-mesh sieve while it's still warm. This will remove the lumps and give you the smooth, silky texture you need for piping and spreading.
If your crème pâtissière doesn't thicken properly, it's usually due to not cooking it long enough or not using enough starch/egg yolks. Ensure you cook it until it's very thick and bubbles for at least a minute, as this activates the starch's thickening power. If it's already chilled and too thin, you can try gently reheating it over low heat while whisking constantly. If it still doesn't thicken, make a slurry of 1-2 tablespoons cornstarch with a little cold milk or water, whisk it into the warm cream, and cook for another minute or two until thickened, then re-chill.
Assembling Your French Millefeuille: A Step-by-Step Guide
Preparing the Puff Pastry Layers for Assembly
Before you begin assembling your French millefeuille, ensure your baked puff pastry layers are completely cooled and perfectly crisp. If they have puffed unevenly, you can gently press them down with a flat object (like another baking sheet) immediately after they come out of the oven while they are still warm and pliable. This helps create flatter layers that are easier to stack neatly.
Once cooled, carefully trim the edges of your baked pastry sheets using a sharp knife or a serrated knife to create clean, straight lines. Aim for uniform rectangles or squares, depending on your desired final shape. Trimming ensures a professional look and makes the layering process smoother, resulting in a more stable and visually appealing French millefeuille. Some bakers even lightly caramelize the top of one or more layers with powdered sugar under a broiler or with a torch for extra crunch and flavor.
Layering the Crème Pâtissière and Puff Pastry for a Classic Millefeuille
Assembling your French millefeuille is where the magic happens! You will typically use three layers of baked puff pastry and two layers of crème pâtissière. Ensure your crème pâtissière is well-chilled and firm – you might whisk it briefly to loosen it slightly before piping or spreading. Using a piping bag fitted with a large round or star tip makes applying the cream neatly and evenly much easier than spreading with a spatula.
Place your first pastry layer on the serving plate or board. Pipe or spread about half of the crème pâtissière evenly over this layer, spreading it close to the edges but leaving a small border if desired. Carefully place the second pastry layer on top, pressing down very gently to ensure it makes contact with the cream. Pipe or spread the remaining crème pâtissière over the second layer. Finally, top with the third pastry layer. Try to align the layers as precisely as possible for a clean finish on your French millefeuille.
Achieving Perfect Millefeuille Layers: Techniques and Tips
For the cleanest layers in your French millefeuille, ensure both your pastry and cream are cold. Cold cream is less likely to ooze out, and cold, crisp pastry is less likely to break when handled. Apply even pressure when placing each pastry layer – you want them to adhere to the cream, but you don't want to crush the delicate pastry structure.
After assembling the layers (before adding the final icing), it's beneficial to chill the millefeuille for about 30-60 minutes. This allows the crème pâtissière to firm up slightly within the layers and helps the entire structure become more stable. This chilling step makes the final icing and decoration process much easier, as the layers are less likely to shift. When cutting the assembled French millefeuille, use a very sharp serrated knife and a gentle sawing motion to minimize crushing the layers.
Icing and Decoration: The Finishing Touches for Your Millefeuille
Classic Millefeuille Icing Techniques: Fondant and Chocolate
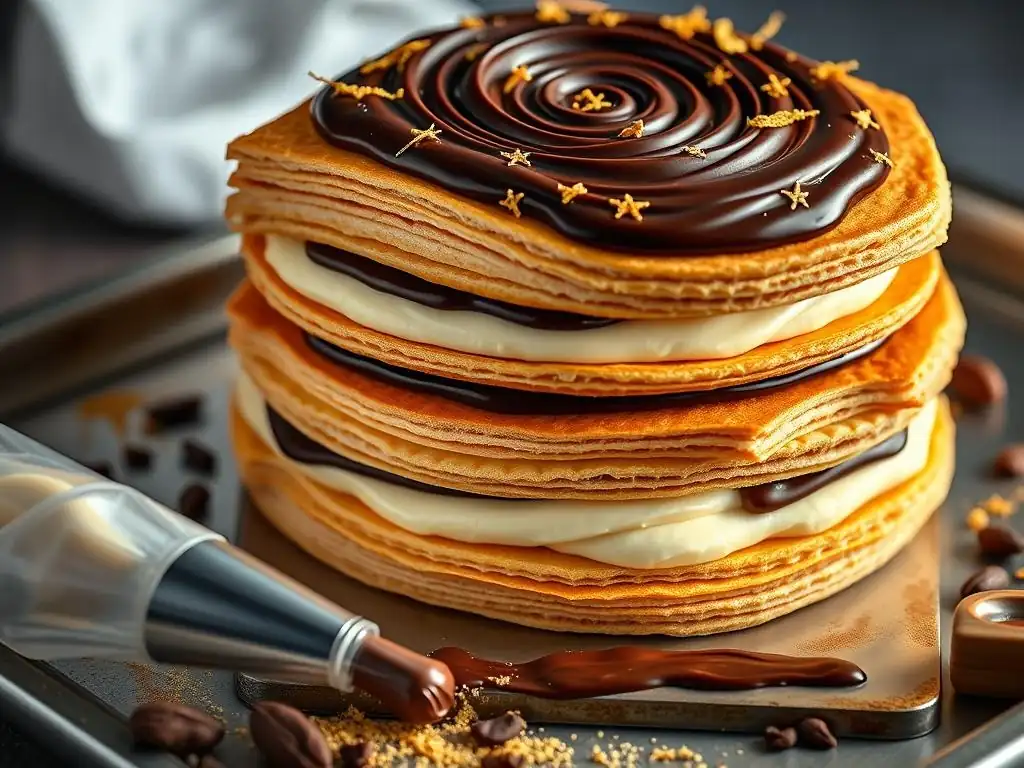
The most traditional finish for a French millefeuille is a smooth layer of white fondant icing on the top pastry sheet, decorated with a feathered chocolate pattern. Fondant icing (not to be confused with rolled fondant used for cakes) is a pourable icing made primarily from sugar, water, and glucose, often flavored with vanilla. It sets to a slightly firm, opaque finish that provides a clean surface for decoration.
To create the classic feathered pattern, melt dark or semi-sweet chocolate. While the white fondant icing on the top pastry layer is still wet and unset, pipe thin, parallel lines of melted chocolate across the surface. Then, using a skewer, toothpick, or the tip of a knife, drag it perpendicular to the chocolate lines, alternating direction with each pass (e.g., drag down, then up, then down) to create the iconic feather or marble effect. This technique requires a little speed before the fondant sets, but it's a signature look for a French millefeuille.
Easy Icing Recipes for a Stunning Millefeuille Presentation
If working with fondant seems daunting for your easy French millefeuille baking tutorial, simple alternatives work beautifully. A basic powdered sugar glaze is quick and easy. Whisk together powdered sugar with a small amount of milk, water, or lemon juice until you reach a smooth, pourable consistency. You can flavor it with vanilla or almond extract. Spread or drizzle this glaze over the top pastry layer.
Another simple option is a chocolate ganache. Heat equal parts heavy cream and finely chopped chocolate (dark, milk, or white) until the chocolate melts, then whisk until smooth. Let it cool slightly until it's thickened but still spreadable. This can be poured or spread over the top layer for a rich finish. Alternatively, simply dusting the top layer generously with powdered sugar is an elegant and effortless way to finish your French millefeuille, highlighting the beautiful layers beneath.
Creative Millefeuille Decoration Ideas to Impress
Beyond the classic icing patterns, you can get creative with your French millefeuille decoration. Fresh berries, such as raspberries or sliced strawberries, add color and a touch of freshness when placed on top of the icing or along the sides. A sprinkle of finely chopped nuts, like pistachios or almonds, around the base or edges adds texture and visual appeal.
Consider adding small dollops of leftover crème pâtissière or whipped cream around the top layer. You could also use stencils to dust cocoa powder or powdered sugar onto the top pastry layer before adding any wet icing. For a slightly more advanced technique, caramelize the top of the final pastry layer with a sprinkle of granulated sugar and a blow torch or under a hot broiler before assembly, adding a crunchy, brûléed element to your French millefeuille.
Tips and Tricks for the Best French Millefeuille Baking Experience
Ensuring Crispy Puff Pastry: Baking Techniques for Millefeuille
Achieving truly crisp puff pastry is vital for a successful French millefeuille. Bake your pastry sheets at a relatively high temperature, typically around 400°F (200°C). This high heat creates a burst of steam that forces the layers apart rapidly. Bake the pastry until it is a deep golden brown, not just pale yellow. This ensures the layers are fully cooked and dry throughout, preventing them from becoming soft or chewy. Baking time can vary, but it's often between 15 to 25 minutes per sheet, depending on thickness.
As mentioned earlier, docking the pastry generously with a fork helps prevent it from puffing up into uneven domes. For even flatter layers perfect for stacking in your French millefeuille, consider placing a second baking sheet directly on top of the pastry sheet for the first half of the baking time. This gentle weight keeps the pastry relatively flat while still allowing the layers to separate and crisp up underneath. Remove the top sheet for the remainder of the baking time to allow the pastry to brown properly.
Preventing Soggy Millefeuille: Assembly and Storage Tips
The primary challenge with French millefeuille is keeping the pastry crisp once the cream is added. Crème pâtissière contains moisture, which will migrate into the pastry over time, making it soft. The best way to prevent a soggy millefeuille is to assemble it as close to serving time as possible. This is the golden rule!
Ensure both your baked pastry layers and crème pâtissière are thoroughly chilled before assembly. Cold components help slow down the moisture transfer process. If you need to prepare components in advance, bake the pastry layers and store them in an airtight container at room temperature (if dry) or freeze them. Make the crème pâtissière and store it in the refrigerator. Assemble the French millefeuille no more than 1-2 hours before you plan to serve it for optimal crispness.
Ingredient Substitutions for Easier Millefeuille Baking
While classic French millefeuille relies on specific ingredients, some substitutions can make the process easier or accommodate dietary needs. For the crème pâtissière, cornstarch is a common thickener, but you can also use all-purpose flour or a mix of both. Using only flour might require slightly more and cooking longer to avoid a raw flour taste.
For the pastry, while all-butter offers the best flavor, some recipes or store-bought options use shortening or margarine, which can be easier to work with as they have a higher melting point than butter, especially in warm kitchens. However, this will impact the flavor and flakiness. If you don't have vanilla bean, use a good quality vanilla extract or vanilla bean paste in the crème pâtissière (approximately 2 teaspoons of extract or paste per vanilla bean). For the icing, powdered sugar glaze is a simple and widely available substitute for traditional fondant.
Storing Your Millefeuille: Keeping it Fresh and Delicious
Best Practices for Storing Millefeuille
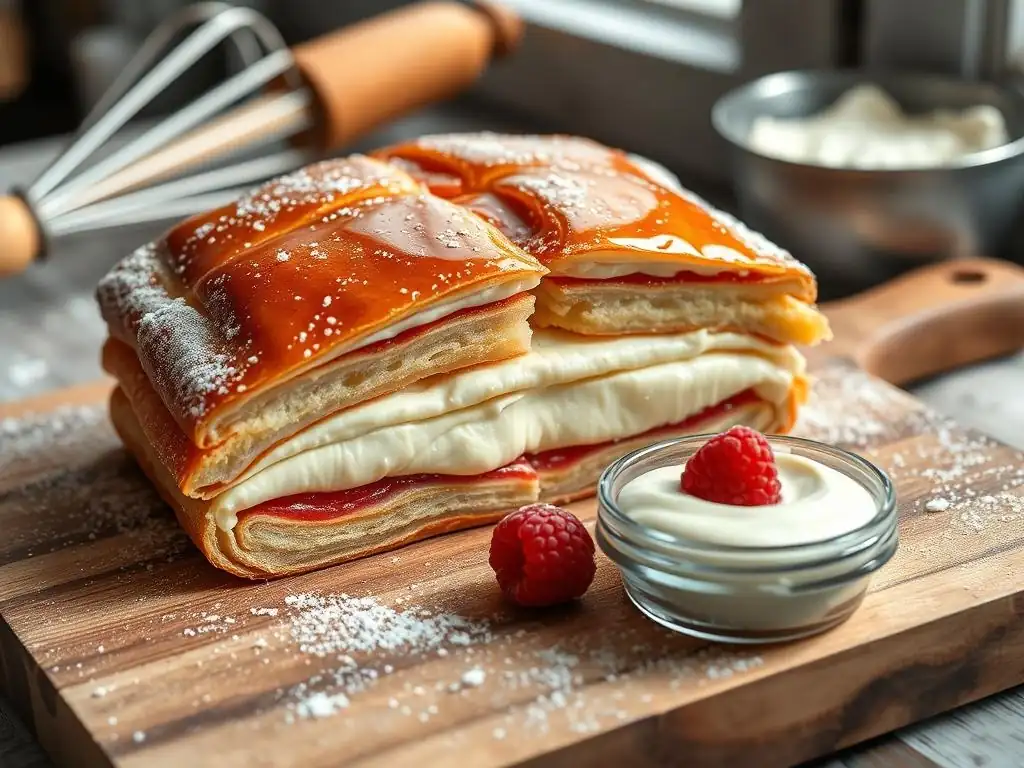
Due to the nature of its components, French millefeuille is truly at its best when served fresh, ideally within an hour or two of assembly. The crisp pastry is key to the experience, and moisture from the crème pâtissière will inevitably soften it over time.
If you have leftover assembled French millefeuille, the best practice is to store it in an airtight container in the refrigerator. This will keep the crème pâtissière safe and fresh. However, be aware that the pastry will soften considerably in the fridge. It won't retain its initial crispness, but the dessert will still be delicious, just with a different texture profile. For maximum crispness, store the baked pastry layers and the crème pâtissière separately and assemble individual portions just before serving.
How Long Does Millefeuille Last?
An assembled French millefeuille is best consumed within 12 to 24 hours of assembly. After this period, the puff pastry will likely have lost most, if not all, of its crispness due to moisture absorption from the cream. While the pastry itself might not be ideal, the crème pâtissière remains safe to eat for 2-3 days when stored properly in an airtight container in the refrigerator.
If stored separately, baked puff pastry layers can be kept in a dry, airtight container at room temperature for 2-3 days. Crème pâtissière, properly covered (with plastic wrap touching the surface) and refrigerated, will last for 2-3 days. For future easy French millefeuille baking sessions, you can even freeze baked puff pastry layers for up to a month; simply thaw and re-crisp them in a moderate oven before assembling.
Conclusion: You've Mastered the Art of Millefeuille Baking
Congratulations! Enjoy Your Homemade French Millefeuille
You've done it! You've navigated the steps from understanding the components of this classic French pastry to mastering the puff pastry (whether homemade or store-bought), crafting the luscious crème pâtissière, and finally assembling and decorating your creation. Making a French millefeuille, especially for the first time, is a notable achievement in home baking. It requires attention to detail and patience, but the result is undeniably worth the effort.
Take a moment to appreciate the beautiful layers you've created. The crisp pastry, the smooth, rich cream, the elegant finish – it's a true work of edible art. Now, the best part: slice and enjoy your homemade French millefeuille! Savor the delightful contrast of textures and the classic vanilla flavor. You've successfully completed this easy French millefeuille baking tutorial and can proudly share your accomplishment.
Further Baking Adventures: Exploring More French Pastries
Having successfully tackled the French millefeuille, you've built a solid foundation of skills in working with pastry and creams. These techniques are transferable to many other exquisite French desserts. Consider exploring other classics that use similar components or require precise techniques.
Perhaps your next project could be delicate French macarons, elegant éclairs filled with crème pâtissière (using choux pastry), or a classic Paris-Brest. Each offers unique challenges and rewards, allowing you to continue honing your baking skills and expanding your repertoire of delightful French pastries. Keep baking, keep learning, and keep enjoying the sweet rewards!
Frequently Asked Questions
How difficult is it to make a millefeuille from scratch, and is this tutorial suitable for beginners?
This tutorial aims to make the millefeuille baking process accessible. While it requires patience, the step-by-step instructions are designed for all skill levels, including beginners.
What is the most crucial step in achieving the perfect millefeuille pastry?
The most crucial step is ensuring your puff pastry is properly chilled and laminated. This creates the light and flaky layers that define a millefeuille.
What are some common mistakes to avoid when making millefeuille?
Avoid overworking the dough, using warm butter, and baking at too low a temperature. These can result in a dense and less flaky pastry.
Can I substitute any of the ingredients in this millefeuille recipe?
While some substitutions are possible, be cautious. Using different types of flour or fillings may alter the final texture and flavor significantly.
How long does it typically take to prepare and bake a millefeuille using this tutorial?
The entire process, including chilling and baking, can take several hours. Plan for a minimum of 4-5 hours for best results.
Final Reflection: The Enduring Allure of the Millefeuille
The delicate layers of the millefeuille, a testament to patience and precision, mirror the complexities of mastering any craft. This seemingly simple pastry, with its crisp pastry, creamy filling, and elegant presentation, demands respect and rewards the baker with an unforgettable culinary experience. More than just a recipe, it's a journey into the heart of French pastry tradition.
The millefeuille's enduring appeal lies not just in its exquisite taste, but in its ability to evoke a sense of occasion, of artistry, and of shared enjoyment. It's a pastry that transcends mere sustenance; it's a conversation starter, a centerpiece, a symbol of celebration. As I learned during the process of creating this tutorial, the true magic lies not only in the precise measurements and techniques, but in the passion and dedication poured into each layer. The proof of the pudding is in the eating,
they say, and the same holds true for the millefeuille – the satisfaction of creating something beautiful and delicious is its own reward.
Now, it's your turn. Don't be intimidated by the seemingly intricate process. Take a deep breath, gather your ingredients, and embark on your own millefeuille adventure. Remember the steps, embrace the challenges, and savor the triumph of creating this iconic pastry. The journey itself, with its moments of both frustration and fulfillment, will be as rewarding as the final, glorious bite. You might surprise yourself with what you can achieve. So, roll up your sleeves, and bake like a pro!
Unleash Your Inner Pâtissier: Master the Millefeuille!
Thanks for joining us on this delicious journey into the world of French pastry! We hope you’ve gained the confidence to tackle this iconic dessert. Now it’s time to put your newfound skills to the test!
- Bake your own masterpiece: Gather your ingredients and follow our recipe to create your stunning Millefeuille. Don't be afraid to experiment with fillings and frostings!
- Share your creation: Show off your baking prowess by posting a picture of your finished Millefeuille on social media and tag us! We'd love to see your results.
- Challenge a friend: Dare a fellow baking enthusiast to try their hand at this exquisite treat – friendly competition always makes things more fun!
Ready to become a Millefeuille master? What unique twist will you add to your next creation?