
Easy Enriched Dough for Soft Rolls

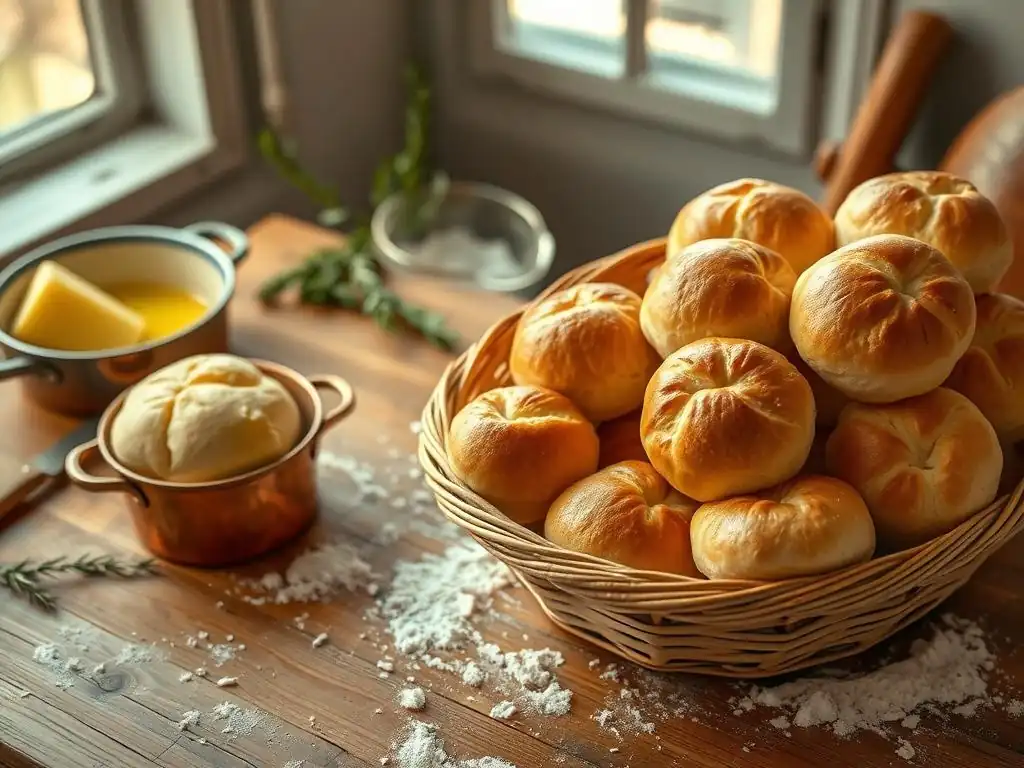
Welcome to BakeWithEase, where the joy of baking meets simplicity! Ever dreamt of creating perfectly soft rolls that melt in your mouth? Get ready to turn that dream into reality. We're diving into an enriched dough recipe that will revolutionize your bread baking. Discover the secrets to creating a dough that's as easy to work with as it is delicious, and unlock a world of possibilities beyond just rolls. What makes our enriched dough so special? Keep reading to find out!
- Easy Enriched Dough for Soft Rolls: BakeWithEase Recipe
- Bake Delicious Soft Rolls with This Enriched Dough Recipe
- Understanding Enriched Dough for Soft Rolls: A Baker's Guide
-
The Ultimate Soft Rolls Enriched Dough Recipe: Step-by-Step Instructions
- Ingredients You'll Need for Perfect Soft Rolls
- Equipment for Making Enriched Dough at Home
- Step 1: Preparing the Yeast Mixture for Soft Rolls
- Step 2: Combining Wet and Dry Ingredients for Enriched Dough
- Step 3: Kneading the Enriched Dough for Softness
- Step 4: First Rise: Proofing Your Enriched Dough
- Step 5: Shaping the Soft Rolls: Techniques and Tips
- Step 6: Second Rise: Achieving Maximum Fluffiness
- Step 7: Baking Your Soft Rolls to Golden Perfection
- Step 8: Cooling and Serving Your Homemade Soft Rolls
- Tips and Tricks for Baking the Best Soft Rolls with Enriched Dough
- Storing and Reheating Your Homemade Soft Rolls
- Enriched Dough Soft Rolls Recipe: Frequently Asked Questions (FAQ)
- Conclusion: Enjoying Your Homemade Soft Rolls
-
Frequently Asked Questions
- What makes this enriched dough recipe ideal for soft rolls?
- Can I substitute ingredients in this enriched dough recipe?
- How long does the dough need to proof for this recipe?
- What's the best way to store leftover soft rolls made from this recipe?
- What are some variations I can try with this enriched dough recipe?
- Final Reflection: The Enduring Power of a Perfect Roll
- Unleash Your Inner Baker: Soft Rolls Await!
Easy Enriched Dough for Soft Rolls: BakeWithEase Recipe
Bake Delicious Soft Rolls with This Enriched Dough Recipe
Introduction to Baking Enriched Dough Rolls at Home
Baking soft, fluffy rolls at home is a rewarding experience, and it all starts with a great dough. Enriched dough, characterized by the addition of ingredients like eggs, milk, butter, and sugar, is the secret to achieving that wonderfully tender crumb and slightly sweet flavor that makes soft rolls so irresistible.
Unlike lean doughs used for crusty breads, enriched dough is designed for softness and richness, making it perfect for dinner rolls, burger buns, or simply enjoying with butter. This easy enriched dough for soft rolls recipe is designed for bakers of all skill levels, guiding you through each step to ensure success.
Making enriched dough at home allows for control over ingredients and freshness that store-bought rolls simply can't match. The aroma filling your kitchen as these rolls bake is an added bonus! Our approach simplifies the process, breaking down the complexities of yeast activation, kneading, and proofing into manageable steps. You'll learn how to handle this forgiving dough and achieve consistently delicious results, bringing the joy of homemade baked goods to your table.
Understanding Enriched Dough for Soft Rolls: A Baker's Guide
What Makes Enriched Dough Different?
Enriched dough stands apart from lean doughs primarily due to its higher fat and sugar content. Lean doughs, like those for baguettes or ciabatta, typically contain only flour, water, yeast, and salt. Enriched doughs, however, incorporate fats (like butter or oil), dairy (milk or cream), eggs, and sweeteners (sugar or honey). These additions alter the dough's structure and behavior significantly.
The fat interferes with gluten development, resulting in a more tender crumb. Sugar provides food for the yeast, speeds up fermentation, and contributes to browning and flavor. Eggs add richness, structure, and color, while milk contributes to softness and a finer crumb.
This unique composition requires slightly different handling compared to lean doughs. Enriched dough often takes longer to knead because the added fat initially inhibits gluten formation. It also tends to be stickier and richer. However, the payoff is a loaf or roll with exceptional softness, a pleasant sweetness, and a longer shelf life due to the moisture and fat content. Mastering an easy enriched dough for soft rolls opens up a world of possibilities for various baked goods.
Key Ingredients for Soft and Fluffy Rolls
The magic of soft, fluffy rolls lies in the careful balance of specific ingredients within the enriched dough. High-quality flour is fundamental; a medium-protein bread flour or all-purpose flour with a protein content around 10-12% works well, providing enough structure without being overly tough. Yeast, whether active dry or instant, is the leavening agent, producing the gas that makes the rolls rise and become airy. Warm milk is often preferred over water as the liquid, as its fat and sugar contribute to softness and richness.
Butter is a critical fat source, contributing tenderness, flavor, and a beautiful golden crust. Using softened, but not melted, butter allows it to be incorporated smoothly into the dough. Sugar not only feeds the yeast but also enhances flavor and browning. Eggs add richness, contribute to the golden color of the crumb, and provide structure. A touch of salt is essential to balance the sweetness and control yeast activity. Using these ingredients in the correct proportions, as detailed in our soft rolls enriched dough recipe, is key to achieving that coveted soft and fluffy texture.
The Ultimate Soft Rolls Enriched Dough Recipe: Step-by-Step Instructions
Ingredients You'll Need for Perfect Soft Rolls
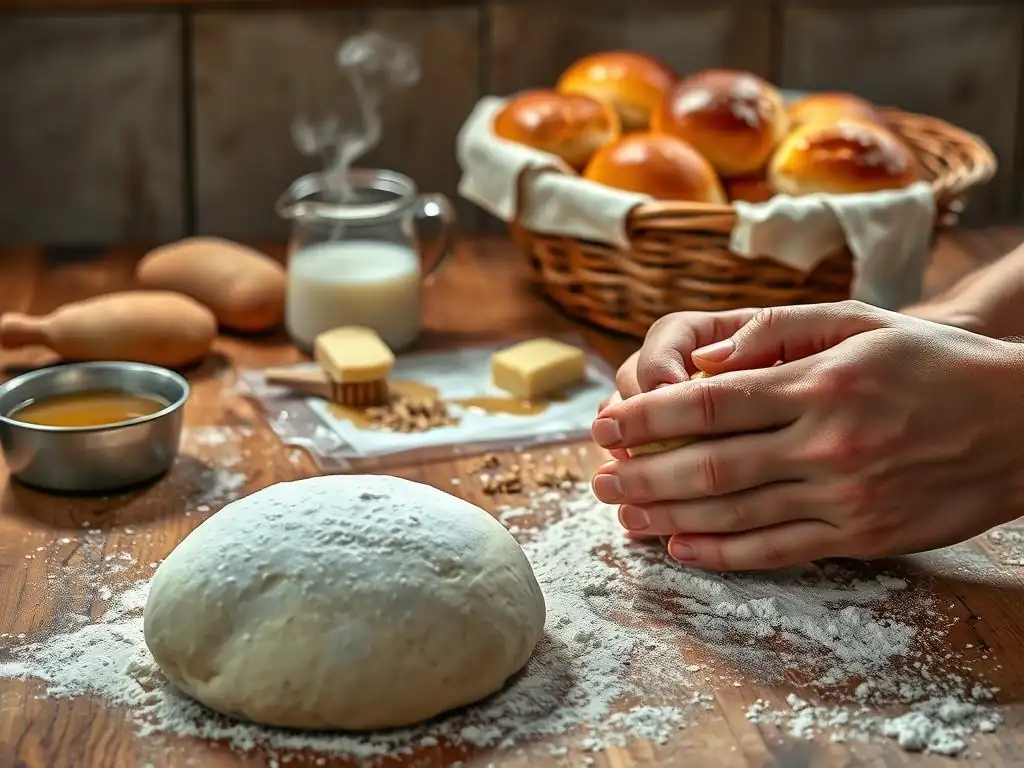
Here is a typical set of ingredients needed for an easy enriched dough for soft rolls, yielding about 12-16 standard-sized rolls:
3 ½ to 4 cups (420g to 480g) all-purpose flour¼ cup (50g) granulated sugar2 ¼ teaspoons (7g) active dry yeast or instant yeast1 teaspoon (6g) salt½ cup (120ml) warm milk (about 105-115°F / 40-46°C)½ cup (120ml) warm water (about 105-115°F / 40-46°C)¼ cup (57g) unsalted butter, softened1 large egg, room temperature
These quantities provide a good base for a manageable batch of soft rolls. Using room temperature ingredients like the egg helps them incorporate more smoothly into the dough, leading to a better texture.
Equipment for Making Enriched Dough at Home
Having the right tools can make the process of making enriched dough much easier and more enjoyable. You don't need a professional setup, but a few key items are helpful.
- Large mixing bowl (at least 4-quart capacity)
- Measuring cups and spoons
- Liquid measuring cup
- Kitchen scale (for accuracy, highly recommended)
- Stand mixer with dough hook attachment (optional, but helpful)
- Clean kitchen towel or plastic wrap for covering dough
- Baking sheet(s)
- Parchment paper or silicone baking mat (optional, for easy cleanup)
- Wire cooling rack
A stand mixer significantly reduces the effort required for kneading enriched dough, which can be quite soft and sticky. However, this soft rolls enriched dough recipe can absolutely be made by hand with excellent results.
Step 1: Preparing the Yeast Mixture for Soft Rolls
If using active dry yeast, you'll need to activate it first. In a small bowl or the bowl of your stand mixer, combine the warm milk (around 105-115°F), warm water, and the granulated sugar. Sprinkle the active dry yeast over the top and give it a gentle stir.
Let this mixture sit for about 5-10 minutes. You should see a foamy layer develop on the surface; this indicates the yeast is active and ready to work. If you don't see foam, your liquid might not have been warm enough, or the yeast may be expired, and you should start this step over.
If you are using instant yeast, you can skip the proofing step and add the yeast directly to the dry ingredients in Step 2. However, many bakers still prefer to proof instant yeast as a way to confirm its viability before committing to the rest of the ingredients. The warm liquid also helps kickstart the fermentation process quickly, regardless of yeast type.
Step 2: Combining Wet and Dry Ingredients for Enriched Dough
Once your yeast is active (or if using instant yeast), add the softened butter and the room temperature egg to the liquid mixture. Whisk gently to combine these wet ingredients. In a separate large bowl (or directly into the stand mixer bowl if using instant yeast), whisk together 3 ½ cups of the all-purpose flour and the salt.
Create a well in the center of the dry ingredients and pour the wet mixture into it. If using a stand mixer, attach the dough hook. If mixing by hand, use a sturdy spoon or spatula to begin combining the ingredients. Mix until a shaggy dough forms and most of the flour is incorporated. Don't worry if it looks a bit sticky at this stage; enriched dough is often softer than lean doughs.
Step 3: Kneading the Enriched Dough for Softness
Kneading is crucial for developing the gluten structure needed to give the rolls shape and texture. If using a stand mixer, knead on low speed for about 8-10 minutes. The dough will initially stick to the sides but should eventually pull away and become smooth and elastic. You can add the remaining ½ cup of flour, a tablespoon at a time, only if the dough is excessively sticky and not coming together after several minutes of kneading. Avoid adding too much flour, as this will result in tough rolls.
If kneading by hand, turn the shaggy dough out onto a lightly floured surface. Knead for about 10-12 minutes, or until the dough is smooth, elastic, and no longer sticky. Use the heel of your hand to push the dough away from you, fold it back over, and rotate. This physical action develops the gluten strands. The dough is ready when it passes the windowpane test: you can stretch a small piece thin enough to see light through it without it tearing.
Step 4: First Rise: Proofing Your Enriched Dough
The first rise, or bulk fermentation, allows the yeast to produce carbon dioxide gas, which makes the dough expand. Lightly grease a large bowl with oil or non-stick spray. Place the kneaded enriched dough for soft rolls into the bowl, turning it to coat all sides with a thin layer of oil. Cover the bowl tightly with plastic wrap or a clean, damp kitchen towel.
Place the covered bowl in a warm, draft-free place. A slightly warm oven (turned off) or near a sunny window works well. Let the dough rise until it has doubled in size. This typically takes about 60-90 minutes, depending on the temperature of your kitchen and the yeast activity. The dough should look puffy and feel light when gently poked.
Step 5: Shaping the Soft Rolls: Techniques and Tips
Once the dough has doubled, gently punch it down to release the gas. Turn the dough out onto a lightly floured surface. Divide the dough into equal portions. For medium-sized rolls, aim for about 12-16 pieces. A kitchen scale can help ensure uniform size, which leads to even baking. For example, if your total dough weight is around 800g, dividing by 16 gives you approximately 50g per roll.
To shape each roll, take a portion of dough and gently pull the edges underneath, creating tension on the top surface. Cup your hand around the dough ball and roll it against the counter in a circular motion, applying gentle pressure, until you have a smooth, taut ball.
Alternatively, flatten the dough portion slightly, fold the edges towards the center, pinch the seam closed, and then roll it into a ball. Place the shaped rolls seam-side down on a baking sheet lined with parchment paper, leaving about 1-2 inches of space between them to allow for expansion during the second rise and baking.
Step 6: Second Rise: Achieving Maximum Fluffiness
The second rise, or proofing the shaped rolls, is crucial for achieving maximum fluffiness. Loosely cover the baking sheet with plastic wrap or a clean kitchen towel. Place the baking sheet back in a warm, draft-free spot. Let the rolls rise again until they are visibly puffy and about 1 ½ times their original size. This second rise usually takes less time than the first, typically 30-45 minutes.
To check if the rolls are ready for baking, gently press the side of a roll with your fingertip. If the indentation springs back slowly and only partially, they are properly proofed. If the indentation bounces back immediately, they need more time. If the indentation remains completely, they are likely over-proofed. Proper proofing ensures a light and airy texture in your finished soft rolls enriched dough recipe.
Step 7: Baking Your Soft Rolls to Golden Perfection
Preheat your oven to 375°F (190°C) about 15-20 minutes before you anticipate the rolls being ready for baking. This ensures the oven is at the correct temperature throughout the baking process. Just before placing the rolls in the oven, you can brush the tops with an egg wash (one egg whisked with a tablespoon of water or milk) for a shiny, golden crust, or with melted butter for a softer crust.
Bake the soft rolls in the preheated oven for 18-22 minutes, or until they are golden brown on top and sound hollow when tapped on the bottom. The internal temperature of a fully baked roll should register around 190-200°F (88-93°C) on an instant-read thermometer. Baking time may vary slightly depending on your oven and the size of your rolls.
Step 8: Cooling and Serving Your Homemade Soft Rolls
Once baked, remove the soft rolls from the oven. If you didn't use a butter wash before baking, you can brush the tops with melted butter immediately after they come out of the oven for extra softness and flavor.
Transfer the rolls to a wire cooling rack to cool slightly. Allowing them to cool for at least 10-15 minutes prevents them from becoming gummy inside when you slice into them. While they are best served warm, fresh from the oven, they are still wonderfully soft and delicious once fully cooled. Enjoy your delicious, homemade soft rolls enriched dough creation!
Tips and Tricks for Baking the Best Soft Rolls with Enriched Dough
Achieving the Perfect Crust on Your Soft Rolls
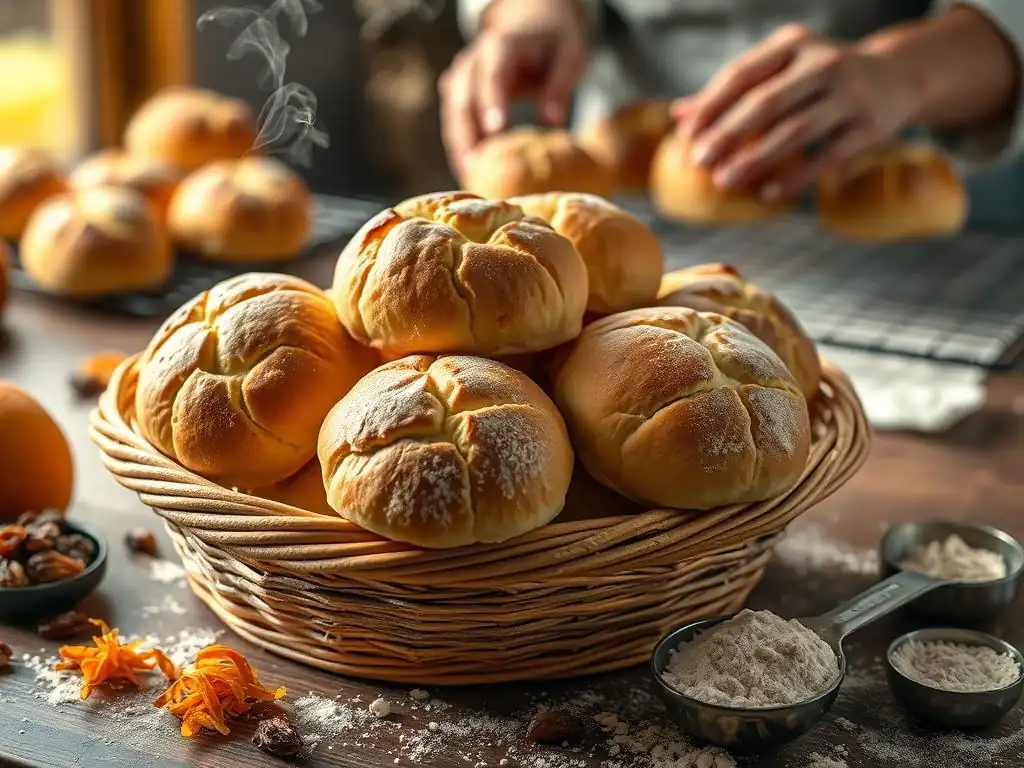
The crust of a soft roll should be tender, not hard or chewy. Several factors influence this. Using milk instead of water in the dough contributes to a softer crust due to the fat and sugar content. Brushing the rolls before baking with an egg wash (egg + water/milk) creates a beautiful, slightly shiny, golden-brown crust. For an even softer crust, brush the tops with melted butter immediately after they come out of the oven while they are still hot.
Another tip is to avoid over-baking. Baking just until golden brown and cooked through (internal temp 190-200°F) is sufficient. Over-baking will dry out the rolls and result in a harder crust and crumb. The humidity in your oven can also play a role; some bakers place a tray of hot water on the bottom rack during the first few minutes of baking to create steam, which can help keep the crust tender initially, though this is less critical for already enriched dough designed for softness.
Preventing Dough from Sticking During Shaping
Enriched dough can sometimes be a bit sticky due to the added fat and sugar. To prevent it from sticking excessively to your hands and the work surface during shaping, use minimal flour. Too much added flour at this stage will make the final rolls tough.
- Lightly dust your work surface and hands with flour, just enough to prevent sticking.
- Keep your movements quick and confident when shaping.
- Use a bench scraper to help lift and manipulate the dough.
- If the dough is still very sticky after the first rise, you can chill it in the refrigerator for 20-30 minutes. This firms up the butter and makes the dough easier to handle.
Troubleshooting Common Enriched Dough Problems
Sometimes things don't go exactly as planned when working with an easy enriched dough for soft rolls. Here are a few common issues and how to address them:
- Dough not rising: Ensure your yeast is fresh and your liquid is the correct temperature (105-115°F for active dry, up to 130°F for instant, though cooler is fine). Your proofing environment might be too cold; find a warmer spot.
- Dough is too sticky: You might not have added enough flour initially, or you didn't knead it long enough. Knead for a few more minutes, adding a tablespoon of flour at a time if necessary, until it's smooth and elastic but still soft.
- Rolls are dense/tough: This is often caused by adding too much flour or insufficient kneading. Ensure you measure flour accurately (preferably by weight) and knead until the dough passes the windowpane test. Over-handling the dough during shaping can also lead to toughness.
Variations: Adding Flavors and Toppings to Your Soft Rolls
Once you've mastered the basic soft rolls enriched dough recipe, you can get creative with variations. Flavorings can be incorporated into the dough during the mixing stage.
- Herbs: Add 1-2 tablespoons of finely chopped fresh herbs like rosemary, thyme, or chives to the dry ingredients.
- Cheese: Mix in ½ cup of shredded cheese (cheddar, Parmesan, or a blend) during the last minute of kneading.
- Sweet variations: Add cinnamon and a bit more sugar, or incorporate dried fruit like raisins or cranberries.
Toppings can be added before the second rise or just before baking:
- Sesame seeds, poppy seeds, or everything bagel seasoning: Brush with egg wash and sprinkle seeds generously.
- Flaky sea salt: Sprinkle lightly over the tops before baking for a savory touch.
- Melted butter and garlic powder: Brush on warm rolls for garlic bread rolls.
These variations allow you to customize your soft rolls enriched dough creation for different meals and occasions.
Storing and Reheating Your Homemade Soft Rolls
How to Store Enriched Dough Soft Rolls for Freshness
Homemade soft rolls are best enjoyed the day they are baked, but they can be stored to maintain their freshness for a few days. Once completely cooled, store the rolls in an airtight container or a resealable plastic bag at room temperature. They will typically stay soft and fresh for 2-3 days.
For longer storage, you can freeze baked rolls. Once completely cool, place them in a single layer on a baking sheet and freeze until solid (about 1-2 hours). Transfer the frozen rolls to a freezer-safe bag or container, removing as much air as possible to prevent freezer burn. Properly stored, they can last in the freezer for up to 2-3 months.
Reheating Techniques for Restoring Softness and Flavor
Reheating is a great way to bring leftover soft rolls back to life, restoring much of their original softness and warmth.
- Oven: The best method for reheating. Preheat your oven to 300°F (150°C). Place the rolls directly on the oven rack or on a baking sheet. Warm for 5-10 minutes, or until heated through. If reheating frozen rolls, add a few extra minutes to the time.
- Microwave: Quickest method, but can sometimes make rolls slightly chewy if overdone. Wrap a roll loosely in a damp paper towel and microwave on high for 15-30 seconds. Check for warmth and microwave for a few more seconds if needed. Reheat only one or two rolls at a time.
- Toaster oven: Similar to the main oven method, great for reheating a smaller batch. Preheat to 300°F (150°C) and warm for 5-8 minutes.
Always allow rolls to cool slightly after reheating, as the steam inside will be very hot.
Enriched Dough Soft Rolls Recipe: Frequently Asked Questions (FAQ)
What is the best type of flour for soft rolls?
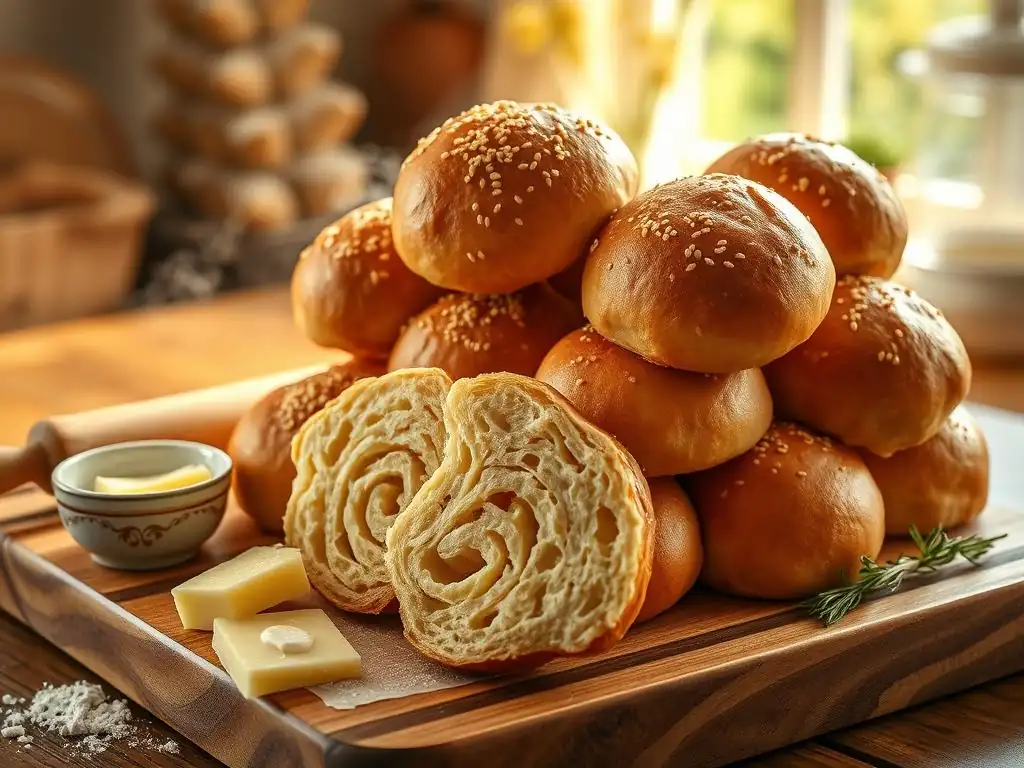
While you can use all-purpose flour, a bread flour with a slightly higher protein content (around 12-13%) is often considered best for soft rolls. The higher protein helps develop a stronger gluten structure, which provides better support for the rich ingredients and the lift from the yeast, resulting in a lighter, airier crumb while still maintaining softness. All-purpose flour (10-12% protein) works very well too and is more commonly available, producing lovely soft rolls. Avoid cake or pastry flour (low protein) as they won't provide enough structure.
Can I use a stand mixer to knead the enriched dough?
Yes, absolutely! A stand mixer with a dough hook attachment is an excellent tool for kneading enriched dough. It handles the sticky, soft nature of the dough effortlessly and ensures consistent, thorough kneading. Kneading time in a stand mixer is typically shorter than hand kneading, often around 8-10 minutes on a low speed. Using a stand mixer can make preparing this soft rolls enriched dough recipe significantly less labor-intensive.
How long should I knead the dough for soft rolls?
The goal of kneading enriched dough is to develop enough gluten for structure without making the rolls tough. When kneading by hand, this typically takes 10-12 minutes. With a stand mixer, it's usually quicker, about 8-10 minutes. The best indicator is the dough itself: it should be smooth, elastic, and pass the windowpane test. Over-kneading can make the rolls tough, while under-kneading will result in a dense, crumbly texture.
Can I freeze the enriched dough for later use?
Yes, you can freeze enriched dough. After the first rise (bulk fermentation), punch down the dough and shape it into rolls. Place the shaped rolls on a baking sheet lined with parchment paper and freeze until solid. Once frozen, transfer the rolls to a freezer-safe bag or container.
When you're ready to bake, place the frozen rolls on a baking sheet, cover loosely, and let them thaw and proof at room temperature. This can take 3-5 hours, or even longer, depending on the warmth of your kitchen. They are ready to bake when they are puffy and have nearly doubled in size.
What can I serve with these soft rolls?
Soft rolls made from enriched dough are incredibly versatile! They are perfect as dinner rolls served alongside soups, stews, or roasts. They make excellent sliders or small sandwiches. You can use them as burger buns or even serve them with breakfast or brunch alongside eggs and bacon. Their slight sweetness also makes them a lovely accompaniment to fruit salads or enjoyed simply with butter and jam.
Conclusion: Enjoying Your Homemade Soft Rolls
The Joy of Baking Soft Rolls with Enriched Dough: A BakeWithEase Tradition
There's a unique satisfaction that comes from baking bread at home, and crafting a batch of soft, warm rolls from an easy enriched dough is one of the most rewarding experiences. From the tactile pleasure of kneading the dough to the intoxicating aroma that fills your kitchen as they bake, the process itself is a delight. This soft rolls enriched dough recipe is designed to be approachable for everyone, ensuring that even novice bakers can achieve bakery-quality results.
Sharing warm, homemade soft rolls with family and friends is a simple pleasure that embodies the spirit of BakeWithEase. Whether they accompany a holiday meal, a casual weeknight dinner, or are simply enjoyed as a comforting snack, these rolls are sure to be a hit. We hope this guide empowers you to confidently bake this easy enriched dough for soft rolls and make it a cherished tradition in your own kitchen. Happy baking!
Frequently Asked Questions
What makes this enriched dough recipe ideal for soft rolls?
This recipe uses higher fat content from butter and eggs, leading to a tender crumb and softer texture in the final baked rolls. The enriched dough also provides a richer flavor.
Can I substitute ingredients in this enriched dough recipe?
While substitutions are possible, be mindful that they can alter the final product. Using a different fat source or type of flour may affect the dough's texture and the rolls' softness.
How long does the dough need to proof for this recipe?
The dough requires two proofs: a bulk ferment and a proof after shaping. The bulk ferment is typically 1-2 hours, and the second proof usually takes 30-60 minutes, or until doubled in size.
What's the best way to store leftover soft rolls made from this recipe?
Store cooled rolls in an airtight container at room temperature for up to 2 days or freeze them for longer storage. Reheat them gently to restore their soft texture.
What are some variations I can try with this enriched dough recipe?
You can add flavorings like citrus zest, herbs, or spices to the dough. Alternatively, experiment with different toppings like sesame seeds, everything bagel seasoning, or a simple egg wash for a glossy finish and enhanced flavor.
Final Reflection: The Enduring Power of a Perfect Roll
The pursuit of the perfect soft roll is more than just a culinary quest; it's a testament to the enduring human desire for comfort and connection. A simple, fluffy roll, warm from the oven, can transform a meal into a cherished memory, a testament to the power of simple pleasures. This recipe, focused on creating an easily manageable enriched dough, aims to make that experience accessible to everyone.
The impact of a good bread recipe transcends mere sustenance; it fosters a sense of community and tradition. Baking, particularly bread making, has always been a cornerstone of shared experience, passed down through generations. Bread is the staff of life,
a common saying, speaks to its fundamental importance, but it also hints at the emotional nourishment it provides. This recipe, I hope, will empower you to create those connections, whether sharing the finished rolls with loved ones or simply enjoying the satisfaction of creating something delicious with your own hands.
Now, I invite you to consider the possibilities. Don't just bake these rolls; experience them. Think about the textures, the aromas, the simple joy of sharing something you've made with care. Let this recipe be a starting point, a springboard for your own culinary adventures. Experiment with different fillings, glazes, and serving suggestions. Most importantly, savor the process and the results, knowing that even the simplest act of baking can bring immense satisfaction and connection.
Unleash Your Inner Baker: Soft Rolls Await!
Thanks for taking the time to explore our easy enriched dough recipe! We hope you gained the confidence to create incredibly soft and delicious rolls. Now it's time to put your newfound skills to the test!
- Bake a batch today: Use our recipe to make a fresh batch of rolls—the aroma alone will be worth it! Don't forget to experiment with different fillings or glazes.
- Share your creations: Post a picture of your beautiful rolls on social media and tag us @BakeWithEase! We'd love to see your baking success.
- Challenge a friend: Send this recipe to a friend and bake together! Sharing the joy of baking makes it even more rewarding.
What unique twist will you add to your homemade enriched dough rolls? Let us know in the comments below!