
Mixing & Kneading Pizza Dough: By Hand vs. Stand Mixer

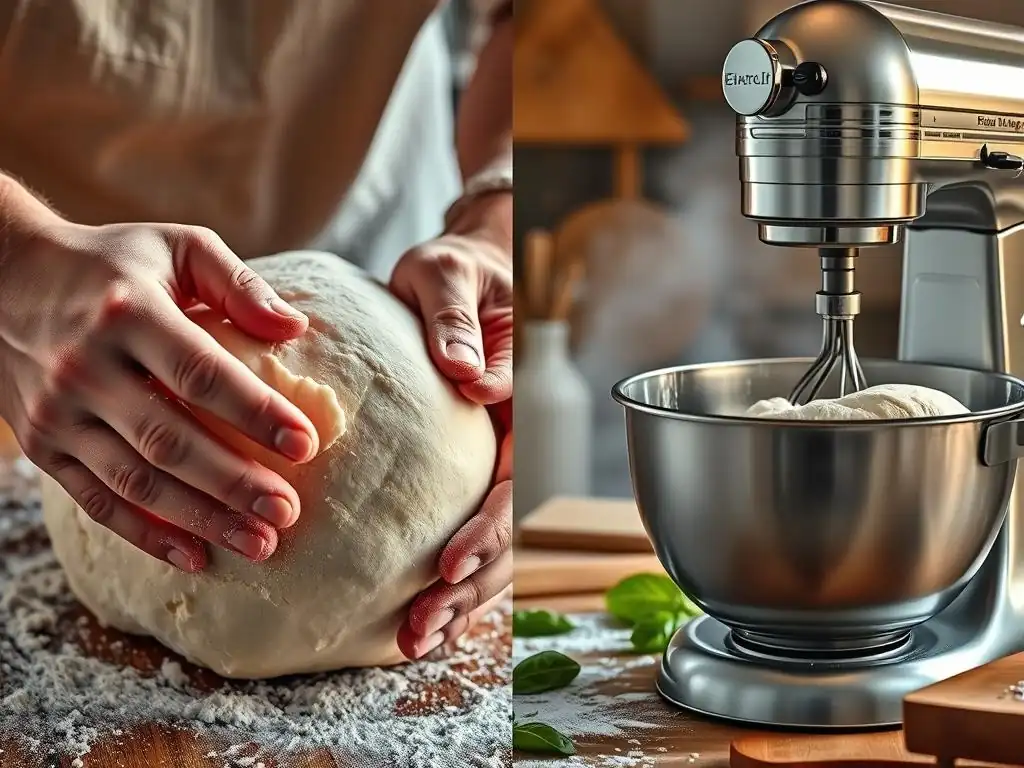
Welcome to BakeWithEase, your trusted guide to baking bliss! Ever wondered if the secret to truly exceptional pizza lies within your hands? Our latest deep dive explores the age-old debate: hand kneading pizza dough versus the convenience of a stand mixer. Discover which method unlocks the perfect texture and flavor, and perhaps even a new appreciation for the art of pizza making. Ready to roll? Let's get started!
- Mixing & Kneading Pizza Dough: By Hand vs. Stand Mixer - BakeWithEase.com
- Introduction: The Ultimate Pizza Dough Showdown - Hand Kneading vs. Stand Mixer
- Understanding the Importance of Proper Pizza Dough Mixing and Kneading
- Hand Kneading Pizza Dough: A Step-by-Step Guide for Beginners
- Using a Stand Mixer for Pizza Dough: Efficiency and Consistency
- Hand Kneading vs. Stand Mixer: A Detailed Comparison
- Factors to Consider When Choosing Your Kneading Method
- Achieving Pizza Dough Perfection: Tips for Both Methods
- Conclusion: Mastering Pizza Dough – Find Your Perfect Kneading Method
- Frequently Asked Questions
- Final Reflection: The Art and Science of Kneading Pizza Dough
- Unleash Your Inner Pizzaiolo: Craft the Perfect Dough!
Mixing & Kneading Pizza Dough: By Hand vs. Stand Mixer - BakeWithEase.com
Introduction: The Ultimate Pizza Dough Showdown - Hand Kneading vs. Stand Mixer
Making delicious homemade pizza starts with great dough, and achieving that perfect chewy yet tender crust hinges on how you mix and knead it. For many home bakers, the question arises: should you roll up your sleeves and dive into hand kneading pizza dough, or let a powerful stand mixer do the work? Both methods have their champions and offer distinct experiences and results.
This article will guide you through the nuances of both hand kneading and using a stand mixer for your pizza dough. We'll explore the science behind why kneading is essential, break down the techniques step-by-step, compare the pros and cons of each method, and provide tips to help you achieve pizza dough perfection, no matter which path you choose. Get ready to find your ideal way to transform simple ingredients into the foundation of an amazing pizza!
Understanding the Importance of Proper Pizza Dough Mixing and Kneading
Mixing and kneading are arguably the most critical steps in creating pizza dough. They aren't just about combining ingredients; they are about developing the structure that gives pizza crust its characteristic chew and rise. Skipping or rushing these steps can result in a dense, tough, or flat dough that doesn't crisp up properly in the oven.
The process begins with mixing, which hydrates the flour and activates enzymes. Following mixing, kneading takes over to develop the gluten network. Proper kneading ensures that the dough is strong enough to hold the gases produced during fermentation, leading to a light, airy crumb structure with a satisfying chewiness. It also helps distribute ingredients evenly and creates a smooth, elastic dough that is easy to shape.
Why Kneading Pizza Dough is Crucial for Texture and Flavor
Kneading is the physical act of working the dough, whether by hand or machine, to develop the gluten structure. Gluten, formed from two proteins in flour (glutenin and gliadin) when hydrated, creates an elastic network. Imagine this network as tiny, stretchy balloons that capture the carbon dioxide produced by yeast during fermentation. Without a well-developed gluten network, these gases would escape, resulting in a flat, dense dough.
Beyond structure, kneading also contributes to flavor development. The physical manipulation helps distribute the yeast and encourages its activity. While much of the flavor develops during the fermentation and proofing stages, properly kneaded dough provides the optimal environment for these processes to occur effectively. A well-kneaded dough ferments more predictably and develops complex flavors that are essential for a truly great pizza crust.
Exploring Gluten Development: The Key to Perfect Pizza Dough
Gluten development is the primary goal of kneading. When flour and water are mixed, the glutenin and gliadin proteins bond together, forming strands of gluten. Kneading stretches and aligns these strands, creating a strong, elastic network. The more you knead (up to a point), the stronger and more developed this network becomes.
Using flours with higher protein content, such as bread flour (typically 12-14% protein), results in stronger gluten development compared to all-purpose flour (around 10-12% protein). This is why bread flour is often preferred for chewy pizza crusts. The ideal stage of gluten development for pizza dough is when it is smooth, elastic, and passes the "windowpane test," meaning you can stretch a small piece very thin without it tearing, allowing light to pass through like a windowpane. Achieving this level of development is key, whether you are hand kneading pizza dough or using a machine.
Hand Kneading Pizza Dough: A Step-by-Step Guide for Beginners
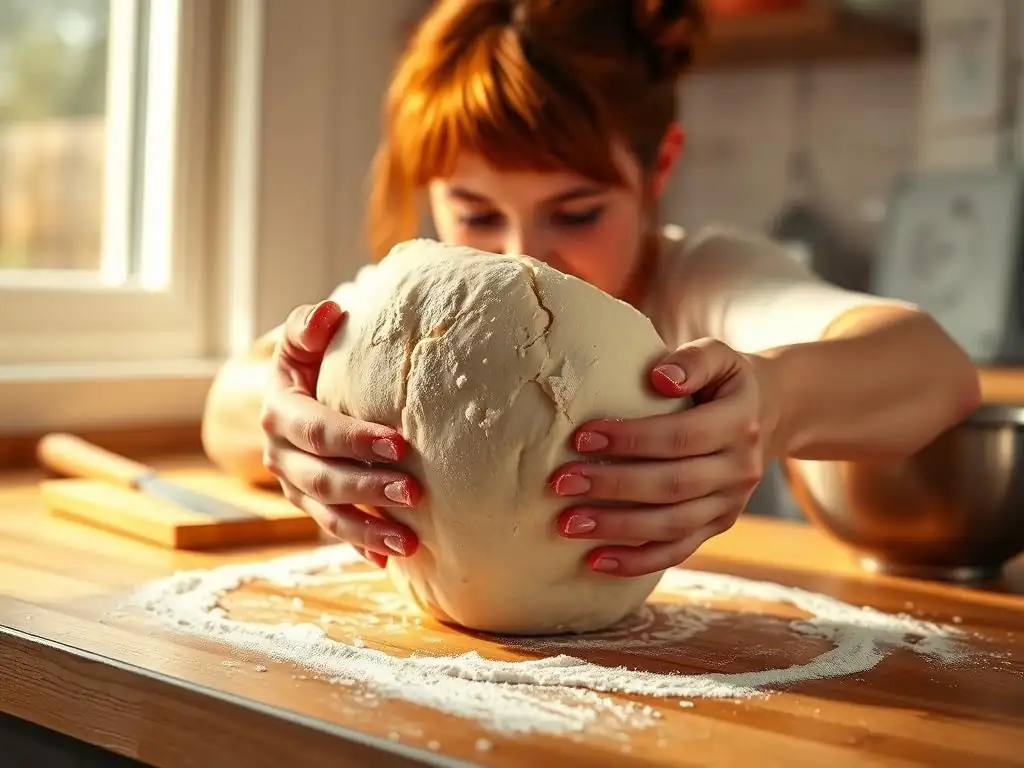
Hand kneading pizza dough is a time-honored technique that connects you directly to the ingredients and the process. It requires a bit of physical effort and patience but offers a rewarding tactile experience and allows you to feel the dough develop under your hands. It's an excellent skill for any baker to master.
This section will walk you through the process of hand kneading, from gathering your ingredients to troubleshooting common issues. By following these steps and tips, you can confidently achieve a perfectly kneaded dough ready for fermentation.
Ingredients and Tools Needed for Hand Kneading
Making pizza dough by hand is wonderfully simple, requiring minimal specialized equipment. You'll need the basic dough ingredients: flour (bread flour is recommended for a chewier crust, but all-purpose works too), water (lukewarm water around 95-105°F is ideal for activating yeast), yeast (active dry or instant), salt, and often a little olive oil for flavor and texture.
For tools, you'll need a large mixing bowl to combine the ingredients initially, a clean, sturdy surface for kneading (like a countertop or large cutting board), and potentially a bench scraper or spatula to help manage sticky dough. A kitchen scale is highly recommended for accurate ingredient measurements, especially flour and water, as varying hydration levels significantly impact the dough's feel and handling during hand kneading.
The Hand Kneading Technique: Mastering the Fold, Press, and Turn
The basic technique for hand kneading pizza dough involves a rhythmic process of folding, pressing, and turning. Start with your shaggy dough mass on a lightly floured surface. Avoid adding too much flour initially, as this can make the dough tough.
- Fold: Grab the edge of the dough furthest from you and fold it towards the center.
- Press: Use the heel of your dominant hand to press down and away from you, sealing the fold and stretching the dough.
- Turn: Rotate the dough a quarter turn.
- Repeat: Continue this fold, press, and turn motion rhythmically.
Initially, the dough will be sticky and rough. As you continue to knead, typically for 10-15 minutes, you'll notice a significant change. The dough will become smoother, less sticky, and more elastic. You'll feel resistance as the gluten develops. Keep kneading until the dough is smooth, springs back slowly when poked, and passes the windowpane test.
Tips for Achieving a Smooth and Elastic Pizza Dough by Hand
Achieving that smooth, elastic dough through hand kneading takes practice, but a few tips can make it easier and more effective. First, resist the urge to add excessive flour if the dough is sticky. A slightly sticky dough is often a sign of proper hydration, which is crucial for a tender crust. Instead of adding flour, try wetting your hands slightly or using a bench scraper to gather the dough.
Maintaining a consistent rhythm is also important. Don't rush the process. The friction from kneading generates a small amount of heat, which helps with gluten development, but too much heat can kill the yeast. Aim for a comfortable pace. Finally, listen to the dough – literally. As the gluten develops, the dough will make a slight slapping sound against the surface, indicating it's becoming more cohesive and elastic.
Troubleshooting Common Hand Kneading Issues: Sticky Dough, Tough Dough, and More
Encountering issues is part of the learning process when hand kneading pizza dough. A common problem is excessively sticky dough. This usually means the hydration is high (more water relative to flour). If it's unmanageable, add just a tiny amount of flour (a tablespoon at a time) and knead it in. Alternatively, wetting your hands can help you handle sticky dough without adding more flour.
If your dough feels tough or resists stretching, you might be adding too much flour, kneading too aggressively, or it might need a rest. Gluten tightens as you work it. If the dough is fighting you, cover it and let it rest for 5-10 minutes.
This allows the gluten to relax, making it easier to knead further. If the dough remains tough after adequate kneading time (15+ minutes) and rests, you might have added too much flour or your hydration is too low. Conversely, if the dough never develops strength and remains slack even after significant kneading, it could be due to low protein flour or insufficient kneading time.
Using a Stand Mixer for Pizza Dough: Efficiency and Consistency
For those who bake frequently or make larger batches, a stand mixer offers a powerful and convenient alternative to hand kneading pizza dough. It significantly reduces the physical effort and can provide consistent results once you understand how to use it effectively for dough.
While it does require an initial investment in equipment, a stand mixer can be a real time-saver and produce reliably well-kneaded dough with less mess.
Choosing the Right Stand Mixer for Pizza Dough
When choosing a stand mixer specifically for dough making, power and capacity are key. Look for mixers with a robust motor, especially if you plan to make medium to large batches (e.g., dough using 4 cups of flour or more). Stand mixers are typically rated by wattage, but the motor's construction and gearbox are more important indicators of its ability to handle stiff doughs without overheating or straining. Many popular kitchen stand mixers, such as those with 300 watts or more, can handle standard pizza dough recipes (around 3-4 cups of flour).
The size of the mixing bowl is also important. A 4.5-quart or 5-quart bowl is sufficient for most home baking needs, accommodating dough made with up to 4-5 cups of flour. Ensure the mixer comes with a dough hook attachment, as this is the tool specifically designed for kneading. Investing in a quality stand mixer can make mixing and kneading pizza dough, as well as other bread doughs, much more manageable.
Stand Mixer Dough Hook: How to Attach and Use it Correctly
The dough hook is the attachment designed for kneading dough in a stand mixer. It typically has a spiral or C-shape design. Ensure the mixer is off and unplugged before attaching the dough hook to the planetary shaft. It usually twists or pushes into place, depending on the mixer model.
Once your ingredients are in the bowl and the dough hook is attached, start the mixer on a low speed (usually speed 1 or 2). High speeds can overwork the dough, overheat the motor, and even cause the mixer to "walk" off the counter. Start mixing on low until the ingredients are just combined into a shaggy mass. Then, increase the speed slightly to medium-low (speed 2 or 3 on most mixers) and let the mixer knead the dough. Periodically stop the mixer to scrape down the sides of the bowl if necessary and check the dough's consistency.
Stand Mixer Pizza Dough Recipe: Precise Measurements and Mixing Times
Using a stand mixer often benefits from precise measurements, especially regarding hydration. A typical stand mixer pizza dough recipe might use approximately 3 cups (about 360g) of bread flour, 1 ¼ cups (about 300g) of lukewarm water (around 83% hydration relative to flour weight, which is quite high and would be very difficult to hand knead! ), 1 teaspoon (about 3g) of instant yeast, 1 teaspoon (about 6g) of salt, and 1 tablespoon (about 14g) of olive oil.
Mixing times in a stand mixer are significantly shorter than hand kneading pizza dough. After the initial low-speed mix, knead on medium-low speed for about 8-10 minutes. The dough should gather around the dough hook, slap against the sides of the bowl periodically, and look smooth and elastic. Be careful not to over-knead, as this can break down the gluten structure.
Monitoring Dough Development in a Stand Mixer
Monitoring dough development in a stand mixer requires visual cues and periodic checks. Initially, the dough will look shaggy and stick to the sides of the bowl. As kneading progresses, it will start to pull away from the sides and bottom, gathering around the dough hook. It will become smoother and more elastic.
To check for proper gluten development, stop the mixer periodically (every few minutes after the 5-minute mark) and perform the windowpane test mentioned earlier. Take a small piece of dough, gently stretch it with your fingers, and see if you can create a thin membrane. If it tears easily, it needs more kneading. If you can stretch it thin enough to see light through it, it's ready. Pay attention to the dough's temperature; friction from the mixer can warm it up. Aim for a final dough temperature below 80°F (27°C) to avoid premature fermentation.
Hand Kneading vs. Stand Mixer: A Detailed Comparison
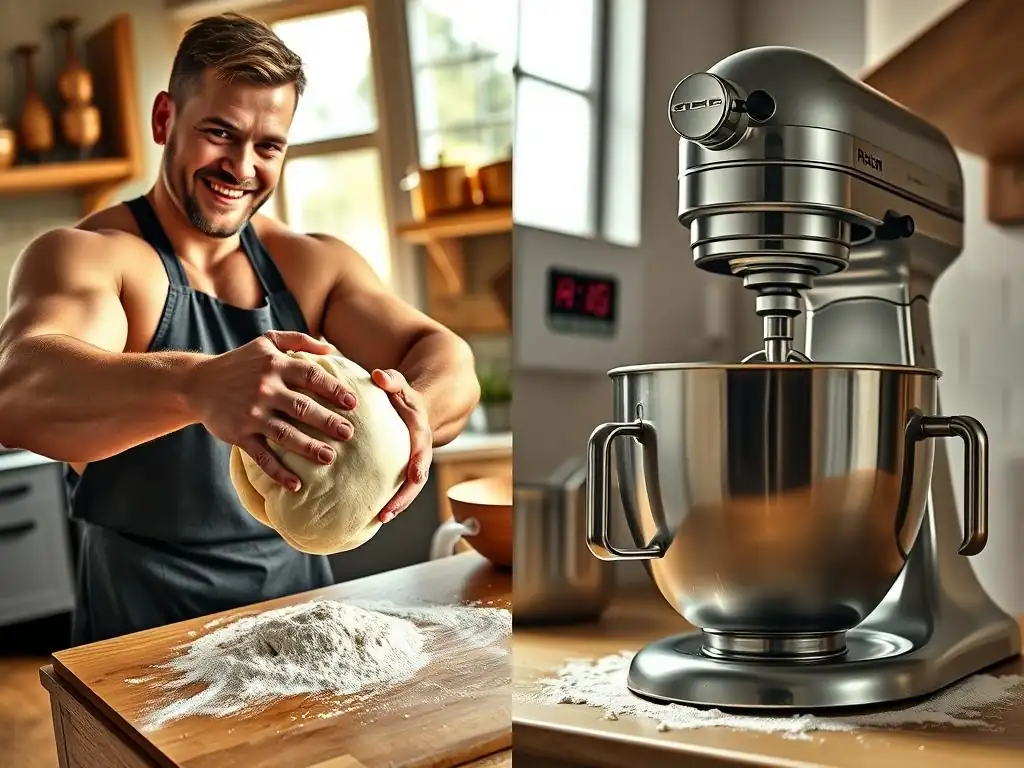
Choosing between hand kneading pizza dough and using a stand mixer involves weighing several factors. Each method offers distinct advantages and disadvantages in terms of time, effort, consistency, and the overall baking experience. Understanding these differences can help you decide which method is best suited for your needs and preferences.
This section breaks down the key comparison points to give you a clear picture of what to expect from each technique.
Time Efficiency: Hand Kneading vs. Stand Mixer Speed
One of the most significant differences is the time required for kneading. Hand kneading pizza dough typically takes 10-15 minutes of continuous, active work to achieve proper gluten development for a standard recipe (e.g., 3-4 cups of flour). This time can vary depending on the hydration of the dough, the type of flour used, and the intensity of your kneading.
In contrast, a stand mixer can knead the same amount of dough in about 8-10 minutes at medium-low speed. The mixer performs the repetitive motion for you, freeing up your hands during this phase of dough preparation. For bakers making multiple batches or larger quantities of dough, the time savings offered by a stand mixer are substantial.
Effort and Physical Exertion: Which Method is Easier?
Hand kneading pizza dough requires physical effort. It involves pushing, pulling, and folding a mass of dough for an extended period. While it can be a good workout and some find it therapeutic, it can be tiring, especially for beginners or those making large batches.
Using a stand mixer drastically reduces physical exertion. Once the ingredients are in the bowl and the mixer is on, your role is primarily supervisory – monitoring the dough and performing the windowpane test. This makes it an excellent option for bakers with physical limitations or those who prefer a less hands-on approach to kneading.
Dough Texture and Consistency: Achieving the Desired Result
Both methods can produce excellent pizza dough with the desired texture and consistency if executed correctly. Hand kneading allows for a highly tactile experience; you can feel the dough changing texture, becoming smoother and more elastic under your hands. This direct contact helps you intuitively understand the dough's development.
A stand mixer, while efficient, removes this direct tactile feedback. You rely more on visual cues and periodic checks. However, a stand mixer can often handle higher hydration doughs (doughs with a higher water-to-flour ratio, which can be too sticky to manage by hand) more easily, potentially leading to a more open and airy crumb structure. Conversely, it's easier to accidentally over-knead dough in a mixer if not monitored carefully.
Temperature Control: Maintaining Optimal Dough Temperature
Dough temperature is a crucial factor in fermentation speed. Friction generated during kneading causes the dough to warm up. When hand kneading pizza dough, the heat generated is typically less intense and builds up more slowly compared to a stand mixer, which can generate significant heat quickly, especially with stiff doughs or higher speeds.
Bakers using a stand mixer need to be more mindful of dough temperature, perhaps using colder water initially or monitoring with a thermometer. The ideal final dough temperature after kneading is often targeted around 75-80°F (24-27°C) for a standard fermentation schedule. If the dough gets too warm (above 85°F or 30°C), fermentation can happen too quickly, potentially impacting flavor development and texture.
Control and Feel: The Importance of Sensory Input
One of the key aspects of hand kneading pizza dough is the direct sensory input. You feel the dough's resistance, its stickiness, its smoothness. This allows for real-time adjustments – maybe adding a tiny bit more water if it feels too dry, or kneading a little longer if it still feels shaggy. This tactile connection can be incredibly rewarding and helps develop a baker's intuition.
Using a stand mixer provides less direct sensory feedback. You rely more on sight and timing. While efficient, some bakers miss the connection to the dough that hand kneading provides. The choice often comes down to whether you prioritize efficiency and convenience or the hands-on experience and intuitive feel of the dough.
Factors to Consider When Choosing Your Kneading Method
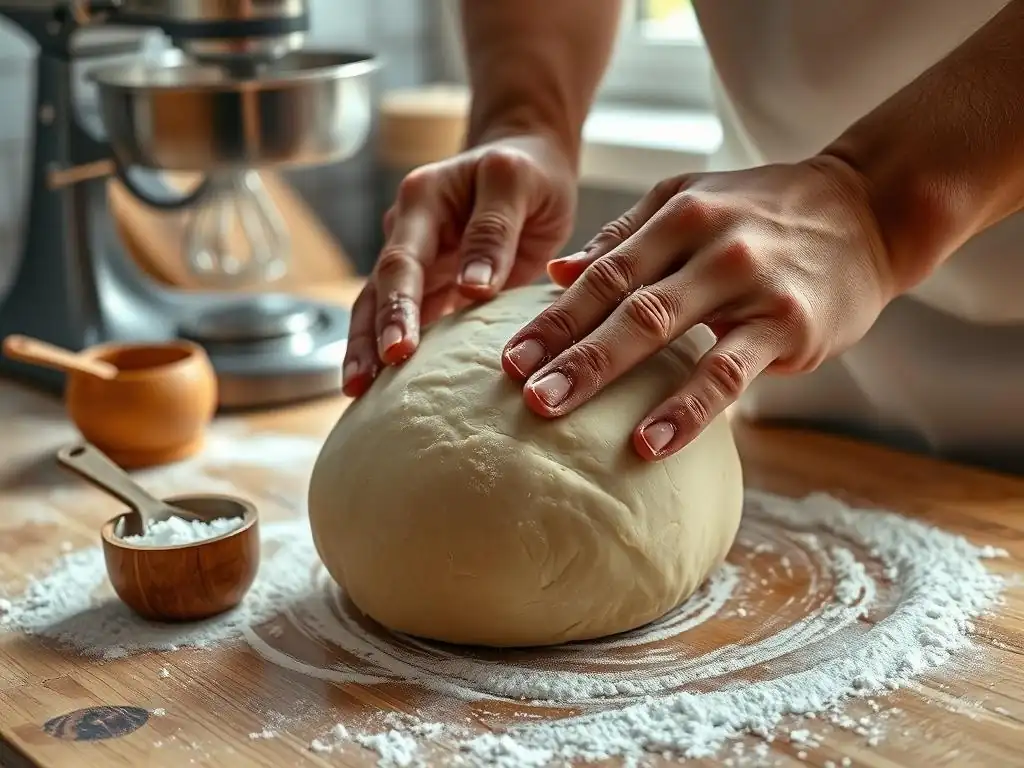
Deciding between hand kneading pizza dough and using a stand mixer isn't just about efficiency; it involves considering your personal circumstances, experience level, and goals. There's no single "right" way to knead dough; the best method is the one that works best for you and consistently produces results you're happy with.
Think about these factors before you start mixing your next batch of pizza dough.
Your Baking Experience Level: Beginner vs. Advanced
For beginners, learning to hand knead pizza dough can be incredibly valuable. It teaches you what properly developed dough feels like, building fundamental baking skills and intuition. While it might seem daunting at first, mastering the feel of the dough by hand provides a solid foundation for understanding gluten development.
Experienced bakers might opt for a stand mixer for convenience, especially when baking large quantities. However, many advanced bakers still enjoy the process of hand kneading for smaller batches or specific dough types, appreciating the control and connection it offers. Both methods are suitable for any level, but hand kneading provides a unique learning experience for novices.
The Amount of Pizza Dough You Need
The quantity of dough you plan to make is a significant factor. If you're making a single pizza for two using just 1-2 cups of flour, hand kneading pizza dough is perfectly manageable and might even be quicker than setting up and cleaning a stand mixer.
If you're planning a pizza party and need dough for 4-6 large pizzas (requiring 6+ cups of flour), a stand mixer becomes incredibly advantageous. Kneading such a large amount of dough by hand would be physically demanding and time-consuming. Most home stand mixers can handle dough made with up to 4-6 cups of flour comfortably, making them ideal for larger batches.
Access to Equipment: Stand Mixer Availability
This is perhaps the most straightforward factor. If you don't own a stand mixer, hand kneading pizza dough is your only option (unless you opt for a no-knead recipe, which is a different approach entirely!). A stand mixer is a significant investment, and not everyone has one readily available.
Conversely, if you have a stand mixer, you have the choice. The availability of a stand mixer doesn't negate the value of learning hand kneading, but it does provide an alternative for those times when speed or ease are priorities.
Personal Preference: The Joy of Hand Kneading
Ultimately, the choice can come down to personal preference. Some bakers find the rhythmic motion of hand kneading pizza dough calming and meditative. They enjoy the tactile experience and the feeling of transforming simple ingredients through their own effort. It can be a very satisfying process.
Others prefer the speed and efficiency of a stand mixer, finding the physical exertion of hand kneading tedious. They may enjoy focusing on other steps of the pizza-making process, like preparing toppings or perfecting their baking technique. There's no right or wrong preference; choose the method that brings you the most joy in the kitchen.
Achieving Pizza Dough Perfection: Tips for Both Methods
Regardless of whether you choose hand kneading pizza dough or using a stand mixer, several universal principles and techniques will help you achieve consistently excellent results. Understanding these key steps beyond the initial mixing and kneading phase is crucial for producing a flavorful, well-textured pizza crust.
Mastering these final touches will elevate your homemade pizza from good to truly great.
The Windowpane Test: A Crucial Indicator of Gluten Development
As mentioned earlier, the windowpane test is an essential technique for checking if your dough is properly kneaded. It works by assessing the strength and elasticity of the gluten network. To perform the test:
- Carefully pinch off a small piece of dough (about the size of a golf ball).
- Gently stretch it with your fingers, working from the center outwards.
- Aim to create a thin membrane without tearing.
If you can stretch the dough thin enough that light passes through it without it breaking, your gluten is well-developed, and the dough is ready for fermentation. If it tears easily, it needs more kneading, typically another 5-10 minutes by hand or 2-4 minutes in a mixer, followed by another test.
Fermentation and Proofing: The Next Steps to Delicious Pizza
Kneading is just the beginning. After kneading, pizza dough requires fermentation (the first rise) and sometimes proofing (a shorter second rise after shaping) to develop flavor and texture. Fermentation allows the yeast to produce carbon dioxide gas, which makes the dough rise, and also creates organic acids and alcohols that contribute to the dough's complex flavor profile.
A slow, cold fermentation in the refrigerator (for 24-72 hours) is often recommended for superior flavor development compared to a quick rise at room temperature (1-2 hours). After fermentation, the dough needs to be gently shaped and often allowed to proof briefly before baking. This resting period allows the gluten to relax, making the dough easier to stretch without snapping back.
Adjusting Hydration Levels for Optimal Dough Consistency
Hydration, the ratio of water to flour by weight, is a critical factor influencing dough consistency and handling. A typical pizza dough hydration is between 60% and 70%. Lower hydration doughs (60-63%) are stiffer and easier to handle, especially when hand kneading pizza dough, but can result in a slightly less airy crust. Higher hydration doughs (65-70%+) are stickier and more challenging to work with, particularly by hand, but can produce a more open, airy crumb and crispier crust when baked at high temperatures.
Experimenting with hydration is key to finding your preferred dough consistency and crust texture. Remember that different flours absorb water differently, so you may need to adjust slightly based on the flour you use.
Using Different Types of Flour for Varied Pizza Dough Textures
The type of flour you use significantly impacts the final dough texture and how it behaves during kneading. All-purpose flour is widely available and works well for a general-purpose pizza crust, typically resulting in a moderately chewy texture. Its protein content is usually between 10-12%.
Bread flour, with a higher protein content (12-14%), develops more gluten, leading to a chewier crust with a better structure to support toppings. Italian "00" flour, often used for Neapolitan-style pizza, is finely milled and can have varying protein levels depending on the type (some are high protein, others lower for softer crusts). Understanding the properties of different flours helps you choose the best one for your desired pizza style and adjust your kneading technique accordingly, whether you are hand kneading pizza dough or using a mixer.
Conclusion: Mastering Pizza Dough – Find Your Perfect Kneading Method
Mastering pizza dough is a journey that begins with understanding the crucial steps of mixing and kneading. Whether you choose the tactile and rewarding experience of hand kneading pizza dough or the efficiency and consistency of a stand mixer, both methods are capable of producing excellent results with practice and attention to detail.
The key is to understand the science behind gluten development, pay attention to the dough's feel and appearance, and practice the techniques. Don't be discouraged if your first few attempts aren't perfect. Baking is a skill that improves with repetition.
Recap of Hand Kneading and Stand Mixer Techniques
We've explored the distinct approaches to kneading: the rhythmic fold, press, and turn of hand kneading pizza dough for 10-15 minutes, relying on feel and visual cues; and the powerful, efficient work of the stand mixer with a dough hook for 8-10 minutes, requiring careful monitoring to avoid over-kneading. Each method has its own set of challenges and rewards, appealing to different preferences and circumstances.
Remember that hand kneading offers a direct connection to the dough and builds intuition, while a stand mixer provides speed and ease, especially for larger batches or higher hydration doughs. The choice depends on your time, energy, equipment, and personal enjoyment of the process.
Encouragement to Experiment and Refine Your Pizza Dough Skills
The best way to find your perfect pizza dough method is to try both! Experiment with hand kneading pizza dough for a batch or two, then try using a stand mixer. Pay attention to how the dough feels and behaves with each method. Adjust factors like hydration, kneading time, and flour type.
Baking is a continuous learning process. Don't be afraid to experiment, observe your results, and refine your technique. With practice, you'll develop the confidence and skill to create delicious, perfectly kneaded pizza dough consistently, laying the foundation for incredible homemade pizzas every time. Happy baking!
Frequently Asked Questions
How long should I knead pizza dough by hand?
You should knead pizza dough by hand for approximately 8-10 minutes. This allows the gluten to develop, creating a smooth and elastic dough.
What are the benefits of hand kneading pizza dough?
Hand kneading allows you to feel the dough's texture and develop a better understanding of its consistency. It also provides a great workout!
What are the key signs that my pizza dough is properly kneaded by hand?
The dough should feel smooth and elastic, not sticky or shaggy. It should also pass the windowpane test, stretching thinly without tearing.
Can I over-knead pizza dough when kneading by hand?
It's less likely to over-knead when kneading by hand compared to a stand mixer. However, prolonged and vigorous kneading can still lead to a tough dough.
What are some tips for making hand kneading pizza dough easier?
Use a clean, lightly floured surface. Also, incorporate the ingredients gradually and use a consistent kneading technique.
Final Reflection: The Art and Science of Kneading Pizza Dough
The perfect pizza dough, whether hand-kneaded or machine-mixed, remains a cornerstone of culinary satisfaction, a testament to the enduring power of simple ingredients transformed by dedicated technique. The quest for that perfect chew, that ideal rise, transcends mere recipe following; it's a journey into the heart of artisan baking. This exploration of hand kneading versus stand mixer methods highlights the surprising nuances involved, proving that the best method is often a matter of personal preference and available resources.
The tactile experience of hand kneading pizza dough, the feel of the gluten developing under your fingertips, is a meditative process that connects us to a long culinary tradition. It's a reminder of the slow, deliberate pace of food preparation that often gets lost in our fast-paced modern lives. The most important thing is to enjoy the process. If you enjoy it, the result will be better.
– Julia Child. This sentiment perfectly captures the spirit of this exploration; the journey of kneading, regardless of the method, is as rewarding as the final product.
Now, consider your own approach to pizza dough. Will you embrace the meditative rhythm of hand kneading, feeling the dough yield to your touch? Or will you opt for the efficiency of a stand mixer, freeing up your time for other culinary adventures? Regardless of your choice, remember the core principles we've explored: gluten development, hydration levels, and the importance of patience. The perfect pizza awaits, crafted by your own hands – or with a little help from your machine. Go forth and knead!
Unleash Your Inner Pizzaiolo: Craft the Perfect Dough!
Thanks for exploring the world of pizza dough with us! You've now got the knowledge to create a truly amazing crust, whether you're a hand-kneading pro or a stand mixer enthusiast. Ready to put your new skills to the test?
- Bake your masterpiece! Use your newfound knowledge to whip up a batch of pizza dough – try both methods to see which you prefer! Don't forget to share your results with us.
- Experiment with different flours: See how different flour types affect the texture and flavor of your dough. Rye? Whole wheat? The possibilities are endless!
- Join our baking community: Share your pizza-making journey and connect with other passionate bakers on our social media channels (links not included per instructions).
So, what unique pizza creation will you craft today? What unexpected flavor combinations will you explore?