
Mastering Pita Pockets: How to Make Them Puff Up

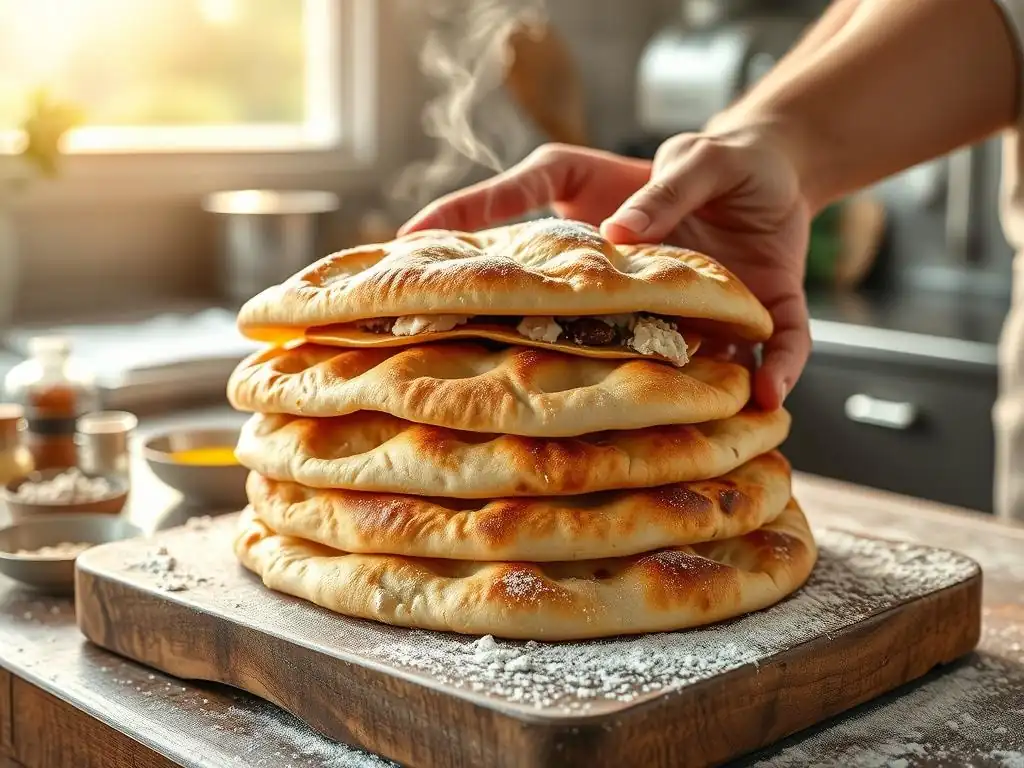
Welcome to BakeWithEase, your trusted companion on your baking journey! Are you ready to unveil the secret to creating bakery-worthy bread in your own kitchen? Prepare to be amazed as we dive into the art of bread baking, specifically our Perfectly Puffed Pita Pockets Recipe. Achieving that signature puff might seem daunting, but with our straightforward guide, success is within reach. Eager to discover the secrets behind these delightful pockets? Let's get started and unlock the magic of homemade pita bread!
- Mastering Pita Bread: Achieving the Perfect Puff
- BakeWithEase Presents: The Perfect Pita Bread Recipe
- Essential Ingredients for Perfect Pita Bread
- Step-by-Step Guide to Achieving Perfectly Puffed Pita Bread
- Troubleshooting Common Pita Bread Problems
- Serving Suggestions: Enjoying Your Homemade Pita Bread
- Storing Your Homemade Pita Bread
- Advanced Pita Bread Techniques: Flavor Variations
-
Frequently Asked Questions
- How crucial is the oven temperature for getting perfectly puffed pita pockets?
- What type of flour works best for a perfectly puffed pita pockets recipe?
- What is the importance of resting the dough?
- Can I use a stand mixer, or is kneading by hand required for this recipe?
- What causes pita pockets to not puff up correctly?
- Final Reflection: The Joy of the Perfectly Puffed Pita
- Unleash Your Inner Pita Pro!
Mastering Pita Bread: Achieving the Perfect Puff
BakeWithEase Presents: The Perfect Pita Bread Recipe
Why Puffed Pita Bread is a Desirable Result
Achieving that characteristic puff in your homemade pita pockets is often the goal for bakers. This puff creates a natural pocket inside the bread, transforming a simple flatbread into a versatile vessel perfect for stuffing with fillings like falafel, hummus, or grilled meats and vegetables. Beyond its functional use as a pocket, the puff also contributes to the texture and appearance of the pita. A well-puffed pita is typically lighter and airier inside, contrasting beautifully with its slightly chewy crust, making the perfectly puffed pita pockets recipe a sought-after skill.
Furthermore, witnessing the dough expand dramatically in the hot oven is one of the most satisfying moments in baking. It's a visual confirmation that the yeast is active, the gluten is developed, and the baking conditions are just right. This successful puff not only makes the bread more enjoyable to eat but also provides a sense of accomplishment for the home baker mastering this specific technique within the broader world of flatbreads.
The Science Behind a Successful Pita Puff
The magic of the pita puff lies primarily in the rapid creation and expansion of steam during high-temperature baking. When the shaped pita dough hits a very hot surface in a hot oven, the moisture within the dough quickly turns into steam. This steam is trapped within the relatively thin disk of dough. As the heat penetrates, the steam expands dramatically, forcing the top and bottom layers of the dough apart. This process relies on a well-developed gluten structure, which is elastic enough to trap the steam and strong enough to hold the resulting pocket shape.
Simultaneously, the yeast in the dough, exposed to the initial blast of heat, experiences a final burst of activity, producing more carbon dioxide gas. This gas also contributes to the initial expansion. However, it's the powerful steam generation that is the primary driver of the dramatic puff that creates the signature pocket. Proper dough hydration, adequate kneading for gluten development, sufficient proofing, and most importantly, a very hot oven environment are all critical factors working together to achieve this desired outcome in your perfectly puffed pita pockets recipe.
Essential Ingredients for Perfect Pita Bread
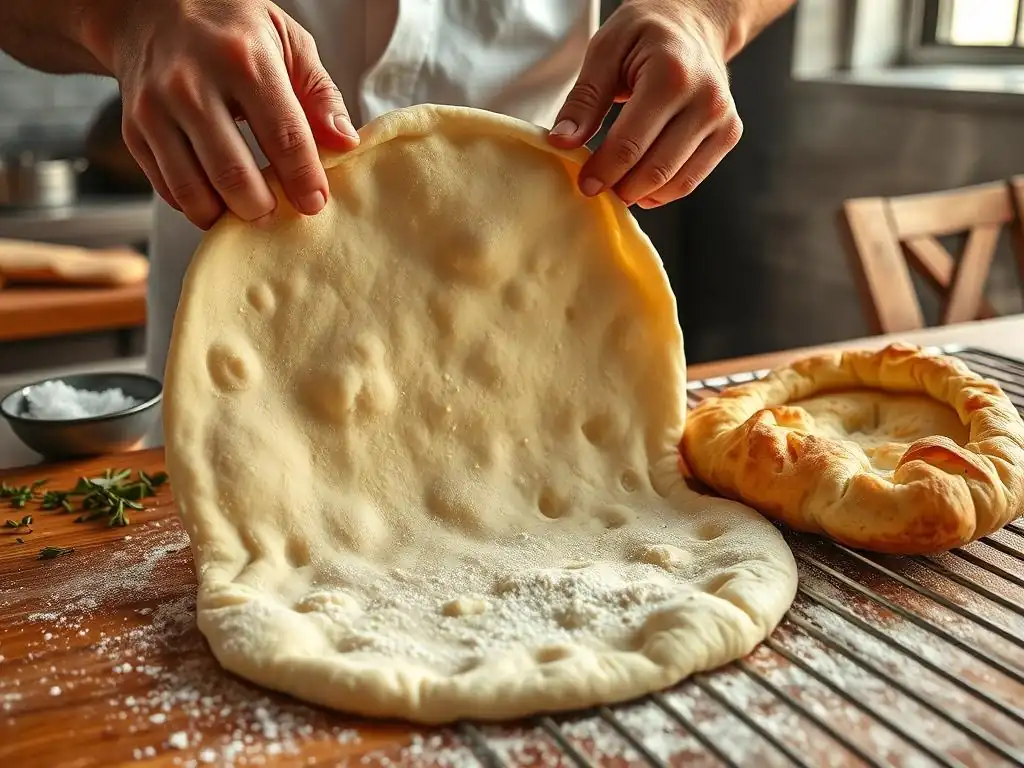
Flour Selection: Choosing the Right Flour
For achieving the perfect puff in your pita bread, the type of flour you use plays a significant role. All-purpose flour is a common and accessible choice that works well for many bakers. It typically contains around 10-12% protein, which is sufficient for developing a gluten network strong enough to trap steam and create that sought-after pocket. Look for unbleached all-purpose flour, as the bleaching process can sometimes weaken the gluten structure.
Alternatively, bread flour, with its higher protein content (around 12-14%), can result in a slightly stronger dough and potentially a more robust puff. However, using 100% bread flour might make the dough a bit tougher if overhandled. Many bakers find a blend of all-purpose and bread flour or just good quality all-purpose flour provides the ideal balance of strength and tenderness for a perfectly puffed pita pockets recipe. Avoid low-protein flours like cake or pastry flour, as they won't develop enough gluten to hold the steam.
Yeast Types: Selecting the Best Yeast
Active dry yeast and instant yeast are the two most common types suitable for making pita bread. Instant yeast is often preferred by home bakers for its convenience; it can usually be mixed directly into the dry ingredients and typically works a bit faster than active dry yeast. A standard packet of instant yeast (around 2.25 teaspoons or 7 grams) is generally sufficient for a recipe using 3-4 cups of flour.
Active dry yeast requires activation in warm liquid (usually water around 105-115°F or 40-46°C) before being added to the dry ingredients. This process, often called "proofing the yeast," allows you to verify that the yeast is alive and active before committing to the rest of the ingredients. While it adds a few extra minutes, it provides confidence in your dough's ability to rise. Both types of yeast, when fresh and active, will produce the necessary carbon dioxide gas during fermentation to contribute to the dough's structure and eventual puff.
The Role of Water and Salt
Water is perhaps the most critical ingredient after flour for achieving a perfectly puffed pita pockets recipe. It hydrates the flour, allowing gluten to form, and it's the source of the steam that creates the pocket during baking. The amount of water used, known as hydration, significantly impacts the dough's consistency and handling.
A typical pita dough hydration is around 60-65% (meaning the weight of water is 60-65% the weight of the flour). Too little water results in a stiff dough that's hard to knead and less likely to puff well; too much results in a very sticky dough that can be difficult to shape. The water should ideally be warm (around 90-100°F or 32-38°C) to encourage yeast activity, but not so hot that it kills the yeast.
Salt, while seemingly minor, plays several vital roles. It regulates the yeast's activity, slowing down fermentation slightly to allow for better flavor development. It also strengthens the gluten network, contributing to the dough's elasticity and ability to hold the steam during baking. Furthermore, salt is essential for taste, enhancing the overall flavor of the finished pita bread. Skipping or reducing salt significantly can lead to a bland taste and a dough that is harder to handle and less likely to puff reliably.
Step-by-Step Guide to Achieving Perfectly Puffed Pita Bread
Step 1: Preparing the Dough - Mixing and Kneading
The first step in crafting a perfectly puffed pita pockets recipe is the careful preparation of the dough. Begin by whisking together your flour, salt, and yeast (if using instant yeast) in a large mixing bowl. If using active dry yeast, proof it in warm water with a pinch of sugar for 5-10 minutes until frothy, then add it to the dry ingredients. Gradually add the warm water to the dry ingredients, mixing with a spoon or spatula until a shaggy dough forms. Ensure all the flour is incorporated.
Once the dough comes together, turn it out onto a lightly floured surface for kneading. Kneading is crucial for developing the gluten network, which provides the structure needed for the pita to puff. Knead the dough for 8-10 minutes by hand, or 6-8 minutes using a stand mixer with a dough hook on medium speed, until it becomes smooth, elastic, and springs back slowly when poked. Proper kneading is a foundational step for achieving that beautiful puff later on.
Dough Consistency Tips
The ideal pita dough consistency should be slightly tacky but not overly sticky. It should be manageable to knead without excessive flour, which can make the final product dry. If the dough feels too wet and sticky at the start of kneading, add flour one tablespoon at a time until it's easier to handle. Conversely, if it feels too stiff and dry, wet your hands or add water a teaspoon at a time.
A well-kneaded dough will pass the "windowpane test." To perform this, pinch off a small piece of dough and gently stretch it. If you can stretch it thin enough to see light through the center without it tearing easily, the gluten is sufficiently developed. This elastic quality is key to the dough's ability to expand and hold steam during baking, which is vital for a perfectly puffed pita pockets recipe.
Kneading Techniques for Gluten Development
Manual kneading involves folding the dough over on itself, pressing down and pushing it away with the heel of your hand, then rotating the dough and repeating. This action aligns the gluten strands, creating a strong, elastic network. Keep your movements rhythmic and consistent. Avoid adding too much flour to your surface, as this inhibits the dough's ability to grip and stretch properly during kneading.
Using a stand mixer simplifies the process. The dough hook mimics the actions of hand kneading, efficiently developing the gluten structure. Start on a low speed to combine ingredients, then increase to medium speed. Keep an eye on the dough; it should gather around the hook and pull away from the sides of the bowl when properly kneaded. Over-kneading can make the dough tough, so stop once it's smooth and elastic.
Step 2: The First Rise - Bulk Fermentation
After kneading, the dough needs time to ferment, or "bulk rise." This stage allows the yeast to produce carbon dioxide gas, which makes the dough expand and contributes to flavor development. Lightly oil a clean bowl, place the dough inside, and turn it to coat. Cover the bowl tightly with plastic wrap or a damp kitchen towel to prevent a skin from forming.
Place the covered bowl in a warm, draft-free spot. An oven with the light on (but the oven off) or a microwave are good options. The dough should approximately double in size. This typically takes 60-90 minutes at room temperature (around 70-75°F or 21-24°C), but can take longer in a cooler environment or less time if it's warmer. The dough should look puffy and feel soft and airy when gently pressed. This successful first rise is fundamental for the dough's structure and its potential to puff.
Creating the Ideal Proofing Environment
Consistency in temperature is key for optimal bulk fermentation. Yeast activity is highly dependent on temperature; too cold and it's sluggish, too hot and it can become overactive or even die. Aim for a consistent temperature range as mentioned above. Avoiding drafts prevents uneven rising and drying of the dough surface.
A simple way to create a warm, humid environment is to place the covered bowl in a cold oven along with a pan of hot water on the rack below. The steam from the water helps keep the dough surface moist, which is important for elasticity during the rise. Proper bulk fermentation yields a dough with sufficient gas built up and a relaxed gluten structure, ready for the next steps towards becoming a perfectly puffed pita pockets recipe.
Step 3: Dividing and Shaping the Dough
Once the dough has doubled during the first rise, gently punch it down to release the gases. Turn the dough out onto a lightly floured surface. Use a bench scraper or knife to divide the dough into equal portions. For typical pita pockets, each portion might weigh around 80-100 grams, resulting in a pita about 6-7 inches in diameter. Aim for consistent size so they bake evenly.
Shape each portion into a smooth ball. This can be done by pulling the edges of the dough underneath to create tension on the surface. Cover the dough balls with a damp cloth or plastic wrap and let them rest for 10-15 minutes. This resting period, called bench rest, allows the gluten to relax, making the dough easier to roll out without shrinking back excessively.
Dividing Dough Evenly
Using a kitchen scale to weigh each portion is the most accurate way to ensure even division. This leads to uniformly sized pita pockets, which is important for consistent baking times and results, especially when aiming for a batch of perfectly puffed pita pockets. If you don't have a scale, divide the dough visually into roughly equal pieces.
After dividing, briefly shape each piece into a ball. This rounds the edges and creates a smooth surface. While not critical for the puff itself, uniform balls are easier to roll into consistent disks. Keep the dough covered during this process to prevent drying, which can hinder the dough's ability to stretch and puff.
Shaping Techniques for Even Thickness
After the bench rest, take one dough ball and place it on a lightly floured surface. Use a rolling pin to roll it into a disk about 6-7 inches (15-18 cm) in diameter and about 1/8 to 1/4 inch (3-6 mm) thick. The key here is to roll evenly. Avoid thicker spots in the center or edges, as uneven thickness can prevent the pita from puffing fully or result in an uneven pocket.
Roll from the center outwards, rotating the dough occasionally to maintain a round shape. If the dough springs back too much, let it rest for another 5 minutes before continuing. Roll all the dough portions into disks and place them on baking sheets lined with parchment paper or dusted with cornmeal, ensuring they are not touching. Cover them again loosely with a damp cloth or plastic wrap.
Step 4: The Second Rise - Proofing Shaped Dough
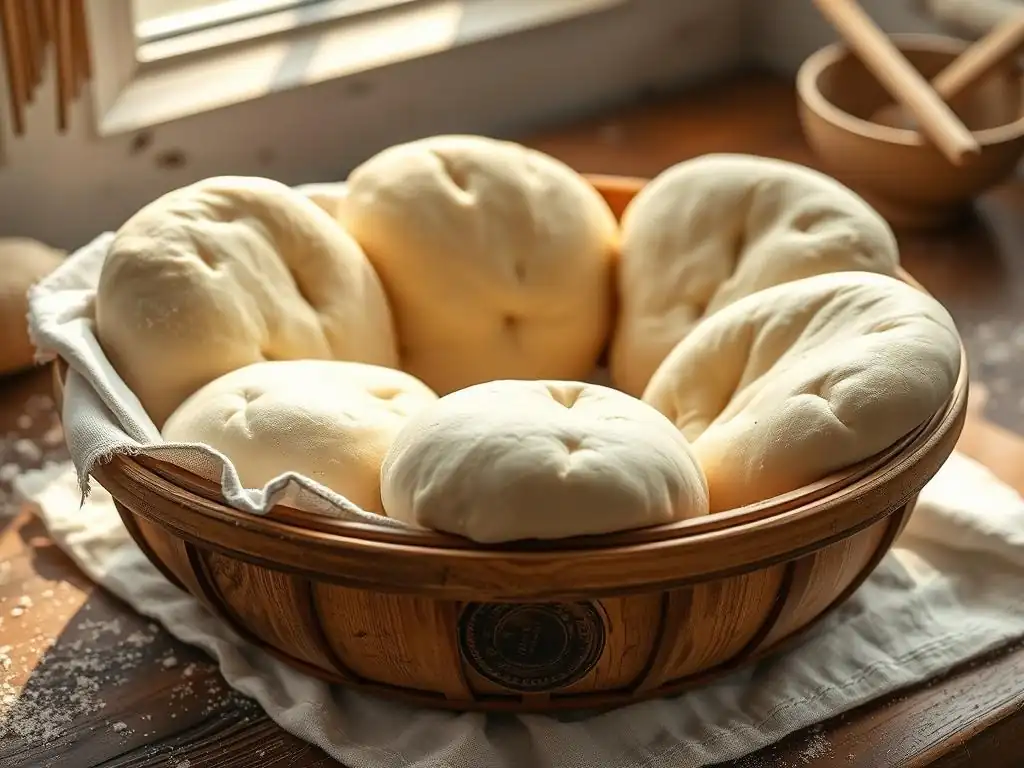
After shaping, the pita disks need a second, shorter rise, also known as proofing. This allows the dough to relax further and the yeast to produce a bit more gas after being handled and rolled. This proofing stage is typically shorter than the first rise, usually 20-30 minutes. The disks should look slightly puffy but should not double in size like in the bulk fermentation.
Proper proofing is crucial for a perfectly puffed pita pockets recipe. If the dough is under-proofed, the gluten might be too tight, preventing it from expanding fully in the oven. If it's over-proofed, the gluten structure can weaken, causing the dough to collapse or tear during baking, leading to a lack of puff. The dough should feel airy and light when gently touched.
Importance of Proofing Time
The exact proofing time will depend on the room temperature. In a warmer kitchen, 20 minutes might be sufficient. In a cooler environment, it might take closer to 30 minutes. You can gently press a finger into the edge of a disk; if the indentation slowly springs back halfway, it's likely ready. If it springs back immediately, it needs more time. If the indentation remains completely, it's likely over-proofed.
While the shaped dough is proofing, it's the perfect time to preheat your oven and baking surface to a very high temperature. This ensures that when the pita hits the heat, the steam is generated rapidly and effectively, driving the puff.
Step 5: Baking for Maximum Puff
This is the most critical step for achieving that coveted puff. Pita bread requires a very hot oven to puff properly. Preheat your oven to the highest possible temperature, ideally between 475°F and 500°F (245°C and 260°C). Allow the oven to preheat for at least 30-60 minutes to ensure the baking surface is also screaming hot.
Carefully transfer the proofed pita disks onto the preheated baking surface. Do not overcrowd the oven; bake only as many as can fit comfortably without touching. Within 1-2 minutes, you should start to see the pita puffing up like a balloon. Bake for a total of 2-4 minutes, or until the pita is fully puffed and the surface is lightly golden brown, then flip and bake for another 1-2 minutes to cook through the other side, ensuring a perfectly puffed pita pockets result.
Oven Temperature
The extremely high oven temperature is non-negotiable for the characteristic pita puff. Lower temperatures will result in the dough drying out before enough steam is generated to create the pocket. Think of it like popping popcorn; it needs intense, sudden heat. The rapid heat transfer from the hot baking surface and the hot air in the oven creates the burst of steam needed.
Maintaining this high temperature throughout the baking process is also important. Avoid opening the oven door unnecessarily, as this causes heat loss. Baking in batches might be necessary depending on your oven and baking surface size, but ensuring the oven recovers its temperature between batches is key for consistent results in your perfectly puffed pita pockets recipe.
Baking Surface: Baking Stone or Sheet Pan
Using a preheated baking stone or steel is highly recommended for achieving maximum puff. These surfaces retain and transfer heat very efficiently to the base of the pita, promoting rapid steam generation. Place the stone or steel on the middle or upper rack of your oven during the entire preheating period. Carefully slide the pita dough directly onto the hot stone using a pizza peel or the back of a baking sheet dusted with cornmeal.
If you don't have a baking stone or steel, you can use a heavy-duty baking sheet. Place the baking sheet in the oven during preheating so it gets equally hot. Then, carefully transfer the pita disks onto the hot sheet. While a sheet pan might not retain heat quite as effectively as a stone, the high oven temperature combined with a preheated pan can still yield successful puffs, contributing to your perfectly puffed pita pockets recipe.
Creating a Steamy Oven Environment
Some bakers find that adding a bit of steam to the oven environment can further enhance the puff and keep the crust pliable, allowing for better expansion. You can achieve this by placing a cast iron pan or oven-safe dish on the bottom rack of the oven during preheating. Just before you load the pita bread, carefully pour about a cup of hot water into the hot pan (use caution, as this will create a lot of steam).
Close the oven door quickly to trap the steam. The steam helps keep the surface of the dough moist initially, delaying the crust from setting and allowing the interior steam to build pressure and create the puff more effectively. While not strictly necessary for all pita recipes, it can be a helpful technique, especially if you're struggling to get a consistent puff in your perfectly puffed pita pockets recipe.
Troubleshooting Common Pita Bread Problems
Why Isn't My Pita Bread Puffing?
One of the most frustrating issues when making pita is when they come out flat instead of beautifully puffed. The primary culprit is usually insufficient steam generation or a weak gluten structure unable to contain it. This can stem from several factors throughout the process. An oven that isn't hot enough, or a baking surface that hasn't been preheated sufficiently, won't provide the necessary intense heat burst to turn the internal moisture into steam rapidly.
Another common reason is under-proofing or over-proofing. Under-proofed dough is too tight and doesn't have enough internal gas pressure to aid the puff. Over-proofed dough has a weakened structure that can't support the expansion and may tear or collapse. Incorrect dough consistency (too dry) or inadequate kneading leading to poor gluten development are also major contributors to a lack of puff in your attempts at a perfectly puffed pita pockets recipe.
Common Mistakes and Solutions
- Oven Not Hot Enough: Ensure your oven is preheated to 475-500°F (245-260°C) and has been at that temperature for at least 30 minutes. Use an oven thermometer to verify accuracy.
- Baking Surface Not Hot: Always preheat your baking stone, steel, or sheet pan inside the oven for the full preheating time.
- Under- or Over-Proofing: Pay close attention to the recommended proofing times and visual cues (dough doubling in the first rise, slight puffiness in the second). Adjust times based on your kitchen temperature.
- Dough Too Dry: Ensure you're using enough water for a slightly tacky dough consistency. Dry dough hinders steam production.
- Poor Gluten Development: Knead the dough adequately until it's smooth and elastic. Don't skip or shorten the kneading time.
- Uneven Rolling: Roll the pita disks to an even thickness. Thicker spots won't heat as quickly and can prevent uniform puffing.
Addressing these points systematically can significantly improve your success rate in achieving a perfectly puffed pita pockets recipe.
Dough Consistency Troubleshooting
Achieving the right dough consistency is fundamental. If your dough is too sticky after adding the specified water, it might be due to variations in flour absorption or humidity. Add flour sparingly, a tablespoon at a time, while kneading until the dough is manageable but still soft and slightly tacky. Avoid the temptation to add too much flour, as this will result in tough, dense pita bread that is less likely to puff effectively.
If the dough feels too dry and stiff, it will be difficult to knead and won't develop a pliable gluten structure. Add warm water a teaspoon at a time while kneading until the dough softens and becomes more elastic. A well-hydrated dough is crucial for generating sufficient steam during baking. Remember, the ideal consistency is key to developing the strength and elasticity needed for a successful puff in your perfectly puffed pita pockets recipe.
Preventing Tough Pita Bread: Tips for a Tender Crumb
Tough pita bread is often a result of either over-kneading or using too much flour during the kneading and shaping process. While adequate gluten development is necessary for the puff, excessive kneading can make the gluten network too tight, resulting in a dense, chewy texture rather than a tender crumb. Knead until the dough is smooth and elastic, but stop once it passes the windowpane test.
Using minimal flour when kneading and shaping is also important. Excessive bench flour gets incorporated into the dough, lowering its hydration and making it drier and tougher. Use just enough flour to prevent sticking. Additionally, avoid over-baking the pita. They cook very quickly in a hot oven (usually just 2-4 minutes per side). Baking them too long will dry them out and make them tough. Proper handling and baking technique ensures your perfectly puffed pita pockets recipe yields tender, delicious results.
Serving Suggestions: Enjoying Your Homemade Pita Bread
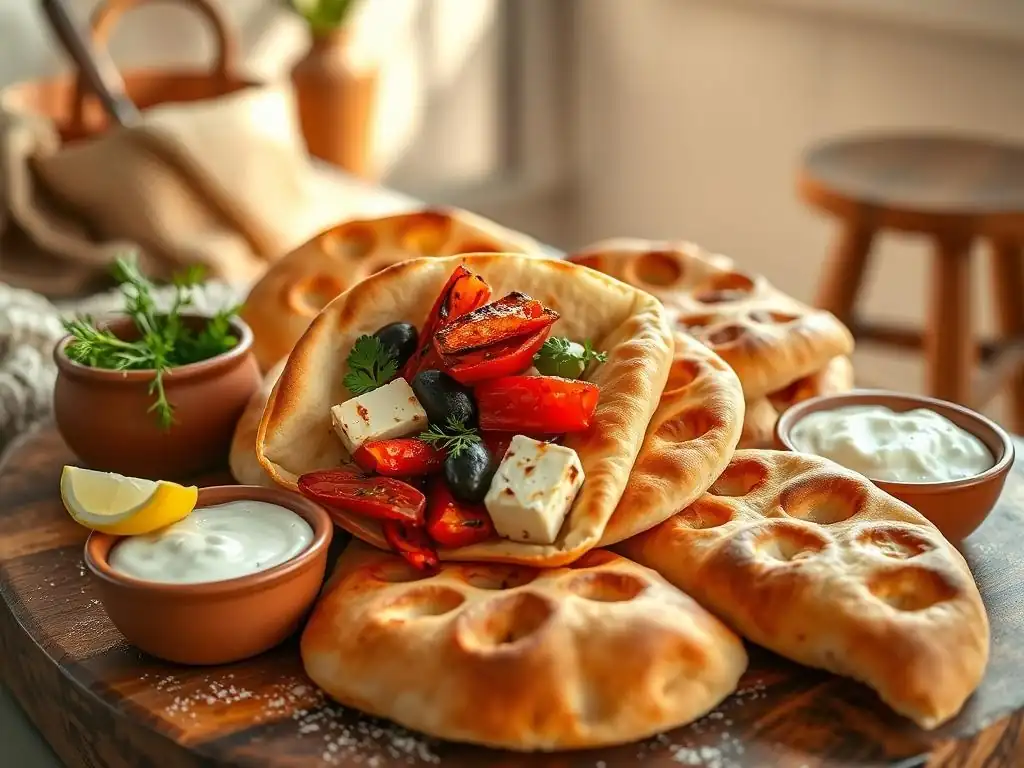
Once your homemade pita pockets are perfectly puffed and slightly cooled, they are ready to be enjoyed in countless ways. The natural pocket is ideal for stuffing, making them a staple for various cuisines. Serve them warm for the best texture and flavor.
Classic Fillings
- Mediterranean Staples: Stuff with falafel, hummus, tahini, and a simple salad of chopped tomatoes, cucumbers, and parsley. This is a classic use for a perfectly puffed pita pockets recipe.
- Gyro or Shawarma: Fill with sliced grilled lamb, chicken, or beef, topped with tzatziki sauce, onions, and tomatoes.
- Kebabs: Skewer and grill marinated meat or vegetables, then slide them into the warm pita with your favorite sauce.
- Breakfast: Scramble eggs and cheese and stuff them into a pita for a portable breakfast.
Creative Uses for Pita Bread
Beyond traditional fillings, perfectly puffed pita pockets can be surprisingly versatile.
- Pita Pizza: Cut the pita in half horizontally to make two thin rounds. Top with sauce, cheese, and toppings, then bake until the cheese is melted and bubbly.
- Pita Chips: Cut stale pita into triangles, brush with olive oil and seasonings, and bake until crispy. Perfect for dipping in hummus or other spreads.
- Quesadillas: Fill a pita with cheese and other fillings, fold in half, and cook in a skillet until golden brown and the cheese is melted.
- Wraps: While the pocket is the main feature, you can also flatten the pita slightly and use it as a wrap for various fillings.
Storing Your Homemade Pita Bread
Proper storage is essential to keep your beautifully puffed pita pockets fresh and soft. Once baked, allow them to cool completely on a wire rack. Storing them while still warm will create condensation and make them soggy.
Keeping Pita Bread Fresh
For short-term storage (1-2 days), place the cooled pita bread in a resealable plastic bag or an airtight container at room temperature. Squeeze out as much air as possible before sealing. This helps retain their moisture and softness. Avoid storing them in the refrigerator, as this can actually make bread go stale faster.
If you plan to use them within a couple of days, keeping them airtight at room temperature is the best method to preserve the texture achieved by your perfectly puffed pita pockets recipe.
Freezing and Reheating
Pita bread freezes exceptionally well, allowing you to enjoy your homemade perfectly puffed pita pockets recipe for a longer time. Once completely cooled, stack them with a small piece of parchment paper between each pita to prevent sticking, then place the stack in a freezer-safe bag or container. They can be frozen for up to 3 months.
To reheat from frozen, you can simply take a pita directly from the freezer and warm it in a toaster, toaster oven, or microwave until soft and pliable. Alternatively, you can let them thaw at room temperature for 30-60 minutes before reheating. Reheating briefly often helps to restore some of their original softness.
Advanced Pita Bread Techniques: Flavor Variations
Once you've mastered the basic perfectly puffed pita pockets recipe, you can experiment with adding different flavors to the dough itself. This can elevate your homemade pita and offer delicious variations.
Adding Herbs and Spices
Incorporating dried herbs and spices directly into the dough can infuse your pita with wonderful aromas and tastes. Common additions include dried oregano, thyme, rosemary, or a blend like Za'atar. Mix 1-2 teaspoons of dried herbs or spices per cup of flour into the dry ingredients before adding the water.
You can also add spices like garlic powder, onion powder, or a pinch of chili flakes for a bit of heat. Consider adding seeds like sesame seeds, nigella seeds (kalonji), or poppy seeds to the dough or sprinkled on top before baking for added texture and flavor. These simple additions make your perfectly puffed pita pockets recipe even more exciting.
Whole Wheat Pita Bread Variations
Substituting some or all of the all-purpose flour with whole wheat flour adds fiber, nutrients, and a nutty flavor. Whole wheat flour absorbs more liquid than white flour, so you may need to increase the water slightly to achieve the correct dough consistency. Whole wheat flour also has shorter gluten strands, which can sometimes make it slightly harder to achieve a dramatic puff.
Start by substituting 25-50% of the white flour with whole wheat flour. You'll likely need to knead slightly longer to develop the gluten. The resulting pita will be denser but still delicious and can often achieve a good puff with the right technique. Perfecting a perfectly puffed whole wheat pita pockets recipe is a rewarding challenge.
Exploring Different Flour Combinations
Beyond whole wheat, you can experiment with other flours like spelt, rye, or even chickpea flour for gluten-free variations (though gluten-free flours require different techniques and won't puff like traditional pita). Spelt flour, for instance, has a slightly sweeter flavor and a more delicate gluten structure.
When using alternative flours, research their specific properties regarding hydration and gluten development. Often, blending them with strong bread flour or all-purpose flour yields the best results for texture and puff. Each flour combination will subtly change the flavor, texture, and handling of the dough, offering endless possibilities for your perfectly puffed pita pockets recipe journey.
Frequently Asked Questions
How crucial is the oven temperature for getting perfectly puffed pita pockets?
The oven temperature is absolutely crucial. A high oven temperature (typically 450-500°F) is what creates the steam needed for the pockets to puff. If it's too low, they won't puff properly.
What type of flour works best for a perfectly puffed pita pockets recipe?
A strong bread flour is generally recommended. This type of flour has a higher gluten content, which provides the structure and elasticity needed for the pita to puff and hold its shape.
What is the importance of resting the dough?
Resting the dough allows the gluten to relax, making it easier to roll out and more likely to puff up during baking. Sufficient resting time leads to a more pliable dough and a better final product.
Can I use a stand mixer, or is kneading by hand required for this recipe?
While kneading by hand works well, a stand mixer can definitely be used! Using a stand mixer with a dough hook can develop the gluten in a more consistent and efficient manner. Either method is suitable.
What causes pita pockets to not puff up correctly?
Several factors can cause this: insufficient gluten development, oven temperature being too low, dough being too thick, or the pitas being scored or poked before baking. Ensuring these aspects are right is key.
Final Reflection: The Joy of the Perfectly Puffed Pita
The quest for the perfectly puffed pita pocket transcends mere culinary skill; it's a testament to the power of understanding simple processes to achieve extraordinary results. This article explored the seemingly straightforward task of making pita bread, revealing the subtle nuances that separate a flat, disappointing disc from a gloriously puffed-up pocket, ready to cradle delicious fillings. The techniques discussed—from the right flour blend to the precise oven temperature—are not just recipes; they are keys to unlocking a deeper appreciation for the art of baking.
The impact of a perfectly crafted pita pocket extends beyond the individual meal. It's a small act of culinary creation that brings joy, whether shared with loved ones or enjoyed in quiet solitude. It's a reminder that even the simplest things in life can be elevated with attention to detail and a touch of passion. The best things in life are simple.
This adage rings true when considering the satisfaction derived from mastering a seemingly simple recipe, and the resulting pleasure of enjoying the fruits of one's labor.
Now, I invite you to take what you've learned and experiment! Don't be afraid to tweak the recipe, to adjust the baking time, to explore different flours. The journey to the perfect pita is a personal one, and the satisfaction of achieving that airy, golden-brown perfection is a reward in itself. So, gather your ingredients, preheat your oven, and embark on your own pita-making adventure. The perfectly puffed pocket awaits!
Unleash Your Inner Pita Pro!
Thanks for joining us on this pita-perfect journey! You've now got the secrets to achieving those wonderfully puffy pockets. Ready to put your new skills to the test?
- Bake a batch of puffy pita bread tonight! Use our tips and watch your pitas transform. Imagine the possibilities!
- Share your pita-making success (or even your failures – we've all been there!) on social media using #BakeWithEasePitas. Let's build a community of pita perfectionists!
- Explore other easy bread recipes on our website for more baking adventures. There’s a whole world of deliciousness waiting!
What surprising ingredient are you going to try adding to your next pita creation?