
Master Soft & Fluffy Dinner Rolls: An Easy Guide for Beginners

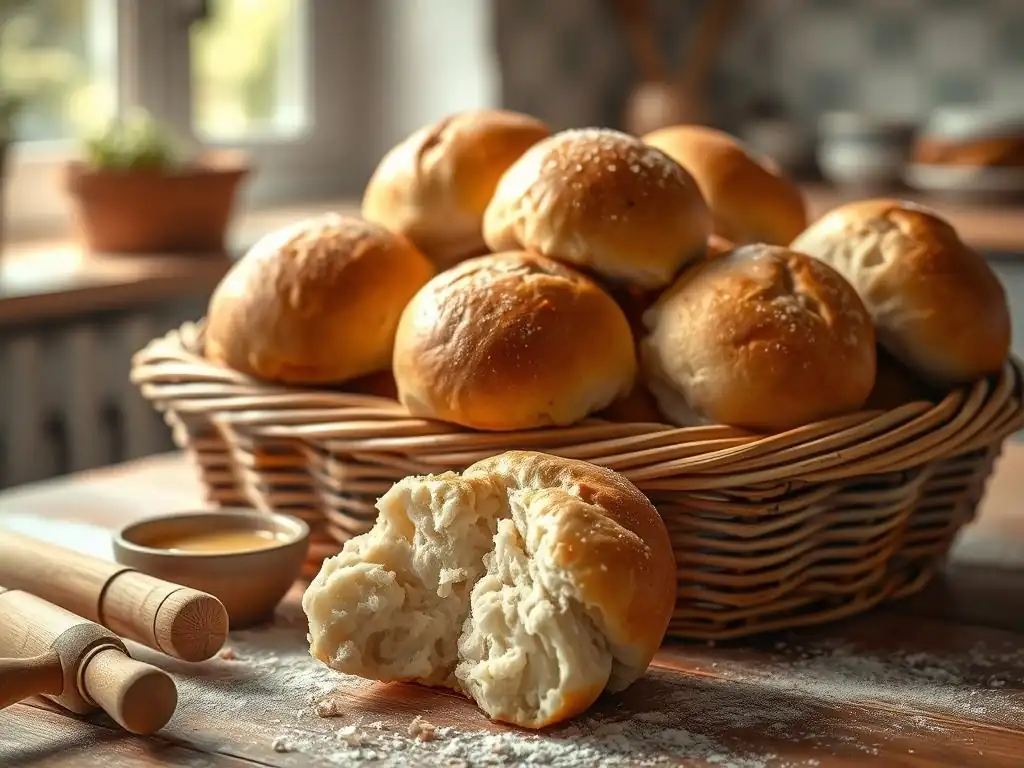
Welcome to BakeWithEase, where delicious baking becomes delightfully simple! Are you ready to transform your kitchen into a haven of warm, yeasty aromas? Then prepare to master the art of baking with our easy-to-follow guides and expert tips.
Curious about creating the perfect accompaniment to your next meal? You've come to the right place! Dive into our Easy Dinner Rolls Recipe for Beginners and discover the secrets to soft, fluffy rolls that will impress everyone at the table. But that's just the beginning... what other baking adventures await you?
- Introduction to Easy Dinner Rolls for Beginner Bakers
- The Secret to Soft & Fluffy Dinner Rolls: Ingredients and Equipment
-
Step-by-Step Guide: Baking Easy Dinner Rolls from Scratch
- Step 1: Activating the Yeast for Soft Rolls
- Step 2: Mixing the Dough for Fluffy Dinner Rolls
- Step 3: First Rise: Letting the Dough Develop Flavor
- Step 4: Shaping the Dinner Rolls: Simple Techniques
- Step 5: Second Rise: Achieving Maximum Fluffiness
- Step 6: Baking the Dinner Rolls to Golden Perfection
- Step 7: Cooling and Serving Your Homemade Dinner Rolls
- Tips and Tricks for Baking the Best Easy Dinner Rolls
- Enjoy Your Delicious, Homemade Dinner Rolls!
-
Frequently Asked Questions
- How difficult is the Master Soft & Fluffy Dinner Rolls recipe for someone who has never baked before?
- What are the key ingredients I need to make these easy dinner rolls?
- How long does it take to make these dinner rolls from start to finish?
- Can I substitute any ingredients in the Master Soft & Fluffy Dinner Rolls recipe?
- What are some tips for ensuring my dinner rolls are perfectly soft and fluffy?
- Final Reflection: The Joy of Baking, One Roll at a Time
- Unleash Your Inner Baker: Craft Perfect Dinner Rolls!
Introduction to Easy Dinner Rolls for Beginner Bakers
Welcome to the wonderful world of baking! If you've ever dreamed of pulling warm, soft, and fluffy dinner rolls straight from your oven, but felt intimidated by yeast and dough, this guide is designed just for you. We believe baking should be accessible and enjoyable, and mastering a simple dinner roll recipe is a fantastic starting point for any beginner baker. These easy dinner rolls are not only delicious but also incredibly rewarding to make, building your confidence with fundamental bread-making techniques.
This comprehensive guide will walk you through every step, from activating your yeast to achieving that perfect golden-brown crust. We'll demystify the process, explain the why behind each step, and provide helpful tips to ensure your success. By the end, you'll have a reliable easy dinner rolls recipe for beginners that you'll turn to again and again, ready to impress your family and friends with homemade goodness.
Why This Easy Dinner Rolls Recipe is Perfect for Beginners
This recipe is specifically crafted with the novice baker in mind, focusing on straightforward techniques and minimal fuss. Unlike some complex bread recipes that require intricate shaping or long fermentation times, this approach simplifies the core steps: activating yeast, mixing and kneading dough, allowing for two rises, and finally, baking. The ingredient list is standard and easy to find, consisting of pantry staples you likely already have.
Furthermore, the forgiving nature of dinner roll dough makes it ideal for learning. Even if your kneading isn't perfect or your shaping is a little uneven, you'll still end up with delicious rolls. We'll provide clear visual cues to look for at each stage, such as how the dough should feel after kneading or what a properly risen dough looks like. This hands-on learning experience, guided by our simple instructions, makes this an excellent foundational easy dinner rolls recipe beginners can confidently tackle.
BakeWithEase Tips for Success: Your Journey to Perfect Dinner Rolls
At BakeWithEase, we're committed to making your baking journey smooth and enjoyable. For this easy dinner rolls recipe beginners, patience is your best friend. Allow the dough ample time to rise in a warm, draft-free place – this is crucial for achieving that signature softness and fluffiness. Using ingredients at room temperature, especially eggs and milk (if using), helps the dough come together more smoothly and promotes better yeast activity.
Don't be afraid to get your hands a little sticky during the kneading process; it's part of the fun! We recommend measuring your flour by weight if possible (using a kitchen scale) for the most consistent results, though volume measurements are also provided. Remember, every oven is different, so keep an eye on your rolls during the last few minutes of baking to ensure they don't over-brown. Following these simple tips will set you up for success and help you create truly exceptional easy dinner rolls.
The Secret to Soft & Fluffy Dinner Rolls: Ingredients and Equipment
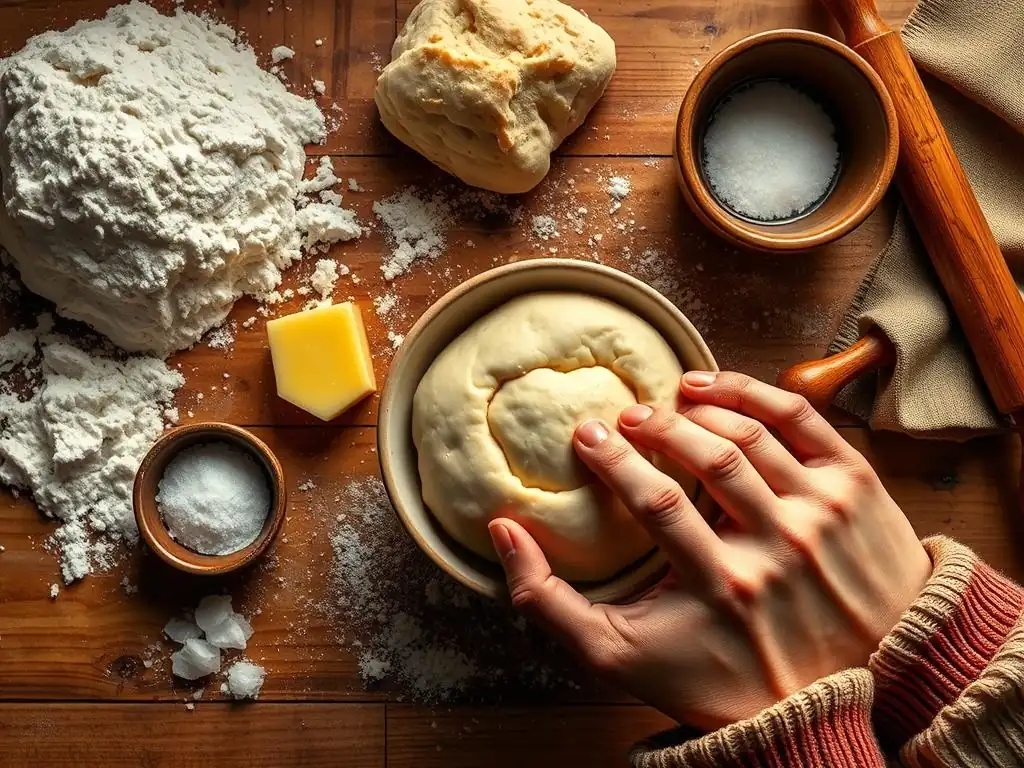
Achieving soft and fluffy dinner rolls isn't magic; it's about understanding the role each ingredient plays and using the right tools. This section breaks down the essentials, ensuring you have everything you need before you even start mixing. Getting your ingredients measured and your equipment ready beforehand is a key step in making any baking project, especially this easy dinner rolls recipe beginners, run smoothly.
By paying attention to the type and temperature of your ingredients, and ensuring your equipment is appropriate, you set the stage for successful baking. For instance, using slightly warm liquid helps activate the yeast efficiently, which is fundamental for the dough's rise and the final texture of the rolls. We'll cover the specific ingredients that contribute to tenderness and the basic tools that make handling dough much easier.
Essential Ingredients for Light and Airy Dinner Rolls
The magic of soft dinner rolls comes down to a few key players in your pantry. All-purpose flour provides the structure, while yeast is the leavening agent responsible for the rise and airy texture. Sugar not only adds a touch of sweetness but also feeds the yeast, helping it activate and produce carbon dioxide gas. Salt balances the flavor and controls the yeast activity, preventing it from rising too quickly.
Fat, often in the form of butter or oil, contributes significantly to the tenderness and richness of the rolls. Eggs, sometimes included, add richness, help with structure, and contribute to a softer crumb. Finally, warm milk or water provides the necessary liquid to hydrate the flour and activate the yeast. Using these ingredients correctly is the foundation of a great easy dinner rolls recipe beginners can perfect.
Flour Power: Choosing the Right Flour for Your Rolls
For this easy dinner rolls recipe beginners, all-purpose flour is typically the best choice. It has a moderate protein content (usually around 10-12%), which allows for sufficient gluten development to give the rolls structure, but not so much that they become tough or chewy. Bread flour, with a higher protein content (around 12-14%), would produce a chewier roll, which isn't the goal here.
Using the correct type of flour is crucial for achieving the desired soft and fluffy texture. Measuring flour accurately is also vital; scooping flour directly from the bag with your measuring cup can pack it down, resulting in too much flour and a dry, dense dough. Instead, gently spoon the flour into your measuring cup and level it off with a straight edge, or better yet, weigh it using a kitchen scale for precision. For example, a standard cup of all-purpose flour should weigh approximately 120-130 grams.
Yeast 101: Activating Yeast for Perfect Rise
Yeast is a living organism that requires warmth and food (sugar) to become active and produce the carbon dioxide gas that makes bread rise. For most easy dinner rolls recipe beginners, active dry yeast or instant yeast are commonly used. Active dry yeast typically needs to be dissolved in warm liquid (around 105-115°F or 40-46°C) with a pinch of sugar and allowed to sit for 5-10 minutes until it becomes foamy. This process, called proofing, confirms the yeast is alive and ready to work.
Instant yeast, on the other hand, can often be mixed directly with the dry ingredients, as it activates more quickly. However, for beginners, proofing the yeast first provides peace of mind, ensuring your dough will rise. If your yeast doesn't foam after 10 minutes, it's likely dead, and you'll need to start over with fresh yeast. Storing yeast properly (usually in the refrigerator or freezer after opening) helps maintain its viability for up to several months.
The Role of Sugar, Salt, and Fat in Dinner Rolls
Sugar is essential for two main reasons in this easy dinner rolls recipe beginners: it provides food for the yeast, fueling the fermentation process and contributing to the rise, and it adds sweetness and helps with browning during baking. Too little sugar can result in slow yeast activity and pale rolls, while too much can inhibit yeast and make the rolls overly sweet. A typical recipe might use anywhere from 2 tablespoons to 1/4 cup of sugar for a batch of 12-16 rolls.
Salt is equally important. It enhances the flavor of the rolls, preventing them from tasting bland. Crucially, salt also helps regulate the yeast activity, slowing it down slightly to allow for a more controlled and even rise, which develops better flavor and texture. Without salt, the dough can rise too quickly and collapse. Fat, whether butter or oil, shortens the gluten strands, resulting in a tender, soft crumb. It also adds richness and moisture, keeping the rolls soft even after cooling. Using softened butter or melted butter incorporated into the dough provides the best results for tenderness.
Must-Have Equipment for Baking Dinner Rolls at Home
You don't need a professional bakery setup to make amazing dinner rolls at home. A few basic kitchen tools will suffice for this easy dinner rolls recipe beginners. The most important items include accurate measuring cups and spoons, mixing bowls (at least one large one for rising), and something to mix the dough with, whether it's a sturdy spoon, a Danish dough whisk, or a stand mixer with a dough hook.
Beyond mixing, you'll need a surface for kneading (a clean countertop or a large cutting board works well), a bench scraper can be helpful for dividing and moving dough, and a rolling pin might be useful depending on your shaping method. Finally, you'll need a baking pan to bake your rolls in. Having these tools ready before you start ensures a smooth process from start to finish.
Mixing Bowls and Utensils for Easy Dough Handling
A large mixing bowl is essential for mixing the dough and, more importantly, for the first rise. The dough will roughly double in size, so choose a bowl that is at least twice the volume of your initial dough ball. Glass, ceramic, or plastic bowls all work well. For mixing, a sturdy wooden spoon or a dough whisk is perfect for bringing the ingredients together into a shaggy dough. If you have a stand mixer, the dough hook attachment makes the kneading process much easier and faster, typically taking 6-8 minutes compared to 10-15 minutes by hand.
Once the dough is mixed, a bench scraper is incredibly useful. It helps you scrape sticky dough from your work surface and can be used to divide the dough into equal portions. Keeping a light dusting of flour nearby is also helpful, but be careful not to add too much, which can dry out your dough. A clean, damp kitchen towel or plastic wrap is needed to cover the bowl during rising periods to prevent the dough from drying out.
Baking Pans: Choosing the Right Size and Material
For baking easy dinner rolls recipe beginners, a standard 9x13 inch baking pan is a popular choice, especially if you want your rolls to bake up soft against each other. A 9-inch square pan or even a standard baking sheet can also be used. If using a baking sheet, arrange the rolls about 1-2 inches apart to allow them to expand without touching, resulting in rolls with slightly crispier sides.
The material of the pan can affect baking time and browning. Metal pans, especially lighter colored ones, conduct heat efficiently. Darker pans can lead to faster browning, so you might need to slightly reduce the oven temperature or baking time. Glass or ceramic pans retain heat well and are also suitable. Regardless of the pan, greasing it with butter or cooking spray, or lining it with parchment paper, will prevent the rolls from sticking. A typical 9x13 pan can comfortably fit 12-16 standard-sized dinner rolls.
Oven Temperature: Ensuring Even Baking
Accurate oven temperature is critical for baking any bread product, including these easy dinner rolls recipe beginners. Most dinner roll recipes call for a baking temperature between 375°F and 400°F (190°C to 200°C). This range is hot enough to create a golden crust and ensure the interior bakes through properly without drying out. It's a good idea to use an oven thermometer to verify your oven's temperature, as they can often be off by 25°F or more.
Preheating your oven fully is essential. Place the oven rack in the center position for the most even heat distribution. Baking time will vary depending on the size of your rolls and your oven, but typically ranges from 15 to 25 minutes. The rolls are done when they are golden brown on top and sound hollow when tapped on the bottom.
Step-by-Step Guide: Baking Easy Dinner Rolls from Scratch
Ready to bake? This section provides a clear, step-by-step walkthrough of the entire process, making this easy dinner rolls recipe beginners truly achievable. We'll guide you from activating your yeast to pulling those beautiful, fluffy rolls from the oven. Follow these steps closely, and you'll be enjoying warm, homemade dinner rolls in no time.
Each step is explained in detail, focusing on what to look for and how to handle the dough at different stages. We've broken down the process into manageable parts, making it less intimidating for those new to baking with yeast. Let's get started on your journey to mastering this delicious easy dinner rolls recipe beginners style!
Step 1: Activating the Yeast for Soft Rolls
Begin by warming your liquid (milk or water) to the correct temperature. It should feel warm to the touch, like bathwater, between 105°F and 115°F (40°C to 46°C). Too hot will kill the yeast, and too cold won't activate it properly. Pour the warm liquid into a small bowl, stir in a pinch of sugar, and then sprinkle the active dry yeast over the top.
Let the mixture sit undisturbed for about 5 to 10 minutes. You should see a foamy layer develop on the surface. This foam indicates that the yeast is alive and active, ready to work its magic on your dough. If no foam appears, your yeast is likely dead, and you'll need to discard the mixture and start again with fresh yeast. This is a crucial first step to ensure your easy dinner rolls recipe beginners will rise successfully.
Step 2: Mixing the Dough for Fluffy Dinner Rolls
In a large mixing bowl, whisk together the flour, remaining sugar, and salt. Once the yeast mixture is foamy, pour it into the dry ingredients. Add any other wet ingredients called for in the recipe, such as melted butter, oil, or eggs. Use a sturdy spoon, dough whisk, or the dough hook of your stand mixer to mix everything together until a shaggy dough forms and pulls away from the sides of the bowl.
At this point, the dough will likely be sticky. If mixing by hand, turn the dough out onto a lightly floured surface. If using a stand mixer, continue mixing on low speed. The goal is to develop gluten, which provides structure and elasticity to the dough, allowing it to trap the gases produced by the yeast and rise into fluffy rolls.
Kneading Techniques for a Smooth and Elastic Dough
Kneading develops the gluten in the dough. If kneading by hand, push the dough away from you with the heels of your hands, then fold it back towards you and rotate. Repeat this pushing, folding, and rotating motion for about 10-15 minutes. The dough will start sticky but become smoother, less sticky, and more elastic as you knead. It should become smooth and pliable, bouncing back slowly when gently poked.
Using a stand mixer with a dough hook is faster, typically taking 6-8 minutes on medium-low speed. The dough should slap against the sides of the bowl but eventually gather into a ball around the hook. You'll know the dough is properly kneaded when it passes the "windowpane test": carefully stretch a small piece of dough between your fingers; if you can stretch it thin enough to see light through it without tearing, the gluten is well-developed. Achieving a smooth, elastic dough is key for soft and fluffy results in your easy dinner rolls recipe beginners.
Step 3: First Rise: Letting the Dough Develop Flavor
After kneading, shape the dough into a ball. Lightly grease the large mixing bowl you used earlier with cooking spray or a little oil. Place the dough ball in the bowl, turning it to coat the surface with grease. This prevents a dry crust from forming. Cover the bowl tightly with plastic wrap or a clean, damp kitchen towel.
Place the covered bowl in a warm, draft-free place to rise. An oven with the light on (but the oven off) is a great spot, or a warm corner of your kitchen. The dough needs to rise until it has roughly doubled in size. This usually takes about 60-90 minutes, depending on the temperature of your kitchen and the activity of your yeast. This first rise allows the yeast to ferment, producing gases and developing the flavor of the rolls.
Step 4: Shaping the Dinner Rolls: Simple Techniques
Once the dough has doubled in size, gently punch it down to release the accumulated gases. Turn the dough out onto a lightly floured surface. At this point, you need to divide the dough into equal portions. For standard-sized dinner rolls, a batch of dough might yield 12 to 16 rolls, each weighing approximately 50-60 grams. Using a kitchen scale to weigh the portions ensures uniform size and even baking.
Roll each portion into a smooth ball. The simplest method is to cup your hand over the dough portion and gently swirl it on the counter, using the friction to create surface tension and a smooth top. Arrange the shaped rolls in your prepared baking pan, leaving about 1/2 to 1 inch of space between them if you want them to bake into each other, or more space if you prefer individual rolls.
Shaping Options: Classic Rolls, Knots, and More
While simple balls are perfect for this easy dinner rolls recipe beginners, you can experiment with other easy shapes. For classic round rolls, simply tuck the edges of each dough portion underneath and roll into a tight ball. For knots, roll a portion of dough into a rope about 6-8 inches long, then tie it into a loose knot.
Another option is a "snail" roll: roll the dough portion into a rope, then coil the rope into a spiral. These simple variations add visual appeal without significantly changing the process or requiring advanced skills. Arranging similarly shaped rolls together in the pan ensures even baking.
Step 5: Second Rise: Achieving Maximum Fluffiness
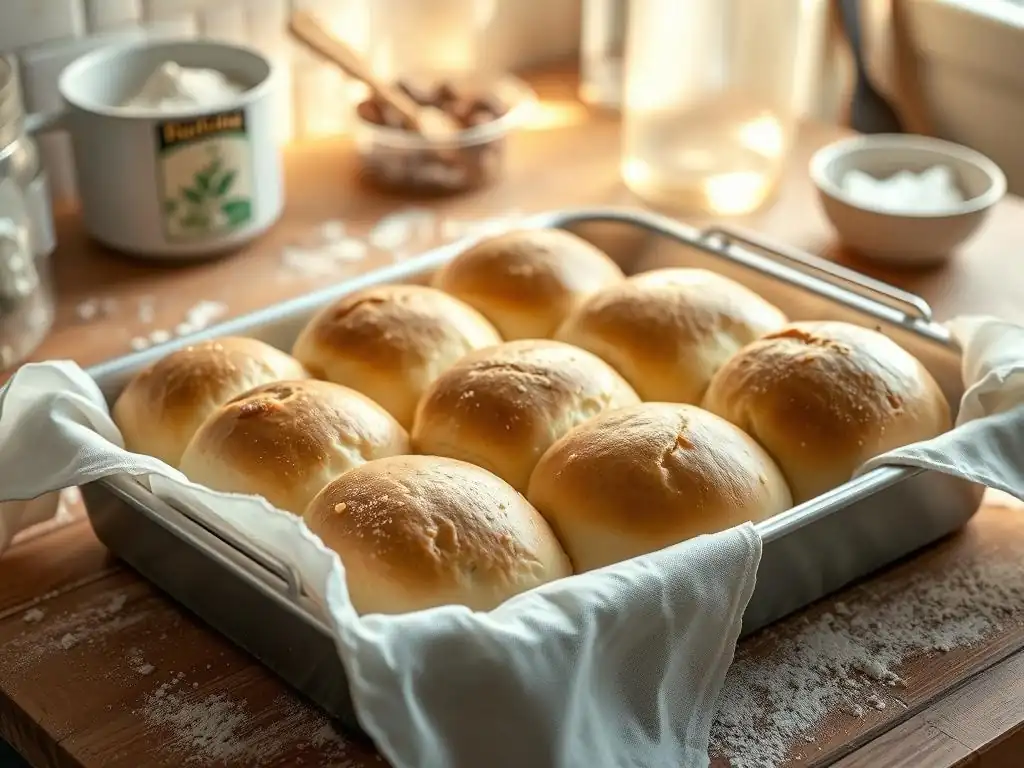
After shaping and placing the rolls in the baking pan, cover the pan loosely with plastic wrap or a clean kitchen towel. Place the pan back in that warm, draft-free spot for the second rise. This rise is shorter than the first, typically lasting 30-45 minutes.
During the second rise, the rolls will puff up considerably and should look soft and airy, filling the spaces in the pan. This final rise contributes significantly to the light and fluffy texture of the finished rolls. While the rolls are rising, preheat your oven to the temperature specified in your recipe, usually around 375-400°F (190-200°C).
Step 6: Baking the Dinner Rolls to Golden Perfection
Once the rolls have completed their second rise and the oven is fully preheated, they are ready to bake. For a beautiful golden crust, you can brush the tops of the rolls with an egg wash (one egg whisked with a tablespoon of water or milk) or melted butter before placing them in the oven.
Bake the rolls in the preheated oven for 15 to 25 minutes. The exact time will depend on the size of your rolls, your pan, and your oven. They are done when they are golden brown on top and the internal temperature reaches about 190-200°F (88-93°C) using an instant-read thermometer. If you don't have a thermometer, you can tap the bottom of a roll; it should sound hollow.
Step 7: Cooling and Serving Your Homemade Dinner Rolls
As soon as the rolls come out of the oven, for extra softness and a lovely sheen, you can brush the tops generously with melted butter. This step is optional but highly recommended for the ultimate soft texture.
Let the rolls cool in the pan for a few minutes before transferring them to a wire rack to cool slightly. Dinner rolls are best served warm, straight from the oven. The aroma alone is enough to make your mouth water! Serve them with butter, jam, or alongside your favorite meal. Enjoy the fruits of your labor with this delicious easy dinner rolls recipe beginners can be proud of.
Tips and Tricks for Baking the Best Easy Dinner Rolls
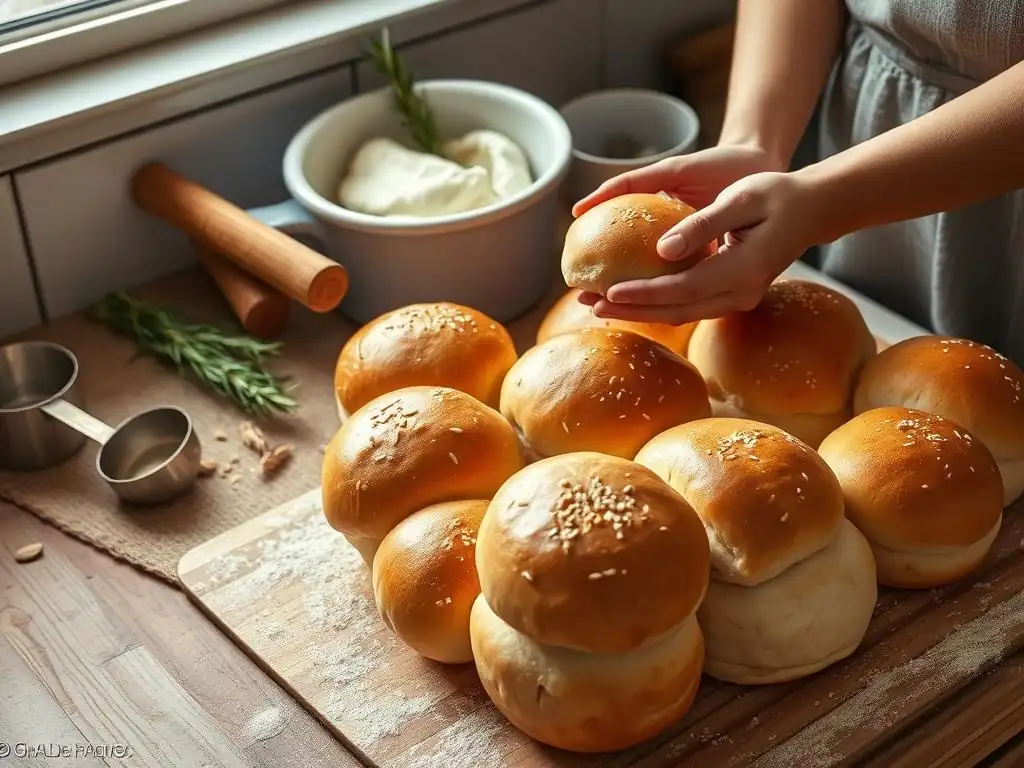
Even with an easy dinner rolls recipe beginners, sometimes things don't go exactly as planned. This section offers troubleshooting tips for common issues and ideas for adding variations to your basic recipe. Learning how to identify and fix problems is part of the baking process and helps build your skills.
We'll also cover how to store your freshly baked rolls so you can enjoy their goodness for a couple of days. These extra tips will help you refine your technique and make your easy dinner rolls even better the next time you bake them.
Troubleshooting Common Dinner Roll Baking Problems
Encountering issues is normal when learning to bake. One common problem with this easy dinner rolls recipe beginners might face is the dough not rising properly. This is usually due to inactive yeast (check the expiration date and proof it first!) or the rising environment being too cold. Ensure your liquid is warm enough (105-115°F) and your rising spot is warm and draft-free.
Another issue is rolls that turn out dense instead of fluffy. This can happen if the dough wasn't kneaded enough to develop gluten, if too much flour was added during mixing or kneading, or if the dough didn't get enough time for its second rise. Make sure you knead until the dough is smooth and elastic and allow both rises to complete fully until the dough has doubled in volume.
Dough Not Rising? Here's What to Do
If your dough hasn't risen after the expected time (60-90 minutes for the first rise), first check the room temperature. If it's cool, try moving the bowl to a warmer spot, like a proofing drawer or an oven with just the light on. Give it another 30-60 minutes. If there's still absolutely no change, the yeast is likely dead. Unfortunately, you'll need to discard the dough and start over, making sure to use fresh yeast and proof it in warm water (105-115°F) with sugar before adding it to the dry ingredients.
Sometimes a slow rise is just that – slow. If you see some activity but it's not doubled, give it more time. A slight rise is better than none and might still produce acceptable rolls, though they might not be as light as intended. For future bakes of this easy dinner rolls recipe beginners, always proof your yeast first to confirm its vitality.
Rolls Too Dense? Avoid These Mistakes
Dense rolls often result from insufficient kneading or too much flour. When mixing and kneading your dough for this easy dinner rolls recipe beginners, resist the urge to add excessive amounts of flour, even if the dough feels sticky. A slightly sticky dough is often preferable to a dry one. Knead for the full recommended time (10-15 mins by hand, 6-8 mins by mixer) until the dough is smooth and elastic.
Under-rising is another culprit. Ensure the dough doubles in size during the first rise and becomes visibly puffy during the second rise. Don't rush these steps. Also, overworking the dough after the first rise (punching too hard or shaping too roughly) can knock out too much air, leading to a denser crumb. Handle the dough gently during shaping.
Flavor Variations: Elevating Your Easy Dinner Rolls
Once you've mastered the basic easy dinner rolls recipe beginners, you can easily add flavor variations. Before the second rise, you can knead in ingredients like finely chopped fresh herbs (rosemary, thyme, chives), shredded cheese (cheddar, Parmesan), or roasted garlic. For a subtle garlic flavor, brush the baked rolls with melted butter mixed with minced garlic right after they come out of the oven.
Sweet variations are also possible. You could add cinnamon and a little extra sugar to the dough, or brush the warm rolls with a simple sugar glaze. Experimenting with these additions is a fun way to customize your easy dinner rolls and cater them to different meals or occasions.
Adding Herbs, Cheese, or Garlic for Unique Flavors
Incorporating add-ins is simple. During the last minute or two of kneading, add about 1/4 to 1/2 cup of your chosen ingredient per batch of 12-16 rolls. For example, add 2-3 tablespoons of finely chopped fresh rosemary or thyme for herbaceous rolls. For cheesy rolls, knead in 1/4 to 1/2 cup of shredded cheese like sharp cheddar or Parmesan.
For garlic rolls, you can either knead in a couple of cloves of finely minced roasted garlic or, more simply, brush the hot baked rolls with 1/4 cup of melted butter mixed with 1-2 minced raw garlic cloves and a pinch of dried parsley. The residual heat will gently cook the garlic. These additions turn a simple easy dinner rolls recipe beginners into something truly special.
Storing and Reheating Your Homemade Dinner Rolls
Homemade dinner rolls are best enjoyed fresh and warm. However, if you have leftovers from your easy dinner rolls recipe beginners, they can be stored. Once completely cooled, place the rolls in an airtight container or a resealable plastic bag. They will stay fresh at room temperature for 2-3 days. For longer storage, you can freeze them for up to 2-3 months. Wrap individual rolls or the entire batch tightly in plastic wrap, then place in a freezer-safe bag.
To reheat, you have a few options. For just one or two rolls, a microwave works quickly (about 15-30 seconds), but they can become slightly chewy. For a better texture, wrap the rolls in foil and warm them in a preheated oven at 300°F (150°C) for 10-15 minutes. Frozen rolls should be thawed at room temperature first (about 2-3 hours) before reheating.
Enjoy Your Delicious, Homemade Dinner Rolls!
Congratulations! You've successfully baked a batch of soft and fluffy dinner rolls from scratch using our easy dinner rolls recipe beginners. Take a moment to appreciate the wonderful aroma filling your kitchen and the satisfaction of creating something so delicious with your own hands. This recipe is a gateway to further bread-making adventures, proving that baking with yeast is well within your reach.
Whether you serve them alongside soup, use them for sliders, or simply enjoy them warm with butter, these homemade rolls are sure to be a hit. This easy dinner rolls recipe beginners is designed to build confidence and deliver fantastic results every time. Don't hesitate to bake them again and again – practice only makes them better!
Recipe Recap: Easy Dinner Rolls for Beginners
Let's quickly recap the core steps of this easy dinner rolls recipe beginners:
- Activate your yeast in warm liquid and a pinch of sugar until foamy (5-10 mins).
- Mix dry ingredients, add activated yeast mixture and wet ingredients, mix until a shaggy dough forms.
- Knead the dough until smooth and elastic (10-15 mins hand, 6-8 mins mixer).
- First rise: Let dough double in a greased, covered bowl in a warm place (60-90 mins).
- Punch down dough, divide, and shape into rolls. Place in a greased pan.
- Second rise: Let rolls puff up in the pan (30-45 mins) while preheating oven.
- Bake at 375-400°F (190-200°C) until golden brown (15-25 mins).
- Brush with butter (optional), cool slightly, and serve warm.
[ ] Activate Yeast
[ ] Mix & Knead Dough
[ ] First Rise (Double in size)
[ ] Shape Rolls
[ ] Second Rise (Puff up)
[ ] Preheat Oven
[ ] Bake Rolls
[ ] Brush with Butter (Optional)
[ ] Cool Slightly
[ ] Serve & Enjoy!
We love seeing your baking triumphs! If you made this easy dinner rolls recipe beginners and are proud of your beautiful rolls, snap a picture and share it with us. You can often tag us or use relevant hashtags on social media platforms. Sharing your success not only celebrates your achievement but also inspires other beginner bakers in our community.
By tagging us, you become part of the BakeWithEase family, showcasing how simple and rewarding baking can be. Your photo could be the encouragement someone else needs to try their first yeast recipe. We can't wait to see your soft and fluffy creations! Happy baking!
Frequently Asked Questions
How difficult is the Master Soft & Fluffy Dinner Rolls recipe for someone who has never baked before?
This recipe is designed for beginners! It features simple, step-by-step instructions and uses easy-to-find ingredients, making it perfect for your first baking experience.
What are the key ingredients I need to make these easy dinner rolls?
You'll primarily need flour, yeast, sugar, salt, milk, butter (or oil), and an egg. The recipe focuses on readily available ingredients for convenience.
How long does it take to make these dinner rolls from start to finish?
Plan for approximately 3-4 hours including preparation, proofing (rising), and baking time. The proofing time is crucial for achieving the soft and fluffy texture.
Can I substitute any ingredients in the Master Soft & Fluffy Dinner Rolls recipe?
While substitutions can be made, they may affect the final texture and flavor. For example, you can use plant-based milk or butter alternatives, but the results might vary slightly.
What are some tips for ensuring my dinner rolls are perfectly soft and fluffy?
Pay close attention to the proofing time – don't rush it! Also, avoid over-mixing the dough, as this can result in tougher rolls. Using a stand mixer or kneading properly will help.
Final Reflection: The Joy of Baking, One Roll at a Time
The simple act of baking a perfect dinner roll, once a daunting task, is now accessible to everyone. Mastering this seemingly small skill unlocks a world of culinary possibilities and brings immense satisfaction, proving that even the most complex-seeming recipes can be conquered with a little patience and the right guidance.
The aroma of freshly baked bread, warm and yeasty, is a powerful sensory experience that transcends generations. It evokes feelings of comfort, home, and shared meals. Bread is the staff of life,
a simple phrase, yet it perfectly captures the fundamental role bread, and in this case, dinner rolls, plays in our culinary heritage and everyday lives. The ease with which you can now create this comforting staple, as detailed in this guide, makes it a truly empowering experience, allowing you to share this joy with friends and family.
Now, I invite you to roll up your sleeves (pun intended! ), gather your ingredients, and embark on your own dinner roll baking journey. Don't be intimidated by the process; embrace the challenge, savor the experience, and revel in the delicious results. The satisfaction of creating something beautiful and delicious from scratch is a reward in itself, a testament to your own capabilities and a delicious addition to any meal. Remember, even the smallest successes in the kitchen can bring immense joy.
Unleash Your Inner Baker: Craft Perfect Dinner Rolls!
Thanks for joining us on this delicious journey into the world of fluffy dinner rolls! We hope you've gained the confidence to tackle this baking classic. Now, it's time to put your newfound skills to the test!
- Bake a batch of your own amazing dinner rolls: Use the recipe and tips from this article as your guide, and experiment with different additions like herbs or seeds. This is your chance to shine!
- Share your baking triumph: Post a picture of your freshly baked rolls on social media and tag BakeWithEase! Let's inspire other aspiring bakers.
- Challenge yourself: Try adapting the recipe to make different kinds of rolls, like garlic knots or sweet rolls. The possibilities are endless!
Ready to experience the joy of homemade, fluffy goodness? What's your favorite addition to make dinner rolls extra special?