
Caramel Swirl Tips for Perfect Marbleized Ice Cream

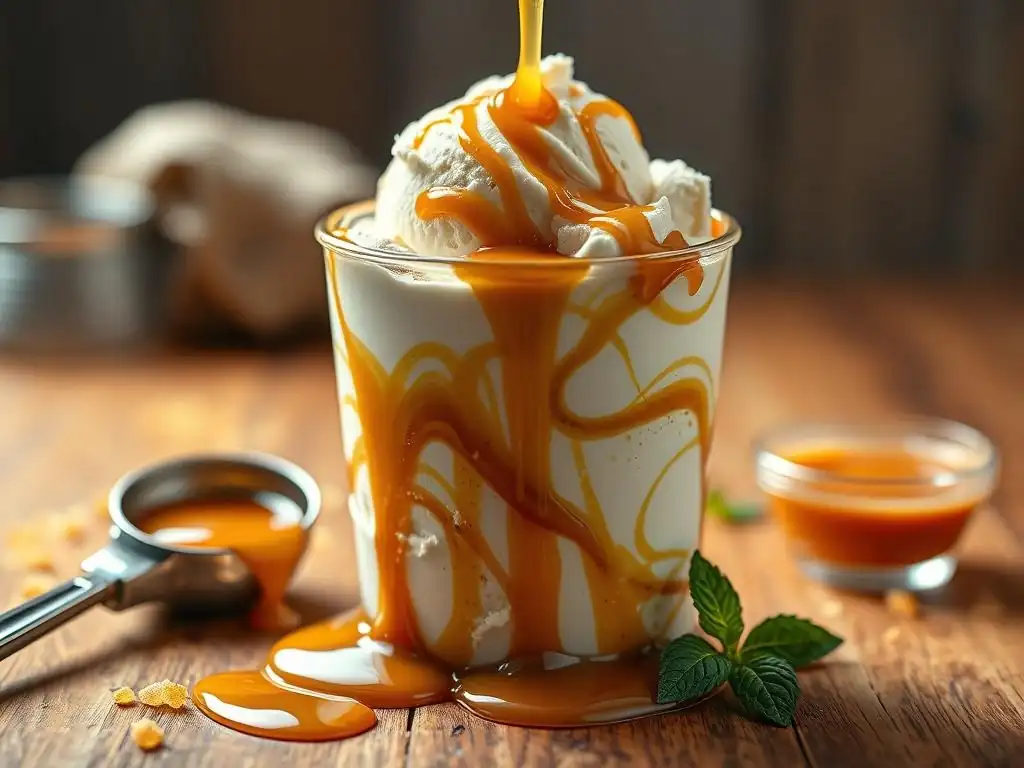
Welcome to BakeWithEase, your haven for all things baking! Ever dreamt of creating ice cream that's as visually stunning as it is delicious? Then you're in the right place. Unlock the secrets to achieving that perfect marbleized effect and elevate your dessert game. But what about that irresistible caramel swirl? Keep reading to discover our exclusive tips and tricks for crafting a perfect marbleized ice cream recipe that will impress everyone!
- Salted Caramel Swirl Tips for Perfect Marbleized Ice Cream
- Introduction: Elevate Your Ice Cream with Salted Caramel Marble Swirls
- Understanding Marbleized Ice Cream: What Makes it Special?
- Achieving the Perfect Salted Caramel Swirl: Essential Techniques
- Tips for a Flawless Marbleized Effect
- Troubleshooting Common Salted Caramel Swirl Issues
- Flavor Variations and Creative Salted Caramel Swirl Ideas
- Serving and Storing Your Marbleized Ice Cream
- Conclusion: Mastering the Art of Salted Caramel Marbleized Ice Cream
-
Frequently Asked Questions
- What makes a marbleized ice cream different from regular ice cream?
- Why is caramel swirl a good choice for marbleizing ice cream?
- What's the best way to prevent the caramel swirl from sinking to the bottom of the ice cream?
- Can I use store-bought caramel sauce for marbleizing, or should I make my own?
- What other flavors pair well with caramel in a marbleized ice cream?
- Final Reflection: The Art and Science of the Perfect Marble
- Unleash Your Inner Ice Cream Artisan!
Salted Caramel Swirl Tips for Perfect Marbleized Ice Cream
Introduction: Elevate Your Ice Cream with Salted Caramel Marble Swirls
Creating your own frozen desserts at home is a truly rewarding experience, and adding a swirl of something delicious takes it to the next level. Among the many options, a rich, gooey salted caramel swirl stands out, offering a delightful contrast in texture and flavor to creamy ice cream. Mastering the technique for incorporating this swirl is key to achieving that beautiful, enticing marbleized effect that looks as good as it tastes. Whether you're aiming for a simple vanilla base or something more adventurous, a perfect marbleized ice cream recipe featuring salted caramel is a crowd-pleaser.
This guide will walk you through the essential steps and clever tips to ensure your salted caramel swirl remains distinct, flavorful, and beautifully integrated throughout your homemade ice cream. We'll cover everything from making the caramel itself to swirling techniques and troubleshooting common issues. Get ready to transform your kitchen into an ice cream parlor and delight in the sweet and salty magic of a perfect marbleized ice cream.
Understanding Marbleized Ice Cream: What Makes it Special?
Marbleized ice cream isn't just about mixing flavors; it's about creating a visual and textural symphony. The swirling of one element, like a sauce or another ice cream flavor, into a base results in captivating patterns and pockets of concentrated taste. This technique prevents the flavors from fully blending, allowing you to experience both the base ice cream and the swirl distinctly in each bite, creating a more dynamic and interesting dessert.
The beauty of a perfect marbleized ice cream lies in its unpredictability. No two scoops are exactly alike, offering little surprises of flavor and texture. This visual appeal, combined with the delightful contrast of creamy ice cream and a luscious swirl, makes marbleized varieties incredibly popular. Achieving this effect consistently requires understanding how different components interact, especially when working with something like a rich salted caramel sauce.
Defining Marbleized Ice Cream: A Visual and Flavorful Delight
Marbleized ice cream is characterized by its distinct swirls or ribbons of one component layered within another, typically a creamy ice cream base. The goal is to create visible streaks and pockets rather than a homogenous mixture. This visual pattern, reminiscent of marble stone, gives the technique its name.
Beyond the aesthetics, the swirling technique serves a crucial purpose in flavor delivery. Instead of simply mixing the flavors together, which might result in a less exciting, blended taste, marbleizing keeps the elements separate but integrated. Imagine a scoop of vanilla ice cream with bold ribbons of salted caramel – you get the cool, sweet creaminess followed by intense bursts of salty-sweet caramel.
This interplay of textures and concentrated flavors provides a more complex and satisfying eating experience compared to ice cream where the caramel is simply mixed in evenly. The success of a perfect marbleized ice cream recipe often hinges on achieving this beautiful separation and distribution.
Why Salted Caramel Swirls Enhance Ice Cream Texture and Taste
Salted caramel is an exceptional choice for marbleizing ice cream due to its unique properties. Its rich, deep flavor profile, balancing sweetness with a hint of salt, provides a sophisticated contrast to the often simpler taste of the ice cream base. This sweet-and-salty combination is intensely craveable and adds depth that a plain sugar swirl wouldn't achieve.
Furthermore, a well-made salted caramel sauce offers a textural contrast that elevates the ice cream. While the ice cream is smooth and creamy, the caramel swirl, if prepared correctly, can be slightly chewy or gooey when cold, adding a delightful dimension to each bite. A successful salted caramel swirl for a perfect marbleized ice cream recipe should remain pliable at freezing temperatures, avoiding becoming rock hard or brittle. This balance of flavor, texture, and visual appeal makes salted caramel a top-tier choice for homemade marbleized ice cream.
Achieving the Perfect Salted Caramel Swirl: Essential Techniques
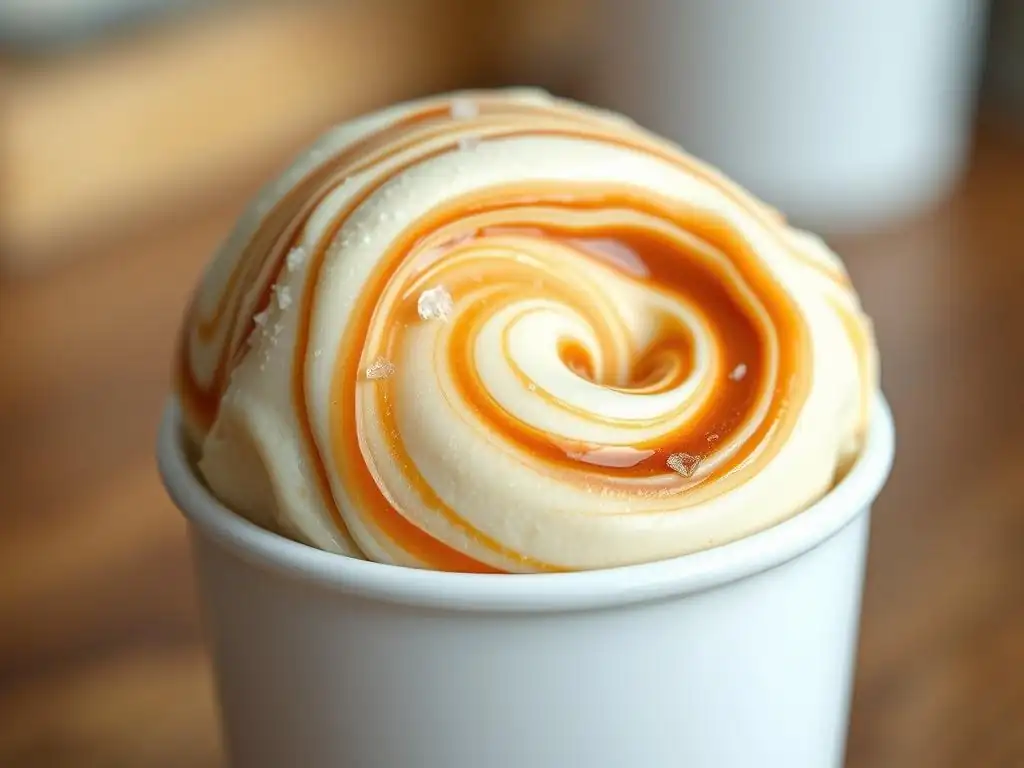
Creating a flawless salted caramel swirl requires attention to detail, from making the caramel itself to incorporating it into the ice cream base. Each step influences the final outcome, affecting both the visual appeal and the texture of the frozen swirl. Mastering these techniques is fundamental to crafting a truly perfect marbleized ice cream.
The process involves careful temperature management and gentle handling. Rushing or using incorrect methods can lead to a swirl that disappears, freezes too hard, or sinks to the bottom. By focusing on the nuances of caramel making and the specific methods for swirling into a cold base, you can consistently produce beautiful, delicious results that showcase the rich salted caramel in all its glory.
Homemade Salted Caramel for Ice Cream: A Step-by-Step Guide
Making your own salted caramel gives you control over the flavor intensity, sweetness, and consistency, which are all critical for a perfect marbleized ice cream. The basic process involves caramelizing sugar, adding butter and cream, and finishing with salt. The key is to achieve a smooth, rich sauce that flows but isn't too thin, and that tastes deeply caramelized without being burnt.
A standard recipe might start with about 1 cup (200g) of granulated sugar, melted carefully in a saucepan until it turns an amber color. Then, around 6 tablespoons (85g) of unsalted butter are whisked in, followed by about 1/2 cup (120ml) of heavy cream, heated slightly. Finally, about 1 teaspoon (5g) of sea salt is added. The exact proportions and cooking times will affect the final consistency and flavor, making experimentation a delightful part of finding your ideal salted caramel for a perfect marbleized ice cream recipe.
Choosing the Right Sugar and Salt for Your Salted Caramel Recipe
The type of sugar you use impacts the flavor and ease of caramelization. Granulated white sugar is the most common choice as it caramelizes cleanly and predictably. However, you can experiment with sugars like cane sugar for a slightly different flavor profile. Avoid using powdered sugar or brown sugar as they contain additives or molasses that can make caramelization more difficult or result in a different texture.
For the salt, the type makes a significant difference in a salted caramel. Fine sea salt or kosher salt are excellent choices because they dissolve easily and distribute evenly, providing a clean salty flavor. Flaky sea salt, like Maldon, can be used for finishing or stirred in at the very end for little pockets of intense saltiness, adding another layer of texture and flavor complexity to your perfect marbleized ice cream swirl. Avoid iodized table salt, which can sometimes impart a slightly metallic taste.
Perfecting the Salted Caramel Consistency: Avoiding Burning and Crystallization
Achieving the ideal consistency for your salted caramel swirl is crucial. It needs to be thick enough to hold its shape when swirled but not so thick that it becomes hard or brittle when frozen. The key is the cooking time after adding the cream. Simmering the sauce for a few minutes allows it to thicken slightly as moisture evaporates. A common target temperature range is between 220°F and 230°F (104°C and 110°C) for a sauce that remains soft when frozen.
Preventing burning and crystallization are the main challenges. To avoid burning, use a heavy-bottomed saucepan and watch the sugar constantly once it starts to melt. Caramelization happens quickly! To prevent crystallization, avoid stirring the sugar until it has mostly melted and begun to color. If crystals do form, sometimes adding a tablespoon or two of water and swirling gently can help dissolve them, but prevention is easier. Cooling the caramel completely before swirling is also vital for a perfect marbleized ice cream.
Creating the Swirl: Methods for Marbleizing Ice Cream
Once your ice cream base is churned to a soft-serve consistency and your salted caramel sauce is cooled, it's time to create the magic. There are several methods for incorporating the swirl, each resulting in a slightly different pattern. The goal is to distribute the caramel throughout the ice cream without fully mixing it in.
The amount of caramel you use is a matter of preference, but a good starting point is about 1/2 cup to 1 cup (120ml to 240ml) of sauce per quart (liter) of ice cream base. Using too little might result in barely visible swirls, while too much can overwhelm the ice cream and make it difficult to freeze properly. Experimentation is key to finding the right balance for your perfect marbleized ice cream recipe.
The Layering Technique: Gentle Swirls for a Classic Look
The layering technique is perhaps the simplest and most popular method for achieving a beautiful, classic marble pattern. As you transfer the churned ice cream from the machine into its storage container, alternate layers of ice cream and cooled salted caramel sauce.
Start with a layer of ice cream at the bottom of the container, then drizzle or spoon some caramel over it. Add another layer of ice cream, then more caramel, repeating until the container is full. Once all the ice cream and caramel are in the container, use a knife or a spoon handle to gently swirl through the layers a few times. Don't over-swirl! Just a few passes are enough to create distinct ribbons. This method works wonderfully for achieving visible, broad swirls in your perfect marbleized ice cream.
The Drizzle and Fold Method: Creating Intricate Patterns
For more intricate and varied patterns, the drizzle and fold method is effective. Transfer about a third of your churned ice cream into the storage container. Drizzle a third of the cooled salted caramel sauce over the surface in a random pattern.
Using a spatula, gently fold the ice cream over the caramel just one or two times – again, avoid overmixing. Add the next third of the ice cream, drizzle with the next third of the caramel, and repeat the gentle fold. Finish with the last third of ice cream and caramel, folding one last time. This method creates smaller pockets and more dispersed swirls throughout the perfect marbleized ice cream.
Tips for a Flawless Marbleized Effect
Achieving a truly flawless marbleized ice cream with a distinct salted caramel swirl goes beyond just making great caramel and swirling it in. Several factors, particularly temperature and consistency, play crucial roles in ensuring the swirl remains visible and maintains a pleasant texture once frozen. Paying attention to these details can elevate your homemade ice cream from good to absolutely spectacular.
Consider the interaction between the cold ice cream and the slightly warmer, but still cool, caramel. The goal is for the caramel to integrate smoothly without melting the ice cream or becoming too difficult to swirl. Proper temperature management is perhaps the most critical tip for success.
Temperature Control: Keeping the Salted Caramel and Ice Cream at the Ideal Stage
Temperature is paramount when creating a perfect marbleized ice cream swirl. The churned ice cream should be at a soft-serve consistency – firm enough to hold its shape somewhat but still pliable. If it's too soft, the caramel might just sink or blend in completely. If it's too hard, swirling becomes difficult, and you risk creating icy patches.
The salted caramel sauce must be completely cooled, ideally to room temperature or slightly cooler, but still pourable. Warm caramel will melt the ice cream it touches, leading to a muddy, indistinct swirl. Conversely, if the caramel is too cold and thick, it will be hard to distribute and may break into chunks when swirled. Aim for a temperature where the caramel flows easily but isn't warm to the touch, typically between 68°F and 75°F (20°C and 24°C). This temperature balance ensures smooth integration for a perfect marbleized ice cream.
Preventing Salted Caramel from Sinking: Density and Viscosity Considerations
A common issue when adding swirls is the sauce sinking to the bottom of the container. This is often due to the caramel being too thin (low viscosity) or significantly denser than the ice cream base. A perfect marbleized ice cream needs a swirl that stays distributed.
To combat sinking, ensure your salted caramel sauce is cooked to the correct consistency, as discussed earlier – thick enough to coat a spoon but still pourable when cool. If your sauce seems too thin after cooling, you can gently reheat it and simmer for an additional minute or two to reduce it further.
Also, incorporating the swirl when the ice cream is at the soft-serve stage helps, as the semi-frozen base provides more structure to hold the caramel in place compared to a liquid base. The gentle swirling methods described also help distribute the caramel throughout the perfect marbleized ice cream without letting it all pool at the bottom.
Choosing the Right Ice Cream Base for Salted Caramel Swirls
While salted caramel pairs well with many flavors, the base ice cream plays a significant role in the overall taste and how the perfect marbleized ice cream recipe comes together. The richness and flavor profile of the base should complement the intense sweet and salty notes of the caramel.
Generally, a base that isn't overly complex in flavor allows the salted caramel swirl to shine. Rich, full-fat bases tend to work best as they provide a creamy backdrop and freeze with a smoother texture, contrasting nicely with the caramel's chewiness. Lighter bases might freeze harder, making the texture difference between the ice cream and caramel less pleasant.
Vanilla Ice Cream: A Classic Pairing for Salted Caramel
Vanilla ice cream is arguably the most classic and popular choice for a salted caramel swirl. Its simple, sweet, and aromatic flavor provides a perfect canvas that highlights the complex notes of the caramel. A high-quality vanilla base, perhaps made with real vanilla beans or extract, offers enough character to stand on its own while still allowing the caramel to be the star.
The creamy texture of vanilla ice cream also complements the gooey nature of the salted caramel beautifully. This combination results in a timeless and universally loved dessert. When aiming for a perfect marbleized ice cream recipe, starting with a reliable vanilla base is a fantastic way to ensure success and showcase the power of the salted caramel swirl.
Chocolate Ice Cream: A Rich Complement to Salted Caramel
For those who love the combination of chocolate and caramel, pairing a salted caramel swirl with chocolate ice cream is a decadent choice. The bitterness of the chocolate provides a sophisticated counterpoint to the intense sweetness and saltiness of the caramel.
A rich, dark chocolate base often works best, as its strong flavor can stand up to the assertive caramel. The combination creates layers of flavor – the initial cool chocolate gives way to pockets of warm, salty caramel notes. This pairing proves that a perfect marbleized ice cream doesn't have to be limited to classic combinations; exploring complementary flavors can lead to exciting results.
Troubleshooting Common Salted Caramel Swirl Issues
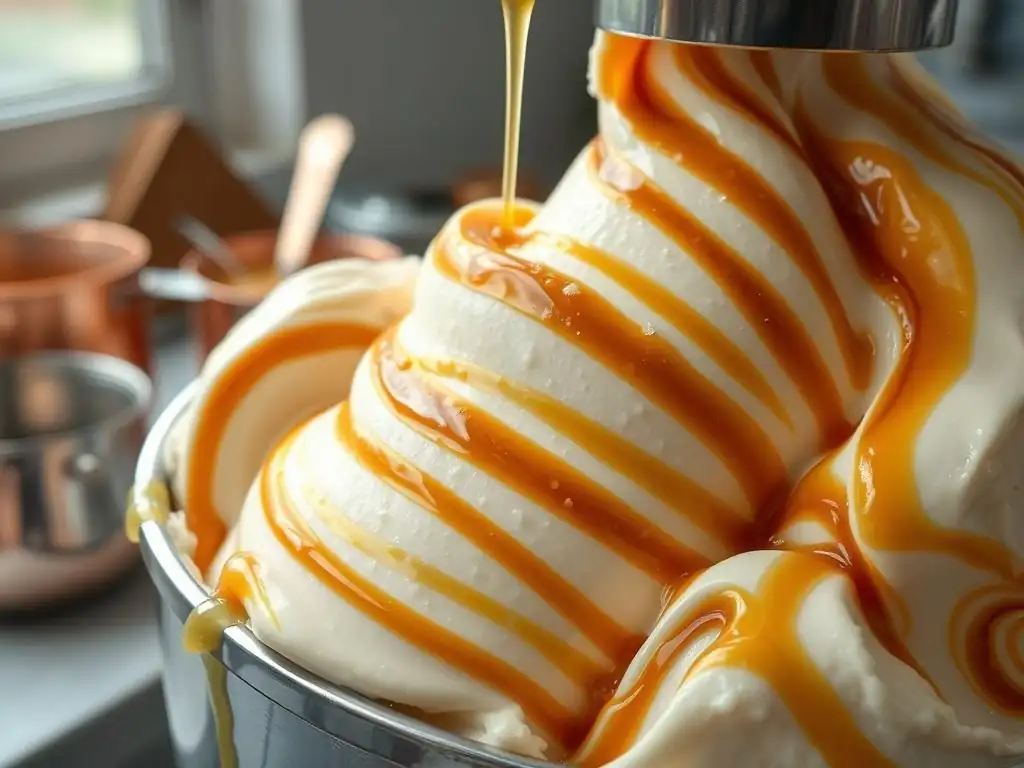
Even with the best techniques, sometimes things don't go exactly as planned when making a perfect marbleized ice cream with a salted caramel swirl. Common issues include the caramel freezing too hard, the swirls disappearing, or ice crystals forming in the ice cream. Understanding why these problems occur can help you prevent them or fix them in future batches.
Don't be discouraged if your first attempt isn't perfect. Baking and ice cream making often involve a bit of trial and error. By identifying the likely cause of the issue, you can adjust your recipe or technique for next time and get closer to that perfect marbleized ice cream result.
Salted Caramel Freezing Solid: Preventing Hard Caramel Chunks
One of the most frustrating issues is when the salted caramel swirl freezes into hard, brittle chunks instead of remaining soft and gooey. This usually happens because the caramel was cooked to too high a temperature, resulting in a very firm candy-like consistency when cooled and frozen. Caramel becomes harder the higher its final cooking temperature.
To prevent this, ensure you cook your salted caramel sauce only until it reaches the desired thickness when cooled, not when hot. Aiming for a temperature range of 220°F to 230°F (104°C to 110°C) after adding the cream and simmering is usually sufficient.
If you don't have a thermometer, test the consistency by dropping a small amount onto a cold plate – it should thicken significantly but remain soft and pliable. Adding a tablespoon of corn syrup during the sugar caramelization phase can also help prevent the caramel from becoming too hard or crystallizing, aiding in a perfect marbleized ice cream texture.
Swirls Disappearing: Maintaining Visibility and Definition
If your beautiful salted caramel swirls vanish into the ice cream, leaving a uniformly colored (and perhaps slightly off-colored) mixture, it's usually due to overmixing or the caramel being too warm or too thin when swirled. A perfect marbleized ice cream relies on distinct ribbons.
As mentioned earlier, gentle handling is key. Use the layering or drizzle and fold method, and perform only a few passes with your knife or spatula – just enough to create swirls, not fully combine the ingredients. Ensure the caramel is completely cooled to room temperature before adding it to the churned ice cream. If the caramel is too thin, it might simply blend in too easily; in that case, cook it slightly longer next time to achieve a thicker consistency.
Ice Crystals Forming: Ensuring a Smooth and Creamy Texture
While not directly a swirl issue, ice crystals can negatively impact the overall texture of your perfect marbleized ice cream, making the contrast with the smooth caramel less appealing. Ice crystals form when water molecules in the ice cream base freeze and clump together, often due to slow freezing or temperature fluctuations during storage.
To minimize ice crystals, ensure your ice cream maker's bowl is thoroughly frozen (usually requires 12-24 hours in a freezer). Churn the base until it reaches a firm soft-serve consistency relatively quickly. Transfer the churned ice cream and swirl in the cooled caramel as quickly as possible, then move the container to the coldest part of your freezer immediately for final hardening. Storing the ice cream in an airtight container also helps prevent freezer burn and ice crystal growth, preserving the smooth texture alongside your perfect marbleized ice cream swirls.
Flavor Variations and Creative Salted Caramel Swirl Ideas
While classic salted caramel is fantastic, the technique of creating a perfect marbleized ice cream with a swirl opens the door to exciting flavor variations. By slightly altering the caramel recipe or adding complementary ingredients, you can create unique and delicious frozen treats.
These variations not only change the taste but can also add different aromas and even subtle textural elements. Experimenting with these ideas allows you to personalize your perfect marbleized ice cream recipe and discover new favorite combinations.
Coffee Salted Caramel Swirl: Adding a Bitter Note
Introducing coffee to your salted caramel swirl adds a wonderful layer of complexity. The slight bitterness of coffee balances the sweetness of the caramel and the saltiness, creating a sophisticated flavor profile. This pairs exceptionally well with both vanilla and chocolate ice cream bases.
To create a coffee salted caramel, simply dissolve 1-2 teaspoons of instant espresso powder or very strong coffee granules into the warm cream before adding it to the caramelized sugar and butter mixture. The amount can be adjusted to your preference for a subtle hint or a more pronounced coffee flavor in your perfect marbleized ice cream.
Maple Salted Caramel Swirl: A Sweet and Earthy Twist
Maple syrup offers a unique earthy sweetness that complements caramel beautifully. Substituting some or all of the granulated sugar with maple syrup, or simply adding a few tablespoons of high-quality maple syrup to your finished salted caramel sauce, can transform the flavor profile.
Be aware that cooking with maple syrup requires slightly different techniques than pure sugar, as it contains water and other compounds. A simpler approach for a maple salted caramel swirl is to make your standard caramel, and once it's finished and slightly cooled, whisk in 2-4 tablespoons of pure maple syrup. Taste and adjust the salt as needed. This variation adds a cozy, autumnal feel to your perfect marbleized ice cream.
Pecan Salted Caramel Swirl: Nutty and Decadent
Adding nuts to the salted caramel swirl provides both flavor and a delightful textural crunch. Toasted pecans are a classic pairing with caramel. Chop them finely or leave them slightly larger for more noticeable pieces.
Stir about 1/4 to 1/2 cup of toasted, chopped pecans into your finished and cooled salted caramel sauce just before swirling it into the ice cream. The nuts will be suspended in the caramel, adding a nutty depth and a pleasant chewiness or crunch that contrasts wonderfully with the smooth ice cream base and the gooey caramel swirl in your perfect marbleized ice cream.
Serving and Storing Your Marbleized Ice Cream
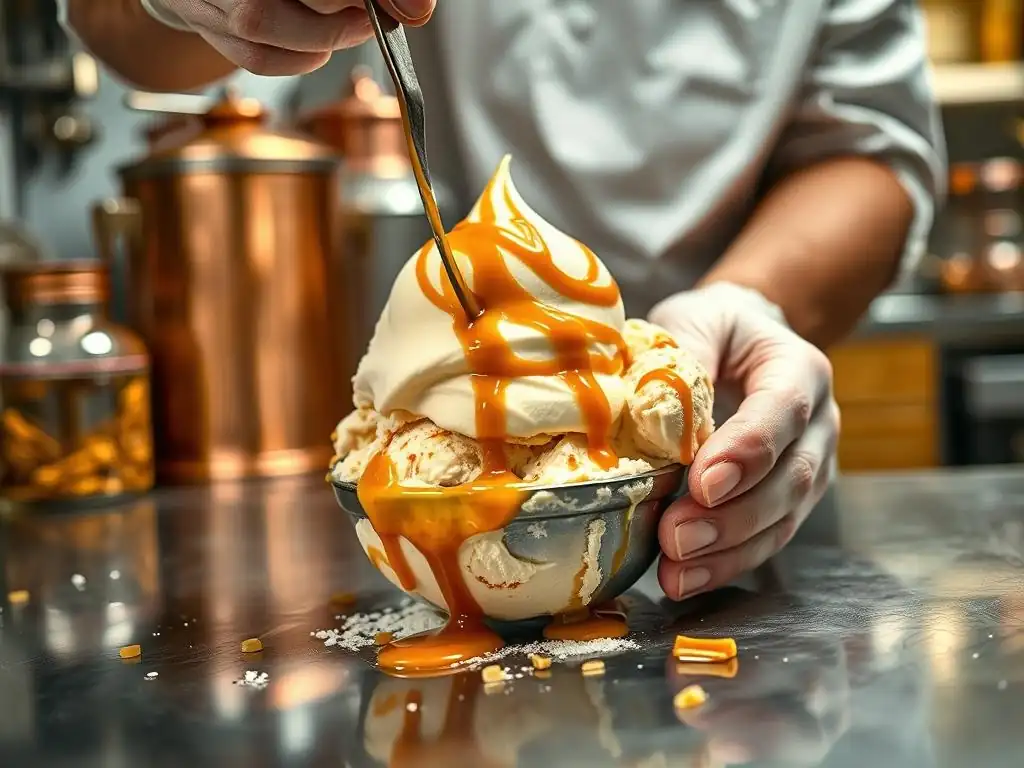
Once your perfect marbleized ice cream with its distinct salted caramel swirl is frozen and hardened, the final steps involve serving and proper storage to maintain its quality and the integrity of the swirl. A beautifully swirled ice cream deserves to be presented well and enjoyed at its best.
Proper handling after freezing ensures that the texture remains smooth and the swirls stay visible until the last scoop. These simple tips help preserve your hard work and the delicious outcome of your perfect marbleized ice cream recipe.
Best Practices for Scooping and Serving
Scooping perfectly frozen ice cream can sometimes be a challenge, especially with swirls that might offer slight resistance. For the easiest scooping, let your hardened marbleized ice cream sit at room temperature for 5-10 minutes before attempting to scoop. This allows it to soften slightly, making it easier to get smooth, round scoops that showcase the swirls.
Use a sturdy ice cream scoop, preferably one that can be dipped in warm water between scoops. This helps the ice cream release cleanly and reduces sticking. Present the scoops in bowls or cones, ensuring the beautiful salted caramel swirls are visible. Serving immediately after scooping is best to enjoy the ideal texture contrast between the creamy ice cream and the pliable caramel swirl in your perfect marbleized ice cream.
Proper Storage to Maintain Swirl Integrity
To keep your perfect marbleized ice cream with salted caramel swirls fresh and free from ice crystals, proper storage is essential. Always store homemade ice cream in an airtight container. This minimizes exposure to air, which can lead to freezer burn and the formation of large ice crystals that degrade the texture.
Press a piece of parchment paper or plastic wrap directly onto the surface of the ice cream before putting the lid on the container. This creates an extra barrier against air. Store the container in the coldest part of your freezer, usually towards the back, away from the door where temperatures fluctuate most. When retrieving the ice cream, try to do so quickly to prevent the entire container from warming up significantly, which can contribute to texture issues upon re-freezing. Following these steps helps preserve the beauty and deliciousness of your perfect marbleized ice cream.
Conclusion: Mastering the Art of Salted Caramel Marbleized Ice Cream
Creating a perfect marbleized ice cream with a luscious salted caramel swirl is a rewarding project that combines precision with creativity. From crafting the ideal soft caramel sauce to employing gentle swirling techniques and managing temperatures, each step contributes to the final beautiful and delicious result. The sweet-and-salty contrast of the caramel, its gooey texture, and the visual appeal of the marble pattern elevate simple ice cream into a gourmet treat.
By understanding the science behind preventing hard caramel and disappearing swirls, and by practicing the layering and folding methods, you can consistently achieve stunning homemade ice cream. Whether you stick to the classic vanilla pairing or explore variations like coffee or pecan, the principles remain the same for a truly perfect marbleized ice cream recipe. With a little practice and attention to these tips, you'll be well on your way to mastering this delightful frozen dessert. Enjoy the process, and savor every spoonful of your homemade masterpiece!
Frequently Asked Questions
What makes a marbleized ice cream different from regular ice cream?
Marbleized ice cream features a visually appealing swirl of different flavors, often achieved by layering and gently swirling ingredients together. Unlike regular ice cream which is uniformly mixed, marbleized ice cream offers distinct pockets of flavor and a contrasting appearance.
Why is caramel swirl a good choice for marbleizing ice cream?
Caramel swirl provides a rich, sweet, and visually striking contrast when marbleized with vanilla or other lighter-colored ice cream bases. Its thick consistency also helps maintain the marbleized effect and prevents it from completely mixing with the base.
What's the best way to prevent the caramel swirl from sinking to the bottom of the ice cream?
To prevent sinking, ensure the caramel swirl is cooled to room temperature before layering it into the ice cream base. Avoid over-swirling, as this can cause the swirl to become diluted and more prone to sinking.
Can I use store-bought caramel sauce for marbleizing, or should I make my own?
While store-bought caramel sauce can work, homemade caramel sauce often provides a superior flavor and texture. If using store-bought, choose a high-quality, thick caramel sauce for the best results.
What other flavors pair well with caramel in a marbleized ice cream?
Besides vanilla, flavors like chocolate, sea salt, coffee, and brown butter pair exceptionally well with caramel in marbleized ice cream. Experimenting with these combinations can lead to unique and delicious flavor profiles.
Final Reflection: The Art and Science of the Perfect Marble
The pursuit of the perfect marbleized ice cream isn't just about aesthetics; it's a testament to the power of precision and creativity in the kitchen. Achieving that beautiful, swirling blend of colors and flavors requires a delicate balance of technique and understanding, a balance this article has explored through various tips and tricks. This isn't simply about following a recipe; it's about mastering a process that elevates a simple dessert into a work of art.
The journey to mastering the perfect swirl has been a fascinating exploration of texture, temperature, and timing. It's a process that mirrors life itself – requiring patience, attention to detail, and a willingness to experiment. The best things in life are worth waiting for,
and this couldn't be truer when crafting the perfect marbleized ice cream. The subtle variations in each swirl, the unexpected beauty of the final product – these are the rewards of dedication and a playful approach to culinary creation.
Now, it's your turn. Don't be afraid to experiment with different flavor combinations, to adjust the techniques to your own style, and to embrace the imperfections that often add to the unique charm of homemade ice cream. The next time you reach for your ice cream maker, remember the joy of the process, the satisfaction of creation, and the delicious reward that awaits. Go forth and create your own masterpiece – your own perfect marbleized ice cream.
Unleash Your Inner Ice Cream Artisan!
Thanks for joining us on this delicious journey into the world of perfectly marbled caramel swirl ice cream! You’ve learned some amazing techniques, and now it's time to put your newfound skills to the test.
Here's what you can do next:
- Master the Swirl: Practice your swirling techniques with your favorite ice cream base and flavor combinations. Don't be afraid to experiment! Try a surprising flavor combo, like lavender honey and salted caramel!
- Share Your Creations: Show off your beautiful ice cream masterpieces on social media! Use #BakeWithEaseCaramelSwirl to connect with other ice cream enthusiasts.
- Dive Deeper: Explore more ice cream recipes and techniques on BakeWithEase.com – we've got plenty more where that came from!
Ready to create your own stunning caramel swirl masterpiece? What unique flavor combination will you try first?