
Decorating Turntable Techniques for Flawless Frosting Finishes

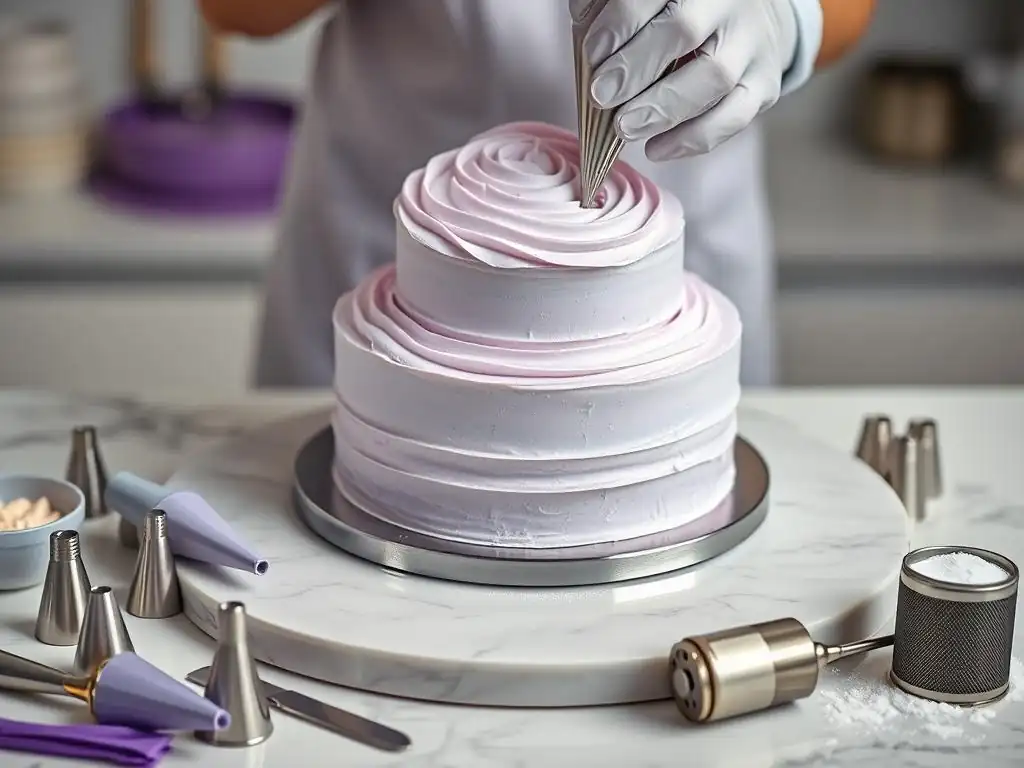
Welcome to BakeWithEase, where turning baking dreams into delicious realities is our specialty! Ever wondered how professional bakers achieve those flawlessly smooth, effortlessly elegant frosted cakes? This article unveils the secrets to easy turntable frosting techniques – even if you're a complete beginner. Get ready to transform your cake decorating game and achieve picture-perfect results with these simple, yet incredibly effective methods. Curious to see how a simple spin can revolutionize your frosting? Let's get started!
- Introduction to Turntable Frosting: Achieving Professional Cake Finishes with Ease
- Mastering the Basics: Preparing Your Cake and Frosting for the Turntable
- Easy Turntable Frosting Techniques: Step-by-Step Guide for Beginners
- Advanced Turntable Techniques for Stunning Cake Designs
- Troubleshooting Common Turntable Frosting Problems
- Cleaning and Maintaining Your Turntable for Long-Lasting Use
- Elevate Your Cake Decorating with Easy Turntable Techniques: Final Tips
-
Frequently Asked Questions
- What is a decorating turntable and why is it helpful for frosting cakes?
- What are some easy turntable frosting techniques for beginners?
- What kind of frosting works best with turntable techniques?
- How do I prevent my cake from sliding off the turntable while frosting?
- What are some common mistakes to avoid when using a turntable for frosting?
- Final Reflection: Mastering the Art of Effortless Frosting
- Level Up Your Frosting Game: Master the Turntable Technique!
Introduction to Turntable Frosting: Achieving Professional Cake Finishes with Ease
Baking a delicious cake is a rewarding experience, but often the true artistry comes in the decorating phase, particularly when applying frosting. Achieving that perfectly smooth, professional-looking finish can seem daunting, but with the right tools and techniques, it's well within reach for any home baker. One of the most transformative pieces of equipment for this task is the cake decorating turntable. It elevates your ability to apply frosting evenly and smoothly, making the process significantly simpler and more efficient, especially when mastering easy turntable frosting techniques.
Using a decorating turntable fundamentally changes how you interact with the cake during frosting. Instead of awkwardly moving around a stationary cake or constantly picking it up, the turntable allows you to rotate the cake smoothly while you hold your frosting tools steady. This simple motion enables far greater precision and control, leading to a much more consistent and polished result compared to frosting a cake on a flat surface. It's the secret weapon for achieving bakery-quality finishes right in your own kitchen.
Why Use a Turntable for Cake Decorating? The Benefits Explained
A decorating turntable offers several key advantages that make the frosting process much easier and the results dramatically better. Firstly, it provides unparalleled stability and ease of rotation. As you apply frosting with a spatula or scraper, you can turn the cake with one hand, allowing you to maintain a consistent angle and pressure against the surface. This smooth, continuous motion is essential for achieving even coverage and a smooth finish without stop-and-start marks. Many users find this method can reduce the time spent on smoothing sides by as much as 50% once they get the hang of it.
Beyond just smoothing, a turntable significantly improves posture and accessibility. Instead of bending over or reaching awkwardly across the cake, you can stand or sit comfortably while the cake rotates at a convenient height and distance. This ergonomic benefit not only makes decorating less tiring but also allows for more precise work over longer periods. Furthermore, the ability to spin the cake quickly is invaluable for techniques like creating textured swirls or applying an even crumb coat rapidly, showcasing just how essential easy turntable frosting techniques are for efficient decorating.
Essential Tools Beyond the Turntable: Spatulas, Scrapers, and More
While the turntable is central to these techniques, it works in concert with a few other essential tools to create those flawless finishes. An offset spatula is perhaps the most crucial partner. These spatulas, available in various sizes (like 6-inch or 8-inch blades), have an angled handle that keeps your hand elevated above the cake surface, allowing you to spread and smooth frosting without accidentally touching or dragging your knuckles through it. You'll likely need both a smaller one for detail work and a larger one for covering large surfaces.
Another indispensable tool is a bench scraper or cake scraper. These flat, rigid tools, often made of metal or plastic, are held vertically against the side of the cake while the turntable rotates. They are key to achieving perfectly straight, smooth sides and sharp edges.
Different scrapers might have straight edges or textured patterns. Additionally, a cake leveler or a long serrated knife is needed to ensure your cake layers are flat before stacking, providing a stable foundation for your decorating turntable techniques. A simple piping bag can also be helpful for applying frosting evenly around the cake before smoothing.
Mastering the Basics: Preparing Your Cake and Frosting for the Turntable
Before you even think about spinning that turntable, proper preparation of both your cake and your frosting is paramount. A poorly prepared cake or frosting with the wrong consistency will make even the best turntable techniques challenging to execute successfully. Taking the time for these foundational steps ensures a smoother, less frustrating decorating experience and contributes significantly to the final, polished look of your cake.
This preparation involves making sure your cake is stable and ready to be handled, and that your frosting is perfectly suited for spreading. Skipping these initial steps can lead to frustrating issues like crumbling cake layers, uneven application, or difficulty achieving smooth surfaces. Think of it as building a strong foundation – without it, the beautiful structure you intend to build on top will be compromised.
Leveling Your Cakes: Ensuring a Stable Base for Frosting
Leveling your cake layers is a critical first step for any multi-layer cake that will be decorated on a turntable. Cakes often bake with a dome in the center. If you stack layers with domes, the cake will be unstable and potentially slide or lean, making it nearly impossible to frost evenly, especially when attempting smooth finishes with your turntable. A level surface ensures each layer sits flush on top of the one below it, creating a sturdy, even column.
To level a cake, you can use a long, serrated knife or a specialized cake leveler tool. If using a knife, hold it parallel to the counter and use a gentle sawing motion to carefully slice off the dome. A cake leveler, which looks like a saw with adjustable wires, provides a consistent cutting height.
Place the cake on a flat surface, adjust the leveler to the desired height, and slide it through the cake. Aim for layers that are uniformly thick and perfectly flat on top. Chilling the cake slightly before leveling can also make the process cleaner and reduce crumbling.
Choosing the Right Frosting Consistency for Smooth Application
The consistency of your frosting is arguably as important as the turntable itself when aiming for smooth finishes. Frosting that is too stiff will be difficult to spread evenly and can tear the cake. Frosting that is too soft or runny will slide off the cake and be impossible to smooth into sharp lines or surfaces. The ideal consistency for applying with easy turntable frosting techniques is smooth, spreadable, and holds its shape without being rigid.
A good test for consistency is the "spoon test." Scoop some frosting onto a spoon; it should hold its shape but fall off easily with a gentle shake. Another test is to try spreading a small amount on a surface; it should glide smoothly without resistance but not look like it's melting.
If your frosting is too stiff, beat in a teaspoon of milk or cream at a time until it loosens up. If it's too soft, add more powdered sugar (if it's a powdered sugar-based frosting) or chill it in the refrigerator for 10-20 minutes to firm it up. Buttercream, Swiss meringue, and cream cheese frostings are popular choices that work well when the consistency is correct.
Applying a Crumb Coat: The Foundation for a Flawless Finish
The crumb coat is a thin layer of frosting applied to the entire cake before the final decorative layer. Its primary purpose is to trap any loose crumbs from the cake, preventing them from getting into your final, smooth layer of frosting. This step is non-negotiable for achieving a clean, professional finish using your decorating turntable. Skipping the crumb coat almost guarantees visible crumbs in your final frosting layer, detracting from the smooth appearance.
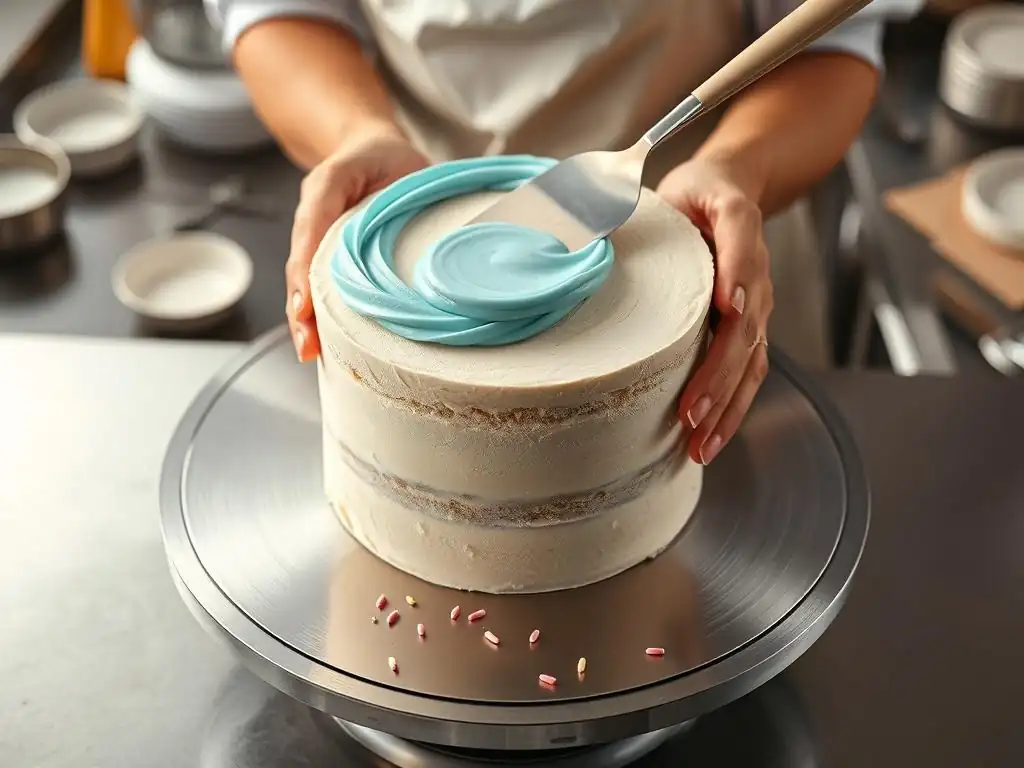
To apply a crumb coat, use an offset spatula to spread a very thin layer of frosting over the top and sides of the cake, using the turntable to rotate as you go. Don't worry about it being perfectly smooth or opaque; the goal is just to cover the cake surface and capture crumbs.
Once the cake is fully covered, chill it in the refrigerator for about 15-30 minutes, or until the crumb coat is firm to the touch. This sets the layer, locking the crumbs in place and providing a stable, smooth surface for your final, thicker layer of frosting.
Easy Turntable Frosting Techniques: Step-by-Step Guide for Beginners
Now that your cake is level, your frosting is the right consistency, and your crumb coat is chilled, you're ready to apply the final layer of frosting using your decorating turntable. These techniques are designed to be straightforward and achievable for beginners, allowing you to quickly see the benefits of using a turntable for frosting. Practice these steps on a few cakes, and you'll be amazed at how quickly you improve your ability to create smooth, even finishes.
Mastering these basic easy turntable frosting techniques is the gateway to more complex cake decorating. They build the fundamental skills of controlling frosting application and coordinating your hand movements with the rotation of the cake. Focus on consistency in pressure and angle as you work your way around the cake.
The "Rough Coat" Technique: Quickly Covering Your Cake
The first step in applying your final frosting layer is to get a generous amount of frosting onto the cake. This is sometimes called the "rough coat" or initial application. Using your offset spatula, scoop a large dollop of frosting and place it on top of the cake. Spread it roughly over the top surface, going slightly over the edge. Don't worry about it being smooth yet.
Next, apply frosting to the sides of the cake. You can do this by scooping frosting onto your spatula and spreading it directly onto the sides, or for a more even application, you can use a piping bag fitted with a large round tip (or just the end snipped off).
Pipe thick lines of frosting around the sides of the cake, starting from the bottom and working your way up, until the entire side is covered. This method ensures you have enough frosting on the sides to work with for smoothing and creating sharp edges later, making the subsequent easy turntable frosting techniques much more effective.
Achieving Smooth Sides: Mastering the Spatula and Turntable Rotation
Smoothing the sides is where the decorating turntable truly shines. With the rough coat applied, take your bench scraper (or a long, straight offset spatula). Hold the scraper vertically against the side of the cake, keeping it steady with one hand. Ensure the scraper is at a slight angle towards the cake, with the bottom edge just barely lifted off the turntable surface to avoid scraping the board.
Now, use your other hand to slowly and steadily rotate the turntable. As the cake spins, the scraper will remove excess frosting and fill in gaps, creating a smooth, even surface. Apply consistent, gentle pressure. You may need to scrape off accumulated frosting from your tool and repeat the process a few times, adding small amounts of frosting to any low spots, until the sides are perfectly smooth. This coordination of holding the scraper steady while rotating the turntable is a core easy turntable frosting technique.
Creating Sharp Edges: The Key to a Professional-Looking Cake
Once the sides are smooth, the final step for a basic smooth finish is creating sharp edges on the top of the cake. After smoothing the sides with your scraper, you'll notice a small rim of frosting standing up slightly above the top surface around the edge. This is exactly what you need to create that crisp line.
Using your offset spatula, place the tip of the spatula just outside this rim of frosting on the top surface. With the blade held almost flat against the top of the cake (at about a 45-degree angle), gently pull the excess frosting from the edge inward towards the center of the cake. Clean your spatula after each swipe. Work your way around the entire circumference of the cake, using the turntable to position the cake as needed. This action removes the excess rim and creates a clean, sharp edge where the smooth side meets the smooth top.
Advanced Turntable Techniques for Stunning Cake Designs
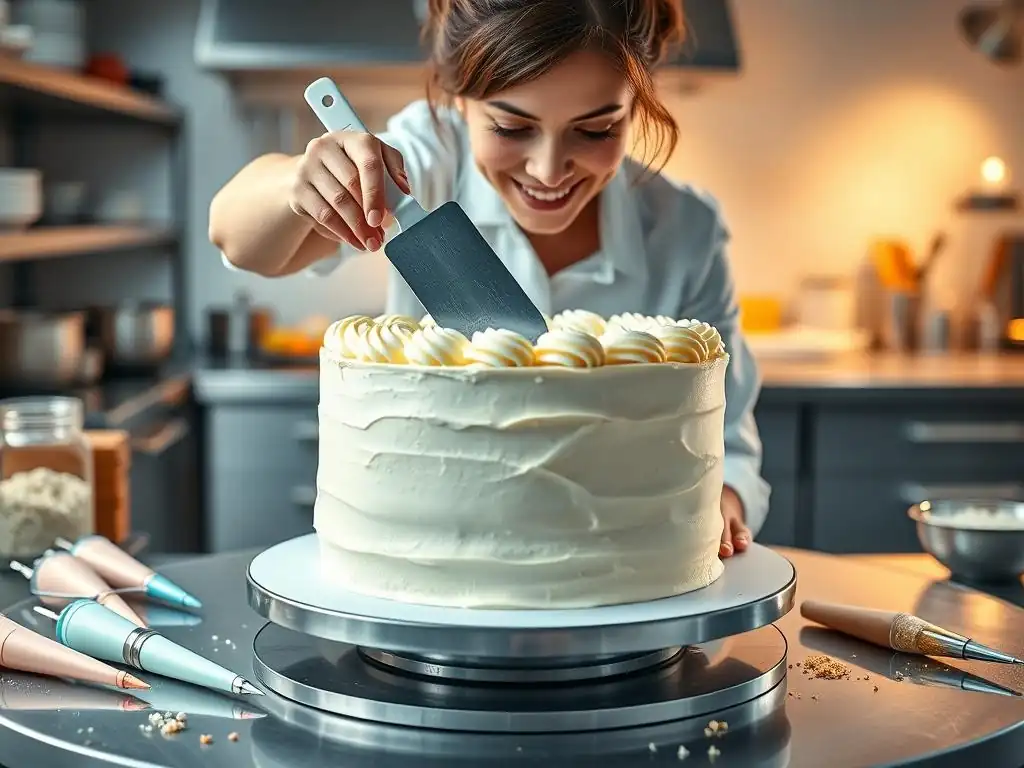
Once you're comfortable with achieving a basic smooth finish using your decorating turntable, you can explore more creative and decorative techniques. The turntable isn't just for smoothing; it's also a fantastic tool for applying textures, patterns, and color gradients quickly and evenly. These advanced easy turntable frosting techniques build upon the basic skills and allow you to add impressive visual elements to your cakes with relative ease.
These techniques demonstrate the versatility of the decorating turntable beyond simple smoothing. They involve coordinating the speed of the turntable's rotation with the movement or placement of your frosting tool to achieve specific artistic effects. Experimenting with different tools and rotation speeds will help you discover new possibilities.
The Swirl Technique: Adding Texture and Visual Appeal
A simple yet effective way to add texture to your frosting is the swirl technique, which is easily done with a turntable. After applying your rough coat of frosting, you can create swirls on the top and/or sides of the cake using an offset spatula, a spoon, or even the back of a knife.
For the top, simply place the tip of your tool into the frosting and gently drag it in a circular motion, starting from the center and spiraling outwards, while slowly rotating the turntable. For the sides, you can press the back of a spoon or spatula into the frosting and gently pull it away while rotating the turntable at a steady speed, creating overlapping curved textures. This is a very forgiving technique and a great way to cover up any minor imperfections in your smoothing!
Ombre Frosting: Blending Colors Seamlessly on the Turntable
Creating a smooth color gradient, or ombre effect, on the side of a cake is beautifully achieved with a decorating turntable and different shades of frosting. You'll need frosting colored in progressively lighter or darker shades of the same color (e.g., dark blue, medium blue, light blue, white). Apply bands of these colors around the side of the cake using a spatula or piping bag, starting with the darkest color at the bottom and the lightest at the top. Ensure the bands overlap slightly.
Once the colors are applied, take your bench scraper (or a long, straight spatula). Hold the scraper vertically against the side of the cake, just like when smoothing. Now, rotate the turntable steadily. As the scraper passes over the overlapping color bands, it will blend them together, creating a seamless gradient from one color to the next. You may need to repeat this a few times, cleaning your scraper between passes, until the blend is smooth and even. This easy turntable frosting technique yields stunning visual results.
Creating Textured Frosting Effects: Using Different Tools
Beyond simple swirls, you can create a wide variety of textures on your cake sides using the turntable and different tools. Textured cake scrapers are specifically designed for this purpose; they have patterned edges (like waves, lines, or bricks) that imprint a design onto the frosting as you rotate the cake.
Other everyday tools can also be used. A fork dragged horizontally around the cake while it spins creates simple lines. A cake comb with different sized teeth offers various striped patterns. Even a stiff brush or the edge of a small offset spatula can be used to create unique textures by holding the tool against the frosting and rotating the turntable. The key is to apply even pressure and maintain a consistent angle as the cake spins to ensure the pattern is uniform around the entire circumference.
Troubleshooting Common Turntable Frosting Problems
Even with the best tools and techniques, you might encounter a few bumps along the road when frosting cakes on a turntable. Don't get discouraged! Most common problems have simple solutions. Identifying the issue and understanding how to fix it is part of the learning process and essential for mastering easy turntable frosting techniques. Patience and a willingness to adjust are your best friends here.
Addressing these issues promptly prevents them from ruining your final finish. Often, the solution involves slightly adjusting your frosting consistency, your technique, or ensuring your cake is properly prepared.
Dealing with Air Bubbles in Your Frosting
One common frustration is finding small air bubbles appearing in your otherwise smooth frosting finish. These bubbles are typically introduced during the mixing process, especially if the frosting is beaten at too high a speed for too long. They become visible as you smooth the frosting, leaving tiny pockmarks on the surface.
To minimize air bubbles before you even start, try mixing your frosting on a lower speed for the final few minutes of beating. After mixing, you can also press the frosting against the side of the bowl with a spatula to help push out trapped air. If you notice bubbles while frosting, try warming your offset spatula slightly in hot water (then wiping it dry) before smoothing over the area.
For stubborn bubbles, you can carefully pop them with a pin and then smooth the area again. Sometimes simply letting the frosting rest for a bit before use can help the bubbles dissipate.
Fixing Uneven Frosting Application
Sometimes, despite your best efforts, you might end up with areas on the cake sides that are thinner or thicker than others, or spots where the frosting just isn't smooth. This often happens due to inconsistent pressure or angle while using the bench scraper, or simply not applying enough frosting initially.
If you notice unevenness, don't try to scrape it all off and start over immediately. Often, you can fix it by adding a little more frosting to the low or thin spots. Use your offset spatula to carefully apply a small amount of frosting to the problematic area. Then, go back with your bench scraper (held steadily against the side) and rotate the turntable again to re-smooth that section and blend it with the surrounding frosting. Repeat as needed until the side is smooth and even.
Preventing Cake Movement on the Turntable
A wobbly or sliding cake on the turntable makes achieving a smooth finish nearly impossible. Cake movement can happen if the base isn't stable or if the turntable surface is too slick.
Ensure your cake is placed on a cake board that is slightly smaller or the same size as the cake itself. This provides a flat, stable base.
To prevent the cake board from sliding on the turntable, place a non-slip mat (like a piece of shelf liner or a damp paper towel) between the turntable surface and the cake board. For extra security, you can apply a small dab of frosting to the center of the turntable before placing the cake board on top; this acts like glue to hold the board in place while you work on your easy turntable frosting techniques.
Cleaning and Maintaining Your Turntable for Long-Lasting Use
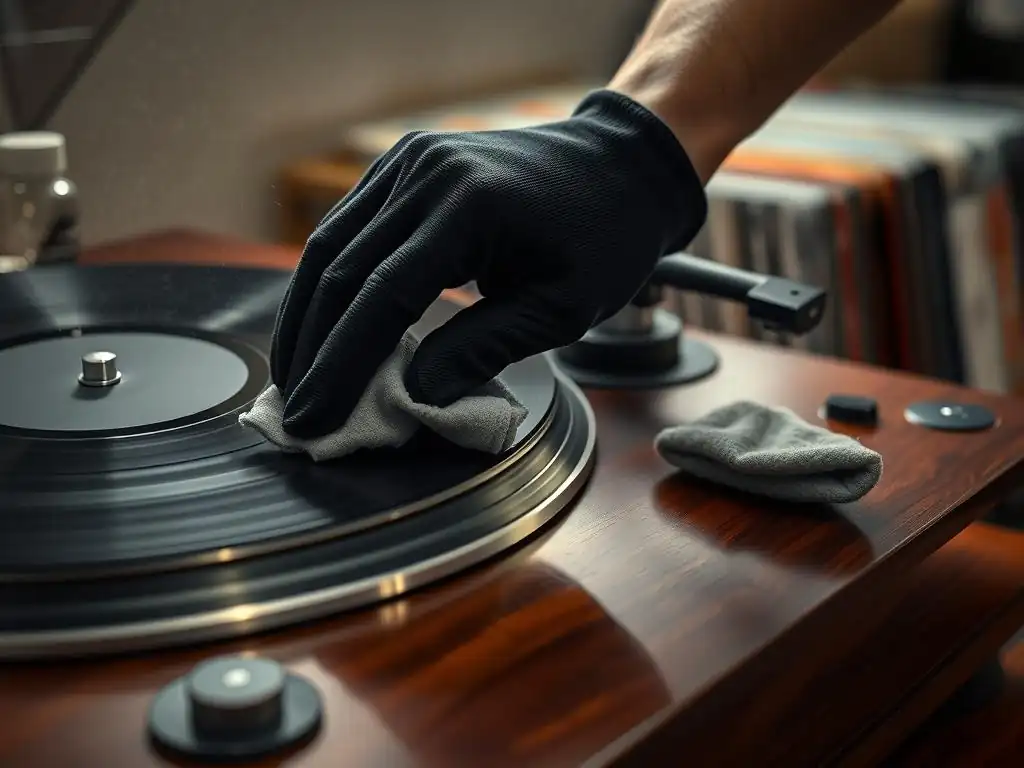
Proper care of your decorating turntable ensures it remains in good working condition for years, ready to help you achieve flawless frosting finishes on countless cakes. While turntables are generally durable, neglecting cleaning and storage can lead to issues like sticking, rust (on metal parts), or damage. A clean turntable also ensures hygiene in your baking process.
Taking a few minutes to clean and properly store your turntable after each use is a simple habit that pays off by extending the life of your equipment and keeping it performing smoothly.
Proper Cleaning Techniques for Different Turntable Materials
Decorating turntables are typically made from plastic, metal (often aluminum), or sometimes glass. The cleaning method depends slightly on the material. For most plastic turntables, warm soapy water is sufficient. Use a soft sponge or cloth to wipe down all surfaces, including the base and the rotating mechanism. Rinse thoroughly to remove all soap residue and dry completely with a towel or let it air dry before storing.
Metal turntables, often aluminum, should also be washed with warm soapy water. Avoid abrasive scrubbers that can scratch the surface. Ensure metal turntables are dried very thoroughly after washing, as aluminum can corrode or oxidize if left damp, especially around the bearings or moving parts. Some metal turntables have bearings that should not be submerged in water; check the manufacturer's instructions. Glass-topped turntables usually have a metal or plastic base; clean the glass like any other glass surface and the base according to its material.
Storing Your Turntable to Prevent Damage
How you store your turntable can impact its performance over time. The most common issue is damage to the rotating mechanism or the surface getting scratched or warped.
Store your turntable on a flat, stable surface where it won't be easily knocked over. If you have multiple turntables or other heavy equipment, avoid stacking things directly on top of the turntable's rotating surface, especially if it's plastic, as this can cause warping or stress the bearings. Keep it in a clean, dry place away from extreme temperatures. If your turntable came with a box, storing it in its original packaging can provide excellent protection. Ensuring it's clean and dry before storage is key to preventing mold or corrosion.
Elevate Your Cake Decorating with Easy Turntable Techniques: Final Tips
Mastering easy turntable frosting techniques is a journey, not a destination. Each cake you frost provides an opportunity to refine your skills and try something new. The more you use your decorating turntable, the more intuitive the process will become, and the more control you'll gain over your frosting finishes. Don't be afraid to experiment and find what works best for you and your style.
Remember that perfection isn't necessary, especially when you're just starting out. The goal is to improve and enjoy the process. These final tips are designed to encourage continued learning and exploration in your cake decorating endeavors using your trusty turntable.
Practicing Regularly for Improved Frosting Skills
Like any skill, frosting cakes smoothly with a turntable requires practice. The coordination of holding a tool steady while rotating the cake takes a little getting used to. Don't expect perfection on your first try. Commit to using your turntable every time you frost a cake.
If you want to practice without using actual cakes and frosting, you can use cake dummies (styrofoam forms) or even just practice on the outside of an overturned bowl. Use shortening or a batch of practice frosting (like buttercream made with only powdered sugar and shortening) for cost-effective practice sessions. Spend 10-15 minutes practicing smoothing sides and creating sharp edges, focusing solely on the motion and pressure. Consistent practice is the single best way to improve your easy turntable frosting techniques.
Experimenting with Different Frosting Textures and Techniques
Not all frostings behave the same way on a turntable. Buttercream, ganache, and cream cheese frosting each have unique consistencies and respond differently to smoothing and texturing tools. Don't limit yourself to just one type. Try frosting different cakes with different kinds of frosting to see how they handle.
Experiment with various easy turntable frosting techniques mentioned earlier, like swirls, textures, or ombre effects. Try using different sizes of offset spatulas or different types of scrapers. See what happens when you rotate the turntable faster or slower. Each experiment teaches you something new about the tools, the frosting, and your own technique, expanding your repertoire of decorating skills.
Resources for Further Learning: Books, Online Tutorials, and More
To continue developing your easy turntable frosting techniques, seek out additional resources. There are numerous excellent cake decorating books available that detail various frosting methods and design ideas, often with step-by-step photos.
The online world is also a treasure trove of information. Websites like BakeWithEase.com offer articles and guides (like this one!) on fundamental techniques. Video tutorials found on various platforms are particularly helpful for seeing turntable techniques in action, allowing you to visualize the hand movements and coordination required. Watching experienced decorators can provide valuable insights and inspiration for your own practice.
Frequently Asked Questions
What is a decorating turntable and why is it helpful for frosting cakes?
A decorating turntable is a rotating platform used to evenly distribute frosting around a cake. It provides smooth rotation allowing for precise and consistent frosting application, resulting in professional-looking finishes.
What are some easy turntable frosting techniques for beginners?
Beginner-friendly techniques include the crumb coat, using an offset spatula to smooth the frosting, and simple swirl designs. Focusing on consistent pressure and smooth movements is key.
What kind of frosting works best with turntable techniques?
American buttercream is a popular choice due to its easy spreadability and stable consistency. However, most frostings, including ganache and Swiss meringue buttercream, can be used effectively with proper technique.
How do I prevent my cake from sliding off the turntable while frosting?
Place a non-slip mat or a small dab of frosting between the cake board and the turntable surface. This provides necessary grip and prevents unwanted movement during decoration.
What are some common mistakes to avoid when using a turntable for frosting?
Applying too much pressure with the spatula can damage the cake or create uneven frosting. Rushing the process and not cleaning the spatula frequently can also lead to a messy finish.
Final Reflection: Mastering the Art of Effortless Frosting
The pursuit of the perfect cake finish is a timeless endeavor, and the humble turntable has revolutionized the process. No longer is flawlessly smooth frosting the exclusive domain of professional bakers; with the right techniques, anyone can achieve breathtaking results. This article has explored a range of simple yet effective methods, demonstrating that achieving professional-looking cakes is entirely within reach.
The impact of easy-to-access baking tutorials and tools like the turntable is undeniable. It's democratized cake decorating, allowing individuals to express their creativity and share their culinary achievements with pride. The joy of creating a beautiful cake, from the initial mixing to the final flourish of frosting, is a deeply satisfying experience. The best things in life are homemade,
and this sentiment rings especially true when it comes to the art of cake decorating. This accessibility fosters a sense of community, connecting bakers of all skill levels through shared passion and the pursuit of perfection.
Now, it's your turn. Take the techniques outlined in this article and experiment! Don't be afraid to try different piping tips, frosting consistencies, and decorative elements. Embrace the process, learn from your mistakes, and most importantly, have fun. The journey to mastering the art of effortless frosting is a rewarding one, filled with delicious creations and the satisfaction of transforming a simple cake into a stunning masterpiece. Let your creativity flow, and watch your cakes become works of art.
Level Up Your Frosting Game: Master the Turntable Technique!
Thanks for taking the time to explore the art of turntable frosting! We hope you've gained some valuable insights to elevate your baking skills. Ready to put your new knowledge into practice?
- Embrace the Swirl: Practice your favorite frosting techniques on a cake using your turntable, focusing on consistent pressure and smooth movements. Try experimenting with different piping tips and frosting consistencies. This is your chance to really nail that perfect finish!
- Share Your Success: Show off your beautifully frosted creations! Post pictures on social media and tag us – we’d love to see your amazing results and feature your baking prowess.
- Explore New Designs: Challenge yourself by trying a new frosting technique or decorative element. This is the best way to master all the techniques!
What unique frosting design will you create next? Let us know in the comments!