
Sprouted Rye: Adding a New Dimension to Sourdough

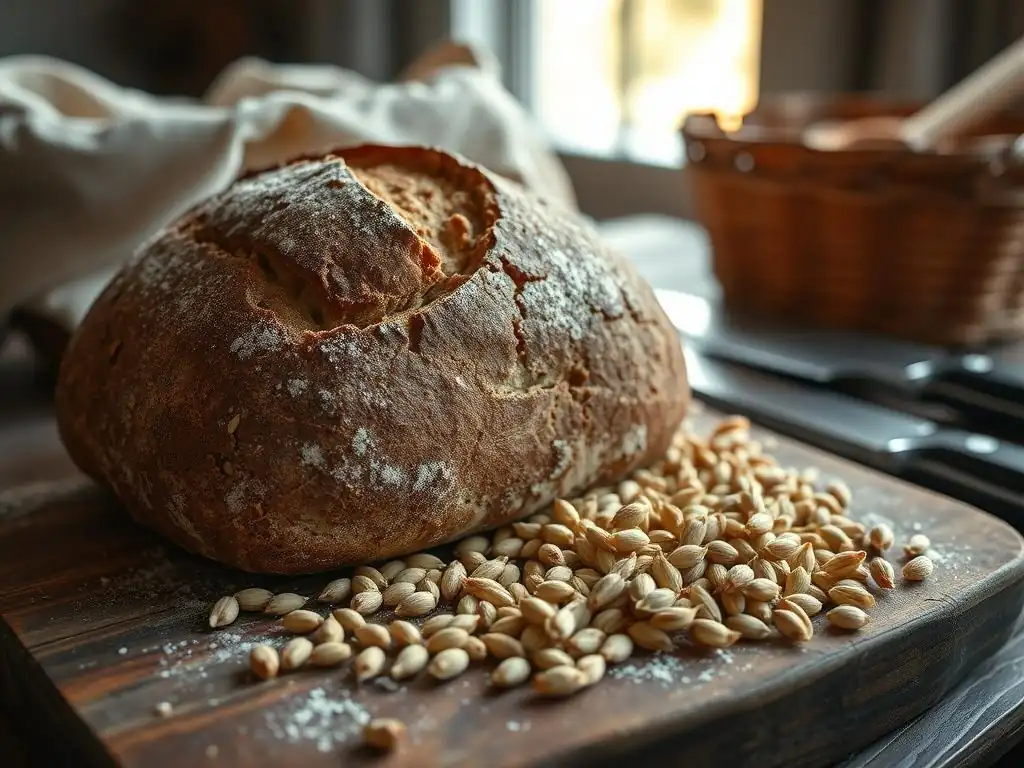
Welcome to BakeWithEase, your guide to unlocking baking brilliance!
Ever wondered how to elevate your sourdough game? This week, we're diving deep into the delightful world of sprouted rye. Discover how this ancient grain adds incredible depth of flavor and a satisfying chew to your loaves. Intrigued? Then prepare to embark on a flavorful journey with our sprouted rye sourdough recipe – a surprisingly simple way to transform your baking and impress everyone at the table. Let's get baking!
- Sprouted Rye Sourdough: A Comprehensive Guide
- Understanding Sprouted Rye and its Benefits
- Sprouted Rye Sourdough Recipe: A Detailed Guide
- Troubleshooting Common Issues
- Variations and Adaptations
- Storing and Enjoying Your Sourdough
- Why Bake with Sprouted Rye?
-
Frequently Asked Questions
- What makes sprouted rye different from regular rye in sourdough?
- Why should I use sprouted rye in my sourdough starter?
- Is a sprouted rye sourdough recipe more difficult than a regular sourdough recipe?
- Can I substitute regular rye flour for sprouted rye in a sourdough recipe?
- Where can I find sprouted rye flour?
- Final Reflection: The Transformative Power of Sprouted Rye in Sourdough
- Unleash Your Inner Rye Baker!
Sprouted Rye Sourdough: A Comprehensive Guide
Understanding Sprouted Rye and its Benefits
The Sprouting Process: From Grain to Flour
Sprouting is a natural process where grain kernels are encouraged to germinate by soaking them in water under controlled conditions. This typically involves rinsing and draining the grains over a period, often 24 to 72 hours, until a tiny sprout emerges. During this phase, the grain's internal enzymes are activated, breaking down complex starches and proteins into simpler forms. This transformation prepares the grain for growth but, when halted and dried, results in a grain with altered nutritional and flavor profiles.
Once the sprouting is complete and the grains have been gently dried, they are milled into flour. Unlike traditional whole grain flours, sprouted flours have undergone this enzymatic conversion, which can make them easier to digest for some people. The drying temperature is usually kept relatively low, often below 60°C (140°F), to preserve the beneficial enzymes and nutrients activated during germination. This careful processing is key to the unique properties of sprouted rye flour, which differs significantly from standard rye flour.
Nutritional Benefits of Sprouted Rye Flour
Sprouting rye grain can unlock a range of nutritional benefits compared to its unsprouted counterpart. The enzymatic activity during germination can increase the bioavailability of certain vitamins and minerals, such as B vitamins and iron, making them easier for the body to absorb. Furthermore, sprouting is often associated with a reduction in phytic acid, an anti-nutrient present in grain bran that can inhibit mineral absorption. While the exact percentage varies, some studies suggest a significant reduction in phytic acid, potentially by 30-50% or more depending on the grain and sprouting conditions.
In addition to improved mineral availability, sprouted rye flour may also contain higher levels of certain antioxidants and amino acids. The breakdown of starches during sprouting can also result in a slightly lower glycemic index compared to regular whole grain flour, although this can vary. Incorporating sprouted rye into your baking, particularly in a sprouted rye sourdough recipe, means adding flour that is not only flavorful but also potentially more nutrient-dense and digestible than standard whole grain rye.
Flavor Profile: Earthy Notes and Enhanced Complexity
Sprouted rye flour brings a distinct and desirable flavor profile to sourdough bread. Compared to regular rye flour, which can sometimes be intensely earthy or even slightly bitter, sprouted rye tends to offer a milder, sweeter, and more nuanced taste. The sprouting process converts some starches into sugars, contributing to this subtle sweetness and often resulting in a less aggressive, more approachable rye flavor.
When used in a sprouted rye sourdough recipe, this flour imparts deep, earthy notes that are complex but not overpowering. It pairs wonderfully with the characteristic tang of sourdough fermentation, creating a layered flavor experience. Bakers often find that sprouted rye adds a pleasant depth and aroma to their loaves, making it a favorite for those seeking to explore beyond conventional sourdough while still retaining that rustic, wholesome quality. The unique flavor contributes significantly to the overall character of the final sprouted rye sourdough loaf.
Sprouted Rye Sourdough Recipe: A Detailed Guide
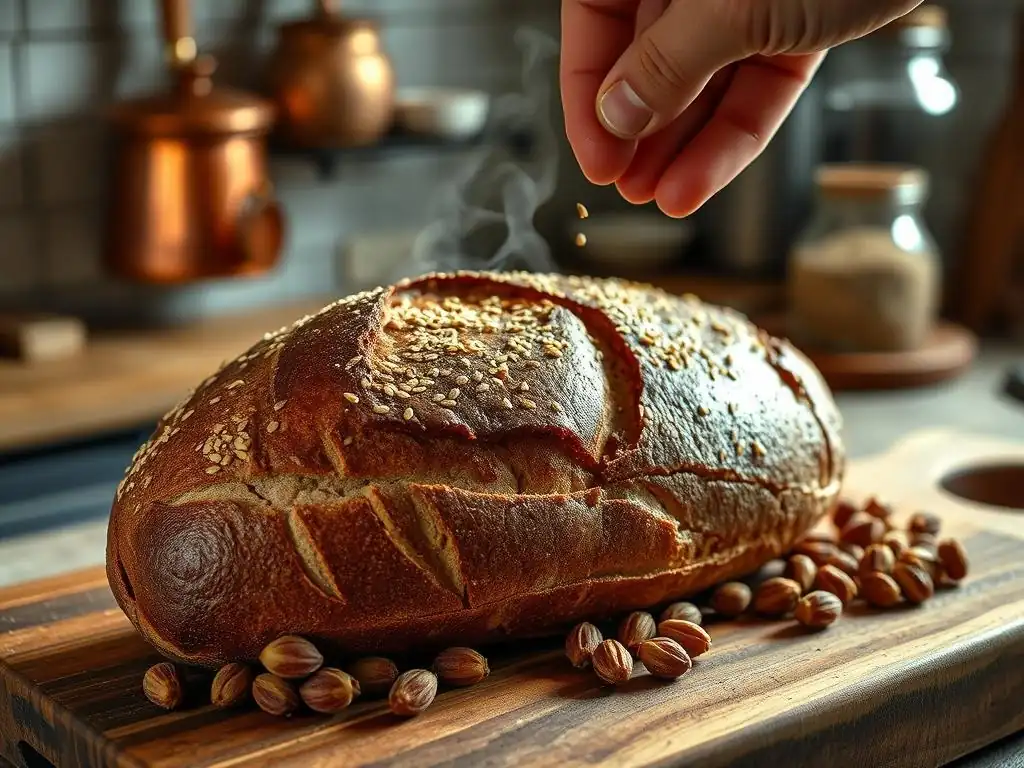
Ingredients for a Flavorful Sprouted Rye Sourdough
To create a truly delicious sprouted rye sourdough, selecting quality ingredients is paramount. The star of the show, of course, is the sprouted rye flour, but the other components play equally crucial roles in developing flavor and structure. A typical sprouted rye sourdough recipe requires a combination of flours, water, salt, and a lively sourdough starter.
For a standard loaf, you might use around 300-400 grams of strong bread flour, 100-150 grams of sprouted rye flour, 300-350 grams of water, 8-10 grams of salt, and 80-100 grams of active sourdough starter. The precise ratios, especially water (hydration), will depend on your specific flours and desired loaf consistency. Always weigh your ingredients for accuracy, as volume measurements can be imprecise, particularly for flour and water.
Sprouted Rye Flour: Finding Quality and Freshness
The quality of your sprouted rye flour significantly impacts your sprouted rye sourdough recipe. Look for flour that is freshly milled and stored properly. Reputable millers specializing in organic or heritage grains are often good sources. Sprouted flours can be more susceptible to oxidation than standard flours due to their processing, so buying from a supplier with good turnover or storage practices (like refrigeration) is beneficial.
When purchasing, check the packaging for milling dates if possible, and store the flour in an airtight container in a cool, dark place, ideally the refrigerator or freezer, especially if you don't use it frequently. Using fresh, high-quality sprouted rye flour ensures the best possible flavor and baking performance in your sprouted rye sourdough.
Sourdough Starter: Maintaining Activity and Strength
A vigorous and active sourdough starter is the backbone of any successful sourdough bake, and a sprouted rye sourdough recipe is no exception. Your starter, also known as levain or mother, is a living culture of wild yeast and bacteria. To ensure it's ready for baking, it should be fed regularly and consistently, ideally doubling or tripling in size within 4-8 hours after feeding, depending on temperature.
Before incorporating it into your dough, perform a float test: take a small dollop of starter and drop it into a glass of water. If it floats, it's generally active enough to leaven your bread. If it sinks, it may need another feeding or two to build strength. A healthy starter contributes both leavening power and complex flavor to your sprouted rye sourdough.
Other Essential Ingredients: Water, Salt
Water is critical for hydrating the flours, activating the starter, and developing the gluten network. The type of water matters; filtered water is often recommended to avoid chlorine or other chemicals that could potentially inhibit microbial activity in your starter and dough. Water temperature also plays a role, influencing the dough's temperature and thus the fermentation rate. Using warmer water (around 25-30°C or 77-86°F) can help kickstart fermentation, especially in cooler environments.
Salt is more than just a flavor enhancer in a sprouted rye sourdough recipe; it also plays a vital role in controlling fermentation speed and strengthening the gluten structure. Fine sea salt or kosher salt are commonly used. Avoid iodized table salt, as iodine can negatively impact yeast activity. Salt is typically added after the initial mixing or autolyse phase to prevent it from interfering with gluten development.
Equipment for Sprouted Rye Sourdough Baking
Having the right tools can make the process of baking sprouted rye sourdough much smoother and more enjoyable. While you don't need a professional setup, a few key pieces of equipment are highly recommended for consistent results.
- Kitchen scale: Essential for accurate ingredient measurement.
- Large mixing bowl: For combining ingredients and bulk fermentation.
- Dough scraper (bench scraper): Useful for handling sticky dough and cleaning surfaces.
- Proofing basket (banneton): Provides support during the final proof and imparts a nice pattern on the crust.
- Dutch oven or baking stone/steel: Creates the necessary steam and high heat for a good crust and oven spring.
- Lame or sharp razor blade: For scoring the dough before baking.
- Oven thermometer: To ensure your oven is at the correct temperature.
Baking Sprouted Rye Sourdough: Step-by-Step Instructions
Baking a sprouted rye sourdough recipe involves several stages, each crucial for the final outcome. Patience and attention to detail are key.
Step 1: Refreshing the Levain
Several hours before you plan to mix your dough (typically 4-8 hours), feed your sourdough starter. Take a small amount of your mature starter (e.g., 20-30g) and mix it with fresh flour (a mix of bread flour and maybe a little rye) and water (e.g., 1:4:4 ratio - 20g starter, 80g flour, 80g water). Leave it at room temperature until it is active, bubbly, and has roughly doubled or tripled in size. This refreshed starter is your levain for the sprouted rye sourdough.
Step 2: Autolyse - Hydrating for Optimal Gluten Development
Combine the bread flour, sprouted rye flour, and most of the water in your mixing bowl. Mix just until no dry flour remains. Do not add the salt or the levain at this stage. Cover the bowl and let the mixture rest for 30 minutes to an hour. This rest period, known as autolyse, allows the flours to fully hydrate and the gluten development to begin naturally, making the dough easier to work with later.
Step 3: Mixing: Incorporating the Sprouted Rye
After the autolyse, add your active levain and the salt to the dough. Mix them in thoroughly. You can do this by hand using the "Rubaud" method (scooping and stretching the dough) or a stand mixer on low speed. Mix until the salt and starter are fully incorporated and the dough starts to show some initial strength, becoming less shaggy. This stage might take 5-10 minutes of gentle mixing.
Step 4: Bulk Fermentation: Developing Flavor and Structure
This is the longest phase, where the dough ferments and develops flavor and structure. Cover the bowl and let the dough rest at room temperature (ideally 22-25°C or 72-77°F). Over the next 3-5 hours (or potentially longer in cooler temperatures), perform a series of "stretch and folds" every 30-60 minutes during the first 2-3 hours.
Gently stretch a portion of the dough up and fold it over the rest, rotating the bowl until all sides have been folded. This builds strength. The dough should increase in volume by 30-50% by the end of bulk fermentation and feel airy and light.
Step 5: Shaping: Creating Tension and Form
Once the bulk fermentation is complete, gently turn the dough out onto a lightly floured surface. Be careful not to degas it too much. Shape the dough into your desired form, typically a boule (round) or batard (oval). The goal is to create tension on the surface of the dough, which helps it hold its shape during proofing and baking. Allow the shaped dough to rest for 10-20 minutes (bench rest) before a final shaping if needed.
Step 6: Proofing: Achieving the Ideal Rise
Place the shaped dough seam-side up (if using a banneton) into your proofing basket. Cover the basket and place it in the refrigerator for a long, cold proof, typically 8-15 hours. Cold proofing slows down fermentation, allowing flavors to develop more complexly and making the dough easier to handle and score. You can also do a shorter room temperature proof (1-3 hours), but the cold proof is often preferred for convenience and flavor. The dough should feel slightly springy when gently poked.
Step 7: Baking: Achieving a Deep Crust and Open Crumb
Preheat your oven with your Dutch oven or baking stone/steel inside for at least 30-60 minutes at a high temperature, typically 230-250°C (450-480°F). Carefully transfer the cold dough from the proofing basket onto parchment paper or directly into the hot Dutch oven. Score the top of the dough with a sharp blade – this allows the dough to expand predictably during baking.
If using a Dutch oven, cover it with the lid. Bake covered for 20-25 minutes to trap steam, which helps the crust expand without hardening too quickly. Then, remove the lid (or generate steam in the oven if using a stone/steel) and continue baking for another 20-30 minutes, or until the crust is deep golden brown and the internal temperature reaches around 96-99°C (205-210°F). A properly baked sprouted rye sourdough will have a beautiful crust and a satisfying aroma.
Tips for Baking Success
Baking a perfect sprouted rye sourdough can be a rewarding challenge. Here are a few tips to help you achieve great results.
Hydration Management with Sprouted Rye
Sprouted rye flour can absorb water differently than standard wheat flour. It often requires slightly less water than unsprouted whole rye, but it's still a thirsty flour. Be prepared to adjust the water amount based on the specific flour you are using and the humidity in your environment.
Start with the recommended hydration in your sprouted rye sourdough recipe but feel free to hold back a small amount of water initially, adding it gradually if the dough feels too stiff. A sticky dough is often desirable for a good crumb, but excessively wet dough can be hard to handle, especially with the inclusion of rye.
Controlling Fermentation: Time and Temperature
Fermentation is the heart of sourdough baking, and controlling it is crucial for a successful sprouted rye sourdough. Ambient temperature plays a significant role; warmer temperatures speed up fermentation, while cooler temperatures slow it down. Pay attention to the dough's activity rather than strictly adhering to time estimates in a recipe. The dough should feel airy and show visible signs of gas production (bubbles) during bulk fermentation.
For proofing, especially the cold proof, temperature consistency in your refrigerator is important. A temperature around 4°C (39°F) is ideal for slowing down fermentation effectively. If your dough is consistently over-proofing during the cold retard, your fridge might be too warm, or your bulk fermentation might be too long.
Achieving Optimal Crust and Crumb
A great sprouted rye sourdough boasts a beautiful, caramelized crust and a relatively open, moist crumb. High initial heat and steam are essential for achieving good oven spring and a thin, crispy crust. Using a Dutch oven is one of the easiest ways to create a steamy environment at home. If using a baking stone or steel, you'll need to generate steam manually by placing a tray of hot water or ice cubes in the bottom of your oven when you load the bread.
Baking until the internal temperature is correct (around 96-99°C) ensures the crumb is fully cooked and set, preventing a gummy texture. Don't cut into the bread until it has cooled completely, ideally for at least 2-3 hours. Cutting hot bread can damage the crumb structure and release steam that should remain in the loaf, leading to a drier result.
Troubleshooting Common Issues
Even with a well-tested sprouted rye sourdough recipe, you might encounter challenges. Understanding common issues can help you diagnose and fix problems in future bakes.
Dense Crumb: Causes and Solutions
A dense or heavy crumb is a frequent issue in sourdough baking, especially when incorporating flours like rye. One primary cause is insufficient fermentation, either during bulk fermentation or proofing. The dough didn't develop enough gas to create an open structure. This could be due to an inactive starter, a too-cold environment, or simply not allowing enough time.
- Solution: Ensure your starter is active and bubbly before use. Allow adequate time for bulk fermentation, observing the dough's volume increase (aim for 30-50%). If cold proofing, make sure the dough had enough initial fermentation at room temperature before chilling. Over-mixing can also sometimes lead to a tighter crumb by developing gluten too aggressively without sufficient fermentation to open it up.
Another factor could be over-proofing, where the dough rises too much and then collapses slightly before or during baking, losing its structure. Using too much sprouted rye flour without enough strong bread flour can also result in a denser loaf, as rye contributes less gluten for structure.
- Solution: Pay close attention to proofing indicators – the poke test is helpful. If using a high percentage of sprouted rye, ensure your bread flour is strong and provides sufficient gluten support. Adjust hydration carefully; too little water can also result in a tight crumb.
Proofing Problems: Identifying and Adjusting
Proofing issues often manifest as dough that doesn't rise enough (under-proofed) or dough that becomes slack and hard to handle, sometimes collapsing (over-proofed). Under-proofing typically results in a dense center and potentially explosive oven spring that tears the crust unpredictably. Over-proofing leads to a very weak dough that spreads rather than springs in the oven, resulting in a flat loaf.
- Identifying Under-proofing: The dough feels heavy and doesn't hold the poke test indentation well; it springs back quickly.
- Identifying Over-proofing: The dough feels very light and airy, might look bubbly on the surface, and the poke test indentation remains completely or collapses the dough further.
- Adjusting: If under-proofed, allow more time at room temperature before baking (if not cold proofing). If cold proofing, ensure sufficient bulk fermentation or a slightly longer cold proof. If over-proofed, you might try reshaping gently and proofing for a very short time, or accept the flatter loaf. Adjusting bulk fermentation time and temperature, as well as paying close attention to the dough's feel and appearance, is key to mastering proofing for your sprouted rye sourdough recipe.
Sourness Issues: Balancing Flavor
The level of tanginess in your sprouted rye sourdough is a matter of personal preference, but sometimes it can be overwhelmingly sour or not sour enough. The sourness is primarily developed by lactic acid bacteria in your starter during fermentation. Factors influencing sourness include fermentation temperature, time, and the hydration and feeding schedule of your starter.
- Too Sour: Often caused by long, warm fermentation periods or using a very mature (hungry) starter.
- Not Sour Enough: Can result from short, cool fermentation periods or using a very recently fed, mild starter.
- Balancing: For less sourness, use your starter when it's younger (closer to its peak) and ferment at slightly cooler temperatures or for shorter times. A colder bulk fermentation followed by a cold proof generally produces a milder tang. For more sourness, allow bulk fermentation to go a bit longer, or use a starter that has been fed less frequently or allowed to ripen longer before use. High percentages of rye, including sprouted rye, can sometimes contribute to a more acidic dough environment, so experimentation with your specific sprouted rye sourdough recipe is key to finding your preferred balance.
Variations and Adaptations
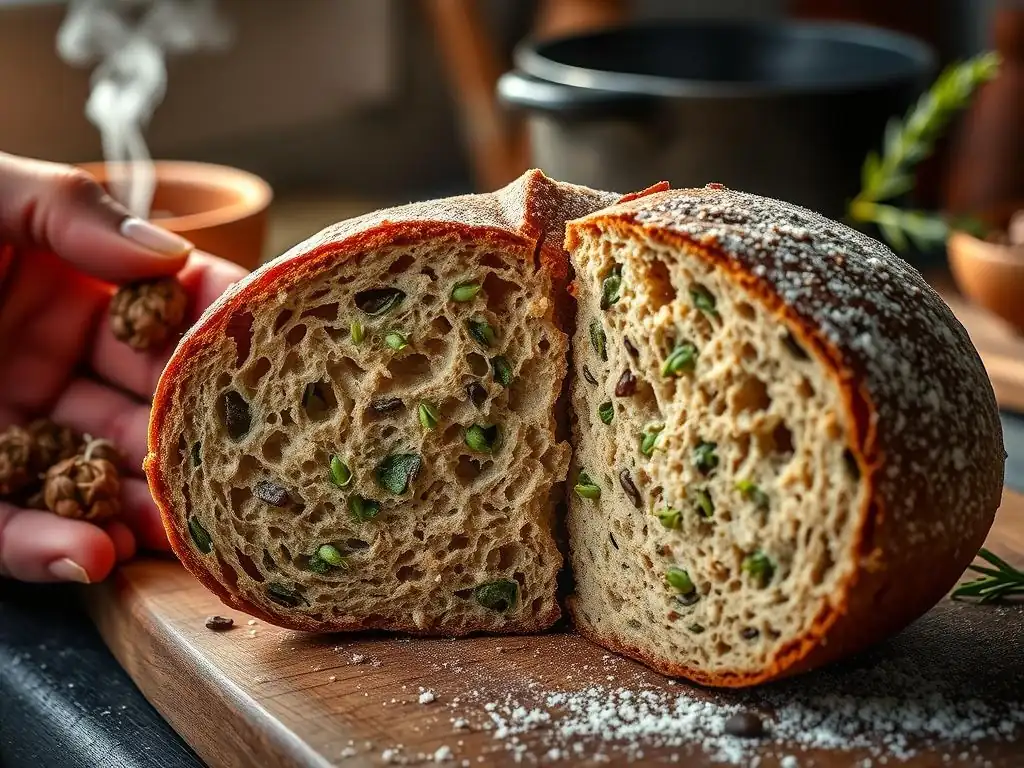
Once you've mastered a basic sprouted rye sourdough recipe, you can begin to experiment and personalize your loaves. The versatility of sourdough allows for numerous delicious variations.
Adding Seeds and Grains for Enhanced Flavor and Texture
Incorporating seeds and other whole grains is a popular way to add complexity and nutritional value to sprouted rye sourdough. Common additions include sunflower seeds, pumpkin seeds, flaxseeds, sesame seeds, or even cooked grains like rye berries or oats. These can be added during the mixing stage or soaked beforehand (as a "soaker" or "porridge") to prevent them from absorbing moisture from the dough during fermentation.
A typical addition might involve 10-20% of the total flour weight in seeds or pre-cooked grains. For example, in a 500g flour recipe, you could add 50-100g of seeds. Soaking seeds overnight in a small amount of water (just enough to cover) can improve their texture and digestibility in the final loaf. These additions not only provide interesting textures and flavors but also complement the earthy notes of the sprouted rye.
Experimenting with Different Hydration Levels
Hydration refers to the ratio of water to flour in your dough. A typical sprouted rye sourdough recipe might have a hydration level between 70% and 80% (water weight divided by total flour weight). Adjusting hydration significantly impacts the dough's handling characteristics and the final crumb structure. Higher hydration (e.g., 80%+) generally results in a more open, airy crumb but a stickier, more challenging dough to work with. Lower hydration (e.g., 65-70%) yields a denser crumb but a dough that is much easier to shape and handle.
Given that sprouted rye flour absorbs water uniquely, experimenting with hydration is particularly relevant. If your dough feels too wet or too dry based on your experience, adjust the water quantity in subsequent bakes. Start with a moderate hydration and gradually increase or decrease by 1-2% increments until you find a level that works for your flour, environment, and handling preference.
Shaping Variations: Boule and Batard
While a basic sprouted rye sourdough recipe often calls for a simple boule (round) or batard (oval) shape, you can explore other forms. Shaping techniques affect the loaf's appearance, how it slices, and how it performs in different baking vessels (e.g., a long batard fits well on a baking stone, while a boule is perfect for a round Dutch oven).
Other shapes include:
- Loaf pan: For a standard sandwich loaf shape, ideal for slicing. Requires folding the dough into a log and placing it in a greased pan for proofing and baking.
- Fougasse: A flat, leaf-shaped loaf, often with cuts. Bakes quickly and is great for dipping.
- Rolls: Dividing the dough into smaller portions for individual rolls. Requires shorter baking times.
Mastering different shaping techniques adds another dimension to your baking skills and allows you to adapt your sprouted rye sourdough recipe to various uses and presentations.
Storing and Enjoying Your Sourdough
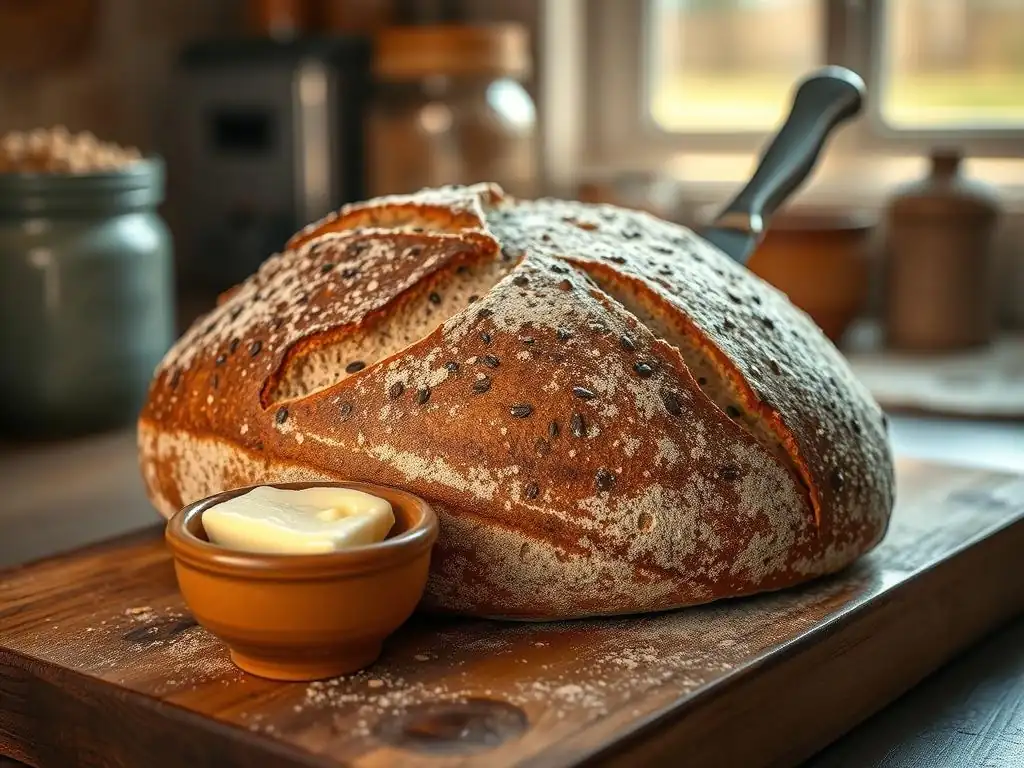
Proper storage is key to keeping your homemade sprouted rye sourdough fresh and delicious for as long as possible. And of course, knowing the best ways to enjoy it is the ultimate reward for your baking efforts!
Cooling and Storing for Freshness
Allow your sprouted rye sourdough loaf to cool completely on a wire rack before storing or slicing. This is crucial; cooling allows the internal moisture to redistribute and the crumb structure to set. Cutting into a hot loaf will result in a gummy texture. A typical loaf needs 2-3 hours to cool fully, and larger loaves or those with high rye content might benefit from even longer, perhaps 4-6 hours.
Once cooled, store the loaf at room temperature. The best methods preserve the crust while protecting the crumb:
- Cut-side down on a board: If you've already sliced it, storing the cut side directly on a clean cutting board helps prevent it from drying out quickly.
- Bread box: A dedicated bread box offers good air circulation while keeping the loaf contained.
- Linen or cotton bread bag: These allow the crust to breathe while protecting the loaf.
- Paper bag: Similar to linen, it protects the loaf but the crust might soften slightly faster.
For longer storage (more than 2-3 days) or if you live in a humid climate, consider freezing. Slice the cooled loaf and freeze slices in an airtight container or freezer bag. Frozen slices can be easily toasted straight from the freezer. Avoid storing sourdough in the refrigerator, as this can actually dry it out faster than room temperature storage.
Serving Suggestions: Complementary Flavors
Sprouted rye sourdough has a wonderfully complex flavor profile that pairs well with a variety of toppings and accompaniments. Its earthy, slightly sweet, and tangy notes make it versatile.
Consider these serving suggestions:
- Simple: Toasted with butter, high-quality olive oil, or a sprinkle of sea salt.
- Savory: Paired with cheeses (especially sharp cheddar, goat cheese, or cream cheese), smoked salmon, avocado, or used for open-faced sandwiches with savory toppings. It makes an excellent base for traditional Scandinavian-style open sandwiches.
- Sweet (surprisingly!): While primarily savory, the subtle sweetness of sprouted rye can work with certain sweet pairings like apple slices and cheese, or even lightly toasted with jam or honey, especially if the loaf isn't overly sour.
Using your homemade sprouted rye sourdough as the foundation for simple meals or snacks allows its unique flavor to shine.
Why Bake with Sprouted Rye?
Exploring different flours is part of the joy of baking, and sprouted rye offers a compelling reason to step off the beaten path of standard white or whole wheat sourdough.
Unique Qualities of Sprouted Rye in Sourdough
Sprouted rye brings several unique qualities to the sourdough table. Its distinct, yet mellowed, earthy flavor provides a depth that is different from other grains. The potential nutritional benefits, such as increased bioavailability of minerals and reduced phytic acid, add a wholesome dimension. Furthermore, the enzymatic activity during sprouting can influence the dough's handling and the crumb's structure in subtle ways, often contributing to a moist interior.
Baking with sprouted rye encourages you to understand how different flours interact with your starter and fermentation process. It requires attention to hydration and fermentation timing, offering a rewarding learning experience that deepens your overall sourdough knowledge.
Elevating Your Baking: A Final Thought
Incorporating sprouted rye into your sprouted rye sourdough recipe is more than just using a different ingredient; it's about elevating your baking practice. It challenges you to adapt your techniques, expands your flavor repertoire, and results in a loaf that is both uniquely delicious and potentially more nutritious. Whether you're seeking a richer flavor, exploring healthier ingredients, or simply looking for a new baking adventure, sprouted rye sourdough is a rewarding path to explore in your kitchen. Happy baking!
Frequently Asked Questions
What makes sprouted rye different from regular rye in sourdough?
Sprouted rye offers a sweeter and nuttier flavor compared to regular rye. It also contributes to a softer crumb and enhances the overall digestibility of the sourdough.
Why should I use sprouted rye in my sourdough starter?
Using sprouted rye flour in your sourdough starter can boost its activity. The sprouting process releases enzymes that make nutrients more accessible to the yeast and bacteria within the starter.
Is a sprouted rye sourdough recipe more difficult than a regular sourdough recipe?
Generally, a sprouted rye sourdough recipe isn't significantly more difficult. However, sprouted rye can absorb more water, so adjusting hydration levels might be necessary for optimal results.
Can I substitute regular rye flour for sprouted rye in a sourdough recipe?
While you can substitute regular rye, the flavor profile and texture of the final bread will differ. You may also need to adjust the hydration as sprouted rye absorbs more water.
Where can I find sprouted rye flour?
Sprouted rye flour is available at many specialty grocery stores and online retailers. You can also sprout your own rye berries and grind them into flour at home.
Final Reflection: The Transformative Power of Sprouted Rye in Sourdough
The resurgence of sourdough baking, coupled with a growing interest in nutrient-dense foods, has made sprouted rye a game-changer in the world of bread making. This isn't just about a trendy ingredient; it's about unlocking a deeper flavor profile and nutritional value in a classic loaf. The improved digestibility and enhanced nutritional content offered by sprouted rye elevate sourdough to a whole new level, making it a truly exceptional culinary experience.
The journey of exploring sprouted rye sourdough has been a fascinating one, revealing not only the technical aspects of bread making but also the profound connection between food, health, and tradition. It's a testament to the enduring appeal of sourdough, a method passed down through generations, now being revitalized with modern techniques and a focus on maximizing nutritional benefits. Bread is the staff of life,
a simple phrase, yet it encapsulates the profound role bread plays in our cultures and our daily lives. This simple act of baking becomes an act of mindful creation when we consider the ingredients and their impact.
Now, I invite you to experiment. Try incorporating sprouted rye into your next sourdough loaf. Embrace the challenge, savor the process, and discover the unique flavor and texture this ancient grain brings to the table. Don't just bake a loaf; cultivate a deeper understanding of the ingredients you use and the impact they have on your health and the environment. The journey of the sprouted rye sourdough is yours to explore, and the rewards are well worth the effort.
Unleash Your Inner Rye Baker!
Thanks for joining us on this journey into the wonderful world of sprouted rye sourdough! We hope you've gained a new appreciation for the depth and complexity this unique flour can bring to your baking. Ready to take the next step?
- Bake your own sprouted rye sourdough: This is your chance to put your newfound knowledge into practice! Experiment with different hydration levels and fermentation times to discover your perfect loaf. Don't be afraid to get messy!
- Share your creation: Snap a picture of your magnificent sprouted rye sourdough and share it with us on social media using #BakeWithEaseRye! We'd love to see your baking journey unfold.
- Try incorporating sprouted rye into other recipes: Think beyond sourdough—experiment with sprouted rye in crackers, muffins, or even pancakes! Let your creativity flow.
What unique flavor combinations will you explore with your sprouted rye sourdough?