
Sticky Dough During Kneading? Simple Solutions

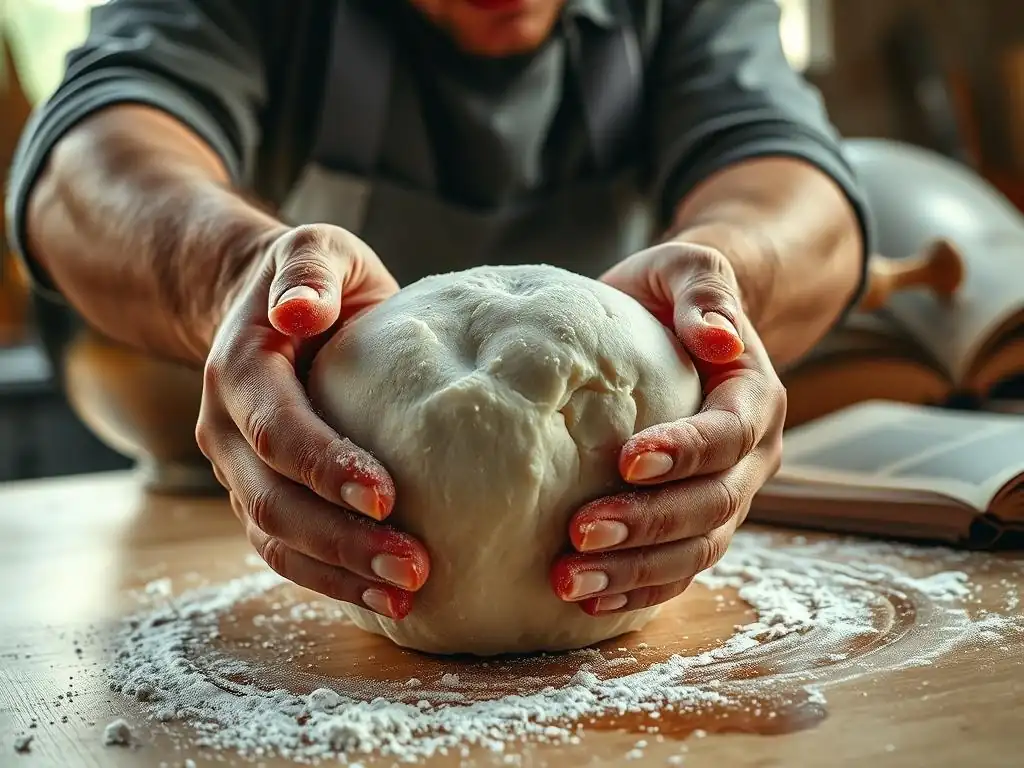
Welcome to BakeWithEase, where even the stickiest baking situations have simple solutions! Ever found yourself battling sticky dough during kneading, wondering where you went wrong? You're not alone! This guide is packed with troubleshooting tips and tricks to transform that frustrating mess into a smooth, workable masterpiece. Get ready to conquer your dough and unlock the secrets to perfect bread, every single time. Let's dive in and discover how to handle even the stickiest situations...
- Sticky Dough During Kneading? Simple Solutions for Perfect Bread
- Understanding Sticky Dough: A Common Bread Baking Problem
- Sticky Dough Kneading Troubleshooting: Practical Solutions
- Preventing Sticky Dough: Proactive Tips for Baking Success
- Is Sticky Dough Always Bad? When to Embrace a Wetter Dough
- Troubleshooting Sticky Dough: A Summary
- Advanced Techniques for Handling Sticky Dough
-
Frequently Asked Questions
- What causes dough to become overly sticky during kneading?
- How can I fix sticky dough while kneading it by hand?
- Does kneading sticky dough in a stand mixer present different challenges?
- What role does the type of flour play in dough stickiness?
- Are there any specific ingredients, besides flour, that can help reduce dough stickiness?
- Final Reflection: Mastering the Dough, Mastering the Craft
- Unleash Your Inner Baker: Conquer Sticky Dough!
Sticky Dough During Kneading? Simple Solutions for Perfect Bread
Understanding Sticky Dough: A Common Bread Baking Problem
Why is My Bread Dough So Sticky? Common Causes
Experiencing excessively sticky dough during kneading is one of the most frequent frustrations for home bakers. At its core, stickiness often arises from an imbalance between the liquid and dry ingredients, primarily flour and water. If there's too much water relative to the flour's absorption capacity, the dough will feel wet, slack, and sticky. This can happen due to inaccurate measuring, environmental factors like high humidity, or simply the recipe's intended hydration level.
Beyond the basic ratio, other factors contribute to sticky dough. The temperature of your ingredients and environment plays a significant role; warmer dough tends to be stickier as gluten develops faster and relaxes more quickly. Insufficient kneading is another major culprit. Gluten development is key to transforming a shaggy, sticky mass into a smooth, elastic dough that's easier to handle. If the gluten network hasn't properly formed, the dough remains a sticky mess.
The Impact of Hydration on Dough Stickiness
Hydration in baking refers to the ratio of water to flour by weight. A higher hydration percentage means more water relative to the flour, resulting in a wetter, stickier dough. For example, a standard sandwich loaf might be around 60-65% hydration, feeling relatively easy to handle after kneading. In contrast, a ciabatta dough can be 80% hydration or even higher, making it very sticky and challenging to work with using traditional kneading methods.
While high hydration makes dough handling trickier, it's often sought after for the desirable qualities it imparts to the final bread. More water allows for a more open, airy crumb structure and contributes to a crispier crust because there's more moisture to turn into steam during baking. Understanding your recipe's intended hydration is crucial for managing expectations regarding stickiness and for effective sticky dough kneading troubleshooting.
Flour Type and its Role in Sticky Dough
Not all flours are created equal when it comes to absorbing liquid. The protein content of flour significantly impacts its ability to absorb water and form gluten. High-protein flours, like bread flour (typically 12-14% protein), absorb more water than lower-protein flours, such as all-purpose flour (around 10-12% protein) or cake flour (as low as 5-8%). Using a lower-protein flour in a recipe designed for bread flour can result in a much stickier dough than anticipated, even if the measurements are accurate.
Whole wheat and other whole grain flours also behave differently. They contain the bran and germ in addition to the endosperm, which can interfere with gluten development and absorb more water initially, but they may not hold onto it as tightly as white flour. This means a whole wheat dough might feel sticky yet still require careful hydration. Choosing the flour specified in your recipe is a fundamental step in preventing unexpected stickiness and simplifying your sticky dough kneading troubleshooting efforts.
Sticky Dough Kneading Troubleshooting: Practical Solutions
Solution 1: Adjusting Flour Levels for Easier Kneading
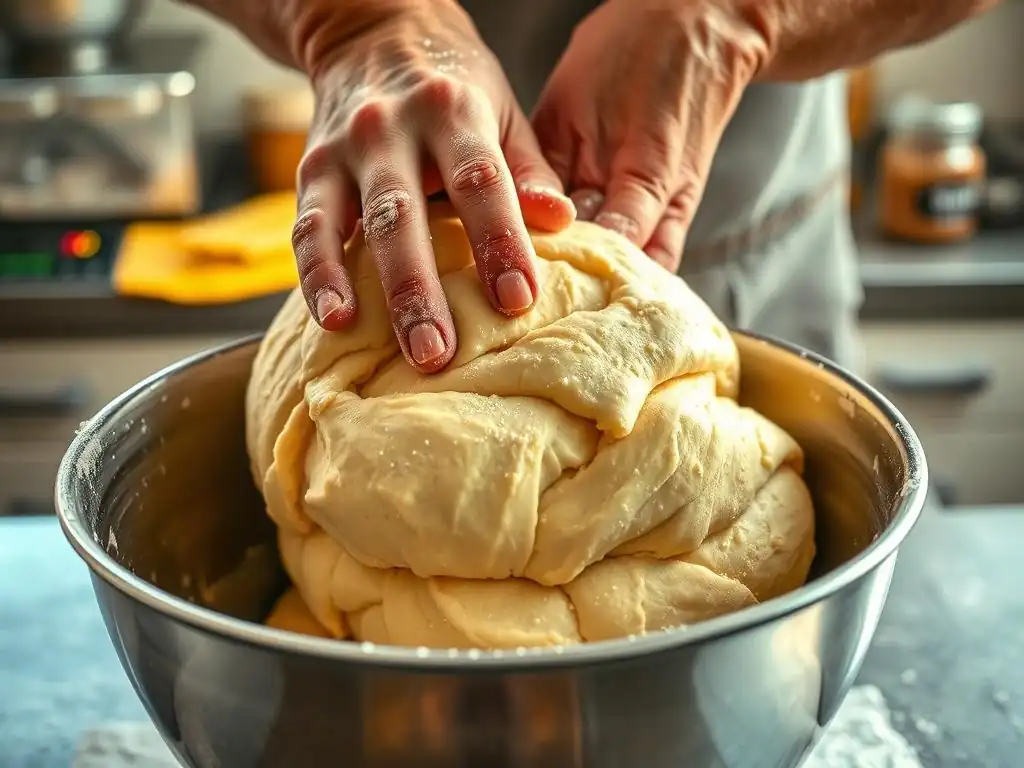
When faced with overly sticky dough during kneading, the most intuitive response is often to add more flour. This can be a valid solution, but it must be done cautiously and correctly. Adding a small amount of flour to your work surface or hands can prevent sticking, but adding it directly into the dough should be done incrementally, usually a tablespoon at a time. Knead in the added flour thoroughly before deciding if more is needed. The goal is to make the dough manageable, not dry it out.
Adding too much flour is a common mistake that can lead to a dense, heavy loaf with a dry texture. It's important to recognize that some level of tackiness is normal, especially early in the kneading process. Focus on developing the gluten structure through proper kneading rather than simply adding flour until the dough feels completely dry. Often, continued kneading will make a sticky dough much easier to handle as the gluten network strengthens.
How to Properly Add Flour to Sticky Dough
If your dough is so sticky it's impossible to work with, adding a small amount of flour is the first step in sticky dough kneading troubleshooting. Clear your work surface and dust it lightly with flour. Scrape your sticky dough onto the floured surface. Lightly flour your hands. Now, you can add a tablespoon of flour directly to the dough mass.
Fold the dough over itself and begin kneading, incorporating the new flour. As you knead, observe the dough's texture. Does it still stick excessively to your hands and the surface? If so, add another tablespoon of flour. Continue this process, adding only one tablespoon at a time and kneading it in completely before adding more. This gradual approach prevents you from accidentally incorporating too much flour, which can ruin the final texture of your bread.
When to Stop Adding Flour During Kneading
Knowing when to stop adding flour is crucial for successful sticky dough kneading troubleshooting. You've added enough flour when the dough is still slightly tacky to the touch but no longer glues itself stubbornly to your hands or the work surface. It should feel cohesive and beginning to develop elasticity.
As you knead, the dough will become smoother and more manageable. You should be able to knead it without needing constant flour dustings on the surface or your hands. A good test is the "windowpane test" – although full development might take time, you should start to see the dough becoming extensible enough that you can gently stretch a small piece without it tearing immediately. When the dough holds its shape reasonably well and feels elastic, resist the urge to add more flour, even if there's a little stickiness left.
Solution 2: Mastering the Kneading Technique
Proper kneading is fundamental to developing the gluten structure that gives bread its texture and strength. An under-kneaded dough will remain slack, sticky, and difficult to handle because the gluten hasn't formed a strong, elastic network. Simply working the dough correctly for the appropriate amount of time is a powerful form of sticky dough kneading troubleshooting.
Different kneading techniques can help manage stickiness. Traditional push-fold-turn kneading on a surface builds strength gradually. For very sticky doughs, methods like the "slap and fold" technique (popularized by bakers like Richard Bertinet) can be incredibly effective. This involves lifting, slapping the dough onto the counter, and folding it over itself repeatedly. While messy initially, the action develops gluten rapidly and the dough becomes less sticky over time.
The Importance of Proper Kneading Time
Kneading isn't just about mixing ingredients; it's about developing the gluten network. The time required varies depending on the method and flour used, but under-kneading is a common cause of persistent stickiness. By hand, this might take 8-15 minutes of continuous work. In a stand mixer with a dough hook, it could be 5-10 minutes at a medium speed.
When dough is kneaded sufficiently, the gluten strands align and connect, forming a strong, elastic structure. This structure traps gas produced by yeast, allowing the bread to rise. A well-kneaded dough will transition from a sticky, shaggy mass to a smooth, supple, and much less sticky ball that springs back when gently poked. Don't be discouraged if your dough starts sticky; keep kneading, and you'll see the transformation.
Different Kneading Methods and Their Impact on Dough Texture
Various kneading methods influence how gluten develops and, consequently, the dough's texture and stickiness. Hand kneading offers a tactile feel, allowing you to gauge dough development directly, though it can be tiring. It's effective for most doughs but can be challenging with very sticky ones.
Stand mixers automate the process, providing consistent, vigorous kneading that quickly develops gluten, making sticky doughs easier to handle after mixing is complete. No-knead methods, conversely, rely on long fermentation periods (often 12-24 hours or more) to allow enzymes and time to develop gluten slowly without manual work. These doughs start very wet and sticky but become more manageable after the long proofing time in the fridge, a key part of sticky dough kneading troubleshooting for high-hydration recipes.
Solution 3: Managing Dough Temperature for Improved Handling
Dough temperature significantly impacts its behavior, including stickiness. Warm dough is generally stickier and more difficult to handle than cool dough. This is because warmer temperatures accelerate enzyme activity, which can break down protein, and cause the gluten structure to relax faster. Yeast activity is also higher in warmer dough, leading to faster gas production before the gluten network is fully developed to contain it, resulting in a slacker, stickier texture.
Controlling the dough temperature is an important, often overlooked, aspect of sticky dough kneading troubleshooting. If your kitchen is warm or your ingredients were warm to start, the dough temperature can quickly rise, leading to handling issues. Aiming for an optimal dough temperature helps ensure consistent results and a more manageable dough throughout the process.
Ideal Dough Temperature for Kneading
For most standard bread doughs, an ideal temperature range for kneading is between 75°F and 80°F (24°C to 27°C). Within this range, yeast is active but not hyperactive, and gluten develops efficiently without becoming overly relaxed too quickly. The final dough temperature is influenced by the temperature of your ingredients, the friction generated during kneading, and the ambient room temperature.
To achieve a target dough temperature, you can adjust the temperature of your water. A common calculation involves considering the desired dough temperature, room temperature, and flour temperature to determine the ideal water temperature. Even without precise calculations, starting with cooler water on a warm day or in a warm kitchen can help keep the dough temperature in a manageable range during kneading.
Techniques for Cooling Down Overly Warm Dough
If your dough feels excessively warm and sticky during or after kneading, chilling it can help. Place the dough in a bowl, cover it loosely, and pop it into the refrigerator for 15 to 30 minutes. This brief chilling period firms up the dough, slows down enzyme activity and gluten relaxation, and makes it significantly easier to handle and shape.
This technique is particularly useful when working with enriched doughs containing butter or eggs, as chilling solidifies the fats, making the dough less sticky and more pliable. It's a simple yet effective part of sticky dough kneading troubleshooting, providing a temporary fix that allows you to proceed with the recipe without adding excessive flour.
Preventing Sticky Dough: Proactive Tips for Baking Success
Measuring Ingredients Accurately: A Key to Consistent Dough
One of the most significant steps in preventing sticky dough issues is accurate ingredient measurement. While volume measurements (cups and spoons) are common, they are notoriously inconsistent, especially for flour. Scooping flour directly from the bag can pack it down, resulting in significantly more flour by weight than lightly spooning it into a cup. This variation directly impacts the hydration level of your dough.
Using a digital kitchen scale to weigh your ingredients, particularly flour and water, is the most reliable method for consistency. Recipes that provide weights (grams or ounces) are often more precise. For example, a recipe might call for 500g of flour and 325g of water, resulting in a 65% hydration dough. Weighing ensures you hit this target accurately, dramatically reducing the likelihood of an unexpectedly sticky dough due to measurement errors.
Choosing the Right Flour for Your Bread Recipe
Matching the flour type to the recipe's requirements is essential for managing dough consistency. Substituting all-purpose flour for bread flour in a recipe designed for higher protein content will likely result in a stickier dough because the all-purpose flour absorbs less water. Conversely, using bread flour in a recipe intended for lower-protein flour might yield a drier dough.
Familiarize yourself with the characteristics of different flours. Bread flour is ideal for chewy loaves with good structure. All-purpose is versatile but may require slight hydration adjustments depending on the brand and recipe. Whole wheat and rye flours have different absorption rates and handling properties. Selecting the appropriate flour is a foundational step in preventing sticky dough and simplifies your sticky dough kneading troubleshooting journey.
The Importance of Resting and Autolysing Dough
Incorporating rest periods into your bread-making process can surprisingly help manage stickiness. Autolysing is a technique where you mix just the flour and water from the recipe and let it rest for 20 minutes up to several hours before adding the remaining ingredients (like salt and yeast). During this rest, the flour fully hydrates, and enzymes begin to break down proteins, starting gluten development without any manual effort.
This initial hydration and gluten development make the dough less shaggy and significantly easier to knead once the other ingredients are added. Similarly, incorporating short rest periods (5-10 minutes) during the kneading process allows the gluten to relax. This relaxation makes the dough more extensible and less resistant to kneading, often reducing perceived stickiness as the dough becomes smoother. These simple rests are effective proactive measures in preventing sticky dough.
Is Sticky Dough Always Bad? When to Embrace a Wetter Dough
High-Hydration Doughs: Understanding the Benefits
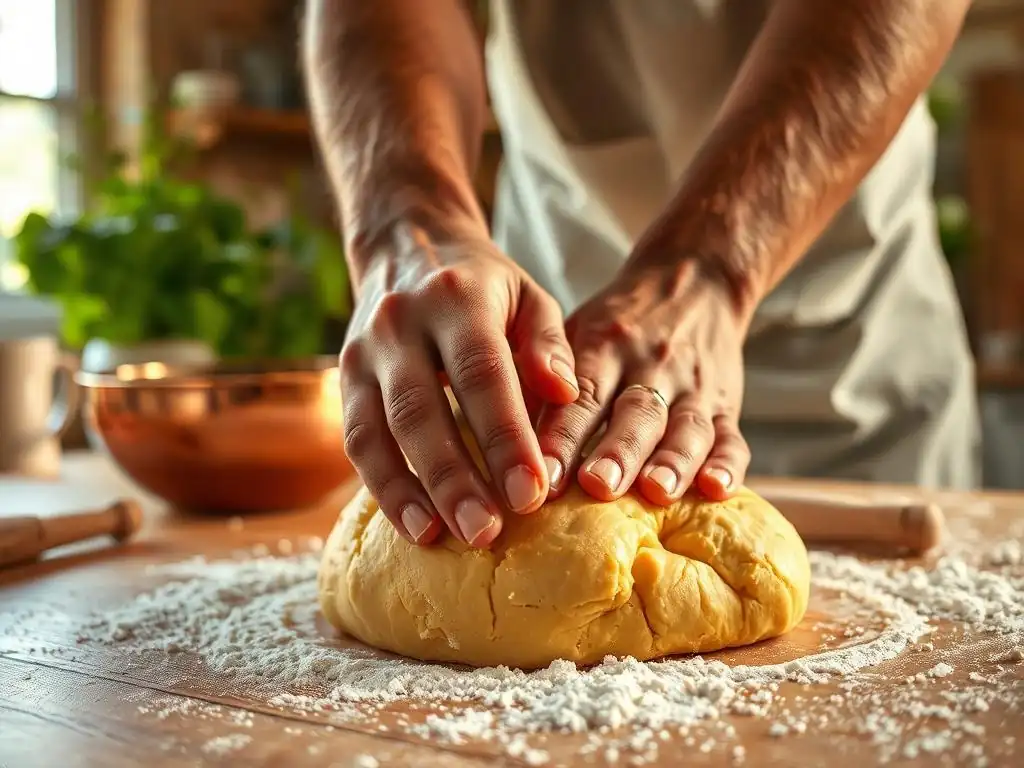
While excessive stickiness can indicate a problem, intentional sticky doughs, particularly high-hydration ones, are central to many beloved bread varieties. Doughs with hydration levels of 75% or more are typically quite sticky and challenging to handle using traditional kneading methods. However, this high water content is key to achieving certain desirable bread characteristics.
The extra water in high-hydration doughs promotes a more open, irregular crumb structure with larger air pockets, characteristic of artisanal breads like ciabatta. It also contributes to a thinner, crispier crust because there's more moisture available to generate steam in the oven. Learning to work with sticky doughs opens up a world of new bread possibilities, making sticky dough kneading troubleshooting a skill worth mastering.
Recipes That Benefit from a Stickier Dough
Many classic and modern bread recipes deliberately call for high hydration, resulting in sticky doughs that are handled differently than standard loaves. Ciabatta, known for its incredibly open crumb, is a prime example, often made with 80% hydration or more. Focaccia, with its airy interior and olive oil-rich exterior, also typically uses a wet, sticky dough (75%+ hydration).
Artisan sourdough loaves often have higher hydration levels (70-85%) to achieve their characteristic texture and sour flavor profile. Even some enriched doughs, like brioche, can be quite sticky due to the high fat and egg content before chilling firms them up. Recognizing when stickiness is a desired trait, rather than a flaw, is an important part of expanding your baking repertoire beyond basic sticky dough kneading troubleshooting.
Troubleshooting Sticky Dough: A Summary
Quick Fixes for Sticky Dough During Kneading
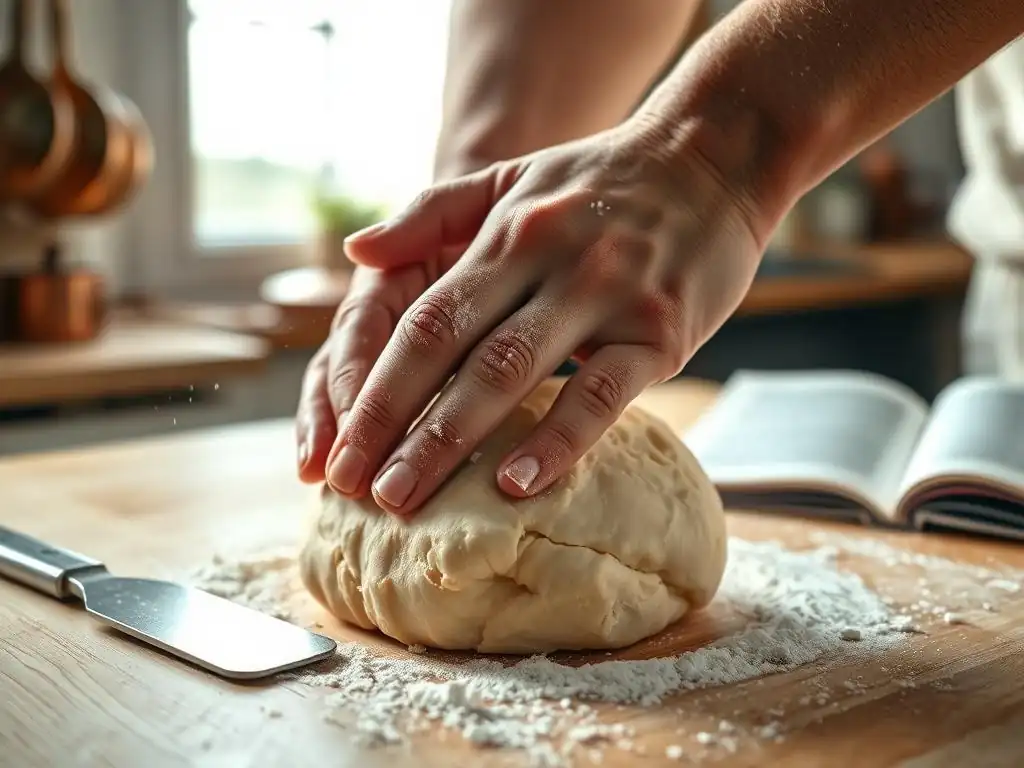
When you're in the middle of kneading and facing a sticky situation, there are a few immediate actions you can take. First, try dusting your hands and the work surface with a very small amount of flour; remember, just enough to prevent sticking, not to incorporate into the dough unnecessarily.
Alternatively, lightly oiling your hands can help manage very sticky doughs. Another effective quick fix is to give the dough a short rest, say 5-10 minutes. This allows the gluten to relax slightly, often making the dough less resistant and easier to handle when you resume kneading. These are temporary solutions to help you get through the kneading process.
Troubleshooting Chart: Identifying the Cause and Solution
Identifying the root cause of your sticky dough is key to effective sticky dough kneading troubleshooting. Here's a simplified guide to common issues and their fixes:
- Symptom: Dough is extremely wet and slack from the start.
- Possible Cause: Too much water for the amount or type of flour; inaccurate measurement.
- Solution: Add flour gradually, one tablespoon at a time, kneading thoroughly between additions until manageable.
- Symptom: Dough starts okay but becomes stickier and hard to handle during kneading.
- Possible Cause: Under-kneaded; dough is too warm.
- Solution: Continue kneading until gluten develops (dough becomes smoother, less sticky); or, chill the dough for 15-30 minutes before resuming.
- Symptom: Dough is sticky even after sufficient kneading.
- Possible Cause: High hydration recipe (intended); flour type doesn't absorb well; high humidity.
- Solution: Use alternative handling techniques (scrapers, oil); accept some stickiness; adjust hydration slightly in future batches or switch flour brands.
Advanced Techniques for Handling Sticky Dough
Using Dough Scrapers and Bench Knives Effectively
For sticky dough kneading troubleshooting, especially with high-hydration doughs, a bench scraper or dough knife is your best friend. This flat, rectangular tool allows you to manage dough that would otherwise glue itself to your hands and the counter.
Use the scraper to lift and fold the dough onto itself during kneading or stretch-and-fold cycles. It's also invaluable for gathering sticky dough from the surface and for dividing it cleanly before shaping. Keeping the scraper clean and possibly lightly oiled or floured can make working with even the stickiest doughs much more manageable.
Working with Oiled Hands to Prevent Sticking
While flour is the traditional aid for sticky dough, a light application of neutral oil to your hands can be more effective when dealing with very wet doughs or during delicate shaping. A few drops of oil rubbed between your palms creates a barrier that prevents the dough from welding itself to your skin.
This technique is particularly useful when doing stretch and folds with high-hydration doughs or when gently pre-shaping or shaping loaves where you want to avoid incorporating extra flour. Use oil sparingly, as too much can affect the dough structure or crust. It's a tool for ease of handling, not a substitute for proper dough development.
Cold Fermentation and its Effect on Dough Handling
Cold fermentation, typically done in the refrigerator over 12-48 hours, is an advanced technique that greatly improves the handling of sticky doughs. As the dough chills, the fats within it solidify, and the gluten network tightens slightly. This makes the dough much firmer and less sticky when you take it out of the fridge compared to its state at room temperature.
Working with cold dough directly from the refrigerator is often recommended for high-hydration recipes and sourdoughs because it's significantly easier to shape. The cold also slows down fermentation, giving you more control over the proofing process. Incorporating cold fermentation is a powerful strategy in sticky dough kneading troubleshooting for achieving great results with challenging doughs.
Frequently Asked Questions
What causes dough to become overly sticky during kneading?
Excessive stickiness is often due to a high hydration level in the dough. It can also be caused by incorrect flour measurement or using the wrong type of flour.
How can I fix sticky dough while kneading it by hand?
Gradually add small amounts of flour until the dough becomes more manageable. Avoid adding too much at once, as this can lead to a dry and tough final product. Proper kneading technique is also important.
Does kneading sticky dough in a stand mixer present different challenges?
A stand mixer can handle stickier doughs, but over-mixing can still occur. Monitor the dough closely and adjust the speed as needed. Scraping down the bowl is also important.
What role does the type of flour play in dough stickiness?
Different flours have varying protein content, which affects gluten development and water absorption. Bread flour, with its higher protein content, generally handles hydration better. Using cake flour, which has lower protein, can result in a much stickier dough.
Are there any specific ingredients, besides flour, that can help reduce dough stickiness?
A small amount of oil or melted butter can sometimes help reduce stickiness during the initial kneading stages. However, the primary solution is usually adjusting the flour content or hydration level.
Final Reflection: Mastering the Dough, Mastering the Craft
The struggle with sticky dough is far more than just a baking inconvenience; it's a common hurdle that can derail even the most experienced bakers. Successfully navigating this challenge unlocks a deeper understanding of the baking process, transforming frustration into a rewarding journey of culinary mastery. The seemingly simple act of kneading becomes a testament to patience, precision, and the beautiful alchemy of flour, water, and yeast.
The persistent issue of sticky dough highlights the delicate balance required in baking. It's a constant reminder that even with precise measurements, environmental factors and subtle variations in ingredients can significantly impact the final product. The best bakers are those who understand that baking is a science, but also an art.
This quote perfectly encapsulates the need for both technical skill and intuitive understanding when dealing with the unpredictable nature of dough. The lessons learned from wrestling with sticky dough extend far beyond the kitchen; they teach us adaptability and the importance of problem-solving in any endeavor.
Now, consider your own baking experiences. Have you encountered the frustration of sticky dough? Remember the feeling of that frustratingly uncooperative mass? Use this knowledge to inform your future baking adventures. Don't let sticky dough defeat you; instead, embrace it as a learning opportunity. Experiment with different techniques, adjust your hydration levels, and most importantly, trust your instincts. The next time you face a sticky situation, remember the solutions outlined in this article, and approach the challenge with confidence and a renewed sense of purpose. You have the power to conquer sticky dough and create truly magnificent baked goods.
Unleash Your Inner Baker: Conquer Sticky Dough!
Thanks for taking the time to learn how to tackle that pesky sticky dough! We hope you now feel more confident in your baking abilities. Ready to put your new skills to the test?
- Knead your way to success: Try the techniques we discussed – add a little more flour, gradually, or use the wet-kneading method – and see the difference it makes in your next loaf!
- Share your baking journey: Show us your perfectly kneaded dough (or even your sticky triumphs!) on social media using #BakeWithEaseConqueredStickyDough.
- Discover more baking tips and tricks: Explore our other articles on BakeWithEase.com for even more baking wisdom!
What’s your favorite tip for handling sticky dough? Share it with us in the comments below!