
Pale Bottom Crust? How to Get Even Baking

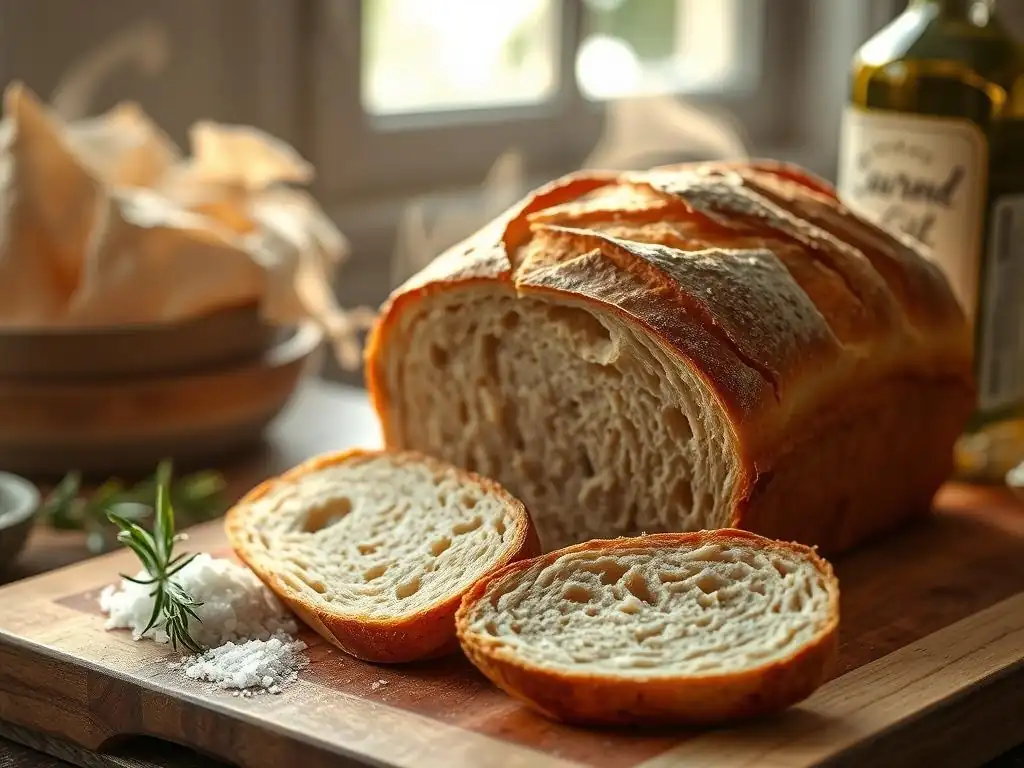
Welcome to BakeWithEase, your guide to baking brilliance! Ever wondered why your bread looks picture-perfect on top but suffers from a pale, underwhelming bottom crust? You're not alone. This article delves into the secrets of achieving that golden-brown perfection, ensuring every loaf is a masterpiece. Discover simple yet effective techniques to conquer uneven baking and finally prevent pale bread crust issues. Ready to bake bread you're truly proud of? Let's get started!
- Understanding Pale Bottom Crust in Bread Baking
- Common Causes of Pale Bottom Crust
- Solutions to Prevent Pale Bread Crust
- Advanced Techniques for Perfect Bread Crust
- Troubleshooting: Still Getting a Pale Bottom Crust?
- Conclusion: Achieving the Perfect Golden-Brown Bottom Crust
-
Frequently Asked Questions
- How can I prevent a pale bottom crust on my bread while the top is browning nicely?
- What role does my baking sheet play in preventing a pale bottom crust?
- Can the type of bread I'm baking affect the likelihood of a pale bottom crust?
- What are some ways to improve heat distribution within my oven to avoid a pale bottom crust?
- Is there a way to protect the top crust while the bottom crust catches up in browning?
- Final Reflection: The Golden Crust of Baking Perfection
- Unlock Perfectly Even Baking!
Understanding Pale Bottom Crust in Bread Baking
Identifying the Problem: Why is My Bread Bottom Pale?
A pale bottom crust is a common frustration for many home bakers. You pull your beautiful loaf out of the oven, the top is a perfect golden brown, maybe even displaying lovely oven spring, but when you turn it over, the bottom is disappointingly light, soft, or even raw-looking. This isn't just an aesthetic issue; a pale bottom often indicates uneven baking and can result in a gummy texture just above the base.
Recognizing this problem early in your baking journey is crucial for achieving consistently great results. It signals that heat distribution in your oven isn't ideal for your specific baking setup and loaf type.
This issue can manifest differently depending on the bread. A lean dough like a baguette or sourdough might have a fully baked but soft, pale bottom, lacking the desired crispness. A enriched dough like challah or brioche might be undercooked and doughy at the base. Understanding the 'why' behind this pale bottom crust is the first step in learning how to prevent pale bread crust and ensure your bread is perfectly cooked from top to bottom, delivering that satisfying crunch and texture contrast in every slice.
The Impact of Uneven Baking on Bread Quality
Uneven baking, particularly a pale or undercooked bottom crust, significantly compromises the overall quality of your bread. The desired crust serves multiple purposes: it provides structural support, contributes to the flavor through caramelization and the Maillard reaction, and offers a delightful textural contrast to the soft interior crumb. When the bottom crust is pale, these benefits are diminished. The bread may feel heavy, dense, or even damp at the base, lacking the necessary structure and flavor development.
Furthermore, uneven baking can lead to a less enjoyable eating experience. A properly baked crust contributes complex flavors – nutty, slightly bitter, and sweet notes developed by the intense heat. A pale crust misses out on these reactions, resulting in a blander taste. The lack of a crisp or firm bottom also affects how the bread holds up, especially for sandwiches or toasts. Learning techniques to prevent pale bread crust ensures every part of your loaf reaches its full potential, from the airy interior to the deeply colored, flavorful exterior.
Common Causes of Pale Bottom Crust
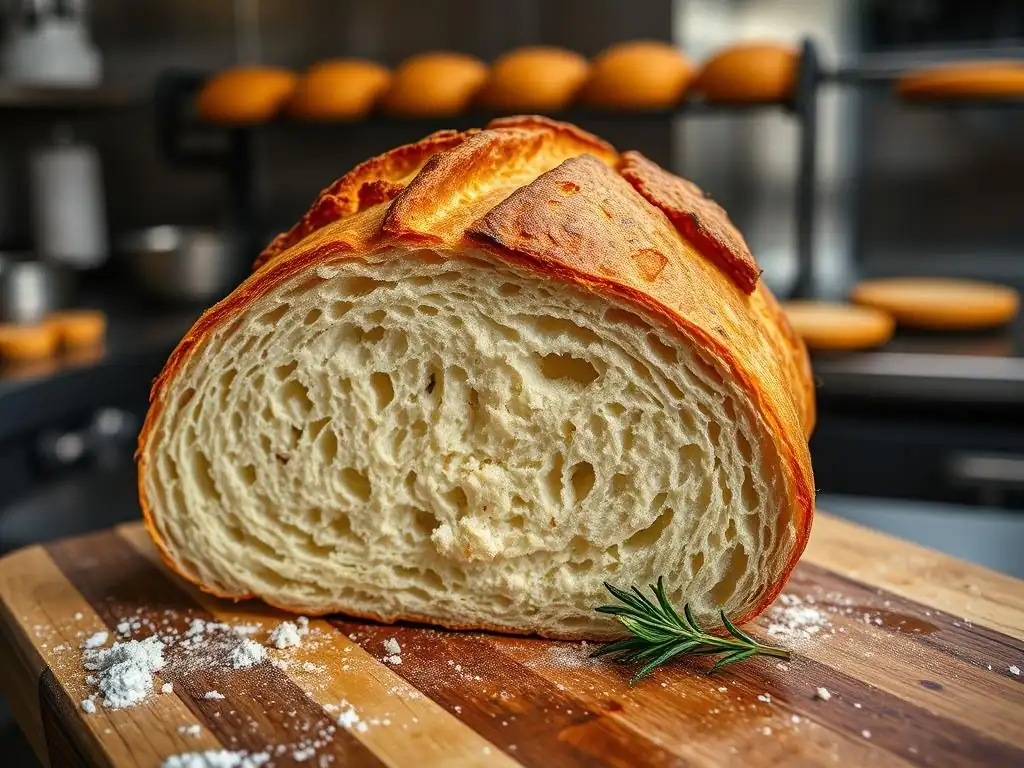
Oven Temperature Inconsistencies and Pale Crust
One of the primary culprits behind a pale bottom crust is often inconsistent oven temperature. While your oven thermostat might be set to, say, 450°F (230°C), the actual temperature inside can fluctuate significantly, sometimes by as much as 50°F (10°C) or more, especially in older ovens. More importantly, the temperature might not be uniform throughout the oven cavity. Heat tends to rise, meaning the top of the oven could be considerably hotter than the bottom, leading to the top crust browning beautifully while the bottom remains stubbornly pale.
This temperature stratification directly impacts how heat is transferred to your baking vessel and, subsequently, the bottom of your loaf. If the air and surfaces at the bottom of the oven are cooler than the top, the bottom crust simply won't receive enough thermal energy to develop color, crispness, and structure at the same rate as the top crust. Understanding these potential temperature variations is key to diagnosing why your bread bottom is pale and implementing effective strategies to prevent pale bread crust in the future.
Importance of an Accurate Oven Thermometer for Bread Baking
Relying solely on your oven's built-in thermostat can be misleading. An inexpensive, independent oven thermometer placed inside the oven cavity is an essential tool for serious bakers. It provides a real-time reading of the actual temperature, allowing you to see how close your oven gets to the set temperature and, crucially, how much it fluctuates during the baking cycle. For example, you might find that setting your oven to 450°F results in a stable temperature of only 425°F, or that it swings between 400°F and 460°F.
Knowing your oven's true temperature profile is the first step in controlling the baking process. If your thermometer reveals a consistent discrepancy, you can adjust your oven setting accordingly (e.g., setting it higher to achieve the desired temperature). If it shows wide fluctuations, you know your oven is less predictable, and you might need to adjust baking times or employ techniques that provide more stable heat transfer, all contributing to your efforts to prevent pale bread crust.
Baking Sheet Material and its Effect on Crust Color
The material and color of your baking sheet or pan play a significant role in how heat is transferred to the bottom of your bread. Light-colored, shiny aluminum pans reflect heat away, which can prevent the bottom crust from browning effectively. This is why cookies baked on shiny aluminum sheets often have pale bottoms. While great for preventing over-browning in some applications, this reflective property is detrimental when you're trying to achieve a deep, golden-brown bottom crust on your bread.
In contrast, dark-colored or anodized pans absorb and radiate heat more efficiently. Baking bread directly on a dark metal surface can significantly increase the amount of heat reaching the bottom of the loaf, promoting better browning and crispness. If you're consistently getting a pale bottom crust when baking on a standard shiny aluminum sheet, simply switching to a darker pan might be a straightforward solution to help prevent pale bread crust issues.
Choosing the Right Baking Sheet for Even Baking
Selecting the appropriate baking sheet is crucial for achieving even baking, especially when it comes to the bottom crust. For breads that benefit from a well-developed bottom crust, such as pizzas, focaccia, or free-form loaves baked directly on a sheet, opting for a dark, heavy-gauge baking sheet or a commercial-grade sheet pan can make a noticeable difference. These materials absorb and retain heat more effectively than thin, shiny aluminum.
Alternatively, consider using a perforated baking sheet designed for baguettes or other crusty breads. The perforations allow air to circulate more freely around the bottom of the loaf, which can help the crust dry out and brown more evenly. While not a guaranteed fix for a severely pale bottom caused by insufficient heat, improved airflow can contribute to better overall crust development and assist in your goal to prevent pale bread crust.
Insufficient Bottom Heat: A Major Culprit
Beyond general oven temperature issues, a specific lack of sufficient heat reaching the bottom of the baking chamber is a major cause of pale bottom crusts. Many ovens have their heating elements primarily located at the bottom, but the air temperature near the bottom rack might still be cooler than the top due to various factors like insulation, door seals, or airflow patterns. When your bread is placed on a rack in this cooler zone, the bottom surface simply isn't exposed to enough thermal energy to brown and crisp properly.
This problem is exacerbated when baking dense loaves or using heavy baking vessels like cast iron pots or Dutch ovens without adequate preheating. The mass of the bread and vessel absorbs heat, and if the heat source below isn't strong enough or consistent, the bottom struggles to catch up to the top. Addressing this lack of concentrated bottom heat is often the most effective way to prevent pale bread crust.
Rack Placement and its Role in Bottom Crust Color
Where you place your baking rack within the oven cavity has a direct impact on which heating element your bread is closest to and how heat circulates around it. Placing your bread on the top rack means it's closer to the top heating element (if your oven has one) and farther from the primary bottom heat source. This often results in a deeply browned top crust but a pale bottom.
Conversely, placing your bread on the lowest rack brings it closer to the bottom heating element. This is often the recommended position for achieving a well-browned bottom crust, as it maximizes the direct radiant heat from the element or the conductive heat from a preheated stone or steel on the oven floor. Experimenting with rack position is a simple yet effective step you can take to balance the heat distribution and help prevent pale bread crust.
Solutions to Prevent Pale Bread Crust
Improving Oven Performance for a Golden Bottom
To achieve a golden bottom crust consistently, you often need to actively manage or improve how your oven delivers heat to the bottom of your bread. This isn't about turning up the overall temperature (which might just burn the top), but about ensuring sufficient, sustained heat is transferred to the base of your loaf. This might involve understanding your oven's quirks and compensating for them through strategic adjustments or by introducing tools that enhance heat transfer.
Improving oven performance for bread baking is an ongoing process of getting to know your specific appliance. It involves more than just setting a temperature; it's about understanding airflow, hot spots, temperature stratification, and how these factors interact with your baking vessel and dough. Mastering these elements is crucial for any baker aiming to prevent pale bread crust and achieve consistently beautiful, well-baked loaves.
Calibrating Your Oven for Consistent Baking Temperatures
If your independent oven thermometer reveals a consistent discrepancy between the set temperature and the actual temperature, your oven might need calibration. Many modern ovens have a built-in calibration feature that allows you to adjust the thermostat up or down by a small amount (e.g., +/- 35°F or +/- 17°C). Consult your oven's manual for instructions on how to do this.
Calibrating your oven helps ensure that when you set it to 450°F, the internal temperature is actually closer to 450°F. While calibration might not fix uneven heat distribution between racks, it provides a more reliable baseline temperature, which is fundamental for controlling the baking process and a necessary step in addressing the root causes that prevent pale bread crust. If your oven is significantly off or fluctuates wildly, professional calibration or repair might be necessary.
Using a Baking Stone or Baking Steel for Enhanced Bottom Heat
One of the most effective ways to combat a pale bottom crust is by using a baking stone or, even better, a baking steel. These dense surfaces are placed on a rack (ideally the lowest or second-lowest) and preheated thoroughly in the oven for at least 30-60 minutes before baking. Stone and steel absorb and retain a large amount of heat.
When you place your bread dough onto the preheated stone or steel, the intense, stored heat is rapidly transferred directly into the bottom of the loaf. This provides a powerful thermal boost right where it's needed most, promoting rapid oven spring and ensuring the bottom crust develops color and crispness at the same pace as the top. Using a stone or steel is a widely recommended technique to prevent pale bread crust, especially for free-form loaves or pizzas.
Enhancing Heat Transfer for a Crispy Bottom Crust
Beyond just having heat available, ensuring that heat is efficiently transferred to the bottom of your bread is key. This involves considering the materials your bread is resting on and how quickly that surface can conduct heat into the dough. Different surfaces have varying thermal conductivity, impacting how much energy reaches the crust in the critical initial phase of baking.
Enhancing heat transfer is about creating an environment where the bottom of the loaf receives sufficient energy to trigger browning reactions and structure development. This can involve selecting materials that conduct heat well or pre-treating surfaces to ensure they are hot and ready to impart energy as soon as the dough makes contact. These methods are fundamental strategies in your quest to prevent pale bread crust.
Utilizing Dark Baking Sheets for Better Heat Absorption
As mentioned earlier, the color of your baking sheet matters. Dark-colored baking sheets absorb radiant heat more effectively than shiny ones. If you're baking bread that requires a pan (like sandwich loaves or rolls), using a dark metal pan will help the bottom crust brown more readily. The darker surface absorbs more energy from the oven's heating elements and the surrounding hot air, transferring that energy into the base of the dough.
While a dark pan might not solve a severe lack of bottom heat in the oven itself, it provides a significant advantage over a reflective pan. It's a simple swap that can make a noticeable difference in achieving better bottom crust color and is an easy tactic to employ when trying to prevent pale bread crust on pan-baked goods.
Preheating Baking Sheets for Optimal Crust Development
Whether you're using a baking sheet, pan, stone, or steel, preheating is critical for optimal bottom crust development. Placing dough onto a cold surface in a hot oven means the bottom of the bread has to wait for the pan/stone to heat up before it starts to bake properly. This delay results in less overall baking time for the bottom crust compared to the top.
Preheating your baking surface ensures that as soon as the dough touches it, intense heat is transferred, initiating crust formation immediately. For a baking stone or steel, this might mean preheating for 45-60 minutes. For a baking sheet or pan, 15-20 minutes at the baking temperature is usually sufficient. This simple step significantly improves heat transfer to the bottom of the loaf and is a non-negotiable practice if you want to prevent pale bread crust.
Adjusting Rack Position for Even Baking
Careful selection of the oven rack position is a simple yet impactful way to influence bottom crust color. For most free-form loaves baked on a stone or steel, placing the stone/steel on the lowest or second-lowest rack is generally recommended. This positions the bread closest to the main heat source (often the bottom element) and allows gravity to work in your favor, with hotter air rising to bake the top.
For pan breads, the middle rack is often a good starting point, but if you consistently get a pale bottom, moving the pan to a lower rack might provide the extra heat needed. Be mindful, however, that placing the bread too close to a powerful bottom element without a thermal buffer like a stone or steel can sometimes lead to burning before the rest of the loaf is done. Experimentation is key to finding the sweet spot in your specific oven to prevent pale bread crust.
Experimenting with Rack Height for Perfect Crust Color
Finding the ideal rack height in your oven is often a process of trial and error. Start with conventional advice (lowest rack for free-form loaves on a stone/steel, middle rack for pan loaves) and observe the results. If your bottom is still pale, and the top is browning too quickly, try moving the bread slightly lower. If the bottom is burning while the top is pale, you might need to move it up or use a shield.
Keep notes on which rack position you used for each bake and the resulting crust color. Over time, you'll learn which position works best in your oven for different types of bread and baking vessels. This empirical approach is invaluable for consistently achieving that desired golden-brown bottom crust and effectively preventing pale bread crust.
Boosting Bottom Heat Through Baking Techniques
Sometimes, simply adjusting oven settings or rack position isn't enough to overcome a significant lack of bottom heat or to handle dense doughs. In these cases, specific baking techniques designed to concentrate and deliver heat to the base of the loaf become essential tools in your arsenal.
These techniques often involve using specialized equipment or methods that create a more intense, localized heat source for the bottom of the bread. They are particularly useful for bakers who struggle with older ovens or those with known cold spots. Employing these methods can drastically improve your ability to prevent pale bread crust and achieve professional-looking results at home.
Baking with a Dutch Oven for All-Around Crust Development
Baking bread in a preheated Dutch oven is a highly effective method for achieving excellent crust development, including the bottom. The heavy cast iron (or other material) is preheated to a high temperature, usually 450-500°F (230-260°C). When the dough is carefully lowered into the hot pot, the enclosed space traps steam released by the bread, which is crucial for initial crust expansion and development.
More importantly for our specific problem, the intensely hot bottom of the Dutch oven provides powerful, even heat transfer directly to the base of the loaf. This conductive heat ensures the bottom crust starts baking immediately and bakes thoroughly. While the top of the Dutch oven is on for the first part of the bake, creating steam, removing the lid allows the top crust to brown. The trapped heat within the pot ensures the bottom continues to bake and crisp. This technique is a favorite for sourdough and rustic loaves precisely because it helps reliably prevent pale bread crust.
Using a Pizza Stone to Increase Bottom Heat
A pizza stone, typically made from ceramic or cordierite, functions similarly to a baking stone in its ability to absorb and retain heat. Placing a pizza stone on the lowest rack and preheating it thoroughly provides a hot surface to place your bread directly onto. The stone's mass and material ensure a significant amount of heat is transferred to the bottom of the loaf upon contact.
While perhaps most famous for pizza, a preheated pizza stone is an excellent tool for baking free-form bread loaves directly on. It helps create a crisp, well-browned bottom crust by providing that necessary burst of initial heat. Using a pizza stone is a relatively affordable way to upgrade your oven's ability to prevent pale bread crust compared to some other methods.
Advanced Techniques for Perfect Bread Crust
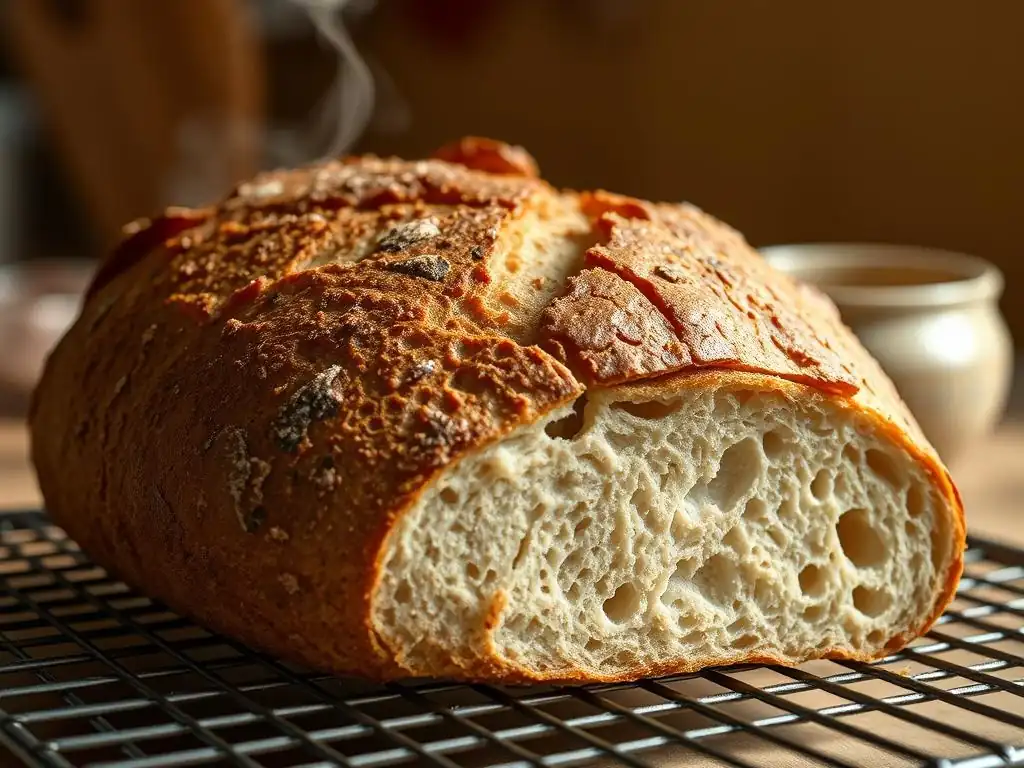
Beyond the basics, some more advanced techniques can further enhance overall crust development, including ensuring the bottom is perfectly baked and colored. These methods often involve manipulating the oven environment or fine-tuning the baking process based on specific dough characteristics.
Mastering these advanced techniques can elevate your bread from good to exceptional, ensuring not just a well-colored bottom crust but a beautiful, flavorful crust all around. They require a bit more understanding of baking science but offer powerful ways to troubleshoot and perfect your results, helping you consistently prevent pale bread crust and achieve bakery-quality loaves.
Utilizing Convection Baking for Even Browning
If your oven has a convection setting (fan-assisted baking), using it can help improve overall heat distribution and promote more even browning. Convection circulates hot air throughout the oven cavity, reducing hot spots and ensuring that all surfaces of the bread are exposed to consistent temperatures.
While convection is excellent for even browning on the top and sides, it might not always fully compensate for a severe lack of bottom heat, especially when baking directly on a cold or reflective surface. However, when used in conjunction with a preheated stone or steel on a lower rack, the circulating hot air can help ensure the entire loaf bakes evenly, contributing to your efforts to prevent pale bread crust. Start with convection for the initial phase of baking, then switch to conventional if the top is browning too quickly.
The Role of Steam in Crust Formation and Color
Steam in the oven during the initial phase of baking is crucial for crust development, though its primary role is related to the top crust's expansion and texture. High humidity prevents the surface of the dough from drying out too quickly, allowing the loaf to expand fully before the crust sets. This leads to a thinner, crisper crust.
While steam primarily affects the upper crust, creating a good steamy environment can indirectly help with overall evenness. By allowing the top crust to develop properly without setting prematurely, it gives the bottom crust more time to catch up in terms of baking and color development, assuming sufficient bottom heat is present. Effective steaming is a key component of achieving a beautiful, golden crust all around, complementing other methods used to prevent pale bread crust.
Creating Steam in Your Oven for a Golden-Brown Crust
There are several ways to create steam in a home oven. One common method is to place a heat-safe pan (like a cast iron skillet) on the bottom rack or oven floor while preheating. Just before loading the bread, carefully pour hot water into this pan to generate a burst of steam. Use about 1 cup (240ml) of boiling water for a standard oven.
Another method involves placing lava rocks or a metal chain in the steam pan, which helps generate steam more continuously. Baking in a preheated Dutch oven, as mentioned earlier, is also a highly effective way to self-contain steam around the loaf.
The goal is to create a humid environment for the first 15-20 minutes of baking, after which the steam source is typically removed (or the Dutch oven lid is taken off) to allow the crust to dry out and brown. Proper steaming is essential for achieving that desirable thin, crisp, and golden crust, working hand-in-hand with techniques to prevent pale bread crust.
Adjusting Baking Time for Optimal Crust Color
Sometimes, the simplest solution to a pale bottom crust is to adjust the baking time or temperature towards the end of the bake. If your loaf is fully cooked internally (check with an instant-read thermometer – around 200-210°F or 93-99°C for lean bread) but the bottom crust is still pale, you might need to extend the baking time slightly.
- Carefully check the internal temperature first to ensure the bread isn't undercooked.
- If the internal temperature is met, but the bottom is pale, you can try baking for an additional 5-10 minutes.
- If the top is already perfectly browned, you might need to shield it with aluminum foil to prevent it from burning while the bottom catches up.
- Alternatively, for the last 5-10 minutes, you could try carefully placing the bread directly on the oven rack (if it was in a pan or on a sheet) or even directly on the preheated oven floor (if safe for your oven) to expose the bottom to more direct heat.
This final adjustment can be the finishing touch needed to prevent pale bread crust and ensure even coloring.
Troubleshooting: Still Getting a Pale Bottom Crust?
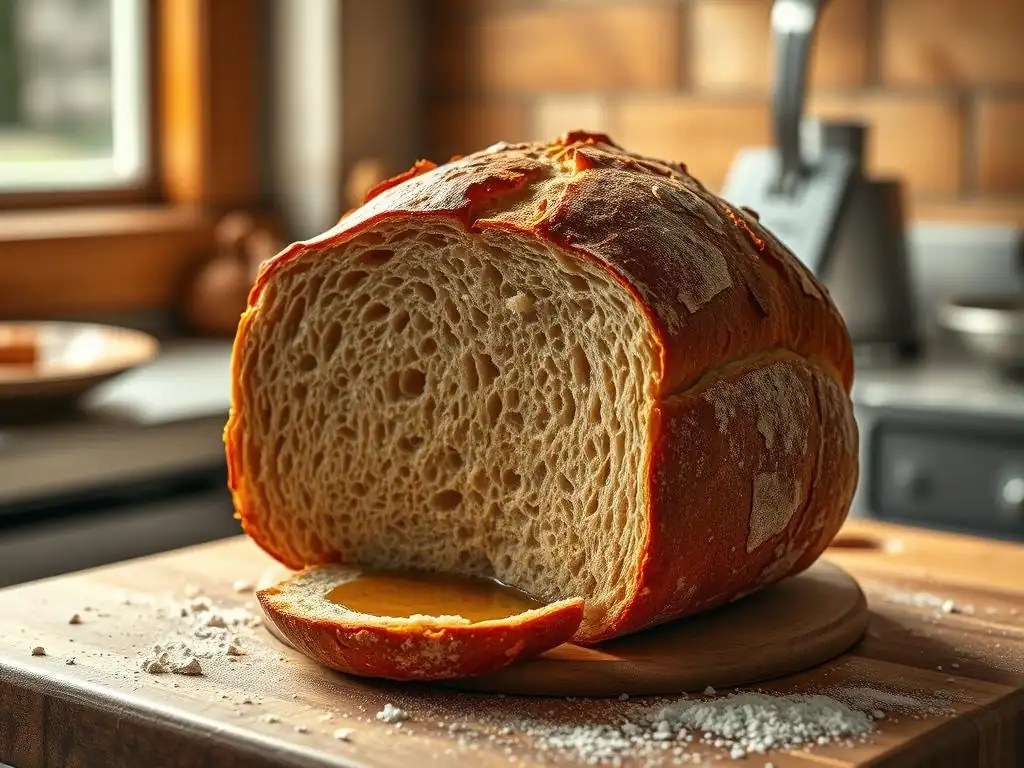
If you've tried multiple techniques – using a stone/steel, adjusting rack position, preheating longer, using dark pans – and you're still consistently facing a pale bottom crust, the issue might be more fundamental to your oven's performance or a combination of factors. Don't get discouraged; troubleshooting is part of the baking process!
Persistent pale bottom crust problems indicate a significant heat deficiency at the bottom of your oven or a complex interplay of heat transfer issues. It requires a systematic approach to identify the root cause and implement a lasting solution. The goal is always to prevent pale bread crust, and sometimes that requires digging a little deeper.
Addressing Persistent Issues with Bottom Crust Color
When basic adjustments don't work, consider these possibilities:
- Severe Oven Calibration Issue: Is your oven really reaching and holding the set temperature, especially at the bottom? Re-check with your oven thermometer on the lowest rack. If it's significantly off, calibration or repair might be needed.
- Weak Bottom Heating Element: In electric ovens, the bottom element might be underperforming or failing.
- Poor Oven Insulation: Heat might be escaping from the bottom of the oven, particularly through the door seal or vent.
- Incorrect Baking Surface: Are you using a thick enough stone/steel? Is it adequately preheated? A thin stone or insufficient preheating won't store enough heat.
- Dough Characteristics: Very wet doughs can sometimes take longer to develop a bottom crust as the water needs to evaporate first. Ensure your dough isn't excessively hydrated without compensating techniques.
By methodically checking these potential issues, you can pinpoint why your efforts to prevent pale bread crust are falling short.
Seeking Professional Oven Calibration Services
If your oven thermometer shows significant and consistent temperature inaccuracies that you cannot fix with the built-in calibration or if you suspect a faulty heating element or poor insulation, it might be time to call in a professional appliance technician. They have specialized tools to accurately measure oven temperature and diagnose mechanical issues.
A properly calibrated and functioning oven is the foundation for consistent baking results. While baking stones, Dutch ovens, and technique adjustments can compensate for minor imperfections, they cannot fully overcome a significantly malfunctioning oven. Investing in professional service can be the definitive step to ensure your oven provides the even heat distribution necessary to consistently prevent pale bread crust and bake perfect loaves.
Conclusion: Achieving the Perfect Golden-Brown Bottom Crust
Achieving a perfect golden-brown bottom crust on your homemade bread is a sign of even, thorough baking and contributes significantly to the loaf's flavor, texture, and overall appeal. A pale bottom, conversely, indicates uneven heat distribution and can lead to a less satisfying result. Fortunately, understanding the common causes – oven temperature inconsistencies, baking surface materials, insufficient bottom heat, and rack placement – empowers you to implement effective solutions.
From simple adjustments like using a darker baking sheet or repositioning your oven rack to more advanced techniques involving baking stones, steels, Dutch ovens, or even professional oven calibration, there are numerous strategies at your disposal. By systematically troubleshooting, experimenting with different methods, and getting to know the nuances of your specific oven, you can reliably prevent pale bread crust and confidently pull out loaves that are beautifully and evenly baked from top to bottom, ready to be sliced and enjoyed. Happy baking!
Frequently Asked Questions
How can I prevent a pale bottom crust on my bread while the top is browning nicely?
The most common fix is to move your oven rack to a lower position. This brings the bottom of the loaf closer to the heat source.
What role does my baking sheet play in preventing a pale bottom crust?
Using a thin or dark baking sheet can help absorb and transfer heat more effectively. Avoid using shiny, reflective sheets, as they can deflect heat.
Can the type of bread I'm baking affect the likelihood of a pale bottom crust?
Yes, some breads, like those with a high fat or sugar content, tend to brown more quickly on top. Lowering the oven temperature slightly can help even out the browning.
What are some ways to improve heat distribution within my oven to avoid a pale bottom crust?
Consider using a baking stone or baking steel placed on the lower rack. These materials help to distribute heat more evenly.
Is there a way to protect the top crust while the bottom crust catches up in browning?
You can tent the top of the bread with aluminum foil towards the end of baking. This prevents over-browning on the top while the bottom continues to bake.
Final Reflection: The Golden Crust of Baking Perfection
The quest for a perfectly browned crust isn't just about aesthetics; it's about unlocking the full potential of your bread. A pale crust often signals uneven baking, potentially impacting texture and flavor. This article has explored the multifaceted reasons behind this common baking problem, from oven temperature inconsistencies to hydration levels and even the type of pan you use. Mastering these elements is key to consistent baking success.
The pursuit of the ideal crust has been a journey for many bakers, myself included. The subtle nuances of heat transfer, the delicate balance of moisture and gluten development – these are the elements that transform a simple loaf into a culinary masterpiece. The best bread is the bread you bake with love.
This simple statement speaks volumes about the passion and dedication involved in achieving baking perfection. It's a process of learning, adapting, and celebrating the small victories along the way.
Now, it's your turn. Take what you've learned here – the insights into oven calibration, the importance of proper hydration, the impact of your baking vessel – and apply it to your next loaf. Don't be afraid to experiment, to adjust your techniques, and to embrace the occasional imperfect bake as a learning opportunity. The journey to a consistently golden, perfectly baked crust is a rewarding one, filled with the delicious aroma of freshly baked bread and the satisfaction of a job well done. Embrace the challenge, and may your next loaf be your best yet!
Unlock Perfectly Even Baking!
Thanks for taking the time to learn about achieving that coveted, golden-brown bottom crust! We hope you found the tips and tricks helpful. Now it's time to put your newfound knowledge into practice.
Here's what you can do next:
- Bake your next masterpiece! Try out one of the techniques discussed and see the difference it makes. Challenge yourself to achieve even baking perfection.
- Share your baking successes (and challenges!) with our community on social media. Use #BakeWithEase and tag us—we'd love to see your creations!
- Experiment with different flours and baking pans to see how they impact your results. What surprising discoveries will you make?
Ready to transform your baking game? What’s your favorite baking tip for ensuring an even bake?