
Starting with Rye Flour: A Guide to Rye Sourdough Starters

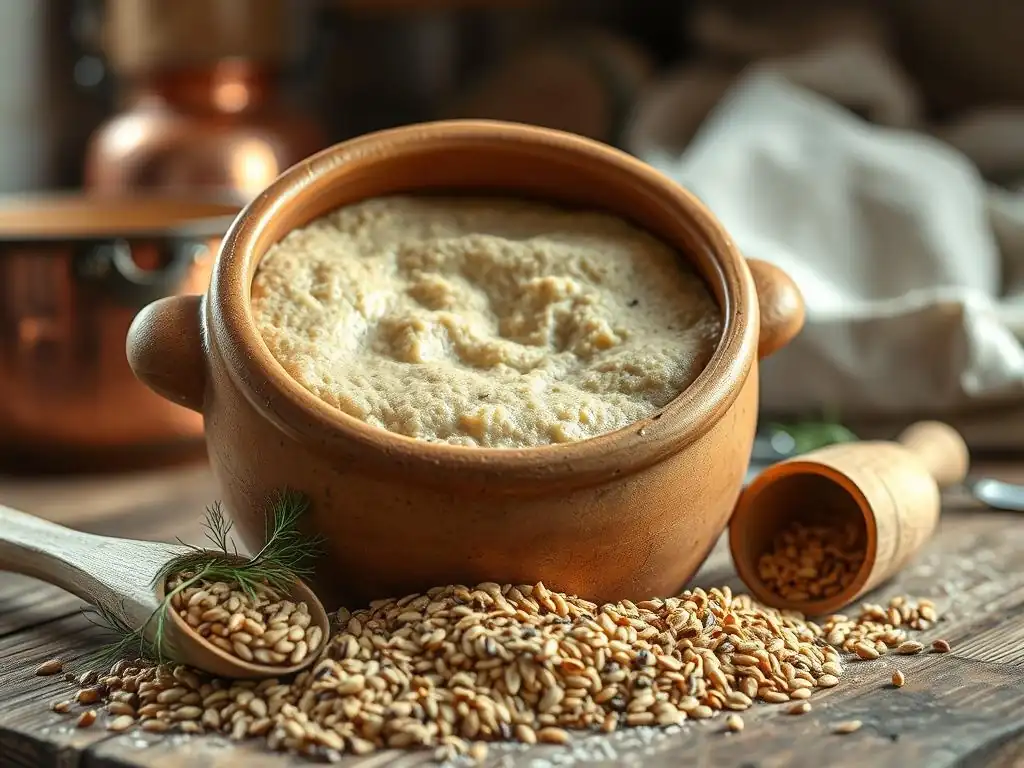
Welcome to BakeWithEase, your companion in the delightful world of baking! Are you ready to embark on a journey into the robust flavors and satisfying textures of sourdough? Then you're in the right place! This guide delves into the secrets of creating a rye sourdough starter recipe beginner, a surprisingly simple yet incredibly rewarding project that will unlock a whole new level of baking possibilities. Discover how to cultivate your own thriving rye culture and prepare for some unforgettable loaves. Intrigued? Let's get started!
- Crafting Flavorful Sourdough: A Guide to Rye Starters
- Introduction to Rye Sourdough Starters
- Building Your Rye Sourdough Starter: A Step-by-Step Guide
- Daily Instructions: Nurturing Your Rye Sourdough Starter
- Troubleshooting Common Sourdough Starter Issues
- Maintaining a Healthy and Active Rye Sourdough Starter
- Using Your Rye Sourdough Starter for Baking
- Advanced Sourdough Techniques with Rye [Optional]
- Conclusion: Enjoying the Art of Rye Sourdough Baking
-
Frequently Asked Questions
- What are the benefits of using rye flour to start a sourdough starter?
- Is a rye sourdough starter more difficult to maintain than one made with all-purpose flour?
- Can I convert my existing sourdough starter to a rye sourdough starter?
- What does a healthy rye sourdough starter look and smell like?
- What if my rye sourdough starter isn't rising?
- Final Reflection: The Enduring Magic of Rye Sourdough
- Unleash Your Inner Rye Baker!
Crafting Flavorful Sourdough: A Guide to Rye Starters
Introduction to Rye Sourdough Starters
Starting your sourdough journey can be incredibly rewarding, and opting for a rye sourdough starter offers unique benefits right from the beginning. Unlike starters made with all-purpose or bread flour, a rye starter tends to become active more quickly and is often more resilient. This makes a rye sourdough starter recipe beginner friendly and a fantastic entry point into the world of wild yeast fermentation. The distinct flavor profile that rye imparts to baked goods is also a major draw, adding depth and complexity that's hard to achieve with other flours.
Choosing rye flour for your starter also taps into the natural abundance of microbes present on rye grain. These microbes are essential for kickstarting the fermentation process. Because rye flour is often less refined than white flours, it retains more of these beneficial microorganisms, along with nutrients that the wild yeast and bacteria feed on. This vibrant microbial community contributes to a robust and active starter, setting you up for success with your first attempts at baking rye sourdough bread or other delicious treats.
The Benefits of Using Rye Flour for Sourdough Starters
Rye flour is particularly rich in enzymes that help break down starches into sugars, providing readily available food for the wild yeast and lactic acid bacteria (LAB) that constitute a healthy sourdough starter. This enzymatic activity is often higher in rye compared to wheat flours, which can lead to a faster initial activation and more vigorous bubbling. For anyone looking for a reliable rye sourdough starter recipe beginner friendly approach, the inherent qualities of rye flour offer a significant advantage in establishing a thriving culture.
Furthermore, rye flour tends to absorb more water than wheat flour due to its pentosan content. This higher water absorption can contribute to a more stable starter consistency, which can be easier to manage, especially for beginners. While the texture might seem different – often stickier or more paste-like – this is normal and indicative of a healthy rye starter. The unique composition of rye flour not only aids in the starter's development but also lays the foundation for the characteristic tangy and slightly earthy flavor that rye baked goods are celebrated for.
Achieving Success with Your Rye Sourdough Starter
Success with a rye sourdough starter recipe beginner hinges on consistency and observation. One key factor is maintaining a stable temperature, ideally between 70°F and 80°F (21°C to 27°C), which promotes optimal microbial activity. Fluctuating temperatures can slow down development or even kill off the beneficial microbes. Keeping your starter in a warm, consistent spot in your kitchen, like inside an oven with the light on (but the oven off! ), can make a significant difference in its health and activity levels during the initial building phase.
Another crucial aspect is using the correct type of water. Unchlorinated or filtered water is best, as chlorine can inhibit or kill the wild yeast and bacteria you are trying to cultivate. Tap water in many areas is chlorinated, so letting it sit out for 24 hours or using a filter can help.
Paying close attention to the starter's texture, smell, and activity levels each day provides valuable clues about its health. A healthy rye starter will typically develop a pleasant, slightly tangy aroma and show consistent bubbling and rise after feeding, signaling it's on the right track for baking.
Building Your Rye Sourdough Starter: A Step-by-Step Guide
Building a rye sourdough starter from scratch is a simple process that requires patience and consistency. The basic principle is to mix rye flour and water and then regularly feed this mixture to encourage the growth of wild yeast and lactic acid bacteria. This guide provides a straightforward rye sourdough starter recipe beginner friendly approach, designed to demystify the process and help you cultivate a vibrant starter ready for baking.
The initial steps are surprisingly simple: combining equal parts by weight of rye flour and water in a clean jar. This creates a hospitable environment for the naturally occurring microbes in the flour and air to begin multiplying. Over the following days, you'll discard a portion of the starter and feed it fresh flour and water. This discarding process is essential; it manages the volume of the starter, removes metabolic waste products, and ensures there's enough food for the microbes to thrive, leading to a strong and active culture.
Ingredients for Your Rye Flour Sourdough Starter
To begin your rye sourdough starter recipe beginner journey, you will need just two primary ingredients: rye flour and water. For the rye flour, using organic whole grain rye flour is often recommended as it typically contains a higher concentration of natural microbes and nutrients compared to refined rye flour. While any rye flour can work, whole grain varieties tend to kickstart activity more quickly. You'll likely need around 500 grams to 1 kilogram of rye flour in total over the initial 7-10 day building period, depending on how much starter you maintain.
As for water, quality is paramount. As mentioned earlier, use unchlorinated or filtered water. Distilled water should be avoided as it lacks the minerals that can be beneficial for microbial growth. Room temperature water, roughly 70°F (21°C), is ideal for mixing. Avoid using water that is too cold or too hot, as extreme temperatures can shock or kill the delicate microbial ecosystem you are trying to cultivate. Having a readily available supply of good quality water is essential for consistent daily feedings.
Essential Equipment for Cultivating Your Rye Starter
Cultivating a rye sourdough starter recipe beginner style doesn't require a lot of specialized equipment, but a few items are crucial for success. The most important is a suitable container. A glass jar or a food-grade plastic container with a wide mouth is ideal, allowing for easy mixing, feeding, and observation. A capacity of at least 1 quart (about 1 liter) is recommended to accommodate the starter as it grows and becomes active. Ensure the container is clean before you begin to prevent introducing unwanted bacteria or mold.
You will also need a way to measure your ingredients accurately. While some recipes use volume measurements, using a digital kitchen scale provides much greater precision, which is vital for consistent results in sourdough baking. Measuring flour and water by weight ensures the correct hydration level every time.
Additionally, a spatula or spoon for mixing, and a loose-fitting lid or plastic wrap to cover the jar (allowing gases to escape), are necessary. Avoid airtight lids, especially in the early, active stages, as the buildup of carbon dioxide can cause the jar to break. A rubber band or piece of tape around the jar can help you mark the starter's initial level after feeding to easily track its rise.
Daily Instructions: Nurturing Your Rye Sourdough Starter
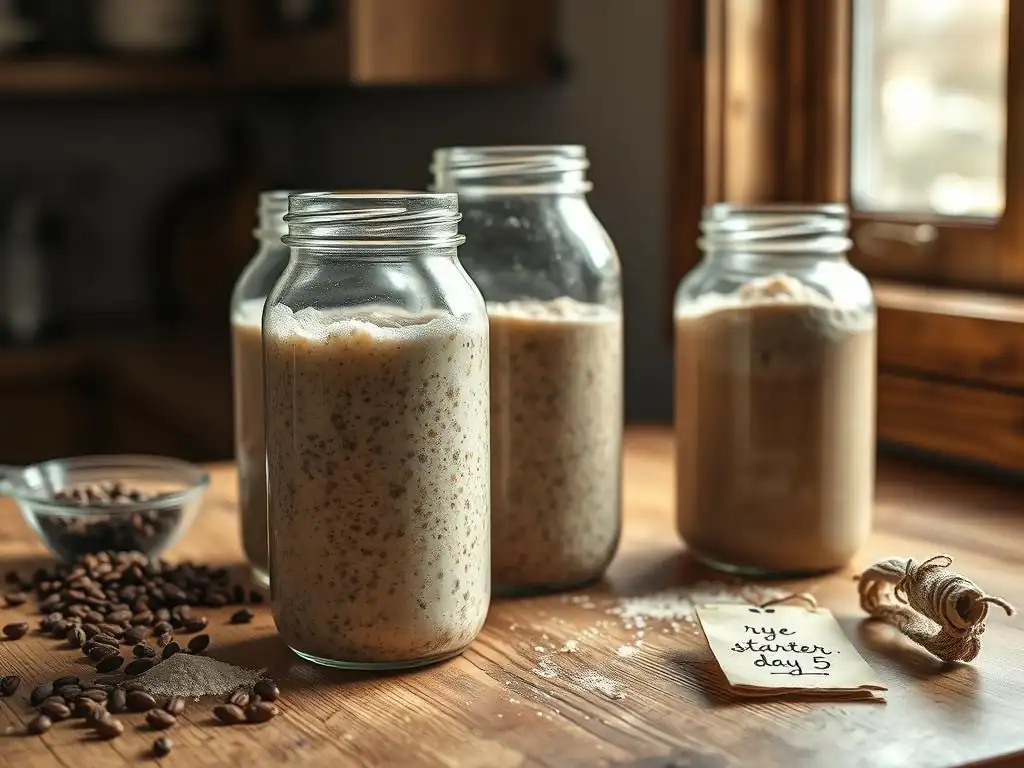
Nurturing your rye sourdough starter involves a simple daily routine of feeding and observation. This process is key to developing a strong, active culture capable of leavening bread. Following a consistent schedule, particularly during the initial week to ten days, is vital for success with your rye sourdough starter recipe beginner endeavor. Don't be discouraged if you don't see dramatic activity immediately; some starters take longer to get going than others. Patience is a baker's virtue.
The daily feeding routine involves discarding a portion of the starter and replenishing it with fresh flour and water. This ensures the microbes have a continuous supply of food and helps maintain a manageable volume. Typically, you'll aim for a feeding ratio that provides sufficient nutrients without creating an excessively large amount of starter. Observing how the starter responds to feeding – how much it rises, how quickly it falls, and what it smells like – provides crucial feedback on its health and maturity.
Day 1: Combining Rye Flour and Water
On Day 1 of your rye sourdough starter recipe beginner journey, you will create the initial mixture that will become your starter. In a clean glass jar, combine 50 grams of rye flour and 50 grams of unchlorinated, room temperature water. Mix these two ingredients thoroughly with a spoon or spatula until no dry spots of flour remain and you have a thick, paste-like consistency. This initial mix provides the environment for the natural microbes present in the rye flour to begin multiplying.
Once mixed, loosely cover the jar. A piece of plastic wrap secured with a rubber band, or simply placing the lid on without tightening, works well. This allows gases produced during fermentation to escape while preventing the starter from drying out. Place the jar in a warm spot, ideally between 70°F and 80°F (21°C to 27°C), and leave it undisturbed for 24 hours. You might not see much activity on this first day, perhaps just a few tiny bubbles, and that is completely normal.
Days 2-7: Feeding and Observing Your Rye Sourdough Starter
From Day 2 onwards, you will begin the daily feeding ritual for your rye sourdough starter recipe beginner. Each day, ideally around the same time, you will discard a portion of the starter and feed it fresh ingredients. A common feeding ratio is 1:1:1 by weight (starter:flour:water). For example, you would discard all but 50 grams of your existing starter, then add 50 grams of fresh rye flour and 50 grams of fresh water. Mix thoroughly until well combined.
After feeding, loosely cover the jar again and return it to its warm location. Over these days, you should start to see increasing signs of activity. Small bubbles might appear on Day 2 or 3, and by Day 4 or 5, you may observe a noticeable rise in volume after feeding, perhaps doubling or even tripling before slowly falling back down. The starter's smell will also evolve from a floury scent to something more tangy and slightly alcoholic. Continue this daily feeding routine until the starter shows consistent doubling within 4-8 hours after feeding, typically around Day 7-10.
Identifying Signs of Activity and Health in Your Starter
Knowing what to look for is key to nurturing a healthy rye sourdough starter recipe beginner. The most visible sign of activity is bubbling. Small bubbles on the surface and throughout the starter indicate that the yeast and bacteria are producing carbon dioxide. As the starter matures, these bubbles will become more numerous and larger, leading to a noticeable rise in the starter's volume after feeding. Marking the initial level after feeding with a rubber band helps you easily track this rise and subsequent fall.
Beyond bubbling and rising, the aroma of your starter provides important clues. In the early stages, it might smell slightly yeasty or even like flour and water. As it develops, it should take on a pleasant, tangy, slightly acidic smell, sometimes described as yogurt-like or fruity. A strong, unpleasant smell, like nail polish remover (acetone) or vomit, can indicate that the starter is hungry or needs more frequent feeding, but is not necessarily a sign of failure. The texture will also change, becoming lighter and more airy when active, compared to the dense paste of the initial mix.
Troubleshooting Common Sourdough Starter Issues
Even with a solid rye sourdough starter recipe beginner guide, you might encounter challenges along the way. It's important to remember that starter behavior can vary based on environmental factors like temperature and the specific microbial composition of your flour and kitchen. Most common issues are easily fixable with slight adjustments to your feeding routine or environment. Don't give up if your starter seems sluggish or develops an unusual appearance; troubleshooting is a normal part of the process.
Understanding the potential pitfalls, such as mold growth, inactivity, or strange smells, empowers you to take corrective action promptly. Often, these issues stem from imbalances in the starter's ecosystem or insufficient feeding. By learning to recognize the signs and knowing how to respond, you can steer your starter back towards health and vigor. Maintaining a consistent temperature and using clean equipment are foundational practices that help prevent many problems before they even start.
Addressing Mold Growth and Preventing Contamination
Mold growth is a serious issue and, unfortunately, if you see fuzzy, colored patches (typically green, black, or orange) on your rye sourdough starter recipe beginner, it means the starter is contaminated and should be discarded. Unlike the hooch (a layer of liquid that can form on top of hungry starter), which is harmless, mold is detrimental and indicates that unwanted microorganisms have taken hold. Do not attempt to salvage a moldy starter by scraping off the mold; the spores likely permeate the entire culture.
Prevention is the best strategy against mold. Always use clean jars and utensils when handling your starter. Wash them thoroughly with hot, soapy water and rinse well.
Ensure your rye flour is fresh and stored properly to avoid introducing mold spores from the ingredients themselves. Covering your starter loosely prevents it from drying out on the surface, which can be an invitation for mold, while still allowing fermentation gases to escape safely. Maintaining a strong, active starter through regular feeding also helps, as the acidic environment created by the beneficial bacteria inhibits the growth of many undesirable microbes, including mold.
Reviving an Inactive or Slow-Rising Starter
An inactive or slow-rising rye sourdough starter recipe beginner is a common issue, often caused by insufficient feeding, too cold temperatures, or using chlorinated water. If your starter isn't showing much bubbling or isn't doubling after feeding, the first step is to assess its environment. Is the temperature consistently above 70°F (21°C)? If not, find a warmer spot. Are you using filtered or unchlorinated water? Switch to better water if needed.
If the environment is fine, the starter might simply be hungry or need more frequent feeding. Try feeding it more often, perhaps every 12 hours instead of 24, especially if you see a slight rise and fall happening quickly. You can also try increasing the feeding ratio, for example, feeding 2 parts flour and 2 parts water to 1 part starter (1:2:2) to give the microbes a larger meal.
Sometimes, simply discarding more of the old starter before feeding helps by reducing the concentration of metabolic waste products. Persistence and slightly adjusting your feeding strategy based on the starter's response are key to reviving a sluggish starter.
Interpreting Starter Aromas: Identifying Normal and Abnormal Scents
The aroma of your rye sourdough starter recipe beginner provides valuable clues about its health and the type of fermentation occurring. In the early days, it might smell like wet flour or perhaps slightly yeasty. As it matures, a healthy rye starter will develop a pleasant, tangy smell. This acidity comes from the lactic acid bacteria. It might also have notes that are slightly sweet, fruity, or even vinegary, which are generally normal byproduct of fermentation.
A strong smell of acetone, like nail polish remover, is usually a sign that the starter is very hungry and producing alcohol as a byproduct of fermentation due to a lack of available sugars. While not necessarily harmful, it indicates the starter is past its peak and needs feeding. A very strong, unpleasant smell, like garbage or vomit, is abnormal and could indicate the presence of undesirable bacteria.
If the smell is truly foul and persistent despite feeding, it might be best to discard and start fresh, though this is relatively rare in a well-maintained starter. Learn to recognize the typical tangy rye starter smell as your benchmark for health.
Maintaining a Healthy and Active Rye Sourdough Starter
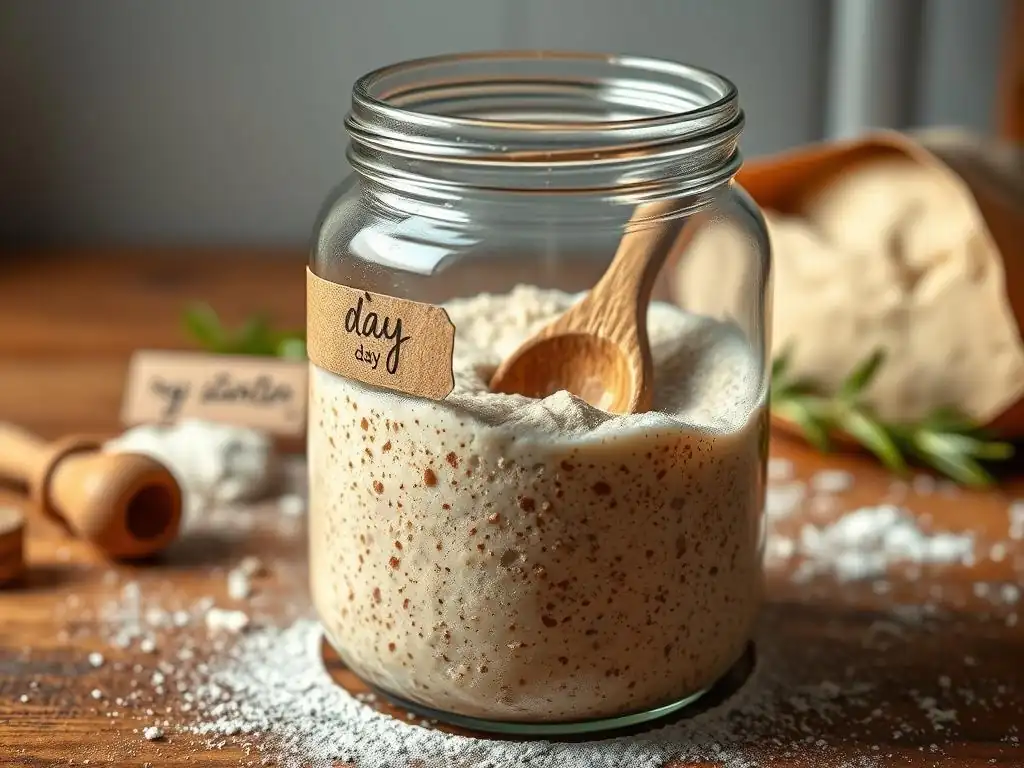
Once your rye sourdough starter recipe beginner is consistently doubling within 4-8 hours after feeding at room temperature, it is considered active and ready for baking. Maintaining this state of health requires a consistent feeding schedule based on how often you plan to bake. A well-maintained starter is resilient and will provide consistent results in your baking. The key is to feed it regularly enough to keep the yeast and bacteria thriving without letting them run out of food too often.
The frequency of feeding depends largely on whether you store your starter at room temperature or in the refrigerator. Room temperature storage requires daily feeding, sometimes even twice a day if your kitchen is warm. Refrigeration slows down microbial activity significantly, allowing you to feed it much less frequently, which is ideal for bakers who don't bake daily. Understanding these different maintenance strategies is crucial for keeping your rye starter ready whenever inspiration strikes.
Optimal Feeding Schedules for Different Usage Patterns
For bakers who plan to bake frequently (daily or every couple of days), keeping your rye sourdough starter recipe beginner at room temperature is convenient. In this scenario, daily feeding is necessary, typically using a 1:1:1 ratio (starter:flour:water) or even a higher ratio like 1:2:2 if your starter is very active or your kitchen is warm. Feeding at the same time each day helps establish a routine and keeps the starter predictable. For example, feeding 50g starter with 50g rye flour and 50g water every morning.
If you bake less often, perhaps once a week or less, storing your rye starter in the refrigerator is the most practical approach. Refrigeration significantly slows down fermentation. You can feed your starter, let it sit at room temperature for an hour or two to start, and then place it in the fridge.
In the refrigerator, feeding once a week is generally sufficient. When you want to bake, take the starter out, let it warm up, and feed it 1-3 times at room temperature until it is active and bubbly again, typically within 12-24 hours. This lower maintenance schedule is perfect for the casual baker.
Long-Term Storage: Refrigeration Techniques and Revival
Storing your rye sourdough starter recipe beginner in the refrigerator is an excellent method for long-term maintenance (up to several weeks or even months) when you're not baking frequently. To prepare your starter for refrigeration, give it a normal feeding at room temperature. Let it sit out for 1-2 hours until you see the first signs of activity (a few bubbles), then place it in the refrigerator. The cold temperature dramatically slows down the metabolic rate of the microbes. Ensure the container is loosely covered to prevent pressure buildup but tight enough to prevent drying.
When you're ready to bake after storing your starter in the fridge, you'll need to revive it. Take the jar out of the refrigerator and let it come to room temperature for a few hours. Discard most of the starter, leaving only a small amount (e.g., 20-30 grams). Feed this small amount with your regular ratio of flour and water (e.g., 50g rye flour, 50g water).
Mix well and leave it at room temperature. You may need to feed it once or twice more over the next 12-24 hours, discarding most before each feeding, until it consistently doubles in volume within 4-8 hours. It usually takes 1-3 feedings to get a refrigerated starter back to its peak activity for baking.
Using Your Rye Sourdough Starter for Baking
Once your rye sourdough starter recipe beginner is active and consistently doubling after feeding, it's ready to be used in baking! An active starter, often referred to as "ripe" or "at its peak," is crucial for successful leavening. This is when the yeast and bacteria are most vigorous and capable of producing the carbon dioxide needed to make your bread rise. Using the starter at its peak ensures optimal texture and flavor development in your baked goods.
The versatility of a rye sourdough starter extends beyond just rye bread. While it's perfect for classic pumpernickel or dark rye loaves, its tangy flavor profile also works beautifully in mixed-flour sourdoughs, adding complexity to wheat-based doughs. You can use it in recipes for sourdough discard crackers, pancakes, waffles, and even cakes, utilizing the portion you would typically discard during feeding. This minimizes waste and lets you explore a wide range of sourdough applications.
Recipes Featuring Rye Sourdough Starter
Using your active rye sourdough starter recipe beginner opens up a world of delicious possibilities. A classic starting point is a simple 50% rye sourdough bread. This recipe typically combines equal parts rye flour and strong bread flour with water, salt, and your active rye starter. The rye starter contributes a deep, earthy flavor and helps develop a moist crumb, while the bread flour provides structure for a good rise. You'll often see recipes calling for a specific amount of active starter, perhaps 100-150 grams for a standard loaf.
Beyond traditional bread, your rye starter can enhance many other recipes. Consider making sourdough rye crackers using your discard; these often require just starter discard, a bit of oil, salt, and perhaps some seeds, baked until crisp. Sourdough rye pancakes or waffles are another easy win, lending a slight tanginess to your breakfast favorites. For something sweeter, even a sourdough chocolate cake can benefit from the moisture and subtle depth a bit of rye starter discard can provide, proving that this versatile starter is a valuable asset in any baker's kitchen.
Advanced Sourdough Techniques with Rye [Optional]
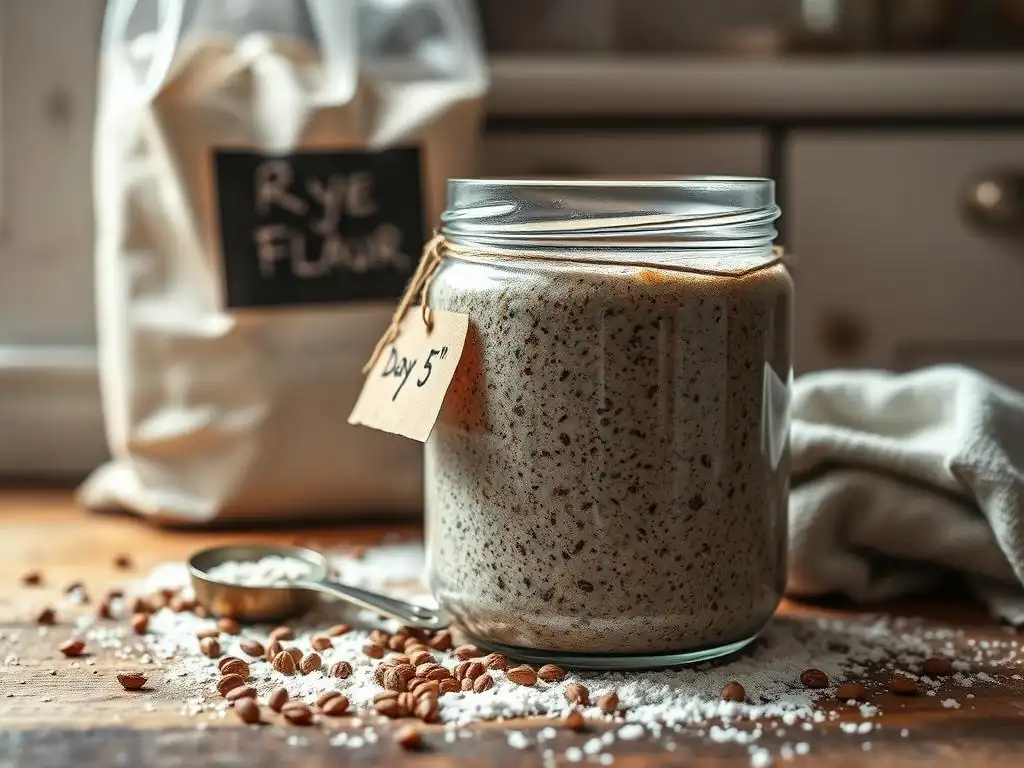
As you become more comfortable with your rye sourdough starter recipe beginner, you might wish to explore more advanced techniques. Understanding how to manipulate your starter's hydration level or how different types of rye flour impact the final bake can elevate your sourdough skills. These explorations allow you to fine-tune your starter's characteristics to better suit specific baking projects and achieve different textures and flavors in your bread.
Advanced techniques often involve experimenting with feeding ratios, temperatures, and hydration levels to control the balance between yeast and bacterial activity. For instance, a stiffer starter (lower hydration) tends to favor yeast, while a wetter starter (higher hydration) often promotes more lactic acid bacteria, resulting in a tangier bread. Exploring these nuances with your rye starter allows you to gain a deeper understanding of the complex microbial world you've cultivated.
Adjusting Starter Hydration for Specific Recipes
The hydration of your rye sourdough starter recipe beginner refers to the ratio of water to flour by weight. A 100% hydration starter, common for beginners, uses equal weights of flour and water (e.g., 50g flour, 50g water). However, some recipes call for starters with different hydration levels. For example, a stiffer rye starter might be 70-80% hydration (e.g., 50g rye flour, 35-40g water), resulting in a thicker, less bubbly culture that can contribute different qualities to the dough, such as potentially slower fermentation or a different flavor profile.
Conversely, a wetter starter, perhaps 120-150% hydration (e.g., 50g rye flour, 60-75g water), will be more liquid and bubble very actively. Adjusting your starter's hydration for a specific recipe requires a few targeted feedings at the desired ratio leading up to baking day. This isn't necessary for most beginner recipes, which typically assume a 100% hydration starter. However, knowing you can adjust hydration opens up possibilities for tackling a wider range of sourdough recipes and achieving specific bread characteristics.
Exploring the Impact of Different Rye Flours on Flavor
Just as there are many types of wheat flour, there are different varieties and grinds of rye flour, and each can subtly impact the flavor and activity of your rye sourdough starter recipe beginner and the final bread. Whole grain rye flour, as previously mentioned, is rich in nutrients and microbes and often leads to a very active starter with a deep, earthy flavor. Light rye flour, which has less of the bran and germ removed, will produce a milder starter and result in bread with a less intense rye flavor and potentially a lighter color.
Pumpernickel flour, a very coarse whole grain rye flour, provides the most robust flavor and contributes to the dense texture characteristic of traditional pumpernickel bread. Using different rye flours in your starter or in your final dough allows you to experiment with the depth and character of the rye flavor in your baking. Trying a starter made with organic vs. conventional rye flour can also reveal differences in activity and flavor, reflecting the microbial diversity present in the grains.
Conclusion: Enjoying the Art of Rye Sourdough Baking
Embarking on the journey of creating a rye sourdough starter recipe beginner style is a rewarding experience that connects you to age-old baking traditions. With just rye flour, water, and a little patience, you can cultivate a vibrant living culture that will transform your baking. From the initial mixing to the daily feeding and eventual use in delicious recipes, each step in the process offers an opportunity to learn and observe the fascinating world of fermentation.
Mastering your rye sourdough starter is the first step towards baking incredibly flavorful and unique breads and other treats. The distinctive tang and earthy notes that rye imparts are truly special. Don't be afraid to experiment, troubleshoot, and most importantly, enjoy the process. The community of sourdough bakers is vast and supportive, and the satisfaction of baking with your own thriving rye starter is immense. Happy baking!
Frequently Asked Questions
What are the benefits of using rye flour to start a sourdough starter?
Rye flour contains more nutrients and enzymes than all-purpose flour, which can help jumpstart fermentation. This often leads to a more vigorous and active sourdough starter.
Is a rye sourdough starter more difficult to maintain than one made with all-purpose flour?
Not necessarily! While rye can be more active initially, the maintenance is generally the same as a standard starter. Just ensure consistent feeding schedules and proper storage.
Can I convert my existing sourdough starter to a rye sourdough starter?
Yes, you absolutely can! Gradually replace the old flour with rye flour during feedings. Over a few days, your starter will become predominantly rye-based.
What does a healthy rye sourdough starter look and smell like?
A healthy rye starter should have visible bubbles, a pleasantly sour aroma, and approximately double in size after feeding.
What if my rye sourdough starter isn't rising?
Ensure you're using fresh rye flour and maintaining a consistent feeding schedule. The environment's temperature also plays a role; warmer temperatures encourage faster activity.
Final Reflection: The Enduring Magic of Rye Sourdough
The humble rye sourdough starter, once a niche pursuit, is experiencing a well-deserved surge in popularity. Its complex flavors and unique characteristics are captivating home bakers worldwide, proving that the pursuit of artisanal breadmaking is far from a fleeting trend. This enduring interest speaks to a deeper human desire for connection to traditional foodways and the satisfaction of creating something beautiful and delicious from scratch.
The journey of cultivating a rye sourdough starter is more than just a recipe; it's a process of patience, observation, and a deep appreciation for the living organism you're nurturing. It's a testament to the power of slow fermentation and the interconnectedness of nature and human endeavor. Bread is the staff of life,
they say, and in the case of sourdough, that staff is imbued with a unique character, shaped by time, care, and the very essence of the grain itself. This process has profoundly impacted my own understanding of food production, fostering a respect for the simple ingredients and the transformative power of time.
Now, it's your turn. Will you embark on this rewarding journey? Will you experience the joy of nurturing your own rye sourdough starter, watching it bubble and thrive, and ultimately, baking loaves of bread that are uniquely yours? Don't be intimidated by the seemingly complex process; embrace the challenge, savor the learning, and discover the magic that awaits you in the world of rye sourdough. The rewards – both culinary and personal – are immeasurable.
Unleash Your Inner Rye Baker!
Thanks for diving deep into the world of rye sourdough starters! We hope you now feel empowered to tackle this fascinating baking adventure. Ready to put your new knowledge to the test?
- Craft your own rye sourdough starter: Follow the step-by-step guide in this article, adjusting it to your own preferences and environment. This is your first step to delicious, unique loaves!
- Share your rye starter journey: Tell us about your experience! What challenges did you encounter? What unexpected flavors did you discover? We'd love to hear about your successes (and even your mishaps! ).
- Experiment with different rye flours: Did you know there are various types of rye flour? Explore the nuances of different varieties to create a truly personalized loaf. What will your next experiment be?
What unique flavor profile will your rye sourdough starter unlock? Let's chat in the comments!