
Common Tempering Fails and How to Fix Them Quickly.

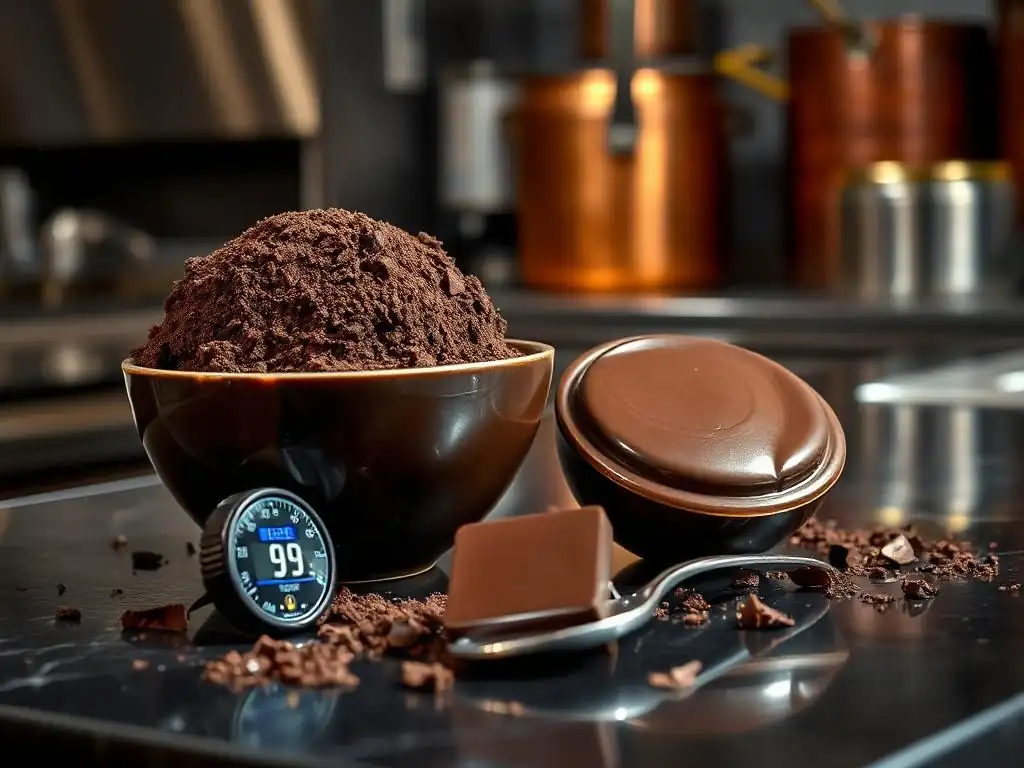
Welcome to BakeWithEase, your haven for baking brilliance! Ever wondered why your perfectly melted chocolate seizes up at the worst possible moment? Dive into our guide: " Common Tempering Fails and How to Fix Them Quickly," where we unravel the mysteries of tempering chocolate and banish seizing forever. Unlock the secrets to silky-smooth creations and elevate your baking game – your chocolate adventures await!
- Understanding Chocolate Tempering: A Foundation for Success at BakeWithEase.com
- Identifying the Most Frequent Chocolate Tempering Problems
- Tempering Chocolate Avoid Seizing: Troubleshooting and Solutions
- Practical Tips for Consistent Tempering Success
- Tempering Methods and Their Common Pitfalls
- Avoiding Future Tempering Failures: Best Practices
- Mastering Chocolate Tempering: Your Journey to Baking Perfection with BakeWithEase
- Frequently Asked Questions
- Final Reflection: Mastering the Art of Tempering – Beyond the Melt
- Unlock Your Baking Potential: Master Tempering Today!
Understanding Chocolate Tempering: A Foundation for Success at BakeWithEase.com
Why Tempering Chocolate Matters for Baking Success
Tempering chocolate isn't just a fancy technique reserved for professional chocolatiers; it's a fundamental skill for achieving professional-looking and tasting results in your home baking. When chocolate is properly tempered, the cocoa butter crystals within it align in a stable structure. This alignment is what gives chocolate its desirable characteristics: a glossy finish, a satisfying snap when broken, and resistance to melting at room temperature. Without tempering, chocolate sets with a dull, streaky appearance, a soft, crumbly texture, and melts easily, making it unsuitable for dipping, molding, or creating delicate decorations.
Moreover, correctly tempered chocolate ensures that your confections have a longer shelf life and maintain their quality over time. For instance, a perfectly tempered chocolate shell on a bonbon will protect the filling and prevent the chocolate from developing bloom, which is a common issue with untempered or poorly tempered chocolate. Whether you're making truffles, chocolate-covered strawberries, or intricate chocolate decorations for a cake, mastering tempering is key to elevating your treats from homemade to truly exceptional, ensuring they look and taste their best.
The Science Behind Proper Chocolate Tempering
The science behind tempering chocolate revolves around controlling the crystallization of cocoa butter. Cocoa butter is polymorphic, meaning its fat molecules can solidify into different crystal structures, or 'polymorphs', each melting at a different temperature. There are six known forms, but only one, the 'Beta (V)' crystal, is desired for tempered chocolate. This stable crystal form melts consistently at around 88-90°F (31-32°C) for dark chocolate, slightly lower for milk and white chocolate, giving chocolate its characteristic snap and resistance to melting in your hand but melting smoothly on the tongue.
The tempering process involves carefully heating, cooling, and then slightly reheating the chocolate to encourage the formation and propagation of these stable Beta (V) crystals while eliminating the unstable ones. Initially, chocolate is heated to melt all existing crystals (typically above 115°F or 46°C for dark chocolate). It is then cooled to a specific temperature range (around 80-82°F or 27-28°C for dark chocolate) where Beta (V) crystals begin to form.
Finally, it's gently reheated to a working temperature (88-90°F or 31-32°C for dark) to melt any less stable crystals, leaving behind a predominance of the desired Beta (V) form. This precise temperature control is critical; even a few degrees off can result in a failed temper.
Identifying the Most Frequent Chocolate Tempering Problems
Seizing: The Dreaded Chocolate Tempering Disaster
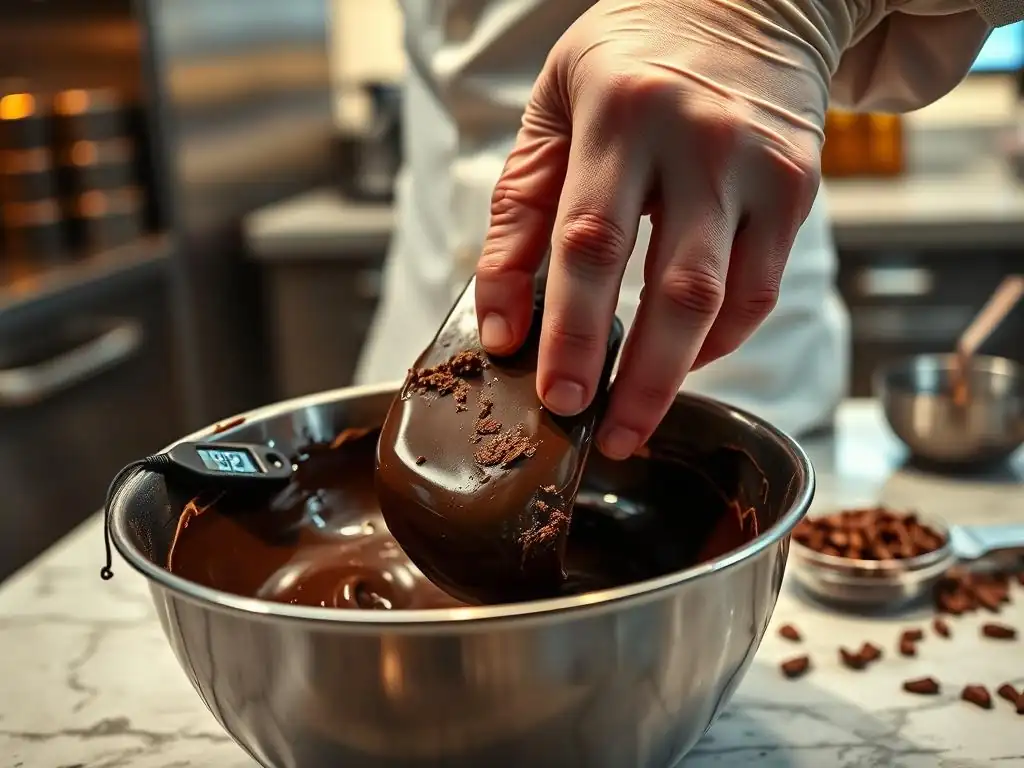
Seizing is perhaps the most frustrating issue encountered when tempering chocolate. It occurs when chocolate comes into contact with even a tiny amount of water or steam while melting or being worked. The sugar particles in the chocolate, which are hydrophilic (water-attracting), immediately clump around the water molecules. This causes the cocoa solids and fat to separate, transforming the smooth, liquid chocolate into a thick, grainy, unworkable paste almost instantly. It's a dramatic transformation that can ruin a batch of chocolate in seconds.
The primary culprits behind seizing are often overlooked sources of moisture: condensation dripping from a lid over a double boiler, a wet utensil accidentally introduced into the chocolate, or even high humidity in the air interacting with the warm chocolate. Once seized, the chocolate's texture is completely destroyed, and it can no longer be used for standard tempering applications like dipping or molding. Understanding how tempering chocolate avoid seizing is crucial, focusing on meticulous preparation and avoiding any contact with water.
Grainy or Streaky Chocolate: Signs of Improper Tempering
Chocolate that sets with a grainy texture or visible streaks (often appearing as white or light-colored lines) is a clear indication of improper tempering. A grainy texture usually means that the unstable cocoa butter crystals were not fully melted or properly formed during the tempering process. This can happen if the chocolate wasn't heated high enough initially, cooled too quickly, or if the seed chocolate used wasn't properly tempered itself. The resulting structure lacks the smooth, uniform alignment of desirable crystals.
Streaks, on the other hand, often point to temperature fluctuations during the cooling and setting process. If the chocolate cools unevenly or too slowly, different types of cocoa butter crystals can form and separate, creating the visible lines. This is particularly common if tempered chocolate is poured onto a cold surface without proper handling or if it's exposed to drafts or fluctuating room temperatures while setting. Both graininess and streaking signify that the desired Beta (V) crystal structure was not achieved or maintained, leading to a dull finish and poor snap.
Bloom: Understanding Fat and Sugar Bloom on Tempered Chocolate
Bloom is the grayish or white discoloration that can appear on the surface of chocolate. There are two types: fat bloom and sugar bloom. Fat bloom is more common and occurs when the unstable cocoa butter crystals in untempered or poorly tempered chocolate melt and recrystallize on the surface. This happens when chocolate is stored at fluctuating temperatures, especially warmer ones. The fat separates and rises to the surface, forming dull, white streaks or patches. While harmless, fat bloom ruins the appearance and snap of the chocolate.
Sugar bloom, less frequent but also visually unappealing, happens when moisture condenses on the surface of chocolate (often due to rapid temperature changes, like moving cold chocolate into a warm, humid room). The moisture dissolves the sugar on the surface, and as the water evaporates, the sugar recrystallizes into larger, gritty white spots or a dusty layer.
Both types of bloom indicate that the chocolate's stable structure has been compromised, whether due to poor tempering, improper storage, or exposure to moisture. While bloomed chocolate is safe to eat and can often be melted down for baking (where texture isn't paramount), it's unsuitable for applications requiring a smooth, glossy finish.
Thick, Unworkable Chocolate: A Tempering Issue
Chocolate becoming thick and difficult to work with during or after the tempering process is another common problem. This can happen for several reasons related to temperature and technique. If the chocolate cools too much below its ideal working temperature (e.g., dropping below 88°F/31°C for dark chocolate), the stable Beta (V) crystals can continue to form excessively, causing the chocolate to thicken and become sluggish. It might even start to solidify prematurely in the bowl.
Another cause can be insufficient agitation or stirring during the cooling phase of tempering. Stirring helps distribute the forming crystals evenly and prevents localized thickening. Furthermore, using chocolate that is old, has been melted and cooled multiple times, or is of lower quality with less cocoa butter can also lead to a thicker consistency than desired, making it harder to achieve a thin, even coating or pour smoothly into molds. Maintaining the correct working temperature and consistent stirring are key to keeping tempered chocolate fluid and workable.
Tempering Chocolate Avoid Seizing: Troubleshooting and Solutions
Preventing Seizing Before It Starts: Key Preparation Steps
The absolute best way to handle seized chocolate is to prevent it from happening in the first place. The cardinal rule for tempering chocolate avoid seizing is to keep all moisture away from your chocolate. This starts with ensuring all your equipment – bowls, spatulas, thermometers – are completely dry before they touch the chocolate.
Even a single drop of water can trigger seizing. When using a double boiler, make sure the water in the pot is simmering gently, not boiling vigorously, and that the bowl containing the chocolate fits snugly over the pot to prevent steam from escaping and condensing into the chocolate.
Ambient humidity can also contribute to seizing, especially in very humid environments (ideally, humidity should be below 50% when tempering). If you live in a humid climate, consider running a dehumidifier in your workspace or choosing a drier day for tempering.
When melting chocolate in a microwave, use short intervals (e.g., 30 seconds), stirring thoroughly between each, to avoid hot spots and the risk of condensation forming on the surface of the chocolate or the inside of the bowl as it cools slightly between heating bursts. Meticulous attention to a dry environment and dry tools is your strongest defense against seizing.
How to Rescue Seized Chocolate: Proven Techniques
While frustrating, seized chocolate isn't always a total loss, though it cannot be used for standard tempering applications. The goal when rescuing seized chocolate is to disperse the clumped sugar particles. One common method is to stir in a tablespoon or two of a neutral oil, like vegetable or grapeseed oil, or melted cocoa butter, not water or milk.
Adding Fat to Revive Seized Chocolate
Adding fat helps to coat the sugar particles and smooth out the texture, turning the paste back into a more fluid consistency. For every cup (roughly 6 ounces or 170g) of seized chocolate, start by stirring in about 1 tablespoon of hot, neutral oil or melted cocoa butter. Add the fat gradually, stirring constantly and vigorously, until the mixture becomes smooth again. It won't regain its tempered properties (snap, gloss) but will be usable for baking applications where it will be melted again anyway, like brownies, cakes, or as a sauce.
Gentle Heat Application for Seized Chocolate
Another approach, often used in conjunction with adding fat, is applying gentle heat. Once you've added the fat, you can place the bowl back over a very gently simmering double boiler (ensuring no steam escapes) or microwave it in very short bursts (5-10 seconds), stirring continuously. The added fat and heat help to further break up the sugar clumps and smooth out the mixture.
Remember, this rescued chocolate will be like untempered chocolate – it will melt easily and won't have a snap. It's best used in recipes where texture isn't paramount, essentially salvaging the flavor of the chocolate for a different purpose rather than restoring it for tempering.
Fixing Grainy Chocolate: Achieving a Smooth Finish
Grainy chocolate indicates that the tempering process didn't successfully create a uniform structure of desirable crystals. Often, the best fix is to start the tempering process over. Gently reheat the grainy chocolate back up to its initial melting temperature (above 115°F/46°C for dark chocolate) to melt all existing crystals, both stable and unstable. Once fully melted and smooth, proceed with your chosen tempering method again, paying close attention to the cooling and reheating temperatures and ensuring thorough stirring.
The Importance of Proper Seed Chocolate
If you are using the seeding method, the quality and type of your seed chocolate are paramount in preventing graininess. Seed chocolate introduces stable Beta (V) crystals to the melted chocolate, guiding its crystallization. Using untempered chocolate or chocolate that has bloomed as seed will not introduce the correct crystal structure and can actually contribute to graininess or a poor temper. Always use finely chopped, properly tempered chocolate or specifically manufactured cocoa butter silk or Mycryo powder as your seed. Aim for about 10-20% seed chocolate by weight relative to your melted chocolate for effective seeding.
Adjusting Temperature for Optimal Crystal Formation
Precision in temperature is key to avoiding graininess. Cooling the chocolate too rapidly can cause unstable crystals to form, leading to a grainy texture. Ensure you cool the chocolate gradually to the correct seeding temperature (around 80-82°F/27-28°C for dark chocolate).
Conversely, if you don't cool it enough, insufficient stable crystals will form. Reheating to the correct working temperature (88-90°F/31-32°C for dark) is also vital; too high, and you'll melt the stable crystals you just formed; too low, and the chocolate will be too thick and set prematurely. Using a reliable thermometer and working within the specified temperature ranges for your type of chocolate is non-negotiable for a smooth finish.
Addressing Bloom: Restoring Chocolate's Lustrous Shine
Bloom (fat or sugar) indicates that the chocolate's stable structure has been compromised, usually by improper storage or a failed temper. While you can't magically restore the bloom-free appearance to a finished piece of chocolate, you can certainly salvage the chocolate itself for future use. The most common solution for bloomed chocolate, especially fat-bloomed chocolate, is re-tempering.
Understanding the Causes of Bloom
Fat bloom is primarily caused by storing untempered or poorly tempered chocolate at fluctuating or warm temperatures (above 75°F or 24°C). The unstable cocoa butter crystals melt and migrate to the surface, then recrystallize haphazardly. Sugar bloom is caused by moisture condensation, often when cold chocolate is brought into a warm, humid environment. The key to preventing bloom in properly tempered chocolate is consistent cool storage, ideally between 60-68°F (15-20°C) with low humidity.
Re-Tempering as a Solution for Bloom
Chocolate affected by bloom can almost always be re-tempered and used successfully. Simply chop the bloomed chocolate finely and melt it down completely, following the initial heating step of your chosen tempering method (e.g., heat dark chocolate above 115°F/46°C). This process melts all the existing crystals, including the undesirable ones that caused the bloom. Once fully melted and smooth, proceed with the cooling and reheating steps to build a new, stable Beta (V) crystal structure. The resulting tempered chocolate will have its gloss and snap restored, ready for dipping, molding, or other applications.
Practical Tips for Consistent Tempering Success
Accurate Temperature Measurement: The Key to Avoiding Tempering Issues
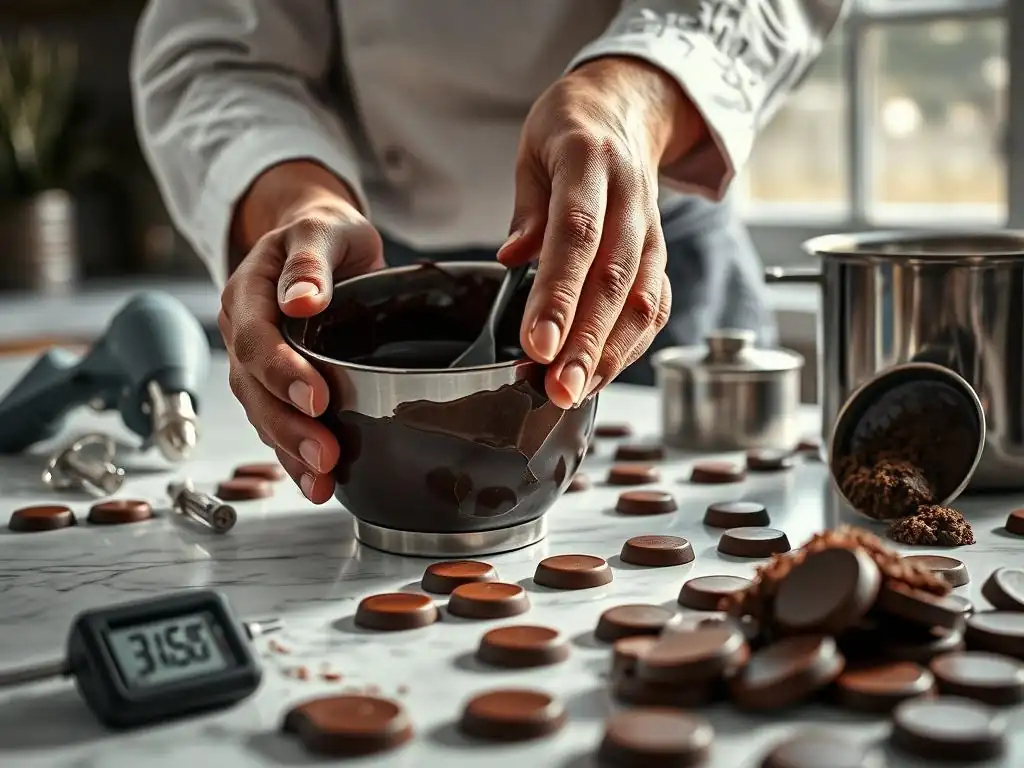
Precise temperature control is the single most critical factor in successful chocolate tempering. Guessing temperatures or relying on imprecise methods is a fast track to tempering failure, including the dreaded seizing. Invest in a reliable, fast-reading thermometer specifically designed for confectionery or liquids, such as a digital probe thermometer or an infrared thermometer. These allow you to monitor the chocolate's temperature accurately throughout the melting, cooling, and reheating phases.
Monitoring temperature ensures you reach the correct initial melting point to eliminate all unstable crystals, cool to the precise range where stable crystals form, and reheat only enough to melt the less stable ones while preserving the desirable Beta (V) crystals. Even a few degrees difference can mean the difference between perfectly tempered chocolate and a streaky, dull mess. For example, dark chocolate needs to be cooled to around 80-82°F (27-28°C) before gently reheating to 88-90°F (31-32°C). Missing these narrow windows significantly increases the risk of failure.
The Importance of Seed Chocolate Quality
When using the seeding method, the quality of your seed chocolate directly impacts the success of your temper. Seed chocolate acts as a template, introducing pre-formed stable Beta (V) crystals that encourage the rest of the melted chocolate to crystallize in the desired form. Using seed chocolate that is old, bloomed, or untempered will not provide the necessary stable crystals and can lead to a poor temper, resulting in dullness, streaks, or improper setting.
Always use fresh, well-tempered chocolate as your seed. If using chocolate bars or callets, ensure they have a good snap and glossy appearance. Alternatively, using Mycryo (powdered cocoa butter) or cocoa butter silk provides a pure source of Beta (V) crystals and is a very reliable seeding agent.
The recommended ratio is typically around 1% Mycryo for the weight of chocolate you are tempering. Using quality seed chocolate ensures you are introducing the correct crystalline structure from the start, significantly increasing your chances of achieving a perfect temper and helping in tempering chocolate avoid seizing if using the seeding method correctly.
Stirring Techniques for Even Temperature Distribution
Consistent and proper stirring is vital throughout the tempering process. When melting chocolate over a double boiler or in a microwave, stirring helps distribute the heat evenly, preventing hot spots that can scorch the chocolate or cause localized seizing if any moisture is present. During the cooling phase, stirring is essential for incorporating the seed chocolate and ensuring that the forming Beta (V) crystals are distributed uniformly throughout the mass.
Vigorous stirring during cooling, especially when using methods like tabling or seeding, helps to encourage crystal formation and cool the chocolate efficiently. Once the chocolate reaches its working temperature, gentle, occasional stirring is still necessary to maintain an even temperature and prevent the chocolate from thickening prematurely as it sits. Proper stirring techniques ensure consistent crystallization, leading to a smooth, uniform texture and appearance in the final product.
Controlling Humidity During Tempering
Humidity is an often-underestimated enemy of successful chocolate tempering. Cocoa butter is hydrophobic (water-repelling), but the sugar and cocoa solids in chocolate are hydrophilic. When tempering, especially when the chocolate is warm, moisture from the air can be absorbed, causing the sugar particles to clump together. As discussed, even a tiny amount of moisture can cause chocolate to seize instantly.
Ideally, you should temper chocolate in a dry environment with humidity levels below 50%. If you live in a particularly humid area, consider using a dehumidifier in your kitchen or choosing the driest part of the day to temper. Avoid tempering near boiling pots of water (unless using a perfectly sealed double boiler) or open dishwashers. Keeping your workspace dry and controlling ambient moisture is a crucial step in tempering chocolate avoid seizing and ensuring a smooth, fluid consistency throughout the process.
Tempering Methods and Their Common Pitfalls
Microwave Tempering: Common Mistakes and Corrections
Microwave tempering is popular for its speed and convenience, especially for small quantities of chocolate. However, it comes with its own set of pitfalls. The most common mistake is overheating the chocolate. Microwaves heat unevenly, creating hot spots that can easily scorch the chocolate, which is irreversible. Overheating also melts all the stable crystals you're trying to preserve if you're using a partial melting method (like melting 2/3 and stirring in the rest).
To avoid these issues, melt chocolate in short bursts (e.g., 30 seconds at 50% power), stirring thoroughly after each interval. Continue until the chocolate is mostly melted, with a few small solid pieces remaining. Then, rely on the residual heat and stirring to melt the rest gently. This gradual approach prevents scorching and helps maintain some stable crystal structure if you're using a method that doesn't involve full melting and reseeding. Always use a thermometer to verify temperatures, as microwave power varies.
Double Boiler Tempering: Avoiding Overheating
The double boiler method offers gentle, even heating but poses a significant risk of seizing if not managed correctly. The primary pitfall is allowing water or steam to come into contact with the chocolate. This happens if the water in the pot is boiling too vigorously, creating excessive steam, or if the bowl doesn't form a tight seal over the pot, allowing steam to escape and condense into the chocolate. Overheating is also possible if the water is too hot or the chocolate is left over the heat for too long after melting.
To mitigate these risks, use a pot with only an inch or two of water and bring it to a gentle simmer, not a rolling boil. Ensure the bowl sits snugly over the pot without its bottom touching the water. Melt the chocolate off the heat source using the residual heat from the water bath once it's mostly melted. Remove the bowl from the pot completely for the cooling and reheating phases to eliminate any risk of steam contact or accidental overheating. This careful approach with the double boiler is essential for tempering chocolate avoid seizing.
Seed Tempering: Ensuring Proper Crystal Formation
Seed tempering is a reliable method, but its success hinges on using the correct amount and quality of seed chocolate and managing temperatures precisely. A common pitfall is using insufficient seed chocolate or seed that isn't properly tempered itself, which won't introduce enough stable crystals to guide the crystallization process effectively. Another mistake is not cooling the melted chocolate enough before adding the seed, meaning the temperature is too high for the Beta (V) crystals in the seed to propagate.
To ensure proper crystal formation with seeding, melt your chocolate completely to eliminate all unstable crystals (above 115°F/46°C for dark). Then, cool it down to the seeding temperature (around 80-82°F/27-28°C for dark), stirring frequently. Add your finely chopped, properly tempered seed chocolate (around 10-20% by weight is a good starting point). Stir continuously until the seed chocolate melts and the mixture reaches the correct working temperature (88-90°F/31-32°C for dark). If it cools too much and thickens, gently reheat it slightly, but avoid exceeding the working temperature. Patience and accurate temperature reading are key.
Avoiding Future Tempering Failures: Best Practices
Documenting Your Tempering Process
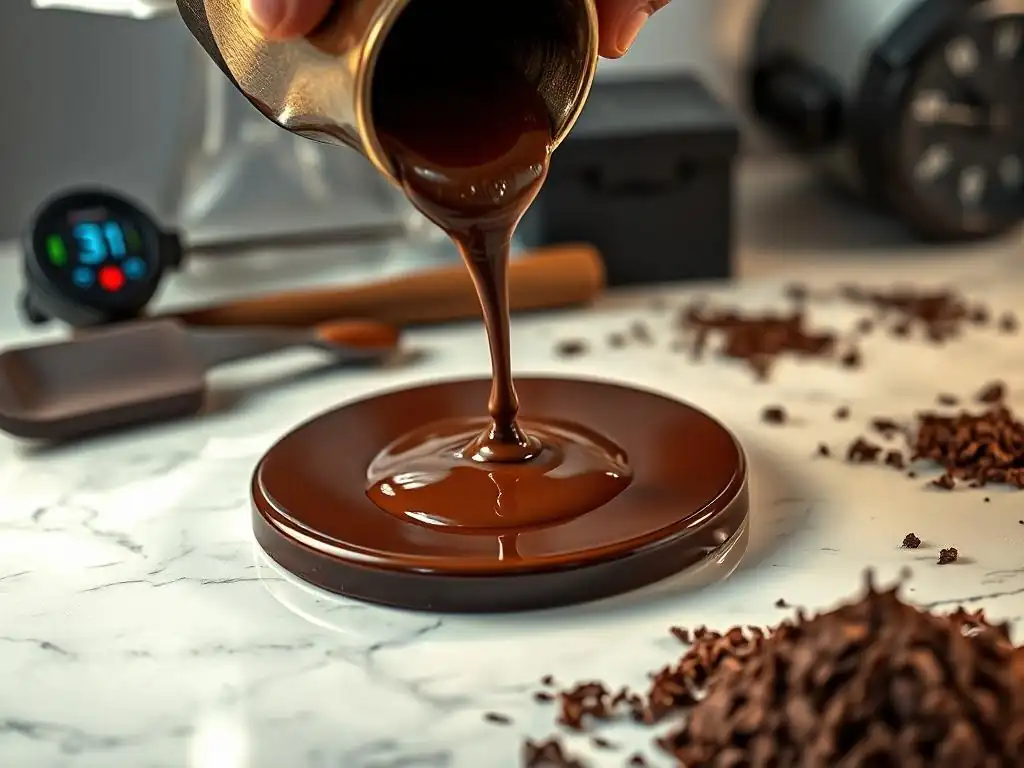
Becoming consistently successful at tempering chocolate involves learning from both successes and failures. A highly effective practice is to document your tempering process each time you do it. Note down the type and brand of chocolate used, the method (microwave, double boiler, seeding), the specific temperatures reached during melting, cooling, and reheating, the amount of seed chocolate used (if applicable), the ambient room temperature and humidity, and the result (glossy, dull, streaks, snap).
Keeping a log helps you identify patterns. Did you achieve a perfect temper when the room was cooler? Did using a specific brand of seed chocolate work better? Did overheating slightly lead to a dull finish? By tracking these variables, you can refine your technique, adjust for environmental factors, and replicate your successes more reliably. This systematic approach demystifies the process and turns potential failures into valuable learning opportunities for tempering chocolate avoid seizing and other issues.
Regular Practice and Experimentation
Mastering chocolate tempering, like any advanced baking technique, requires practice. Don't be discouraged by initial failures. Each attempt, even a failed one, teaches you something about how chocolate behaves. Start with small quantities to minimize waste and work your way up. Experiment with different types of chocolate (dark, milk, white, different cocoa percentages) and different tempering methods to see which works best for you and your environment.
Regular practice helps you develop a feel for the chocolate's consistency at different temperatures and become more adept at controlling the process. You'll learn to recognize the signs of properly tempered chocolate by its flow, how it cools and sets on a test piece of parchment paper (it should set within a few minutes at room temperature with a glossy finish), and its final snap. Consistent practice builds confidence and expertise.
Utilizing BakeWithEase.com Resources for Chocolate Tempering Mastery
BakeWithEase.com is designed to support your baking journey, including the nuances of advanced techniques like chocolate tempering. We offer detailed guides, step-by-step tutorials, and troubleshooting tips specifically focused on helping you achieve perfect results. Explore our sections on Chocolate Tempering & Techniques for in-depth explanations of each method, visual aids (in accompanying guides), and answers to common questions.
Our resources provide specific temperature charts for different types of chocolate, recommendations for reliable equipment, and explanations of the science behind tempering in easy-to-understand terms. By utilizing these resources, you can deepen your understanding, refine your technique, and troubleshoot problems effectively. Think of BakeWithEase.com as your partner in mastering tempering chocolate avoid seizing and unlocking the secrets to beautiful, professional-quality chocolate confections right in your own kitchen.
Mastering Chocolate Tempering: Your Journey to Baking Perfection with BakeWithEase
Frequently Asked Questions
What is chocolate tempering and why is it important?
Tempering chocolate is a process of heating and cooling chocolate to stabilize the cocoa butter crystals. This results in a shiny, snappy finish and prevents blooming.
What causes chocolate to seize during tempering?
Chocolate seizing usually happens when even a small amount of water or steam gets into the melted chocolate. This causes the sugar to clump together and form a thick, grainy mass.
How can I avoid my chocolate seizing when tempering?
Ensure all your equipment is completely dry. Avoid using a double boiler where steam can easily escape and never add water directly to the chocolate.
What should I do if my chocolate has already seized?
Sometimes, adding a small amount of vegetable oil or shortening, a teaspoon at a time, can help to loosen the chocolate. However, in many cases, it's best to start over with fresh chocolate.
Can I still use seized chocolate in baking, even if it's not tempered?
Yes, even if the chocolate is seized, it can still be used in recipes where the texture and appearance aren't critical, such as brownies or cookies. It won't have the characteristic shine and snap of tempered chocolate, though.
Final Reflection: Mastering the Art of Tempering – Beyond the Melt
The smooth, glossy sheen of perfectly tempered chocolate isn't just aesthetically pleasing; it's a testament to precision and understanding. A seemingly simple process, tempering can easily go wrong, leading to frustrating results. This article highlighted common pitfalls, from improper heating to insufficient cooling, emphasizing the importance of meticulous attention to detail. But the impact extends far beyond just avoiding seized chocolate; it's about mastering a fundamental skill that elevates the entire confectionery experience.
The journey of learning to temper chocolate is a microcosm of the larger creative process. It demands patience, observation, and a willingness to learn from mistakes. The subtle shifts in texture and appearance, the delicate balance between heat and cooling, all contribute to a deeper appreciation for the craft. As the renowned pastry chef, Pierre Hermé, once said, Pastry is a science, but it's also an art. It's about precision, but it's also about passion.
This perfectly encapsulates the essence of successful tempering – a blend of technical skill and artistic sensibility.
Now, consider your own approach to challenges. Just as understanding the nuances of chocolate tempering leads to consistently beautiful results, so too can careful attention to detail and a willingness to learn from setbacks improve any aspect of your life. Take the time to reflect on your own "tempering" processes – the areas where you strive for perfection, the challenges you face, and the lessons you've learned along the way.
Embrace the process, learn from your mistakes, and savor the sweet rewards of mastery. The next time you melt chocolate, remember the journey, and let the smooth, glossy finish be a symbol of your own growth and achievement.
Unlock Your Baking Potential: Master Tempering Today!
Thanks for joining us on this baking journey! We hope you gained valuable insights into common tempering troubles and their swift solutions. Ready to put your new skills to the test?
- Tempering Challenge: Try tempering chocolate for your next recipe – maybe that decadent ganache you've been dreaming of! Note down your process and any adjustments you make.
- Share Your Success (or Lessons Learned!): Post a picture of your perfectly tempered creation (or even a funny mishap!) on social media using #BakeWithEaseTempering.
- Join our baking community! Leave a comment below sharing your biggest tempering challenge and how you overcame it (or plan to! ).
What delicious treat will you create with your newly mastered tempering skills?