
Cold Butter is Crucial: Lamination Secrets Revealed

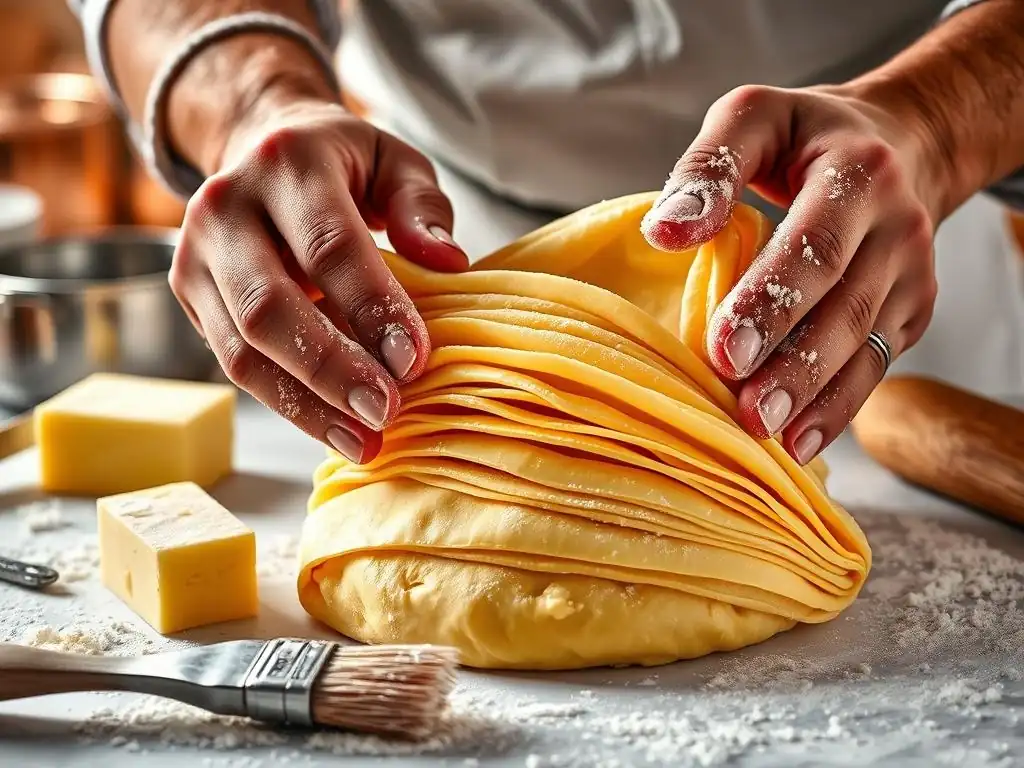
Welcome to BakeWithEase, where achieving baking perfection is simpler than you think! Ever wondered how those impossibly flaky croissants are made? This week, we're diving deep into the secrets behind cold butter lamination techniques. Discover the crucial role temperature plays in creating layers of airy, buttery goodness, and unlock the secrets to truly impressive pastries. Ready to elevate your baking game? Let's get started and explore how cold butter can revolutionize your lamination!
- Lamination Mastery: Achieving Exceptional Flakiness
- Introduction to Lamination for Pastries
- The Science of Lamination
- Dough Preparation for Lamination
- Incorporating Fat into Dough
- Step-by-Step Lamination Process
- Troubleshooting Lamination Issues
- Applying Lamination to Different Pastries
- Advanced Lamination Techniques
- Tips for Successful Lamination
- Conclusion: Achieving Professional Lamination Results
-
Frequently Asked Questions
- What is cold butter lamination, and why is it important in baking?
- Why is it so crucial that the butter remains cold during lamination?
- What types of baked goods benefit most from cold butter lamination techniques?
- What are some common mistakes to avoid when using cold butter lamination?
- Where can I find step-by-step guides and recipes to learn cold butter lamination techniques?
- Final Reflection: The Enduring Power of Cold Butter Lamination
- Unlock Flaky Perfection: Master the Art of Lamination
Lamination Mastery: Achieving Exceptional Flakiness
Introduction to Lamination for Pastries
Lamination is a fundamental technique in baking, particularly for creating pastries with distinct, flaky layers. It involves repeatedly folding a butter block into dough, creating alternating thin sheets of fat and dough. When baked, the fat melts, creating steam that pushes the dough layers apart, resulting in that characteristic airy, crisp texture found in favorites like croissants and puff pastry. Mastering lamination is key to elevating your baking from simple doughs to complex, layered delights.
The process requires precision and patience, but the reward is well worth the effort. Understanding the interplay between ingredients, temperature, and technique is crucial for successful lamination. This article delves into the secrets behind achieving perfect layers, focusing heavily on the pivotal role of cold butter lamination techniques in producing exceptional pastries.
The Role of Fat in Creating Flaky Layers
Fat, typically butter, is the star ingredient in lamination. Its purpose is not to combine with the dough but to remain as separate layers within it. During baking, as the temperature rises, the water content in the fat (butter is usually about 15-18% water) turns to steam. This steam is trapped between the layers of dough, forcing them to separate and puff up.
The quality and handling of the fat directly impact the final texture. A high-quality butter with a good fat content (around 80-82%) and a relatively low melting point is often preferred. It needs to be pliable enough to roll without breaking but firm enough not to melt into the dough during the folding process. This delicate balance is achieved through careful temperature control.
Temperature's Impact on Lamination Success
Temperature control is arguably the single most critical factor in successful lamination. Both the butter and the dough must be kept cold throughout the process. Cold butter lamination techniques rely on the fat remaining solid and distinct from the dough layers until baking.
If the butter becomes too warm, it will melt and be absorbed into the dough, preventing the formation of separate layers. Instead of a flaky structure, you'll get a dense, greasy result. Conversely, if the butter is too cold and hard, it will break into pieces during rolling, leading to uneven layers and potential fat leakage. Maintaining a temperature where the butter is firm but pliable, often around 50-55°F (10-13°C), is essential for smooth, even layering.
The Science of Lamination
Achieving those beautiful, airy layers is a fascinating interplay of ingredients and physics. It's more than just folding butter into dough; it's about managing gluten development, leveraging the power of steam, and understanding the dough's need for rest. The science behind these cold butter lamination techniques explains why precision is paramount.
At its core, lamination is about creating a structure that allows for maximum separation during baking. This structure is built through the careful layering of dough and fat, facilitated by controlled temperature and dough handling.
Understanding Gluten and Fat Interaction
Gluten, the protein network developed in dough when flour and water are mixed and kneaded, provides the structure that holds the layers together. However, excessive gluten development can make the dough tough and difficult to roll thinly without tearing. The presence of fat helps to tenderize the dough by coating the gluten strands, inhibiting their full development.
During lamination, the goal is to develop just enough gluten for the dough to be elastic and strong enough to withstand rolling and expand from steam, but not so much that it becomes resistant and tears or shrinks excessively. The cold butter lamination techniques help here by keeping the dough cool, which slows down gluten development during the physical process of rolling and folding.
How Steam Contributes to Flakiness
Steam is the primary leavening agent in laminated pastries. As the pastry bakes, the solid fat melts. The water trapped within the fat (and some in the dough) turns into steam at temperatures above 212°F (100°C). This steam is contained by the surrounding dough layers.
As the steam expands, it forces these layers apart. The gluten network in the dough sets around these pockets of steam, creating the characteristic open, airy structure. The melted fat lubricates the dough layers, allowing them to slide past each other and expand more easily, further enhancing the separation and flakiness.
The Importance of Dough Relaxation
Dough relaxation is a non-negotiable step in the lamination process. After each series of folds, the dough needs to rest, typically in the refrigerator. This chilling period serves multiple crucial purposes.
Firstly, it allows the gluten network, which has been stretched and tightened during rolling, to relax. This makes the dough less elastic and easier to roll out again without shrinking back excessively or tearing. Secondly, and critically for cold butter lamination techniques, it re-chills both the dough and the butter. This ensures the butter remains firm and distinct, preventing it from melting into the dough before the next round of rolling and folding. Resting periods can range from 30 minutes to several hours, depending on the recipe and ambient temperature.
Dough Preparation for Lamination
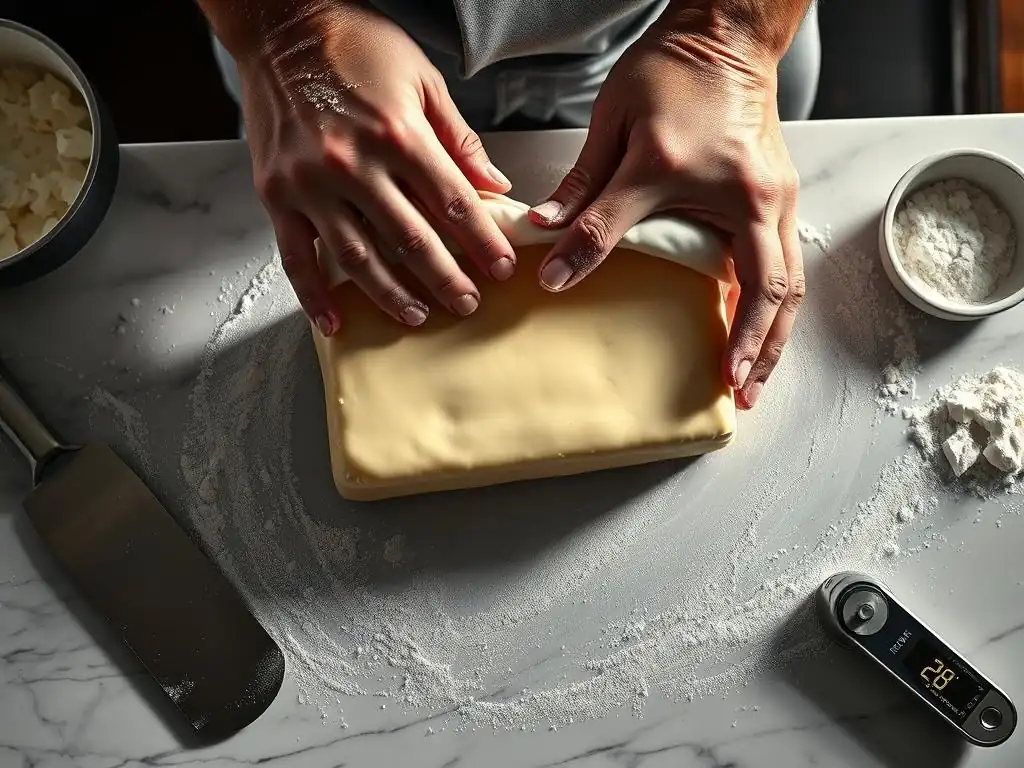
The foundation of successful lamination begins with the initial dough preparation. The ingredients chosen and the mixing technique employed set the stage for how well the dough will perform during the intensive rolling and folding process. A well-prepared dough is pliable, extensible, and resilient, capable of forming numerous thin layers without tearing.
Achieving the right dough consistency and temperature from the outset is key. This initial phase influences gluten development, hydration, and ultimately, the dough's ability to cooperate with the cold butter lamination techniques that follow.
Flour Selection: Protein Content and Gluten Development
The type of flour used significantly impacts dough behavior. For laminated pastries like croissants or puff pastry, a bread flour or a strong all-purpose flour is often recommended, typically having a protein content between 11% and 13%. This provides sufficient protein to develop a strong yet extensible gluten network capable of supporting the many layers and expanding with the steam during baking.
Using a flour with too low a protein content might result in a dough that tears easily, while one that's too high might lead to a tough pastry if not handled carefully. Some bakers prefer a slightly lower protein content (around 10-11%) for puff pastry compared to croissants, aiming for tenderness over chewiness. The goal is a balance where the dough is strong enough to stretch thinly but still tender.
Mixing and Hydration Techniques
Mixing for laminated doughs is usually kept relatively brief compared to bread doughs. The aim is to hydrate the flour fully and begin gluten development, but not to over-develop it. Over-mixing can create a very tight, elastic dough that is difficult to roll out thinly without excessive resistance and shrinkage, counteracting the benefits of cold butter lamination techniques.
Often, a 'no-knead' or minimal-kneading approach is used, relying on autolysis (a rest period after mixing flour and water) and the subsequent folding during lamination to finish developing the gluten. Hydration levels typically range from 50% to 65% based on the weight of the flour. The exact hydration impacts the dough's stiffness and handling properties; a slightly lower hydration can make the dough easier to work with during lamination but might result in a slightly less tender crumb if not managed correctly.
Proofing and Resting for Optimal Dough Structure
Initial proofing (fermentation) for laminated doughs like croissant dough is usually done at a cool temperature, often overnight in the refrigerator. This slow fermentation develops flavor and allows enzymes to break down proteins, improving the dough's extensibility. This cold proofing is crucial as it aligns with the need for cold butter lamination techniques and ensures the dough is cold enough to start the lamination process.
Following the initial mix or bulk fermentation, the dough is typically shaped into a rectangle, wrapped tightly, and chilled thoroughly before lamination begins. This initial rest and chilling period is vital to firm up the dough, relax the gluten, and bring it down to a temperature comparable to the butter block. This temperature parity is essential for the dough and butter to roll out evenly together without the butter breaking or melting.
Incorporating Fat into Dough
The heart of lamination lies in how the fat is introduced and layered within the dough. This step requires precision and careful handling to ensure the butter block remains distinct and evenly distributed throughout the dough layers. The success of cold butter lamination techniques hinges on this stage.
Properly preparing the butter and executing the folds correctly are paramount. Any issues here can lead to uneven layers, fat leakage, or a poorly risen pastry.
Butter Slab Preparation: Temperature and Texture
Preparing the butter slab is a critical preliminary step. The butter, typically 80-82% fat content, should be softened slightly to a pliable consistency without being greasy or melted. This is often achieved by beating cold butter with a rolling pin or a stand mixer with a paddle attachment, or simply letting it sit at cool room temperature for a short time. It is then shaped into a rectangle, often about 6x8 inches or 8x10 inches, depending on the dough size, and chilled until it is firm but still bendable, not brittle.
The ideal temperature for the butter slab is usually around 50-55°F (10-13°C). If it's too cold, it will crack when rolled; if too warm, it will smear into the dough. Shaping the butter into a consistent rectangle ensures even distribution within the dough during the initial encasing step and subsequent rolling.
Lamination Techniques: Single, Double, and Modified Folds
There are several standard folding techniques used in lamination, each creating a different number of layers with each turn. The most common are the single (or book) fold and the double (or letter) fold. A single fold involves folding one end of the dough two-thirds of the way down, then folding the remaining third over the top, like closing a book. This creates 4 layers of fat and 5 layers of dough from the previous layer count (4x + 1).
A double fold involves folding both ends of the dough towards the center, leaving a small gap, then folding the dough in half along the gap, like folding a letter. This creates 6 layers of fat and 7 layers of dough from the previous layer count (6x + 1).
Different recipes call for combinations of these folds (e.g., two single folds or one double and one single) to achieve the desired number of layers, which typically ranges from 27 to over 1000 in some puff pastries. The choice of fold impacts the final texture; more layers generally result in finer, more delicate flakiness.
Preventing Fat Leakage During Lamination
Fat leakage, often called "butter blow-out," occurs when the butter breaks through the dough layers during rolling. This can happen if the dough is too thin, the butter is too cold and hard, the dough is too elastic and tears, or the dough/butter are too warm. Preventing leakage is crucial for successful cold butter lamination techniques.
Ensuring the butter is pliable but firm, the dough is properly relaxed and extensible, and rolling is done gently and evenly are key preventative measures. Keeping the dough and butter cold during the process, with adequate rest periods in the refrigerator between turns, is the most effective way to maintain the integrity of the layers and prevent the butter from escaping. If a small tear occurs, it can sometimes be patched with a little piece of dough before continuing.
Step-by-Step Lamination Process
Executing the lamination process involves a series of rolling, folding, and resting steps. Each 'turn' adds more layers, exponentially increasing the potential for flakiness. Patience and precision are required to maintain the integrity of the layers and keep the dough and butter at the correct temperature throughout. The specific sequence and number of turns depend on the recipe and desired outcome, but the underlying principles of cold butter lamination techniques remain constant.
Typically, the process begins with enclosing the butter block in the dough, followed by multiple rounds of rolling and folding, interspersed with necessary chilling periods.
First Fold and Initial Layer Development
After the butter block is enclosed within the dough (often called the 'lock-in'), the first fold is performed. The dough is carefully rolled out into a rectangle, ensuring the butter block is stretched evenly within. This initial rolling requires care to avoid pushing the butter out the ends.
Once rolled to the desired dimensions, the dough is folded using either a single or double fold method. This completes the first 'turn' and establishes the initial set of distinct dough and butter layers. For example, a single fold on the locked-in dough creates 3 layers of dough and 2 layers of butter. After this first fold, the dough is typically marked (e.g., with a finger indentation) to indicate the number of turns completed, wrapped, and returned to the refrigerator to rest and chill.
Subsequent Folds for Increased Flakiness
Following the initial rest, the dough is removed from the refrigerator and rolled out again, usually perpendicular to the previous direction of rolling. This helps to even out the layers. Another fold (single or double) is performed. Each subsequent fold multiplies the number of layers created in the previous step. For instance, starting with 3 dough layers and performing three single folds results in ((((3x4)+1)x4)+1)x4)+1 = 205 layers of dough (and 204 layers of butter).
Most recipes for croissants call for three single folds, resulting in 27 layers of dough and 26 layers of butter. Puff pastry often requires more turns, sometimes up to six single folds or a combination of double and single folds, to achieve hundreds or even thousands of layers for maximum puff. Between each fold, the dough must be thoroughly chilled to ensure the butter remains cold and firm, vital for successful cold butter lamination techniques.
Dough Resting: Managing Gluten Development
Resting periods between folds are not just about chilling; they are essential for managing the dough's gluten. Each time the dough is rolled, the gluten network is stretched and becomes tense. Without adequate rest, the dough will resist rolling, snap back, and can tear, leading to uneven layers or butter leakage.
Chilling the dough for 30-60 minutes (or longer, depending on ambient temperature and dough size) allows the gluten strands to relax, making the dough pliable and easy to roll again. It also ensures the butter remains cold and solid, preventing it from integrating with the dough. Proper resting is as crucial to successful lamination as the folding itself.
Final Thickness and Shape
After the final series of folds and the requisite rest period, the laminated dough is ready for its final rolling and shaping. It is rolled out to the specific thickness required by the recipe – for croissants, this might be around 3-4mm; for puff pastry shells, potentially thinner.
The dough must be rolled evenly to ensure consistent thickness, which is critical for even baking and puffing. It is then cut into the desired shapes (triangles for croissants, squares for puff pastry cases, etc.). Handling the dough gently at this stage is important to avoid compressing the layers. Keeping the dough cold up until shaping, aligning with cold butter lamination techniques, helps maintain layer definition before the final proofing (for yeast-leavened pastries like croissants) and baking.
Troubleshooting Lamination Issues
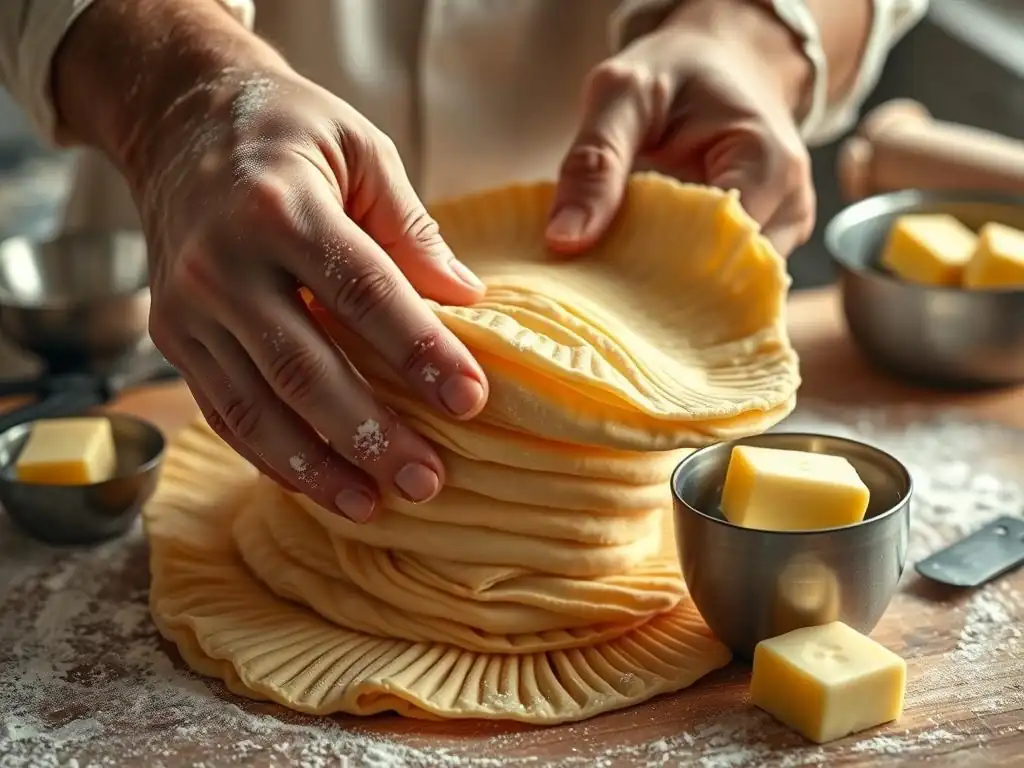
Even with careful adherence to cold butter lamination techniques, issues can arise. Understanding common problems and how to address them is part of mastering this challenging but rewarding baking skill. Problems like tearing, shrinkage, and uneven puffing are frustrating but often have identifiable causes and solutions.
Identifying the root cause of a lamination issue is the first step towards correcting it. Often, the culprit relates back to temperature control, dough handling, or insufficient resting.
Preventing Dough Tears and Shrinkage
Dough tearing during rolling is a common problem, often caused by insufficient dough relaxation between turns, insufficient hydration, or over-development of gluten. If the dough is fighting back and springing cold butter lamination techniques rely on the dough's pliability.
To prevent tearing, ensure adequate chilling and resting periods between folds. If the dough feels very resistant, give it more time in the refrigerator. Ensure your initial dough hydration is correct and avoid over-mixing. If a small tear occurs during rolling, you can often press the edges together or patch it with a small piece of dough before continuing, provided it's not a major rupture.
Addressing Uneven Fat Distribution
Uneven fat distribution leads to pastries that puff unevenly, with some areas flaky and others dense or greasy. This can happen if the butter block was not evenly shaped, if the butter was too cold and broke during the initial rolling, or if the dough wasn't rolled evenly during the turns. Uneven rolling is a frequent cause, especially if pressure is applied more heavily on one side.
To ensure even distribution, start with a uniformly shaped butter block. Ensure the butter is pliable, not brittle, before the first roll. Roll the dough evenly, applying consistent pressure across the entire surface. If you notice the butter shifting or breaking, gently coax it back into place or try to roll more carefully in subsequent turns. Proper temperature control, a cornerstone of cold butter lamination techniques, is key to keeping the butter pliable enough to spread evenly.
Managing Oven Spring and Baking Time
Laminated pastries rely heavily on oven spring – the rapid expansion in the hot oven due to steam. Issues with oven spring, such as insufficient puff or collapse, can stem from various lamination problems. Too warm dough before baking can cause the butter to melt prematurely, resulting in less steam and poor lift. Insufficient layers or uneven layers will also limit puff.
Ensure your oven is properly preheated to the correct temperature (often high, around 400-425°F or 200-220°C initially). Chill the shaped pastries thoroughly before baking to ensure the butter is solid. Avoid opening the oven door too early in the bake, as this can cause a sudden drop in temperature and collapse. Baking time must be sufficient to fully cook the layers and achieve a golden-brown color and crisp texture; under-baked pastries can be dense and doughy.
Applying Lamination to Different Pastries
While the core cold butter lamination techniques are similar, their application varies slightly depending on the specific pastry. The ratio of butter to dough, the number of folds, and the final shaping techniques are tailored to achieve the desired texture and form of each classic laminated good.
Understanding these variations helps in mastering different types of flaky pastries.
Croissants: Classic Lamination Techniques
Croissants are perhaps the most iconic example of laminated dough. They typically use a yeast-leavened dough, which adds another layer of complexity (fermentation) to the lamination process. The standard lamination for croissants involves enclosing a butter block equal to about 25-30% of the dough weight, followed by three single folds, resulting in 27 layers of dough and 26 layers of butter.
The dough-to-butter ratio, the relatively moderate number of layers, and the yeast fermentation contribute to the croissant's characteristic combination of flaky exterior and tender, airy interior. The dough is rolled to about 3-4mm thickness and cut into triangles before being rolled into the crescent shape and proofed before baking. Cold butter lamination techniques are paramount for achieving the open, honeycombed interior structure of a perfect croissant.
Puff Pastry: Achieving High Ratios of Fat to Dough
Puff pastry (Pâte Feuilletée) is designed for maximum puff and flakiness, achieving hundreds or even thousands of layers. It uses a simple dough of flour, water, and sometimes a little fat, into which a large block of butter is laminated. The fat-to-dough ratio is higher than croissants, often ranging from 1:1 to 1:0.8 (fat:dough weight).
More folds are typically performed than for croissants, such as six single folds or four double folds, resulting in a much higher layer count (e.g., 729 layers with six single folds). This higher number of layers and higher fat ratio, combined with the absence of yeast fermentation, creates a pastry that puffs dramatically in the oven, resulting in a very light, crisp, and numerous-layered structure. Cold butter lamination techniques are absolutely essential here to maintain the integrity of the multitude of thin layers.
Danish Pastries: Integrating Fillings and Shaping
Danish pastries (Viennoiseries) often use a dough very similar to croissant dough – yeast-leavened and laminated. The lamination process is typically the same as for croissants (three single folds). However, Danish pastries are distinguished by their diverse shapes and the incorporation of various fillings (fruit, cheese, pastry cream, nuts) after lamination but before the final proofing and baking.
The challenge with Danish pastries lies in shaping the laminated dough around fillings without compressing the layers or causing leakage during baking. Techniques involve folding, cutting, and twisting the dough to create wells or pockets for fillings, or incorporating fillings between layers before shaping. Maintaining the cold temperature of the dough during shaping, consistent with cold butter lamination techniques, helps preserve the layer structure before the final proof.
Advanced Lamination Techniques
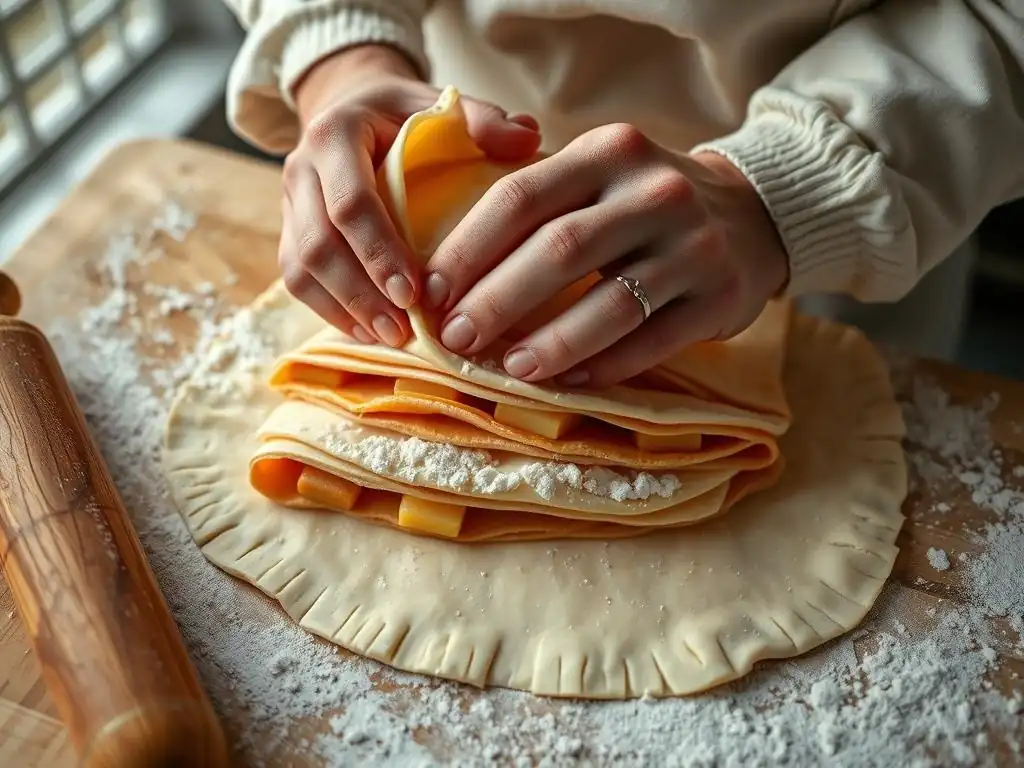
Once the fundamentals of cold butter lamination techniques are mastered, bakers can explore variations to alter texture, flavor, and appearance. These advanced methods involve experimenting with different fats, incorporating flavorings directly into the dough or fat, and creating visually striking patterns.
These techniques allow for greater creativity and customization in laminated pastries.
Using Different Fats: Shortening, Margarine, and Blends
While butter is the traditional and often preferred fat for its flavor and melting properties, other fats can be used or blended with butter to achieve different results. High-fat, low-water margarines specifically designed for lamination are available and can be easier to work with as they are more pliable over a wider temperature range than butter.
Shortening can provide excellent flakiness due to its high melting point and plastic consistency, but it lacks the flavor of butter. Blends of butter and high-quality shortening or margarine can offer a compromise, combining the flavor of butter with the handling ease and puff potential of other fats. The choice of fat impacts the required cold butter lamination techniques slightly, as different fats have different optimal working temperatures.
Incorporating Flavorings into the Dough
Flavor can be added directly to the laminated dough itself. This can include spices like cardamom or cinnamon, citrus zest, cocoa powder, or even finely ground nuts. These ingredients are typically added during the initial mixing phase of the dough.
Care must be taken when adding dry ingredients like cocoa powder, as they can affect the dough's hydration and gluten development. Adjusting the liquid content slightly may be necessary. Incorporating flavorings adds complexity and variety to classic laminated pastries.
Exploring Decorative Lamination Patterns
Beyond the classic layers, advanced techniques allow for decorative patterns within the laminated structure. This includes creating contrasting colored layers by laminating two different colored doughs together (e.g., plain and cocoa dough for striped croissants) or incorporating thin sheets of flavored butter or paste between layers.
These techniques require even more precision in rolling and folding to ensure the patterns are clean and visible after baking. They add a visual appeal to the pastry, showcasing the mastery of cold butter lamination techniques in a creative way.
Tips for Successful Lamination
Mastering lamination is an ongoing journey, but a few key tips can significantly improve your results, especially when employing cold butter lamination techniques. Consistency, attention to detail, and patience are your best friends in this process.
These practical tips address the environmental factors and handling techniques that make a real difference.
Controlling Room and Dough Temperature
Maintaining a cool working environment is paramount. If your kitchen is warm, both the dough and butter will heat up too quickly, leading to a sticky mess and potential butter leakage. Aim for a room temperature below 70°F (21°C), ideally closer to 65°F (18°C) if possible.
Crucially, the dough itself must be kept cold throughout the process. This means frequent chilling in the refrigerator between turns. Don't rush the resting periods; they are essential for both chilling and gluten relaxation. Use a thermometer to check the dough temperature if needed; it should ideally stay below 60°F (15°C) during rolling. This focus on temperature is the core of successful cold butter lamination techniques.
Using a Marble or Cold Work Surface
Working on a cold surface, such as a marble slab or even a large baking sheet kept in the freezer, can help keep the dough and butter cool during rolling. Marble is particularly effective because it stays naturally cool.
If you don't have a dedicated cold surface, chilling your work surface with ice packs beforehand can help, or simply working quickly and ensuring the dough is well-chilled before you start rolling each turn. A light dusting of flour on the surface and the rolling pin also helps prevent sticking.
Practice and Observation
Lamination is a technique that improves with practice. Don't be discouraged if your first attempts aren't perfect. Pay attention to how the dough feels – is it resisting? Is the butter firm? Observe how the layers behave during rolling.
Each batch of dough and each environment can be slightly different. Learning to adjust your technique based on these variables comes with experience. Watch videos, read different recipes, and most importantly, keep baking! Every attempt teaches you more about the intricacies of cold butter lamination techniques.
Conclusion: Achieving Professional Lamination Results
Mastering lamination transforms simple ingredients into breathtaking pastries with incredible texture. The dedication to cold butter lamination techniques, coupled with an understanding of dough science and patient execution of folds and rests, is the pathway to achieving professional-quality results in your home kitchen.
The journey involves refining your touch, understanding temperature's critical role, and learning from each bake.
Refining Your Technique for Consistent Quality
Consistency is the hallmark of a skilled baker, especially in lamination. This means consistently measuring ingredients, consistently chilling your dough and butter to the right temperature, consistently rolling evenly, and consistently allowing adequate rest time. Developing a feel for the dough and butter at each stage is key.
Keep a baking journal to note temperatures, timings, and results. This helps you identify what works and what doesn't, allowing you to refine your cold butter lamination techniques over time and produce reliably flaky pastries batch after batch.
Experimentation and Recipe Customization
Once you've mastered the basic cold butter lamination techniques for classic pastries, don't hesitate to experiment. Try different types of flour, adjust hydration slightly, play with the number or type of folds, or experiment with alternative fats.
Customize recipes by adding flavorings, creating unique shapes, or developing your own filling combinations. The principles of lamination remain constant, providing a solid foundation for endless creative possibilities in the world of flaky pastries. Enjoy the process, and savor the delicious, layered results!
Frequently Asked Questions
What is cold butter lamination, and why is it important in baking?
Cold butter lamination is a baking technique that involves layering cold butter between sheets of dough, then folding and rolling the dough repeatedly. This process creates distinct layers of butter and dough, resulting in a flaky texture.
Why is it so crucial that the butter remains cold during lamination?
If the butter gets too warm, it will melt and absorb into the dough, hindering the formation of separate layers. Warm butter leads to a dense, less flaky final product because the steam can't separate the layers as effectively during baking.
What types of baked goods benefit most from cold butter lamination techniques?
Pastries like croissants, puff pastry, and danishes absolutely require cold butter lamination. The technique is essential for achieving their signature light and airy texture and characteristic flaky layers.
What are some common mistakes to avoid when using cold butter lamination?
Allowing the butter to become too soft is a frequent error. Also, overworking the dough can develop too much gluten, making it tough. Keeping everything cold and handling the dough gently are key.
Where can I find step-by-step guides and recipes to learn cold butter lamination techniques?
BakeWithEase.com offers simple recipes, techniques, and tips for bakers of all levels. You'll find step-by-step guides specifically designed to help you master cold butter lamination.
Final Reflection: The Enduring Power of Cold Butter Lamination
The meticulous art of cold butter lamination, once a closely guarded secret of master bakers, is experiencing a well-deserved resurgence in popularity. Its ability to create exquisitely flaky pastries, with layers so delicate they practically melt in your mouth, continues to captivate both professional and home bakers alike. This technique, far from being a niche skill, is a testament to the enduring power of simple, precise methods in achieving culinary excellence.
The impact of cold butter lamination extends beyond the purely gustatory. It represents a connection to tradition, a reverence for time-honored techniques that elevate the everyday into something truly special. The patience and precision required mirror a mindful approach to cooking, a deliberate slowing down in a world that often rushes past us. The best things in life are worth waiting for,
a sentiment perfectly encapsulated by the transformative power of cold butter's slow, deliberate incorporation into dough. This process, with its careful folding and chilling, becomes a meditative practice, a reminder to appreciate the journey as much as the destination.
Now, consider your own baking journey. Will you embrace the challenge of mastering cold butter lamination? Will you experience the satisfaction of creating pastries that are not only delicious but also a testament to your skill and dedication? The rewards are immeasurable – from the pride in crafting something beautiful to the joy of sharing your creations with loved ones. Take the time, embrace the process, and discover the magic that unfolds when cold butter meets flour. The flaky, buttery results will speak for themselves.
Unlock Flaky Perfection: Master the Art of Lamination
Thanks for taking the time to delve into the world of flaky pastry! You've now unlocked a secret weapon for unbelievably delicious baked goods. Ready to put your new knowledge into practice?
- Bake your dream pastry: Try the recipe from the article – you’ll be amazed at the difference cold butter makes! This is your chance to create something truly special.
- Share your success: Show off your perfectly laminated creations on social media using #BakeWithEaseLamination. Let's inspire other bakers!
- Explore more lamination techniques: Dive deeper into the world of pastry by exploring other techniques on our website (bakewithease.com – although, you don't need to click on it now!). Discover even more secrets to achieving flawless results.
What incredible pastry masterpiece will you create next using these lamination secrets?