
From Dough to Delicious: The Complete Roll Baking Process

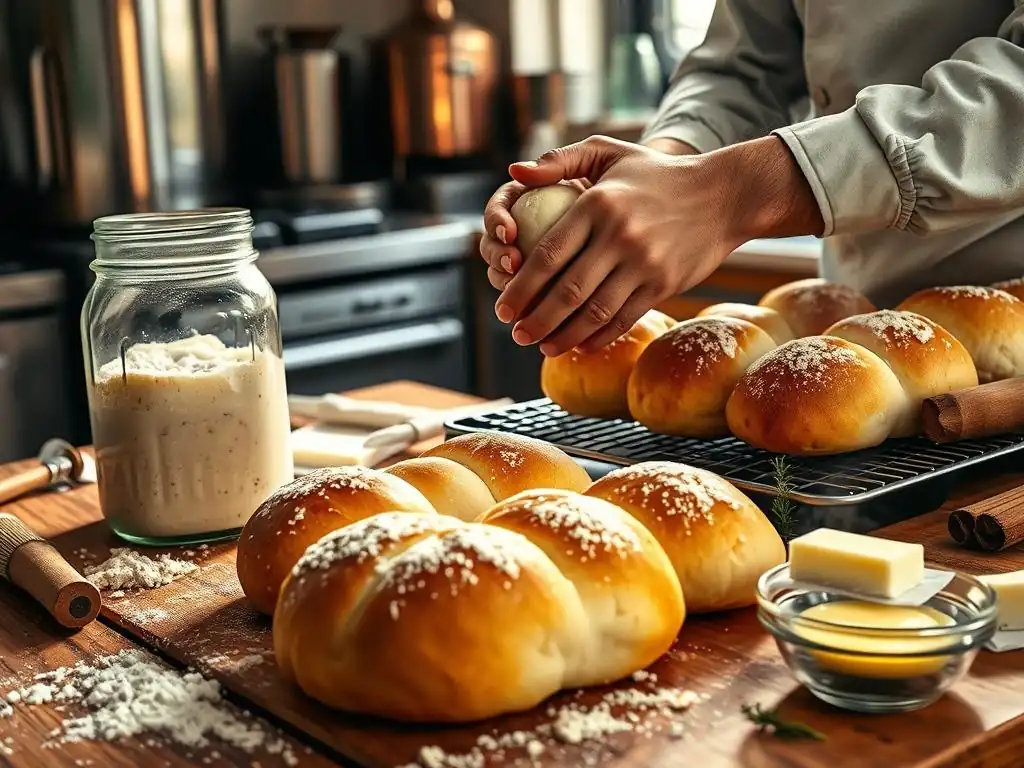
Welcome to BakeWithEase, your trusted guide to the delightful world of baking!
Ever dreamed of pulling warm, crusty rolls from your oven? We're here to help you turn that dream into reality. In our article, " From Dough to Delicious: The Complete Roll Baking Process", we'll unveil our easy sourdough roll recipe guide, a simple path to baking perfection. Curious about how to achieve that perfect golden crust and airy interior? Dive in and discover the secrets to crafting irresistible sourdough rolls that will impress everyone at your table!
- Mastering the Art of Roll Baking at Home
- Essential Ingredients for Delicious Rolls
-
Easy Sourdough Roll Recipe Guide: Step-by-Step Instructions
- Preparing the Sourdough Starter
- Mixing the Dough: Combining Ingredients
- Kneading the Dough: Developing Gluten
- First Rise: Fermentation and Flavor Development
- Shaping the Rolls: Creative and Classic Shapes
- Second Rise: Proofing for Texture
- Baking the Rolls: Achieving a Golden-Brown Crust
- Cooling and Storing: Preserving Freshness
- Troubleshooting Common Roll Baking Problems
- Beyond the Basics: Advanced Roll Baking Techniques
- Enjoy Your Homemade Rolls: Serving Suggestions
- Conclusion: Your Partner in Baking Success
-
Frequently Asked Questions
- What makes this sourdough roll recipe considered "easy"?
- How long does the entire sourdough roll baking process take?
- What are the key ingredients needed for this easy sourdough roll recipe?
- Can I substitute any ingredients in this sourdough roll recipe?
- What are some common mistakes to avoid when making sourdough rolls?
- Final Reflection: The Enduring Magic of a Simple Sourdough Roll
- Unleash Your Inner Baker: Craft Perfect Rolls Today!
Mastering the Art of Roll Baking at Home
Introduction to Homemade Bread Rolls
Baking bread rolls at home is a truly rewarding experience, transforming simple ingredients into warm, comforting delights. Unlike store-bought options, homemade rolls offer unparalleled freshness, flavor, and a wonderful aroma that fills your kitchen. Whether you're new to baking or looking to expand your skills, mastering the process of creating light and fluffy rolls is an achievable goal with the right guidance.
This guide will walk you through every step, from selecting the best ingredients to troubleshooting common issues, ensuring your baking journey is smooth and successful. We'll even dive into creating your own easy sourdough roll recipe, adding that tangy, complex flavor that many bakers adore. Get ready to impress yourself and your loved ones with delicious, warm rolls straight from your oven!
Why Bake Your Own Rolls? Freshness and Flavor
The primary reason to bake your own rolls is the undeniable difference in freshness and flavor. A roll baked just hours before serving has a texture and taste that simply cannot be replicated by commercial products that have traveled through distribution channels. The crust is perfectly crisp, the interior is soft and tender, and the inherent flavors of the grains and yeast are vibrant and distinct.
Beyond the sensory delights, baking at home gives you complete control over ingredients. You can choose organic flours, use high-quality fats, and avoid preservatives or additives often found in mass-produced bread. This control not only impacts flavor but also allows you to tailor rolls to dietary needs or preferences, making your homemade creations a healthier and more delicious option for your table.
Essential Ingredients for Delicious Rolls
Flour Power: Choosing the Right Flour
Choosing the right flour is fundamental to achieving the desired texture in your rolls. All-purpose flour is a versatile choice for many roll recipes, providing a good balance of protein (typically 10-12%) which develops gluten structure, giving rolls their shape and chew. For a lighter, more tender crumb, some recipes might call for bread flour, which has a higher protein content (12-14%), leading to a stronger gluten network and a chewier roll.
Alternatively, incorporating whole wheat flour introduces more fiber and nutrients, along with a nuttier flavor. However, whole wheat flour absorbs more liquid and its bran can interfere with gluten development, often resulting in a denser roll. Many bakers find success blending whole wheat with all-purpose or bread flour, perhaps using a 50/50 ratio, to achieve a balance of flavor, texture, and rise.
Yeast 101: Understanding and Activating
Yeast is the magical leavening agent that makes your rolls light and airy. Active dry yeast and instant yeast are the most common types available for home bakers. Active dry yeast typically needs to be dissolved in warm liquid (around 105-115°F or 40-46°C) for 5-10 minutes until foamy, a process called proofing, which confirms it's alive and active.
Instant yeast, on the other hand, has finer granules and can often be mixed directly into the dry ingredients without proofing. It's generally more reliable and faster-acting than active dry yeast. For an easy sourdough roll recipe guide, you'll be using a sourdough starter instead of commercial yeast, which is a living culture of wild yeast and bacteria, providing a slower rise and a unique tangy flavor profile. Understanding how your chosen leavening agent works is key to successful baking.
Liquid Assets: Water, Milk, and Other Liquids
The liquid in your dough plays several crucial roles: it hydrates the flour, allowing gluten to develop; it activates the yeast; and it affects the final texture and richness of the roll. Water is the simplest liquid, resulting in a lean dough with a crispier crust. The ideal temperature for water when activating yeast is warm to the touch, typically between 105-115°F (40-46°C) for active dry yeast, or cooler for sourdough starters.
Milk adds richness, tenderness, and promotes browning due to its fat and sugar content. It's often used in softer, enriched rolls like brioche or dinner rolls. Other liquids like buttermilk, yogurt, or even beer can add unique flavors and textures. The hydration of the dough – the ratio of liquid to flour by weight – is a critical factor, often ranging from 60% for a stiffer dough to 80% or more for a wet, open-crumb dough, significantly impacting the handling and the final product.
Sweetness and Fat: Sugar, Butter, and Enrichments
Sugar and fat, like butter or oil, are considered enrichments in bread dough. Sugar provides food for the yeast, helping it to activate and produce carbon dioxide, which makes the dough rise. It also contributes to browning of the crust during baking and adds a touch of sweetness to the flavor. Just a small amount, perhaps 1-2% of the flour weight, can make a noticeable difference in yeast activity and crust color.
Fats like butter, oil, or eggs tenderize the dough by coating the gluten strands, preventing them from forming a tight network. This results in a softer, more tender crumb and a richer flavor. Eggs also add richness, color, and help create a finer, cake-like texture, as seen in challah or brioche rolls. These enrichments transform a basic lean dough into something more luxurious and satisfying.
Easy Sourdough Roll Recipe Guide: Step-by-Step Instructions
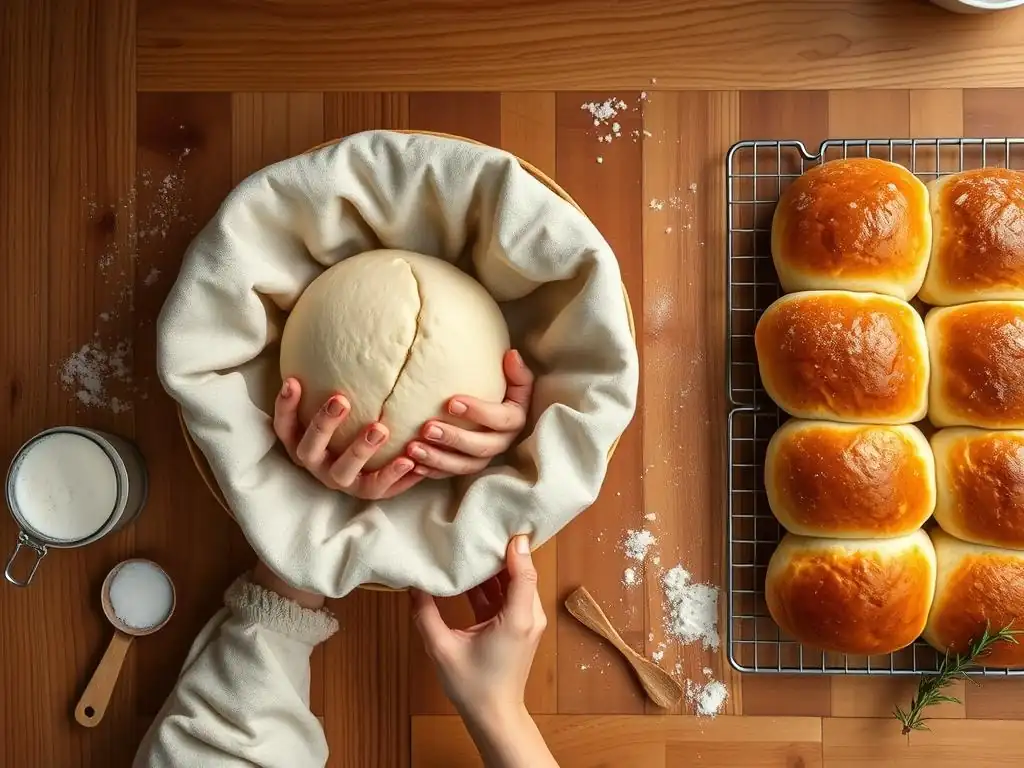
Embarking on an easy sourdough roll recipe journey brings the wonderful tang and chew of sourdough to the convenience of individual rolls. This guide simplifies the process, making homemade sourdough rolls achievable for home bakers.
Preparing the Sourdough Starter
Before you can bake an easy sourdough roll recipe, you need an active and healthy sourdough starter. An active starter is one that has been fed recently (typically 4-12 hours prior) and has doubled or tripled in size, showing plenty of bubbles. It should smell pleasantly tangy, not strongly alcoholic or like acetone.
To prepare your starter for baking, feed it with equal parts starter, flour (usually bread or all-purpose), and water. For example, if you need 100g of active starter for your recipe, you might feed 20g of your existing starter with 40g flour and 40g water. Let it sit at room temperature until it reaches its peak activity, which can take anywhere from 4 to 12 hours depending on the temperature of your kitchen and the starter's vigor. Using a starter at its peak ensures the best rise for your homemade sourdough rolls.
Mixing the Dough: Combining Ingredients
Mixing the dough for an easy sourdough roll recipe involves combining your active starter with flour, water, and salt. Some recipes might also include a small amount of fat or sweetener for softness. Start by combining the wet ingredients, including the starter and water (or milk), in a large bowl. Stir them together gently.
Next, add the flour and salt. Use a sturdy spoon or your hands to mix until no dry flour remains and a shaggy dough forms. At this stage, the dough will likely be quite sticky. Cover the bowl and let the dough rest for a period called autolyse, usually 20-30 minutes. This resting time allows the flour to fully hydrate and the gluten development to begin naturally, making subsequent kneading easier.
Kneading the Dough: Developing Gluten
Kneading is essential for developing the gluten network, which provides the structure that traps the gas produced by the yeast (or starter), allowing the rolls to rise and hold their shape. You can knead dough by hand or using a stand mixer. The goal is to transform the shaggy mass into a smooth, elastic dough.
Hand Kneading Techniques
To knead by hand, turn the dough out onto a lightly floured surface. Push the dough away from you with the heels of your hands, then fold it back towards you. Rotate the dough 90 degrees and repeat the push-fold-rotate motion. Continue kneading for 10-15 minutes. The dough will start sticky but become smoother and less sticky as you work it. You can test for sufficient gluten development by gently stretching a small piece of dough; if it stretches into a thin, translucent membrane without tearing easily (the "windowpane test"), it's ready.
Using a Stand Mixer
Using a stand mixer with a dough hook significantly reduces the physical effort of kneading. Combine the ingredients in the mixer bowl and mix on low speed for 2-3 minutes until the dough comes together. Then, increase the speed to medium-low and knead for 5-8 minutes. The dough should become smooth, elastic, and pull away from the sides of the bowl. Be careful not to over-knead, which can make the dough tough.
First Rise: Fermentation and Flavor Development
The first rise, also known as bulk fermentation, is a critical stage where the sourdough starter works its magic, producing gas and developing the characteristic sourdough flavor. Place the kneaded dough in a lightly oiled bowl, turning to coat. Cover the bowl tightly with plastic wrap or a damp towel to prevent a skin from forming.
Allow the dough to rise in a warm spot (ideally around 75-80°F or 24-27°C) until it has significantly increased in volume, usually doubling or nearly doubling. This can take anywhere from 4 to 8 hours or even longer for a sourdough dough, depending on the starter's activity and the ambient temperature. During this time, performing 1-3 sets of "stretch and folds" at 30-60 minute intervals can help strengthen the gluten and even out the dough's temperature.
Shaping the Rolls: Creative and Classic Shapes
Once the bulk fermentation is complete, gently turn the dough out onto a lightly floured surface. Avoid degassing the dough too much. Divide the dough into equal portions, typically ranging from 60g to 100g per roll, depending on your desired size. Shaping transforms the dough portions into uniform rolls that will bake evenly and look appealing.
Round Rolls
The simplest shape is a round roll or "boule." Take a portion of dough and gently pull the edges underneath to create tension on the top surface, forming a smooth ball. Cup your hand around the dough on a lightly floured surface and rotate it against the counter, creating a taut skin on top. This tension helps the roll hold its shape and rise upwards during baking.
Knot Rolls
Knot rolls offer a slightly more decorative shape. Roll a portion of dough into a rope about 8-10 inches long. Tie the rope into a simple knot, leaving the ends free. You can tuck the ends underneath the roll or leave them exposed. This shape creates interesting nooks and crannies in the final baked roll.
Braided Rolls
For braided rolls, divide a portion of dough into three smaller, equal pieces. Roll each piece into a rope of equal length. Pinch the ropes together at one end and then braid them together, similar to braiding hair. Pinch the other ends together and tuck them underneath the roll. Braided rolls have a beautiful, intricate appearance.
Second Rise: Proofing for Texture
After shaping, the rolls need a second rise, called proofing. This shorter rise allows the rolls to puff up, becoming light and airy before baking. Place the shaped rolls on a baking sheet lined with parchment paper, leaving space between them as they will expand. Cover them loosely with plastic wrap or a light towel.
Let the rolls proof in a warm, draft-free place for 1-2 hours, or until they are visibly puffy and have increased in size by about 50-75%. A good test for proofing is the "poke test": gently indent the side of a roll with your finger; if the indentation springs back slowly and only partially, the roll is perfectly proofed. If it springs back immediately, it needs more time. If it stays indented completely, it's likely over-proofed.
Baking the Rolls: Achieving a Golden-Brown Crust
Baking is the final transformation, turning proofed dough into fragrant, golden-brown rolls. Preheat your oven with a baking stone or steel inside, if using, to a high temperature, typically between 375°F (190°C) and 425°F (220°C), depending on the recipe and your oven. A higher initial temperature helps the rolls achieve a good oven spring.
Oven Temperature and Baking Time
For most rolls, a baking temperature of 375-400°F (190-200°C) is standard. Bake time varies greatly depending on the size and density of the rolls, but typically ranges from 18 to 25 minutes. The rolls are done when they are golden brown on top and bottom and sound hollow when tapped on the bottom. An internal temperature of around 200-210°F (93-99°C) also indicates they are fully baked.
Using Steam for a Crispy Crust
Creating steam in your oven during the initial stages of baking helps keep the surface of the rolls moist, allowing them to expand fully before the crust sets. This results in a thinner, crispier crust. You can create steam by placing a pan of hot water on the bottom rack of your oven when you preheat it, or by carefully pouring hot water into a hot pan (like a cast iron skillet) placed on the bottom rack right as you put the rolls in.
Be cautious when adding water to a hot pan to avoid burns. Bake with steam for the first 10-15 minutes, then remove the steam pan.
Cooling and Storing: Preserving Freshness
Once baked, transfer the rolls to a wire rack immediately to cool completely. Cooling on a rack allows air to circulate around the rolls, preventing the bottoms from becoming soggy from trapped steam. Attempting to slice or eat rolls before they are fully cooled can result in a gummy texture inside.
Once cooled, homemade sourdough rolls are best enjoyed the same day they are baked for peak freshness. To store, place cooled rolls in a paper bag or a bread box at room temperature for 1-2 days. For longer storage, freeze cooled rolls in an airtight container or freezer bag for up to 3 months. Thaw at room temperature or warm gently in a low oven.
Troubleshooting Common Roll Baking Problems
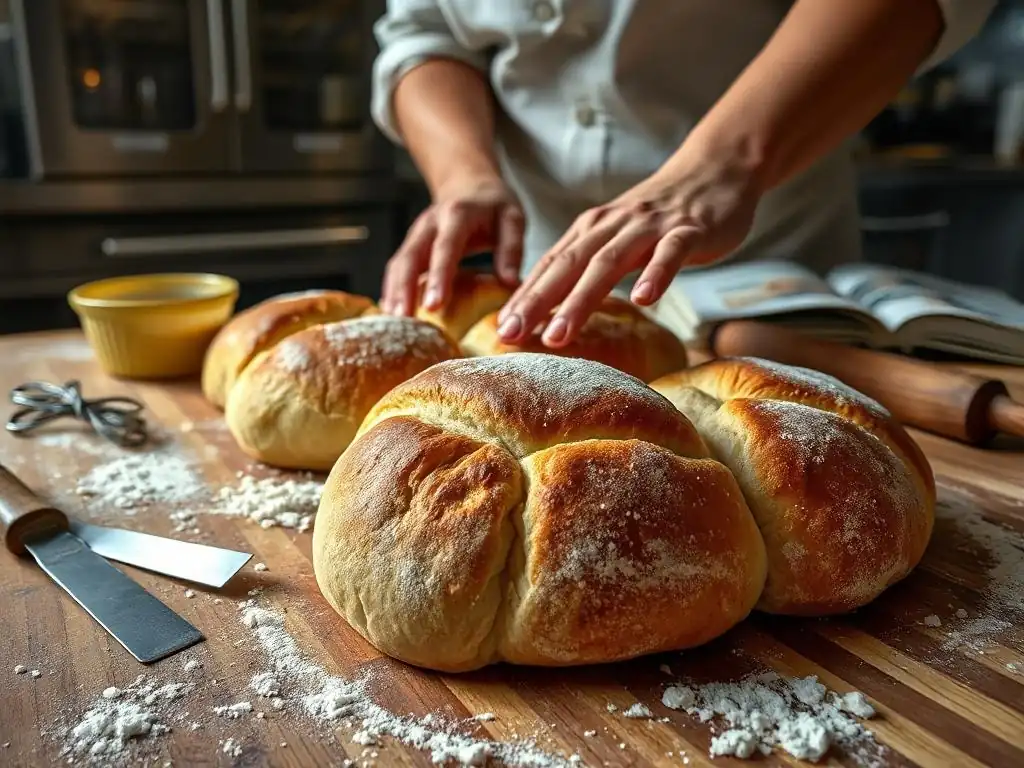
Even with an easy sourdough roll recipe guide, sometimes things don't go exactly as planned. Understanding common issues can help you diagnose and fix problems in future bakes.
Rolls are Too Dense: Identifying and Correcting
Dense rolls can be disappointing. This often happens because the dough did not rise sufficiently. Potential causes include an inactive or weak sourdough starter, insufficient kneading (poor gluten development), or proofing in a cool environment.
- Check your starter's activity before baking.
- Ensure you knead the dough until it passes the windowpane test.
- Provide a warm environment (75-80°F) for both the bulk fermentation and proofing stages. Consider using a proofing box or your oven with the light on.
Rolls are Too Dry: Hydration and Baking Time
Dry rolls typically result from insufficient hydration in the dough or baking for too long. A dough that is too stiff from the start will yield a drier crumb. Over-baking evaporates too much moisture.
- Ensure your recipe's hydration percentage is appropriate (often 65-75% for rolls). You may need to add a little more liquid if your flour is particularly absorbent.
- Monitor baking time closely. Use visual cues (golden brown color) and perhaps an internal thermometer (aiming for 200-210°F) to determine doneness rather than solely relying on the timer.
Rolls are Not Rising: Yeast Problems and Temperature
Lack of rise is usually the most frustrating problem, pointing directly to the leavening agent or environment. If your rolls are flat or barely expanded, the sourdough starter likely wasn't active enough, the proofing area was too cold, or the dough was under-kneaded.
Patience is key in sourdough baking. If your rolls aren't rising, give them more time in a warm spot before assuming the worst!
Ensure your starter is at its peak activity when you mix the dough. Room temperature significantly impacts rise time; cooler temperatures dramatically slow fermentation. Make sure your dough is properly kneaded to allow the gluten structure to support the rise.
Rolls are Burning: Oven Temperature and Placement
Rolls that burn on the outside before cooking through on the inside are usually a victim of an oven that is too hot or improper placement. Oven thermostats can be inaccurate.
- Verify your oven temperature with an oven thermometer. Adjust your oven setting accordingly.
- Ensure your baking rack is positioned in the middle of the oven, where heat is most even.
- If the tops are browning too quickly, you can loosely tent the rolls with aluminum foil for the remainder of the baking time.
Beyond the Basics: Advanced Roll Baking Techniques
Once you've mastered the easy sourdough roll recipe, you might want to explore variations and techniques to elevate your baking.
Adding Flavor: Herbs, Cheese, or Spices
Incorporating additional ingredients during the mixing stage can add wonderful complexity to your homemade sourdough rolls. Fresh or dried herbs like rosemary, thyme, or chives are popular additions. Grated cheese, such as cheddar or Gruyère, melts into pockets of flavor. Spices like black pepper, garlic powder, or even a pinch of cayenne can provide a savory kick.
Consider adding 1-2 tablespoons of chopped fresh herbs, 1/2 to 1 cup of grated cheese, or 1-2 teaspoons of dried spices per standard loaf-sized batch of dough (roughly 500g flour). Add these ingredients during the final minute or two of kneading to ensure they are evenly distributed without being completely broken down.
Variations on the Easy Sourdough Roll Recipe
The basic easy sourdough roll recipe is a fantastic starting point for numerous variations.
Whole Wheat Sourdough Rolls
Substitute a portion of the all-purpose or bread flour with whole wheat flour. Start by substituting 25-50% whole wheat flour (e.g., 125-250g whole wheat for a 500g total flour recipe). You may need to increase the liquid slightly as whole wheat absorbs more moisture. These rolls will have a heartier texture and flavor.
Sweet Sourdough Rolls with Cinnamon and Sugar
Transform your savory roll recipe into a sweet treat. Add 2-4 tablespoons of sugar to the dough during mixing. After shaping, you can brush the rolls with melted butter and sprinkle with a cinnamon-sugar mixture before the second rise or right before baking. These are delightful served warm for breakfast or dessert.
Savory Sourdough Rolls with Garlic and Rosemary
Add minced garlic and chopped fresh rosemary to the dough during the last minute of kneading. A common ratio might be 2-3 cloves of minced garlic and 1-2 tablespoons of fresh rosemary per batch. You can also brush the tops of the shaped rolls with garlic-infused olive oil before baking for extra flavor.
Glazing and Toppings: Enhancing Appearance and Taste
Applying a glaze or topping before baking can significantly enhance both the appearance and flavor of your rolls.
- Egg Wash: A simple egg wash (one egg beaten with a tablespoon of water or milk) brushed over the rolls creates a shiny, golden-brown crust.
- Milk Wash: Brushing with milk provides a softer crust and promotes golden color.
- Water: A simple brush of water before baking helps seeds or grains adhere and contributes to a slightly crispier crust.
- Toppings: Sprinkle seeds (sesame, poppy, caraway), rolled oats, or coarse salt on top of the glaze before baking.
Enjoy Your Homemade Rolls: Serving Suggestions
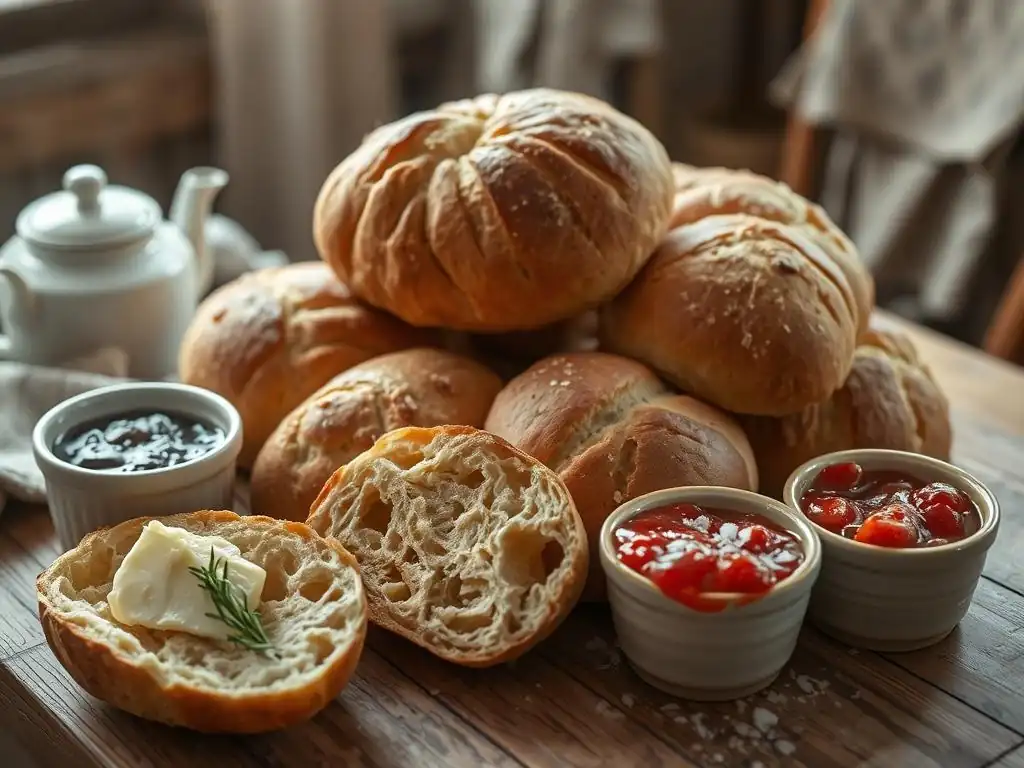
Your warm, homemade sourdough rolls are ready! Now comes the best part – enjoying them.
Serving Suggestions: Meals and Snacks
Homemade rolls are incredibly versatile. Serve them warm with butter as a simple side dish for dinner. They make excellent vehicles for sandwiches, especially the savory variations. Use them to soak up sauces from stews or curries.
For a quick snack, split and toast them, then spread with jam, honey, or cream cheese. The tangy flavor of sourdough pairs wonderfully with both sweet and savory toppings.
Pairing Suggestions: Complementary Flavors and Dishes
Consider pairing your rolls with dishes that complement their flavor profile. Classic sourdough rolls are perfect with hearty soups like lentil or tomato, or alongside a robust chili.
Sweet sourdough rolls pair beautifully with coffee or tea, or served with fruit and yogurt. Savory variations with herbs or cheese are excellent companions to pasta dishes, salads, or roasted meats. The possibilities are truly endless once you have a batch of delicious homemade sourdough rolls ready to go.
Conclusion: Your Partner in Baking Success
Baking rolls at home, including navigating an easy sourdough roll recipe guide, is a rewarding skill that brings warmth and deliciousness into your kitchen. From understanding the science behind the ingredients to mastering kneading and proofing, each step contributes to the final perfect roll.
Don't be discouraged by initial challenges; every bake is a learning opportunity. With practice, your intuition will grow, and you'll soon be turning out consistently wonderful homemade sourdough rolls. BakeWithEase.com is here to support you on your baking journey, providing the knowledge and confidence you need to succeed in creating delightful bread for yourself, your family, and your friends. Happy baking!
Frequently Asked Questions
What makes this sourdough roll recipe considered "easy"?
The recipe emphasizes simplified steps and readily available ingredients, focusing on a beginner-friendly approach to sourdough baking. We avoid complex techniques.
How long does the entire sourdough roll baking process take?
The entire process, including fermentation, shaping, and baking, typically takes around 24-36 hours, with most of that time being hands-off. This includes the important fermentation time.
What are the key ingredients needed for this easy sourdough roll recipe?
You'll need basic ingredients like sourdough starter, flour, water, and salt, which are commonly found in most kitchens. Optional additions might include olive oil or herbs for added flavor.
Can I substitute any ingredients in this sourdough roll recipe?
While following the recipe closely is recommended for beginners, some substitutions are possible. For example, you can try different types of flour, but note that this may affect the outcome.
What are some common mistakes to avoid when making sourdough rolls?
Common mistakes include over-proofing or under-proofing the dough, using an inactive starter, and not scoring the rolls properly before baking. These mistakes can affect the texture and rise.
Final Reflection: The Enduring Magic of a Simple Sourdough Roll
The art of sourdough baking, once a niche pursuit, is experiencing a powerful resurgence, proving that the simple act of transforming flour and water into something delicious holds enduring appeal. This isn't just about a trendy recipe; it's about connecting with a process, understanding the nuances of fermentation, and ultimately, experiencing the profound satisfaction of creating something beautiful and nourishing from scratch.
The journey from dough to delicious, as detailed in this guide, is more than just a recipe; it's a testament to the power of patience and attention to detail. The subtle shifts in the dough's texture, the intoxicating aroma of rising yeast, these are sensory experiences that connect us to a culinary heritage stretching back centuries. Bread is the staff of life,
they say, and in the careful crafting of each sourdough roll, we rediscover the truth in that simple statement. It's a connection to something larger than ourselves, a reminder of the fundamental human need for nourishment and creation.
Now, I invite you to take what you've learned and embark on your own sourdough journey. Don't be intimidated by the process; embrace the imperfections, celebrate the successes, and savor the incredible taste of a roll made with your own two hands. The rewards—the aroma filling your kitchen, the satisfying chew of the crust, the warmth shared with loved ones—are far greater than any recipe could ever fully express. Let the simple act of baking become a source of joy, creativity, and connection.
Unleash Your Inner Baker: Craft Perfect Rolls Today!
Thanks for joining us on this delicious journey into the world of roll baking! We hope you've gained the confidence and knowledge to create truly amazing rolls. Ready to put your new skills to the test?
- Bake your first batch of perfect rolls today! Use the techniques we shared to create a warm, comforting treat for yourself or your loved ones.
- Share your baking triumph! Post a picture of your freshly baked rolls on social media and tag us – we'd love to see your creations!
- Explore other BakeWithEase recipes – we have a treasure trove of baking delights waiting for you.
What unique twist will you add to your next batch of homemade rolls? Let us know in the comments!