
Whole Wheat Bread Baking for Absolute Beginners

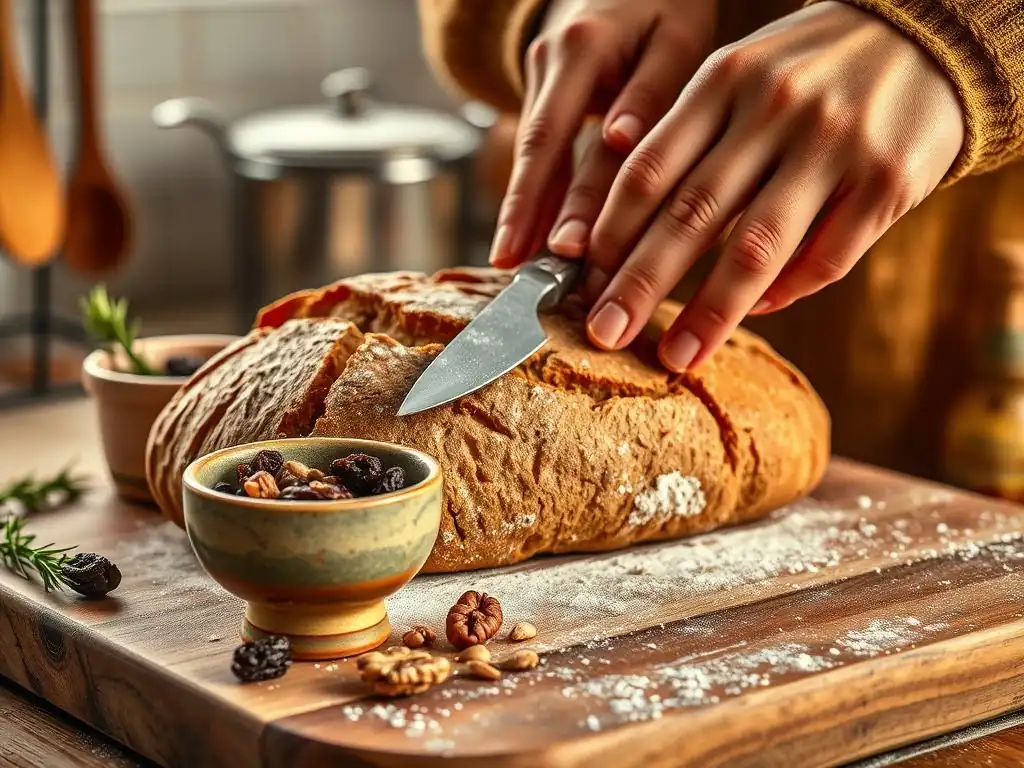
Welcome to BakeWithEase, your haven for unlocking the joy of baking! Ever dreamed of the aroma of freshly baked bread filling your home? Our Easy Whole Wheat Bread Recipe is your perfect starting point. Discover how simple ingredients and straightforward steps can lead to a loaf so delicious, you'll wonder why you didn't try it sooner. Intrigued? Let's get baking!
- Easy Whole Wheat Bread Recipe: Beginner's Guide
- Introduction to Baking Whole Wheat Bread
- Equipment and Ingredients
- Step-by-Step Recipe
- Tips and Tricks
- Storing Homemade Bread
- Conclusion: Enjoy Your Homemade Bread
-
Frequently Asked Questions
- What makes this whole wheat bread recipe easy for beginners?
- Can I substitute any of the ingredients in the whole wheat bread recipe?
- How important is the kneading process for this whole wheat bread?
- How do I know when my whole wheat bread is fully baked?
- What's the best way to store leftover whole wheat bread?
- Final Reflection: The Simple Joy of Homemade Whole Wheat
- Unleash Your Inner Baker: Start Kneading Today!
Easy Whole Wheat Bread Recipe: Beginner's Guide
Introduction to Baking Whole Wheat Bread
Baking your own loaf of whole wheat bread might seem daunting at first, especially if you're new to the kitchen, but it's a surprisingly rewarding and achievable goal. This guide is designed to walk absolute beginners through the process, demystifying each step to help you create a delicious, healthy loaf right in your own oven. Mastering an easy whole wheat bread recipe is a fantastic way to start your baking journey, offering immense satisfaction from mixing simple ingredients to pulling out a warm, fragrant loaf.
Homemade whole wheat bread provides a wonderful aroma that fills your home, a texture that's often superior to store-bought versions, and the peace of mind knowing exactly what ingredients went into it. Forget complicated techniques; we'll focus on a straightforward approach that ensures success for your first few attempts at baking whole wheat bread for beginners. Get ready to discover how simple and enjoyable baking can be!
Benefits of Baking Homemade Whole Wheat Bread
One of the primary benefits of baking your own whole wheat bread is the significant nutritional advantage it offers compared to many commercially produced loaves. Whole wheat flour retains the bran and germ of the wheat kernel, providing more dietary fiber, B vitamins, iron, and magnesium than refined white flour.
A typical slice of whole wheat bread can contain around 2-3 grams of fiber, contributing significantly to daily intake goals, whereas white bread often has less than 1 gram per slice. Baking at home allows you to maximize these benefits and avoid artificial preservatives, high fructose corn syrup, or excessive sodium found in some store-bought options.
Beyond the health aspects, there's immense pleasure and potential cost savings in baking your own bread. The simple act of transforming flour, water, and yeast into a loaf is incredibly satisfying. The aroma of fresh bread baking is unparalleled and instantly makes a house feel like a home.
While initial ingredient costs might seem comparable to a single loaf, buying in bulk and baking regularly can lead to savings over time. Consider that a loaf of artisan-style whole wheat bread from a bakery might cost $4-$6 or more, while the ingredients for an easy whole wheat bread recipe often total less than $1-$2 per loaf, assuming you have pantry staples like salt and basic flour on hand.
Understanding Whole Wheat Flour
Whole wheat flour is fundamentally different from all-purpose white flour because it includes all three parts of the wheat kernel: the endosperm, bran, and germ. The endosperm is the starchy core, the bran is the fibrous outer layer, and the germ is the nutrient-rich embryo. This inclusion of bran and germ is what gives whole wheat flour its characteristic color, nutty flavor, and higher nutritional value. However, the presence of bran and germ also affects how the flour behaves in baking; they can interfere with gluten development, resulting in a denser loaf compared to bread made with white flour.
Different types of wheat and milling processes produce various whole wheat flours, impacting their protein content and suitability for bread baking. Hard red wheat, for example, is high in protein (often 13-14% or more) and is excellent for developing strong gluten networks necessary for well-risen bread.
Soft white wheat, conversely, is lower in protein (around 10-12%) and is better suited for softer baked goods like muffins or pastries, though some whole wheat flours are milled from it. Understanding the type of whole wheat flour you are using is key to adjusting liquid levels and kneading time in your easy whole wheat bread recipe to achieve the desired texture.
Equipment and Ingredients
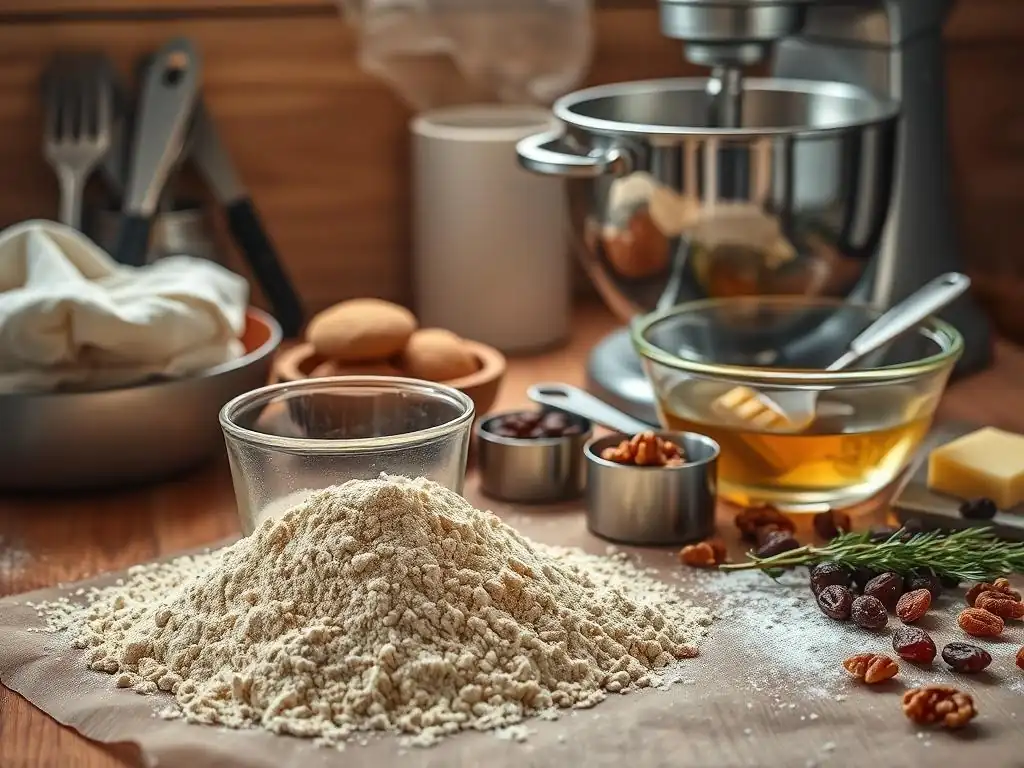
Embarking on your easy whole wheat bread recipe journey requires just a few basic tools and pantry staples. You likely already own most of the necessary equipment, and the ingredients are readily available at any grocery store. Don't feel pressured to buy fancy gadgets; simplicity is key for beginners.
Gathering your ingredients before you begin ensures a smooth baking process. Accuracy in measuring, particularly for flour and liquid, is crucial for successful bread baking, especially with whole wheat flour which can be finicky. Let's break down what you'll need.
Essential Baking Tools
To start baking your easy whole wheat bread recipe, you'll need some fundamental kitchen items. A large mixing bowl (glass, ceramic, or metal) is necessary for combining ingredients and allowing the dough to rise.
Measuring cups and spoons are essential for accurately portioning ingredients – while volume measurements are common, using a kitchen scale to weigh flour and water is highly recommended for consistent results, as a cup of flour can vary significantly in weight depending on how it's scooped (a standard cup of all-purpose flour weighs around 120-125 grams, while whole wheat can be slightly different, often specified on the package). You'll also need a standard 9x5 inch loaf pan, typically metal, which conducts heat well for even baking.
Other helpful tools include a rubber spatula or wooden spoon for initial mixing, a clean kitchen towel or plastic wrap to cover the dough during rising, and a wire cooling rack. The cooling rack is vital for allowing air circulation around the baked loaf, preventing the bottom crust from becoming soggy as it cools. While not strictly essential for your first loaf, a dough scraper can be useful for handling the sticky dough and cleaning surfaces. These simple tools are sufficient for successfully baking your first loaf of whole wheat bread.
Choosing Whole Wheat Flour
Selecting the right whole wheat flour is important for your easy whole wheat bread recipe. Look for flour labeled "100% Whole Wheat Flour" to ensure you're getting the full nutritional benefits.
Consider the type of wheat; while general "Whole Wheat Flour" is fine to start, flour milled from hard red spring wheat or hard red winter wheat typically has higher protein content, leading to better gluten development and a lighter loaf structure compared to flour from soft white wheat. Check the expiration date on the package to ensure freshness, as old flour can negatively impact the rise and flavor of your bread.
The milling process can also affect the flour. Stone-ground whole wheat flour can have a coarser texture and may absorb liquid differently than roller-milled flour. For beginners, a finely milled whole wheat flour from a reputable brand is often the most consistent and easiest to work with. Proper storage of your flour is crucial for maintaining its quality; transfer it to an airtight container and store in a cool, dark place like a pantry. For longer storage, especially in warm climates, the refrigerator or freezer can help prevent spoilage and keep the flour fresh.
Key Ingredients: Yeast, Water, Salt
Yeast is the magical ingredient responsible for making your bread rise. For an easy whole wheat bread recipe, you'll typically use either active dry yeast or instant yeast. Active dry yeast usually requires proofing (dissolving in warm water with a bit of sugar) before adding to the dry ingredients, while instant yeast can often be mixed directly with the flour and salt.
A standard packet of yeast contains 2.25 teaspoons, which is typically enough to leaven a standard loaf of bread made with 3-4 cups of flour. Always check the expiration date on your yeast to ensure it is active.
Water plays several critical roles: it hydrates the flour, activating the gluten-forming proteins, and it activates the yeast. The temperature of the water is vital, especially when using active dry yeast; it should be warm, roughly between 105°F and 115°F (40°C-46°C). Water that is too hot will kill the yeast, while water that is too cold will result in a very slow or non-existent rise.
Salt isn't just for flavor; it controls the rate of yeast activity, preventing the dough from rising too quickly, and also helps strengthen the gluten structure. Typically, 1.5 to 2 teaspoons of salt are used per loaf, balancing the flavors and contributing to a good crust.
Step-by-Step Recipe
Ready to bake? Follow these steps closely for your easy whole wheat bread recipe. Remember that baking is a mix of science and art; slight variations in temperature, humidity, and ingredients can affect the outcome, but the process itself is straightforward.
Activating the Yeast
If your recipe calls for active dry yeast, the first step is usually to activate or "proof" it. Measure the required amount of warm water (around 105°F-115°F) into a small bowl or measuring cup. Sprinkle the active dry yeast over the water. You can add a pinch of sugar at this stage, which gives the yeast some food to get started. Stir gently to dissolve the yeast. Let the mixture sit undisturbed for 5-10 minutes.
During this time, the yeast should become foamy and bubbly on the surface. This foam indicates that the yeast is alive and active, ready to make your bread rise. If the mixture remains flat with no bubbles after 10-15 minutes, your yeast may be dead (either old, or the water was too hot or too cold).
In this case, you'll need to discard the mixture and start again with fresh yeast and appropriately tempered water. If using instant yeast, you can often skip this step and mix it directly with the dry ingredients, making your easy whole wheat bread recipe even simpler.
Mixing the Dough
Once your yeast is activated (if using active dry) or you have your instant yeast ready, it's time to mix the dough. In your large mixing bowl, combine the whole wheat flour and salt. If using instant yeast, add it to the dry ingredients now and whisk briefly to distribute it evenly. Pour in the warm water (and the activated yeast mixture if using active dry yeast).
Using a wooden spoon or rubber spatula, stir everything together until a shaggy, sticky dough forms and there are no pockets of dry flour remaining. Whole wheat dough tends to be stickier and less smooth than white flour dough initially because of the bran. Don't worry if it looks messy; the goal is just to bring all the ingredients together before you begin kneading. Ensure all the flour is incorporated from the sides and bottom of the bowl.
First Rise (Bulk Fermentation)
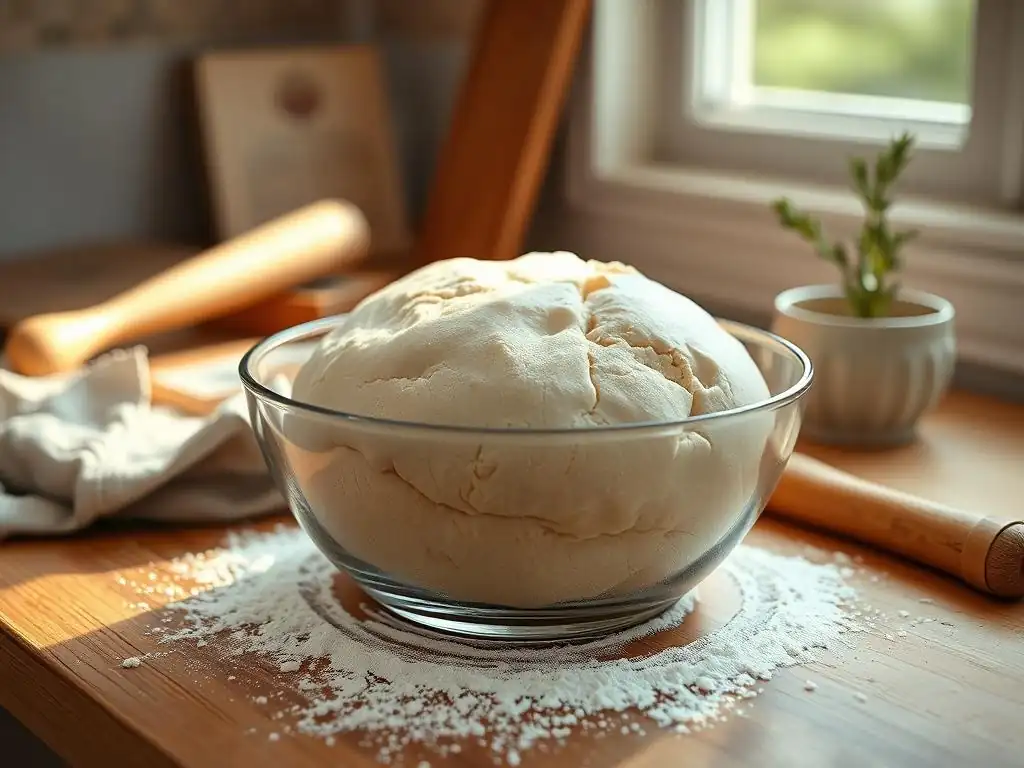
The first rise, also known as bulk fermentation, is crucial for developing flavor and texture in your easy whole wheat bread recipe. After mixing (and often kneading, though some no-knead recipes exist), lightly grease the mixing bowl with oil or cooking spray. Shape the dough into a rough ball and place it in the greased bowl, turning to coat the surface of the dough with oil. Cover the bowl tightly with plastic wrap or a clean kitchen towel.
Place the covered bowl in a warm, draft-free place to rise. Ideal temperatures are usually around 75°F-80°F (24°C-27°C). A turned-off oven with the light on, or near a sunny window (but not too hot), works well. The dough should roughly double in size during this first rise, which typically takes 1 to 1.5 hours, but can vary depending on the temperature and yeast activity. You can test if the dough is ready by gently poking it with a finger; if the indentation slowly springs back halfway, it's ready.
Shaping the Loaf
After the first rise, your dough will be puffy and significantly larger. Gently punch down the dough to release the built-up gases. Turn the dough out onto a lightly floured surface. Whole wheat dough can be quite moist, so use just enough flour to prevent sticking, but not so much that you dry out the dough.
To shape a simple loaf for your 9x5 inch pan, gently flatten the dough into a rough rectangle. Fold the two shorter sides inward towards the center, overlapping slightly. Then, starting from one of the longer sides, tightly roll the dough into a log shape, sealing the seam at the bottom by pinching it closed. This process creates surface tension, which helps the loaf hold its shape and rise well in the oven.
Second Rise (Proofing)
The second rise, or proofing, happens after the dough is shaped and placed in the baking pan. Lightly grease your 9x5 inch loaf pan. Place the shaped dough seam-side down into the prepared pan. Cover the pan loosely with plastic wrap or a clean kitchen towel.
Place the covered pan back in a warm, draft-free spot for the second rise. This rise is usually shorter than the first, typically lasting 30-45 minutes. The dough should rise until it crests over the rim of the pan or has almost doubled in size again. Be careful not to over-proof at this stage, as the dough can collapse in the oven. A gentle poke test can also be used: if the indentation springs back very slowly or not at all, the bread is ready to bake. Preheat your oven towards the end of the second rise.
Baking the Bread
Preheat your oven to 375°F (190°C) while the dough finishes its second rise. A properly preheated oven is essential for achieving a good oven spring (the final burst of rising that occurs when the dough hits the hot oven). Once the oven is ready and the dough is sufficiently proofed, carefully place the loaf pan in the center of the preheated oven.
Bake the bread for 30-40 minutes. The baking time can vary depending on your oven and the specific recipe, but a good range to start is 35 minutes. The crust should be a rich golden brown. To be sure the bread is fully baked, you can use an instant-read thermometer inserted into the center of the loaf; it should register an internal temperature between 190°F and 200°F (88°C-93°C). Another common test is to tap the bottom of the loaf; it should sound hollow.
Cooling and Slicing
This step is arguably the hardest part of baking your easy whole wheat bread recipe – waiting! As soon as the bread comes out of the oven, carefully remove it from the loaf pan and place it directly onto a wire cooling rack. Leaving it in the pan will cause the bottom crust to steam and become soggy.
Allow the bread to cool completely on the wire rack before slicing. This typically takes at least 1 hour, and for a denser whole wheat loaf, it might be closer to 2 hours. Cooling allows the internal structure of the bread to set properly and lets steam escape. Slicing into a hot loaf can result in a gummy, doughy texture inside, even if the outside looks perfectly baked. Patience here will be rewarded with a much better texture.
Tips and Tricks
Baking is a learning process, and even with an easy whole wheat bread recipe, you might encounter challenges. Here are some tips and tricks to help you navigate common issues and refine your technique.
Troubleshooting Common Problems
If your homemade whole wheat bread turns out dense and heavy, several factors could be at play. It might be that the dough didn't rise enough during either the first or second rise – perhaps the yeast wasn't active, the water temperature was off, or the rising environment was too cold.
Another common cause is not enough hydration; whole wheat flour absorbs more liquid than white flour, and a dry dough won't rise well. Ensure you're using the correct water temperature for your yeast type (105-115°F for active dry, for example) and allowing sufficient time in a warm spot for rising, checking for the doubling in size.
Crumbliness can sometimes occur if there's too much flour or not enough liquid. If your dough feels very stiff and dry during mixing, you might need to add a tablespoon or two of extra water (or milk/oil if the recipe calls for it). Ensure you are measuring your flour accurately, ideally by weight (e.g., 120-125g per cup for white, check package for whole wheat). If your bread isn't rising at all, double-check the expiration date on your yeast and the water temperature used for activation; inactive yeast is the most frequent culprit for a flat loaf.
Mastering Kneading
Kneading is the process of working the dough to develop gluten, the protein network that gives bread its structure and elasticity, allowing it to trap gases produced by the yeast and rise. While some easy whole wheat bread recipe variations are "no-knead," most traditional recipes require it. For whole wheat dough, kneading might feel slightly different than white dough due to the bran disrupting the gluten strands; it may feel less elastic initially.
You can knead by hand on a lightly floured surface by folding the dough over, pushing down and away with the heels of your hands, and turning the dough. Repeat this motion for 8-10 minutes. Alternatively, a stand mixer with a dough hook attachment can do the work in 6-8 minutes on medium speed. You'll know the dough is sufficiently kneaded when it becomes smoother, more elastic, and passes the "windowpane test": stretch a small piece of dough gently; if you can stretch it thin enough to see light through it without tearing, the gluten is well developed.
Variations: Adding Seeds and Nuts
Once you've successfully baked a basic easy whole wheat bread recipe, you can experiment with delicious additions. Incorporating seeds and nuts adds flavor, texture, and extra nutritional value. Try adding 1/4 to 1/2 cup of ingredients like sunflower seeds, pumpkin seeds, flax seeds, chia seeds, chopped walnuts, or pecans to your dough.
These additions can be mixed in during the final minute or two of kneading or folded in gently after the first rise when you punch down the dough. Be aware that seeds, especially flax and chia, absorb moisture, so you might need a tiny bit more liquid in the dough if adding larger quantities. Lightly toasting seeds and nuts in a dry pan before adding them to the dough can significantly enhance their flavor, giving your homemade whole wheat bread an extra layer of deliciousness.
Storing Homemade Bread
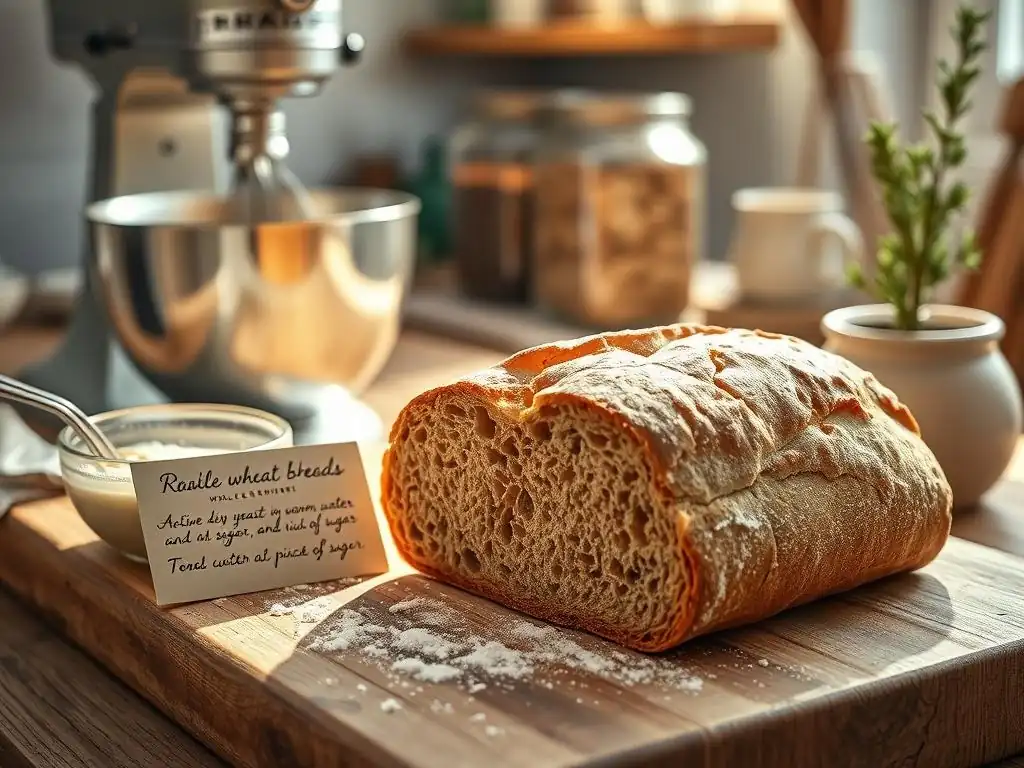
Your freshly baked homemade whole wheat bread is a triumph, but unlike store-bought loaves, it doesn't contain preservatives. Knowing how to store it properly is key to keeping it fresh and enjoyable for as long as possible.
Keeping Bread Fresh
Homemade bread stales relatively quickly when exposed to air. The best way to store your cooled loaf at room temperature is usually in a bread box, a paper bag, or loosely wrapped in plastic wrap or beeswax wrap. A bread box allows some air circulation while keeping the crust relatively crisp initially.
A paper bag helps maintain a crisp crust but the interior can dry out faster. Plastic wrap or a reusable wrap will keep the interior soft but can soften the crust over time. Avoid refrigerating your bread; while it might seem logical, the cool temperatures actually accelerate the staling process (retrogradation of starch).
For optimal freshness and texture, it's best to eat your homemade whole wheat bread within 3-4 days when stored at room temperature. If you won't finish the loaf within that time, freezing is an excellent option. Always ensure the bread is completely cooled before storing it in any method, as trapping warmth will create condensation and make the crust soggy.
Freezing Bread
Freezing is the most effective way to preserve your homemade whole wheat bread for longer periods. The best method is often to slice the cooled loaf first. This allows you to thaw only the amount you need at a time, whether it's a single slice for toast or a few for sandwiches.
Wrap the sliced loaf tightly in plastic wrap, ensuring minimal air exposure. Then, place the wrapped loaf inside a freezer-safe bag or wrap it again in aluminum foil for extra protection against freezer burn. Label the bag with the date. Properly frozen bread can maintain good quality for up to 3 months.
To thaw individual slices, you can often pop them directly into a toaster. To thaw a whole loaf, remove it from the freezer wrapping and let it sit at room temperature for several hours, or warm it gently in a low oven (around 300°F or 150°C) until thawed and slightly warmed through. Freezing ensures your hard work on your easy whole wheat bread recipe doesn't go to waste.
Conclusion: Enjoy Your Homemade Bread
Congratulations! You've successfully navigated the steps of baking your first loaf of whole wheat bread. From understanding the ingredients to shaping and baking, you've created something truly special with this easy whole wheat bread recipe. There's nothing quite like the taste and texture of warm, homemade bread, fresh from your own oven.
Take a moment to appreciate the aroma, the satisfying weight of the loaf, and the beautiful color of the crust. Slice into it and admire the texture of the crumb you created. Whether you enjoy it simply with butter, as the base for a hearty sandwich, or dipped into soup, savor the flavor and the pride of your accomplishment.
Baking whole wheat bread for beginners is an empowering skill, and this easy whole wheat bread recipe is just the beginning of your journey into the wonderful world of baking. Keep practicing, try variations, and most importantly, enjoy the delicious results!
Frequently Asked Questions
What makes this whole wheat bread recipe easy for beginners?
This recipe focuses on simple ingredients and straightforward instructions, minimizing complex techniques. We also provide detailed step-by-step visual guides to ensure success.
Can I substitute any of the ingredients in the whole wheat bread recipe?
While possible, substitutions may affect the texture and rise. Start with the recipe as written for the best results, then experiment with minor adjustments like different types of flour after you're comfortable.
How important is the kneading process for this whole wheat bread?
Kneading is crucial for developing gluten, which gives the bread its structure. However, this recipe utilizes a "no-knead" technique, significantly simplifying the process and reducing the effort required.
How do I know when my whole wheat bread is fully baked?
The bread is done when it's golden brown on top and sounds hollow when tapped on the bottom. An internal temperature of 190-200°F (88-93°C), measured with a food thermometer, is also a reliable indicator.
What's the best way to store leftover whole wheat bread?
Store the bread in an airtight container at room temperature for up to 3 days, or freeze slices for longer storage. Properly stored bread will maintain its freshness and prevent it from drying out.
Final Reflection: The Simple Joy of Homemade Whole Wheat
The accessibility of whole wheat bread baking is surprisingly high, and the rewards far outweigh the effort. This article aimed to demystify the process, proving that crafting a delicious, nutritious loaf from scratch is within everyone's reach, regardless of baking experience. We've explored simple techniques, tackled common pitfalls, and ultimately celebrated the satisfaction of creating something wholesome and delicious with your own hands.
The enduring appeal of homemade bread transcends mere sustenance; it's a connection to tradition, a tangible expression of care, and a source of immense personal satisfaction. Bread is the staff of life,
a saying as old as time itself, perfectly encapsulates its fundamental importance. But beyond its nutritional value, baking your own bread offers a meditative process, a quiet moment of creation in a busy world. It's a skill that connects us to generations past, and a gift we can share with loved ones.
Now, I invite you to roll up your sleeves, gather your ingredients, and embark on your own whole wheat bread journey. Don't be intimidated by the seemingly complex process; embrace the simplicity of the steps outlined in this article. The aroma of freshly baked bread filling your kitchen, the satisfying crust yielding to a soft, chewy interior – these are experiences that will enrich your life far beyond a single meal. Remember, the most important ingredient is your willingness to try. So, what are you waiting for? Let's bake!
Unleash Your Inner Baker: Start Kneading Today!
Thanks for joining us on this baking adventure! We hope you now feel confident enough to tackle the world of whole wheat bread. You've learned valuable skills and gained the knowledge to create delicious, healthy loaves. Ready to put your new skills to the test?
- Bake your first whole wheat loaf! Follow the recipe again, and this time, experiment – add some seeds, try a different shaping technique, or even adjust the hydration slightly.
- Share your baking journey! Post a picture of your creation on social media and tag us – we'd love to see your success!
- Explore our other beginner-friendly recipes on BakeWithEase.com – maybe you're ready to conquer sourdough next?
What unique twist will you add to your next whole wheat loaf? Let us know in the comments below!