
Troubleshooting Dense Rustic Bread: Common Causes and Solutions

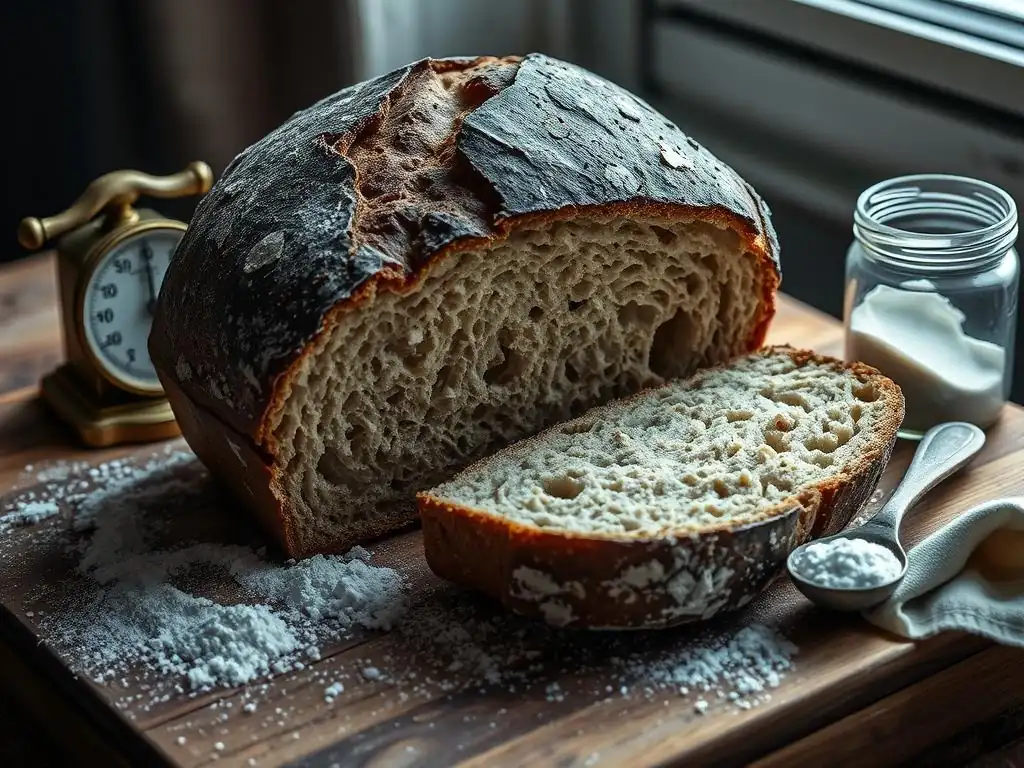
Welcome to BakeWithEase, your trusted companion on your baking journey! Ever wondered why your rustic bread refuses to rise to its full, airy potential? This week, we're diving deep into the frustrating world of dense rustic bread problems, uncovering the common culprits and providing you with actionable solutions. Prepare to transform your loaves from leaden to lovely! Let's explore the secrets to achieving that perfect, open crumb together...
- Understanding Dense Rustic Bread: Identifying the Problem
- Common Causes of Density in Rustic Bread and How to Fix Them
- Troubleshooting Specific Dense Rustic Bread Problems
- Advanced Techniques for a Lighter Rustic Bread
- Preventing Dense Rustic Bread in the Future: Best Practices
- Conclusion: Achieving the Perfect Rustic Bread Texture
-
Frequently Asked Questions
- What are the most common causes of dense rustic bread?
- How can I tell if my dough has enough gluten development?
- What role does hydration play in the density of rustic bread?
- How does proofing time affect the final density of my rustic bread?
- What are some simple tips for improving the texture of my dense rustic bread?
- Final Reflection: The Enduring Quest for the Perfect Rustic Loaf
- Unleash Your Inner Baker: Perfecting Rustic Bread
Understanding Dense Rustic Bread: Identifying the Problem
Rustic bread, with its characteristic chewy crust and open, airy crumb, is a baking delight. However, encountering a loaf that is heavy and dense instead of light and airy is a common frustration for bakers. Addressing these dense rustic bread problems requires understanding the underlying causes. It's not just about following a recipe; it's about mastering the process and recognizing the signs when things aren't going as planned. A dense loaf can feel like a major setback, but with a little knowledge, most issues are easily fixable.
Many factors contribute to the texture of rustic bread, from the quality of ingredients to the ambient temperature of your kitchen. When troubleshooting dense rustic bread, it's helpful to approach it systematically. Think of your baking process as a chain; a weak link at any stage can lead to a less-than-ideal result. Identifying which stage went wrong is the first step to achieving that perfect, open crumb in your next bake.
What Causes Dense Rustic Bread? A Baker's Perspective
From a baker's viewpoint, dense rustic bread problems often stem from issues related to the dough's structure and the fermentation process. Fundamentally, bread density is a failure of the dough to hold enough gas produced by yeast fermentation. This can happen if the gluten network isn't strong enough to trap the gas, if there isn't enough gas being produced, or if the gas escapes prematurely.
For example, inadequate kneading or mixing prevents the gluten proteins from developing a strong, elastic network. Without this structure, the dough collapses on itself rather than expanding upwards and outwards. Similarly, if the yeast is inactive or the dough hasn't proofed long enough, insufficient carbon dioxide is produced, leading to a small, heavy loaf. Even subtle factors like using cold water or baking at the wrong temperature can impact yeast activity and gluten structure, contributing significantly to dense rustic bread problems.
Recognizing the Signs of a Dense Loaf: Texture and Appearance
Identifying a dense rustic bread loaf is usually quite straightforward. The most obvious sign is the weight – a dense loaf feels heavier than it should for its size. When you cut into it, the crumb (the interior texture) will be tight and compact, lacking the irregular holes and airy structure typical of good rustic bread. Instead of seeing varying sizes of alveoli (the technical term for the holes), you'll find a uniform, tightly packed structure.
Visually, the loaf might also appear smaller than expected after baking, indicating a lack of significant oven spring. The crust might also be less developed or thinner than desired, as the internal pressure from steam and gas wasn't sufficient to push outwards effectively. A gummy or wet-looking crumb is another common symptom associated with density, often indicating underbaking or hydration issues. These visual and tactile cues are crucial for diagnosing the specific dense rustic bread problems you might be facing.
Common Causes of Density in Rustic Bread and How to Fix Them
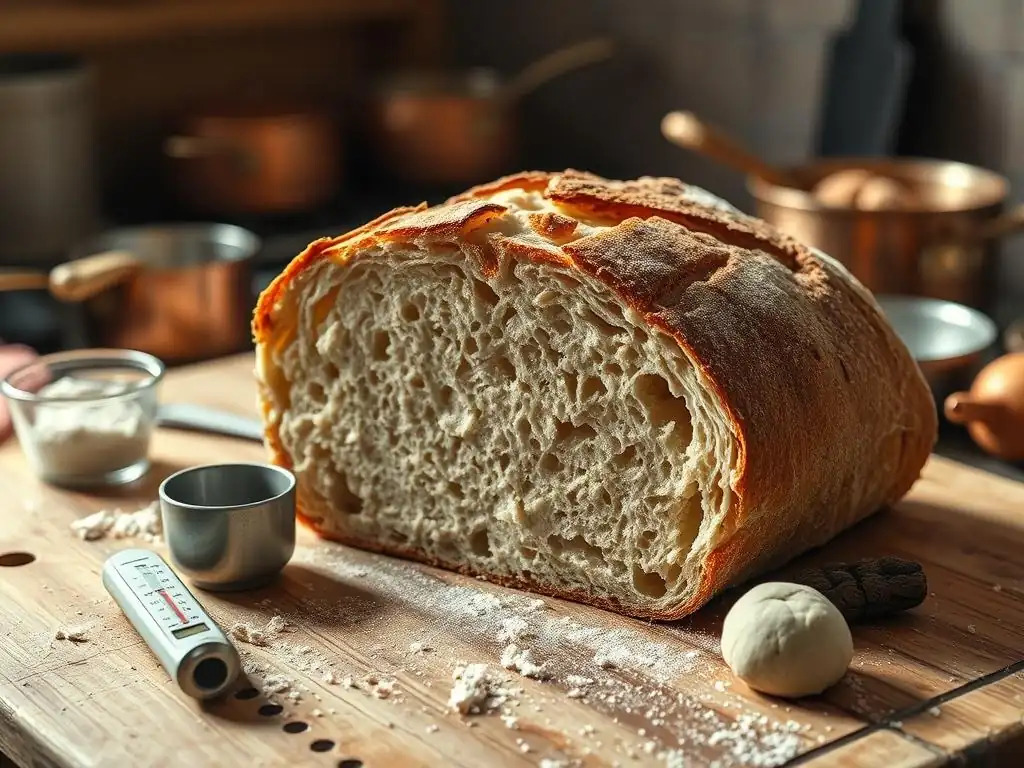
Dough Hydration Issues: Too Little Water
Hydration, or the ratio of water to flour, is critical in rustic bread. These breads often have high hydration levels (sometimes 70% or more relative to the flour weight) to achieve their characteristic open crumb. If your dough is too dry, the gluten network won't be able to develop properly, and the dough will be stiff and difficult to work with. This lack of flexibility prevents the dough from expanding effectively during fermentation and baking.
Using too little water results in a dough that feels tight and tears easily rather than stretching. This limits the dough's ability to trap the CO2 gas produced by the yeast. The result is a loaf with a tight, uniform crumb – a classic sign of dense rustic bread problems related to hydration. A common mistake is adding flour during kneading because the dough feels sticky; while sometimes necessary, excessive flour addition drastically lowers hydration.
Adjusting Hydration Levels for Rustic Bread Dough
Recipes provide a starting point for hydration, but environmental factors like humidity and the type of flour used can affect how much water is absorbed. If your dough consistently turns out stiff and dense, try slightly increasing the hydration in your next bake. Start with a small increase, perhaps adding an extra 20-30 grams of water per 500 grams of flour (an increase of 4-6%). You can add this extra water gradually during the initial mixing phase until the dough feels tacky but manageable.
Observe how the dough behaves. A properly hydrated rustic dough should feel wet and sticky, but develop strength and elasticity as gluten develops. Don't be afraid of sticky dough; it's often necessary for an open crumb. You can use wet hands or a dough scraper to handle high-hydration doughs more easily. Experimentation is key to finding the right hydration level for your specific flour and environment, helping you overcome dense rustic bread problems.
The Importance of Water Temperature in Rustic Bread
The temperature of the water you use significantly impacts yeast activity. For most standard rustic bread recipes using active dry or instant yeast, lukewarm water (around 95-105°F or 35-40°C) is ideal. This temperature activates the yeast without killing it (water above 120°F or 50°C can harm yeast). Using water that is too cold, say straight from the tap at 50°F (10°C), will drastically slow down yeast activity.
Slow yeast activity means less gas production during fermentation and proofing. Insufficient gas means the dough won't rise adequately, leading to a dense loaf. While cold fermentation is a technique used for flavor development, it requires significantly longer proofing times. For standard same-day rustic bread, ensuring your water is within the optimal temperature range helps kickstart yeast activity efficiently, promoting a good rise and preventing this particular cause of dense rustic bread problems.
Gluten Development Problems: Under-Mixing or Over-Mixing
Gluten, formed when proteins in flour (glutenin and gliadin) combine with water and are worked, provides the structure that holds the bread's shape and traps fermentation gases. Under-mixing prevents these proteins from forming a strong, elastic network. The dough will feel shaggy, tear easily, and lack elasticity. It won't be able to stretch and expand with the rising gases.
Conversely, over-mixing can break down the developed gluten network, especially in home mixers. The dough becomes slack, sticky, and loses its ability to hold tension. Both under- and over-mixing result in a weak structure incapable of supporting an open crumb, leading to dense rustic bread problems. The goal is to develop just enough gluten to create a strong, elastic dough without tearing it.
Achieving Proper Gluten Development for Rustic Bread
The method for developing gluten varies depending on the dough's hydration. For lower hydration doughs, traditional kneading is effective. For high-hydration rustic doughs, gentler methods like the autolyse technique (mixing flour and water and letting it rest before adding other ingredients) followed by stretch and folds or coil folds are often preferred. These methods develop strength and elasticity without the risk of tearing the delicate gluten strands in a wet dough.
Aim for a dough that is smooth, elastic, and capable of stretching without breaking easily. The mixing or folding process should continue until the dough transforms from a shaggy mass into a cohesive, pliable ball that holds its shape somewhat but is still extensible. This proper development is fundamental in preventing dense rustic bread problems.
The Windowpane Test: Assessing Gluten Strength
A classic way to check if gluten is sufficiently developed is the windowpane test. Gently take a small piece of dough (about the size of a golf ball) and carefully stretch it with your fingers. Try to stretch it into a thin membrane or "windowpane" that you can see light through without it tearing.
If the dough tears before you can stretch it thin, it likely needs more mixing or folding to develop the gluten further. If it stretches easily into a thin, translucent sheet, the gluten is well-developed. If it stretches but feels very weak or tears immediately, it might be over-mixed or lacking sufficient protein (though less common with bread flour). Mastering this test helps you know when your dough is ready, preventing dense rustic bread problems related to structure.
Yeast Activity: Insufficient Rise
Yeast is the engine of fermentation, producing carbon dioxide gas that makes the bread rise and alcohol and organic acids that contribute to flavor. If the yeast is inactive, dead, or if the conditions aren't right for it to thrive, insufficient gas will be produced. This leads to a dough that doesn't rise much during proofing and results in a small, heavy, and dense loaf after baking.
Common reasons for insufficient yeast activity include using expired yeast, mixing yeast with water that is too hot or too cold, adding salt directly onto the yeast (salt can inhibit yeast activity), or letting the dough proof in a cold environment for too short a time. These factors directly contribute to dense rustic bread problems related to lift and volume.
Checking Yeast Viability for Rustic Bread Baking
Before you even start mixing, you can test if your active dry yeast is alive. Dissolve the yeast in the amount of lukewarm water specified in the recipe (or about 1/4 cup) with a pinch of sugar. Let it sit for 5-10 minutes.
If the mixture becomes foamy and bubbly, the yeast is active and ready to go. If nothing happens, your yeast is likely dead and needs to be replaced. Instant yeast doesn't strictly require this step as it can be mixed directly with dry ingredients, but ensuring it's within its expiration date and stored properly (cool, dry place, or freezer after opening) is crucial for preventing dense rustic bread problems.
Using fresh, active yeast is one of the simplest steps to ensure a good rise. If you're using sourdough starter, ensure it's active and bubbly before using it.
Proofing Time and Temperature: Optimizing for Rustic Bread
Proofing is the final rise of the dough before baking. It's a critical stage for developing the airy structure. The ideal proofing time and temperature vary greatly depending on the recipe, the amount of yeast used, and the ambient temperature. Most rustic bread doughs benefit from proofing in a warm, draft-free place (around 75-80°F or 24-27°C).
Under-proofing is a major cause of dense rustic bread problems. If the dough hasn't had enough time to produce sufficient gas, it won't expand fully in the oven. Over-proofing can also be an issue; the dough rises significantly but then the gluten structure weakens and collapses, leading to a dense, sometimes gummy crumb. A good indicator of proper proofing is the "poke test": gently poke the dough with a floured finger.
If the indentation springs back slowly and only partially, it's likely ready to bake. If it springs back immediately, it needs more time. If it doesn't spring back at all and stays indented, it might be over-proofed.
Oven Temperature and Baking Time: Ensuring a Fully Baked Loaf
Baking transforms the dough into bread. Oven temperature is crucial for achieving good oven spring (the final burst of rising in the oven) and developing the crust and crumb structure. If the oven is not hot enough, the dough will rise slowly and spread outwards rather than upwards, leading to a flatter, potentially denser loaf. The heat needs to penetrate the loaf quickly to set the structure.
Underbaking is another significant contributor to dense rustic bread problems, often resulting in a gummy or heavy crumb. Even if the outside looks done, the interior may not have reached the temperature needed to fully cook the starch and set the structure.
Calibrating Your Oven for Rustic Bread Success
Oven thermostats are notoriously inaccurate. An oven thermometer is an inexpensive tool that can help you determine the true temperature inside your oven. Place it in the oven and preheat to the desired temperature (often 450-500°F or 230-260°C for rustic bread). Check the thermometer; if it reads significantly differently, you'll know how to adjust your oven's setting. For example, if your oven reads 450°F but the thermometer says 400°F, you know to set your oven to 500°F to achieve the target temperature.
Preheating the oven adequately, often for 30-60 minutes with any baking stones or Dutch ovens inside, is also vital to ensure the heat is stable and radiant. Consistent, high heat is key to preventing dense rustic bread problems during the bake.
Internal Temperature: The Key to Perfect Rustic Bread
The most reliable way to tell if your rustic bread is fully baked is to check its internal temperature using an instant-read thermometer. For most rustic bread, a fully baked loaf will reach an internal temperature of 200-210°F (93-99°C).
Insert the thermometer into the thickest part of the loaf, avoiding any large air pockets. If the crust is golden brown and the internal temperature is within this range, the bread is cooked through. Pulling the bread out too early, especially if the internal temperature is below 190°F (88°C), will almost certainly result in a dense, wet, or gummy crumb, directly addressing dense rustic bread problems caused by underbaking.
Troubleshooting Specific Dense Rustic Bread Problems
Sometimes the density manifests in specific ways. Pinpointing the exact issue helps apply the right fix.
Dense Crumb with a Gummy Texture: Solutions
A dense crumb that also feels gummy is a strong indicator of underbaking or insufficient hydration/gluten development combined with underbaking.
- Check Internal Temperature: The first step is to always use a thermometer. If it's below 200°F (93°C), the loaf wasn't in the oven long enough.
- Increase Baking Time: If the crust is already dark, you can tent the loaf loosely with foil to prevent further browning while it finishes baking.
- Address Hydration/Gluten: For future loaves, ensure your hydration is appropriate for the flour and that you've developed sufficient gluten structure through mixing and folding. A dough that lacks structure can lead to a gummy texture even if fully baked.
- Steam: Proper steam in the initial part of the bake helps the crust stay pliable, allowing for better oven spring and a less dense interior.
#### Troubleshooting Gummy Crumb

*   [ ] Did the loaf reach 200-210°F internally?
*   [ ] Was the dough properly hydrated and kneaded/folded?
*   [ ] Was steam used at the start of the bake?
Dense Bottom Crust: Prevention and Fixes
A dense or overly thick bottom crust often suggests that the bottom of the loaf was exposed to too much direct heat too early in the bake, or that the overall baking surface was too hot for the dough's stage of development.
- Use a Baking Stone or Steel: Preheating a stone or steel provides consistent, radiant heat, but if it's too hot for a dough that needs gentle initial lift, it can set the bottom crust too quickly.
- Reduce Bottom Heat: If using a stone/steel, try placing an empty baking sheet on the rack below it during the bake. This deflects some of the radiant heat from the bottom element.
- Adjust Oven Rack: Move the rack higher in the oven.
- Dutch Oven: Baking in a preheated Dutch oven often eliminates this issue as the heat is more evenly distributed around the loaf.
Tip: If your loaf consistently has a dense bottom crust, try reducing the initial temperature slightly or shortening the time it spends on the hot surface before potentially transferring it to a cooler surface or rack to finish baking.
Dense Center: Addressing Uneven Baking
A dense center, especially when the edges and crust look perfect, points towards uneven heat distribution in the oven or insufficient baking time for the core of the loaf.
- Rotate the Loaf: If not using a Dutch oven, rotate the loaf halfway through the baking time to ensure even exposure to heat.
- Check Oven Hot Spots: Use the oven thermometer in different spots to identify if parts of your oven are cooler than others.
- Increase Baking Time: The center is the last part of the loaf to reach the target internal temperature. If the center is dense, the loaf likely needed more time in the oven, even if the crust was done. Again, tenting with foil can help if the crust is browning too quickly.
- Ensure Proper Proofing: An under-proofed loaf might have less internal structure developed, making it harder for heat to penetrate evenly to the center.
Advanced Techniques for a Lighter Rustic Bread
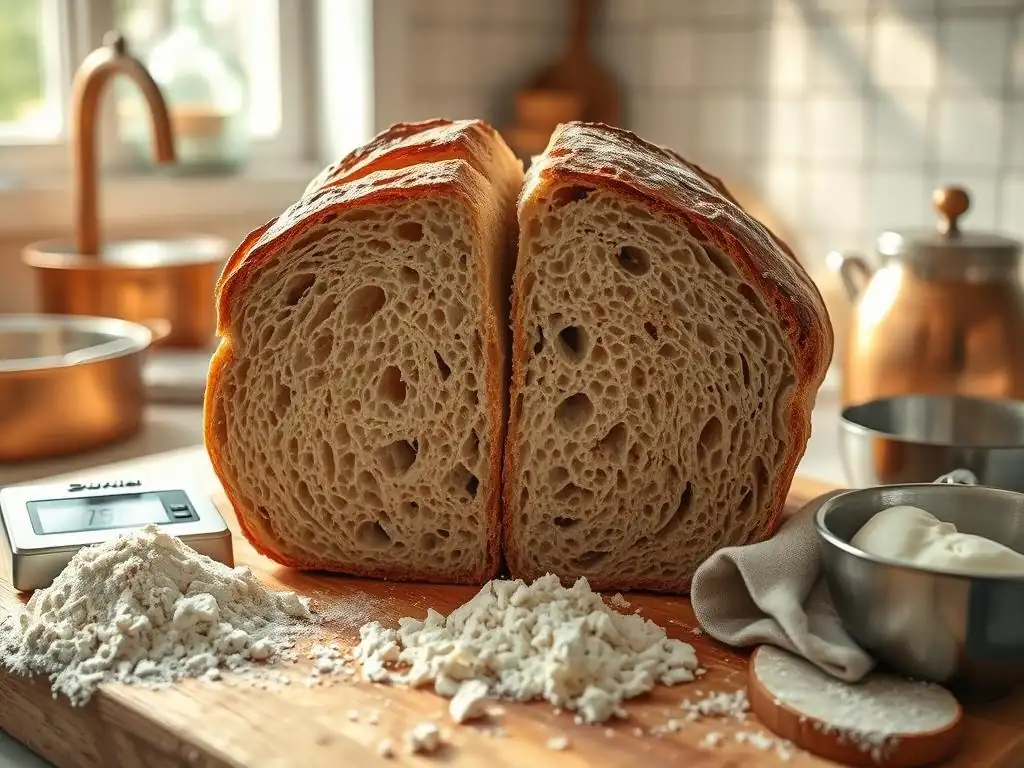
Once you've mastered the basics and addressed common dense rustic bread problems, you can explore techniques that further enhance the open crumb and texture.
Autolyse: Enhancing Hydration and Gluten Development
The autolyse technique involves mixing just the flour and water from your recipe and letting it rest for 20 minutes to several hours before adding the salt and yeast/starter.
- Benefits: This resting period allows the flour to fully hydrate and enzymes naturally present in the flour begin to break down proteins. This process kickstarts gluten development without any mechanical work (like kneading), making the dough more extensible and easier to handle later. It can significantly improve the dough's ability to stretch and trap gas, leading to a lighter, airier crumb and helping combat dense rustic bread problems.
- Process: Combine flour and water until no dry bits remain. Cover and let rest. After the rest, add the leavening and salt, and mix/knead until fully incorporated and gluten is developed.
Stretch and Folds: Building Strength Without Over-Mixing
Stretch and folds (or coil folds for very wet doughs) are a gentle method to develop gluten structure and build tension in high-hydration doughs. Instead of continuous kneading, the dough rests between sets of folds.
- Benefits: This technique aligns the gluten strands and builds strength progressively without tearing the delicate network in wet dough. It also helps redistribute the yeast and nutrients, promoting even fermentation. Performing 3-5 sets of folds during the bulk fermentation period (the first rise) is standard for many rustic bread recipes.
- Process: With wet hands or a scraper, gently lift one side of the dough, stretch it upwards, and fold it over the rest of the dough. Rotate the bowl and repeat 3-4 times to fold all sides. Let the dough rest for 20-30 minutes between sets.
Using a Dutch Oven for Optimal Crust and Crumb
Baking rustic bread in a preheated Dutch oven is a popular method for home bakers. The sealed environment traps the steam released by the dough as it bakes.
- Benefits: This trapped steam keeps the surface of the dough moist during the crucial initial phase of baking. This allows the dough to expand fully before the crust sets, resulting in maximum oven spring and a thinner, crisper crust. The even, radiant heat from the cast iron also promotes consistent baking and helps prevent dense rustic bread problems related to uneven heat.
- Process: Preheat the Dutch oven with the lid on in a hot oven (often 450-500°F). Carefully transfer the proofed dough into the hot pot, score it, cover with the lid, and bake for the initial period (e.g., 20 minutes). Then, remove the lid and continue baking until the crust is golden brown and the internal temperature is reached (e.g., another 20-30 minutes).
Preventing Dense Rustic Bread in the Future: Best Practices
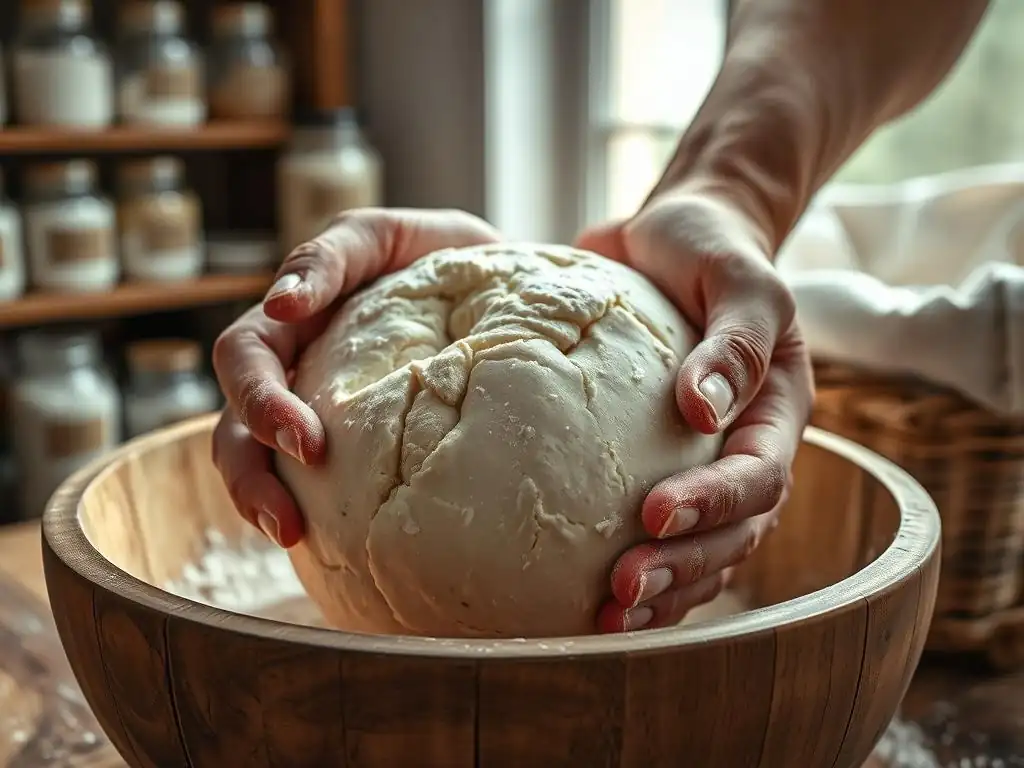
Consistency and attention to detail are your best allies in avoiding dense rustic bread problems. Establishing good habits in your baking process makes successful loaves the norm.
Accurate Measurements: The Foundation of Successful Baking
Baking is a science, and ratios matter, especially with rustic bread and its often high hydration. Using volume measurements (cups, spoons) can be highly inaccurate due to variations in how ingredients are packed.
- Use a Kitchen Scale: The most reliable way to measure ingredients is by weight using a digital kitchen scale. This ensures you use the exact flour-to-water ratio specified in the recipe, which is fundamental for achieving the desired dough consistency and preventing dense rustic bread problems linked to incorrect hydration. Even small errors in water or flour amounts can significantly impact the final texture.
High-Quality Ingredients: The Impact on Your Loaf
The quality of your flour and yeast directly impacts your bread's outcome.
- Flour: Use bread flour or a flour specifically recommended for rustic bread, which has a higher protein content (typically 12-14%) than all-purpose flour. This higher protein content is essential for developing a strong gluten network capable of supporting an open crumb structure. Ensure your flour is fresh and stored properly.
- Yeast/Starter: As mentioned, ensure your yeast is active and not expired. If using a sourdough starter, maintain it regularly so it is vigorous and active when you use it. Using weak or inactive leavening is a surefire way to end up with dense rustic bread problems.
Consistent Techniques: Refining Your Baking Process
Developing a consistent approach to mixing, kneading/folding, proofing, and baking helps you understand how your specific environment and ingredients behave.
- Temperature Control: Pay attention to your kitchen temperature and adjust proofing times accordingly. Warmer temperatures speed up fermentation; cooler temperatures slow it down.
- Observation: Learn to read your dough. Does it feel right? Is it developing properly? Does the poke test indicate it's ready? Don't rely solely on clock times; dough readiness can vary.
- Record Keeping: Keep a baking journal. Note the recipe, ingredient weights, times, temperatures, dough feel, and the final result. This helps you identify patterns and pinpoint what might have led to dense rustic bread problems in a particular bake, guiding your adjustments for next time.
Conclusion: Achieving the Perfect Rustic Bread Texture
Overcoming dense rustic bread problems is a journey that involves understanding the interplay of ingredients, technique, and environment. By paying close attention to hydration levels, ensuring proper gluten development, verifying yeast activity, and baking at the correct temperature for the right amount of time, you can significantly improve your results. Don't be discouraged by a less-than-perfect loaf; each bake offers a valuable learning opportunity. Embrace the process, adjust your methods based on observation, and soon you'll be consistently pulling beautifully airy, open-crumbed rustic loaves from your oven. Happy baking!
Frequently Asked Questions
What are the most common causes of dense rustic bread?
The most common causes include insufficient gluten development, incorrect hydration levels, and a lack of proper proofing. These factors can prevent the bread from achieving the desired airy texture.
How can I tell if my dough has enough gluten development?
You can test for gluten development using the windowpane test. Gently stretch a small piece of dough; if it stretches thin enough to see light through it without tearing, the gluten is sufficiently developed. Another sign is a smooth and elastic dough texture.
What role does hydration play in the density of rustic bread?
Hydration is crucial. Too little water results in a dry and dense loaf. Conversely, too much water can lead to a flat, gummy texture if the gluten isn't strong enough to support it.
How does proofing time affect the final density of my rustic bread?
Insufficient proofing means the yeast hasn't had enough time to produce enough carbon dioxide, resulting in a dense loaf. Conversely, over-proofing can collapse the gluten structure, also leading to a dense and potentially gummy texture.
What are some simple tips for improving the texture of my dense rustic bread?
Try using a stronger bread flour, ensuring adequate kneading, and carefully monitoring your proofing time. Also, make sure your oven temperature is accurate to ensure proper baking.
Final Reflection: The Enduring Quest for the Perfect Rustic Loaf
The pursuit of the perfect rustic bread, a seemingly simple endeavor, reveals a complex interplay of technique, ingredient, and intuition. A dense loaf, a common frustration for home bakers, isn't a sign of failure, but rather an opportunity for deeper understanding. This journey through troubleshooting common issues highlights the rewarding process of learning and refining one's baking skills.
The quest for the ideal rustic loaf transcends mere culinary achievement; it reflects a deeper connection to the craft of baking and the satisfaction of creating something beautiful and nourishing from simple ingredients. Bread is the staff of life,
a proverb often repeated, speaks to its fundamental role in human sustenance and culture. My own experiences with dense loaves, and the subsequent research and experimentation, have taught me patience, precision, and the importance of embracing imperfection. Each failed loaf has been a stepping stone towards a better understanding of the process.
Now, it's your turn. Don't be discouraged by a dense loaf; instead, use this guide as a springboard for your own baking journey. Experiment with different flours, hydration levels, and fermentation times. Observe your dough, learn its nuances, and trust your instincts. The perfect rustic loaf awaits, not as a destination, but as a continuous process of learning, refinement, and the profound satisfaction of creating something truly delicious with your own hands.
Unleash Your Inner Baker: Perfecting Rustic Bread
Thanks for joining us on this rustic bread journey! We hope you now feel empowered to tackle even the densest of loaves. Ready to put your newfound knowledge to the test?
- Bake your perfect loaf: Use what you've learned to try again – this time, aiming for that light, airy crumb you've been dreaming of! Adjust your hydration, proofing time, or baking temperature based on your previous experience.
- Share your baking triumphs (and challenges!): Join our BakeWithEase community forum and let’s discuss your results. We'd love to see your photos!
- Explore our advanced techniques: Deep dive into our other articles on sourdough starters, shaping techniques, and oven spring for even greater baking success.
What adjustments will you make to your next rustic bread attempt, and what exciting variations will you try?