
Insider Tips for Achieving Perfectly Tempered Chocolate Every Time.

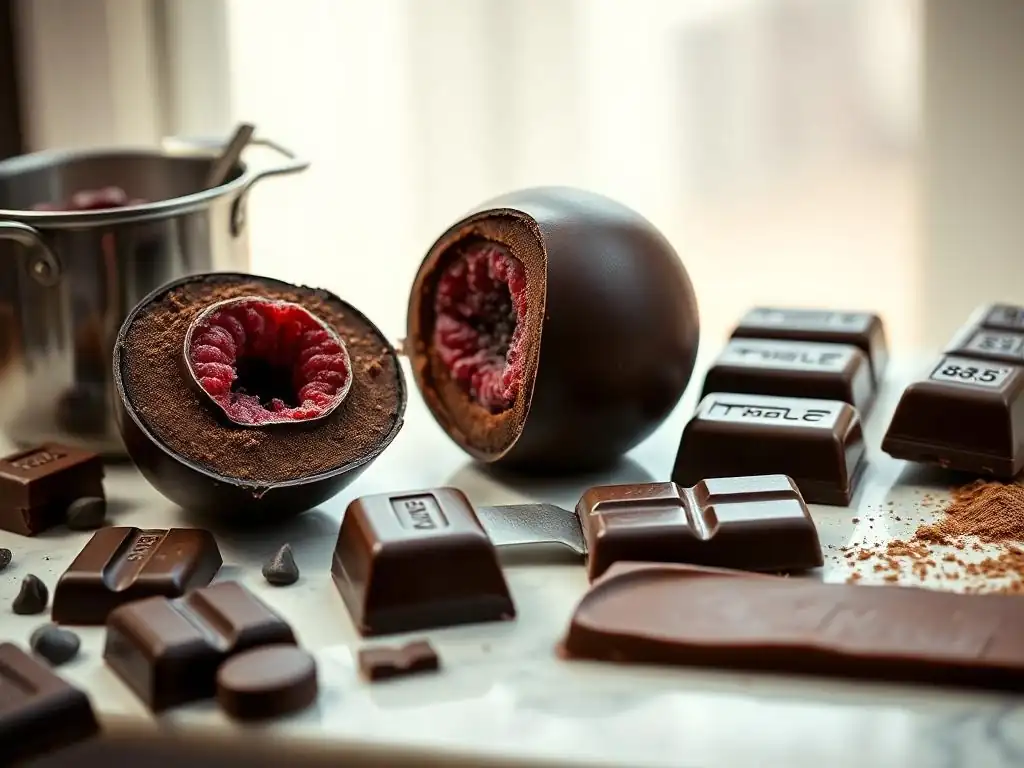
Welcome to BakeWithEase, your trusted companion on your baking journey! Are you ready to unlock the secret to achieving that flawless, glossy sheen and satisfying snap? Dive into our article to discover insider tips that will transform your approach to chocolate. Mastering the art of tempering chocolate can seem daunting, but with our guidance, you'll be creating professional-quality desserts in no time. Intrigued? Let's unveil the mystery behind our Perfectly tempered chocolate recipe tips and elevate your baking game today!
- Insider Tips for Achieving Perfectly Tempered Chocolate Every Time: Perfectly Tempered Chocolate Recipe Tips
- Essential Ingredients and Tools for Perfectly Tempered Chocolate Recipes
- Step-by-Step Guide to Perfectly Tempered Chocolate Recipe Tips
- Insider Techniques to Elevate Your Perfectly Tempered Chocolate Recipes
- How to Test and Store Perfectly Tempered Chocolate for Optimal Baking Results
- Troubleshooting Common Issues in Perfectly Tempered Chocolate Recipes
- Advanced Tips for Using Perfectly Tempered Chocolate in Baking and Decorating
- Conclusion: Mastering Perfectly Tempered Chocolate Recipe Tips for Consistent Baking Excellence.
- Frequently Asked Questions
- Final Reflection: The Enduring Allure of Perfectly Tempered Chocolate
- Unlock Your Inner Chocolatier: Master the Art of Tempering!
Insider Tips for Achieving Perfectly Tempered Chocolate Every Time: Perfectly Tempered Chocolate Recipe Tips
Understanding Chocolate Tempering: The Foundation for Perfect Tempered Chocolate Recipes
Chocolate tempering is a crucial process in confectionery that involves carefully controlling the temperature of chocolate to stabilize the cocoa butter crystals. When chocolate is melted, the various types of cocoa butter crystals break down. Proper tempering encourages the formation of specific, stable crystal structures (specifically the desirable Beta V crystals) that solidify correctly, giving chocolate its characteristic snap, shine, and smooth texture. Without tempering, melted chocolate will harden into a dull, streaky, and crumbly mass that melts too easily in your hands—a phenomenon known as "bloom."
Mastering the art of tempering is essential for achieving professional-looking results in your baking projects. It's not just about aesthetics; tempered chocolate is more stable at room temperature, less prone to fat or sugar bloom over time, and provides a satisfying mouthfeel. For example, a chocolate bar made with perfectly tempered chocolate will snap cleanly when broken, whereas an untempered one will crumble messily. Understanding the science behind this process is the first step towards consistently successful perfectly tempered chocolate recipe tips.
Why Mastering the Perfectly Tempered Chocolate Recipe Tips Matters in Advanced Baking Techniques
Achieving perfectly tempered chocolate is a fundamental skill that elevates advanced baking techniques significantly. Whether you're dipping truffles, coating éclairs, making decorative chocolate shards, or creating delicate chocolate sculptures, the quality of your tempered chocolate directly impacts the final product's appearance, texture, and shelf life. Imagine spending hours crafting a beautiful dessert only for the chocolate coating to look dull and melt instantly at room temperature; this is the pitfall of skipping or improperly executing the tempering process.
Furthermore, mastering these perfectly tempered chocolate recipe tips allows for versatility in your baking. Tempered chocolate sets firmly and quickly, making it ideal for creating hollow molds or intricate decorations that require structural integrity. It also resists melting at typical room temperatures, which is vital for confections meant to be displayed or transported. A well-tempered chocolate ganache used as a glaze will set with a beautiful sheen, contrasting with a dull, potentially oily untempered version. This skill is not just about creating pretty desserts; it's about ensuring the stability and quality that define professional-level baking.
Essential Ingredients and Tools for Perfectly Tempered Chocolate Recipes
Choosing the Right Chocolate: Types and Quality for Tempering Success
The foundation of any successful perfectly tempered chocolate recipe lies in selecting the appropriate chocolate. Not all chocolate is created equal, especially when it comes to tempering. For best results, you need to use "real" chocolate that contains cocoa butter as the primary fat, rather than vegetable oils or other substitutes often found in compound coatings or chocolate-flavored candies. The cocoa butter content is crucial because tempering is fundamentally the process of stabilizing its crystal structure.
Different types of real chocolate—dark, milk, and white—have varying compositions, particularly in their cocoa solid and milk solid content, which affects their ideal tempering temperatures. Dark chocolate, with a higher percentage of cocoa solids and cocoa butter (often 50% or more), is generally considered the easiest to temper.
Milk chocolate contains milk solids and less cocoa butter (typically 30-40%), while white chocolate contains no cocoa solids but is made from cocoa butter, sugar, and milk solids (usually around 20-35% cocoa butter). Opting for high-quality couverture chocolate, which has a higher percentage of cocoa butter (often 32-39%) and finer processing, makes the tempering process smoother and yields superior results with better flow, snap, and shine, making your perfectly tempered chocolate recipe tips even more effective.
Must-Have Tools for Achieving Perfectly Tempered Chocolate Every Time
Having the right tools is just as important as choosing quality chocolate when aiming for perfectly tempered chocolate. Precision is key, and the correct equipment helps you control the temperature accurately and efficiently. A reliable thermometer is non-negotiable; digital thermometers offering quick and precise readings are highly recommended. Infrared thermometers can also be useful for checking surface temperature rapidly, though a probe thermometer is essential for stirring and checking the internal temperature of the chocolate mass.
Other essential tools include a double boiler or a microwave for gentle melting (avoiding direct heat which can burn the chocolate), heatproof bowls (glass or stainless steel are good choices), and flexible spatulas (silicone is excellent for scraping and stirring). For those attempting the tabling method, a clean, cool surface like a marble or granite slab is necessary.
While not strictly essential for all methods, plastic or polycarbonate molds are ideal for setting tempered chocolate into shapes, as the chocolate releases easily and maintains its shine. Equipping yourself with these tools sets you up for success in mastering perfectly tempered chocolate recipe tips.
Step-by-Step Guide to Perfectly Tempered Chocolate Recipe Tips
Preparing Your Workspace and Chocolate for Tempering
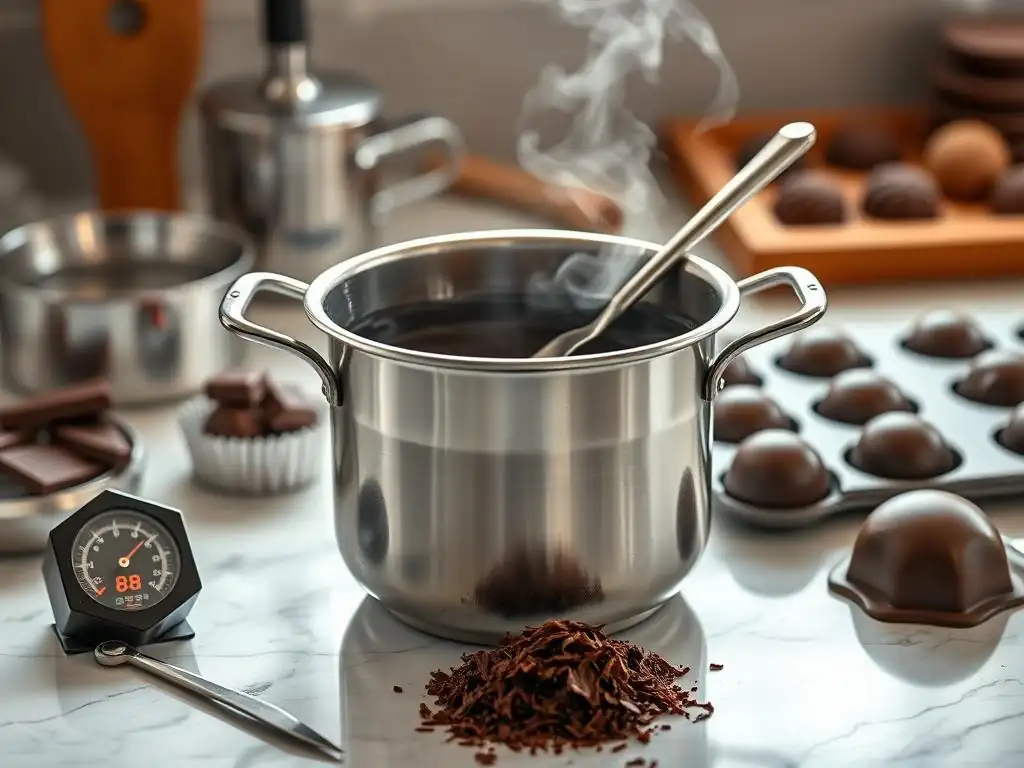
Before you begin the tempering process, setting up your workspace is crucial for a smooth operation. Ensure your environment is cool and dry, ideally between 18°C and 22°C (64°F and 72°F), with low humidity. Water is the enemy of melting chocolate, causing it to seize and become unusable for tempering, so make sure all your tools and bowls are completely dry. Gather all your necessary equipment—thermometer, bowls, spatulas, heat source (double boiler or microwave), and your chosen chocolate.
Next, prepare your chocolate. Chop the chocolate into small, uniform pieces. Smaller pieces melt more evenly and quickly, reducing the risk of burning and making the initial melting stage easier to control. If using chocolate callets or wafers designed for melting, chopping may not be necessary, but ensure they are at room temperature. Weigh out the amount of chocolate you need according to your recipe, plus a little extra if you plan to use the seeding method, as you'll need some solid chocolate pieces. This preparation phase is vital for executing your perfectly tempered chocolate recipe tips effectively.
The Three Key Stages of Chocolate Tempering: Melting, Cooling, and Reheating
Chocolate tempering fundamentally involves guiding the cocoa butter through three specific temperature stages to form stable crystals. The first stage is melting: gently heat the chopped chocolate until it is completely melted and reaches a specific temperature range, typically around 45-50°C (113-122°F) for dark chocolate, 40-45°C (104-113°F) for milk chocolate, and 35-40°C (95-104°F) for white chocolate. Stir frequently to ensure even heating and prevent scorching. Avoid exceeding these temperatures, as overheating can destroy the desirable crystal structures.
The second stage is cooling or crystallization. The melted chocolate is cooled down to a lower temperature range, where stable Beta V crystals begin to form. This is often achieved by adding solid "seed" chocolate (the seeding method) or working the chocolate on a cool surface (the tabling method). The target cooling temperature is typically 28-29°C (82-84°F) for dark chocolate, 27-28°C (81-82°F) for milk chocolate, and 26-27°C (79-81°F) for white chocolate. Stirring continuously during cooling helps distribute the crystals evenly.
The third and final stage is reheating or bringing the chocolate to its working temperature. The chocolate is gently warmed back up slightly to melt any unstable crystals while leaving the desired Beta V crystals intact. The ideal working temperature is usually 31-32°C (88-90°F) for dark chocolate, 29-30°C (84-86°F) for milk chocolate, and 28-29°C (82-84°F) for white chocolate. At this temperature, the chocolate should be fluid and ready for dipping, molding, or decorating. Maintaining this temperature throughout your work is crucial for consistent results in your perfectly tempered chocolate recipe tips.
Monitoring Temperature Accurately for Consistent Tempering Results
Accurate temperature monitoring is arguably the most critical factor in successful chocolate tempering. Relying on guesswork or approximate temperatures can lead to frustration and failed tempering attempts. A good quality thermometer is indispensable for tracking the chocolate's temperature through the melting, cooling, and reheating stages with precision. Digital thermometers are preferred for their speed and accuracy, often measuring within +/- 0.5°C (1°F).
During the melting phase, ensure the chocolate reaches the required initial temperature to completely melt all crystal forms. As you cool the chocolate, whether by seeding or tabling, monitor its temperature closely to hit the specific crystallization range for the type of chocolate you are using. Stirring helps ensure the thermometer reading is representative of the entire mass, not just the surface or edge.
Finally, when gently reheating to the working temperature, be extremely careful not to overshoot the target range. Even a few degrees too high can melt the stable crystals you worked hard to form, requiring you to start the tempering process over. Constant, accurate monitoring ensures you are following the perfectly tempered chocolate recipe tips precisely at each stage.
Insider Techniques to Elevate Your Perfectly Tempered Chocolate Recipes
Using the Seeding Method for Reliable Chocolate Tempering
The seeding method is one of the most common and reliable techniques for tempering chocolate, making it a cornerstone of many perfectly tempered chocolate recipe tips. This technique relies on adding pre-crystallized solid chocolate (the "seed") to melted chocolate that has been heated to melt all existing crystals. The stable crystals in the seed chocolate then act as templates, encouraging the melted cocoa butter to crystallize into the desired Beta V form as the mixture cools.
To use the seeding method, melt about two-thirds of your finely chopped chocolate or callets to the initial melting temperature (e.g., 45-50°C for dark). Once fully melted, remove it from the heat and add the remaining one-third of solid, finely chopped chocolate or callets. Stir continuously with a spatula. The solid chocolate will gradually melt while simultaneously cooling the entire mixture down to the working temperature (e.g., 31-32°C for dark).
Continue stirring until all the seed chocolate is melted and the mixture is smooth and at the correct working temperature. If a few small pieces of seed chocolate remain unmelted when the target temperature is reached, you can strain them out. This method is relatively simple and effective for achieving tempered chocolate with good shine and snap.
The Tabling Method: Traditional Technique for Smooth, Shiny Chocolate
The tabling method, also known as marbleing, is a traditional technique favored by professional chocolatiers for its ability to produce exceptionally smooth and shiny tempered chocolate. This method involves pouring melted chocolate onto a cool, clean surface, typically a marble or granite slab, to rapidly cool and crystallize it. It requires a bit more practice and physical effort than the seeding method but can yield outstanding results when mastered.
To perform the tabling method, first melt all your chocolate to the initial melting temperature, as described earlier. Pour about two-thirds of the melted chocolate onto your cool marble or granite surface. Using a metal scraper and a spatula, work the chocolate back and forth, spreading it thinly and gathering it repeatedly.
This rapid movement across the cool surface quickly brings the chocolate's temperature down into the crystallization range (e.g., 28-29°C for dark), promoting the formation of stable crystals. Continue working the chocolate until it thickens slightly and starts to become pasty. Then, scrape the cooled, thickened chocolate back into the bowl with the remaining one-third of warm, melted chocolate.
Stir the mixture gently until it is homogeneous and reaches the correct working temperature (e.g., 31-32°C for dark). The warmth from the reserved chocolate helps bring the mass back up to temperature while the newly formed crystals from the tabled portion seed the rest of the mixture. This technique is a hallmark of advanced perfectly tempered chocolate recipe tips for achieving maximum gloss.
How to Avoid Common Tempering Mistakes and Chocolate Bloom
Several common pitfalls can derail your efforts when trying to temper chocolate, often resulting in various forms of "bloom"—the undesirable gray or white streaks or patches on the surface. The most frequent mistake is overheating the chocolate during the initial melting phase or the final reheating step. Exceeding the target temperatures destroys the stable crystal structure you are trying to create, making proper tempering impossible until you start over.
Another common issue is introducing even a tiny amount of water into the melted chocolate. Water causes the sugar particles in the chocolate to clump together, resulting in a thick, grainy, seized mass that cannot be tempered. Always ensure your equipment is completely dry. Cooling the chocolate too slowly or unevenly can also lead to poor crystallization and dullness.
Conversely, cooling too rapidly without proper agitation might not allow enough stable crystals to form. Finally, improper storage of finished chocolate items can cause bloom; temperature fluctuations can cause cocoa butter to migrate to the surface and recrystallize, appearing as fat bloom. By being mindful of temperatures, keeping water away, and controlling cooling, you can avoid these issues and successfully apply your perfectly tempered chocolate recipe tips.
How to Test and Store Perfectly Tempered Chocolate for Optimal Baking Results
Quick Tests to Confirm Your Chocolate Is Perfectly Tempered
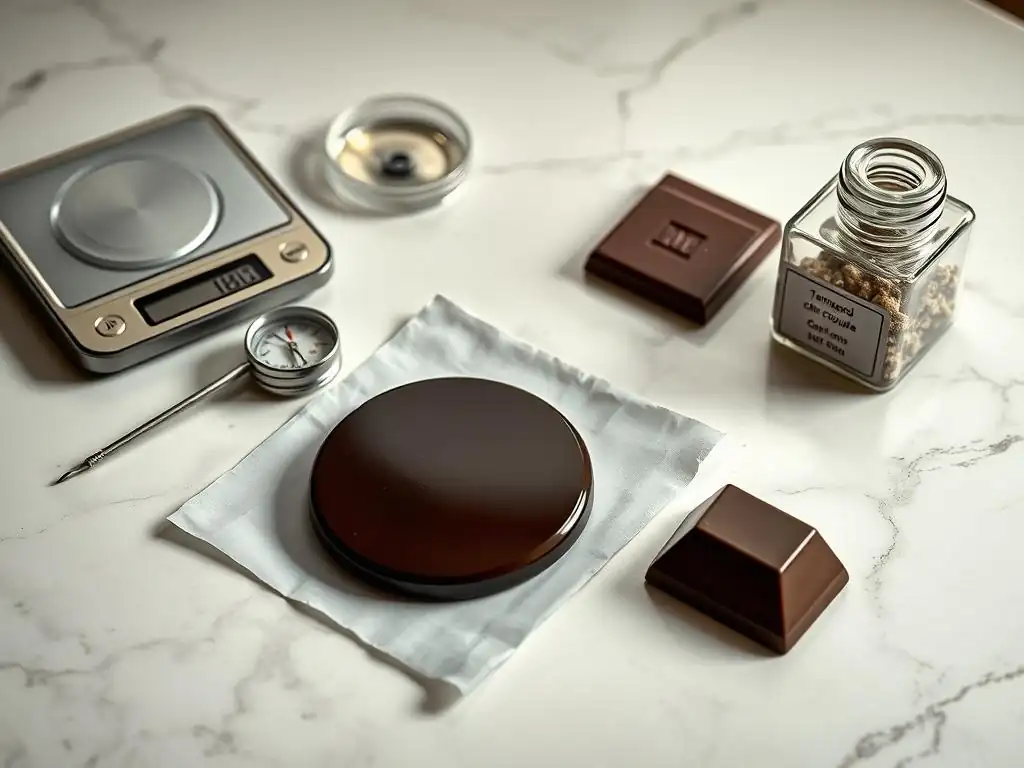
Once you believe you've completed the tempering process, it's essential to test your chocolate before committing it to a large batch of delicate pastries or confections. A simple and reliable test is the "parchment paper test." Dip the tip of a knife or a small spatula into the tempered chocolate and spread a thin layer onto a piece of parchment paper. Set this piece aside at room temperature, ideally in a cool spot (around 20°C or 68°F).
If the chocolate is properly tempered, it should begin to set within 3-5 minutes and be completely firm and dry to the touch within 10-15 minutes. Once set, it should easily peel off the parchment paper and have a smooth, glossy surface with no streaks or dull spots. Crucially, it should snap cleanly when broken.
If the chocolate remains soft, sticky, or develops streaks and a dull finish as it sets, it is not properly tempered, and you will need to re-temper it. This quick test is a vital step in ensuring your perfectly tempered chocolate recipe tips have paid off.
Best Practices for Storing Tempered Chocolate to Preserve Texture and Shine
Proper storage is essential to maintain the quality, texture, and beautiful shine of perfectly tempered chocolate, whether it's in the form of finished confections, molded shapes, or even leftover bulk chocolate. The primary enemies of stored chocolate are temperature fluctuations, humidity, and light. Store tempered chocolate in a cool, dry place with a stable temperature, ideally between 15°C and 18°C (59°F and 64°F). Avoid refrigeration if possible, as the humidity and fluctuating temperatures inside a fridge can cause sugar bloom (white, powdery streaks).
Keep the chocolate away from strong odors, as it can absorb smells easily. Store it in airtight containers or wrap it tightly in plastic wrap followed by foil to protect it from moisture and air. Properly stored tempered chocolate can maintain its snap and shine for several months, depending on the type of chocolate and its specific composition. Following these storage tips ensures that the effort you put into mastering perfectly tempered chocolate recipe tips doesn't go to waste.
Troubleshooting Common Issues in Perfectly Tempered Chocolate Recipes
What to Do When Chocolate Won’t Set or Lose Its Gloss
One of the most frustrating issues when working with chocolate is when it doesn't set properly or loses its beautiful glossy finish, often resulting in dullness or streaks. This is a clear indication that the chocolate was not properly tempered. The most common reason for this is that the cocoa butter did not form enough stable Beta V crystals during the cooling phase, or these crystals were melted during the reheating phase by exceeding the correct working temperature.
If your chocolate remains liquid, sticky, or sets with a dull finish or streaks, the best course of action is usually to re-temper it. Gently reheat the entire batch back up to the initial melting temperature (e.g., 45-50°C for dark chocolate) to completely melt all existing crystal structures, both stable and unstable.
Then, repeat the entire tempering process from the cooling stage (either seeding or tabling), paying extra attention to reaching and maintaining the correct temperatures for crystallization and working. While it means repeating steps, re-tempering is the most reliable way to salvage the chocolate and achieve the desired results for your perfectly tempered chocolate recipe tips.
Fixing Grainy or Unevenly Tempered Chocolate in Your Baking Projects
Another common problem encountered when tempering chocolate is a grainy or thick, uneven texture. This can happen for several reasons. If the chocolate seized due to contact with water, it will become a thick, grainy mass that is difficult or impossible to use for dipping or molding and cannot be tempered. In such cases, the chocolate is often beyond salvaging for standard tempering purposes, although it might be usable in baked goods where the texture isn't critical (like brownies) if you can incorporate the lumps.
Graininess can also occur if the chocolate wasn't melted smoothly initially, leaving small pieces of solid chocolate, or if seed chocolate wasn't fully melted during the seeding method. Uneven tempering can result from inconsistent stirring or temperature control, leading to patches of properly tempered chocolate mixed with untempered or poorly tempered areas. If the issue is minor graininess from unmelted pieces, gently warming the chocolate slightly while stirring might help, but be careful not to exceed the working temperature.
For more significant graininess or unevenness due to improper crystal formation, the most effective fix is to fully re-melt the chocolate to the initial melting temperature and repeat the tempering process carefully, ensuring smooth melting and precise temperature control throughout. Patience and attention to detail are key to avoiding and fixing these issues when applying perfectly tempered chocolate recipe tips.
Advanced Tips for Using Perfectly Tempered Chocolate in Baking and Decorating
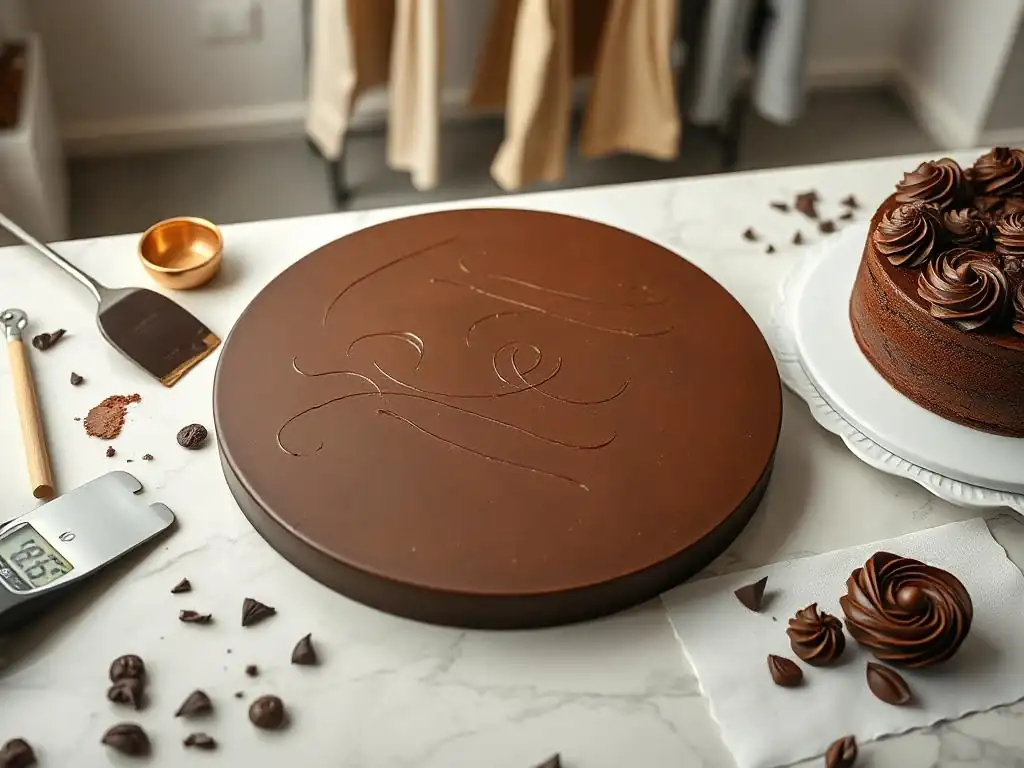
Once you've mastered the art of producing perfectly tempered chocolate, you can elevate a wide range of baking projects. Tempered chocolate is ideal for creating stable, glossy glazes and coatings for pastries like éclairs, petit fours, or cream puffs. Its quick setting time means coatings firm up rapidly, preventing drips and allowing for faster workflow, especially in a busy kitchen. For cakes, tempered chocolate can be used to make sharp, clean ganache drips or mirror glazes that set firm and shiny.
In cookies, tempered chocolate can be used for dipping or coating, providing a crisp snap that contrasts beautifully with a soft cookie interior. Consider dipping shortbread cookies or biscotti halfway in tempered chocolate for an elegant finish. You can also use tempered chocolate to create chocolate chips or chunks from scratch by pouring it onto a sheet tray, letting it set, and then chopping it.
The stability of tempered chocolate means these additions will maintain their shape and texture better within the cookie compared to untempered chocolate. Incorporating this stable form of chocolate enhances both the texture and visual appeal, making your perfectly tempered chocolate recipe tips applicable across numerous dessert types.
Creative Decorating Ideas with Perfectly Tempered Chocolate for Professional Results
Perfectly tempered chocolate opens up a world of creative decorating possibilities, allowing you to add professional flair to your baked goods. Its ability to set firmly and maintain shape makes it perfect for creating intricate chocolate decorations. You can pipe tempered chocolate onto parchment paper in various shapes—lattices, swirls, feathers, or abstract designs—letting them set completely before carefully peeling them off to use as garnishes on cakes or desserts.
Tempered chocolate is also essential for making chocolate curls or shavings; simply scrape the back of a knife or peeler along a block of properly tempered chocolate. For more elaborate decorations, you can use tempered chocolate with molds to create spheres, geometric shapes, or detailed figures.
Chocolate transfer sheets, which have patterns printed in cocoa butter, can be used with tempered chocolate to imprint designs onto your chocolate creations. The glossy finish and crisp snap of tempered chocolate ensure these decorations look stunning and add a delightful texture, showcasing the power of your perfectly tempered chocolate recipe tips in action.
Conclusion: Mastering Perfectly Tempered Chocolate Recipe Tips for Consistent Baking Excellence.
Frequently Asked Questions
How crucial is temperature control when tempering chocolate?
Temperature control is absolutely critical for achieving perfectly tempered chocolate. Precise temperatures ensure the correct crystal formation for a smooth, glossy finish and a satisfying snap. Deviations can lead to bloom.
What is "chocolate bloom" and why is it undesirable?
Chocolate bloom refers to the white or greyish coating that can appear on chocolate's surface. It's undesirable because it affects the appearance and texture of the chocolate, making it look less appealing and feel grainy.
Can I temper chocolate in the microwave?
Yes, you can temper chocolate in the microwave, but it requires extreme caution and precise monitoring. It's generally more challenging than other methods like the double boiler or seeding method due to the rapid heating.
What are some common mistakes to avoid when tempering chocolate?
Common mistakes include overheating the chocolate, introducing moisture, and not stirring frequently enough. Maintaining a clean and dry environment is also crucial for successful tempering.
What's the "seeding" method for tempering chocolate, and why is it effective?
The seeding method involves adding untempered, solid chocolate to melted chocolate. This provides the stable crystals needed to encourage proper tempering, making it a reliable and relatively easy technique.
Final Reflection: The Enduring Allure of Perfectly Tempered Chocolate
The pursuit of perfectly tempered chocolate is more than just a culinary quest; it's a testament to the power of precision and patience in achieving culinary excellence. In a world increasingly focused on instant gratification, the meticulous process of tempering highlights the beauty of slow, deliberate craftsmanship and the rewarding results it yields. The subtle nuances of a perfectly tempered chocolate – its snap, its sheen, its melt-in-your-mouth texture – are a testament to the dedication involved.
The impact of perfectly tempered chocolate extends far beyond the individual experience. It's a cornerstone of countless confectionery traditions, from elegant bonbons to rustic truffles. It represents a level of artistry that elevates simple ingredients into works of edible art. The secret to success is to never give up, no matter how many times you fail.
While this quote isn't directly about chocolate tempering, it perfectly encapsulates the spirit of perseverance needed to master this technique. The journey, with its occasional setbacks, ultimately leads to a profound appreciation for the process and the exquisite results.
Now, I invite you to take what you've learned and embark on your own chocolate tempering journey. Don't be afraid to experiment, to embrace the occasional imperfection, and to celebrate the victories – both big and small. The path to perfectly tempered chocolate is a rewarding one, filled with the satisfaction of creating something truly beautiful and delicious. Remember the tips and techniques shared within this article, and most importantly, remember the joy of the process. The next perfectly tempered chocolate you create will be a testament to your dedication and a delicious reward for your efforts.
Unlock Your Inner Chocolatier: Master the Art of Tempering!
Thanks for joining us on this chocolatey adventure! You've now got the insider secrets to achieving perfectly tempered chocolate every time. Ready to put your new skills to the test?
- Dive into your next chocolate creation: Try tempering chocolate for your favorite recipe – brownies, truffles, or even a simple ganache. The smooth, glossy finish will be incredibly rewarding!
- Share your tempered chocolate triumphs (or challenges!) with us in the comments below! Let's build a community of chocolate-loving bakers.
- Experiment with different types of chocolate: See how the tempering process varies with dark, milk, and white chocolate – and share your discoveries!
What delicious treat will you be tempering first?