
Bake Ahead: The Magic of Overnight Croissant Dough

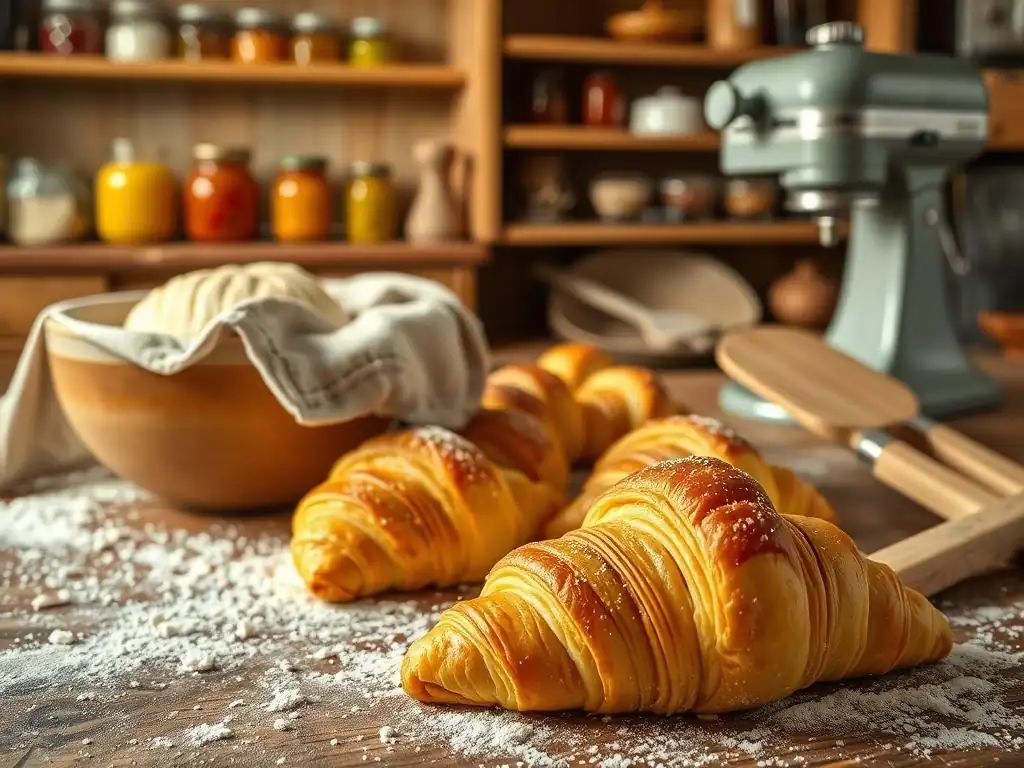
Welcome to BakeWithEase, your companion in the delightful world of baking! Ever dreamt of waking up to the aroma of freshly baked croissants? Our latest article unveils the secrets of the Overnight Croissant Dough Recipe, a game-changer for busy bakers. Discover how to achieve flaky, buttery perfection with minimal morning effort. Intrigued? Let's unlock the magic of bake-ahead baking together and transform your breakfast routine!
- Introduction to Overnight Croissant Dough: BakeWithEase' Secret Weapon
- Understanding the Fundamentals of Croissant Dough
- Overnight Croissant Dough Recipe: A Step-by-Step Guide
- Baking Your Overnight Croissants
- Troubleshooting Common Croissant Dough Problems
- Variations and Adaptations of Overnight Croissant Dough
- Storing and Freezing Croissant Dough
- Conclusion: Unleash Your Inner Baker with Overnight Croissant Dough
-
Frequently Asked Questions
- How does making croissant dough overnight simplify the baking process?
- What are the key benefits of using an overnight croissant dough recipe?
- Can I use any type of flour for an overnight croissant dough recipe?
- What's the best way to store overnight croissant dough in the refrigerator?
- What if my overnight croissant dough doesn't rise much in the refrigerator?
- Final Reflection: The Sweet Promise of Patience
- Unleash Your Inner Baker: Craft Perfect Croissants Effortlessly!
Introduction to Overnight Croissant Dough: BakeWithEase' Secret Weapon
For many home bakers, the croissant represents the pinnacle of pastry achievement. Its flaky layers, buttery aroma, and tender interior seem like the exclusive domain of professional patisseries. However, the secret to achieving bakery-quality croissants at home is often not about complex techniques performed quickly, but rather about patience and timing. This is where the magic of an overnight croissant dough recipe comes into play, transforming a daunting task into a manageable and even enjoyable process.
At BakeWithEase, we believe that everyone can experience the joy of pulling warm, golden croissants from their own oven. The overnight method is particularly revolutionary because it breaks down the intensive process into smaller, more convenient steps, allowing you to fit croissant making into a busy schedule. By letting the dough rest and develop slowly in the refrigerator, you not only simplify the process but also unlock deeper flavors and achieve that coveted delicate texture that is the hallmark of a great croissant.
Why Choose Overnight Croissant Dough? The Benefits Explained
Choosing an overnight croissant dough recipe offers significant advantages, primarily revolving around convenience and enhanced flavor development. The most obvious benefit is time management. Traditional croissant making requires intensive periods of work followed by chilling, often spanning an entire day.
With the overnight method, you can spread the work over two days, performing the mixing and lamination steps when you have free time, and then simply baking the next morning. This means you can wake up, shape the croissants, let them proof for a few hours, and have fresh pastries ready for breakfast or brunch without a frantic early start.
Beyond convenience, the extended cold fermentation period is crucial for developing complex flavors and improving the dough's structure. As the dough rests at a low temperature, typically around 4°C (39°F), enzymes break down starches into sugars, resulting in a richer, more nuanced taste profile. The gluten also relaxes, making the dough easier to handle during the crucial lamination process and contributing to a more tender crumb. This slow development is a fundamental principle in many great bread and pastry recipes, and it truly elevates the humble croissant to something extraordinary.
Mastering the Art of Croissant Baking at Home with Make-Ahead Dough
Mastering homemade croissants might seem intimidating, but using a make-ahead or overnight croissant dough recipe significantly simplifies the journey. The key challenges in croissant making – achieving proper lamination and successful proofing – become much more manageable when the dough is cold and well-rested. A chilled dough is firmer and less sticky, making it easier to roll out evenly and incorporate the butter block without tearing. This precision in handling is vital for creating those distinct, airy layers.
Furthermore, the overnight rest provides a safety net for proofing. The slow, cold proof builds strength and structure in the dough gradually. This allows for a more robust final proof at room temperature before baking. You gain confidence knowing the dough has had ample time to develop, increasing the likelihood of a good rise in the oven (oven spring) and that beautiful honeycomb structure inside. BakeWithEase encourages you to try this method; it's designed to build your skills and confidence, turning the ambitious goal of homemade croissants into a delightful reality.
Understanding the Fundamentals of Croissant Dough
Essential Ingredients for Authentic Croissants
Crafting authentic croissants starts with understanding the role of each essential ingredient. At its core, croissant dough is a lean dough enriched with a significant amount of butter through lamination. The basic components are flour, water (or milk), yeast, sugar, salt, and a substantial quantity of butter for the lamination process. While the list is short, the quality and type of each ingredient, particularly the flour and butter, have a profound impact on the final texture and flavor of your croissants.
Using the right ingredients is non-negotiable for achieving that classic croissant profile. For instance, the type of yeast matters; while active dry yeast works, instant yeast is often preferred for its reliability and ease of use, requiring no prior proofing. Sugar provides food for the yeast and aids in browning, while salt is crucial for flavor and controlling yeast activity. Water or milk hydrates the flour to form gluten and brings the dough together. But arguably, the two most critical ingredients are flour and butter, each playing a unique and vital role.
Flour Power: Choosing the Right Flour for Perfect Croissant Texture
The type of flour you select is fundamental to the structure and texture of your overnight croissant dough. Croissants require a balance: enough gluten development to create a strong network that can hold the layers, but not so much that the dough becomes tough. A bread flour, typically having a protein content between 12-14%, provides ample gluten for structure. However, using 100% bread flour can sometimes lead to a chewier croissant.
Many bakers prefer a blend of bread flour and all-purpose flour (protein content around 10-12%) or use an all-purpose flour with a relatively high protein content. This blend offers sufficient strength for lamination while ensuring a tender crumb. For example, using a mix where bread flour makes up 60% and all-purpose 40% is a common approach. The key is to choose a flour that can develop a good gluten network without making the dough too elastic, which would resist rolling during lamination and potentially tear, compromising the layers.
The Importance of High-Quality Butter in Croissant Dough
Butter is not just an ingredient in croissant dough; it's a structural component, responsible for creating those iconic flaky layers. Using high-quality butter with a high fat content (typically 82% or higher) is absolutely essential. Lower fat butter contains more water, which can seep into the dough during lamination, making it sticky and preventing the formation of clean, separate layers. European-style butters are often favored for their higher fat percentage and superior flavor.
The butter's consistency is equally important. It needs to be pliable enough to roll out with the dough without breaking, but cold enough to remain a distinct layer. This is why keeping the butter and dough cold throughout the lamination process is critical.
As the croissants bake, the water in the butter turns to steam, pushing the layers of dough apart. The melted fat then fries the dough, creating the crisp, flaky texture. Without high-quality butter that can maintain its structure during lamination and melt cleanly in the oven, achieving that perfect flaky result from your overnight croissant dough recipe is virtually impossible.
Croissant Dough Lamination: Creating Those Signature Layers
Lamination is the heart of croissant making, the process of repeatedly folding a block of butter within layers of dough. This meticulous technique is what transforms a simple dough into a structure capable of producing hundreds of delicate, buttery layers. The goal is to create alternating thin sheets of dough and butter, which will puff up separately when baked. This process typically involves encasing a flattened block of cold butter within the dough and then performing a series of folds and rolls.
The lamination process for an overnight croissant dough recipe usually involves several "turns," with chilling periods in between. A common method is three turns: perhaps a single fold, followed by two double folds, or three double folds, depending on the desired number of layers.
Each turn involves rolling the dough and butter block into a rectangle and then folding it like a letter or a book. These chilling periods, often 30-60 minutes in the refrigerator, are crucial for allowing the gluten to relax and the butter to firm up, preventing the butter from melting into the dough and ensuring clean layers are maintained throughout the process.
Overnight Croissant Dough Recipe: A Step-by-Step Guide

Preparing the Croissant Dough: The First Steps
The journey to flaky perfection with an overnight croissant dough recipe begins with preparing the initial dough base. This stage is similar to making a simple enriched bread dough, but with specific hydration levels and mixing times tailored for lamination. Accuracy in weighing ingredients is key here, typically using a kitchen scale for precision, especially with the flour and liquid.
Mixing the Dough: Achieving the Right Consistency
The mixing process aims to hydrate the flour and develop some initial gluten structure, but without overworking the dough. For a typical batch using 500 grams of flour, you might combine the dry ingredients (flour, sugar, salt, yeast) and then add the cold liquid (water or milk) and possibly some softened butter. Mixing can be done by hand or with a stand mixer fitted with a dough hook.
The goal is to bring the ingredients together into a cohesive, relatively smooth dough that is not sticky. Mixing too much can develop too much gluten early on, making lamination difficult. A common indicator of sufficient mixing is when the dough just pulls away from the sides of the bowl.
The Initial Rise: Developing Flavor and Structure
After mixing, the dough undergoes an initial bulk fermentation. For an overnight croissant dough recipe, this rise is typically done at room temperature for a relatively short period, perhaps 1-2 hours, followed by a much longer rest in the refrigerator. The initial room temperature rise allows the yeast to become active and start the fermentation process. During this time, the dough will increase in volume, often doubling, and the yeast will begin producing compounds that contribute to flavor.
Following the initial room temperature rise, the dough is punched down gently, shaped into a rectangle or square, wrapped tightly, and placed in the refrigerator. This cold rest, lasting anywhere from 8 to 12 hours (or even up to 24 hours), is where the "overnight" magic happens. The cold slows down yeast activity dramatically but allows enzymes to work slowly, enhancing flavor and making the dough firm and easy to handle for the subsequent lamination steps. This chilled dough is the foundation for successful layering.
Lamination Process: Folding Butter into Your Croissant Dough
Lamination is the core technique that gives croissants their signature flaky structure. It involves carefully incorporating a cold butter block into the chilled dough and repeatedly folding and rolling. Patience and keeping the dough and butter cold are paramount throughout this process.
The Butter Block: Preparing for Lamination
Before you begin folding, the butter needs to be prepared. A block of cold butter, typically about 50-60% of the flour weight (so, around 250-300 grams for 500g flour), is essential. This butter should be pliable but still cold – not rock hard, but not soft or oily.
You can achieve this by gently beating or rolling the cold butter between two sheets of parchment paper until it forms a square or rectangle, usually half the size of your rolled-out dough rectangle. The dimensions need to be precise so the butter covers exactly half of the dough when placed on it.
Folding Techniques: Single vs. Double Folds for Croissants
The lamination involves a series of folds or "turns." A single fold involves folding one-third of the dough over the middle third, and then the remaining third over that, creating three layers. A double fold (or book fold) involves folding both ends towards the center and then folding the dough in half, creating four layers. An overnight croissant dough recipe often uses a combination, like one single fold followed by two double folds, or three double folds.
*   **Single Fold:** Roll dough to a rectangle. Fold bottom third up. Fold top third down.
*   **Double Fold (Book Fold):** Roll dough to a rectangle. Fold both ends towards the center, leaving a small gap. Fold in half along the center gap.
After each fold, the dough must be rotated 90 degrees, wrapped, and chilled in the refrigerator for at least 30-60 minutes. This chilling step allows the gluten to relax, preventing the dough from springing back, and keeps the butter cold and firm, ensuring distinct layers. Typically, 3-4 turns are performed in total, resulting in potentially hundreds of thin butter and dough layers. For example, three double folds create 4 x 4 x 4 = 64 layers, plus the initial dough layers around the butter.
Overnight Proofing: The Key to Flavor and Texture
After shaping your croissants, the final rise, or proofing, is arguably the most critical stage before baking. While some recipes call for a shorter proofing time, an overnight croissant dough recipe truly shines during an extended cold proof. This slow, cool fermentation allows the yeast to gently expand the dough, building volume and enhancing the layered structure created during lamination.
Temperature Control: Ensuring Optimal Proofing
The ideal environment for overnight proofing is a cold refrigerator, typically between 4°C and 8°C (39°F - 46°F). This temperature range significantly slows down yeast activity compared to room temperature, allowing for a long, controlled rise. The shaped croissants should be placed on a baking sheet, covered loosely to prevent drying out (plastic wrap or a large plastic bag works well), and left in the refrigerator for 8 to 12 hours, or even up to 15 hours.
If your refrigerator is warmer than 8°C, the proofing might happen too quickly, potentially causing the butter layers to melt slightly and merge, compromising flakiness. If it's too cold (near freezing), the yeast activity might be too slow, resulting in under-proofed croissants. Monitoring the temperature is key. Some bakers even use a proofing box with precise temperature control, but a consistent refrigerator is sufficient for a home overnight croissant dough recipe.
What to Expect: Dough Volume and Appearance
During the overnight cold proof, the shaped croissants will expand noticeably, though perhaps not doubling in size as they would during a warm proof. They should look puffy and feel delicate to the touch. The layers should still be visible, and the dough should have a slightly jiggly appearance when gently shaken.
After the overnight cold proof, the croissants often benefit from a short period at room temperature before baking, perhaps 30-60 minutes. This allows the yeast to become fully active again and brings the dough temperature up slightly, promoting better oven spring. The croissants are ready to bake when they are significantly larger than their unproofed size, feel light and airy, and show clear signs of puffiness between the layers. An under-proofed croissant will be dense and heavy, while an over-proofed one might collapse in the oven.
Baking Your Overnight Croissants
The moment of truth arrives after the overnight proofing and brief warm-up: baking your beautifully shaped croissants. This stage transforms the delicate dough into the golden, flaky pastries you've worked towards. Proper oven setup and temperature are crucial for success.
Preheating and Preparing for Baking
Achieving that perfect golden-brown exterior and fully cooked interior requires a hot oven. Always preheat your oven well in advance, typically for at least 20-30 minutes, to ensure it reaches and holds the target temperature. Using a baking stone or steel can help maintain consistent heat and provide a burst of heat from below, aiding oven spring, though it's not strictly necessary.
Oven Temperature: Achieving Golden-Brown Perfection
Croissants are typically baked at a relatively high temperature, often starting around 200-220°C (400-425°F). This initial high heat helps create rapid steam from the butter, forcing the layers apart quickly and developing that signature flaky texture. After the first 10-15 minutes, many recipes suggest reducing the temperature to around 180-190°C (350-375°F) to ensure the croissants cook through evenly without burning the exterior. Using an oven thermometer is highly recommended, as oven temperatures can vary significantly from the dial setting.
Egg Wash: Enhancing Color and Shine
Just before baking, the croissants are typically brushed with an egg wash. A common egg wash is a mixture of one egg beaten with a tablespoon or two of milk or cream. This provides a beautiful golden color and a lovely sheen to the baked croissants. Apply the wash gently with a pastry brush, being careful not to deflate the proofed dough or let the wash pool between the layers, which can glue them together. For an extra glossy finish, some bakers use a double egg wash, applying a second coat after the first has dried slightly.
Baking Time: Monitoring Your Croissants
The baking time for croissants usually ranges from 18 to 25 minutes, depending on their size and your oven. It's crucial to monitor them closely, especially after reducing the oven temperature. The croissants should puff up significantly in the first few minutes, the layers becoming clearly defined. They are done when they are deeply golden brown all over – not just on top, but also on the sides and bottom.
Don't be afraid of a rich color; pale croissants are often underbaked and doughy inside. If they are browning too quickly on top, you can loosely tent them with aluminum foil. To check for doneness, you can gently lift one; the bottom should be firm and golden. If they look ready but you're unsure, you can bake for an extra minute or two; it's better to slightly overbake than underbake.
Cooling and Enjoying Your Homemade Croissants
Once baked, transfer the croissants from the baking sheet to a wire rack immediately to cool. Cooling on a rack allows air circulation, preventing the bottom from becoming soggy from trapped steam. While the aroma is incredibly tempting, resisting the urge to tear into them immediately is important. They need about 15-20 minutes to cool slightly and allow the internal structure to set.
Enjoying warm, homemade croissants straight from the oven is one of baking's greatest pleasures. The flaky exterior, the soft, airy interior, and the rich buttery flavor are unmatched. Whether eaten plain, with jam, or alongside coffee, the satisfaction of creating these pastries using your overnight croissant dough recipe is immense.
Troubleshooting Common Croissant Dough Problems
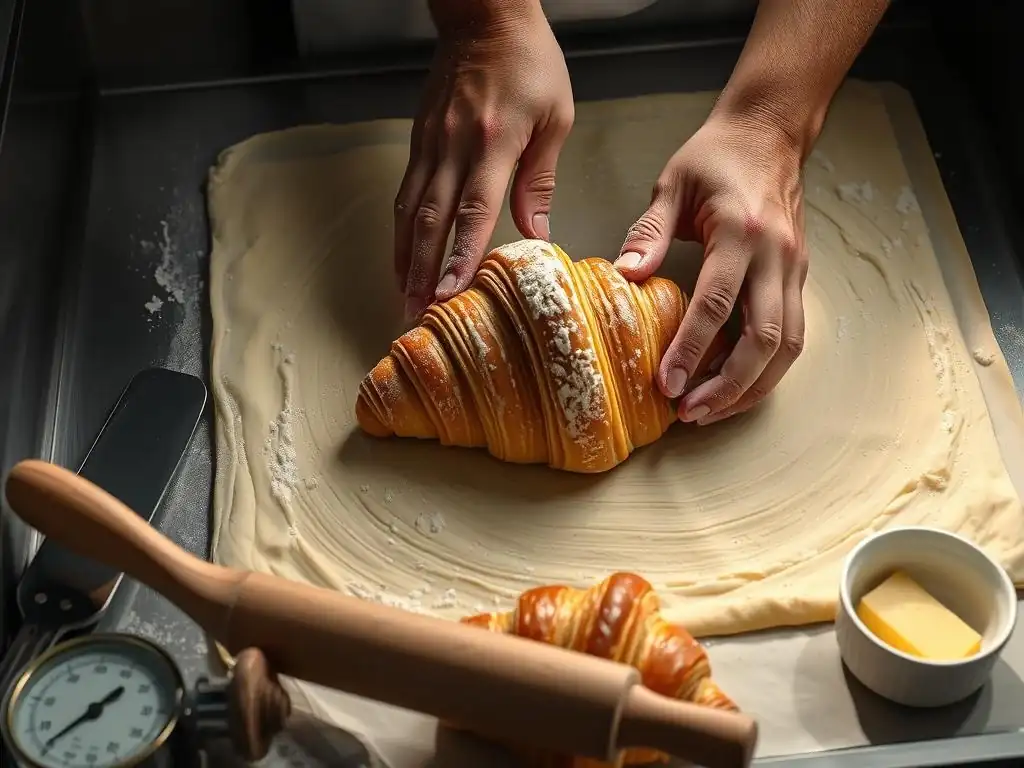
Even with a reliable overnight croissant dough recipe, issues can arise during the process. Knowing how to identify and fix common problems can save your batch and improve your technique for next time.
Dough Too Wet or Too Dry: Adjusting Hydration
The hydration level of croissant dough is crucial for handling and texture. If your dough feels too wet and sticky after mixing, it can be difficult to handle during lamination, sticking to your workspace and potentially tearing. This might be due to inaccurate measurements or variations in flour absorption. You can try adding a small amount of flour (a tablespoon at a time) during the initial mixing until the dough is manageable, but avoid adding too much, which can make the dough tough.
Conversely, if the dough is too dry, it will be stiff and difficult to roll out, increasing the risk of tearing during lamination. It might also lead to a dry, crumbly final product. Ensure you are measuring your liquid accurately. If the dough feels too dry after mixing, you can carefully knead in a tiny amount of extra cold water, a teaspoon at a time, until it feels more pliable. Remember that cold dough is always firmer than room-temperature dough, so assess its texture after the initial chill.
Butter Leaking During Lamination: Tips and Tricks
Butter leaking out during lamination is a common and frustrating problem. This happens when the butter layer breaks or melts, merging with the dough instead of staying as a distinct layer. The primary cause is usually the dough or butter becoming too warm. If the butter is too soft, it will squeeze out when rolled. If the dough is not cold enough, it will resist rolling, requiring more force which can rupture the butter layer.
To prevent leaks, ensure both your dough and butter block are adequately chilled before each turn. Work quickly when rolling, and if the dough or butter starts to feel soft or sticky, stop immediately, wrap the dough, and return it to the refrigerator for at least 30 minutes before continuing. Rolling on a cold surface, like marble or granite, can also help. If a small amount of butter leaks, you can try patching the dough gently before the next fold, but significant leaks may indicate the batch is compromised and will result in less flaky croissants.
Croissants Not Rising Properly: Identifying the Issue
Under-proofed croissants are dense, heavy, and lack the desired open, airy interior. This can happen for several reasons. The most common cause is insufficient proofing time or temperature, especially during the final proof before baking. While the overnight cold proof develops flavor, the final warm-up and proof are essential for volume. If your kitchen is cold, the final proof might take longer than expected.
Another reason could be inactive yeast, perhaps due to using old yeast or killing it with too-hot liquid during mixing. Ensure your yeast is fresh and your liquid is cold as specified in the overnight croissant dough recipe. Overworking the dough during mixing or handling can also inhibit rising by creating a tight gluten structure that resists expansion. Finally, insufficient chilling during lamination can lead to butter melting into the dough, weighing it down and hindering its ability to rise. Ensure your shaped croissants have visibly expanded and feel light before baking.
Variations and Adaptations of Overnight Croissant Dough
The beauty of mastering the basic overnight croissant dough recipe is that it opens the door to a world of delicious variations. Once you have the fundamental technique down, you can easily adapt the dough to create other classic French pastries or invent your own savory delights.
Chocolate Croissants (Pain au Chocolat): Adding Chocolate Batons
Perhaps the most popular variation is the pain au chocolat, or chocolate croissant. To make these, simply roll out your proofed overnight croissant dough into a rectangle after the final rest. Cut the dough into rectangles, typically around 10x20 cm (4x8 inches). Place one or two chocolate batons (special baking chocolate sticks) near one end of the rectangle. Roll the dough up around the chocolate, ensuring the seam is on the bottom.
The chocolate batons are crucial; they are designed to melt perfectly during baking without burning. Using chocolate chips or chunks will not yield the same result. After shaping, proof and bake as you would a regular croissant. The result is a rich, flaky pastry with a molten chocolate center – a truly decadent treat made possible by your versatile overnight croissant dough.
Almond Croissants: Elevating Your Croissants with Frangipane
Almond croissants are a wonderful way to repurpose day-old croissants, or they can be made from freshly baked ones. This variation involves slicing a baked croissant horizontally and filling it with frangipane, a rich almond cream. The filled croissant is then dipped in simple syrup, coated in sliced almonds, and baked again until golden and crisp.
To make frangipane, you typically combine softened butter, sugar, almond flour, an egg, and a touch of flour and extract. A common ratio might be equal parts butter, sugar, and almond flour by weight. The baked and filled croissants are then re-baked at a moderate temperature, around 170-180°C (325-350°F), for 15-20 minutes. This second bake toasts the almonds and heats the frangipane, creating a moist, flavorful interior and a crunchy exterior.
Savory Croissants: Exploring Cheese and Herb Combinations
While traditionally sweet, the buttery, flaky nature of croissant dough makes it an excellent base for savory fillings. You can incorporate cheese, herbs, or even cured meats into your overnight croissant dough creations. One simple method is to sprinkle grated cheese (like Gruyère or cheddar) and finely chopped herbs (such as chives or parsley) onto the dough rectangle before rolling up the croissants.
Another approach is to fill the shaped croissants just before the final proof. Small cubes of cheese or a mixture of ricotta and spinach are popular options. Be mindful not to overfill, as this can cause the filling to leak during proofing or baking. Savory croissants are often enjoyed as part of a meal or as a sophisticated snack. Experiment with different cheeses, herbs, or even a sprinkle of everything bagel seasoning on top before baking.
Storing and Freezing Croissant Dough
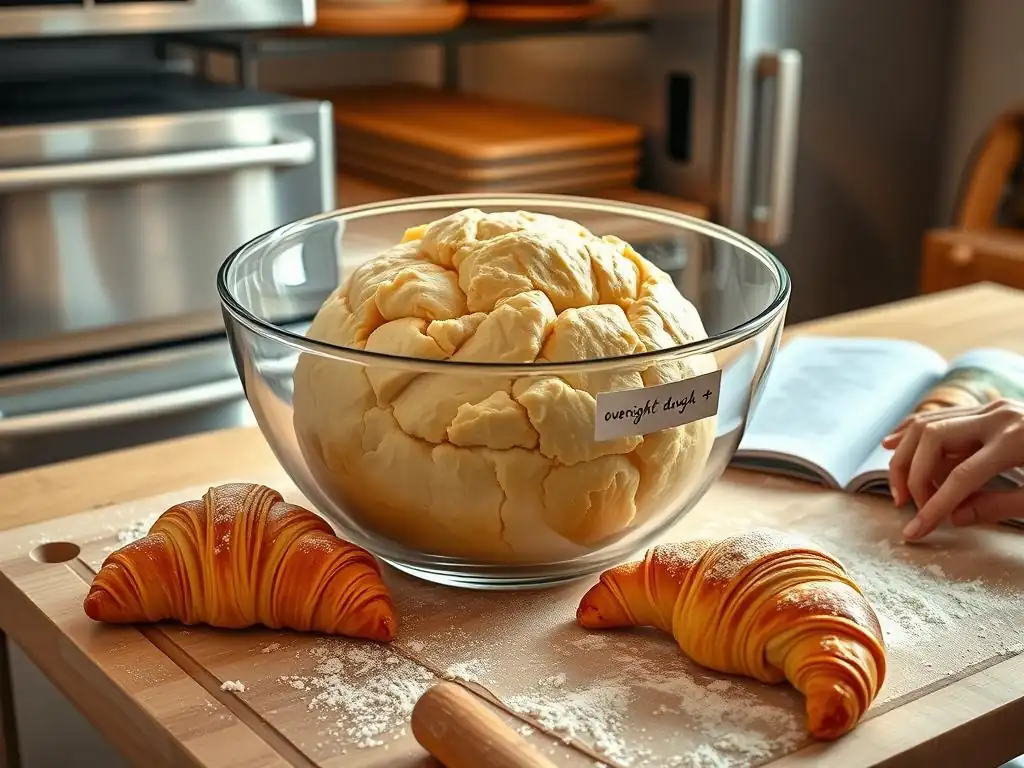
One of the greatest advantages of using an overnight croissant dough recipe is the flexibility it offers for storage and make-ahead convenience. You don't have to bake the entire batch at once. Proper storage techniques allow you to enjoy freshly baked croissants whenever the craving strikes.
Freezing Unbaked Croissants: Extending Shelf Life
The best way to store your overnight croissant dough for future baking is to freeze the shaped, but unbaked, croissants. After shaping and before the final proof, place the croissants on a baking sheet lined with parchment paper. Ensure they are not touching. Place the tray in the freezer until the croissants are completely frozen solid, which usually takes 1-2 hours.
Once frozen, transfer the croissants to an airtight container or a freezer bag. This prevents freezer burn and protects them from absorbing odors. Properly frozen unbaked croissants can be stored for up to 2-4 weeks. This method allows you to pull out just the number of croissants you need and bake them fresh on demand, making your overnight croissant dough recipe even more practical.
Baking from Frozen: Achieving Freshly Baked Results
Baking croissants directly from frozen is entirely possible and yields delicious results, though it requires a slight adjustment to the proofing process. When you're ready to bake, take the desired number of frozen croissants from the freezer and place them on a baking sheet lined with parchment paper. Cover them loosely and let them proof at room temperature.
Proofing frozen croissants takes significantly longer than proofing fresh ones, typically 8-12 hours, depending on the room temperature. It's best to do this overnight, placing them out the evening before you plan to bake. They are ready when they have thawed, doubled in size, and look puffy and jiggly, just like their fresh counterparts would after their final proof. Bake them as you would fresh croissants, perhaps adding a minute or two to the total baking time to ensure they are cooked through.
Conclusion: Unleash Your Inner Baker with Overnight Croissant Dough
Mastering the art of homemade croissants is a rewarding journey, and the overnight croissant dough recipe makes that journey significantly more accessible and enjoyable for the home baker. By spreading the work over two days and leveraging the power of cold fermentation, you simplify the process, enhance flavor, and increase your chances of achieving that coveted flaky, buttery perfection.
Embrace the Ease of Make-Ahead Croissants
Gone are the days of needing an entire day dedicated solely to croissant production. With the overnight method, you can fit the mixing and lamination into a free afternoon or evening, and then enjoy the luxury of waking up to fresh, ready-to-proof pastries. This make-ahead approach demystifies the croissant and brings it within reach of anyone with a passion for baking. It's a testament to how smart planning can turn complex recipes into manageable tasks.
BakeWithEase: Your Guide to Perfect Croissant Baking at Home
At BakeWithEase, we are committed to providing you with the knowledge, tips, and recipes you need to succeed in your baking endeavors. Our detailed guide to the overnight croissant dough recipe is designed to walk you through each step with confidence. We encourage you to try this recipe, experiment with variations, and discover the immense satisfaction of pulling warm, flaky croissants from your own oven. Happy baking!
Frequently Asked Questions
How does making croissant dough overnight simplify the baking process?
Preparing croissant dough overnight primarily saves time and effort. It allows for a longer, slower proofing in the refrigerator, developing more complex flavors and making the dough easier to handle the next day.
What are the key benefits of using an overnight croissant dough recipe?
The main advantages include a more relaxed schedule, improved flavor development due to slow fermentation, and the ability to break the process into manageable steps, which is ideal for busy bakers.
Can I use any type of flour for an overnight croissant dough recipe?
While all-purpose flour can be used, bread flour is recommended for its higher protein content. This results in a stronger dough better suited for lamination and creating the characteristic flaky layers of a croissant.
What's the best way to store overnight croissant dough in the refrigerator?
Wrap the dough tightly in plastic wrap or place it in a sealed container to prevent it from drying out. Ensure it's stored in a cold part of the refrigerator (around 40°F/4°C) to slow down the yeast activity.
What if my overnight croissant dough doesn't rise much in the refrigerator?
Don't worry! The rise should be minimal in the fridge. The primary goal is flavor development and a more manageable dough. A significant rise will occur during the final proofing at room temperature before baking.
Final Reflection: The Sweet Promise of Patience
The art of baking, particularly the creation of flaky, buttery croissants, often feels daunting, yet the magic of overnight croissant dough reveals a simpler, more accessible path. This isn't just about a recipe; it's about reclaiming the joy of baking by embracing a process that rewards patience and allows for a more manageable approach to a seemingly complex treat. The ease of preparation and the stunning results make this method a game-changer for home bakers of all skill levels.
The impact of this simple shift – preparing the dough the night before – extends beyond just convenience. It speaks to a larger cultural shift towards mindful cooking and appreciating the process as much as the product. The best things in life are worth waiting for,
a sentiment perfectly captured by the overnight rise of this delicate dough. The anticipation, the subtle transformation witnessed each morning, adds a layer of satisfaction that instant gratification simply can't match. It's a reminder to slow down, to savor the journey, and to find beauty in the unfolding of time.
Now, consider your own baking journey. Are you ready to embrace the sweet promise of patience? Try this recipe. Experience the transformation of simple ingredients into something truly extraordinary. Let the aroma of baking croissants fill your home, not just as a delicious treat, but as a testament to the rewards of mindful effort and the magic that unfolds when we allow ourselves the time to create something beautiful. The experience, I believe, will be as rewarding as the final, golden-brown, flaky croissant itself.
Unleash Your Inner Baker: Craft Perfect Croissants Effortlessly!
Thanks for joining us on this croissant journey! We hope you've gained the confidence to tackle this seemingly intimidating pastry. Now it's time to put your newfound knowledge into action.
- Bake your dream croissants: The most important step is to actually try the recipe! Even if you just make a small batch, the satisfaction of biting into a homemade croissant is unparalleled.
- Share your baking adventure: Show off your beautiful, buttery creations on social media – tag us so we can celebrate your success! (Don't forget to use #BakeWithEaseCroissants!)
- Explore other BakeWithEase recipes: Discover even more delicious and achievable baking projects on our site, designed to make baking fun and easy.
Ready to transform your kitchen into a Parisian patisserie? What's your favorite part of the croissant-making process?