
Blind Baking Explained: Ensuring No More Soggy Tart Bottoms

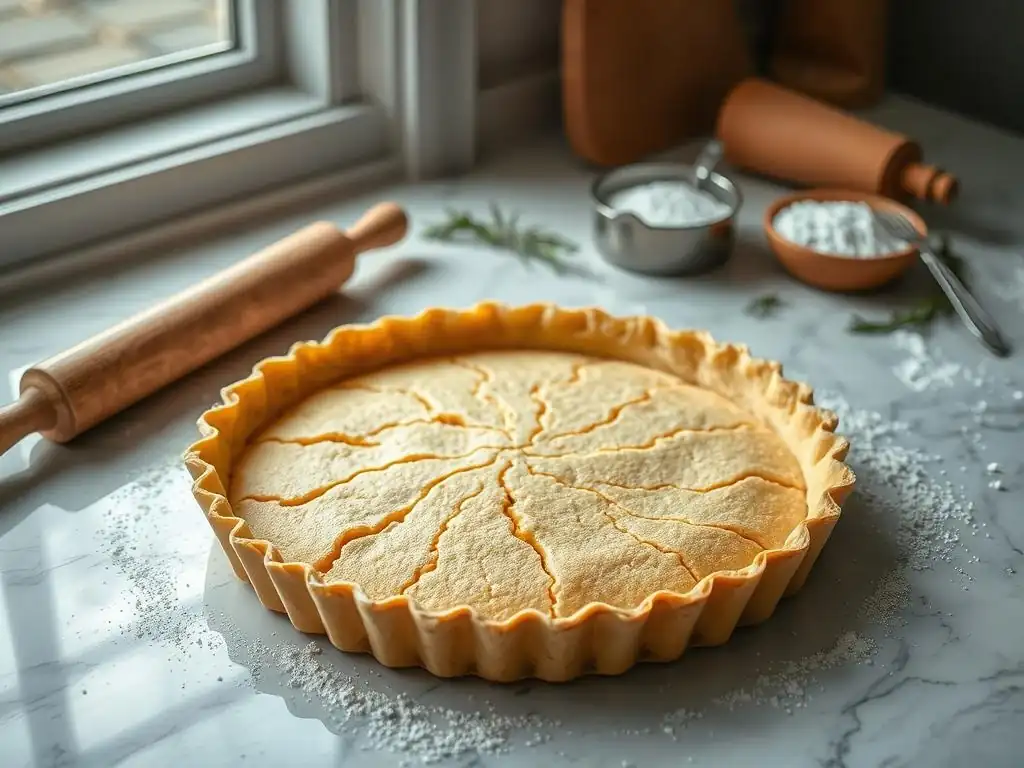
Welcome to BakeWithEase, your guide to baking bliss! Tired of soggy bottoms? Discover the secrets to perfectly crisp tart crusts in our in-depth guide to blind baking tart crusts. Unlock the art of pastry and create desserts that truly impress. Keep reading to banish soggy bottoms forever!
- Blind Baking Explained: Achieving Perfectly Crisp Tart Crusts
- What is Blind Baking and Why is it Essential for Tarts?
- Essential Equipment for Blind Baking
-
Step-by-Step Guide to Blind Baking
- Preparing the Dough: A Basic Recipe Overview
- Lining the Pan: Preventing Sticking and Shrinkage
- Adding Baking Weights: Ensuring Even Baking
- Blind Baking Temperature and Time: Finding the Ideal Setting
- Removing the Baking Weights: Achieving a Crispy Base
- Completing the Baking Process: Achieving Golden Brown Perfection
- Troubleshooting Common Problems
- Tips for Perfect Blind Baked Crusts
- Blind Baking Different Crust Types
- Beyond the Basics: Advanced Techniques
- Tart Filling Ideas
- Storing Baked Crusts: Maintaining Freshness
- Frequently Asked Questions
- Final Reflection: The Sweet Science of a Perfect Crust
- Unleash Your Inner Pastry Chef: Perfect Tart Bottoms Every Time!
Blind Baking Explained: Achieving Perfectly Crisp Tart Crusts
What is Blind Baking and Why is it Essential for Tarts?
Blind baking is a fundamental technique in pastry making, particularly crucial when preparing tarts with wet fillings. It involves partially or fully baking the tart crust before adding the filling. This pre-baking step ensures that the crust sets and becomes firm, providing a sturdy base for the filling. Without blind baking, a wet filling like custard, fruit, or ganache would soak into the raw dough during baking, resulting in a soggy, unappealing bottom crust.
Mastering the art of blind baking tart crusts is key to achieving professional-quality results at home. It's a technique that applies across various pastry types, from delicate sweet tarts filled with pastry cream to savory quiches brimming with egg and cheese. The process effectively creates a barrier, preventing moisture migration from the filling into the pastry, which is the primary cause of those dreaded soggy bottoms.
Understanding the Purpose of Blind Baking
The main purpose of blind baking is to "set" the structure of the pastry dough before it interacts with a potentially moist filling. When you blind bake a tart crust, the heat of the oven causes the gluten in the flour to firm up and the fats (like butter) to melt and create flaky layers. This initial baking step provides the necessary strength and crispness that the crust needs to support a filling, especially one that requires further baking, chilling, or is simply added cold.
Consider a classic French fruit tart filled with pastry cream. The pastry cream is often quite moist and requires chilling rather than further baking once added to the shell. If you were to add this filling to an unbaked or improperly blind baked tart shell, the moisture would seep into the dough, turning it gummy and soft. Blind baking prevents this by creating a firm, partially cooked foundation that can withstand the moisture from the filling, ensuring a delightful contrast between a crisp crust and a smooth filling.
Preventing Soggy Bottoms: The Primary Benefit
The most significant advantage of blind baking tart crusts is the prevention of soggy bottoms. This issue arises when moisture from the filling penetrates the uncooked dough during the baking process. The heat from the oven isn't able to fully bake the bottom crust because the moisture keeps it cool and steamy. Blind baking addresses this directly by giving the bottom crust a head start, allowing it to cook and firm up before the filling is introduced.
By blind baking, you are essentially creating a waterproof layer (though not entirely impervious) that significantly slows down or stops the moisture from reaching the innermost part of the crust. This is particularly vital for tarts with custard-based fillings, like a quiche or a crème brûlée tart, which have high liquid content and bake for extended periods. A properly blind baked tart shell ensures that every bite, from the edge to the very center, offers that satisfying crispness.
Blind Baking vs. Pre-Baking: Defining the Difference
While the terms are sometimes used interchangeably, there's a subtle but important distinction between blind baking and pre-baking, particularly in the context of tarts destined for wet fillings. Blind baking specifically refers to baking the tart crust without its filling, usually involving the use of weights. It can be partial (baked until set but not browned) or full (baked until golden brown).
Pre-baking, in a broader sense, can mean baking anything before its final use. However, when discussing tart or pie crusts, blind baking is the term specifically used for preparing a crust to receive a wet or unbaked filling that will either be baked later or chilled.
Full pre-baking might refer to baking a crust completely until golden brown, often for pies that will be filled with a cold filling like pudding or fresh fruit that doesn't require further baking. The key difference lies in the purpose and the stage of the final product – blind baking is a preparatory step for a tart that will typically see further interaction with heat or moisture.
Essential Equipment for Blind Baking
Achieving a perfectly blind baked tart crust relies not just on technique but also on having the right tools. While you don't need a professional kitchen setup, a few key pieces of equipment make the process significantly easier and yield better results. Using the correct pan, liner, and weights is fundamental to preventing common issues like shrinkage and uneven baking.
Having the right equipment ensures that your effort in preparing the dough pays off with a beautifully shaped and evenly baked crust. From selecting the appropriate tart pan size for your recipe to understanding the role of baking weights, each piece of equipment plays a vital part in the blind baking process. Investing in these basic tools will elevate your tart-making game considerably.
Tart Pan Selection: Size, Material, and Considerations
Choosing the right tart pan is the first step. Standard tart pans typically have fluted edges and a removable bottom, which makes serving the finished tart much easier. Sizes vary widely, but common dimensions range from 8 inches (about 20 cm) to 10 inches (about 25 cm) in diameter for round tarts, and various rectangular or square shapes. The size of the pan dictates the amount of dough needed and the baking time.
The material of the pan also affects how the crust bakes. Metal pans, particularly those made from aluminum or non-stick steel, are excellent conductors of heat, promoting even browning and crisping of the blind baked tart crust. Ceramic or glass pans conduct heat differently and may require slight adjustments in baking time or temperature. For blind baking tart crusts, a metal pan with a removable bottom is generally preferred for its heat conductivity and ease of use.
Parchment Paper vs. Foil: Choosing the Right Liner
When blind baking, you need a liner to hold the baking weights and protect the dough. Parchment paper is the most commonly recommended material. It's non-stick, flexible, and can be easily shaped to fit snugly into the pan, conforming to the fluted edges. It also withstands oven temperatures well without sticking to the dough. You'll typically cut a piece larger than the pan to allow for overhang, which helps lift the weights out later.
Aluminum foil can also be used as a liner, though it's less ideal than parchment paper. Foil is stiffer and harder to mold perfectly into the pan's corners and flutes, which can lead to uneven pressure from the weights. While it works in a pinch, parchment paper provides a better barrier and is less likely to stick to the delicate blind baked tart shell.
Baking Weights: Ensuring Even Baking
Baking weights are indispensable for blind baking. Their purpose is to weigh down the base of the tart crust during the initial baking phase. This pressure prevents the dough from puffing up unevenly or shrinking down the sides of the pan as it heats and sets. Without weights, the bottom of your blind baked tart crust could bubble up like a balloon, rendering it unusable for a flat filling, and the sides might slump.
The weights ensure that the heat penetrates the dough evenly, promoting uniform cooking and crisping. They are placed on top of the liner (parchment paper or foil) which is pressed into the unbaked dough shell. Using sufficient weight across the entire surface is crucial for maintaining the crust's shape and achieving a flat, evenly baked base.
Types of Baking Weights: Ceramic and Metal
There are two main types of baking weights commonly used for blind baking tart crusts: ceramic beads (often called pie weights) and metal chains. Ceramic beads are small, often pea-sized spheres made of ceramic. They are inexpensive, easy to use, and distribute weight relatively evenly. You pour them onto the parchment-lined dough until the base is covered.
Metal baking chains, usually made of aluminum or stainless steel, are another option. They consist of interconnected links that conform well to the shape of the pan. Some bakers prefer chains because they can be easier to handle and remove as a single unit compared to scooping out individual beads. Both types are effective, and the choice often comes down to personal preference and availability. If you don't have specific baking weights, dried beans, rice, or even granulated sugar can be used as substitutes, though they may not distribute heat as evenly as purpose-made weights.
Step-by-Step Guide to Blind Baking
Mastering the technique of blind baking tart crusts is simpler than you might think. By following a clear process, you can consistently achieve a beautifully baked shell, ready for any filling. This guide breaks down the essential steps, from preparing your dough to the final moments in the oven, ensuring your crust is both crisp and structurally sound.
Each stage is important, contributing to the overall success of your blind bake. Paying attention to details like chilling the dough, using enough weights, and monitoring oven temperature will make a significant difference in the final outcome. Let's walk through the process to ensure your tart bases are always perfectly baked.
Preparing the Dough: A Basic Recipe Overview
Before you can blind bake, you need a well-made tart dough. A basic sweet pastry dough (pâte sucrée) typically involves flour, sugar, butter, and egg yolk, sometimes with a touch of salt and vanilla. Shortcrust pastry (pâte brisée) is similar but usually contains less sugar and often uses a whole egg or just water as the liquid binder. The key is to handle the dough minimally to avoid developing too much gluten, which can make the crust tough.
After mixing your dough, it's crucial to chill it thoroughly. This allows the gluten to relax and the fat to firm up, making the dough easier to roll out and significantly reducing shrinkage during blind baking. Aim for at least 30-60 minutes of chilling in the refrigerator, or even longer if time permits. Some recipes suggest chilling for several hours or overnight for best results.
Lining the Pan: Preventing Sticking and Shrinkage
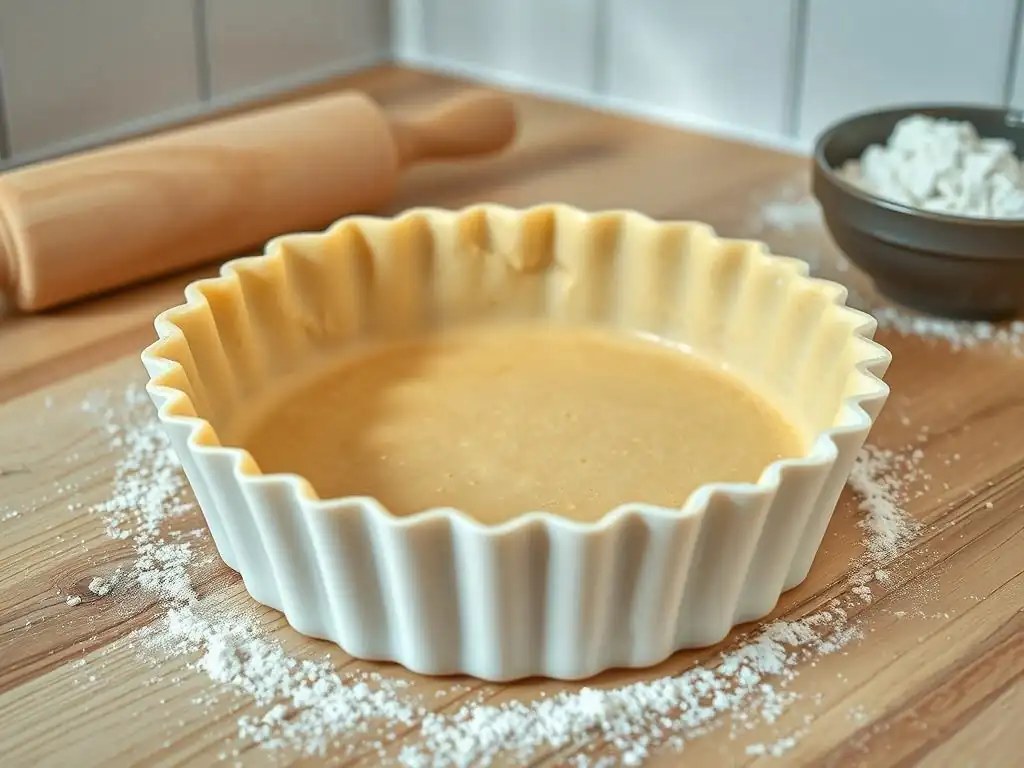
Once your dough is chilled, roll it out on a lightly floured surface to a thickness of about 1/8 inch (approx. 3-4 mm), ensuring it's large enough to fit your tart pan with some overhang. Carefully transfer the rolled dough into the tart pan. The easiest way is often to gently roll the dough around your rolling pin and then unroll it over the pan. Press the dough gently into the bottom and up the sides, ensuring it fits snugly into the fluted edges. Avoid stretching the dough, as this will cause it to shrink back during baking.
Trim the excess dough from the top edge. Some bakers like to roll the pin over the top of the pan to get a clean edge. Now, line the dough-lined pan with parchment paper, pressing it gently against the dough. Leave a generous overhang of parchment paper, as this will be used to lift the weights out later.
Adding Baking Weights: Ensuring Even Baking
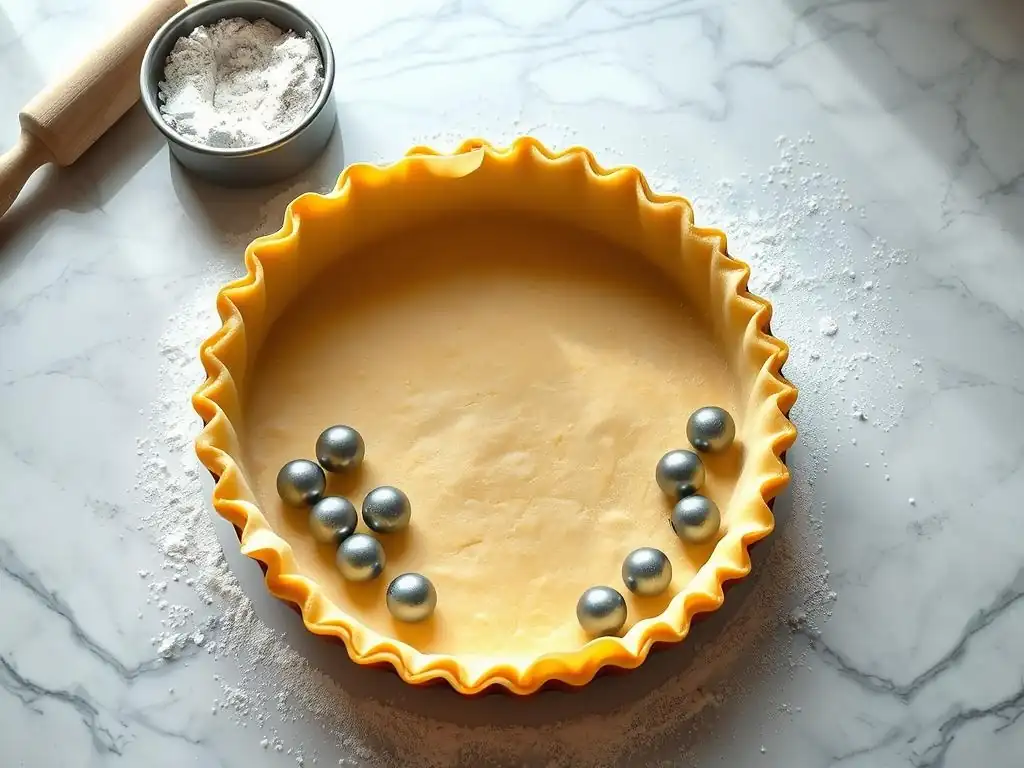
With the parchment paper in place, fill the lined tart shell with your baking weights. Pour enough weights to completely fill the cavity up to the top edge of the crust. This ensures that the pressure is applied evenly across the entire surface of the dough, preventing it from puffing up in the center and shrinking down the sides.
Distribute the weights evenly. If using ceramic beads, gently spread them with your hand. If using a metal chain, coil it to cover the base. The weights should press the parchment paper firmly against the dough. Before baking, it's beneficial to chill the weighted tart shell again for about 15-30 minutes. This secondary chill helps the dough hold its shape even better under the heat of the oven, further minimizing shrinkage during the blind baking process.
Blind Baking Temperature and Time: Finding the Ideal Setting
Preheat your oven to the recommended temperature for blind baking, which is typically around 375°F (190°C). Place the chilled, weighted tart shell on a baking sheet (this makes it easier to handle and catches any potential spills or leaks, though leaks are rare with a properly fitted crust) and bake for the initial phase.
The initial baking time with the weights depends on the size of the tart and your oven, but a common range is 15-20 minutes. During this time, the edges of the crust should begin to look dry and set, but the crust should not yet be browned. You're aiming for the dough to be firm enough to hold its shape without collapsing when the weights are removed.
Removing the Baking Weights: Achieving a Crispy Base
After the initial baking time with weights, carefully remove the pan from the oven. Using the parchment paper overhang, gently lift and remove the baking weights. Be cautious, as the weights and parchment will be hot. Lift straight up to avoid dragging them against the partially baked crust.
Once the weights and parchment are removed, the crust will be partially baked but still pale, especially on the bottom. This is the stage where the crust finishes baking directly, allowing the bottom to crisp up and brown.
Completing the Baking Process: Achieving Golden Brown Perfection
Return the tart shell, now without weights, to the oven. Lower the temperature slightly if recommended by your recipe (sometimes to 350°F / 175°C) to prevent the edges from over-browning before the bottom is done. Continue baking for another 5-15 minutes, or until the entire crust, including the bottom, is golden brown and looks cooked through.
The exact time will vary based on your oven and the thickness of the crust. Keep a close eye on it during this final stage. If the edges start to brown too quickly, you can loosely cover them with strips of foil. A perfectly blind baked tart crust will be uniformly golden brown, crisp, and ready to hold your delicious filling without succumbing to sogginess.
Troubleshooting Common Problems
Even with careful execution, issues can sometimes arise when blind baking tart crusts. Don't be discouraged; many common problems have straightforward solutions. Understanding why these issues occur is the first step to preventing them in the future and salvaging a crust that didn't bake perfectly the first time around.
Addressing these potential pitfalls ensures you can consistently produce beautiful, functional blind baked tart shells. From shrinkage to puffing, knowing how to react will save your pastry and your sanity.
Preventing Shrinkage During Blind Baking
Shrinkage is one of the most frequent complaints when blind baking tart crusts. It happens when the gluten in the dough contracts under heat. The primary causes are overworking the dough, not chilling it sufficiently, or stretching it into the pan.
To prevent shrinkage:
- Handle the dough minimally when mixing and rolling.
- Chill the dough twice: once after mixing and before rolling, and again after lining the pan and adding weights. Aim for at least 30-60 minutes for the first chill and 15-30 minutes for the second.
- Press the dough gently into the pan without stretching it. Let it relax into the corners.
- Ensure you use enough baking weights to fill the cavity completely; they provide the necessary pressure to hold the dough against the sides as it bakes.
Addressing Uneven Baking: Achieving a Uniform Crust
Uneven baking can result in some parts of the blind baked tart crust being pale and undercooked while others are too dark or even burnt. This is often due to hot spots in the oven or uneven distribution of baking weights.
To achieve a uniform crust:
- Preheat your oven properly and consider using an oven thermometer to check the actual temperature.
- Ensure baking weights are evenly distributed across the entire base and up the sides slightly (held by the parchment).
- Rotate the pan halfway through the baking time, both during the weighted phase and the final browning phase. For instance, if you bake with weights for 20 minutes, rotate the pan after 10 minutes.
- If using a metal pan, placing it on a preheated baking sheet can help conduct heat more evenly from the bottom.
Dealing with Bubbling or Puffing: Effective Solutions
Bubbling or puffing of the crust base happens when steam gets trapped underneath the dough and lifts it, especially if insufficient weights were used or if the dough wasn't properly docked.
To prevent bubbling:
- Use ample baking weights, ensuring the base is fully covered and weighted down.
- Dock the dough before lining it with parchment and weights. Docking involves pricking the base of the unbaked crust all over with a fork. This creates small holes that allow steam to escape during baking. Be thorough but avoid piercing all the way through if you're using a very wet filling later and didn't fully blind bake.
Fixing a Cracked Crust After Baking
Sometimes, despite your best efforts, a blind baked tart crust might crack, either during baking or when removing it from the pan. This is often due to the dough being too dry, over-handling, or thermal shock (moving the hot pan too quickly to a cold surface).
If a crack occurs, don't despair! Small cracks can often be repaired.
- For minor cracks, you can sometimes press the warm dough gently back together.
- Once the crust is fully baked and cooled, you can seal small cracks by brushing them with a little bit of melted butter, egg white, or even a thin layer of melted chocolate or jam, depending on your filling. This creates a barrier to prevent the filling from leaking through. For instance, a common trick for fruit tarts is to brush the base with a thin layer of melted white chocolate after blind baking.
Tips for Perfect Blind Baked Crusts
Beyond the basic steps and troubleshooting, a few extra tips can elevate your blind baking results from good to truly exceptional. These simple techniques help ensure your blind baked tart crusts are consistently crisp, perfectly shaped, and ready for any filling you choose.
Incorporating these tips into your routine will make the blind baking process smoother and lead to more reliable outcomes. They are small adjustments that make a significant difference in the quality of your finished tart shell.
Chill the Dough: Preventing Shrinkage
We mentioned chilling earlier, but its importance cannot be overstated. Proper chilling is perhaps the single most effective way to prevent dough shrinkage during blind baking. Chill the dough wrapped in plastic wrap for at least 30 minutes before rolling.
After lining the pan and adding the parchment and weights, chill the assembled tart shell again for another 15-30 minutes. This ensures the fat is cold and firm, allowing the dough to set in its desired shape before the heat of the oven causes the fat to melt and the gluten to relax. Cold dough resists shrinkage much better.
Dock the Dough: Releasing Steam and Preventing Puffing
Docking the dough involves pricking the base of the unbaked tart shell with a fork at regular intervals. This creates small vents for steam to escape during the initial blind baking phase.
Proper docking, combined with the use of baking weights, is the best defense against the bottom of the crust puffing up unevenly. Be sure to prick the entire base, but avoid going all the way through the dough if your final tart will have a very wet filling and isn't being fully baked after filling. Usually, pricking every inch or two is sufficient.
Use Sufficient Baking Weights: Ensuring Even Pressure
Don't be stingy with your baking weights! You need enough weight to completely fill the cavity of the tart shell up to the top edge of the crust, pressing the parchment paper firmly against the dough on the bottom and sides.
Using enough weights ensures uniform pressure across the entire surface. This pressure prevents the dough from lifting or bubbling in the center and helps hold the sides up, preventing them from slumping down. A common mistake is using too few weights, which only weigh down the center, allowing the edges to shrink and the middle to puff.
Rotate the Pan: Promoting Even Browning
Ovens often have hot spots, leading to uneven baking. To ensure your blind baked tart crust browns uniformly, make it a habit to rotate the pan halfway through the baking time.
Rotate the pan 180 degrees in the oven rack. Do this both during the initial phase with weights and during the final phase without weights when the crust is browning. This simple step helps expose all parts of the crust equally to the oven's heat, resulting in a more evenly colored and perfectly baked shell.
Blind Baking Different Crust Types
While the basic principles of blind baking tart crusts remain consistent, slight variations in dough composition can influence the process. Understanding these nuances helps you adapt the technique for different pastry types, ensuring success regardless of the recipe.
Whether you're working with a rich sweet dough, a flaky shortcrust, or a delicate gluten-free option, the goal is the same: a crisp, stable base. Let's look at how blind baking might vary slightly for popular crust types.
Blind Baking Sweet Pastry Dough (Pâte Sucrée)
Sweet pastry dough, or pâte sucrée, is rich and often contains sugar and egg yolk, which makes it tender but also slightly more delicate than shortcrust. This dough is less likely to shrink significantly if handled correctly and well-chilled.
When blind baking pâte sucrée, pay close attention during the final browning stage, as the sugar content can cause it to brown more quickly than less sweet doughs. Aim for a light golden brown to avoid a burnt or bitter taste. The chilling steps are particularly important with this dough to maintain its crisp, crumbly texture after baking.
Blind Baking Shortcrust Pastry (Pâte Brisée)
Shortcrust pastry, or pâte brisée, is a more basic dough, typically made with flour, butter, salt, and water. It's less sweet and can be flakier than pâte sucrée. This dough can be more prone to shrinkage if overworked or stretched.
Blind baking shortcrust pastry follows the standard steps, but ensuring adequate chilling and sufficient weights is crucial to counteract its tendency to shrink. The final browning might take slightly longer compared to sweet dough due to the lower sugar content. Bake until it's a deep golden brown for maximum crispness.
Blind Baking Gluten-Free Crusts: Specific Considerations
Blind baking gluten-free tart crusts requires extra care as these doughs often lack the structure provided by gluten. They can be more crumbly and delicate to handle. Recipes vary widely depending on the blend of flours and binders used.
When blind baking gluten-free dough:
- Handle the dough very gently to avoid breakage.
- Ensure the dough is well-chilled before rolling and after lining the pan.
- Use parchment paper both underneath and on top of the dough within the pan to help transfer and manage the delicate structure.
- Be extra diligent with baking weights to support the fragile dough structure during baking.
- Baking times and temperatures may vary; follow your specific gluten-free recipe's guidance closely. Some gluten-free crusts benefit from slightly lower temperatures or longer baking times to ensure they are fully cooked and crisp.
Beyond the Basics: Advanced Techniques
Once you're comfortable with the standard blind baking process, you can explore a few techniques that offer more control or enhance the visual appeal of your blind baked tart crusts. These methods allow you to fine-tune your results based on the specific tart you're creating.
These advanced techniques are not always necessary but can be useful tools in a baker's repertoire, helping you achieve specific textures or presentations.
Partial vs. Full Blind Baking: Choosing the Right Method
Deciding whether to partially or fully blind bake your tart crust depends entirely on the filling you plan to use and whether it requires further baking.
- Partial Blind Baking: The crust is baked with weights until the dough is set and opaque but not yet browned (typically 15-20 minutes at 375°F/190°C, then weights removed and baked for only 5-10 more minutes until just starting to color). This is ideal for tarts with wet fillings that will be baked again for a significant amount of time, like quiches, custard tarts, or frangipane tarts. The crust finishes baking as the filling sets.
- Full Blind Baking: The crust is baked with weights until set, then without weights until it is completely golden brown and crisp all over (typically 15-20 minutes with weights, followed by 10-15 minutes without). This is necessary for tarts with fillings that are not baked, such as fresh fruit tarts with pastry cream, chocolate ganache tarts, or no-bake cheesecake tarts. The crust must be fully cooked and ready to eat when the filling is added.
Using a Fork to Dock: A Quick Technique
As mentioned in troubleshooting, docking is key to preventing puffing. While you can be meticulous, a quick and effective way to dock is simply to use a standard dinner fork.
After lining the unbaked dough in the pan, firmly prick the entire bottom surface with the tines of the fork. Space the pricks about 1/2 to 1 inch apart, ensuring you cover the entire base. This creates enough small holes for steam to escape without compromising the structural integrity of the crust when weights are applied.
Creating Decorative Edges: Enhancing Visual Appeal
Blind baking doesn't mean your tart crust has to look plain. You can create decorative edges before blind baking to add visual flair. Common methods include:
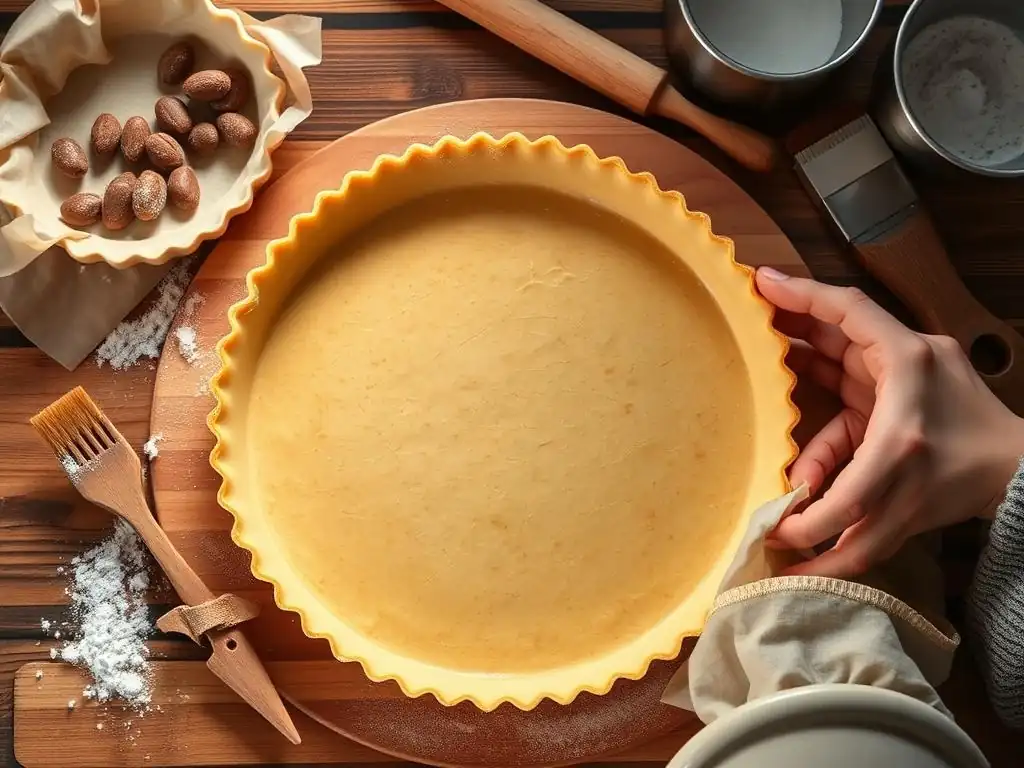
- Fluting: Using your fingers to pinch the dough along the rim of the pan into attractive wavy patterns.
- Crimping: Using the tines of a fork to press a pattern around the rim.
- Roping: Twisting two thin ropes of dough together and attaching them to the rim.
Create your decorative edge before the final chill and blind baking. The weights will help hold the shape of the edge during the initial bake, and you can gently reshape any areas that slump slightly after removing the weights before the final browning.
Tart Filling Ideas
A perfectly blind baked tart crust is a blank canvas for countless delicious fillings. Here are just a few popular ideas that benefit greatly from the blind baking technique, showcasing the versatility of a crisp tart shell.
These fillings represent a range of textures and flavors, all designed to pair beautifully with a sturdy, blind baked base.
Lemon Curd Tart
A classic choice! Lemon curd is a smooth, tangy filling made with lemon juice, sugar, eggs, and butter. It's typically cooked on the stovetop until thick and then poured into a fully blind baked tart crust. The contrast between the bright, creamy curd and the crisp, buttery crust is delightful.
Chocolate Ganache Tart
Luxurious and simple, chocolate ganache is made by melting chocolate into hot cream. It can be flavored with extracts or liqueurs. Ganache is poured into a fully blind baked tart shell and allowed to set, usually by chilling. This requires the crust to be completely baked and sturdy enough to hold the rich, dense filling.
Fresh Fruit Tart
Often featuring a layer of pastry cream or diplomat cream topped with an arrangement of fresh, colorful fruits, this tart is visually stunning. The pastry cream is added to a fully blind baked crust, and the fruit is arranged on top. A glaze is often brushed over the fruit for shine and preservation. Since the fruit and cream are not baked, the crust must be baked through beforehand.
Storing Baked Crusts: Maintaining Freshness
Sometimes you might want to blind bake tart crusts ahead of time for convenience. Properly storing them is essential to maintain their crispness and prevent them from becoming stale or absorbing moisture.
Taking a few simple steps after baking ensures your prepared crusts stay fresh and ready for filling when you need them.
Properly Cooling Before Storing
Before storing a blind baked tart crust, it is absolutely critical that it cools completely. Leaving a warm crust in a sealed container will trap steam, causing condensation, which will make the crust soggy.
Let the baked crust cool in its pan on a wire rack for about 10-15 minutes, then carefully remove it from the pan (especially if using a removable bottom pan) and place it directly on the wire rack to cool fully to room temperature. This allows air circulation around the entire crust, ensuring all moisture evaporates.
Best Storage Methods: Preventing Staling
Once completely cool, a blind baked tart crust can be stored. The goal is to protect it from moisture and air, which cause staling.
- Short-term storage (1-2 days): Store the cooled crust in an airtight container at room temperature.
- Longer-term storage (up to 2 weeks): For best results, wrap the cooled crust tightly in plastic wrap, then in aluminum foil, and store it in the freezer. Thaw at room temperature before filling.
- To refresh a stored crust, you can place it back in a preheated oven at
325°F (160°C)for5-10 minutesuntil crisp again, then let it cool completely before filling.
Frequently Asked Questions
What is blind baking and why is it necessary?
Blind baking is the process of baking a tart or pie crust before the filling is added. It's necessary to prevent a soggy bottom by partially or fully cooking the crust, ensuring it stays crisp and holds its shape.
What materials do I need for blind baking a tart crust?
You'll need your prepared tart crust, parchment paper or aluminum foil, and baking weights (such as pie weights, dried beans, or rice). An oven is also essential, of course!
How long should I blind bake my tart crust?
Baking time varies, but generally, partially blind baking takes around 15-20 minutes with weights, followed by 5-10 minutes without. Fully blind baking will require a longer time without weights.
Can I reuse the baking weights I use for blind baking?
Yes, you can definitely reuse your baking weights! If you use dried beans or rice, just be sure to label them clearly as being for baking only and not for consumption.
What if my tart crust shrinks during blind baking?
Shrinkage can occur. Ensure your dough is properly chilled before baking. You can also try docking the crust (poking holes with a fork) to prevent it from puffing up and shrinking.
Final Reflection: The Sweet Science of a Perfect Crust
The quest for the flawlessly crisp tart crust is a culinary pursuit as old as baking itself, and its relevance today remains as strong as ever. Whether you're a seasoned pastry chef or a weekend baker, the frustration of a soggy bottom is a universal experience. This article has explored the science behind blind baking, demystifying the process and empowering you to conquer this common baking challenge.
The impact of mastering blind baking extends far beyond simply avoiding a soggy crust; it's about unlocking the potential of countless recipes. It's about the confidence that comes from understanding the "why" behind the "how," allowing for greater creativity and experimentation in the kitchen. As Julia Child famously said, Find something you're passionate about and keep tremendously interested in it.
For me, that passion lies in the precision and artistry of baking, and blind baking is a fundamental building block in that journey. It's a testament to the power of understanding basic techniques to achieve extraordinary results.
Now, it's your turn. Consider the techniques discussed – the chilling, the pricking, the weighting – and how they contribute to a perfect crust. Don't be afraid to experiment, to adjust the baking time based on your oven, and to embrace the occasional imperfection. The journey to mastering blind baking is a rewarding one, filled with delicious discoveries. So, gather your ingredients, preheat your oven, and embark on your own culinary adventure. The perfectly crisp tart crust awaits!
Unleash Your Inner Pastry Chef: Perfect Tart Bottoms Every Time!
Thanks for taking the time to learn the secrets of blind baking! You're now equipped to conquer soggy bottoms and create flawlessly crisp tart shells. Ready to put your new skills to the test?
- Bake your dream tart! Use your newfound knowledge to create a stunning dessert – the possibilities are endless! Think classic apple, decadent chocolate, or even a savory quiche.
- Share your masterpiece! Post a picture of your perfectly baked tart on social media and tag us @BakeWithEase – we'd love to see your creations!
- Try a new recipe variation! Experiment with different fillings and crusts to discover your own signature tart.
What exciting flavor combinations will you create with your perfectly blind-baked tart shell?