
Achieve Perfect Mousse Texture: Using Gelatin Like a Professional Baker

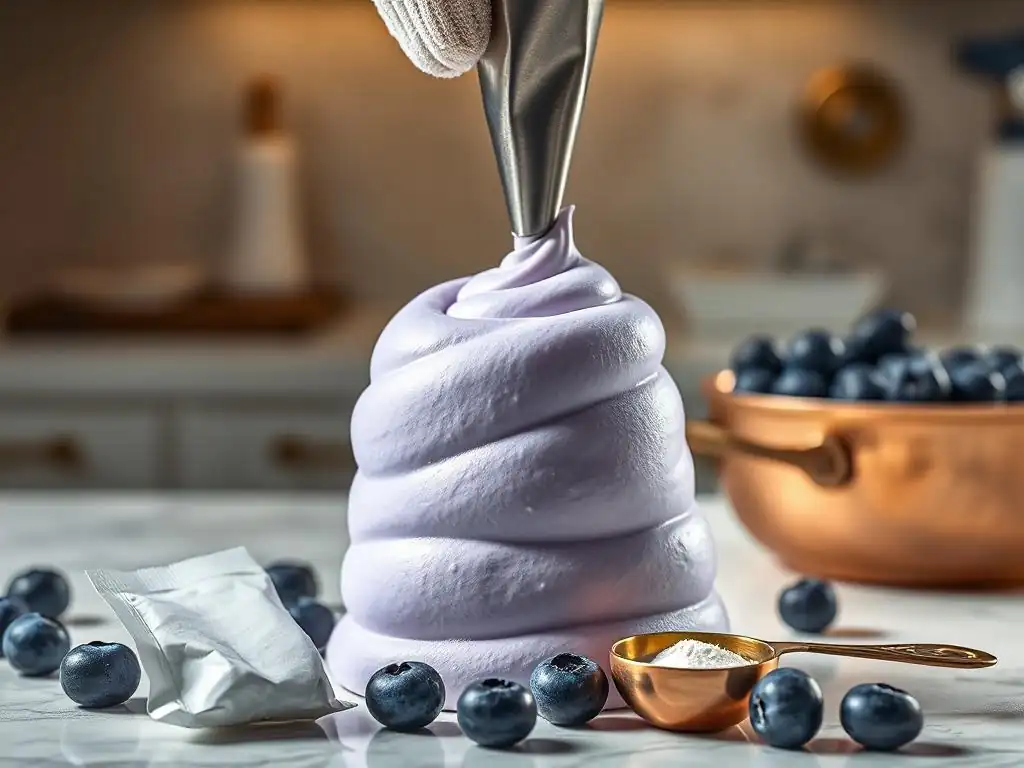
Welcome to BakeWithEase, your guide to unlocking the secrets of exceptional baking! Ever wondered how professional bakers achieve that luxuriously smooth, melt-in-your-mouth mousse texture? Dive into our exploration of Gelatin Mousse Texture Recipes and discover the techniques to elevate your desserts from ordinary to extraordinary. Let's unravel the mysteries of using gelatin like a seasoned pro and transform your next mousse into a culinary masterpiece. Ready to create dessert perfection?
- Achieve Perfect Mousse Texture: Mastering Gelatin Like a Professional Baker
- Introduction: Mastering Mousse Texture with Gelatin at Bake With Ease
- Understanding Gelatin's Role in Mousse
- The Science Behind Gelatin Mousse Texture
- Step-by-Step Guide: Creating the Ideal Gelatin Mousse Texture Recipe
- Troubleshooting Common Gelatin Mousse Problems
- Advanced Techniques for Enhanced Mousse Texture
- Gelatin Mousse Recipe: A Practical Example
- Tips from Professional Bakers: Achieving Consistent Gelatin Mousse Results
- Conclusion: Elevate Your Baking with Perfect Gelatin Mousse
- Frequently Asked Questions
- Final Reflection: Mastering the Art of the Perfect Mousse
- Unlock the Secrets to Perfect Mousse: Take Action Now!
Achieve Perfect Mousse Texture: Mastering Gelatin Like a Professional Baker
Introduction: Mastering Mousse Texture with Gelatin at Bake With Ease
Welcome to Bake With Ease, your guide to creating delightful desserts! Today, we're diving deep into the art of achieving that dreamy, cloud-like texture in your mousses using gelatin. Gelatin is a powerful tool in a baker's arsenal, capable of transforming simple ingredients into a stable yet delicate dessert. Understanding how to properly handle gelatin is key to perfecting your gelatin mousse texture recipe. Whether you're aiming for a rich dark chocolate mousse or a light and airy fruit version, mastering gelatin is your path to success.
Achieving the ideal gelatin mousse texture requires precision and a little bit of science. It's not just about adding gelatin; it's about understanding its properties, how it interacts with other ingredients, and the techniques that ensure a smooth, even set. By the end of this article, you'll have the knowledge to confidently use gelatin and create mousses that are consistently perfect, impressing everyone who takes a bite.
Understanding Gelatin's Role in Mousse
What is Gelatin and How Does it Affect Mousse?
Gelatin is a protein derived from collagen, primarily sourced from animal by-products. In baking, it acts as a gelling agent, stabilizer, and thickener. When dissolved in a liquid and then chilled, it forms a thermoreversible gel, meaning it sets when cold and melts when heated. This property is crucial for mousse, providing structure and stability without being overly rigid. It helps suspend air bubbles incorporated during whipping (like whipped cream or egg whites), preventing them from collapsing and giving the mousse its characteristic light, airy texture that still holds its shape when scooped or sliced.
Without gelatin (or another stabilizer like agar-agar or pectin), a mousse relying solely on aerators like whipped cream would be too soft and likely weep or collapse quickly, especially at room temperature. Gelatin provides the necessary internal network to support the delicate structure. The amount used directly impacts the firmness of the final product; too little, and the mousse will be runny; too much, and it becomes rubbery. The goal is to use just enough to achieve a stable yet melt-in-your-mouth consistency, which is the hallmark of a perfect gelatin mousse texture.
Different Types of Gelatin for Baking: Powdered vs. Sheet Gelatin
Gelatin is commonly available in two forms for home and professional baking: powdered and sheet (or leaf) gelatin. Powdered gelatin is widely available and is measured by volume or weight. A popular brand like Knox gelatin in the US typically comes in 1/4 oz envelopes, which is roughly equivalent to 2 1/4 teaspoons.
This amount is often specified in older recipes. Sheet gelatin, favored by many professional bakers, comes in thin, rectangular sheets and is measured by weight. The advantage of sheet gelatin is that it typically provides a clearer, purer gel and allows for more precise measurement by weight, which is essential for consistent results in a complex gelatin mousse texture recipe.
While both types perform the same function, they require different preparation methods. Powdered gelatin needs to be "bloomed" by sprinkling it over a cold liquid (like water or juice) and letting it hydrate for 5-10 minutes before dissolving. Sheet gelatin is bloomed by submerging the sheets completely in a generous amount of cold water for 5-10 minutes until softened, then squeezing out the excess water before dissolving.
It's important to note that different brands and grades of sheet gelatin have varying "bloom strength" (a measure of gelling power), so recipes often specify the grade (e.g., Gold, Silver, Bronze) or provide a weight equivalent to powdered gelatin. Generally, 1 ounce of powdered gelatin is roughly equivalent to about 4-5 sheets of typical sheet gelatin, but always check packaging or recipe notes.
The Science Behind Gelatin Mousse Texture
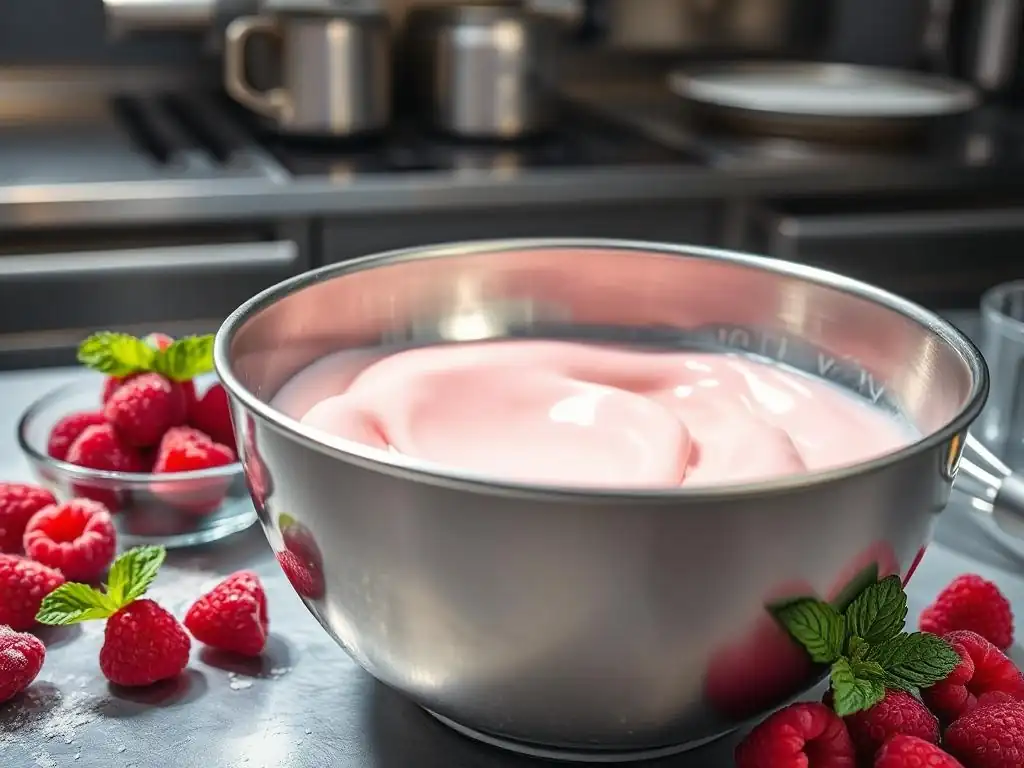
Gelatin's Bloom Strength and its Impact on Mousse Structure
Bloom strength is a critical factor in determining the gelling power of gelatin. Measured in "Bloom" units (typically ranging from 50 to 300), it indicates the rigidity of a standard gel prepared under specific conditions. Higher Bloom numbers signify stronger gelling power. For example, "Gold" grade sheet gelatin often has a Bloom strength of around 200, while "Bronze" might be closer to 125-150. Powdered gelatins also have a Bloom strength, though it's less commonly listed on consumer packaging; typical consumer powdered gelatin (like Knox) is around 225 Bloom.
Understanding Bloom strength is crucial for recipe scaling and substitution. If a recipe calls for a specific weight of high-bloom gelatin (like Gold sheets) and you substitute with a lower-bloom variety or powdered gelatin, you may need to adjust the quantity to achieve the desired gelatin mousse texture.
Using gelatin with insufficient bloom strength or too little gelatin overall will result in a mousse that is too soft, potentially weeping. Conversely, using too much or a higher bloom strength than intended can lead to a rubbery or overly firm texture, far from the delicate set you're aiming for in a perfect gelatin mousse texture recipe.
Achieving the Right Gelatin-to-Liquid Ratio for Perfect Mousse
The ratio of gelatin to liquid is perhaps the most critical element in controlling the final texture of your mousse. The amount of gelatin needed depends on several factors: the desired firmness, the type of liquid base (water, milk, cream, fruit puree, alcohol), and the temperature at which the mousse will be served.
As a general guideline for a light, airy mousse that holds its shape, a common starting point is about 1.5 to 2 teaspoons (around 5-7 grams) of typical powdered gelatin per 2 cups (about 470ml) of liquid base. For sheet gelatin, this might translate to 3-4 sheets of Gold grade gelatin.
However, this ratio needs adjustment based on your specific recipe. Bases with high acidity (like certain fruit purees) can slightly weaken gelatin's gelling power, sometimes requiring a touch more gelatin. Richer bases containing significant fat (like heavy cream or chocolate) provide some inherent stability, potentially allowing for slightly less gelatin depending on the desired set. Achieving the perfect gelatin mousse texture recipe often involves testing and adjusting based on these variables. It's always better to start with a conservative amount and note the result for future adjustments, rather than adding too much and ending up with a rubbery mousse.
Step-by-Step Guide: Creating the Ideal Gelatin Mousse Texture Recipe
Step 1: Blooming the Gelatin Correctly
Blooming is the essential first step for both powdered and sheet gelatin. For powdered gelatin, measure the required amount of cold liquid (usually water, but sometimes juice or milk specified in the recipe) into a small bowl. Sprinkle the powdered gelatin evenly over the surface of the liquid. Do not dump it in a pile, as this can cause it to hydrate unevenly and form lumps.
Let it stand undisturbed for 5 to 10 minutes. During this time, the gelatin granules absorb the liquid and swell, becoming translucent and jelly-like. This hydration step is crucial for the gelatin to dissolve smoothly later.
For sheet gelatin, prepare a bowl of cold water. Submerge the required number of gelatin sheets completely in the water. Ensure the sheets are separated and fully covered. Let them soak for 5 to 10 minutes until they are soft and pliable. Once bloomed, lift the sheets from the water and gently squeeze out all excess liquid. The bloomed sheet gelatin will look like a crumpled, translucent mass. Both bloomed powdered and sheet gelatin are now ready to be dissolved.
Tips for Avoiding Lumpy Gelatin
Lumpy gelatin is a common issue that results in an unevenly set, unpleasant mousse texture. The primary cause is improper blooming or dissolving.
- Sprinkle, don't dump: When using powdered gelatin, sprinkle it evenly over the liquid's surface.
- Use cold liquid: Always bloom gelatin in cold liquid. Hot liquid can cause the outside of the granules to dissolve and form a barrier before the inside is hydrated, leading to lumps.
- Allow sufficient time: Give the gelatin the full 5-10 minutes to bloom properly.
- Dissolve gently and completely: Once bloomed, gelatin needs to be dissolved, usually by gently heating it or adding it to a warm base. Ensure it's fully dissolved with no grainy particles visible before incorporating it into the main mousse base.
Step 2: Preparing the Mousse Base
The mousse base provides the primary flavor and body of the mousse before aeration and stabilization. Common bases include melted chocolate, fruit puree (often combined with a little sugar or syrup), or a cooked base like pastry cream or custard. The temperature of the base is critical for incorporating the bloomed gelatin effectively.
The base needs to be warm enough to fully dissolve the bloomed gelatin but not so hot that it degrades the gelatin's gelling power or cooks other ingredients (like eggs in a custard base). A temperature range typically between 100°F and 120°F (38°C-50°C) is often ideal for dissolving bloomed gelatin.
If your base is cold (like a chilled fruit puree or a cooled pastry cream), you will need to gently warm a portion of it to dissolve the gelatin before incorporating it back into the rest of the base. For chocolate mousse, the residual heat from freshly melted chocolate is often sufficient to dissolve bloomed gelatin. Ensure the base is smooth and free of lumps or particles before adding the gelatin, as these can interfere with the gelatin's network formation and affect the final gelatin mousse texture.
Options for Mousse Bases: Chocolate, Fruit Puree, and Pastry Cream
- Chocolate Base: This is often the simplest. Melted chocolate (dark, milk, or white) provides richness and some natural setting power. Bloomed gelatin is stirred directly into the warm melted chocolate until fully dissolved. This base pairs wonderfully with whipped cream or whipped egg whites. For a classic dark chocolate gelatin mousse texture recipe, you might combine melted chocolate with bloomed gelatin, then fold in softly whipped cream.
- Fruit Puree Base: Fresh or cooked fruit purees (like raspberry, mango, passion fruit) offer bright, clean flavors. Purees are often sweetened and sometimes strained for smoothness. Since fruit purees are typically served cold, a small portion is gently heated to dissolve the bloomed gelatin before being whisked back into the main, cooler portion of the puree. This base is then often combined with whipped cream or meringue.
- Pastry Cream Base: A cooked custard base, like pastry cream (crème pâtissière), provides a rich, creamy foundation. Once the pastry cream is cooked and slightly cooled (but still warm), bloomed gelatin is stirred in until dissolved. This enriched base is often combined with whipped cream to make a "Diplomat cream" or "crème légère," which forms the basis for a very stable and smooth mousse.
Step 3: Incorporating the Gelatin into the Mousse
Once your gelatin is bloomed and dissolved in a portion of the warm mousse base, it needs to be incorporated evenly into the remaining base. Whisk the dissolved gelatin mixture into the main mousse base until thoroughly combined.
It is crucial that the base is not too cold at this stage, or the gelatin might start to set prematurely in strands or lumps, resulting in a grainy or uneven texture. The base should ideally be warm enough to keep the gelatin liquid but cool enough that it won't melt the aerating component (like whipped cream) that will be added next.
After the gelatin is fully incorporated into the base, allow the base to cool slightly if necessary. It should be cool to the touch but still liquid. This cooling step is important before folding in aerators like whipped cream or meringue. If the base is too warm when the whipped cream is added, it will melt the fat in the cream, causing the mousse to become dense and greasy instead of light and airy. This careful temperature management is key to achieving the desired light gelatin mousse texture.
Techniques for Even Distribution of Gelatin
Achieving even distribution of dissolved gelatin is paramount for a smooth, consistent set throughout the mousse.
- Ensure full dissolution: Before adding the bloomed gelatin to the base, make absolutely certain it is completely dissolved with no visible granules or pieces. Gently heating it over a water bath or on low heat, stirring constantly, helps.
- Temper the gelatin mixture: If adding the dissolved gelatin to a cooler base, whisk a small amount of the base into the warm gelatin mixture first. This tempers the gelatin, preventing it from seizing or forming lumps when added to the larger volume.
- Whisk thoroughly: Once tempered (if necessary), whisk the gelatin mixture into the main mousse base vigorously but smoothly until it is completely incorporated. Scrape down the sides of the bowl to ensure no gelatin is clinging to the edges.
- Avoid adding to ice-cold mixtures: Never add dissolved gelatin directly into an ice-cold liquid or base, as it will set instantly in strands.
Step 4: Chilling and Setting the Mousse
After the aerating component (like whipped cream or meringue) has been carefully folded into the gelatin-infused base, the mousse is poured or spooned into its final serving dishes or molds. The mousse must then be chilled to allow the gelatin to set and stabilize the structure. Place the dishes in the refrigerator uncovered initially to allow surface heat to dissipate quickly, then cover to prevent drying out or absorbing odors. Avoid disturbing the mousse while it is setting.
The chilling time required for a mousse to set properly depends on the amount of gelatin used, the volume of the mousse, and the temperature of your refrigerator. A smaller individual serving might set in 2-3 hours, but a large mold or a deep dish will require significantly longer.
Optimal Chilling Time for Perfect Texture
For most standard gelatin mousse texture recipe quantities, allowing at least 4 hours of chilling time in the refrigerator is recommended. However, for the absolute best results and a fully developed, stable texture, it's often preferable to chill the mousse overnight (typically 6-8 hours or longer). This extended chilling time ensures that the gelatin network is fully formed throughout the mousse, providing maximum stability and the desired smooth, melt-away consistency. Rushing the chilling process can result in a mousse that is still too soft in the center or doesn't hold its shape well when served.
Troubleshooting Common Gelatin Mousse Problems
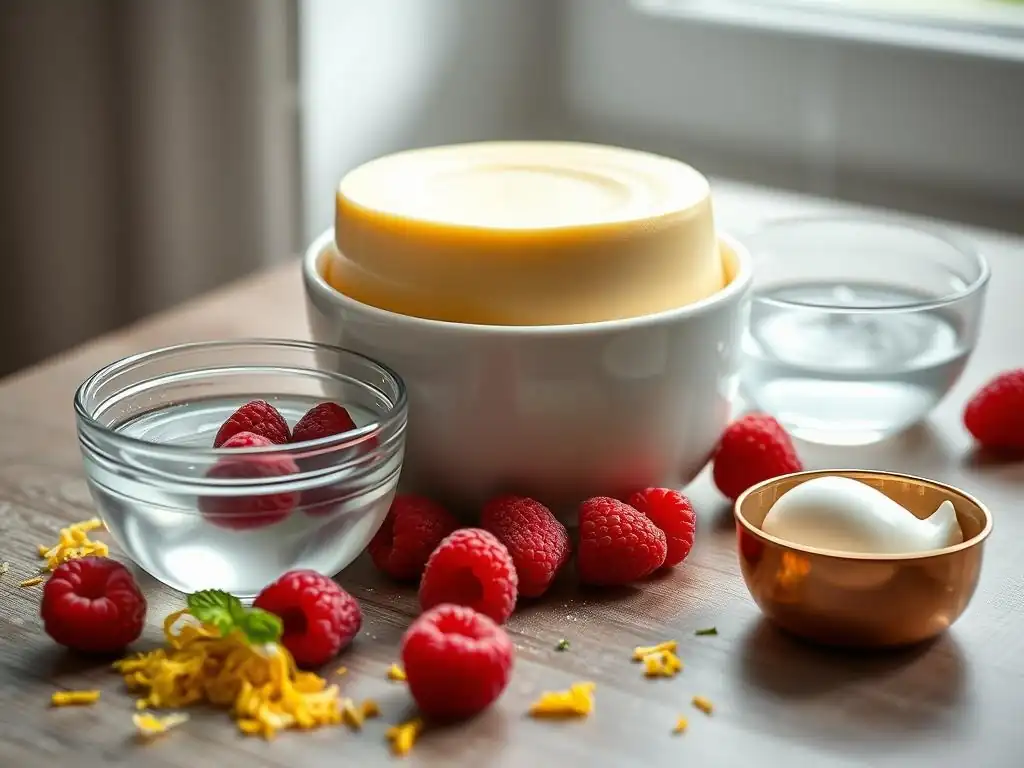
Mousse is Too Firm: Solutions for Over-Gelatinized Mousse
If your mousse turns out too firm or even rubbery, it means you've used too much gelatin for the amount of liquid base, or the bloom strength was higher than anticipated. Unfortunately, once gelatin has set too firmly, it's difficult to perfectly salvage the texture without starting over.
- Assess the severity: If it's only slightly too firm, serving it very cold might make the texture less noticeable. Allowing it to sit at room temperature for 10-15 minutes before serving can also soften it slightly to a more palatable texture.
- Attempt a rescue (for severe cases): For a severely over-gelatinized mousse, you might be able to gently re-melt it over a very low heat or a water bath (taking extreme care not to overheat, which degrades gelatin). Once melted, you could try incorporating more of the original mousse base (without gelatin) or adding a small amount of additional whipped cream or liquid, then re-chilling. However, this process often compromises the aeration, resulting in a denser mousse. Prevention is key: carefully measure your gelatin!
Mousse is Too Soft: Fixing Under-Gelatinized Mousse
A mousse that is too soft, runny, or weeps liquid indicates insufficient gelatin or potential issues with dissolving/incorporating it. This is a common problem when aiming for a light gelatin mousse texture recipe but misjudging the gelatin quantity.
- Re-evaluate and potentially add more gelatin: If the mousse hasn't fully set after adequate chilling time (e.g., overnight), you might be able to salvage it. Gently warm the unset mousse over a low heat or water bath until it is liquid again, stirring constantly. While it's warming, bloom a small additional amount of gelatin (start with perhaps 1/4 to 1/2 teaspoon per 2 cups of original volume) and dissolve it in a tablespoon or two of warm liquid. Stir the dissolved gelatin into the melted mousse mixture until thoroughly combined. Allow the mixture to cool slightly before pouring back into dishes and re-chilling thoroughly. Be aware that re-melting and chilling can slightly impact the final texture and aeration.
Mousse is Grainy: Preventing and Correcting Grainy Texture
A grainy or lumpy mousse texture is almost always due to improperly bloomed or dissolved gelatin that wasn't fully incorporated, or adding dissolved gelatin to a base that was too cold, causing it to seize.
- Prevention is key: Ensure gelatin is fully bloomed and completely dissolved before adding it to the mousse base. Add dissolved gelatin to a base that is warm enough to keep the gelatin liquid but not so hot it causes issues with other ingredients.
- Attempting to fix: If you discover graininess after chilling, it's challenging to fix perfectly. You can try gently warming the mousse again over a low heat or water bath to melt the gelatin lumps, stirring constantly until smooth. Then, cool slightly and re-chill. However, like fixing a soft mousse, this process can negatively affect the mousse's airy texture. Filtering the melted mixture through a fine-mesh sieve before re-chilling might help remove any undissolved particles, but it's not guaranteed to restore the ideal gelatin mousse texture.
Advanced Techniques for Enhanced Mousse Texture
Using Gelatin in Combination with Other Stabilizers: Pectin
While gelatin is a powerful stabilizer on its own, professional bakers sometimes combine it with other gelling agents like pectin, especially in fruit-based mousses. Pectin, derived from fruits, forms gels in the presence of sugar and acid. High-methoxyl pectin, often used in jams, requires high sugar and acid levels to set. Low-methoxyl pectin can gel with calcium ions, requiring less sugar.
Combining a small amount of pectin with gelatin in a fruit mousse can sometimes enhance stability, particularly if the fruit puree is very acidic or intended to be served at slightly warmer temperatures. Gelatin provides the delicate, melt-in-your-mouth quality, while pectin can add a bit of extra structure or prevent weeping. However, this requires careful balancing, as too much pectin can result in a jam-like or overly firm texture that detracts from the classic gelatin mousse texture. It's a technique typically explored once you have a solid understanding of how gelatin behaves on its own.
Adjusting Gelatin Levels for Different Ingredients and Desired Consistency
Mastering gelatin means understanding how to adjust quantities based on your specific recipe and the desired outcome. A mousse intended for slicing (like for a cake layer) will require slightly more gelatin than one served scooped from a dish. A mousse made with very rich ingredients like high-fat chocolate or mascarpone might need slightly less gelatin because those ingredients provide some structure. Conversely, a very light fruit mousse with a high water content might need a touch more.
Experimentation is key to refining your gelatin mousse texture recipe. Start with a reliable base recipe and make small adjustments (+/- 10-15% of the gelatin quantity) in subsequent batches, noting the results. Consider the serving environment too; a mousse served outdoors in warm weather will need more stability (more gelatin) than one served directly from the refrigerator. Keeping detailed notes on your adjustments and their outcomes will build your intuition for using gelatin effectively.
Aerating Techniques for a Lighter Mousse Texture
The lightness of a mousse comes from the air incorporated into it, typically through whipped cream, Italian or Swiss meringue (whipped egg whites stabilized with sugar syrup), or pâte à bombe (whipped egg yolks stabilized with sugar syrup). The gelatin provides the structure to hold these air bubbles in place. The technique for folding these aerators into the gelatin-stabilized base is crucial for preserving the airy texture.
- Gentle Folding: Use a large spatula or whisk and employ a gentle folding motion. Don't stir or beat vigorously, as this will deflate the whipped cream or meringue. Take a portion of the aerator, add it to the base, and gently fold it in until just combined. Add the remaining aerator in stages, folding until no streaks remain. Overmixing is the enemy of a light gelatin mousse texture. The goal is to lighten the base without losing the air bubbles you worked hard to create in the whipped cream or meringue.
Gelatin Mousse Recipe: A Practical Example
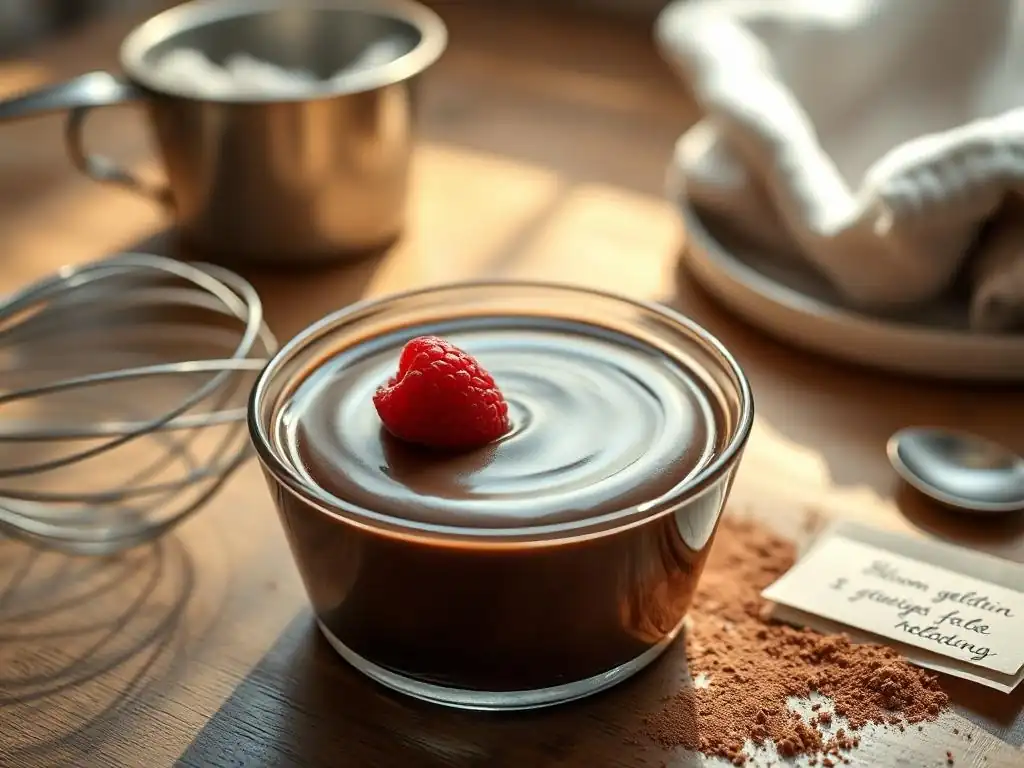
Recipe: Classic Dark Chocolate Gelatin Mousse
This recipe yields a rich yet airy dark chocolate mousse with a perfect, stable texture thanks to careful gelatin use.
Ingredient List
- 6 oz (170g) good quality dark chocolate, finely chopped (at least 60% cocoa solids)
- 2 large eggs, separated (use pasteurized eggs if concerned about raw yolks)
- 1/4 cup (50g) granulated sugar, divided
- 1/4 cup (60ml) milk
- 1 teaspoon (about 3g) powdered gelatin
- 2 tablespoons (30ml) cold water
- 1 cup (240ml) heavy whipping cream
Step-by-Step Instructions
- Bloom the gelatin: Sprinkle the powdered gelatin over the cold water in a small bowl. Let stand for 5-10 minutes until softened and jelly-like.
- Prepare chocolate base: Gently melt the chopped dark chocolate in a heatproof bowl set over a saucepan of simmering water (ensure the bottom of the bowl doesn't touch the water). Stir until smooth. Remove from heat and set aside.
- Make yolk mixture: In a separate bowl, whisk the egg yolks with 2 tablespoons of the granulated sugar until pale and slightly thickened.
- Heat milk: Heat the milk in a small saucepan over medium heat until just simmering.
- Temper yolks: Slowly pour the hot milk into the yolk mixture while whisking constantly. Return the mixture to the saucepan.
- Cook custard: Cook over low heat, stirring constantly with a wooden spoon or silicone spatula, until the mixture thickens enough to coat the back of the spoon (do not boil). This is a light custard base.
- Dissolve gelatin: Remove the custard from the heat. Add the bloomed gelatin to the warm custard and stir until completely dissolved and smooth.
- Combine with chocolate: Pour the warm custard-gelatin mixture over the melted dark chocolate. Let stand for 1 minute, then whisk gently until the mixture is smooth and emulsified. Let cool slightly until it's just warm to the touch.
- Whip cream: In a clean bowl, whip the heavy cream until soft peaks form. Do not over-whip.
- Make meringue: In another clean bowl, whip the egg whites until foamy. Gradually add the remaining 2 tablespoons of sugar while continuing to whip until medium-stiff peaks form.
- Fold in aerators: Gently fold about one-third of the whipped cream into the chocolate base to lighten it. Then, gently fold in the remaining whipped cream until just combined. Finally, gently fold in the meringue in two additions until no white streaks remain. Be careful not to deflate the mousse.
- Chill: Pour or spoon the mousse into individual serving dishes or a larger mold. Chill in the refrigerator for at least 4 hours, or preferably overnight, until fully set.
Tips and Variations
- For a lighter chocolate flavor, use milk chocolate or a blend of dark and milk chocolate. Adjust sugar accordingly.
- To make a fruit mousse using this structure, replace the chocolate and custard steps with a thickened fruit puree base incorporated with bloomed gelatin. Then fold in whipped cream and/or meringue.
- Ensure all bowls and whisks for whipping cream and egg whites are spotlessly clean and grease-free for optimal volume.
- For easier unmolding from a mold, lightly oil the mold or line it with plastic wrap before filling. Dip the bottom of the mold briefly in warm water before inverting.
- Serve chilled for the best gelatin mousse texture.
Tips from Professional Bakers: Achieving Consistent Gelatin Mousse Results
Measuring Gelatin Accurately
Precision in measuring gelatin is paramount for consistency. Professional bakers almost always measure gelatin by weight using a digital scale, especially when using sheet gelatin or larger quantities of powdered gelatin. While volume measurements (like teaspoons) are provided on consumer packaging and in many home recipes, minor variations in how tightly the powder is packed can lead to slight inconsistencies.
For critical recipes or when aiming for professional-level consistency in your gelatin mousse texture recipe, investing in a small, accurate digital scale is highly recommended. Weighing ensures you use the exact amount specified, regardless of whether it's powdered or sheet, provided you know the equivalent weights based on Bloom strength.
Controlling Temperature for Optimal Gelatin Performance
Temperature control is crucial throughout the mousse-making process. Gelatin needs to be heated to dissolve, but excessive heat can degrade its gelling power. Aim for temperatures between 100°F and 120°F (38°C-50°C) to dissolve bloomed gelatin. The base into which the dissolved gelatin is incorporated should also be warm enough to prevent premature setting but cool enough not to melt added aerators.
Finally, the chilling temperature and time are critical for the gelatin network to form correctly. Rapid chilling in a cold refrigerator ensures a quicker, more even set. Avoid placing a warm mousse directly into a very cold freezer, as this can cause ice crystals to form, ruining the texture.
Testing Mousse Texture Before Serving
For important occasions or new recipes, consider doing a small test batch or chilling a small spoonful of the mixture quickly in the freezer (for 10-15 minutes) before committing the entire batch to chilling. This allows you to get a preliminary sense of the setting strength and adjust if necessary (though adjusting a large batch is difficult, as discussed in troubleshooting). Additionally, always taste your base and the final mixed mousse before chilling to check for flavor balance and sweetness.
The texture can only be judged after proper chilling, so patience is key. A perfectly executed gelatin mousse texture recipe rewards patience and attention to detail at every step.
Conclusion: Elevate Your Baking with Perfect Gelatin Mousse
Mastering gelatin opens up a world of possibilities in the realm of light and airy desserts. By understanding the science behind gelatin's gelling power, choosing the right type for your needs, and following careful techniques for blooming, dissolving, incorporating, and chilling, you can consistently achieve that coveted, melt-in-your-mouth gelatin mousse texture. Remember to measure accurately, control your temperatures, and practice gentle folding. With these skills in your baking repertoire, your mousses will transform from simple desserts into showstopping creations that delight with every spoonful. Happy baking!
Frequently Asked Questions
How does gelatin affect the texture of a mousse?
Gelatin is a crucial ingredient for achieving the perfect mousse texture. It acts as a stabilizing agent, giving the mousse its structure and preventing it from being too runny or collapsing.
What type of gelatin is best for mousse recipes?
Both powdered and sheet gelatin can be used successfully in mousse recipes. The choice often comes down to personal preference and familiarity with each type, though powdered gelatin is more readily available.
How do I properly bloom gelatin for a mousse recipe?
Blooming gelatin involves dissolving it in cold water. This hydrates the gelatin granules, allowing them to activate and properly set the mousse. Follow the recipe's specific instructions for water-to-gelatin ratio.
Can I substitute gelatin in a mousse recipe?
While possible, substituting gelatin can significantly alter the mousse's texture. Agar-agar is a common vegetarian alternative, but it requires careful handling to achieve a similar smooth and airy result.
What are some common mistakes to avoid when using gelatin in mousse?
Overheating gelatin can weaken its setting power, resulting in a runny mousse. Additionally, failing to bloom the gelatin properly or using too much gelatin can lead to a gummy or rubbery texture.
Final Reflection: Mastering the Art of the Perfect Mousse
The pursuit of the perfect mousse texture is more than just a culinary quest; it's a testament to the power of precision and understanding fundamental ingredients. Achieving that ethereal lightness, that melt-in-your-mouth experience, requires a deep understanding of gelatin's role in creating structure and stability. This understanding, once grasped, unlocks a world of creative possibilities beyond just mousse.
The impact of mastering gelatin's properties extends far beyond the kitchen. It's a microcosm of the larger principle of understanding the building blocks of any creative endeavor. The delicate balance between firmness and fluidity, the precise timing and temperature control required – these are skills transferable to countless other areas of life. As the renowned chef Julia Child once said, Find something you're passionate about and keep tremendously interested in it.
This passion for understanding the intricacies of a seemingly simple ingredient, like gelatin, is what elevates the craft of baking (and indeed, any craft) to an art form.
Now, consider your own culinary adventures. What other recipes could benefit from your newfound knowledge of gelatin? Perhaps you'll experiment with different fruit purees, explore unique flavor combinations, or even try your hand at creating other delicate desserts. Don't be afraid to experiment, to push boundaries, and to discover your own unique approach to achieving that perfect mousse texture. The journey of mastering this seemingly simple technique is a rewarding one, filled with delicious discoveries and the satisfaction of creating something truly beautiful.
Unlock the Secrets to Perfect Mousse: Take Action Now!
Thanks for taking the time to explore the art of mousse-making with us! You’ve now learned the key to achieving that light-as-air, melt-in-your-mouth texture. Ready to put your newfound skills to the test?
- Craft your dream mousse: Experiment with different flavor combinations and share your creation with loved ones. Remember, the key is in the gelatin!
- Share your mousse masterpiece: Post a photo on social media and tag us! We'd love to see what you bake. Use #BakeWithEaseMousse
- Challenge yourself: Try recreating a classic mousse recipe from your favorite cookbook, paying close attention to gelatin ratios.
What unique flavor combinations will you explore to create your signature mousse?