
Add Flavor! Baking Delicious Garlic & Herb Rolls

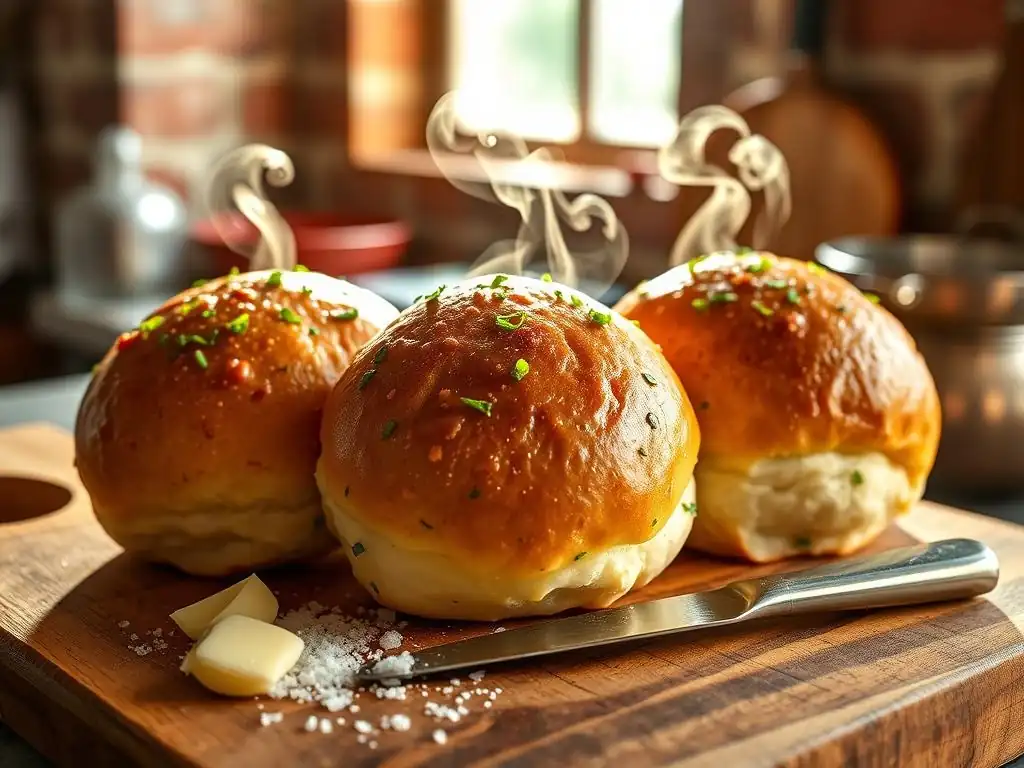
Welcome to BakeWithEase, your culinary companion on a journey to baking brilliance! Ever dreamt of pulling warm, fragrant bread rolls from your oven, filling your kitchen with an irresistible aroma? This week, we're diving deep into the delightful world of homemade bread, specifically, mastering the art of baking delicious garlic herb bread rolls. But what secret ingredient elevates these rolls from ordinary to extraordinary? Explore below and uncover the simple techniques that will transform your baking and have everyone begging for more!
- Baking Delicious Rosemary & Garlic Focaccia at Home
- Introduction to Baking Flavorful Rosemary & Garlic Focaccia
- Mastering the Art of Focaccia Dough
- Infusing Flavor: Rosemary and Garlic Selection
- Step-by-Step Baking Guide: Rosemary & Garlic Focaccia Recipe
- Tips and Tricks for Baking Perfect Focaccia
- Serving Suggestions for Freshly Baked Focaccia
- Storing and Reheating Your Homemade Focaccia
- Focaccia: Recipe Variations and Adaptations
- Troubleshooting Common Focaccia Baking Issues
- Conclusion: Enjoying Your Homemade Focaccia
-
Frequently Asked Questions
- What are the key ingredients for making delicious garlic & herb bread rolls?
- How can I ensure my garlic & herb bread rolls are soft and fluffy?
- Can I use dried herbs instead of fresh herbs in the garlic & herb bread rolls?
- What's the best way to store garlic & herb bread rolls to keep them fresh?
- What other variations can I make to garlic & herb bread rolls?
- Final Reflection: The Enduring Allure of Simple Baking
- Unleash Your Inner Baker: Craft the Perfect Garlic Herb Rolls!
Baking Delicious Rosemary & Garlic Focaccia at Home
Introduction to Baking Flavorful Rosemary & Garlic Focaccia
Why Bake Your Own Focaccia?
Baking your own focaccia at home is an incredibly rewarding experience that elevates simple ingredients into something truly special. Beyond the sheer joy of creating food with your hands, homemade focaccia offers unparalleled freshness and flavor that you simply can't find in store-bought versions. Imagine the aroma filling your kitchen as it bakes – it's a sensory delight! Plus, controlling the ingredients means you can customize it perfectly, ensuring a rustic garlic herb bread experience tailored exactly to your liking.
Making focaccia might seem intimidating if you're new to bread baking, but it's actually one of the most approachable yeasted breads out there. Unlike complex loaves that require intricate shaping or precise oven steam, focaccia is forgiving. Its high hydration means it's often a 'no-knead' or minimal-knead dough, making the process much simpler. It's a fantastic stepping stone for beginners looking to dive into making their own flavorful garlic herb bread at home.
Baking Basics: Your Guide to Perfect Focaccia
Before diving into the specifics of rosemary and garlic, understanding a few fundamental baking principles is key to successful focaccia. Yeast activation is paramount; active dry yeast typically needs warm water (around 105-115°F or 40-46°C) to bloom, while instant yeast can often be mixed directly with dry ingredients. The type of flour also matters; while all-purpose works, bread flour with its higher protein content develops more gluten, leading to a chewier texture often desired in focaccia and other rustic garlic herb bread rolls.
Proper proofing, or allowing the dough to rise, is crucial for developing both texture and flavor. This is where the yeast produces carbon dioxide, creating air pockets, and enzymes break down starches, enhancing taste. Focaccia dough, due to its wet nature, often undergoes a longer initial proof, sometimes even overnight in the refrigerator, which deepens the flavor profile significantly. Understanding these basics sets the stage for creating a truly delicious and aromatic rosemary and garlic focaccia.
Mastering the Art of Focaccia Dough
Essential Ingredients for Focaccia Dough
Creating fantastic focaccia starts with a few simple, high-quality ingredients. You'll need flour, yeast, water, salt, and olive oil. For the flour, a good quality bread flour is recommended for its gluten structure, but a reliable all-purpose flour can also yield excellent results, especially if it has a protein content around 10-12%. The yeast can be active dry or instant; ensure it's fresh by checking the expiration date. A typical recipe for a 9x13 inch pan might use around 3-4 cups (400-500g) of flour and 1-2 teaspoons of yeast.
Water is the other key component, and focaccia is known for being a high-hydration dough, often using water that is 70-85% the weight of the flour. This wetness contributes to the bread's signature airy interior. Salt is vital for flavor and controlling yeast activity; use about 1.5-2% the weight of the flour. Finally, olive oil is indispensable – not just in the dough for tenderness, but generously coating the pan and topping the bread for that signature crispy crust and rich flavor, a hallmark of authentic garlic herb bread.
Step-by-Step: Preparing the Focaccia Dough
Preparing focaccia dough is surprisingly straightforward, especially with the common high-hydration, minimal-knead methods. Begin by whisking together the water and yeast in a large bowl. If using active dry yeast, let it sit for 5-10 minutes until foamy; if using instant, proceed immediately. Stir in the salt, then add the flour. Mix with a spoon or spatula until just combined and no dry streaks of flour remain. The dough will be very wet and shaggy – this is correct!
- Combine water and yeast.
- Add salt and flour.
- Mix until just combined.
Unlike traditional bread doughs, extensive kneading isn't required. For a no-knead method, simply cover the bowl and let it rest. For a minimal-knead approach, perform a series of 'stretch and folds' directly in the bowl over the next hour or two. This involves wetting your hand, grabbing a side of the dough, stretching it upwards, and folding it over the rest of the dough. Repeat 3-4 times, rotating the bowl, then rest for 10-15 minutes. Repeat this process 2-3 more times. This gentle handling develops gluten structure without vigorous kneading, perfect for creating soft, flavorful garlic herb bread.
Infusing Flavor: Rosemary and Garlic Selection
Choosing the Best Garlic for Flavorful Focaccia
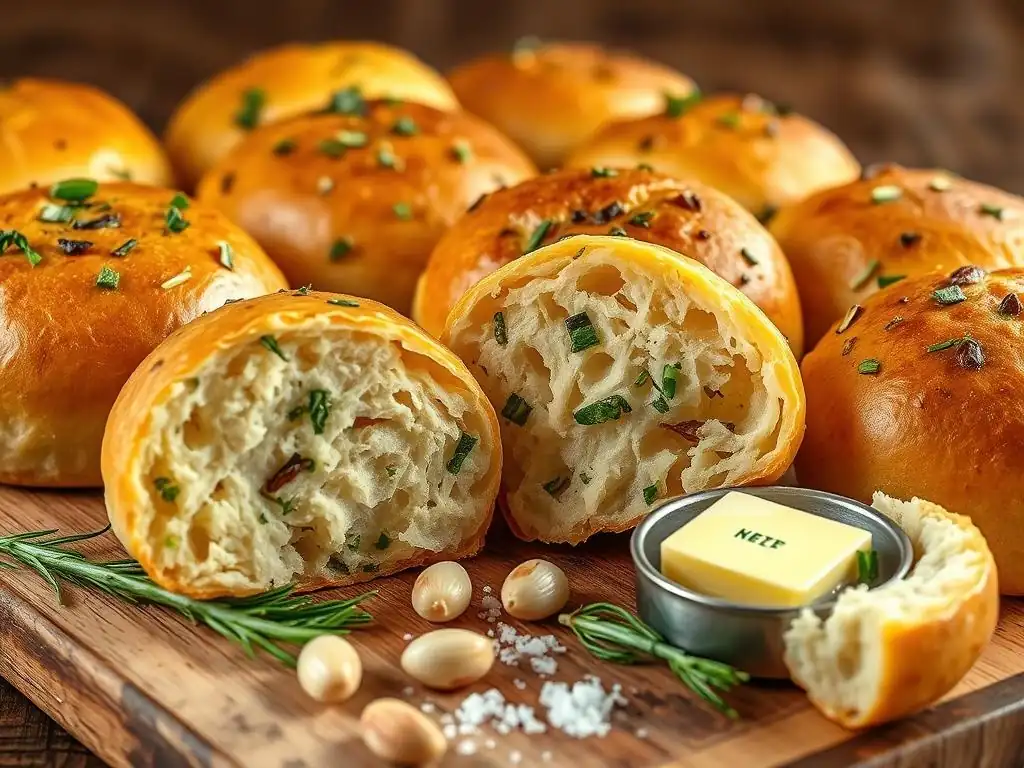
The type and preparation of garlic significantly impact the final flavor of your focaccia. Fresh garlic cloves offer the most pungent and vibrant taste. When minced or finely chopped, they release potent sulfur compounds that mellow and sweeten during baking, resulting in that classic, slightly sharp garlic bread flavor. A standard recipe might call for 3-4 medium cloves, but feel free to adjust based on your love for garlic!
For a sweeter, milder garlic flavor, consider using roasted garlic. Roasting caramelizes the natural sugars in the cloves, transforming their sharp bite into a creamy, almost spreadable sweetness. To roast garlic, simply cut the top off a head, drizzle with olive oil, wrap in foil, and bake at 400°F (200°C) for 30-40 minutes until soft. Mash the roasted cloves and incorporate them into the dough or sprinkle on top before baking. This method is fantastic for a less aggressive, yet deeply flavorful garlic herb bread experience.
Selecting Fresh Rosemary for Aromatic Bread
Just like garlic, the quality of your herbs makes a real difference. For rosemary focaccia, fresh rosemary is highly recommended over dried. Fresh sprigs are bursting with essential oils that release their fragrant, slightly piney aroma during baking, infusing the entire loaf. Dried rosemary can work in a pinch, but its flavor is less vibrant and its texture can be woody. Look for bright green, firm sprigs at your grocery store or farmers market.
Before using, strip the small, needle-like leaves from the woody stems. The stems themselves are too tough to eat. You can finely chop the leaves for even distribution throughout the dough or sprinkle them whole over the top before baking. For a 9x13 inch focaccia, leaves from 2-3 medium sprigs (roughly 2-3 tablespoons chopped) usually provide ample aroma. This fresh herb element is key to creating truly aromatic and delightful garlic herb bread rolls, or in this case, a lovely focaccia.
Combining Rosemary and Garlic for Maximum Flavor
The magic of rosemary and garlic focaccia lies in how these two potent flavors are combined and integrated into the bread. One popular method is to finely mince both fresh garlic and rosemary leaves and mix them directly into the dough during the final stages of mixing or during the stretch and folds. This distributes the flavor throughout the crumb, creating a consistent garlic herb bread experience in every bite.
Alternatively, you can create a flavorful oil infusion to drizzle over the top just before baking. Gently heat olive oil with minced garlic and rosemary over low heat for a few minutes (don't brown the garlic!). Let it cool slightly, then generously spoon this aromatic oil over the dimpled dough. As the focaccia bakes, the oil permeates the crust, crisping it beautifully and concentrating the herb and garlic flavors on the surface. A common ratio might be 1/4 cup olive oil infused with 2-3 minced garlic cloves and 1-2 tablespoons chopped rosemary.
Step-by-Step Baking Guide: Rosemary & Garlic Focaccia Recipe
Step 1: Preparing the Dough – The Foundation
Begin by activating your yeast. In a large bowl, combine 1 ¾ cups (420ml) of warm water (105-115°F / 40-46°C) with 2 teaspoons of active dry yeast and a pinch of sugar (optional, but helps yeast activate). Let stand for 5-10 minutes until foamy. If using instant yeast, you can skip the proofing step and add it directly to the dry ingredients. Next, whisk in 1 ½ teaspoons of fine sea salt.
Add 4 cups (500g) of bread flour to the wet ingredients. Using a wooden spoon or sturdy spatula, mix until all the flour is incorporated and no dry pockets remain. The dough will be very wet and shaggy. Drizzle 1 tablespoon of olive oil over the dough, cover the bowl tightly with plastic wrap, and let it rest at room temperature for 15-20 minutes. This initial rest period, called autolyse, allows the flour to hydrate fully and gluten development to begin, making the dough easier to handle later.
Step 2: First Proofing – Developing the Dough's Flavor
After the initial rest, it's time for the first proof and gluten development through stretch and folds. Over the next 1 ½ to 2 hours, perform a series of stretch and folds every 30-45 minutes. To do this, wet your hand slightly to prevent sticking. Grasp one side of the dough, lift it up, and stretch it over the center. Repeat with the other three sides. The dough will become progressively smoother and more elastic with each set.
- First set of stretch and folds (after 15-20 min rest).
- Second set (30-45 mins later).
- Third set (30-45 mins after that).
- Fourth set (optional, 30-45 mins later).
After the stretch and folds are complete, cover the bowl again and let the dough rise at room temperature until it has roughly doubled in size, which typically takes another 1-2 hours depending on your kitchen temperature. For a deeper flavor, you can also refrigerate the dough for 12-24 hours for a slow, cold proof. This extended fermentation enhances the complexity, resulting in a more flavorful garlic herb bread.
Step 3: Shaping the Focaccia
Once the dough has completed its first proof and is light and airy, it's time to shape it in the pan. Generously coat a 9x13 inch baking pan (or similar size, like a 10-inch round or 8x12 inch) with 2-3 tablespoons of high-quality olive oil. Ensure the oil covers the bottom and goes up the sides slightly. This generous oiling is crucial for achieving a crispy bottom crust and preventing the dough from sticking.
Gently pour or scrape the dough into the prepared pan. Avoid deflating it too much. Drizzle another 1-2 tablespoons of olive oil over the top of the dough. Now, using your fingertips, gently dimple the dough all over, pushing straight down to the bottom of the pan. The oil will pool in these dimples, creating pockets of deliciousness. Distribute your desired rosemary and garlic (either mixed into the oil or sprinkled directly onto the dough) evenly across the surface.
Step 4: Second Proofing – Achieving Light and Airy Bread
After shaping and dimpling, the dough needs a second, shorter proof. Loosely cover the pan with plastic wrap or a clean kitchen towel. Let the dough rest at room temperature for 20-30 minutes. During this time, the dough will relax, puff up slightly, and fill out the pan more completely. This second rise is important for achieving a light and airy texture in the final baked focaccia.
While the dough is undergoing its second proof, preheat your oven to 400-425°F (200-220°C). A hotter oven helps create a beautiful golden crust and ensures the interior cooks through properly without drying out. If you have a baking steel or stone, place it in the oven during preheating for even better heat distribution, which is great for any kind of rustic bread like garlic herb bread rolls or focaccia.
Step 5: Baking to Golden Perfection – Time and Temperature
Once the oven is preheated and the dough has completed its second proof, it's ready to bake. Place the pan in the preheated oven. The baking time will vary depending on your oven and the size/thickness of your focaccia, but it typically takes between 20 and 30 minutes. Keep an eye on it – you're looking for a beautiful golden brown color on the top and sides.
The crust should look crispy and the interior should be cooked through. You can check for doneness by inserting an instant-read thermometer into the center; it should register around 200°F (93°C). If the top is browning too quickly, you can loosely tent it with foil.
Once baked, carefully remove the focaccia from the oven. For the best flavor and texture, immediately drizzle another tablespoon or two of fresh olive oil over the hot surface. Let it cool in the pan for 5-10 minutes before transferring to a wire rack to cool further before slicing and enjoying your delicious garlic herb bread.
Tips and Tricks for Baking Perfect Focaccia
Achieving the Perfect Crust
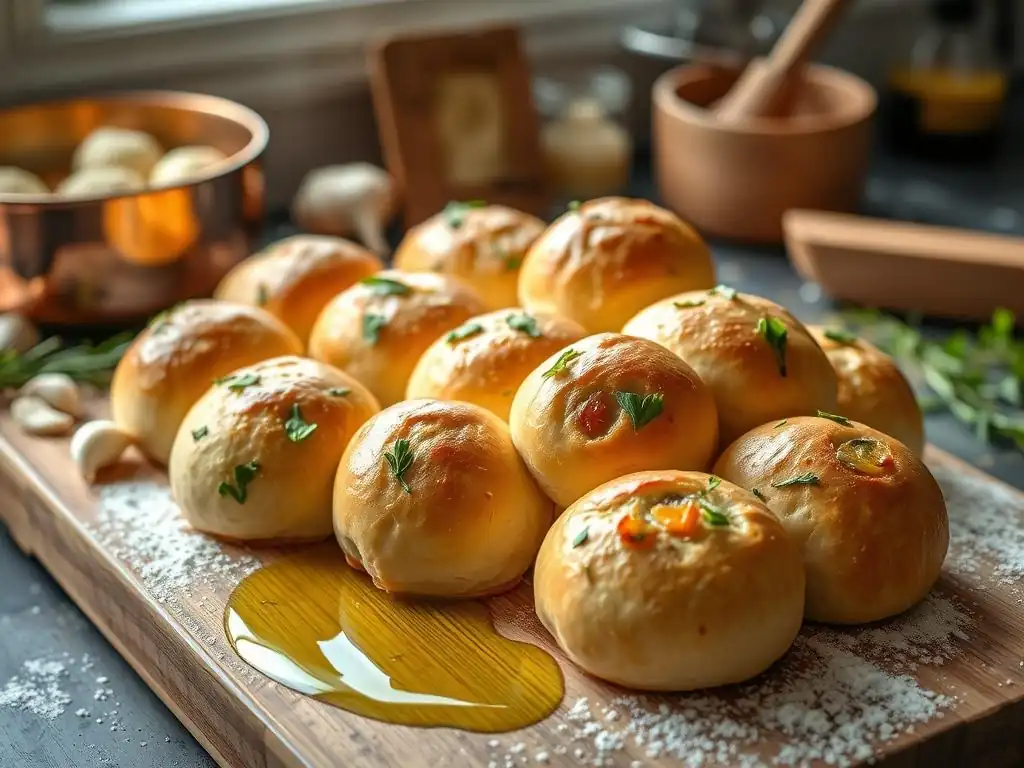
A hallmark of great focaccia is its wonderfully crispy bottom and golden, slightly chewy top crust. The secret lies primarily in generous amounts of olive oil and proper baking temperature. Don't be shy with the oil in the pan – you want a good layer covering the bottom and sides. This oil essentially fries the bottom of the dough as it bakes, creating that desirable crispy layer.
Baking at a relatively high temperature (400-425°F or 200-220°C) is also key. The high heat helps the crust set quickly and brown beautifully. If your oven has a convection setting, using it can further enhance crispness by circulating hot air around the bread. Ensure your oven is fully preheated before putting the focaccia in.
Preventing Dough from Sticking
Due to its high hydration and the generous use of olive oil, focaccia dough is less prone to sticking than some other bread doughs, but it's still important to take precautions. The most crucial step is thoroughly oiling your baking pan. Use a generous amount, ensuring it coats the entire bottom and extends up the sides. This creates a barrier between the dough and the pan.
As an extra measure, or if you're concerned about cleanup, you can line the baking pan with parchment paper before adding the olive oil. Then, oil the parchment paper generously. This makes removing the baked focaccia effortless and simplifies washing the pan. Even with oil and/or parchment, handle the wet dough gently to avoid tearing.
Ensuring Even Baking
Uneven baking can result in some parts of the focaccia being perfectly golden while others are pale or overcooked. This is often due to hot spots in your oven. Most ovens have areas that are hotter than others. To combat this, try rotating the pan halfway through the baking time. For a focaccia baking for 25 minutes, rotate it after about 12-13 minutes.
Using a baking steel or stone placed in the oven during preheating can also significantly improve evenness and promote a better bottom crust. The steel or stone absorbs and radiates heat consistently, providing a stable temperature foundation for the pan. Make sure the pan is centered on the baking steel or stone for the best results when baking any type of flatbread or garlic herb bread rolls.
Serving Suggestions for Freshly Baked Focaccia
Pairing Your Focaccia with Antipasto Platters
Freshly baked rosemary and garlic focaccia is a natural fit for an Italian-inspired antipasto platter. Its soft, chewy interior and flavorful crust make it perfect for tearing and sharing. Arrange slices alongside a selection of cured meats like prosciutto or salami, various cheeses such as fresh mozzarella, parmesan chunks, or creamy burrata, and marinated vegetables like roasted red peppers, artichoke hearts, or olives.
The savory, aromatic notes of the garlic and rosemary beautifully complement the salty, tangy, and rich flavors of the antipasto components. It's a simple yet elegant way to start a meal or serve as a centerpiece for casual entertaining. Think of it as an elevated version of serving simple garlic herb bread alongside appetizers.
Creating Delicious Focaccia Sandwiches
Focaccia's sturdy yet soft texture makes it an excellent choice for sandwiches. Slice a piece horizontally and fill it with your favorite ingredients. The dimpled surface holds fillings well, and the olive oil-rich crumb prevents it from becoming soggy too quickly.
Consider classic Italian fillings like sliced tomatoes, fresh mozzarella, and basil (a Caprese sandwich), or layer with roasted vegetables, pesto, and goat cheese. For meat lovers, Italian cold cuts, grilled chicken, or even leftover roasted meats work wonderfully. The built-in garlic and herb flavor of the bread elevates even the simplest sandwich fillings, turning it into a gourmet experience akin to a high-quality garlic herb bread roll sandwich.
Focaccia as a Side Dish for Soups and Salads
A warm slice of focaccia is the perfect accompaniment to a variety of soups and salads. Its ability to soak up broths and dressings makes it highly practical, while its flavor enhances the main dish. Serve it alongside hearty soups like minestrone, lentil soup, or a creamy tomato soup.
For salads, focaccia provides a satisfying contrast in texture and flavor to crisp greens. It pairs particularly well with robust salads featuring ingredients like olives, feta cheese, or roasted vegetables. Offering a basket of warm garlic herb bread (focaccia in this case) is a welcoming gesture that makes any meal feel more complete and comforting.
Storing and Reheating Your Homemade Focaccia
Best Practices for Storing Freshly Baked Focaccia
Proper storage is key to keeping your homemade focaccia fresh and delicious for as long as possible. Once it has cooled completely, store it at room temperature for up to 1-2 days. The best way to store it is in an airtight container or wrapped tightly in plastic wrap or foil. This prevents it from drying out and becoming stale.
If you won't be eating it within a couple of days, or if you live in a humid climate, you can store it in the refrigerator for up to 3-4 days. However, refrigeration can sometimes affect the texture, making bread slightly tougher. For longer storage, focaccia freezes beautifully. Wrap individual pieces or the whole loaf tightly in plastic wrap, then in foil or place in a freezer-safe bag. It can be frozen for up to 3 months. This allows you to enjoy fresh-tasting garlic herb bread whenever the craving strikes.
Reheating Techniques to Maintain Flavor and Texture
Reheating focaccia properly helps restore its wonderful texture, especially the crispy crust. The best method is usually in the oven or a toaster oven. Preheat your oven to around 350°F (175°C). Place the focaccia directly on the oven rack or on a baking sheet.
- For single slices: Bake for 5-8 minutes.
- For larger pieces or a whole loaf: Bake for 10-15 minutes.
You want it heated through and the crust refreshed. Avoid using the microwave if possible, as it tends to make bread chewy and can diminish the crispy crust. However, if time is critical, a quick 20-30 second burst in the microwave might suffice for a slice, though it won't replicate the oven's crisping effect on your garlic herb bread.
Focaccia: Recipe Variations and Adaptations
Adding Olives and Sun-Dried Tomatoes
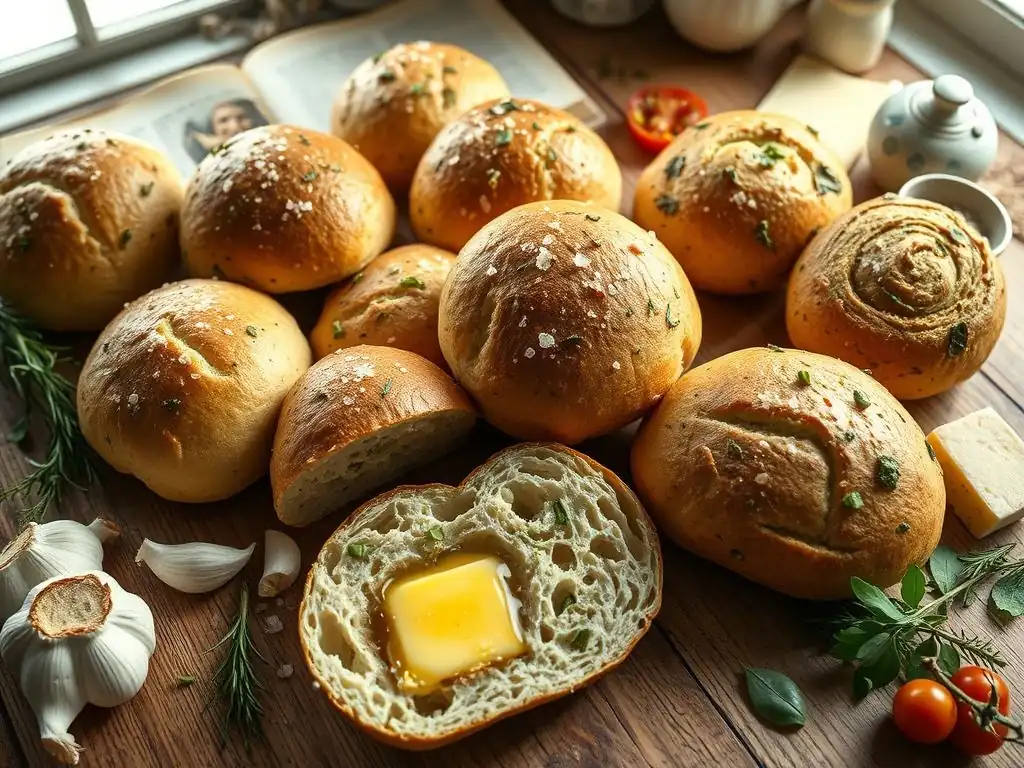
While rosemary and garlic create a classic focaccia, adding other ingredients can introduce wonderful new dimensions of flavor. Olives, especially Kalamata or green olives, are a popular addition. Their briny, salty taste pairs exceptionally well with the richness of the bread. You can scatter pitted, halved olives over the dough during the dimpling stage, pressing them gently into the surface.
Sun-dried tomatoes, either oil-packed (drained) or rehydrated dry ones, add a sweet and tangy element. Chop them and distribute them alongside the olives or on their own. A combination of olives and sun-dried tomatoes provides a delightful contrast in textures and flavors, creating a more complex version of this flavorful garlic herb bread.
Exploring Different Herb Combinations
Rosemary and garlic are a perfect pair, but focaccia is incredibly versatile and welcomes other herbs. Thyme, oregano, and chives are all excellent choices. You can use them individually or combine them. For example, a mix of thyme and oregano with garlic creates a more Mediterranean profile. Fresh basil, added towards the end of baking or sprinkled on after, brings a fresh, peppery note.
Consider the concept of garlic herb bread rolls and apply it to your focaccia: experiment with different proportions of herbs. A simple sprinkle of flaky sea salt over the herbs and garlic before baking enhances their flavors and adds a pleasant textural crunch to the crust. This allows you to tailor the focaccia to complement specific meals or personal preferences.
Gluten-Free Focaccia Adaptation
Adapting focaccia to be gluten-free requires using a suitable gluten-free flour blend. These blends typically contain a mix of rice flour, sorghum flour, tapioca starch, and potato starch, often with added xanthan gum to help mimic the elasticity of gluten. Baking gluten-free bread can be different from traditional baking, often requiring more hydration and sometimes longer or different proofing times.
While the general process of mixing, rising, dimpling, and baking remains similar, the dough's texture and handling will differ. Look for gluten-free focaccia recipes specifically developed to use GF flour blends, as they will provide adjusted ingredient ratios and instructions tailored to achieve the best possible texture without gluten. It's possible to create delicious garlic herb bread rolls even without traditional flour!
Troubleshooting Common Focaccia Baking Issues
Dough Not Rising Properly
If your focaccia dough isn't rising as much as expected, several factors could be the cause. The most common issue is inactive or expired yeast. Always check the expiration date on your yeast packet or jar. If using active dry yeast, ensure the water temperature is correct (105-115°F / 40-46°C) to properly activate it; water that's too hot will kill the yeast, while water that's too cold won't activate it efficiently.
Another factor is ambient temperature. Yeast is more active in warm environments. If your kitchen is cool, the dough will take longer to rise. You can try placing the covered bowl in a slightly warmer spot, like inside a turned-off oven with just the light on, or near a warm window. Ensure you're giving the dough enough time for both the first and second proofs; patience is key in bread baking.
Focaccia Baking Unevenly
Uneven browning or cooking is typically a sign of inconsistent heat in your oven. Ovens often have hot spots. If you notice one side of your focaccia browning faster than the other, try rotating the pan halfway through the baking time. For example, if your focaccia is baking for 25 minutes, rotate the pan 180 degrees after about 12-13 minutes.
Using an oven thermometer can help you verify if your oven's temperature is accurate; sometimes the internal thermostat is off. Baking on a preheated baking steel or stone can also provide more consistent heat from below, helping to ensure the bottom crust cooks evenly alongside the top. Proper placement of the pan in the center of the oven rack also helps with overall heat distribution.
Achieving the Right Garlic Flavor Intensity
Getting the garlic flavor just right can be a matter of personal preference and experimentation. If your focaccia isn't garlicky enough, you can increase the amount of fresh minced garlic added to the dough or infused oil. Remember that raw garlic has a stronger, more pungent flavor that mellows during baking compared to roasted garlic, which is sweeter and milder.
For a more intense garlic punch, consider rubbing the warm, just-baked focaccia with a cut clove of garlic, or drizzling it with garlic-infused olive oil after it comes out of the oven. If the flavor is too strong, reduce the amount of garlic next time, or use roasted garlic instead of raw. Experimenting with these techniques will help you find your ideal level of garlic flavor in your homemade garlic herb bread.
Conclusion: Enjoying Your Homemade Focaccia
The Satisfaction of Baking Fresh Bread
There's a unique sense of accomplishment that comes with baking bread from scratch, and focaccia is no exception. The process, from mixing the simple ingredients to watching the dough rise and finally pulling a golden, aromatic loaf from the oven, is incredibly fulfilling. The smell of warm rosemary and garlic filling your home is a reward in itself, promising the delicious treat to come.
Holding that warm piece of focaccia, seeing the airy crumb and the crispy, herb-flecked crust, is a moment of pure satisfaction. It's a tangible result of your effort and patience. This simple act of creation connects you to age-old culinary traditions and provides a wonderful sense of self-sufficiency.
The best part about baking something delicious is often sharing it with others. A warm focaccia, fresh from the oven, is perfect for sharing with family and friends. Whether you serve it as part of a meal, bring it to a gathering, or simply tear off pieces to enjoy together, the act of sharing homemade bread fosters connection and warmth.
So, slice into your beautiful rosemary and garlic focaccia, perhaps alongside some olive oil and balsamic for dipping. Savor the flavors you've created. And don't hesitate to tell everyone that you baked this delicious garlic herb bread yourself! Enjoy every bite of your homemade masterpiece.
Frequently Asked Questions
What are the key ingredients for making delicious garlic & herb bread rolls?
The key ingredients are typically flour, water, yeast, salt, garlic, and your favorite herbs. Olive oil is also a common addition for flavor and texture.
How can I ensure my garlic & herb bread rolls are soft and fluffy?
Using the right amount of yeast and allowing the dough to rise properly are crucial. Don't overwork the dough, and consider adding a touch of milk or butter for added softness.
Can I use dried herbs instead of fresh herbs in the garlic & herb bread rolls?
Yes, you can! Just remember that dried herbs are more potent, so you'll need to use about half the amount compared to fresh herbs. Adjust to your taste.
What's the best way to store garlic & herb bread rolls to keep them fresh?
Store them in an airtight container at room temperature for a day or two. For longer storage, freeze them in a freezer-safe bag. Reheat for best results.
What other variations can I make to garlic & herb bread rolls?
You can add cheese like Parmesan or mozzarella, incorporate different herbs like rosemary or thyme, or even brush them with garlic butter after baking for extra flavor.
Final Reflection: The Enduring Allure of Simple Baking
The aroma of freshly baked garlic and herb rolls transcends mere culinary satisfaction; it's a potent symbol of comfort, connection, and the enduring power of simple pleasures. In a world increasingly dominated by fast food and processed ingredients, the act of creating something delicious from scratch, like these fragrant rolls, offers a powerful antidote to the hurried pace of modern life. This recipe, while seemingly straightforward, embodies a deeper truth about the joy found in mindful creation and the sharing of homemade goodness.
The influence of home-baked goods on our cultural landscape is undeniable. From childhood memories of warm bread shared with family to the comforting presence of freshly baked treats at gatherings, the simple act of baking connects us to our past and strengthens our present bonds. The best things in life are the people we love, the places we've been, and the memories we've made along the way.
This quote perfectly encapsulates the emotional resonance of sharing food, especially something as lovingly crafted as these garlic and herb rolls. The recipe itself becomes a vehicle for creating lasting memories and strengthening relationships.
Now, I invite you to consider the power of this simple recipe. Don't just bake these rolls; experience them. Savor the aroma as they rise, feel the satisfaction of shaping the dough with your own hands, and relish the warmth of sharing them with loved ones.
Let the process be a reminder to slow down, appreciate the small things, and find joy in the simple act of creating something delicious and meaningful. The recipe is a starting point; let your creativity flourish and adapt it to your own tastes and preferences. The true magic lies not just in the final product, but in the journey of making it.
Unleash Your Inner Baker: Craft the Perfect Garlic Herb Rolls!
Thanks for joining us on this delicious journey into the world of garlic and herb rolls! We hope you gained some valuable tips and tricks to elevate your baking game. Now it's time to put your newfound knowledge to the test!
- Bake a batch of these amazing rolls today! Use the recipe as your guide, and don't be afraid to experiment with your favorite herbs and cheeses.
- Share your creations! Show us your perfectly golden-brown rolls on social media using #BakeWithEaseGarlicRolls. We'd love to see your baking masterpieces!
- Challenge yourself: Try adapting this recipe to make different types of bread rolls. What flavors will you create next?
What unique twist will you add to your garlic herb rolls to make them truly your own? Let's hear your ideas in the comments below!