
Unveiling the Secrets of Finnish Rye Bread (Reikäleipä)

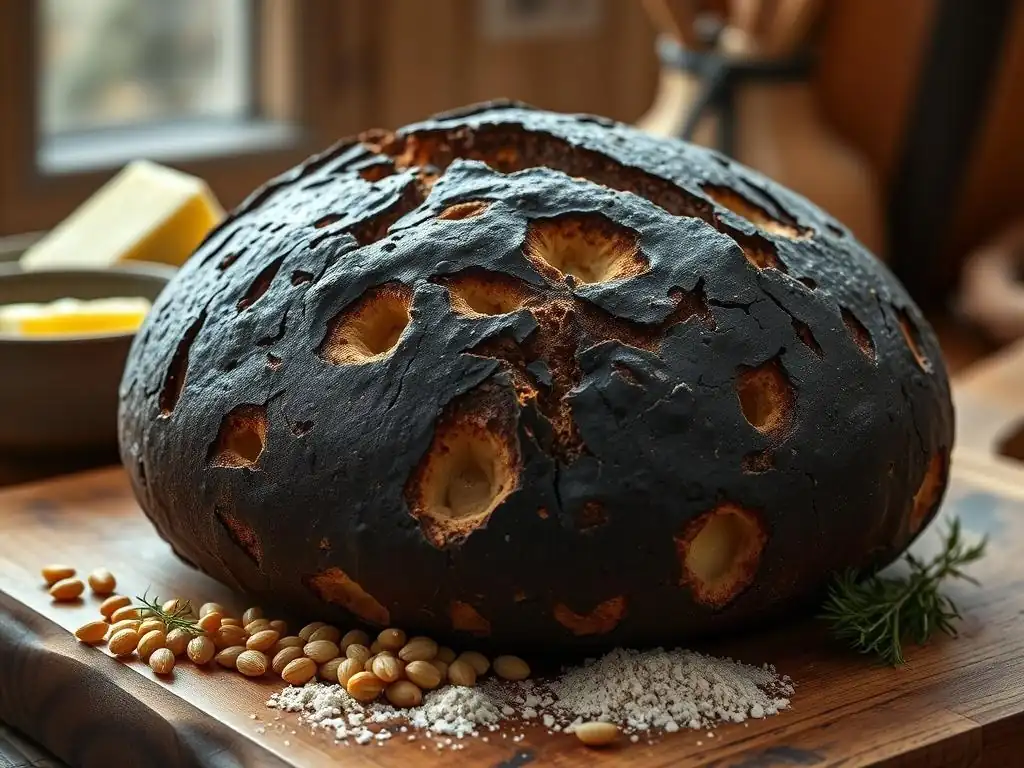
Welcome to BakeWithEase, your companion in the delicious world of baking! Ever wondered how to achieve the rich, complex flavor of authentic Finnish rye bread? Prepare to be captivated. We're about to unveil the secrets behind this beloved Nordic staple, offering a step-by-step journey to baking your own Reikäleipä. Intrigued? Let's dive in and discover the magic of this hearty, flavorful bread.
- The Art of Crafting Sourdough Bread: A Comprehensive Guide
- Introduction to Sourdough Bread: A Timeless Baking Tradition
- Mastering the Sourdough Bread Recipe: A Step-by-Step Guide
- Understanding the Ingredients in Sourdough Bread
- Troubleshooting Your Sourdough Bread: Common Issues and Solutions
- Serving and Storing Your Homemade Sourdough Bread
- Variations and Experimentation with Your Sourdough Bread
- More Bread Baking Techniques to Explore
-
Frequently Asked Questions
- What makes Finnish rye bread (Reikäleipä) unique?
- What ingredients are essential for a traditional Finnish rye bread recipe?
- Is it difficult to bake Finnish rye bread at home, especially for beginners?
- How long does it typically take to bake a loaf of Finnish rye bread?
- What are some suggested toppings or accompaniments for Finnish rye bread?
- Final Reflection: The Enduring Legacy of Reikäleipä
- Unleash Your Inner Baker: Make Your Own Reikäleipä!
The Art of Crafting Sourdough Bread: A Comprehensive Guide
Introduction to Sourdough Bread: A Timeless Baking Tradition
Discover the Magic of Sourdough: The Story Behind its Tangy Flavor
Sourdough bread, a staple in many cultures, including variations like the traditional Finnish rye bread recipe, boasts a history stretching back thousands of years. Unlike commercial breads that rely on baker's yeast, sourdough fermentation is driven by a symbiotic culture of wild yeasts and lactic acid bacteria, often referred to as a "starter." This living culture consumes sugars in the flour, producing carbon dioxide (which makes the bread rise) and a complex array of organic acids, primarily lactic and acetic acid. These acids are the secret behind sourdough's characteristic tangy flavor and slightly chewy texture.
The process is ancient, predating the isolation and commercial production of yeast. Evidence suggests sourdough was used in ancient Egypt around 1500 BC. This natural leavening method meant that bakers had to maintain a portion of their dough from one bake to the next, keeping the starter alive. This continuous cycle of feeding and using the starter connects modern bakers to a timeless tradition, offering a depth of flavor and unique crumb structure that is difficult to replicate with commercial yeast alone. It's a slower, more deliberate process that rewards patience and attention to detail.
Why Bake Sourdough Bread? Taste, Health, and the Joy of Baking
Baking sourdough bread offers a multitude of benefits beyond just creating delicious food. From a culinary perspective, the unique tangy flavor profile, ranging from subtly sweet to intensely sour depending on the starter and fermentation, pairs wonderfully with countless dishes. The crust develops a deep, crackly texture, while the interior crumb is often open and airy, providing a delightful contrast. Exploring a Finnish rye bread recipe using sourdough principles can introduce fascinating new dimensions to this ancient craft.
Beyond taste, sourdough fermentation can improve the digestibility and nutritional profile of bread. The long fermentation process helps break down phytic acid, a compound found in grains that can inhibit the absorption of minerals like iron, zinc, and calcium. This makes the nutrients in sourdough more bioavailable. Furthermore, the slower fermentation can lead to a lower glycemic index compared to breads made with commercial yeast. Finally, there's immense satisfaction in the process itself – nurturing a starter, watching the dough transform, and finally pulling a beautiful, fragrant loaf from your oven is a deeply rewarding experience.
Mastering the Sourdough Bread Recipe: A Step-by-Step Guide
Gathering Your Ingredients for Authentic Sourdough Bread
Crafting authentic sourdough bread, or even adapting a Finnish rye bread recipe to sourdough principles, starts with understanding the fundamental components. The simplicity of the ingredient list is deceptive, as the quality and type of each element significantly impact the final loaf. You'll primarily need flour, water, salt, and your active sourdough starter. Optional additions like seeds, grains, or different types of flour can introduce variations but the core remains these four elements.
Ensuring you have the right tools is also crucial. While not ingredients, items like a digital scale for accurate measurement, a dough scraper, proofing baskets (bannetons), and a Dutch oven or baking stone are indispensable for achieving professional results. Having everything ready before you begin mixing streamlines the process and helps maintain the proper timing between steps, which is critical in sourdough baking.
Key Ingredient: Flour - Choosing the Right Type for Your Loaf
The type of flour you choose is perhaps the most critical ingredient in any sourdough bread recipe. High-protein bread flour (typically 12-14% protein) is often recommended for beginners because its strong gluten network provides structure and helps trap the gases produced by the starter, resulting in a good rise and open crumb. All-purpose flour (around 10-12% protein) can also be used, though the dough might be slightly softer.
Exploring variations is part of the sourdough journey. Whole wheat flour adds flavor and nutrition but absorbs more water and its bran particles can interfere with gluten development, often requiring a blend with white flour. Rye flour, essential for a traditional Finnish rye bread recipe, behaves very differently due to its lower gluten content. It produces a denser loaf and requires different handling techniques. Experimenting with different flour combinations allows you to explore a vast spectrum of textures and flavors.
The Heart of Sourdough: Cultivating and Maintaining Your Starter
Your sourdough starter is the living soul of your bread. It's a mixture of flour and water that has been colonized by wild yeasts and lactic acid bacteria from the environment and the flour itself. Cultivating a starter from scratch typically takes about 7-14 days, involving regular feeding (discarding a portion and adding fresh flour and water) to encourage the desired microbial activity. A healthy, active starter is crucial for successful sourdough baking.
Maintaining your starter involves regular feeding. If you bake frequently (daily or every few days), you can keep your starter at room temperature, feeding it once or twice a day. For less frequent baking, storing your starter in the refrigerator is ideal. It slows down microbial activity, requiring feeding only once a week or even less often depending on its robustness. Before baking, you'll need to revive a refrigerated starter with a few consecutive feedings until it's bubbly, active, and doubles in size reliably.
Preparing the Sourdough Starter for Baking
Before you can mix your dough, your sourdough starter needs to be active and ready. This typically involves taking a small amount of your mature starter (either from the fridge or your counter-top jar) and feeding it with fresh flour and water. The ratio of starter, flour, and water you use for this "levain build" or "preferment" will influence the flavor and activity, but a common ratio is 1:1:1 by weight (e.g., 20g starter, 20g water, 20g flour).
Allow this fed starter (levain) to ferment at room temperature until it reaches its peak activity – usually doubling or tripling in size and becoming very bubbly and fragrant. This can take anywhere from 4 to 12 hours or more, depending on the temperature of your kitchen and the vigor of your starter. Using the levain at its peak ensures maximum leavening power for your dough.
Understanding Starter Activity: The Float Test and Feeding Schedules
Knowing when your starter is ready to bake with is key. A common indicator is its volume – a healthy starter, after feeding, should at least double, if not triple, in size. Another reliable test is the "float test." Gently drop a small spoonful of your active starter into a glass of water. If it floats, it means it's sufficiently aerated with carbon dioxide produced by the yeast and is ready to be used for mixing dough. If it sinks, it needs more time to ferment.
Feeding schedules depend on storage location. A starter kept at room temperature needs daily feeding (or even twice daily in warmer conditions) to remain active and prevent it from becoming too acidic. A refrigerated starter, fed once a week, needs several consecutive feedings at room temperature before it's ready to bake with. For instance, you might feed it in the morning, again in the evening, and use it for dough the following morning. Consistency in feeding time and ratio helps maintain a predictable starter activity.
Mixing and Kneading the Sourdough Bread Dough
The mixing phase brings together your active starter, flour, water, and salt. The order and method of mixing can vary slightly between recipes. Often, the starter and water are combined first, followed by the flour. Salt is typically added later, sometimes after an initial rest period, as it can tighten the gluten network. The initial mixing aims to hydrate the flour and roughly combine the ingredients into a shaggy dough.
Traditional sourdough recipes often involve a series of "stretch and folds" or "coil folds" performed over a few hours during the bulk fermentation phase, rather than intense kneading. These gentle manipulations help develop gluten strength without degassing the dough excessively. This method, combined with sufficient rest periods, allows the dough to build structure naturally.
Autolyse: Enhancing Flavor and Dough Strength
Autolyse is a simple yet powerful technique that significantly benefits sourdough dough. It involves mixing just the flour and water from your recipe and letting the mixture rest for 20 minutes to an hour (or sometimes longer) before adding the starter and salt. During this rest period, the flour fully hydrates, and enzymatic activity begins to break down starches into sugars, which feeds the yeast.
More importantly, the autolyse allows the gluten network to start forming on its own, without the interference of salt or starter. This makes the dough easier to handle and develop strength later with less mechanical work. It also contributes to a more extensible dough, which helps achieve a better rise and open crumb structure in the final loaf. This technique is applicable whether you're making a classic white sourdough or tackling a Finnish rye bread recipe that incorporates some wheat flour.
Shaping the Sourdough Loaf: Techniques for Optimal Rise
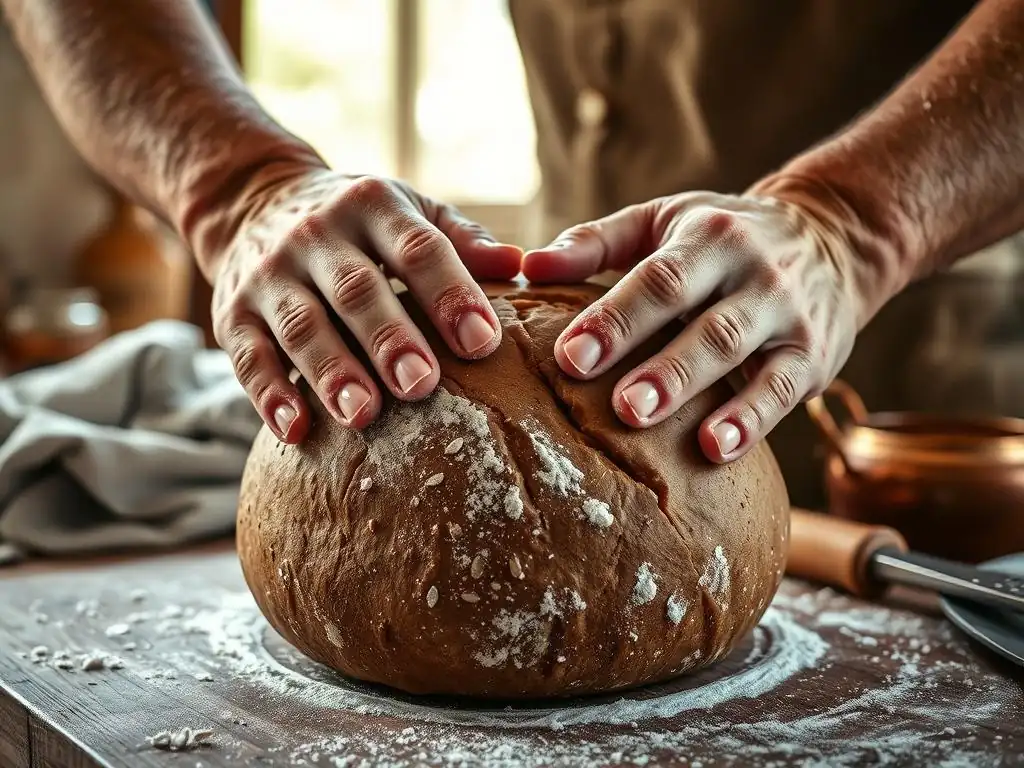
Once your dough has completed its bulk fermentation and significantly increased in volume, it's time to shape it into its final form. The goal of shaping is to create tension on the surface of the dough, which helps the loaf hold its shape during proofing and encourages a strong upward spring in the oven. Common shapes include boules (round loaves) and batards (oval loaves).
Techniques vary, but they generally involve gently degassing the dough, pre-shaping into a rough ball, allowing it to rest (bench rest) for 15-30 minutes, and then performing the final shape. Final shaping requires building surface tension by folding the dough onto itself and creating a taut skin. The shaped dough is then placed seam-side up in a floured proofing basket (banneton) for the final rise.
Scoring Your Loaf: Creating Beautiful Designs and Controlling Expansion
Scoring, or making cuts on the surface of your shaped dough just before baking, serves multiple purposes. Aesthetically, it allows bakers to create stunning patterns and designs, making each loaf unique. Functionally, and most importantly, scoring controls where the loaf expands in the intense heat of the oven. Without scoring, the crust would tear randomly as the dough undergoes its final, rapid expansion (oven spring).
Proper scoring directs this expansion, resulting in a more controlled and often more voluminous loaf. The depth and pattern of the scores influence the shape and look of the final loaf. A sharp blade (like a razor blade or 'lame') is essential for clean cuts that allow the dough to open up beautifully. Different scoring patterns can also hint at the type of bread within, such as a single deep score on a classic country loaf or multiple shallow cuts on a seeded batard.
Proofing Your Sourdough Bread Dough
Proofing is the final rise of the shaped dough before baking. It's a critical stage where the yeast continues to produce gas, causing the loaf to increase in volume and develop flavor. Proofing can be done at room temperature or in the refrigerator (cold proofing). Room temperature proofing is faster, typically taking 1-4 hours depending on the ambient temperature and dough activity.
Cold proofing, usually done in the refrigerator for 8-24 hours (or even longer), is a common technique in sourdough baking. The cold temperature slows down yeast activity but allows the lactic acid bacteria to continue working, developing more complex flavors. Cold proofing also makes the dough easier to handle and score, and it allows for baking straight from the cold into a hot oven, which contributes to excellent oven spring and crust development.
Bulk Fermentation: Developing Flavor and Strength
Bulk fermentation, also known as the first rise, is arguably the most important stage in the sourdough process. It begins immediately after mixing the ingredients and continues until the dough is shaped. During this period, the sourdough starter works its magic, fermenting the sugars in the flour, producing carbon dioxide for rise, and generating the organic acids that give sourdough its characteristic flavor.
This stage typically lasts several hours at room temperature, often accompanied by a series of stretch and folds or coil folds to build dough strength. The dough should increase significantly in volume (often 30-100% depending on the recipe and desired outcome) and become visibly gassier and more relaxed. Proper bulk fermentation is essential for developing both the structure and the complex flavor profile of your sourdough loaf. Cutting this stage short or letting it go too long can negatively impact the final bread.
Baking Your Sourdough Bread to Perfection
Baking is the culmination of the sourdough process, transforming the proofed dough into a finished loaf with a beautiful crust and desirable crumb. Achieving a great bake requires high heat and often, importantly, steam in the initial phase. The high temperature provides the necessary oven spring, while steam keeps the surface of the dough moist, allowing it to expand fully before the crust sets.
Many home bakers achieve excellent results using a Dutch oven. Preheating the Dutch oven in a hot oven creates an intensely hot environment around the dough and traps the moisture released by the bread itself, effectively steaming it. After the initial steamed phase (typically 20-25 minutes with the lid on), the lid is removed to allow the crust to brown and crisp up.
Oven Temperature and Baking Time for a Perfect Crust and Crumb
Sourdough bread is typically baked at high temperatures, often starting around 450-500°F (230-260°C). This initial burst of heat is crucial for maximizing oven spring. The exact temperature and baking time will depend on your oven, the size and shape of your loaf, and whether you are using a Dutch oven or baking on a stone with added steam.
A common approach when using a Dutch oven is to bake with the lid on at a high temperature (e.g., 475°F / 245°C) for 20-25 minutes, then remove the lid and lower the temperature slightly (e.g., to 450°F / 230°C) for another 20-30 minutes until the crust is deeply golden brown and the internal temperature reaches around 205-210°F (96-99°C). Baking directly on a stone usually requires adding steam to the oven manually and may have slightly different timing.
Achieving a Deep Golden Crust: Utilizing Steam in Your Oven
A signature characteristic of great sourdough bread is its thick, crackly, deeply colored crust. This is largely achieved through the use of steam during the initial phase of baking. Steam keeps the surface of the dough pliable, allowing the loaf to expand significantly during oven spring without the crust setting too early and cracking uncontrollably (other than at the scores).
As mentioned, a preheated Dutch oven is an excellent way to trap steam released by the dough. If baking on a stone, you can create steam by placing a tray of water or ice cubes on a lower rack in your oven just before loading the bread. Some bakers also spray the oven walls with water. After the initial steamed phase (typically 15-25 minutes), the steam source is removed (or the Dutch oven lid is taken off) to allow the crust to dry out and brown beautifully through the Maillard reaction.
Understanding the Ingredients in Sourdough Bread
Each ingredient in a sourdough bread recipe plays a specific and important role in the final outcome. While the list is simple – flour, water, salt, and starter – understanding how they interact is key to mastering the craft. The quality and type of flour are paramount, as they form the structure of the bread. Water hydrates the flour and activates the starter. Salt controls fermentation rate and enhances flavor. The starter provides the leavening and unique tang.
Even in variations like a Finnish rye bread recipe, understanding the function of each ingredient is vital. For example, the high proportion of rye flour in traditional Reikäleipä means the gluten structure is much weaker than in wheat-based sourdough, requiring different handling and resulting in a denser crumb.
The Role of Flour in Sourdough Baking
Flour is the primary structural component of bread. When mixed with water, proteins in the flour, mainly glutenin and gliadin, combine to form gluten. Gluten is a network of proteins that provides elasticity and extensibility to the dough, allowing it to trap the gases produced by the yeast and rise. The type of flour significantly impacts the gluten development and the final bread's texture and volume.
High-protein bread flour contains more of these gluten-forming proteins, resulting in a stronger dough capable of achieving a higher rise and a more open crumb. Lower-protein flours, like cake flour, would result in a weak dough unsuitable for most sourdough loaves. Whole grain flours, while nutritious and flavorful, contain bran and germ which can disrupt the gluten network, leading to denser loaves unless used in combination with white flour. The choice of flour directly influences the handling of the dough and the characteristics of the finished bread.
Protein Content and its Impact on Gluten Development
The protein content of flour is a key factor in its suitability for sourdough baking. As mentioned, higher protein content (typically 12% or more) indicates a greater potential for gluten development. When water is added to flour, mechanical action (like mixing or stretching and folding) helps these proteins link together to form the elastic gluten network. A strong gluten network is essential for trapping the carbon dioxide produced by the starter, allowing the dough to rise and create an open, airy crumb structure.
Flours with lower protein content will form a weaker gluten network, resulting in a dough that is less elastic and extensible. This can lead to a flatter loaf with a denser crumb because it cannot hold as much gas. For recipes requiring a strong structure, like a rustic country loaf, a high-protein bread flour is ideal. For softer breads or those incorporating less gluten-rich flours like rye (as in a Finnish rye bread recipe), understanding the protein content helps manage expectations for dough handling and final volume.
Exploring Other Ingredients: Water, Salt, and Their Importance
While flour and starter are the stars, water and salt are indispensable supporting actors in a sourdough bread recipe. Water hydrates the flour, allowing gluten to form and activating the enzymes and microbes in the starter. The amount of water used (hydration level) significantly impacts the dough's consistency and the final crumb structure. Higher hydration doughs (more water relative to flour) are stickier and harder to handle but can result in a more open crumb.
Salt is crucial for flavor, but it also plays a vital role in controlling the fermentation rate. Salt tightens the gluten network, providing structure, but it also slows down both yeast and bacterial activity. Adding salt too early or using too much can inhibit the starter's performance. Typically, salt is added after the initial mixing or autolyse phase. It also contributes to crust color and helps preserve the bread. Using good quality water, free from high levels of chlorine (which can inhibit the starter), is also recommended.
Troubleshooting Your Sourdough Bread: Common Issues and Solutions
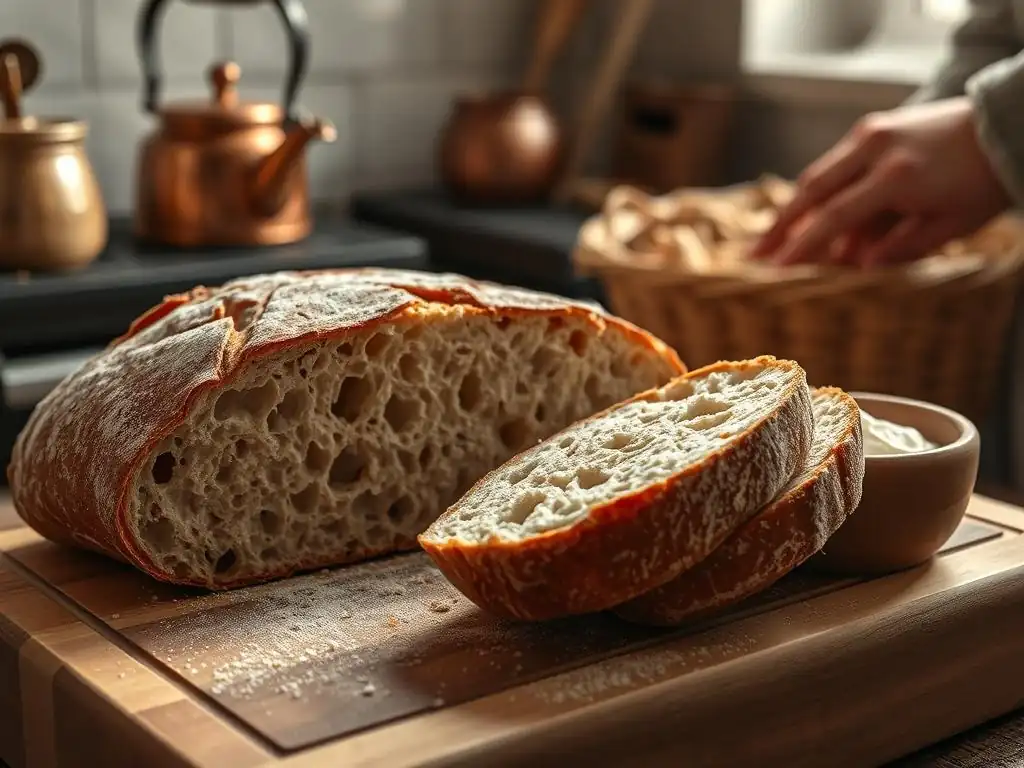
Baking sourdough can be a journey with occasional bumps in the road. Encountering issues like a dense crumb or a weak crust is common, even when following a Finnish rye bread recipe or a classic white loaf guide. Understanding the potential causes behind these problems is the first step to finding solutions and improving your baking skills. Patience and observation are key to troubleshooting.
Keeping a baking journal can be incredibly helpful. Note down your ingredients, timings, temperatures, and observations about the dough and the final loaf. This allows you to identify patterns and make informed adjustments in subsequent bakes. Don't be discouraged by less-than-perfect loaves; each bake is a learning opportunity.
My Sourdough is Too Dense: Troubleshooting Tips for a Lighter Loaf
A dense, heavy sourdough loaf is a common frustration. Several factors can contribute to this issue. One primary cause is an inactive starter. If your starter wasn't bubbly and active at its peak when you mixed the dough, it wouldn't produce enough gas to leaven the bread properly. Ensure your starter passes the float test consistently before baking.
Insufficient bulk fermentation or proofing can also result in a dense crumb. The dough needs enough time to develop gases. If your kitchen is cold, fermentation will be slower, requiring more time. Conversely, over-proofing can cause the dough to collapse, leading to a dense texture. Other culprits include insufficient gluten development (not enough stretching and folding or using low-protein flour) or handling the dough too roughly during shaping, which degasses it excessively. Ensure gentle handling and proper technique.
The Crust is Too Hard or Too Soft: Adjusting Baking Techniques
Achieving the perfect sourdough crust – thick, golden, and crackly – can be tricky. A crust that is too hard or tough often results from baking at too low a temperature or not using enough steam during the initial phase. High heat is needed for oven spring, and steam keeps the crust pliable allowing for maximum expansion before it sets. Ensure your oven is fully preheated and use a Dutch oven or create sufficient steam if baking on a stone.
Conversely, a crust that is too soft or pale might indicate insufficient baking time or temperature, particularly after the steam phase. Once the lid is removed (or steam is released), the temperature should be adequate to promote browning and drying of the crust. Sometimes, residual moisture in the oven or letting the loaf cool covered can also lead to a softer crust. Allowing the loaf to cool completely uncovered on a wire rack is essential for developing a crisp crust.
My Sourdough Starter Isn't Active Enough: Reviving and Strengthening
A sluggish or inactive sourdough starter is a common hurdle. This can happen if it hasn't been fed regularly, is too cold, or has an imbalance of yeast and bacteria. To revive a sleepy starter, try feeding it more frequently (every 12 hours) at room temperature. Use a consistent feeding ratio, like 1:1:1 (starter:water:flour by weight), and use warm water (around 75-80°F or 24-27°C) to encourage yeast activity.
Ensure you are discarding a significant portion before feeding (e.g., keeping only 20-50g and feeding that). This provides the microbes with plenty of fresh food. Using a mix of all-purpose and whole wheat or rye flour for feeding can also boost activity, as whole grain flours contain more nutrients and wild yeasts. Patience is key; it might take several consistent feedings over a few days to get your starter vigorous and ready for baking again.
Serving and Storing Your Homemade Sourdough Bread
Once your beautiful sourdough loaf has cooled completely (resist the urge to cut into it too early! ), it's ready to be enjoyed. The waiting is crucial, as the internal structure and flavor continue to develop as the bread cools. Sourdough is incredibly versatile and can be enjoyed in countless ways, from simple toast to the base of elaborate meals.
Proper storage is essential to maintain the freshness and texture of your homemade bread. Unlike commercial loaves with preservatives, sourdough will stale relatively quickly if not stored correctly. Finding the right balance between keeping the crust crisp and the interior soft is the goal.
Creative Ways to Enjoy Sourdough Bread
Sourdough bread's distinct tangy flavor and robust texture make it a perfect partner for a wide variety of foods. A simple slice toasted and spread with butter or olive oil is a classic for a reason. It forms an excellent base for open-faced sandwiches, bruschetta, or avocado toast. The tangy notes complement rich toppings beautifully.
Consider using slightly stale sourdough for croutons in salads, breadcrumbs for cooking, or for panzanella, an Italian bread salad. It also makes fantastic grilled cheese sandwiches, where the crust becomes extra crispy and the tang cuts through the richness of the cheese. Don't forget its potential in savory bread puddings or as an accompaniment to soups and stews, perfect for soaking up flavorful broths. Even a Finnish rye bread recipe adaptation using sourdough principles can be enjoyed with traditional toppings like butter, cheese, or smoked fish.
Proper Storage Techniques to Maintain Freshness and Flavor
To keep your sourdough bread fresh for as long as possible, avoid refrigerating it, as this can actually accelerate staling. The best method for short-term storage (1-2 days) is to store the loaf cut-side down on a cutting board or in a paper bag. This helps maintain the crust's crispness while protecting the cut surface.
For longer storage, wrapping the cooled loaf tightly in plastic wrap or beeswax wrap, or placing it in a bread bin or a reusable bread bag, will keep the interior softer, though the crust may soften slightly. For storage beyond a few days, freezing is the best option. Slice the cooled loaf first, then wrap the slices tightly in plastic wrap or foil and place them in a freezer bag. Frozen sourdough can be toasted directly from the freezer, providing fresh-tasting bread whenever you like.
Variations and Experimentation with Your Sourdough Bread
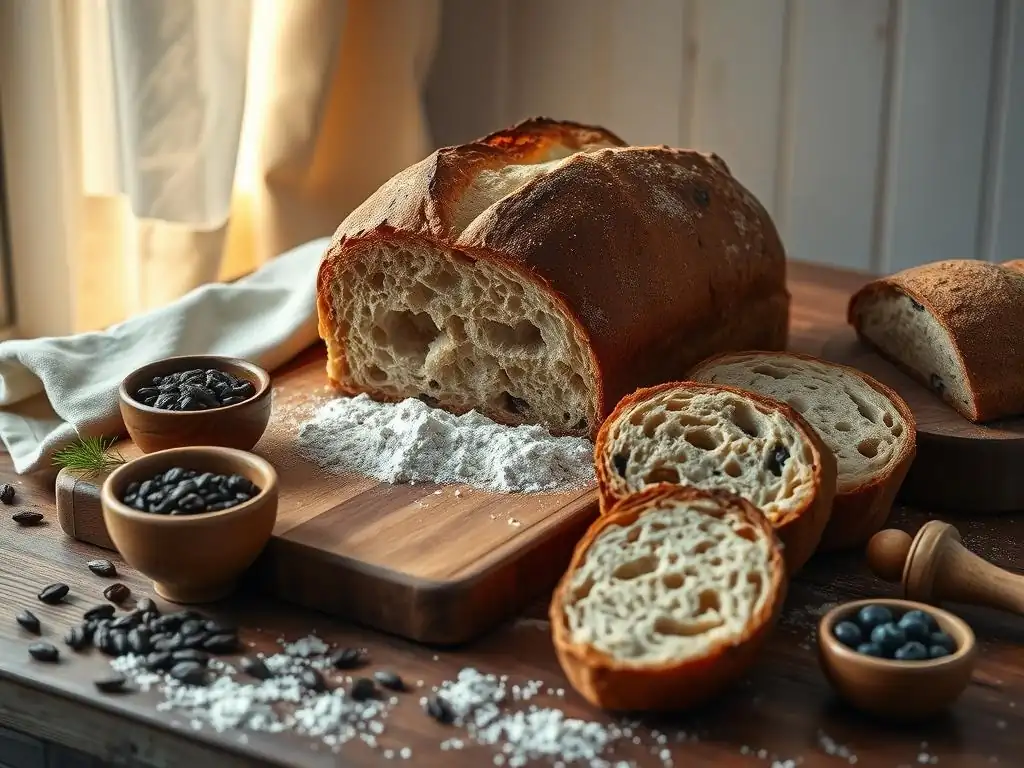
Once you've mastered a basic sourdough bread recipe, the world of variations opens up. Sourdough is incredibly adaptable, allowing you to experiment with different flours, hydration levels, fermentation times, and additions to create loaves with unique flavors, textures, and appearances. This experimentation is a rewarding part of the sourdough journey.
Don't be afraid to step beyond the classic white loaf. Incorporating whole grains, seeds, herbs, or even fruits can lead to exciting new bread experiences. Adjusting the fermentation process, such as increasing the cold proofing time, can also dramatically impact the flavor profile.
Adding Grains, Seeds, and Herbs for Unique Flavor Profiles
Adding whole grains, seeds, or herbs is a popular way to enhance the flavor and texture of sourdough bread. Cooked grains like quinoa, farro, or wheat berries can be folded into the dough during mixing or during the stretch and fold phase, adding chewiness and nutrition. Seeds such as sesame, poppy, flax, or sunflower can be mixed into the dough or used to coat the exterior before baking, providing crunch and nutty flavors.
Fresh or dried herbs like rosemary, thyme, or dill, along with additions like roasted garlic, olives, or cheese, can transform a basic loaf into a savory masterpiece. For a touch of sweetness, dried fruits like cranberries or raisins can be incorporated, often paired with warming spices like cinnamon. When adding inclusions, consider their weight and how they might affect the dough's hydration and structure, making small adjustments as needed.
Exploring Different Flour Blends for Texture and Taste
Experimenting with different flour blends is a fundamental way to vary your sourdough bread. While a basic recipe might call for 100% bread flour, substituting a percentage with other flours can significantly alter the crumb, crust, and flavor. Adding whole wheat flour, for example, introduces nutty notes and a denser texture, while using a portion of rye flour, as in a Finnish rye bread recipe, contributes a distinctive tangy and earthy flavor and a tighter crumb.
Ancient grains like spelt, Kamut, or Einkorn offer unique flavors and nutritional profiles, though they often behave differently than modern wheat and may require adjustments to hydration and handling. Non-wheat flours like buckwheat or oat flour can be used in smaller percentages to add flavor and tenderness. Blending flours allows you to tailor the bread's characteristics to your preference, exploring a vast world of possibilities within the sourdough framework.
More Bread Baking Techniques to Explore
[Link to another article on BakeWithEase.com about bread baking techniques]
Frequently Asked Questions
What makes Finnish rye bread (Reikäleipä) unique?
Finnish rye bread, or Reikäleipä, is unique due to its dense texture and the distinctive hole in the center. This hole was traditionally used for storing the bread on poles.
What ingredients are essential for a traditional Finnish rye bread recipe?
The essential ingredients are rye flour, water, salt, and often a starter culture or sourdough. Some recipes may include molasses for a slightly sweeter flavor.
Is it difficult to bake Finnish rye bread at home, especially for beginners?
Baking Reikäleipä can be challenging, but BakeWithEase.com offers simple recipes and step-by-step guides specifically designed for bakers of all levels, including beginners.
How long does it typically take to bake a loaf of Finnish rye bread?
The baking process can be lengthy, often involving a long fermentation period (several hours or overnight) and a baking time that can range from 45 minutes to over an hour, depending on the recipe and oven.
What are some suggested toppings or accompaniments for Finnish rye bread?
Reikäleipä is delicious on its own, but it pairs well with butter, cheese, smoked fish, or pickled herring. It also makes a great base for open-faced sandwiches.
Final Reflection: The Enduring Legacy of Reikäleipä
The simple act of baking Finnish rye bread, or reikäleipä, transcends mere culinary practice; it's a connection to history, culture, and a deeply satisfying experience. This exploration into the secrets of its creation reveals not just a recipe, but a window into the heart of Finnish identity, a tradition that continues to nourish and inspire generations. The enduring popularity of this bread, evident in its continued presence on tables across Finland and its growing international appeal, speaks volumes about its timeless quality.
The journey through the nuances of sourdough starters, the precise ratios of rye flours, and the slow, patient fermentation process has been a deeply personal one. It's highlighted the importance of respecting tradition while embracing innovation in the kitchen. The best things in life are simple,
a Finnish proverb aptly states, and this rings true for the humble yet profoundly flavorful reikäleipä. The process itself is a meditation, a connection to the earth and the slow rhythms of nature, a stark contrast to the frenetic pace of modern life.
Now, I invite you to embark on your own reikäleipä adventure. Don't be intimidated by the seemingly complex process; embrace the challenge, savor the journey, and allow the rich aroma and satisfying taste to transport you to the heart of Finland. The reward is not just a delicious loaf of bread, but a deeper understanding of a culture and a connection to something ancient and enduring. Let the secrets of reikäleipä inspire you to slow down, appreciate the simple things, and find joy in the process of creation.
Unleash Your Inner Baker: Make Your Own Reikäleipä!
Thanks for taking the time to explore the fascinating world of Finnish rye bread! We hope you now feel confident and inspired to tackle this delicious, traditional loaf. Ready to get baking?
- Bake your own Reikäleipä: Use the recipe and tips from the article as your guide and start creating your own masterpiece. Don't be afraid to experiment with different additions!
- Share your baking journey: Snap a photo of your finished loaf and share it on social media using #BakeWithEaseReikäleipä – we'd love to see your creations!
- Dive deeper into Finnish baking: Explore our other recipes featuring traditional Finnish treats, or even suggest your favorite Finnish bread for our next article!
What unique twist will you add to your first Reikäleipä? Let us know in the comments!