
Dense Bottom Crust? Troubleshooting Oven Issues

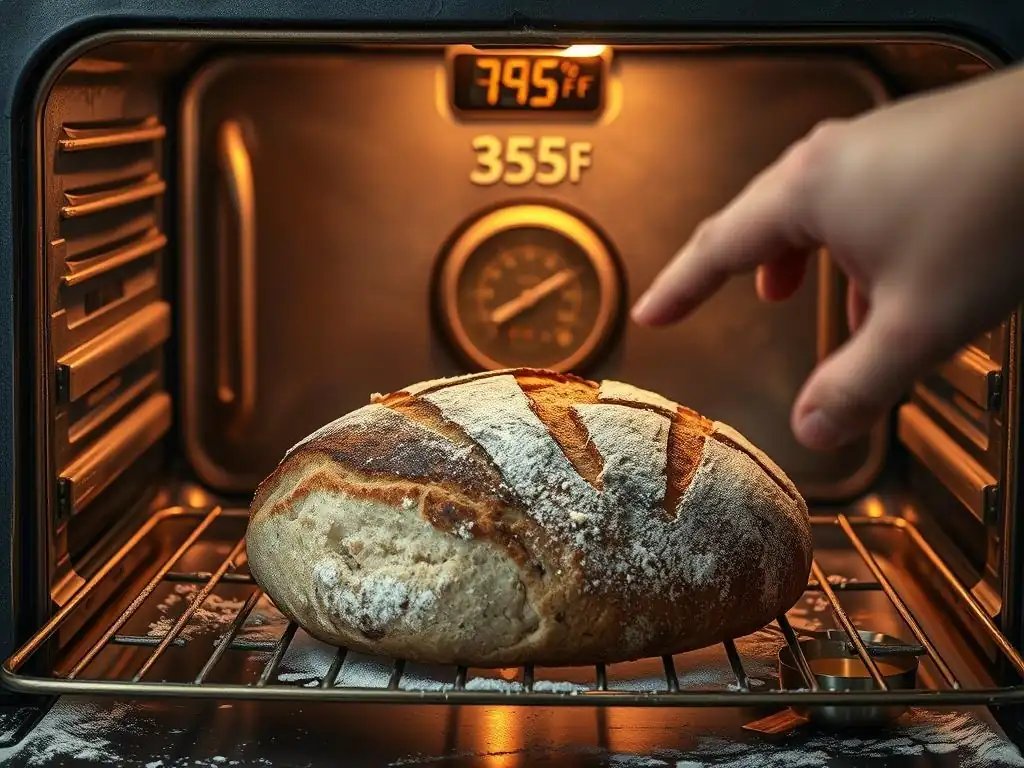
Welcome to BakeWithEase, your haven for all things baking! Ever wondered why your perfectly crafted loaf emerges from the oven with a disappointingly dense bottom crust? Unlocking the secrets to even baking starts with mastering your oven. Dive into our comprehensive guide on Oven Temperature Inconsistent Baking Crust and discover the simple solutions to transform your baking journey. Let's conquer those crust conundrums together!
- Dense Bottom Crust? Troubleshooting Oven Issues for Perfect Baking
- Understanding the Dense Bottom Crust Problem in Bread Baking
- Troubleshooting Inconsistent Oven Temperature: A Baker's Guide
- Addressing Common Causes of Dense Bottom Crust: Solutions & Techniques
- Mastering Baking Techniques for Even Crust Development
- The Role of Oven Elements in Crust Formation
- Advanced Techniques for Fixing Dense Bottom Crusts
- Maintaining Your Oven for Optimal Baking Performance
- Frequently Asked Questions
- Final Reflection: The Quest for the Perfect Crust: A Baker's Journey
- Unleash Your Inner Baker: Perfect Crusts Await!
Dense Bottom Crust? Troubleshooting Oven Issues for Perfect Baking
Understanding the Dense Bottom Crust Problem in Bread Baking
A dense, tough, or overly hard bottom crust is a common frustration for home bakers. While the top and sides of your loaf might look beautiful and golden, the base can be stubbornly chewy, pale, or just plain hard to cut through. This issue isn't just about aesthetics; it affects the overall texture and enjoyment of your bread. It often points to uneven heat distribution or inconsistent oven temperature, which is crucial for a well-developed crust.
Identifying this problem early is key to correcting it. A perfect bread crust should be relatively uniform in texture and color all around the loaf, offering a satisfying crispness or chewiness depending on the bread type. When the bottom is significantly different – harder, denser, less colored – it's a clear sign that heat isn't reaching or being applied to the bottom of the loaf in the same way it is elsewhere, highlighting a potential oven temperature inconsistency problem.
Identifying a Dense Bottom Crust: What to Look For
When your bread comes out of the oven, examine the bottom surface. A dense bottom crust often appears paler than the rest of the loaf, lacking the rich golden-brown color you see on the top. It might feel unusually hard or thick when you tap it. Upon cutting, you'll notice that the crumb directly above the bottom crust is compressed or doughy, lacking the airy structure found in the rest of the loaf.
- Visual Check: Is the bottom significantly lighter or darker than the top crust? A dense bottom is often lighter.
- Tactile Check: Does the bottom feel unusually hard or thick compared to the sides?
- Sound Check: Does tapping the bottom produce a dull thud rather than a hollow sound (for crusty breads)?
- Cutting Check: Is it difficult to slice through the bottom crust? Is the crumb above it compressed or gummy?
Beyond the visual and tactile signs, a dense bottom crust impacts the eating experience. Instead of a pleasant bite through a uniform crust and into a tender crumb, you encounter resistance at the bottom. This often results from the bottom surface not reaching the optimal temperature needed for proper crust formation and moisture evaporation during the bake, often linked directly to oven temperature inconsistent baking crust issues.
Why is My Bread Crust So Dense at the Bottom? Common Causes
Several factors can contribute to a dense bottom crust, but many trace back to how heat interacts with the bottom of your baking vessel and the dough itself. A primary culprit is often heat being too high or too low at the bottom relative to the rest of the oven, creating an oven temperature inconsistent baking crust. This can prevent the bottom from developing properly while the top bakes as expected.
One common cause is the rack position being too low in the oven, placing the bottom of your pan too close to the lower heating element. This can lead to excessive heat on the bottom, paradoxically resulting in a tough, dense crust rather than a crisp one, or conversely, insufficient heat if the element cycles off too quickly.
Another factor is the baking surface itself – a thin metal pan on a cold oven rack won't retain and radiate heat effectively to the bottom of the loaf, especially if the oven temperature is inconsistent across different areas. Insufficient preheating or overcrowding the oven, which restricts airflow and heat circulation, can also exacerbate the problem, preventing the bottom from receiving adequate, consistent heat.
Troubleshooting Inconsistent Oven Temperature: A Baker's Guide
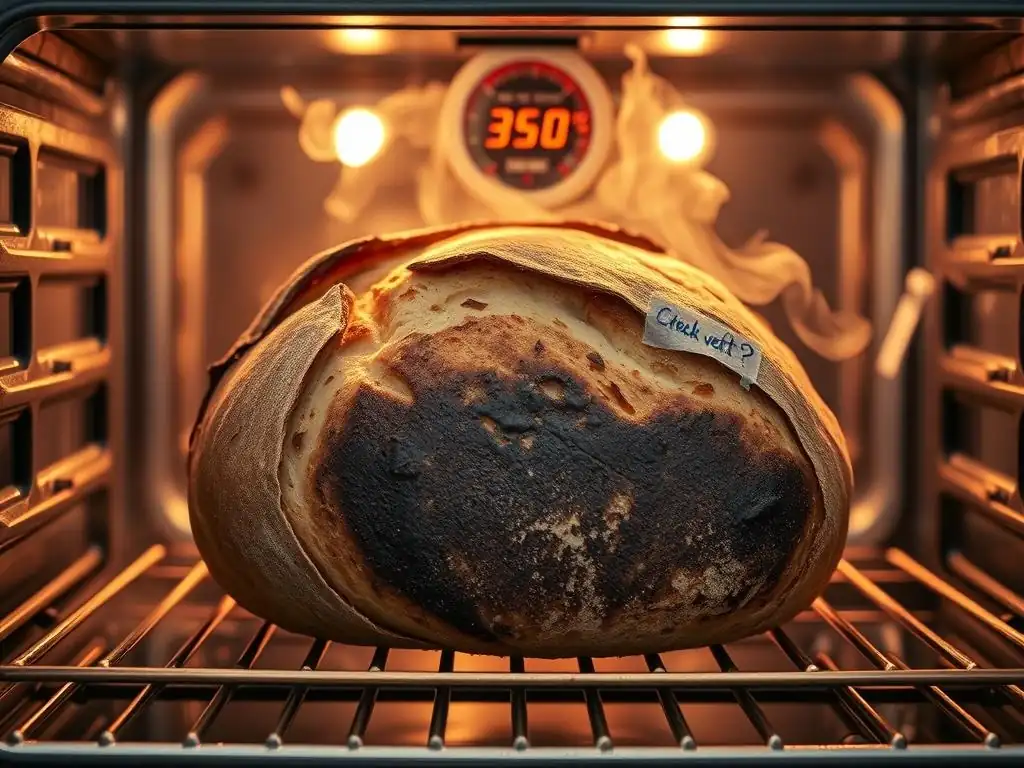
An oven temperature inconsistent baking crust is a frequent source of baking woes. Your oven's thermostat might indicate one temperature, but the actual temperature inside can fluctuate significantly, or vary from one spot to another. These inconsistencies directly impact how your bread bakes, particularly affecting the bottom crust which relies on consistent heat from beneath. Understanding and addressing these variations is fundamental to achieving uniform results.
Troubleshooting begins with verifying what's actually happening inside your oven. Don't rely solely on the oven's built-in display. Even relatively new ovens can have temperature swings of 25-50°F (approx. 14-28°C) around the set point. Older ovens or those with dirty sensors might be even less accurate. Identifying if your actual oven temperature is inconsistent is the first critical step in diagnosing the dense bottom crust issue.
Is Your Oven Really at the Set Temperature? Calibrating Your Oven
The most straightforward way to check your oven's accuracy is with a reliable oven thermometer. Place it near the center of the oven cavity, away from the walls or heating elements. Preheat your oven to a standard baking temperature, like 350°F (175°C), and let it stabilize for at least 20-30 minutes after the preheat indicator turns off. Then, check the thermometer reading. Compare this to your oven's display. Repeat this process at a higher temperature, like 425°F (220°C), relevant for bread baking.
If your oven consistently reads higher or lower than the set temperature by more than 15-20°F (approx. 8-11°C), it may need calibration. Many modern ovens have a calibration setting you can adjust in the menu.
Consult your oven's manual for specific instructions. If it's an older model without this feature, or if the discrepancy is significant, you might need to adjust your baking temperatures accordingly – for example, if your oven runs 25°F hot, set it to 325°F when a recipe calls for 350°F. This manual adjustment is a workaround for an oven temperature inconsistent baking crust problem stemming from overall inaccuracy.
Checking for Hot Spots: Identifying Uneven Heat Distribution
Beyond overall inaccuracy, ovens often have hot spots – areas that are consistently hotter or cooler than the rest of the oven. This uneven heat distribution is a major contributor to an oven temperature inconsistent baking crust and uneven browning across your loaf. Identifying these spots helps you decide where to place your bread or if you need to rotate it during baking.
A simple way to test for hot spots is the "toast test." Arrange slices of plain white bread on a large baking sheet, covering as much of the oven rack surface as possible. Place the sheet on the middle rack. Bake at around 350°F (175°C) for 10-15 minutes, or until the bread is toasted. Observe the browning pattern on the toast slices. Darker areas indicate hot spots, while lighter areas are cooler spots. This visual map reveals where your oven temperature is inconsistent and how it might affect your baking crust.
The Importance of an Oven Thermometer for Consistent Baking
An inexpensive oven thermometer is arguably the most valuable tool a baker can own, especially when dealing with an oven temperature inconsistent baking crust. Relying solely on the oven's built-in thermostat is often misleading, as these can be inaccurate due to age, dirt, or manufacturing tolerances. An external thermometer provides a real-time, independent reading of the actual air temperature inside the oven cavity.
Using an oven thermometer helps you understand the true temperature your bread is baking at and reveals temperature swings during the baking cycle. By monitoring the thermometer, you can confirm if your oven has reached the correct temperature after preheating and adjust baking times or temperatures based on its readings rather than the oven's display. This empirical data empowers you to compensate for your oven's quirks, directly addressing the root cause of an oven temperature inconsistent baking crust.
Addressing Common Causes of Dense Bottom Crust: Solutions & Techniques
Once you've investigated your oven's temperature consistency, you can target specific issues contributing to a dense bottom crust. Often, it's a combination of factors related to how heat reaches the bottom of your bread. Simple adjustments to your baking setup and technique can make a significant difference in achieving a uniformly baked loaf, even if your oven temperature is slightly inconsistent.
Focusing on managing the heat that reaches the bottom of your pan or loaf is key. This involves considering your oven's heating elements, the type of bakeware you're using, and the placement of your bread within the oven. Implementing these solutions can help mitigate the impact of an oven temperature inconsistent baking crust on your loaf's base.
Bottom Heat Too High: Adjusting Rack Position and Baking Sheets
If your oven's lower element is powerful or cycles on frequently, the bottom of your bread can be exposed to excessive direct heat, leading to a tough or overly dark crust. Placing your baking rack too low exacerbates this problem. Try moving your rack up one level, away from the direct radiant heat of the bottom element.
Additionally, the type of baking sheet or pan you use under your bread can act as insulation or heat conductors. Dark metal pans absorb and radiate heat more intensely than lighter aluminum ones. If you suspect the bottom is getting too much heat, try placing a lighter-colored baking sheet on the rack below your bread as a heat shield. This helps deflect some of the direct heat from the bottom element, preventing the bottom crust from becoming dense or burnt due to localized oven temperature inconsistent baking crust.
Insufficient Airflow: Proper Pan Placement and Oven Overcrowding
Good airflow is essential for even heat distribution around your bread, allowing the crust to develop uniformly. Poor airflow, often caused by overcrowding the oven or improper pan placement, can lead to cooler spots, particularly towards the bottom or sides, resulting in a dense bottom crust.
Ensure there is adequate space between your baking pans and the oven walls, as well as between multiple pans if you're baking more than one loaf. Avoid placing pans directly against the back wall where vents might be located. If baking multiple items, consider staggering them on different racks. Overcrowding traps steam and blocks the circulation of hot air, preventing the bottom of your bread from drying out and crisping properly. Proper spacing helps combat the effects of an oven temperature inconsistent baking crust by allowing heat to circulate more effectively.
Dough Hydration Levels and Their Impact on Crust Density
While oven issues are a major factor, the dough itself plays a role in crust development. The hydration level (the ratio of water to flour) of your dough affects the internal temperature it reaches and how steam is released during baking. A dough that is too low in hydration might result in a thicker, denser crust overall, including the bottom.
Conversely, a very high hydration dough (like ciabatta) releases a lot of steam, which can help keep the crust soft initially before it crisps. However, if the oven temperature is inconsistent, especially at the bottom, this steam might not dissipate effectively from the base, leading to a gummy or dense bottom layer. Understanding your dough's hydration and how it interacts with your oven's specific heating characteristics is important. Adjusting hydration slightly in future bakes, alongside oven troubleshooting, can help fine-tune your crust results, especially when battling an oven temperature inconsistent baking crust.
Mastering Baking Techniques for Even Crust Development
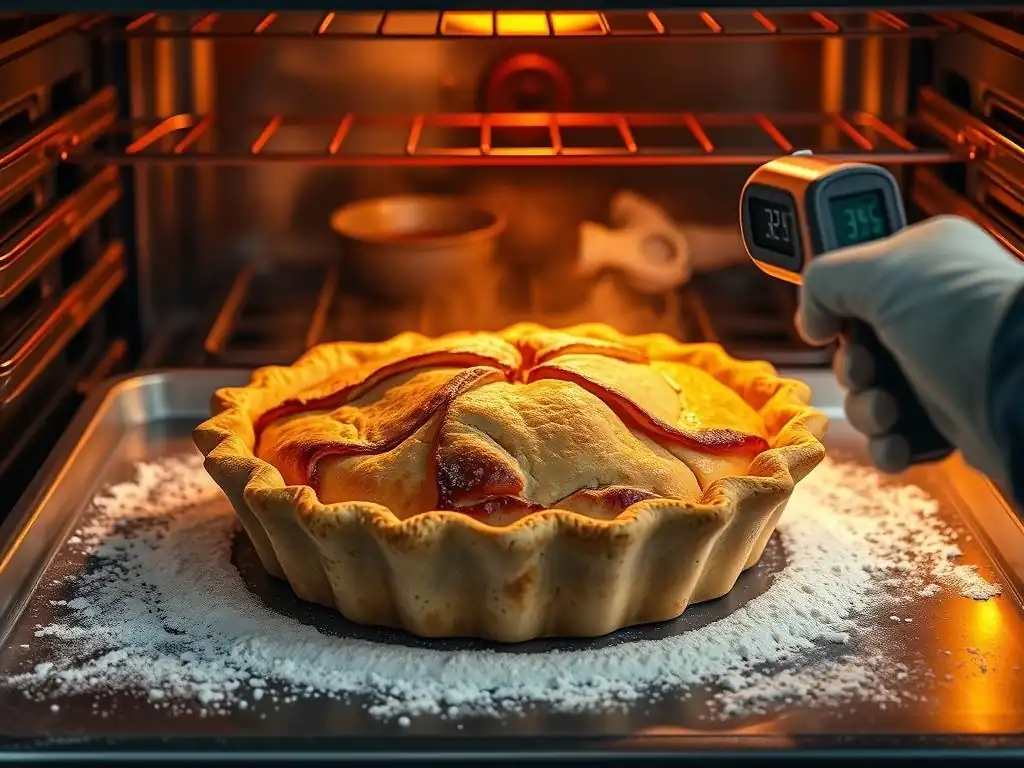
Achieving a perfect, evenly baked crust requires more than just setting the temperature; it involves employing specific techniques that optimize how heat interacts with your dough. These techniques help ensure that all parts of the loaf, including the often-problematic bottom, receive consistent and adequate heat, mitigating the effects of an oven temperature inconsistent baking crust.
From the moment you turn on your oven to the instant you remove the finished loaf, every step influences the final crust. Implementing practices like thorough preheating and utilizing specific baking surfaces can dramatically improve the outcome, transforming a potentially dense bottom into a crisp, desirable part of your bread.
The Importance of Preheating Your Oven Properly
Proper preheating is non-negotiable for good bread baking and crucial for preventing a dense bottom crust. Your oven needs ample time to reach the set temperature and, more importantly, for the heat to saturate the oven walls, racks, and any baking stones or steels you are using. Simply waiting for the preheat light or chime is often not enough, especially for high-temperature bread baking.
For most bread, preheat your oven for at least 30-60 minutes after it indicates it has reached the target temperature. Use your oven thermometer to confirm the internal air temperature is stable. This prolonged preheating ensures that radiant heat is readily available from all surfaces, providing consistent energy to your loaf from the moment it enters the oven. Insufficient preheating means the oven struggles to recover temperature when the cooler dough is introduced, often resulting in a slow start to baking, particularly affecting the bottom crust when your oven temperature is inconsistent.
Baking Stones and Dutch Ovens: Enhancing Bottom Crust Crispness
Baking stones (like pizza stones) and Dutch ovens are excellent tools for achieving a well-developed bottom crust. A preheated baking stone placed on a lower rack provides a very hot, stable surface for the bread to bake on. This direct contact with intense heat immediately initiates crust formation on the bottom, promoting rapid oven spring and preventing a dense base.
Similarly, baking bread in a preheated Dutch oven offers radiant heat from all sides, including the bottom. The heavy cast iron retains and distributes heat exceptionally well. Starting the bake with the lid on traps steam, which is great for overall crust development, but the intense heat from the preheated base ensures the bottom crust starts forming robustly from the beginning. Both methods help counteract the negative effects of an oven temperature inconsistent baking crust by providing a stable, powerful heat source directly to the bottom of the loaf.
Baking Bread on a Pizza Stone: A Detailed Guide
Baking bread directly on a preheated pizza stone is a fantastic way to ensure a crisp, well-formed bottom crust. The stone absorbs and retains heat efficiently, transferring it directly to the base of your loaf. This method is particularly effective for freeform loaves like boules or batards.
- Place the stone: Position your pizza stone on the middle or lower-middle rack in your oven before turning it on.
- Preheat thoroughly: Preheat your oven to the desired temperature (often 450-500°F or 230-260°C for many artisan breads) for at least 45-60 minutes. The stone needs this time to get scorching hot.
- Transfer the dough: Carefully transfer your proofed dough onto a peel dusted with cornmeal or parchment paper. If using parchment, the dough and paper go directly onto the hot stone. If using a peel, slide the dough off the peel directly onto the stone.
- Bake: Bake according to your recipe. The intense heat from the stone will quickly set the bottom crust, promoting oven spring and preventing a dense bottom, even if your oven temperature is inconsistent elsewhere in the cavity.
Using a pizza stone helps isolate the heat source for the bottom crust, making its development less reliant on the overall, potentially uneven, ambient oven temperature.
The Role of Oven Elements in Crust Formation
Understanding how your oven's heating elements work is fundamental to troubleshooting baking issues like a dense bottom crust. Most conventional ovens have a heating element at the bottom and often a broiler (top element) at the top. Convection ovens add a fan that circulates air heated by elements (sometimes hidden). The interplay of these elements determines how heat is delivered to your bread, directly impacting crust development.
If the bottom element is faulty, weak, or cycles improperly, it can lead to insufficient heat reaching the bottom of your loaf, resulting in a dense, pale, and underdeveloped crust. Conversely, an overactive bottom element can cause burning or excessive toughness. Diagnosing issues with these elements is critical for addressing an oven temperature inconsistent baking crust problem.
Understanding Top and Bottom Oven Elements
In a standard electric oven, the bottom element is primarily responsible for heating the oven cavity and providing radiant heat from below. The top element (broiler) is generally used for finishing or browning the top surface at the end of baking, or for broiling. During the main baking cycle, the oven cycles between the bottom and sometimes the top element (at a lower intensity) to maintain the set temperature.
The bottom element's health and function are paramount for the bottom crust. If it's not heating sufficiently or consistently, the bottom of your bread won't receive the necessary energy to convert starches to sugars and develop color and crispness. This lack of consistent heat from below is a direct cause of an oven temperature inconsistent baking crust that results in a dense base.
Troubleshooting Heating Element Issues: Replacing a Faulty Bottom Element
If you suspect your bottom heating element is the problem – perhaps it visibly doesn't glow red, or your oven thermometer indicates significantly lower temperatures at the bottom rack compared to the middle – it might be faulty. Before assuming it needs replacement, ensure the oven is properly plugged in and the circuit breaker hasn't tripped.
If the element is clearly not heating, or heating unevenly, it likely needs to be replaced. This is often a repair that can be done by a handy individual, but always consult your oven's manual and ensure the power is turned off at the breaker before attempting any work. A properly functioning bottom element is essential for providing the consistent heat needed for a good bottom crust, helping to resolve issues related to an oven temperature inconsistent baking crust.
Oven Fan Settings: Convection vs. Conventional Baking for Crust Control
Many ovens offer both conventional and convection baking modes. Conventional baking relies on radiant heat from the elements and natural air circulation. Convection baking uses a fan to circulate heated air throughout the oven cavity. This forced air movement generally results in faster, more even baking and can promote better crust development.
For bread, convection can be beneficial as it helps distribute heat more uniformly, potentially reducing hot spots and ensuring the bottom receives adequate heat. However, the increased airflow can also lead to a thicker crust overall and may require adjusting baking temperature (often reducing it by 25°F or 15°C) and time.
Experimenting with both modes can help you determine which works best in your specific oven for achieving an even crust and combating an oven temperature inconsistent baking crust. If your bottom crust is consistently dense in conventional mode, try convection (if available) to see if the improved airflow helps.
Advanced Techniques for Fixing Dense Bottom Crusts
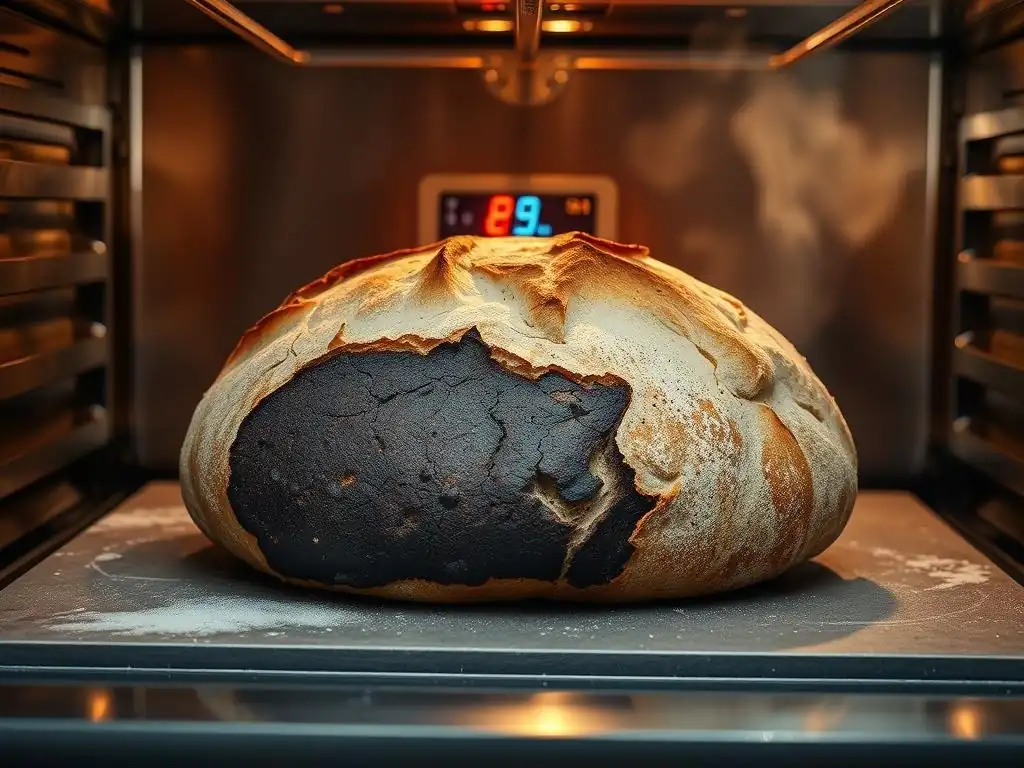
Sometimes, the basic troubleshooting steps aren't quite enough, or you might be dealing with a particularly stubborn oven or bread type. In such cases, more advanced techniques might be necessary to protect the bottom of your loaf from excessive or insufficient heat and ensure uniform crust development, even when facing an oven temperature inconsistent baking crust.
These techniques involve manipulating heat distribution within the oven using thermal barriers or adjusting the baking process based on specific dough characteristics. They require a bit more attention and experimentation but can be highly effective in solving persistent dense bottom crust issues.
Using a Baking Sheet as a Heat Shield: Protecting the Bottom Crust
As mentioned earlier, placing an empty baking sheet on the rack below your bread can act as a heat shield, particularly useful if your bottom element is very powerful or cycles on frequently. This technique is especially effective when using a baking stone or steel, which provides intense heat from below. The air gap between the shield and your baking surface, plus the metal of the sheet itself, helps block some of the direct radiant heat from the lower element.
Choose a light-colored, standard aluminum baking sheet for this purpose, as dark sheets will absorb and re-radiate more heat. Place it on the rack one level below where your bread is baking. This simple barrier can significantly reduce the intensity of heat reaching the bottom of your pan or stone, allowing the bottom crust to bake more gently and preventing it from becoming overly hard or burnt due to an oven temperature inconsistent baking crust.
Adjusting Baking Times and Temperatures for Specific Bread Types
Different bread types require different baking profiles. A lean artisan loaf might bake at a high temperature (450-500°F) for a shorter time, while an enriched brioche might bake at a lower temperature (350-375°F) for longer. If you're consistently getting a dense bottom crust with a specific recipe, consider adjusting the temperature or timing towards the end of the bake.
If the top and sides are perfect but the bottom is lagging or getting too dark/dense, you might need to adjust. For a pale, dense bottom, perhaps increase the temperature slightly towards the end, or bake for a few extra minutes directly on a hot surface. For an overly dark/dense bottom, lower the temperature slightly or remove the bread from its pan for the final 10-15 minutes of baking to allow air to circulate around the bottom. These micro-adjustments can help compensate for an oven temperature inconsistent baking crust.
Experimenting with Different Dough Formulas: Reducing Rye Flour Content
Sometimes, the issue isn't solely the oven but how certain flour types behave. Rye flour, for example, contains pentosans that retain a lot of moisture. High-rye loaves can sometimes develop a gummy layer above the bottom crust, which can be perceived as density. While not a direct oven fix, adjusting your dough formula can sometimes alleviate symptoms that appear similar to an oven-induced dense bottom crust.
If you frequently bake high-rye breads and experience this issue, try reducing the percentage of rye slightly or adjusting the hydration. Similarly, very wet doughs require robust heat and steam management in the oven. While you troubleshoot your oven temperature inconsistencies, consider if your dough formula might be contributing to the problem, especially in conjunction with an oven temperature inconsistent baking crust.
Maintaining Your Oven for Optimal Baking Performance
Regular oven maintenance is crucial for consistent baking performance and can help prevent issues like an oven temperature inconsistent baking crust and the resulting dense bottom crust. A clean, well-sealed oven operates more efficiently and maintains temperature more accurately. Neglecting maintenance can lead to performance degradation over time, making consistent baking more challenging.
Simple cleaning routines and periodic checks of key components can ensure your oven continues to provide the stable, even heat needed for perfect bread crusts. Think of it as tuning your instrument before a performance – a well-maintained oven is key to a successful bake.
Regular Oven Cleaning: Removing Grease and Food Debris
Spills, grease, and burnt-on food debris inside your oven don't just look unsightly; they can absorb heat, smoke, and even interfere with the heating elements or temperature sensor. A buildup on the oven floor, especially near the bottom element, can create cool spots or cause uneven heating, contributing to an oven temperature inconsistent baking crust.
Make a habit of cleaning your oven regularly, following the manufacturer's instructions. For light messes, a simple wipe-down after the oven has cooled can suffice. For heavier buildup, utilize your oven's self-cleaning function (if it has one and you are comfortable using it) or use dedicated oven cleaners, ensuring you ventilate properly. A clean oven is a happier, more consistent oven.
Checking Oven Door Seals: Preventing Heat Loss
The rubber or silicone seal around your oven door is vital for maintaining a consistent internal temperature. If the seal is damaged, brittle, or cracked, heat can escape, and cool air can enter the oven cavity. This heat loss directly impacts temperature stability, potentially creating cooler zones, particularly near the door and bottom, leading to an oven temperature inconsistent baking crust.
Periodically inspect your oven door seal. It should be pliable and form a continuous barrier when the door is closed. If you notice gaps or damage, the seal likely needs to be replaced. A simple test is to close the oven door on a piece of paper; if you can easily pull the paper out, the seal might be weak in that spot. Replacing a worn seal is a relatively inexpensive fix that can significantly improve oven performance and help eliminate dense bottom crusts.
Professional Oven Servicing: When to Call an Expert
While many troubleshooting steps can be performed by the home baker, some issues require professional attention. If your oven is significantly inaccurate despite calibration attempts, if a heating element isn't working, if the control panel is malfunctioning, or if you suspect issues with the thermostat or sensor, it's time to call a qualified appliance technician.
Attempting complex repairs yourself can be dangerous and may cause further damage. An expert can accurately diagnose underlying problems, such as a failing thermostat or control board, which might be the root cause of a severe oven temperature inconsistent baking crust. Investing in professional servicing can restore your oven to optimal performance, ensuring consistent and successful baking results for years to come.
Frequently Asked Questions
Why is my bottom crust so dense and hard when I bake?
A dense bottom crust often indicates uneven heat distribution in your oven. This can be caused by inaccurate temperature settings or the oven's inability to maintain a consistent temperature.
How can I check if my oven temperature is accurate?
Use an oven thermometer to monitor the internal temperature while baking. Compare the thermometer reading to your oven's set temperature. If they differ significantly, your oven may need calibration.
What does it mean if my oven cycles on and off frequently?
Frequent cycling can indicate that your oven is struggling to maintain a stable temperature, potentially leading to inconsistent baking and a dense bottom crust.
Are there any oven settings that can help with a dense bottom crust?
Experiment with placing your baking sheet on a higher rack in the oven. You can also try using a baking stone or preheating your baking sheet to help distribute heat more evenly.
Could my baking pan be contributing to the problem?
Dark-colored pans absorb more heat, which can lead to a faster-cooking bottom crust. Consider using a lighter-colored pan or reducing the oven temperature slightly and increasing baking time.
Final Reflection: The Quest for the Perfect Crust: A Baker's Journey
Inconsistent oven temperatures are not just a minor inconvenience; they're a significant hurdle for anyone striving for baking perfection. A flawlessly browned crust, a tender crumb – these are the hallmarks of a truly successful bake, and achieving them consistently requires understanding the often-unseen forces at play within our ovens. This article has explored the common culprits behind uneven heating and offered practical solutions to reclaim control over your baking environment.
The pursuit of the perfect crust is a journey that reflects our own desire for mastery and precision. It's a testament to the enduring power of simple ingredients transformed by heat and care. The frustration of a poorly baked crust, however, can be a powerful teacher, pushing us to understand the nuances of our equipment and the science behind our recipes. The best bakers are those who understand not only the recipe, but also the oven's personality.
– A hypothetical quote from a renowned baker This understanding, gained through troubleshooting and experimentation, is what elevates baking from a task to a true craft.
Now, consider your own oven. Have you identified its quirks? Are you ready to take control and conquer those inconsistent temperatures? I encourage you to take the knowledge gained from this article and apply it to your next baking project. Don't be discouraged by setbacks; embrace the learning process, and with patience and persistence, you'll be well on your way to achieving that perfectly golden, flawlessly crisp crust you've always dreamed of. The journey to baking mastery begins with understanding your oven – and now, you have the tools to begin.
Unleash Your Inner Baker: Perfect Crusts Await!
Thanks for taking the time to explore the mysteries of dense bottom crusts! We hope you now feel equipped to tackle those baking challenges head-on. Ready to put your new knowledge into practice?
- Bake a test loaf: Use your favorite recipe, but this time, pay close attention to the oven temperature and baking time adjustments we discussed. Note the results! This is the key to perfecting your technique.
- Share your baking triumph (or challenge!): Post a picture of your results on social media and tag us—we’d love to see your creations and hear about your baking journey.
- Experiment with different baking sheets: Try a new pan material or a different type of baking sheet to see if that makes a difference in your crust's texture.
What small adjustment will you make in your next baking session to achieve that perfectly crisp bottom crust?