
Using Parchment Paper: A Beginner Baker's Best Friend

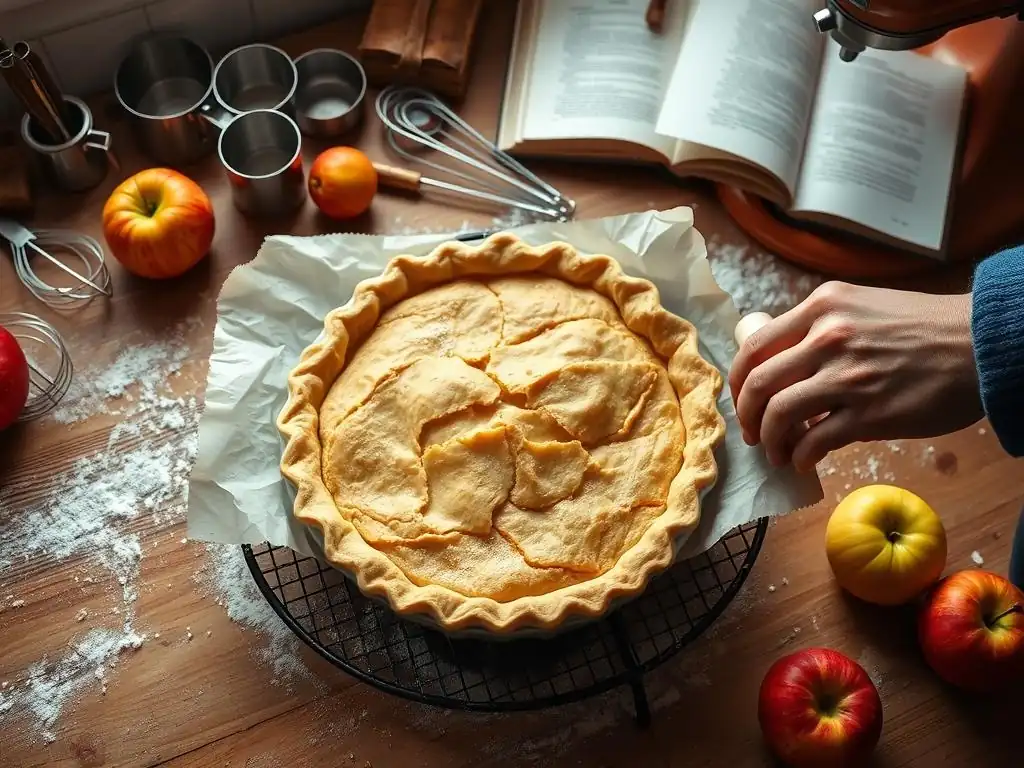
Welcome to BakeWithEase, your companion on the delicious journey of baking! Ever wondered how to achieve perfectly baked goods without the mess and frustration? This article dives into parchment paper baking tips, the secret weapon for beginner bakers. Discover how this simple tool can elevate your creations and make your baking experience smoother and more rewarding. Intrigued? Let's unlock the secrets to effortless baking!
- Mastering Parchment Paper: A Baker's Essential
- Introduction to Parchment Paper in Baking
- Preparing Parchment Paper for Baking
- Parchment Paper Tips for Various Recipes
- Advanced Parchment Paper Techniques
- Troubleshooting Parchment Paper Issues
- Parchment Paper Alternatives
- Storing Parchment Paper
- Conclusion: Streamlining Baking with Parchment
- Frequently Asked Questions
- Final Reflection: The Unexpected Power of Parchment Paper
- Unleash Your Inner Baker: Time to Get Baking!
Mastering Parchment Paper: A Baker's Essential
Introduction to Parchment Paper in Baking
Why Parchment Paper Simplifies Baking
For many beginner bakers, the thought of sticky pans and uneven results can be daunting. This is where parchment paper steps in as a true game-changer. It provides a non-stick surface that drastically reduces the frustration often associated with baking, allowing you to focus on the fun parts – mixing, shaping, and decorating. Think of it as an invisible shield between your delicate dough or batter and the harsh heat of the metal pan. Using parchment paper baking tips from the start can save you a lot of trial and error.
Parchment paper creates a barrier that prevents baked goods from welding themselves to the pan. This means cookies slide off effortlessly, cakes release cleanly, and bread loaves don't leave behind a crusty bottom layer. It's particularly helpful for recipes that are prone to sticking, such as those high in sugar or low in fat. By incorporating these simple parchment paper baking tips into your routine, you'll find cleanup becomes significantly easier, often requiring just a quick rinse of the pan instead of vigorous scrubbing.
Benefits of Using Parchment Paper
Beyond just preventing sticking, parchment paper offers a multitude of advantages that enhance the baking process and the final product. One major benefit is even heat distribution. While parchment itself isn't a heat conductor, it helps create a uniform surface across the pan, preventing hot spots that can cause uneven browning or burning. This is particularly noticeable when baking batches of cookies, where using parchment paper baking tips ensures each cookie on the sheet bakes similarly.
Another key benefit is moisture control. When baking items like traybakes or brownies, the parchment paper can help retain a little moisture, leading to a more tender crumb. For things like meringues or macarons, it provides a stable, non-stick surface crucial for their delicate structure. Furthermore, it makes transferring baked goods incredibly easy; simply lift the parchment paper and slide the items onto a cooling rack. These parchment paper baking tips contribute not just to convenience, but to better baking results overall.
Preparing Parchment Paper for Baking
Cutting and Shaping Parchment Paper
Getting your parchment paper ready for use is a simple but important step for successful baking. Standard rolls of parchment paper are typically 12 to 15 inches wide and come in lengths ranging from 25 to 150 feet or more. For rectangular baking sheets or pans, the easiest method is to unroll a section slightly longer than the pan and simply tear or cut it straight across. You want enough paper to cover the bottom and potentially extend up the sides slightly, especially for recipes prone to overflowing or sticking.
For round pans or specific shapes, you'll need to do a bit more shaping. For a standard 8-inch or 9-inch round cake pan, tear off a square of parchment larger than the pan's diameter. Fold the square in half, then in half again to create a smaller square. Fold it once more diagonally to form a triangle.
Place the tip of the triangle in the center of the pan and trim the base of the triangle where it meets the edge of the pan. When you unfold it, you'll have a perfect circle. Mastering these parchment paper baking tips ensures a clean release every time.
Lining Baking Pans with Parchment Paper
Properly lining your baking pans is key to leveraging the benefits of parchment paper. For flat baking sheets used for cookies, pastries, or roasting vegetables, simply lay a sheet of parchment paper over the surface.
Ensure it covers the entire usable area to prevent any dough or batter from coming into direct contact with the metal. Some bakers find it helpful to put a tiny dab of butter or cooking spray in the corners of the pan before laying the parchment down; this helps hold the paper in place and prevents it from shifting as you place items on it.
When lining loaf pans or rectangular cake pans, you'll need to cut the parchment to fit. For a rectangular pan, cut a strip that fits the length of the bottom and extends up the two shorter sides, leaving overhang to use as handles for lifting the finished bake out. Then, cut another strip to fit the width, extending up the two longer sides, again with overhang.
Alternatively, you can create a single sling by cutting a strip slightly narrower than the pan and long enough to cover the bottom and extend generously up the two shorter sides. These parchment paper baking tips are invaluable for easy removal.
Achieving Clean Cake Release with Parchment Rounds
One of the most satisfying moments in baking is a perfectly released cake. Parchment paper makes this incredibly reliable. As mentioned earlier, cutting a custom parchment round to fit the bottom of your cake pan is a crucial step. Once you have your parchment circle, lightly grease the bottom of the cake pan with butter or baking spray. This helps the parchment adhere smoothly and prevents any batter from seeping underneath.
Place the parchment round firmly in the bottom of the greased pan, pressing it down to ensure it lies flat with no wrinkles. For extra insurance, especially with delicate cakes like sponges or cheesecakes, you can also grease the sides of the pan and lightly flour them, or line the sides with strips of parchment as well. However, simply using a parchment round on the bottom is often sufficient for most standard butter or pound cakes and is one of the most effective parchment paper baking tips for beginners aiming for clean results.
Parchment Paper Tips for Various Recipes
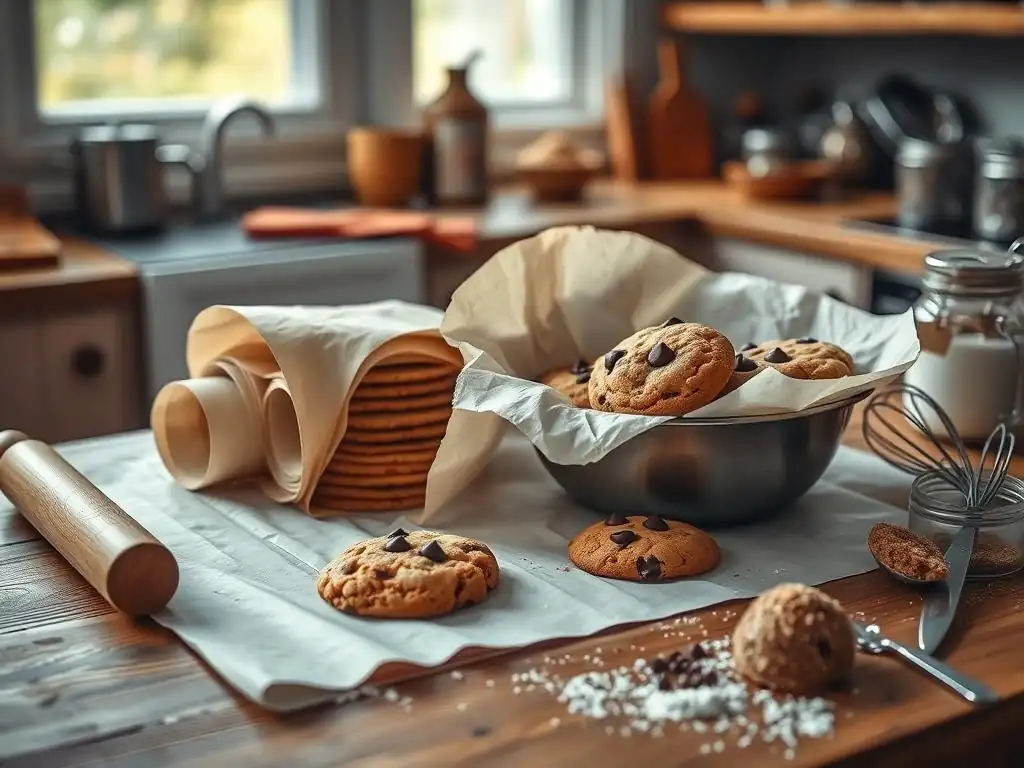
Baking cookies is perhaps the most common use for parchment paper, and for good reason. Placing cookie dough directly onto a greased or ungreased baking sheet can lead to sticking, irregular shapes, and bottoms that brown too quickly. Using a sheet of parchment paper provides a consistently non-stick surface, allowing cookies to spread evenly and release cleanly once baked and cooled slightly. This means no more scraping delicate cookies off the pan!
Furthermore, using parchment paper allows you to bake multiple batches of cookies back-to-back on the same sheet without significant cooling or cleaning in between. As one batch finishes, you can simply slide the parchment sheet off the hot pan onto a cooling rack (with the cookies still on it) and slide a new sheet of parchment with the next batch of dough onto the hot pan. This efficiency is one of the most practical parchment paper baking tips for anyone baking large quantities, like for a holiday party or bake sale.
Ensuring Even Cake Baking with Parchment
While parchment rounds primarily aid in cake release, they also contribute to more even baking, especially in conjunction with properly prepared pans. The parchment forms a barrier that can slightly insulate the bottom crust, preventing it from setting or browning too quickly compared to the center of the cake. This is particularly helpful for recipes that require a longer baking time at moderate temperatures.
Using parchment paper baking tips for cakes also simplifies the process of inverting the cake after baking. Once the cake has cooled for the recommended time in the pan (typically 10-15 minutes), you can confidently place a cooling rack over the pan and flip it. The cake should release easily, often staying intact and leaving minimal residue in the pan, thanks to the parchment round doing its job.
Enhancing Bread Crust with Parchment
Parchment paper is surprisingly useful in bread baking, particularly for rustic loaves baked in Dutch ovens or on baking stones. For no-knead bread or sourdough, the dough is often very wet and difficult to transfer into a scorching hot Dutch oven without losing its shape or burning your hands. Placing the dough onto a square of parchment paper allows you to easily lift and lower the dough directly into the hot pot.
The parchment can stay in the Dutch oven during the initial covered baking phase (often 20-30 minutes at temperatures around 450°F or 230°C), creating steam and helping the crust develop evenly without sticking to the bottom. While you might remove the parchment for the final browning phase, using it for the transfer and initial bake is one of the most effective parchment paper baking tips for achieving a beautifully shaped and crusted loaf safely.
Easy Muffin Removal Using Parchment Liners
While paper muffin liners are common, using squares of parchment paper instead can give your muffins or cupcakes a rustic, professional look and guarantee a non-stick experience. Simply cut parchment into squares (about 5-6 inches per side for standard muffin tins). Press each square down into the muffin tin cavity, allowing the sides to crinkle and extend above the rim.
Pour your batter directly into these parchment cups. Once baked, the muffins lift out effortlessly by grabbing the parchment edges. This is a fantastic parchment paper baking tip for sticky batters, like bran muffins or fruit-filled cupcakes, ensuring none of the delicious product is left behind in the tin. Plus, it significantly reduces the cleanup required for the muffin tin itself.
Advanced Parchment Paper Techniques
Creating Piping Cones from Parchment
Parchment paper isn't just for lining pans; it can be transformed into versatile tools. One classic technique is creating disposable piping cones, perfect for controlled application of melted chocolate, icing, or even savory fillings. Start with a rectangular piece of parchment paper (about 10x15 inches is a good size to practice with). Cut the rectangle diagonally from corner to corner, creating two large triangles. Take one triangle.
Hold the triangle so the longest side is horizontal at the top. Bring one of the bottom corners up to meet the top corner, forming a cone. Then, bring the other bottom corner around the back to wrap the cone tightly, aligning it with the first two corners at the top. You should now have a sturdy cone shape with all three corners meeting at the top point.
Fold these three points down inside the cone to secure its shape. Fill the cone, snip a small amount off the tip, and you have a precise piping tool. This is a clever parchment paper baking tip for detailed work.
Baking En Papillote with Parchment Pouches
Baking en papillote, or "in parchment," is a French technique where food (typically fish, vegetables, and aromatics) is sealed inside a parchment paper pouch and baked. This method steams the food gently in its own juices and added liquids, resulting in incredibly moist and flavorful results. It's a healthy cooking method that also makes for a beautiful presentation as each person gets their own packet.
To create a pouch, fold a large piece of parchment paper (about 12x16 inches) in half. Arrange your food ingredients on one side of the fold, leaving a border. Starting from one open end, crimp the edges of the parchment together tightly, making small overlapping folds as you work your way around the curved edge until the packet is completely sealed. The packet will puff up as it bakes (usually 15-20 minutes at 400°F or 200°C), trapping steam inside. This is a fantastic, albeit slightly more advanced, parchment paper baking tip that extends its use beyond sweets.
Reusing Parchment: Best Practices
Parchment paper is often sturdy enough to be reused, which is an economical and environmentally conscious practice. If the parchment is used for baking items that don't leave much residue, like cookies or scones, and hasn't become brittle or excessively browned, it can often be used for a second or even third batch. A slightly used sheet is perfectly fine for another round of baking, especially if the temperature is moderate (below 400°F or 200°C).
However, there are times when reuse is not advisable. If the parchment is heavily soiled with grease, burnt bits, or sticky caramel, it's best to discard it. Similarly, if it has become very dark and brittle from high-temperature baking (approaching its limit of 420-450°F or 215-230°C), its non-stick properties and structural integrity may be compromised. Inspect the paper; if it looks clean and feels reasonably strong, feel free to get another use out of it. These simple parchment paper baking tips on reuse can add up to savings over time.
Troubleshooting Parchment Paper Issues
Flattening Curling Parchment
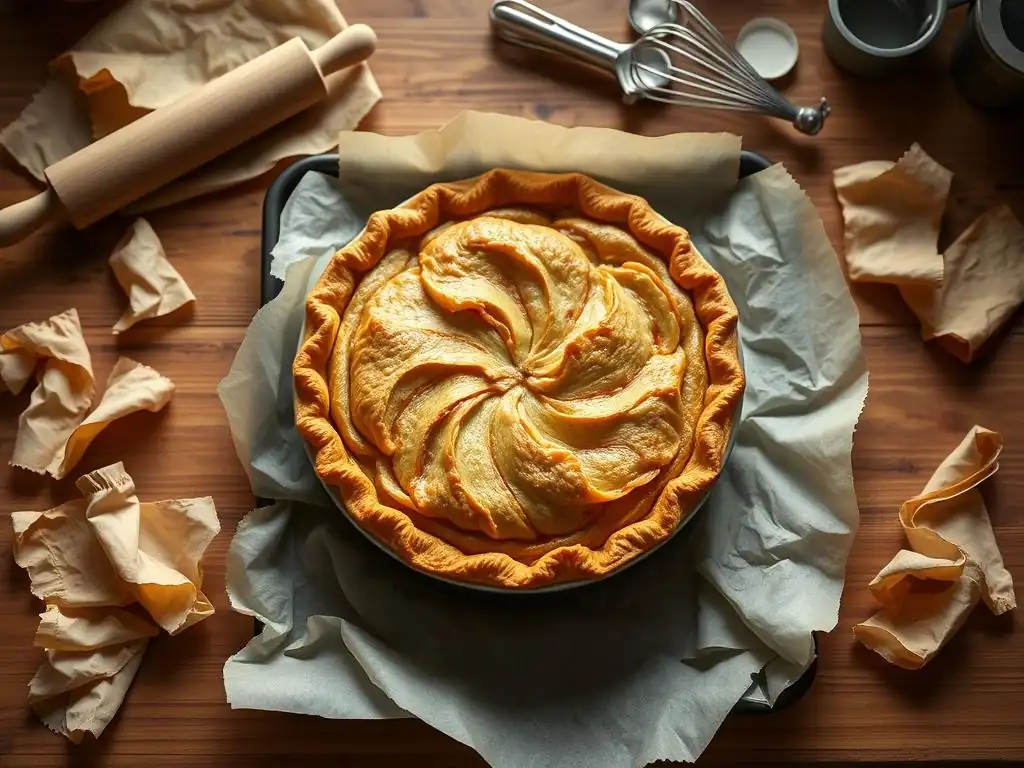
One minor annoyance with parchment paper, especially from a new roll, is its tendency to curl up. This can make it tricky to lay flat in a pan, particularly on a baking sheet. There are a few simple parchment paper baking tips to combat this. One effective method is to lightly crinkle the sheet into a ball, then smooth it back out. This breaks down some of the paper's memory from being rolled tightly.
Another approach, especially for baking sheets, is to place the parchment on the pan and then weigh down the corners with a few dabs of butter, a small amount of cooking spray, or even place your dough or items near the edges first to hold it down. For lining cake pans with a round, a light greasing of the pan bottom before placing the round is usually sufficient to keep it flat. Don't let a little curl deter you; these quick fixes make working with parchment much easier.
Avoiding Parchment Paper Burning
Standard parchment paper is designed to withstand oven temperatures up to a certain point, typically around 420-450°F (215-230°C). Baking above this temperature limit can cause the parchment to become brittle, darken excessively, or even char and burn, especially if it extends beyond the edges of the pan where it's exposed to direct heat. Always check the maximum temperature rating on the packaging of your specific brand of parchment paper.
When baking at very high temperatures, such as for pizza on a stone (often 500°F or 260°C), it's generally safer to remove the parchment after the first few minutes once the dough has set, or opt for a different method like a silicone baking mat which often has a higher heat tolerance (up to 500°F or 260°C or more). Ensure the parchment is fully contained within the pan when possible, especially when baking at the higher end of its temperature range, to minimize exposure to direct hot air circulation. Following these parchment paper baking tips helps prevent unwanted charring.
Choosing the Right Parchment Paper
Not all papers in the kitchen are created equal. It's crucial to use parchment paper specifically designed for baking, not wax paper or freezer paper. Wax paper has a lower melting point and its wax coating can melt in the oven, creating smoke and potentially transferring to your food. Freezer paper has a plastic coating on one side and is meant for wrapping foods for freezing, not for oven use.
Look for packaging clearly labeled "parchment paper" or "baking parchment." It is typically coated with silicone, which provides its non-stick and heat-resistant properties. Some parchment papers are bleached (white) and others are unbleached (brown). Both work well, with the unbleached version being slightly more environmentally friendly as it hasn't gone through the bleaching process. For specific tasks like lining muffin tins, pre-cut parchment liners are available and offer ultimate convenience, though cutting your own from a roll is more cost-effective. Choosing the correct product is the most fundamental of all parchment paper baking tips.
Parchment Paper Alternatives
Silicone Baking Mats
Silicone baking mats, often sold under brand names like Silpat, are a popular reusable alternative to parchment paper. Made from food-grade silicone reinforced with fiberglass mesh, they provide an excellent non-stick surface and are durable, capable of withstanding temperatures up to 500°F (260°C) or higher depending on the brand. They are ideal for baking cookies, pastries, meringues, and roasting vegetables.
While silicone mats offer reusability and often a higher heat tolerance, they aren't always a direct substitute for all parchment paper uses. They can be heavier and less flexible than parchment, making them less suitable for lining loaf pans or creating intricate shapes like piping cones or en papillote pouches. They also require washing after each use, whereas parchment is often disposable. For many common baking tasks, however, they are a reliable, long-term investment and a valid alternative when considering parchment paper baking tips.
Greasing and Flouring Pans
Before parchment paper became widely available, the standard method for preventing sticking was to grease and flour the baking pan. This involves coating the inside of the pan with butter, shortening, or cooking spray, then adding a tablespoon or two of flour (or cocoa powder for chocolate cakes) and tilting the pan to coat the greased surfaces evenly. The excess flour is then tapped out.
This method creates a barrier between the batter and the pan, and it works reasonably well for many cakes and breads. However, it can sometimes leave a white, powdery residue on the outside of baked goods (if using flour) and doesn't offer the same level of non-stick reliability as parchment, particularly for delicate items or sticky doughs. It also requires more manual cleaning of the pan afterward compared to using parchment paper. It's a traditional technique, but modern parchment paper baking tips often offer superior results and convenience.
Baking Without Parchment: Key Considerations
While parchment paper and silicone mats offer significant advantages, it is still possible to bake many items successfully without them, relying solely on greasing and potentially flouring. For sturdy items like certain types of bread baked in loaf pans, or robust cakes, a well-greased and floured pan can be sufficient. Cast iron pans, when properly seasoned, also offer a naturally non-stick surface suitable for things like cornbread or certain rustic loaves.
The key considerations when baking without parchment are the type of recipe and the quality of your pan preparation. Very sticky doughs, delicate cookies prone to spreading, or cakes known for sticking firmly to the pan will be more challenging. You'll need to be meticulous with your greasing and flouring (or cocoa powder) technique, ensuring every nook and cranny is covered. Be prepared for potentially more effort during cleanup compared to using parchment paper, as you'll likely need to scrub away baked-on residue.
Storing Parchment Paper
Maintaining Parchment Paper Quality
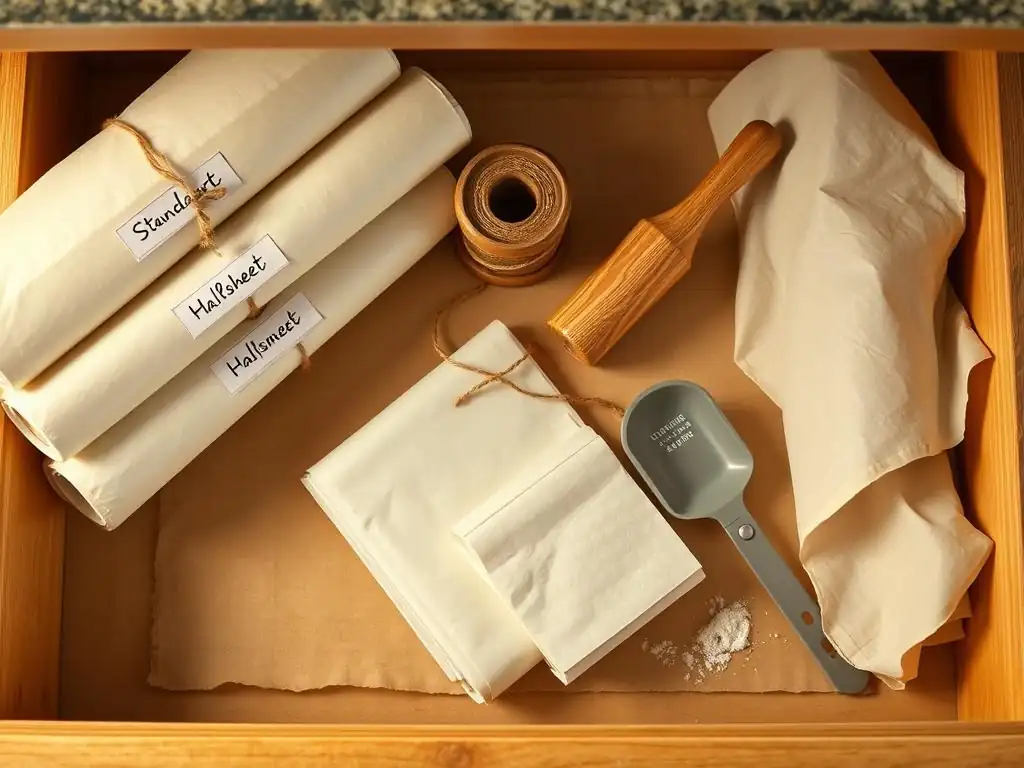
Proper storage helps keep your parchment paper in good condition, ready for use whenever inspiration strikes. The primary enemies of parchment paper are moisture and excessive heat or cold, though it's generally quite stable. The most common way parchment is sold is in a roll inside a cardboard box with a serrated edge for tearing. Keeping the paper in this original packaging is usually the best storage method.
Store the box in a cool, dry place in your kitchen, away from sources of heat like the oven or direct sunlight, and away from areas prone to moisture, like next to the sink. Excessive moisture can cause the paper to stick together or become less effective as a non-stick barrier. Storing it flat, if possible, can also help reduce the curling issue experienced with rolls, though this requires dedicated drawer space. Simple storage parchment paper baking tips ensure it performs optimally every time.
Extending Parchment Paper Lifespan
While a single roll of parchment paper offers many uses, ensuring its longevity is about both proper storage and mindful use. As mentioned earlier, reusing parchment paper when appropriate is a great way to extend the life of your roll. A sheet used for baking plain cookies that comes off clean can often be used again for a similar purpose.
Avoid exposing the paper to extremely high temperatures unnecessarily, as this degrades the silicone coating and the paper itself, making it brittle and less effective for future use. Store cut sheets flat if you have the space, perhaps inside a large ziploc bag or between two baking sheets, to keep them from curling and getting damaged. By following these simple storage and reuse parchment paper baking tips, you can make a single purchase last for many baking adventures.
Conclusion: Streamlining Baking with Parchment
Key Benefits of Parchment Paper
Parchment paper is an indispensable tool in the beginner baker's kitchen, offering a simple solution to common baking challenges. Its primary benefit is providing a reliable non-stick surface, which prevents baked goods from sticking to pans, making cleanup significantly easier and reducing the risk of damaging delicate items upon removal. This alone saves time and frustration, particularly for those new to baking.
Beyond its non-stick properties, parchment paper aids in even baking by providing a uniform surface, assists in safely transferring dough (like bread into a hot Dutch oven), and can be used to create handy tools like piping cones. It simplifies the process of lining pans, whether for cakes, cookies, or muffins, ensuring consistent results batch after batch. Mastering these fundamental parchment paper baking tips truly streamlines the entire baking process, allowing you to bake with greater confidence and less mess.
Experiment with Parchment in Your Baking
Now that you're equipped with these parchment paper baking tips, it's time to put them into practice! Don't hesitate to use parchment paper for your next baking project, whether it's a simple batch of chocolate chip cookies, a layered cake, or a loaf of artisan bread. Experience firsthand how it simplifies preparation and cleanup, and how it contributes to better baking outcomes.
Try using parchment rounds for your next cake to see how effortlessly it releases. Line your cookie sheets to bake perfectly shaped cookies that slide right off. Experiment with using parchment to lift delicate doughs. As you become more comfortable, you might even try creating your own piping cones or baking en papillote. Parchment paper is a versatile and forgiving material, making it the perfect partner for anyone learning to bake. Embrace these parchment paper baking tips and enjoy a smoother, more successful baking journey!
Frequently Asked Questions
What is parchment paper and why is it so useful in baking?
Parchment paper is a heat-resistant, non-stick paper that's treated with silicone. It's incredibly useful because it prevents food from sticking to baking sheets and makes cleanup much easier.
Can I reuse parchment paper after baking?
It depends on what you're baking! If the parchment paper is still clean and not burnt or excessively greasy, you can reuse it once or twice, especially for baking cookies. However, for messier items like cakes, it's best to use fresh parchment each time.
What are some alternatives to parchment paper if I don't have any?
If you run out of parchment paper, you can grease and flour your baking pan, use a silicone baking mat, or even try aluminum foil (though it might not be as non-stick).
What temperature range can parchment paper withstand?
Most parchment paper is safe to use up to around 420-450°F (215-232°C). Always check the packaging to confirm the specific temperature limit for the brand you are using.
Does parchment paper need to be greased?
Generally, no, you don't need to grease parchment paper because of its non-stick properties. However, if you're making something particularly sticky or delicate, a light spray of cooking oil won't hurt.
Final Reflection: The Unexpected Power of Parchment Paper
The seemingly simple act of lining a baking sheet with parchment paper transforms the baking experience from a potential disaster into a consistently delightful success. This seemingly small detail, often overlooked by novice bakers, is the key to unlocking perfectly browned cookies, effortlessly removed cakes, and a significantly reduced cleanup time. It's a game-changer, truly.
The impact of this seemingly insignificant kitchen tool extends far beyond the individual baker. It represents a shift in mindset, a move from fearing kitchen mishaps to embracing a more confident and experimental approach to baking. The ease with which parchment paper facilitates cleanup allows for more frequent baking, fostering creativity and a deeper connection with the process. Baking is at once child's play and adult joy. And love, of course.
This quote perfectly encapsulates the joy that accessible baking, made possible by simple tools like parchment paper, can bring.
Now, consider your own baking journey. Are you ready to embrace the simplicity and efficiency of parchment paper? Try it for your next baking project – whether it's delicate macarons or a hearty loaf of bread – and experience the difference firsthand. Let the effortless release and easy cleanup inspire you to explore new recipes and techniques, transforming your kitchen into a haven of culinary creativity. The possibilities, like a perfectly browned cookie, are endless.
Unleash Your Inner Baker: Time to Get Baking!
Thanks for taking the time to explore the wonderful world of parchment paper! We hope you've gained confidence in tackling even the trickiest baking recipes. Now it's time to put your newfound knowledge into practice.
- Bake something amazing today! Choose your favorite recipe (or try a new one!) and experience the ease and cleanup of parchment paper firsthand.
- Share your baking triumph! Show off your perfectly browned cookies or flawlessly risen cakes on social media using #BakeWithEase.
- Explore more baking tips and tricks: Dive deeper into our other articles on BakeWithEase.com to elevate your baking game even further.
What delicious creation will you bake first? Let us know in the comments!