
Elevate Your Cookies: DairyFree Brown Butter Flavor with Plant Oils

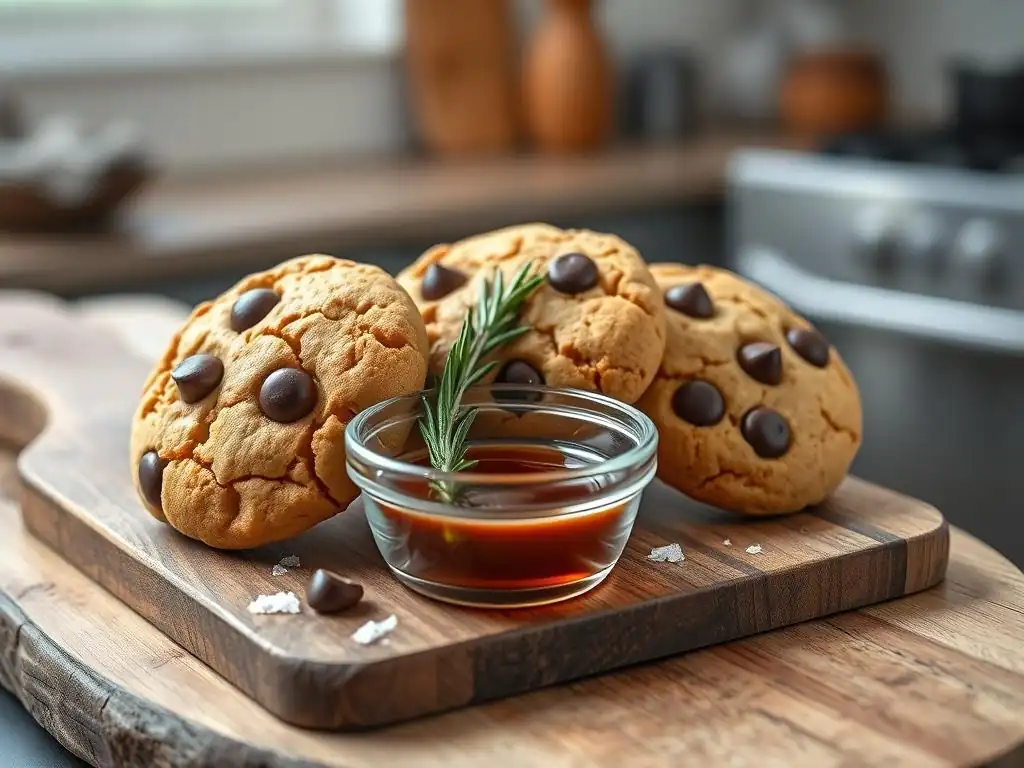
Welcome to BakeWithEase, where delicious baking becomes effortlessly achievable! Ever dreamt of the rich, nutty depth of brown butter cookies without the dairy? Get ready to discover how to create unbelievably flavorful DairyFree Brown Butter Cookies using simple plant oils. We'll unlock a secret technique that will revolutionize your cookie game, proving that dietary restrictions don't mean sacrificing taste. Curious to learn how? Let's get baking!
- Elevate Your Cookies: Dairy-Free Brown Butter Flavor with Plant Oils (BakeWithEase)
- Introduction to Dairy-Free Baking and Brown Butter Flavor
- Understanding Dairy-Free Brown Butter: Plant Oils to the Rescue
- Crafting Dairy-Free Brown Butter: A Step-by-Step Guide
- Dairy-Free Brown Butter Cookie Recipe: A BakeWithEase Exclusive
- Tips and Tricks for Dairy-Free Brown Butter Cookie Success
- Troubleshooting Common Dairy-Free Brown Butter Cookie Issues
- Serving and Storing Your Dairy-Free Brown Butter Cookies
- Dairy-Free Brown Butter: Beyond Cookies
- Conclusion: Dairy-Free Baking Delight with Brown Butter Flavor
- Frequently Asked Questions
- Final Reflection: The Sweet Revolution of Dairy-Free Baking
- Unlock the Secret to Dairy-Free Delight!
Introduction to Dairy-Free Baking and Brown Butter Flavor
Baking delicious cookies without dairy doesn't mean sacrificing flavor or texture. In fact, the world of dairy-free baking has expanded dramatically, offering incredible opportunities to create treats that are just as rich, chewy, and satisfying as their traditional counterparts. Whether you're navigating dietary restrictions, managing allergies, or simply exploring plant-based options, mastering dairy-free cookie techniques opens up a delightful new realm of possibilities in your kitchen.
Many classic cookie recipes rely heavily on butter for both structure and flavor. Recreating that familiar richness requires understanding how different plant-based fats behave and selecting the right ingredients to achieve desired results, from crispy edges to soft centers. BakeWithEase is here to guide you through the process, proving that dairy-free brown butter cookies are not only possible but can become a new favorite.
The Magic of Brown Butter Flavor, Without the Dairy
Brown butter, or beurre noisette, is a beloved ingredient in baking, prized for its deep, nutty aroma and complex, toffee-like flavor profile. This magic happens when milk solids in butter are heated and undergo the Maillard reaction, browning and developing those irresistible notes. Traditionally, achieving this flavor requires dairy butter.
But what if you want that characteristic richness and nutty depth in your dairy-free brown butter cookies? Replicating this specific flavor without dairy milk solids presents a unique challenge. However, with the right approach and ingredients, we can create a plant-based alternative that brings a similar warmth and complexity to your baked goods, capturing the essence of brown butter flavor using clever techniques and plant oils.
Understanding Dairy-Free Brown Butter: Plant Oils to the Rescue
What is Brown Butter and Why is it Delicious?
Traditional brown butter is created by melting unsalted butter and gently cooking it over medium heat. As the water evaporates, the milk solids separate and sink to the bottom of the pan. These milk solids then begin to brown, changing from pale white to a rich, golden brown, and finally developing a deep, nutty, almost caramel-like aroma. This browning process is known as the Maillard reaction, the same chemical reaction responsible for the delicious crust on bread or the sear on meat.
The flavor transformation is significant. Regular melted butter tastes simply like butter, but brown butter boasts layers of toasted nut, toffee, and sometimes even a hint of savory depth. This concentrated flavor adds complexity and richness to everything from simple cookies and cakes to sauces and glazes, making it a highly sought-after ingredient for enhancing baked goods.
The Challenge: Replicating Brown Butter Without Dairy
The key to traditional brown butter's distinctive flavor lies specifically in the browning of the dairy milk solids. Plant-based fats, like oils or solid vegan butters, either don't contain milk solids at all (oils) or contain different protein/solid structures that don't brown in the same way as dairy milk proteins (some vegan butters). Simply melting a plant-based butter alternative often won't yield the same nutty, complex flavor profile.
Attempting to brown many plant-based butter substitutes can result in burning rather than the desired nutty browning of milk solids. Oils, being pure fat, simply get hot and might smoke before developing complex flavors. Therefore, a direct one-to-one replacement and browning process isn't feasible when aiming for authentic dairy-free brown butter cookies. A different strategy is required to infuse that characteristic flavor.
The Solution: Using Plant Oils for Dairy-Free Brown Butter
The innovative approach to achieving dairy-free brown butter flavor involves leveraging the properties of plant oils. While oils don't contain milk solids to brown, they can be gently heated to develop toasted, nutty notes, especially when combined with specific techniques or flavorings. The goal is to mimic the aroma and color associated with brown butter and infuse it into a fat base suitable for baking.
One common method is to gently heat a neutral plant oil until it just begins to change color and develop a slightly toasted aroma. Another effective technique involves infusing a neutral oil with ingredients that do brown and carry nutty flavors, such as nutritional yeast or toasted nuts themselves, before straining. This creates a flavorful oil base that can then be combined with a solid plant-based fat (like refined coconut oil or a vegan butter stick) to achieve a consistency similar to traditional brown butter, perfect for making delicious dairy-free brown butter cookies.
Crafting Dairy-Free Brown Butter: A Step-by-Step Guide

Choosing the Right Plant Oil for Brown Butter Flavor
Selecting the appropriate plant oil is crucial for developing a pleasant, nutty flavor without unwanted tastes overpowering your dairy-free brown butter cookies. Different oils have varying smoke points and flavor profiles. For mimicking brown butter, we want oils that can withstand gentle heat and contribute a subtle, complementary taste.
Consider the final application. For cookies where you want the "brown butter" flavor to shine, a more neutral oil is often preferred as a base. However, a small amount of a flavorful oil can add an extra layer of complexity if used judiciously. Aim for quality oils, as their flavor will concentrate slightly during the heating process.
Selecting Neutral Oils: Refined Coconut Oil and Avocado Oil
Refined coconut oil is an excellent choice for a neutral base. Unlike virgin coconut oil, the refined version has minimal coconut flavor, making it versatile. It also has a relatively high smoke point, allowing for gentle heating without burning. When cooled, it becomes solid, which is beneficial for creating a dairy-free "brown butter" that has some structure.
Avocado oil is another neutral oil with a very high smoke point, around 500°F (260°C), making it extremely stable under heat. Its mild flavor won't compete with the desired nutty notes. While it remains liquid at room temperature, it can be used as the oil component in a blend with a solid fat to achieve the right consistency for baking dairy-free brown butter cookies.
Exploring Flavorful Oils: Walnut Oil and Sesame Oil
For a more pronounced nutty flavor profile, a small amount of walnut oil or toasted sesame oil can be used to enhance the dairy-free brown butter effect. Walnut oil has a distinct nutty flavor that pairs wonderfully with baked goods. It has a lower smoke point than refined coconut or avocado oil, so it's best used in combination with a higher smoke point oil or added towards the end of the heating process.
Toasted sesame oil offers a very strong, distinctive flavor. While not traditionally associated with brown butter, a tiny dash can add an interesting toasted note to certain recipes. Use these flavorful oils sparingly, perhaps replacing only 10-20% of the total oil volume, to ensure they complement rather than dominate the overall flavor of your dairy-free brown butter cookies.
The Dairy-Free Brown Butter Process: Sautéing and Infusion
Creating dairy-free brown butter flavor involves gently heating the chosen plant oil to develop toasted notes. This is not the same chemical reaction as browning dairy milk solids, but it aims to replicate the effect and aroma.
Alternatively, you can achieve a more complex flavor by gently sautéing a small amount of nutritional yeast or finely ground toasted nuts in the oil until they brown, then straining the solids out. This infusion method often yields a more convincing brown butter flavor profile.
Step 1: Gentle Heating and Observation
Start with your chosen plant oil (or a blend, incorporating a solid fat like refined coconut oil or vegan butter stick if you want a solid base) in a light-colored saucepan over medium-low heat. The light color helps you see the subtle color changes. Swirl the pan occasionally to ensure even heating. Pay close attention, as oils can heat quickly and burn.
Observe the oil closely. You may see tiny bubbles initially as any residual water evaporates (especially if using a vegan butter stick). As the oil heats, its color might deepen slightly. The key is the aroma.
Step 2: Achieving the Nutty Aroma and Golden Color
Continue heating the oil gently. If using the infusion method with nutritional yeast or nuts, watch for those solids to turn a golden to light brown color and release a nutty, toasted aroma. If using oil alone, you are looking for the oil itself to develop a subtle toasted smell – this is more about heating the oil to a point where it develops deeper flavor notes than a visual color change in the oil itself, unless you've added something to brown.
Once you detect that characteristic nutty, toasted aroma – similar to toasted nuts or popcorn – immediately remove the pan from the heat. The process is quick, often taking only 5-10 minutes depending on the amount of oil and heat level. Be careful not to overheat, or the oil can smoke and become bitter.
Step 3: Cooling and Solidification (if needed)
Carefully pour the heated oil (straining out any solids if you used the infusion method) into a heatproof bowl or container. Allow it to cool at room temperature for about 20-30 minutes.
If your recipe for dairy-free brown butter cookies requires a solid or semi-solid fat, you can refrigerate the cooled oil (especially if you used refined coconut oil or blended with a vegan butter stick) until it reaches the desired consistency. This "dairy-free brown butter" can then be used in recipes just like traditional brown butter, often needing to be re-melted slightly if too firm.
Here is a foundational recipe structure for creating delicious dairy-free brown butter cookies using our plant oil technique. This recipe serves as a guide; feel free to adapt it!
Achieving the ideal dairy-free brown butter cookies requires careful selection of ingredients to ensure proper texture, flavor, and structure without dairy. Quantities will vary based on the specific recipe yield desired, but here are the key components and considerations.
A typical batch might yield 18-24 cookies, requiring around 1/2 cup to 3/4 cup of the prepared dairy-free "brown butter" alternative. You'll also need about 1.5 to 2 cups of flour blend and roughly 1 cup to 1.5 cups total of sweeteners.
Flour Selection: All-Purpose and Almond Flour
Combining flours can improve texture. All-purpose flour provides structure. For dairy-free brown butter cookies, using a blend that includes some almond flour can enhance the nutty flavor profile that complements the "brown butter" notes. A common ratio might be 75% all-purpose flour to 25% almond flour by volume. Ensure you use a reliable cup-to-gram conversion if weighing ingredients for precision; 1 cup of all-purpose flour is typically around 120-130 grams, while 1 cup of almond flour is closer to 90-100 grams.
Using a gluten-free all-purpose blend is also an option for those with gluten sensitivities, though results may vary slightly in texture. Look for blends that contain xanthan gum for structure.
Sweeteners: Granulated Sugar, Brown Sugar, and Coconut Sugar
A mix of sugars provides both sweetness and texture. Granulated sugar contributes to crispness and spread. Brown sugar, with its molasses content, adds moisture, chewiness, and a subtle caramel note that pairs well with the "brown butter" flavor. Light or dark brown sugar can be used; dark brown sugar provides a stronger molasses taste.
Coconut sugar is another excellent dairy-free option, offering a slightly less sweet, more caramel-like flavor than brown sugar. Using a combination, perhaps equal parts granulated and brown sugar, or substituting some brown sugar with coconut sugar, can deepen the flavor profile of your dairy-free brown butter cookies.
Binding Agents: Flaxseed Meal and Aquafaba
Since eggs are traditional binding agents, dairy-free baking often requires alternatives. Flaxseed meal mixed with water (a "flax egg") is a popular choice, providing binding and a touch of healthy fat. A ratio of 1 tablespoon flaxseed meal to 3 tablespoons water, allowed to sit for 5-10 minutes until gelatinous, typically replaces one egg.
Aquafaba, the liquid from a can of chickpeas, is another effective binder, especially when whipped slightly. About 3 tablespoons of aquafaba can replace one egg. These binders help hold your dairy-free brown butter cookies together and contribute to texture.
Dairy-Free "Brown Butter": The Star Ingredient
As detailed above, this is the plant oil-based fat prepared to mimic the flavor and aroma of brown butter. Ensure it has cooled to the desired consistency (liquid or semi-solid) as specified by your recipe method. The amount used will be similar to the butter quantity in a traditional cookie recipe, often measured by volume (cups) or weight (grams).
If your recipe calls for melted brown butter, use your liquid dairy-free version. If it calls for creamed brown butter, ensure your dairy-free version contains a solid fat component (like refined coconut oil or vegan butter stick) and has cooled/solidified enough to be creamed with the sugar.
Follow these general steps to bake your delightful dairy-free brown butter cookies. Precision in baking, especially with dairy-free alternatives, leads to the best results.
Preheat your oven to a standard cookie temperature, typically 350°F (175°C). Prepare baking sheets by lining them with parchment paper.
Step 1: Preparing the Dairy-Free Brown Butter
First, create your dairy-free brown butter alternative using the method described earlier (gently heating plant oil, potentially with infusion). Allow it to cool. If the recipe requires creaming, ensure it cools and solidifies to a scoopable consistency. If a liquid is needed, just let it cool slightly from the heat.
- Heat 1/2 cup refined coconut oil gently until nutty aroma develops (approx. 5-8 mins).
- Cool to room temperature.
- Refrigerate if creaming is required later.
Step 2: Creaming the Sugar and Dairy-Free Brown Butter
In a large bowl, combine the cooled dairy-free brown butter (if solidified enough for creaming, otherwise use liquid) with the granulated sugar, brown sugar, and/or coconut sugar. If using a solid dairy-free brown butter and an electric mixer, cream them together on medium speed for 2-3 minutes until well combined and slightly lighter in color and texture. If using liquid, simply whisk until the sugars are dissolved and the mixture is smooth.
Add your chosen binding agent (flax egg or aquafaba) and any liquid extracts like vanilla extract (typically 1-2 teaspoons). Mix until just combined.
Step 3: Incorporating Dry Ingredients
In a separate medium bowl, whisk together your flour blend (all-purpose, almond, etc. ), baking soda (typically 1/2 to 1 teaspoon), baking powder (optional, 1/4 teaspoon), and salt (1/4 to 1/2 teaspoon). Gradually add the dry ingredients to the wet ingredients, mixing on low speed or stirring with a spatula until just combined. Be careful not to overmix, as this can develop the gluten and result in tough cookies. Stop mixing when no dry streaks remain.
If adding mix-ins like chocolate chips or nuts (see section below), gently fold them in at this stage.
Step 4: Chilling the Dough (Important!)
This is a crucial step for many cookie recipes, especially those using alternative fats. Chilling the dough allows the fats to firm up, which helps prevent excessive spreading during baking and concentrates the flavors. Scoop portions of the dough onto a plate or into an airtight container.
Refrigerate the dough for at least 30 minutes, but ideally 1-2 hours. For even better flavor development and texture, you can chill the dough for up to 24-48 hours. This step significantly improves the structure and chewiness of your dairy-free brown butter cookies.
Step 5: Baking to Golden Perfection
Scoop chilled dough balls onto the prepared baking sheets, leaving about 2 inches between them to allow for spreading. Use a cookie scoop for uniform size, which helps with even baking. A standard scoop (approx. 1.5-2 tablespoons) works well for medium-sized cookies.
Bake in the preheated oven for 8-12 minutes, depending on the size of your cookies and your desired level of doneness. Look for the edges to be set and lightly golden brown, while the centers still look slightly soft. Baking time can vary based on your oven calibration. Let the cookies cool on the baking sheet for 5-10 minutes before transferring them to a wire rack to cool completely. This allows them to finish setting.
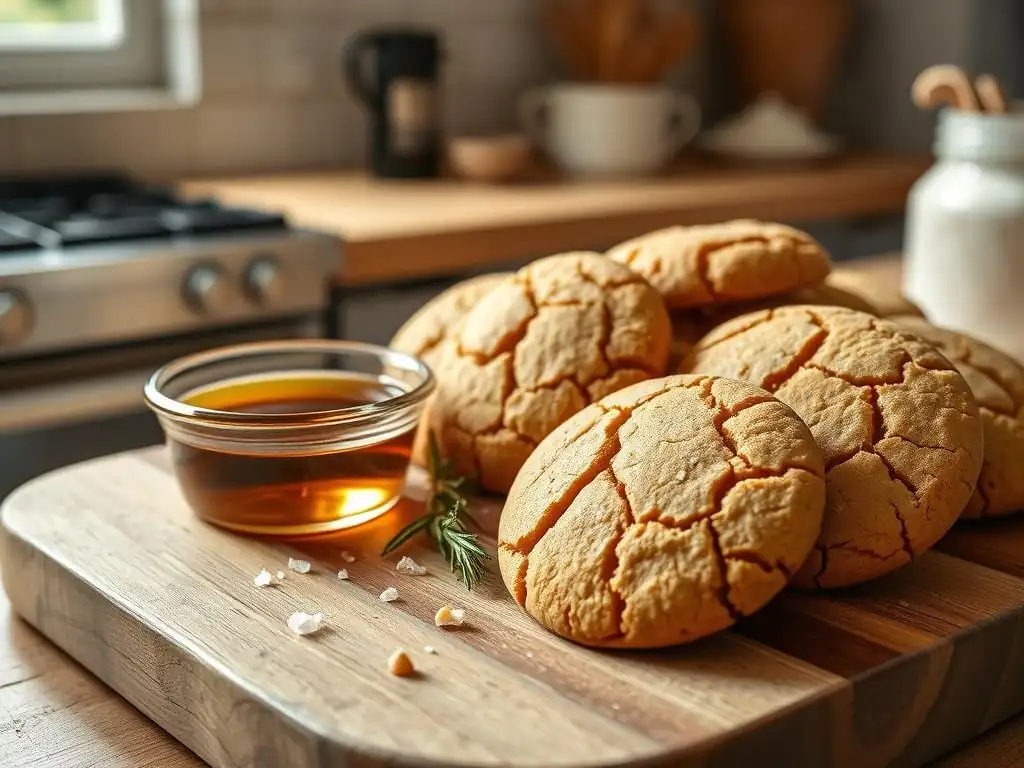
Mastering dairy-free brown butter cookies involves understanding how dairy-free ingredients behave and employing techniques that ensure delightful results every time.
Achieving the Perfect Texture: Chewy, Crispy, or Soft
The texture of your cookies can be influenced by ingredient ratios and baking time. For chewier cookies, use a higher ratio of brown sugar to granulated sugar and bake them until the edges are just set but the centers are still slightly underdone. Cooling on the baking sheet helps the residual heat finish cooking them to a chewy consistency.
For crispier cookies, increase the proportion of granulated sugar and potentially reduce the moisture slightly (e.g., slightly less liquid binder). Baking them a minute or two longer until they are golden brown all over will also yield a crispier result. For softer cookies, use more brown sugar and bake just until the edges are barely set.
Preventing Spreading: Dough Chilling is Key
Excessive spreading is a common issue in cookie baking, sometimes exacerbated by the lower melting point of some plant-based fats. Chilling the dough is the most effective way to combat this. As mentioned, chilling for at least 30 minutes allows the fats to solidify, helping the cookies hold their shape in the initial stages of baking before the structure sets.
If your cookies still spread too much, try chilling the dough for a longer period (up to 48 hours). Ensure your oven temperature is accurate; an oven that isn't hot enough can also contribute to spreading. You can also try adding a tablespoon or two of extra flour to the dough.
Enhancing the Flavor: Add-Ins and Variations
The dairy-free brown butter flavor provides a wonderful base, but add-ins can elevate your cookies further. Ensure any additions are dairy-free and complement the nutty, toasted notes.
Chocolate Chips and Chunks
Dairy-free chocolate chips or chopped dairy-free chocolate bars are classic additions. Choose a good quality brand for the best flavor. Typically, 1/2 cup to 1 cup of chocolate chips is added to a batch of cookies.
Consider using different types of dairy-free chocolate, such as semi-sweet or dark chocolate, to vary the intensity and sweetness. White dairy-free chocolate chips can also add a creamy contrast.
Nuts and Seeds
Toasted nuts, such as pecans, walnuts, or almonds, are natural partners for the nutty notes of the dairy-free brown butter. Chop them roughly and fold them into the dough. About 1/2 cup of chopped nuts is usually sufficient for a standard batch.
Seeds like pumpkin seeds or sunflower seeds can also add a nice crunch and flavor. Ensure nuts and seeds are fresh to avoid off-flavors.
Spices and Extracts
A pinch of cinnamon or nutmeg can add warmth. A touch of sea salt sprinkled on top of the cookies before baking enhances all the flavors, balancing the sweetness and highlighting the "brown butter" notes.
Adding other extracts like almond extract or a touch of maple extract can also complement the nutty and caramelized flavors of your dairy-free brown butter cookies. Start with a small amount (1/4 teaspoon) and adjust to your preference.
Even experienced bakers encounter challenges. Here are solutions to some common issues when making dairy-free brown butter cookies.
- Cause: Dough was too warm, not chilled enough, too much fat, not enough flour, or oven temperature is too low.
- Solution:
- Ensure dairy-free brown butter alternative was properly measured and cooled/solidified if the recipe required creaming.
- Thoroughly chill the dough for at least 1-2 hours, or even longer.
- Add 1-2 tablespoons of extra flour to the dough.
- Verify your oven temperature with an oven thermometer; preheat fully.
- Try baking on a cooler baking sheet (don't place dough on a hot sheet from a previous batch).
- Cause: Not enough sugar, oven temperature too low, or baking time too short.
- Solution:
- Ensure correct sugar measurements, especially brown sugar which aids browning.
- Verify oven temperature.
- Extend baking time by 1-3 minutes, watching carefully.
- Ensure cookies are placed at the correct rack level (usually middle).
- Cause: Too much flour, not enough fat or binder, or overbaking.
- Solution:
- Measure flour accurately (scoop and level, or ideally, weigh it).
- Ensure correct amounts of dairy-free brown butter alternative and binding agent were used.
- Do not overmix the dough.
- Reduce baking time slightly; cookies continue to set as they cool. Remove them when the edges are set but the centers are still slightly soft.
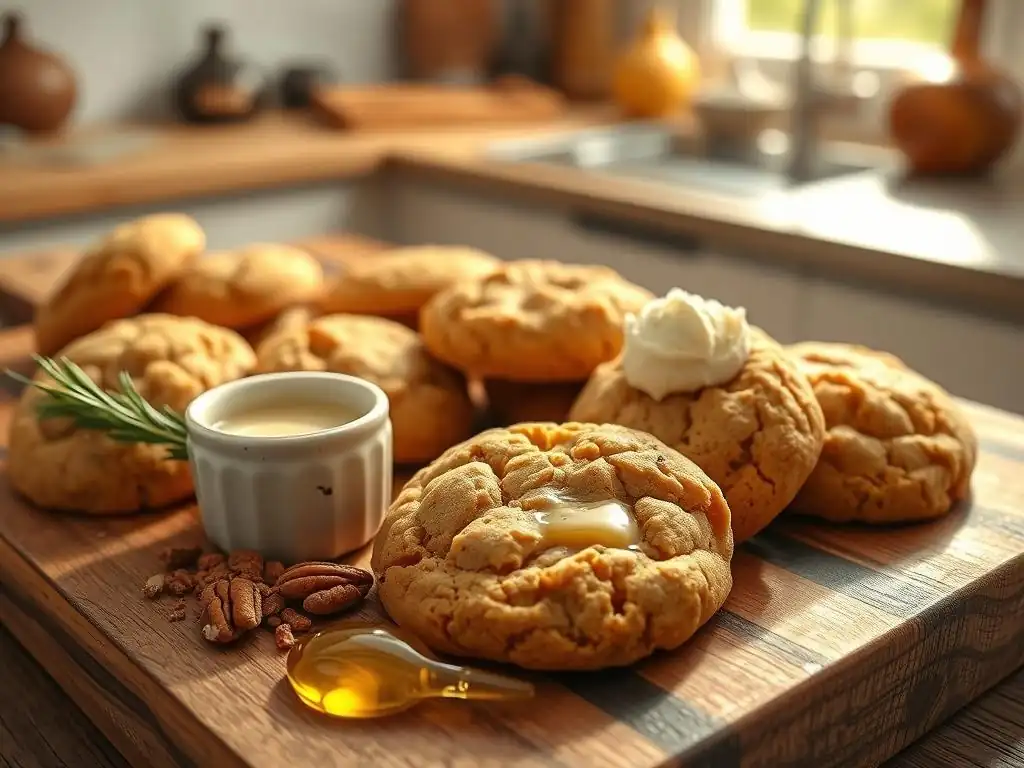
Once your delightful dairy-free brown butter cookies are baked to perfection, it's time to enjoy them and ensure any leftovers stay fresh.
Serving Suggestions: Enjoying Your Baked Creations
Allow the cookies to cool completely on a wire rack before serving. This allows their structure to finalize and flavors to deepen. Enjoy them simply as they are – the rich, nutty flavor of the dairy-free brown butter alternative should be prominent and satisfying.
They pair wonderfully with a glass of cold dairy-free milk (almond, oat, or soy) or a warm cup of tea or coffee. For an extra treat, you could sandwich two cookies together with a dollop of dairy-free frosting or ice cream.
Proper Storage for Maximum Freshness
To keep your dairy-free brown butter cookies fresh and delicious, store them in an airtight container at room temperature. Ensure they are completely cooled before storing, as trapping warmth can lead to condensation and make them soggy.
If stacking cookies, you can place a piece of parchment paper between layers to prevent sticking. Properly stored, they should remain fresh for 3-4 days. For longer storage, you can freeze baked cookies in an airtight container or freezer bag for up to 2-3 months. Thaw at room temperature before enjoying.
The technique of creating a dairy-free brown butter alternative using plant oils isn't limited to just cookies. This flavorful fat can enhance a variety of other dairy-free baking and cooking applications, bringing that desirable nutty depth to new creations.
Using Dairy-Free Brown Butter in Other Baking Recipes
Wherever a recipe calls for brown butter, you can often substitute your dairy-free version. It adds a sophisticated layer of flavor to many classic baked goods, transforming simple recipes into something special.
Experimenting with this dairy-free alternative allows you to enjoy the brown butter taste in a wider range of treats while adhering to dairy-free requirements.
Dairy-Free Brown Butter Cakes
Using dairy-free brown butter alternative in cakes can add moisture and a rich, nutty complexity to the crumb. It works particularly well in recipes like pound cake, loaf cakes, or even cupcakes where the fat plays a significant role in flavor and texture.
Substitute the specified amount of brown butter in a dairy-free cake recipe with your prepared plant oil version. Depending on the recipe, you might use it in liquid form folded into the batter or cooled and creamed with sugar for a lighter texture.
Dairy-Free Brown Butter Glaze
A simple glaze made with powdered sugar and a liquid can be elevated significantly with dairy-free brown butter flavor. Instead of using plain melted vegan butter or milk, whisk your liquid dairy-free brown butter alternative with powdered sugar and a splash of dairy-free milk until smooth.
This glaze is fantastic drizzled over scones, muffins, or even your dairy-free brown butter cookies for an extra layer of flavor. Add a pinch of salt to the glaze to balance the sweetness.
Dairy-Free Brown Butter Muffins
Muffins often benefit from the richness and moisture provided by fat. Swapping regular dairy-free fat for your dairy-free brown butter alternative in a muffin recipe will infuse them with those desirable nutty, toasted notes.
Use the liquid form of your dairy-free brown butter alternative when adding wet ingredients to the batter. This works especially well in recipes that call for melted butter or oil. The subtle flavor boost makes for exceptionally delicious muffins.
Conclusion: Dairy-Free Baking Delight with Brown Butter Flavor
Mastering Dairy-Free Baking with BakeWithEase
Embarking on the journey of dairy-free baking is an exciting adventure, full of delicious possibilities. At BakeWithEase, we believe that dietary needs shouldn't limit flavor or creativity in the kitchen. By understanding the role of ingredients and exploring clever techniques, you can confidently recreate classic flavors and discover new favorites.
From selecting the right plant oils to mastering binding agents and chilling techniques, each step contributes to successful dairy-free results. Our goal is to empower you with the knowledge and inspiration to bake with ease, regardless of dietary specifications.
Enjoying the Richness of Brown Butter Flavor, Dairy-Free!
You don't need dairy to enjoy the sophisticated, nutty, and slightly caramelized flavor of brown butter. By using carefully heated and potentially infused plant oils, you can create a dairy-free alternative that brings this sought-after taste to your baked goods.
The dairy-free brown butter cookies you create using these methods are a testament to the innovation possible in plant-based baking. They offer a delightful combination of familiar cookie comfort with a unique, rich flavor profile. So go ahead, try the technique, bake a batch, and savor the delicious results of your dairy-free brown butter baking success!
Frequently Asked Questions
These cookies achieve the brown butter flavor by carefully browning plant-based oils, like coconut oil or vegan butter alternatives, instead of traditional dairy butter. This replicates the nutty and rich taste without any dairy products.
Can I use any plant-based oil for browning?
While you can experiment, coconut oil and vegan butter are recommended for the best flavor and browning results. Other oils might not develop the same characteristic brown butter notes.
With the right technique and quality plant-based oils, the flavor is remarkably similar! Achieving the perfect brown butter aroma and taste is key to a delicious dairy-free alternative.
All-purpose flour is generally recommended for its versatility and ability to create a tender cookie texture. However, you can experiment with gluten-free blends for a gluten-free and dairy-free option.
How do I know when the plant-based oil is properly browned?
Look for a golden brown color and a nutty aroma. Be careful not to burn the oil, as this will result in a bitter taste. The process is similar to browning dairy butter.
Final Reflection: The Sweet Revolution of Dairy-Free Baking
The creamy, nutty depth of brown butter is no longer the exclusive domain of dairy lovers. This article has explored how plant-based oils can successfully mimic and even enhance the unique flavor profile of brown butter, opening up a world of delicious possibilities for those with dairy restrictions or preferences. The demand for inclusive and delicious recipes is higher than ever, and this technique offers a truly accessible and exciting alternative.
The shift towards plant-based diets is not just a trend; it's a reflection of growing awareness about health, sustainability, and ethical considerations. This exploration into dairy-free brown butter baking highlights the power of culinary innovation to meet evolving needs and desires. Food is symbolic of love when words are inadequate.
- Alan D. Wolfelt. This rings true in the context of baking, where creating delicious and inclusive treats can be a powerful act of care and connection. The ability to share the joy of brown butter cookies with a wider audience, regardless of dietary restrictions, is profoundly rewarding.
Now, consider your own baking journey. Are you ready to experiment with different plant-based oils to discover your perfect dairy-free brown butter cookie? Perhaps you'll find that coconut oil lends a subtle tropical note, or that avocado oil adds a surprising richness. The possibilities are endless! Embrace the challenge, explore the flavors, and share the delicious results with those you love. Let's continue to elevate the art of baking, one dairy-free, brown butter masterpiece at a time.
Unlock the Secret to Dairy-Free Delight!
Thanks for joining us on this delicious journey into the world of dairy-free baking! We hope you've gained some valuable insights into creating rich, flavorful cookies using plant-based oils and brown butter. Ready to take your baking to the next level?
- Try our recipe today! Substitute your favorite plant-based milk and oil into the recipe provided and experience the creamy, nutty goodness for yourself. It's easier than you think!
- Share your baking triumphs (and challenges!) with us on social media using #BakeWithEaseDairyFree. We love seeing your creations!
- Experiment with different plant oils! Explore the unique flavor profiles each one brings to your cookies—from the subtle sweetness of coconut oil to the robust taste of avocado oil.
What innovative flavor combinations will you create with your newfound dairy-free baking skills?