
Do You Need a Thermometer to Temper Chocolate? Find Out Here.

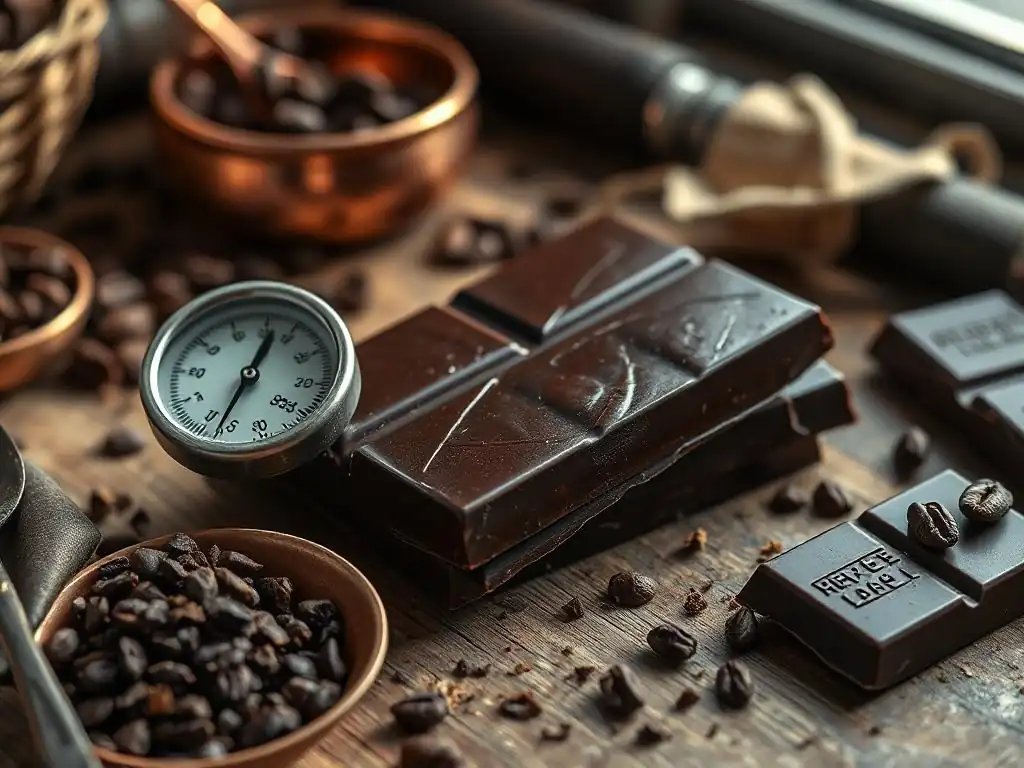
Welcome to BakeWithEase, your trusted guide to baking brilliance! Ever wondered if a thermometer is really essential for achieving that perfect snap and shine when tempering chocolate? Dive into our latest article, " Do You Need a Thermometer to Temper Chocolate? Find Out Here." and discover the secrets to mastering this crucial technique. Unlocking the mystery of the " Temper chocolate thermometer guide" is easier than you think! Ready to elevate your chocolate creations? Let's get baking!
- Understanding Chocolate Tempering: Why It Matters
- Tempering Chocolate Without a Thermometer: Is It Possible?
- The Role of a Thermometer in Chocolate Tempering: Accuracy and Precision
- Step-by-Step Guide: Tempering Chocolate with a Thermometer
- Troubleshooting Common Tempering Problems (With and Without a Thermometer)
- Thermometer vs. No Thermometer: Which Tempering Method is Right for You?
- Tips and Tricks for Successful Chocolate Tempering, Regardless of Method
- Mastering Chocolate Tempering for Baking Excellence
-
Frequently Asked Questions
- Do I really need a thermometer to temper chocolate?
- What kind of thermometer is best for tempering chocolate?
- What happens if I don't temper my chocolate properly?
- Can I temper chocolate without a thermometer using a specific method?
- What temperature range should I aim for when tempering dark, milk, and white chocolate?
- Final Reflection: The Art and Science of Perfectly Tempered Chocolate
- Unlock Your Chocolate Tempering Secrets!
Understanding Chocolate Tempering: Why It Matters
The Science Behind Crystal Formation in Chocolate
Chocolate's structure relies on cocoa butter, which solidifies into six different types of crystals (Forms I through VI) when it cools. Tempering is the process of carefully controlling the temperature of melted chocolate to encourage the formation of the most stable and desirable crystal structure, known as Form V. This specific crystal type melts at around 33.8°C (93°F), which is just below body temperature, giving properly tempered chocolate that signature melt-in-your-mouth feel.
If chocolate is simply melted and cooled without tempering, the cocoa butter can solidify into a mix of unstable crystal forms (like Forms I, II, III, and IV). These less stable crystals melt at lower temperatures, can result in a dull, streaky appearance (bloom), and the chocolate will lack firmness and snap. The Form V crystal is the key to achieving a beautiful, stable, and delicious chocolate product.
Benefits of Tempering Chocolate: Snap, Shine, and Stability
Properly tempered chocolate boasts several desirable characteristics that are essential for professional-looking confections. Firstly, it sets with a beautiful, glossy sheen that makes it visually appealing. This smooth, reflective surface is a direct result of the uniform arrangement of Form V cocoa butter crystals.
Secondly, tempered chocolate has a satisfying 'snap' when broken. This crisp fracture is another indicator of the correct crystal structure. Beyond aesthetics and texture, tempering provides crucial stability. Tempered chocolate is less prone to melting at room temperature and is highly resistant to fat bloom (those white, streaky patches that can appear on untempered chocolate over time), ensuring your creations remain appealing and structurally sound for longer. This makes it invaluable for dipping, molding, and creating delicate chocolate decorations.
Tempering Chocolate Without a Thermometer: Is It Possible?
Exploring Alternative Tempering Methods
Yes, it is absolutely possible to temper chocolate without relying on a thermometer. Historically, bakers and chocolatiers tempered chocolate long before precise digital thermometers were widely available. These methods rely on careful observation, touch, and understanding the chocolate's behavior through its physical changes—texture, viscosity, and how it cools.
These alternative methods, while requiring more practice and a keen sense for the chocolate's state, leverage the principle of introducing stable Form V crystals into the melted chocolate to seed the crystallization process. They bypass the direct temperature readings and instead focus on manipulating the chocolate's environment and movement to guide its cooling and crystallization.
Seed Tempering: A Practical Approach
Seed tempering is one of the most common and reliable thermometer-free methods. It involves melting about two-thirds of your chocolate to a point where it's fully liquid (visually smooth, no solid lumps remaining). Then, you gradually stir in the remaining one-third of the chocolate, which should be finely chopped and already tempered.
The solid, tempered chocolate pieces act as 'seeds,' providing the stable Form V crystals needed to encourage the melted chocolate to crystallize correctly as it cools. You continue stirring until the added chocolate is fully melted and the mixture has cooled to the desired working temperature, which you judge by feeling the bowl or testing a small amount. For example, if using dark chocolate, you'd melt the majority, then stir in seeds until it cools and thickens slightly, and a small test piece sets quickly.
Tabliering Method: Using Motion and Observation
The tabliering method, also known as marbleing or tempering on a slab, is another classic technique that doesn't strictly require a thermometer, though one is often used for verification. It involves pouring about two-thirds of your melted chocolate onto a clean, cool surface, traditionally marble or granite.
Using a palette knife and scraper, you continuously spread and scrape the chocolate back and forth, moving it around the cool surface. This constant motion and contact with the cool surface rapidly cools the chocolate while agitating it, promoting the formation of Form V crystals. When the chocolate thickens and starts to become slightly opaque, indicating sufficient crystal formation, you quickly scrape it back into the bowl with the remaining one-third of warm, melted chocolate and stir to combine. The goal is to cool the bulk of the chocolate to the working temperature by feel and observation.
The Role of a Thermometer in Chocolate Tempering: Accuracy and Precision
Why a Chocolate Thermometer is Beneficial
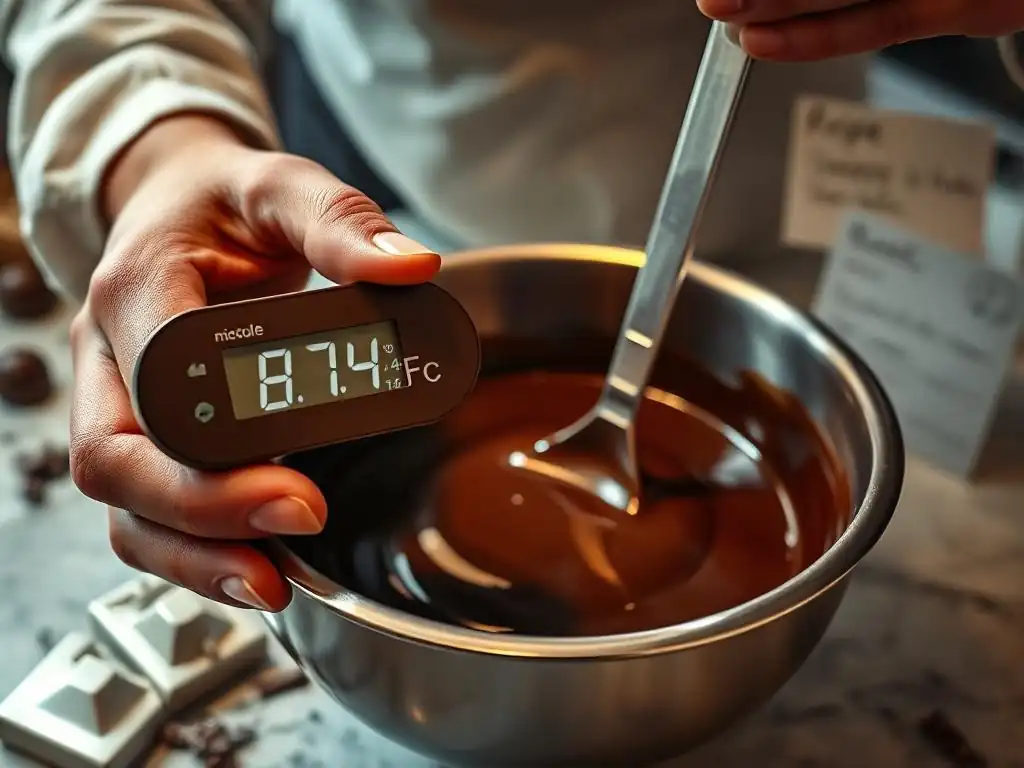
While tempering without a thermometer is possible, using one significantly simplifies the process and increases the likelihood of success, especially for beginners or when aiming for consistent results. A thermometer provides objective data, removing the guesswork involved in judging temperatures by touch or appearance alone. This precision is particularly helpful because the temperature windows for successful tempering are quite narrow.
Understanding and hitting these specific temperature ranges is crucial for encouraging the stable Form V crystals to form. A temper chocolate thermometer guide allows you to monitor the chocolate's temperature at each stage—melting, cooling, and rewarming—ensuring you stay within the optimal zones for the type of chocolate you are using (dark, milk, or white).
Achieving Consistent Results with a Digital Thermometer
A digital thermometer provides the accuracy needed to reliably hit the specific temperature points required for different types of chocolate. For instance, dark chocolate is typically heated to around 45-50°C (113-122°F), cooled down to 28-29°C (82-84°F) to form crystals, and then gently reheated to a working temperature of 31-32°C (88-90°F). Milk and white chocolate have slightly different, generally lower temperature ranges, often melting around 40-45°C (104-113°F), cooling to 26-27°C (79-81°F), and working at 29-30°C (84-86°F).
Hitting these narrow ranges consistently is challenging without a thermometer. A digital thermometer allows you to track the temperature precisely, ensuring you don't undercool (leading to unstable crystals) or overcool (leading to too many crystals, making the chocolate thick and difficult to work with). This precision is key to achieving that perfect snap and shine every time.
Types of Thermometers for Tempering Chocolate
When considering a temper chocolate thermometer guide, several types can be suitable, though some offer more convenience and accuracy for this specific task than others. The key is a thermometer that can accurately measure temperatures in the ranges relevant to melting and tempering chocolate, typically from room temperature up to around 50-60°C (120-140°F).
Common options include digital probe thermometers, which are versatile for many kitchen tasks, and infrared thermometers, which offer a non-contact measurement. Each has its pros and cons regarding speed, accuracy, and ease of use specifically for monitoring the temperature of a mass of melting or cooling chocolate.
Digital Probe Thermometers
Digital probe thermometers are widely available and relatively inexpensive. They feature a metal probe that is inserted directly into the chocolate to take a reading. Look for one with a fast response time, ideally a few seconds, so you can quickly see the temperature change as you stir and cool the chocolate.
A probe thermometer gives a reading of the temperature at the specific point where the probe is inserted. This is useful, but you need to stir the chocolate well to ensure the temperature is uniform throughout the batch before taking a reading. Ensure the probe is long enough to reach into your bowl without getting your hand too close to the potentially hot chocolate or steam if using a double boiler.
Infrared Thermometers
Infrared thermometers measure surface temperature using infrared radiation, meaning they don't need to touch the chocolate. You simply point the thermometer at the surface of the chocolate to get a reading. This non-contact method is hygienic and very fast, providing an instant temperature reading.
While convenient, infrared thermometers measure only the surface temperature, which might be slightly different from the temperature of the bulk of the chocolate, especially if it's thick or not being stirred constantly. For best results when using an infrared thermometer for tempering, ensure the chocolate is well-stirred to maintain a consistent temperature throughout the mass before taking a reading.
Step-by-Step Guide: Tempering Chocolate with a Thermometer
Preparing Your Chocolate and Equipment
Before you begin tempering, gather all your necessary equipment and prepare your chocolate. You will need the chocolate itself, ideally high-quality couverture chocolate with sufficient cocoa butter content. Chop the chocolate into small, uniform pieces (about the size of chocolate chips or smaller) to ensure even melting.
You'll also need a heatproof bowl (glass or stainless steel is best), a method for melting (double boiler or microwave), a spatula for stirring, a clean, dry surface (like a counter or baking sheet) for testing, and, of course, your reliable chocolate thermometer. Ensure all your equipment, especially bowls and spatulas, are completely dry, as even a tiny drop of water can cause chocolate to seize.
Melting the Chocolate: Reaching the Initial Temperature
The first step in tempering is to fully melt the chocolate to eliminate all existing cocoa butter crystals, both stable and unstable. Using a double boiler (a bowl set over a pot of simmering, not boiling, water) or a microwave on low power is recommended to prevent scorching.
For dark chocolate, heat it gradually while stirring until it reaches a temperature of approximately 45-50°C (113-122°F). For milk or white chocolate, aim for a slightly lower temperature, around 40-45°C (104-113°F). Use your thermometer to monitor the temperature as it melts. Ensure there are no solid lumps remaining before moving to the next step.
Cooling and Tempering: Monitoring Temperature Changes
Once fully melted and at the initial temperature, the chocolate needs to be cooled down to the specific temperature range where Form V crystals will form. This is the critical tempering phase. For dark chocolate, you need to cool it down to about 28-29°C (82-84°F). For milk or white chocolate, the target is slightly lower, typically 26-27°C (79-81°F).
You can achieve this cooling by removing the bowl from the heat and stirring continuously, or by using the seed method (stirring in solid tempered chocolate). Use your thermometer to track the temperature drop. As the chocolate cools and reaches the target range, it might start to thicken slightly.
Once it hits the low end of the target range, gently rewarm it slightly to the working temperature (31-32°C for dark, 29-30°C for milk/white) while stirring. This gentle rewarming melts any unstable crystals that might have formed during cooling, leaving behind only the stable Form V crystals, and makes the chocolate fluid enough to work with.
Testing Your Tempered Chocolate: The Snap Test Explained
After reaching the working temperature, it's essential to test a small amount of chocolate to confirm it's properly tempered before coating or molding. The classic method is the 'snap test.' Dip the tip of a knife, a piece of parchment paper, or a spoon into the tempered chocolate.
Set this test piece aside at cool room temperature (around 20-22°C or 68-72°F). Properly tempered chocolate should set quickly, becoming firm and non-sticky within three to five minutes. Once set, it should have a glossy surface and break with a clean snap. If it remains soft, sticky, dull, or takes a long time to set, the chocolate is not properly tempered and you'll need to reheat it (back to the initial melting temperature) and repeat the tempering process. This simple test is a vital part of any temper chocolate thermometer guide, confirming whether the temperature control was successful.
Troubleshooting Common Tempering Problems (With and Without a Thermometer)
Dealing with Seized Chocolate
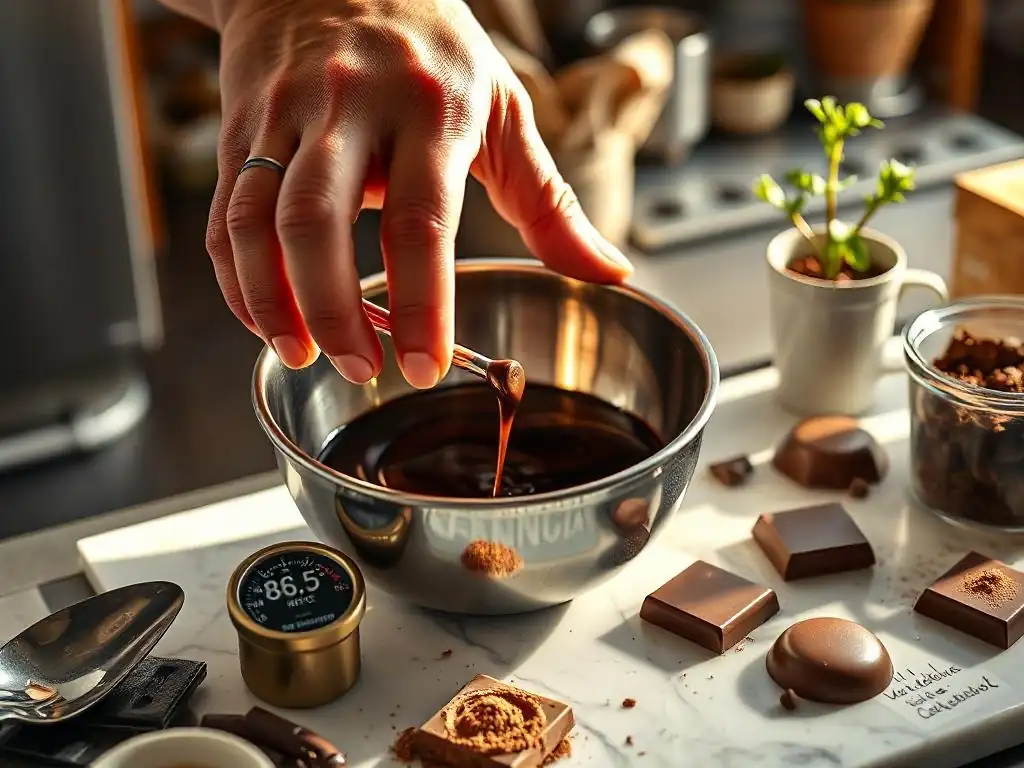
Seized chocolate is perhaps the most frustrating issue, occurring when even a tiny amount of water or steam comes into contact with melted chocolate. The chocolate instantly turns from a smooth liquid into a thick, lumpy, unusable mass. This happens because sugar in the chocolate forms a syrup with the water, causing the cocoa solids to clump together.
If your chocolate seizes, it cannot be used for tempering purposes like coating or molding, as the texture is ruined and the cocoa butter crystals won't align correctly. However, it's not entirely wasted. You can often "rescue" seized chocolate by stirring in a tablespoon or two of a neutral oil or melted shortening, or even hot cream (if making ganache), until it becomes a smooth, albeit thick, liquid again. This mixture can then be used in baked goods like brownies or cakes, where the texture isn't critical.
Fixing Over-Crystallized Chocolate
Over-crystallization occurs when chocolate cools too much during the tempering process, resulting in too many Form V crystals forming. This makes the chocolate very thick, almost paste-like, and difficult or impossible to work with for dipping or molding. It feels sluggish and sets almost instantly on contact with anything cooler.
If your chocolate becomes over-crystallized, you can gently reheat it slightly while stirring constantly. The goal is to melt just enough of the excess crystals to bring it back to a fluid working consistency without melting all the Form V crystals. Use your thermometer to carefully bring the temperature back up by just a degree or two (e.g., from 28°C to 30°C for dark chocolate). If you overheat it and the chocolate becomes completely liquid and loses its temper, you'll need to start the entire tempering process over again.
What to Do if Your Chocolate Doesn't Set Properly
If you perform the snap test and your chocolate remains soft, sticky, dull, or takes a long time to set (longer than 5-10 minutes at room temperature), it means the tempering process was unsuccessful. The cocoa butter crystals did not form correctly, likely due to incorrect temperature management during the cooling and rewarming phases.
In this situation, the chocolate is not tempered and will not give you the desired snap, shine, or stability. Unfortunately, the only way to fix untempered chocolate is to melt it down completely again (back to its initial melting temperature of 45-50°C for dark, or 40-45°C for milk/white) and repeat the entire tempering process from the beginning. Pay extra attention to hitting the correct temperature ranges during the cooling and rewarming steps, using your thermometer if you have one, or ensuring you are using enough seed chocolate if using that method.
Thermometer vs. No Thermometer: Which Tempering Method is Right for You?
The Learning Curve: Exploring Both Approaches
Both tempering with and without a thermometer have their own learning curves. Using a thermometer, especially when following a detailed temper chocolate thermometer guide, often feels more straightforward for beginners. It provides concrete numbers to follow, reducing the uncertainty and reliance on subjective feel or visual cues. It's like following a recipe precisely.
Tempering without a thermometer, however, requires developing a deeper intuition for the chocolate's behavior. You learn to judge the temperature by how the chocolate feels against your lip or wrist, how quickly it cools on a test surface, and its viscosity. This intuitive approach takes practice and patience but can be incredibly rewarding and allows for flexibility once mastered. Many experienced chocolatiers use a combination of both methods, using temperature as a guide but relying on feel and observation for fine-tuning.
Considering Your Skill Level and Experience
Your current baking and chocolate-working experience is a significant factor in choosing a tempering method. If you are new to working with chocolate or feel intimidated by the process, starting with a thermometer is often the recommended approach. It provides a clear path to success and helps you understand the different stages of tempering by correlating them with specific temperatures. A good temper chocolate thermometer guide can make this process much less daunting.
More experienced bakers who have spent time working with chocolate might find the thermometer-free methods accessible. They may already possess a good sense of temperature and texture by feel. Mastering thermometer-free methods demonstrates a high level of skill and control over the medium. However, even experienced professionals often use thermometers for consistency, especially with large batches or sensitive projects.
Recipe Complexity and Tempering Needs
The type of recipe you are attempting can also influence whether you should use a thermometer. For simple applications where perfect temper isn't absolutely critical (like mixing chocolate into a batter or frosting), precise tempering isn't necessary. However, for confections where the finish is paramount, such as molded chocolates, dipped truffles, chocolate bars, or delicate decorations, achieving a flawless temper is essential for aesthetics and stability.
For these more complex applications, using a thermometer provides the highest degree of control and reliability. It minimizes the risk of wasted time and expensive chocolate due to failed tempering. While thermometer-free methods can yield perfect results, the margin for error is smaller. If your project demands a professional finish, leaning on a temper chocolate thermometer guide is a wise choice to ensure success.
Tips and Tricks for Successful Chocolate Tempering, Regardless of Method
Choosing High-Quality Chocolate for Tempering
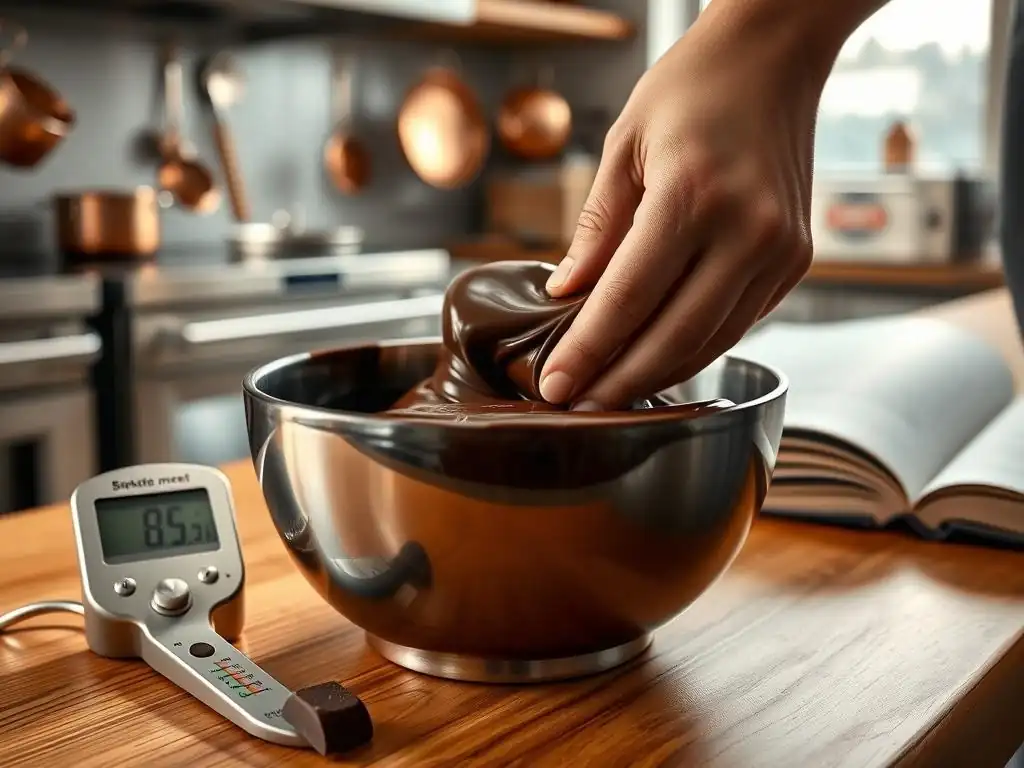
The quality of your chocolate is paramount to successful tempering. Not all chocolate is created equal, especially when it comes to its cocoa butter content, which is the key to tempering. Look for "couverture" chocolate, which is specifically formulated for melting and tempering. Couverture chocolate contains a higher percentage of cocoa butter (typically 32-39%) than standard eating chocolate.
This higher cocoa butter content provides the fluidity needed for easy tempering and ensures there is enough cocoa butter to form the stable crystal structure required for snap and shine. Chocolate chips or baking chocolate often contain stabilizers or less cocoa butter, which can make them difficult or impossible to temper properly. Investing in good quality couverture chocolate is a fundamental step in any temper chocolate thermometer guide or thermometer-free attempt.
Controlling Environmental Factors
The environment in which you temper chocolate significantly impacts the process. Ideal conditions include a cool, dry room with a temperature between 20-22°C (68-72°F) and low humidity (below 50%). High humidity is the enemy of chocolate, as moisture can cause it to seize or develop bloom.
Avoid tempering chocolate on a hot or humid day if possible. Ensure your workspace is free from steam (especially if using a double boiler) or water splashes. A cool room helps the chocolate cool down efficiently during the tempering phase, promoting proper crystal formation. If your room is too warm, the chocolate may not cool sufficiently to temper correctly, even if you hit the target temperatures on your thermometer.
Proper Storage of Tempered Chocolate
Once your chocolate is perfectly tempered and used to create confections, proper storage is key to maintaining its beautiful finish and stability. Store finished chocolate items in a cool, dry place, away from direct sunlight and strong odors. An ideal storage temperature is typically between 15-18°C (59-64°F).
Avoid refrigerating tempered chocolate if possible, as the humidity and temperature fluctuations in a refrigerator can cause condensation to form on the surface, leading to sugar bloom (a dull, white surface layer). If refrigeration is necessary in a warm climate, place the chocolate in an airtight container first to protect it from moisture. When ready to use, allow the container to come to room temperature before opening to prevent condensation.
Mastering Chocolate Tempering for Baking Excellence
Enhancing Confections with Perfectly Tempered Chocolate
Mastering the art of tempering chocolate opens up a world of possibilities for enhancing your baked goods and confections. Perfectly tempered chocolate is essential for creating professional-quality chocolate-covered strawberries, truffles, bonbons, and decorative elements like chocolate curls or shavings. The crisp shell and glossy finish elevate simple treats into impressive desserts.
Imagine dipping a delicate shortbread cookie into smooth, shiny, tempered chocolate that sets with an audible snap. Or creating molded chocolate figures that release easily from their molds with a brilliant shine. These are the results of successful tempering, adding both visual appeal and a delightful textural contrast to your creations. It transforms standard desserts into something truly special.
The Significance of Tempering in Chocolate Work
In essence, tempering is the foundation of quality chocolate work beyond simply melting and eating. It's the process that unlocks the full potential of the cocoa butter, allowing it to perform as intended – providing structure, stability, and a luxurious mouthfeel. Whether you choose to follow a precise temper chocolate thermometer guide or rely on the tactile skills of thermometer-free methods, understanding why tempering is done is crucial.
Achieving a proper temper ensures that your chocolate creations will not only look stunning with their glossy finish and sharp snap but will also hold up well at room temperature and resist the dreaded fat bloom. It's a skill that distinguishes amateur chocolate melting from true chocolate artistry, enabling you to produce confections that rival those from a professional patisserie.
Frequently Asked Questions
Do I really need a thermometer to temper chocolate?
Yes, a thermometer is highly recommended for tempering chocolate. It allows you to accurately monitor the temperature, which is crucial for achieving the correct crystal formation and a smooth, glossy finish.
What kind of thermometer is best for tempering chocolate?
A digital thermometer with a probe is generally considered best. It provides accurate readings quickly and can be easily inserted into the melted chocolate.
What happens if I don't temper my chocolate properly?
If you don't temper chocolate correctly, it will result in a dull, streaky appearance and a soft, crumbly texture. It may also develop fat bloom – a white coating on the surface.
Can I temper chocolate without a thermometer using a specific method?
While some methods exist that attempt to temper without a thermometer, they are less reliable and require significant experience. Using a thermometer provides a more consistent and predictable outcome.
What temperature range should I aim for when tempering dark, milk, and white chocolate?
The ideal temperature ranges vary: Dark chocolate is typically tempered between 88-90°F (31-32°C), milk chocolate between 84-86°F (29-30°C), and white chocolate between 82-84°F (28-29°C).
Final Reflection: The Art and Science of Perfectly Tempered Chocolate
The quest for the perfect chocolate temper is more than just a culinary pursuit; it's a journey into the fascinating world of cocoa butter crystallization, a world that directly impacts the texture and shine of our beloved treats. Understanding the science behind tempering, as explored in this guide, is crucial for achieving that signature snap and glossy sheen that elevates chocolate from good to exceptional. This isn't just about following a recipe; it's about mastering a process that has been refined over centuries.
The impact of properly tempered chocolate extends far beyond individual enjoyment. It's a cornerstone of the confectionery industry, influencing the quality and appeal of countless products, from artisan chocolates to mass-produced candies. The subtle nuances in texture and appearance, achieved through careful tempering, speak volumes about the dedication and skill of the chocolatier. As the renowned pastry chef, Jacques Torres, once said: Chocolate is a magical ingredient. It's all about the balance of flavors and textures, and tempering is the key to unlocking its full potential.
This quote perfectly encapsulates the importance of mastering this technique, not just for professional chocolatiers, but for anyone passionate about creating delicious and visually stunning chocolate creations.
Now, consider your own chocolate-making journey. Have you ever experienced the frustration of dull, grainy chocolate? Or the joy of achieving that perfect snap and shine? This guide has provided you with the tools and knowledge to consistently achieve the latter.
I encourage you to experiment, to practice, and to embrace the science behind this art form. Don't be afraid to try different methods and find what works best for you. The path to mastering chocolate tempering is a rewarding one, filled with delicious discoveries and the satisfaction of creating something truly special. So, grab your chocolate, your thermometer, and embark on your own chocolate tempering adventure!
Unlock Your Chocolate Tempering Secrets!
Thanks for joining us on this chocolatey adventure! You've just learned the ins and outs of perfectly tempered chocolate – a skill that will elevate your baking to a whole new level. Ready to put your new knowledge into practice?
- Temper your first batch today! Grab your chocolate and give it a try. Remember those crucial temperature checkpoints!
- Share your tempered chocolate creations with us on social media – we’d love to see your masterpieces! Use #BakeWithEaseTempering
- Explore our other baking guides on BakeWithEase.com for more expert tips and tricks.
What delicious treat will you create with your perfectly tempered chocolate?