
Easy Steps to Beautiful Sugar Laces for Elegant Desserts

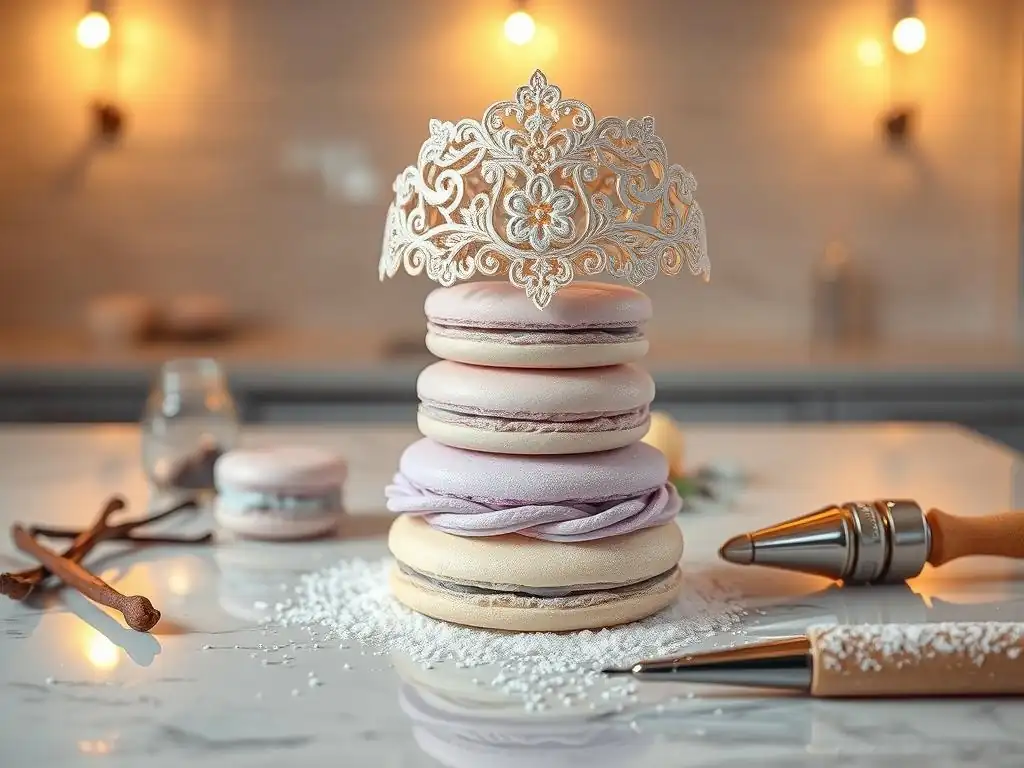
Welcome to BakeWithEase, your trusted guide to baking brilliance! Ever dreamed of adding breathtaking elegance to your desserts? Then you're in the right place. Dive into our beautiful sugar lace tutorial and unlock the secrets to crafting delicate, edible masterpieces. Curious how to achieve this stunning effect? Keep reading, and let's transform your baking into art!
- Easy Steps to Beautiful Sugar Laces for Elegant Desserts | BakeWithEase.com
- Introduction to Sugar Lace: Elevate Your Baking with Ease
- Mastering the Art of Sugar Lace: Your Complete Tutorial
- Step-by-Step: Creating Stunning Sugar Lace
- Troubleshooting Common Sugar Lace Problems
- Creative Sugar Lace Applications: Beyond the Cake
- Tips and Tricks for Perfect Sugar Lace Every Time
- Conclusion: Unleash Your Creativity with Sugar Lace
- Frequently Asked Questions
- Final Reflection: The Enduring Allure of Edible Art
- Unleash Your Inner Pastry Artist: Craft Stunning Sugar Lace!
Easy Steps to Beautiful Sugar Laces for Elegant Desserts | BakeWithEase.com
Introduction to Sugar Lace: Elevate Your Baking with Ease
What is Sugar Lace and Why Use It?
Sugar lace, also known as edible lace or sugarveil, is a delicate, flexible sugar-based decoration used to add intricate patterns and elegance to cakes, cupcakes, and other desserts. It's made from a pliable mixture, often containing gum tragacanth or CMC powder, sugar, and other stabilizing ingredients, which is spread onto a specially designed silicone mat and then dried or baked until firm yet flexible. Unlike traditional piping or fondant work, sugar lace offers the ability to create incredibly fine, detailed patterns that would be impossible to achieve otherwise.
Using sugar lace can transform a simple dessert into a showstopper. It provides a sophisticated, often vintage or romantic aesthetic that is highly sought after in professional patisserie. For home bakers, mastering this technique opens up a world of creative possibilities, allowing you to replicate stunning designs seen in high-end bakeries without needing years of practice in intricate piping. Furthermore, once dried, sugar lace is relatively sturdy and easy to apply, making it a convenient decoration option for various occasions, from weddings to birthday parties.
The Allure of Sugar Lace in Dessert Decoration
The appeal of sugar lace lies in its ability to add a layer of sophisticated texture and visual interest that is both delicate and striking. Imagine a smooth buttercream cake adorned with a band of intricate lace that appears almost fabric-like, or cupcakes topped with tiny, perfectly formed lace medallions. This level of detail elevates the perceived value and artistry of a dessert significantly. It’s particularly popular for formal events, adding a touch of luxury and bespoke craftsmanship.
Moreover, sugar lace is incredibly versatile. It can be colored with edible food gels to match any palette, giving bakers immense flexibility in design. The range of available mat patterns is vast, from classic floral and geometric designs to modern abstract motifs, ensuring there's a style to suit every project.
A simple 8-inch round cake, for instance, can be completely transformed by adding a 2.5-inch wide sugar lace border around its base, requiring perhaps 30-40 grams of dried lace material and adding mere minutes to the final assembly time, but dramatically increasing its visual impact. This aesthetic enhancement is a key reason why bakers pursue a beautiful sugar lace tutorial.
Mastering the Art of Sugar Lace: Your Complete Tutorial
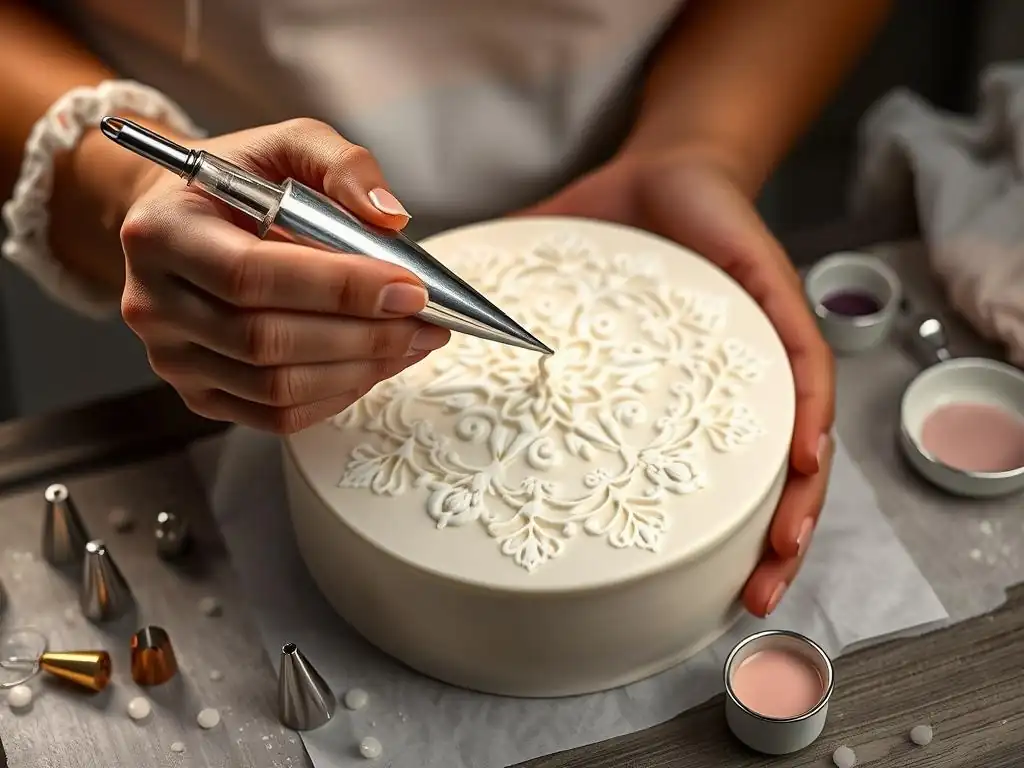
Gathering Your Sugar Lace Supplies: A Baker's Checklist
Before diving into the creation process, having all your tools and ingredients ready is crucial for a smooth experience. Think of it like prepping your mise en place for cooking; everything should be within easy reach. This beautiful sugar lace tutorial begins with ensuring you are well-equipped.
Here’s a quick checklist to get you started:
- [ ] Sugar lace mix or individual ingredients
- [ ] Water (usually distilled)
- [ ] Food-grade silicone sugar lace mat(s)
- [ ] Offset spatula or scraper
- [ ] Bowl for mixing
- [ ] Whisk or hand mixer (optional)
- [ ] Oven (for baking method) or a dry area (for air-drying)
- [ ] Parchment paper or a non-stick surface
- [ ] Airtight container for storage
Essential Ingredients for Perfect Sugar Lace
The foundation of beautiful sugar lace is the mixture itself. While many bakers use commercially available sugar lace mixes (which typically contain a blend of starches, sugars, gums, and often a humectant), you can also make it from scratch. A common homemade recipe might include powdered sugar, cornstarch, a gum like CMC or tragacanth, and often a liquid glucose or corn syrup for flexibility, all mixed with water.
The exact ratio is critical; for instance, a popular commercial mix might recommend mixing 50 grams of powder with 40-50 ml of water. Using distilled water is often recommended to ensure purity and consistent results, preventing minerals from affecting the texture.
The quality and balance of ingredients directly impact the final texture of the lace – too much starch can make it brittle, while too little gum might make it too soft or sticky. Some recipes also include a small amount of shortening or vegetable oil to aid in release from the mat. When using a commercial mix, always follow the manufacturer's instructions precisely, as formulations vary significantly between brands. For example, Brand A might require a 1:1 ratio of powder to water by weight, while Brand B might specify 1:0.8.
Must-Have Tools for Creating Delicate Sugar Lace
Beyond the ingredients, specific tools are indispensable. The most important is a high-quality silicone sugar lace mat. These mats come with intricate patterns molded into them and are made from flexible, food-grade silicone designed to withstand heat if baking. The depth and detail of the mat pattern will dictate the final look of your lace. A good offset spatula or a bench scraper is essential for spreading the mixture evenly and thinly across the mat, ensuring all cavities are filled without excess.
You'll also need a non-reactive bowl for mixing the ingredients. While hand mixing with a whisk is possible, a small hand mixer or stand mixer with a whisk attachment can help achieve a smoother, lump-free batter more quickly, especially when working with larger quantities or certain types of mixes. For the drying process, if baking, you'll need an oven capable of holding a low, consistent temperature (often between 80°C and 120°C).
If air-drying, simply a flat, dry surface is sufficient. Finally, parchment paper or a silicone baking mat is useful when handling the dried lace to prevent it from sticking to your workspace before application.
Step-by-Step: Creating Stunning Sugar Lace
Step 1: Preparing the Sugar Lace Mixture
The journey to beautiful sugar lace begins with correctly preparing the mixture. This phase sets the stage for success, ensuring the lace has the right consistency to spread smoothly and dry properly into a flexible, durable decoration.
Measuring and Mixing the Ingredients Correctly
Accuracy in measuring ingredients is paramount, particularly if you are using a specific recipe or a commercial mix. For commercial mixes, weigh the powder carefully using a digital kitchen scale – don't rely on volume measurements like cups, as the density can vary. For instance, if the package calls for 100 grams of mix, measure exactly 100 grams.
Similarly, measure the liquid (usually water) precisely, typically in milliliters or grams. Using too much liquid will result in a mixture that is too runny, difficult to spread, and may become brittle when dry. Too little liquid will make the mixture too thick and lumpy, preventing it from properly filling the fine details of the mat.
Combine the measured dry ingredients in a bowl, then gradually add the liquid while mixing. You can use a whisk, a fork, or a hand mixer on low speed. The goal is to achieve a smooth, homogenous paste without any lumps. Mix until all the powder is fully incorporated and the mixture has a consistency similar to thick pancake batter or smooth toothpaste – it should be thick enough to hold its shape slightly but spreadable. Some mixes benefit from resting for 5-10 minutes after mixing to allow the gums to hydrate fully, resulting in a smoother texture.
Achieving the Right Consistency for Flawless Sugar Lace
The ideal consistency is key to a beautiful sugar lace tutorial. The mixture should be thick enough that it doesn't run off the mat easily, but fluid enough to be pushed into the intricate crevices of the silicone pattern. If it's too thick, you'll struggle to spread it evenly and fill all the fine details, leading to gaps and imperfections in your lace. If it's too thin, it might shrink excessively during drying or become too fragile to handle.
You can test the consistency by lifting your whisk or spoon; the mixture should fall slowly in a thick ribbon. If it seems too thick after mixing and resting, you can add a tiny amount of water (a few drops at a time) and mix again.
If it's too thin, unfortunately, it's harder to fix; you might try letting it sit uncovered for a short while to allow some water to evaporate, or if using a mix, adding a tiny bit more mix powder (though this can sometimes introduce lumps). Aim for a smooth, spreadable paste that adheres well to the mat without being sticky.
Step 2: Spreading the Sugar Lace onto the Mat
Once your mixture is ready, the next crucial step in this beautiful sugar lace tutorial is applying it to the silicone mat. This requires a bit of technique to ensure every detail is filled.
Choosing the Right Sugar Lace Mat Design
Sugar lace mats come in countless designs, from delicate floral motifs and intricate geometric patterns to bold modern graphics. When choosing a mat, consider the overall style of your dessert and the occasion. For a vintage wedding cake, a mat with fine, detailed lace patterns might be perfect. For a modern birthday cake, a geometric or abstract design could be more suitable. Also, consider the size of the design elements on the mat. Mats with extremely fine details can be more challenging to fill perfectly without creating air bubbles, especially for beginners.
Consider the dimensions of the mat and the lace strips it produces. If you need a long border for a large cake, choose a mat that produces long sections or has multiple rows of the same design. For cupcake toppers, look for mats with smaller, individual designs. A typical mat might be around 30x40 cm and produce lace strips approximately 5-8 cm wide and 35 cm long, depending on the pattern. Having a few different mat designs allows you to experiment and add variety to your sugar lace creations.
Techniques for Evenly Spreading the Mixture
Place your sugar lace mat on a firm, flat surface. Dollop a generous amount of the prepared mixture onto one end of the mat. Using an offset spatula or a bench scraper held at a slight angle (around 45 degrees), begin to spread the mixture firmly and evenly across the entire surface of the mat, working it into all the indentations. Apply moderate pressure to ensure the mixture is pushed into every tiny detail of the pattern.
Work from one end of the mat to the other, or from the center outwards, ensuring complete coverage. After the initial spread, angle your scraper more steeply (closer to 90 degrees) and scrape off the excess mixture from the surface of the mat. You want the mixture to remain only within the patterned indentations.
Scrape multiple times from different angles to remove as much surface excess as possible. The goal is a perfectly level surface with the mixture filling the design cavities and the rest of the mat surface clean. Any excess left on the flat parts of the mat will dry into a thin, fragile film that is difficult to remove cleanly and can cause your lace to tear.
Step 3: Baking or Air-Drying Your Sugar Lace
Once the mixture is spread, it needs to dry to become flexible lace. There are two primary methods: baking in a low oven or air-drying.
Baking Sugar Lace: Time and Temperature Guide
Baking is the faster method and is often preferred for its reliability, especially in humid environments. Preheat your oven to a very low temperature, typically between 80°C and 120°C (175°F to 250°F). Place the mat directly onto an oven rack or a baking sheet. The baking time will vary significantly depending on your oven, the thickness of the lace pattern, and the specific sugar lace mix used. It can range from 10 minutes for very thin patterns to 30 minutes or even longer for thicker designs.
The lace is ready when it feels dry to the touch but is still flexible. It should peel away from the mat relatively easily without breaking. If it's still sticky or wet, it needs more time. If it's brittle and snaps when you try to peel it, it might be slightly overbaked, though some mixes are more forgiving than others. A common bake time for a medium-thickness pattern at 100°C (210°F) might be around 15-20 minutes. Keep a close eye on it during the last few minutes to prevent over-drying.
Air-Drying Sugar Lace: Patience is Key
Air-drying is a simpler method as it requires no oven, but it takes much longer. Place the sugar lace mat on a flat surface in a dry, dust-free area away from direct sunlight or drafts. The drying time is heavily dependent on the humidity of your environment, the temperature, and the thickness of the lace. In a dry climate, it might take 6-12 hours. In a humid environment, it could take 24 hours or even longer.
The lace is ready when it feels dry and is easily peelable from the mat, retaining its flexibility. It should not feel sticky or wet. Air-drying often results in slightly more flexible lace compared to baking, as the drying process is slower and gentler. However, the long drying time makes it less practical for last-minute decorations and susceptible to environmental factors like sudden changes in humidity. Patience is definitely a virtue with this method in this beautiful sugar lace tutorial.
Step 4: Releasing and Storing Your Sugar Lace
Once dried (either baked or air-dried), the sugar lace is ready to be released from the mat and prepared for use or storage. This step requires a gentle touch.
Gently Removing the Lace from the Mat
This is often the most delicate part of the process. Carefully turn the sugar lace mat upside down onto a clean, flat surface, ideally covered with parchment paper or a silicone mat for easy handling. Starting at one corner or edge, gently begin to peel the silicone mat away from the dried lace. Do not try to peel the lace off the mat; instead, peel the mat away from the lace.
Work slowly and deliberately, lifting the mat gradually. The lace should detach smoothly. If any part of the lace seems stuck or tears, stop, lay the mat back down, and try peeling from a different angle or edge.
If the lace is tearing consistently, it might not be fully dry; you may need to return it to the oven for a few more minutes or allow it to air-dry longer. Once the mat is fully peeled away, you will be left with your beautiful sugar lace pattern on your work surface. Handle the lace carefully, as it is still fragile, especially the fine details.
Proper Storage Techniques to Maintain Freshness
Sugar lace is hygroscopic, meaning it absorbs moisture from the air. If left exposed, it can become soft, sticky, and eventually unusable, especially in humid conditions. Conversely, in very dry conditions, it can become overly brittle. The key to storage is maintaining its flexibility.
The best way to store dried sugar lace is immediately after peeling it from the mat. Place the lace flat between sheets of parchment paper or wax paper. Store these layers in an airtight container, such as a plastic food container with a tight-fitting lid. You can stack multiple layers of lace and paper in the container.
Store the container in a cool, dry place, away from direct sunlight. Do not refrigerate or freeze sugar lace, as condensation can ruin it. Properly stored sugar lace can last for several weeks, maintaining its flexibility and usability for future decorating projects from this beautiful sugar lace tutorial.
Troubleshooting Common Sugar Lace Problems
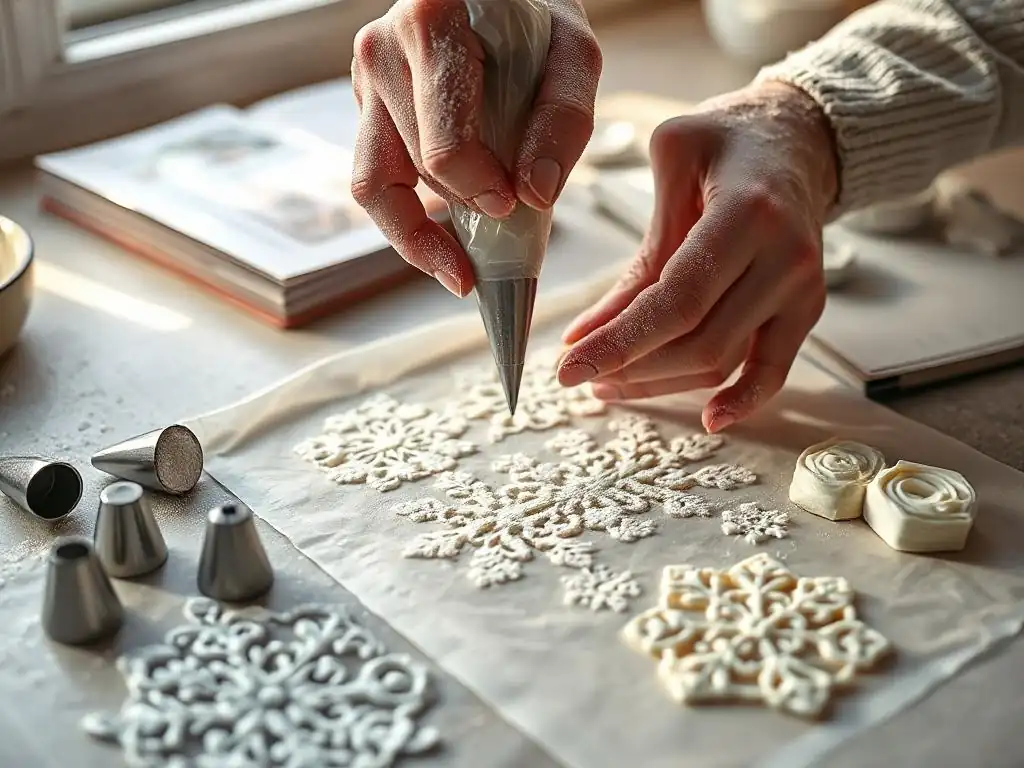
Even with a beautiful sugar lace tutorial, you might encounter issues. Knowing how to troubleshoot is part of mastering the technique.
Dealing with Sticky or Brittle Sugar Lace
Sticky sugar lace is typically a sign that it hasn't dried completely. This can happen if the baking time was too short, the oven temperature was too low, or if air-drying was attempted in a humid environment. If your lace is sticky, carefully place it back onto the sugar lace mat and return it to the oven for a few more minutes at a low temperature (e.g., 100°C), checking frequently. If air-drying, move it to a drier location or try using a dehumidifier in the room.
Brittle sugar lace, on the other hand, is usually caused by over-drying, either by baking at too high a temperature, for too long, or by air-drying in an excessively dry environment. Some mixes are naturally more prone to brittleness.
While severely brittle lace is hard to salvage, sometimes you can restore a little flexibility by exposing it to a slightly more humid environment for a short time – for instance, placing it in a container with a very slightly damp paper towel for 15-30 minutes (be very careful not to let it get too wet). This can sometimes make it pliable enough to use, though it's a delicate balance.
Preventing Bubbles and Imperfections
Bubbles and gaps are common imperfections in sugar lace and usually occur during the spreading phase. Bubbles are often caused by air trapped in the mixture or by insufficient pressure when spreading. To prevent them, ensure your mixture is smooth and lump-free before spreading. When spreading onto the mat, use firm, consistent pressure with your scraper, working the mixture into the design from multiple angles. Scraping off the excess multiple times also helps to remove surface bubbles.
Gaps can occur if the mixture is too thick to flow into fine details or if you didn't apply enough pressure when spreading. Ensure your mixture has the correct consistency (refer back to Step 1). When scraping, make sure the blade is angled correctly and you are pressing down firmly enough to push the mixture into every cavity of the sugar lace mat design. Working the mixture into the pattern before scraping off the excess can also help ensure full coverage.
Fixing Tears and Breaks in Your Sugar Lace
Despite your best efforts, sometimes sugar lace can tear, either during removal from the mat or handling. Small tears within a larger piece can often be 'glued' back together. Use a tiny amount of edible glue (like CMC glue made with water) or even just a microscopic dab of water or clear corn syrup on the broken edges. Carefully align the pieces and hold them together for a few seconds. The mend will be fragile but might be sufficient, especially if the lace is being applied flat onto a surface.
For significant breaks, especially in delicate areas, fixing might not be practical. In such cases, it's often better to discard the broken piece and make a new one. This is why it's always wise to make a little extra sugar lace than you think you'll need, especially if you're using a beautiful sugar lace tutorial for the first time or working with a new mat design. Having spare pieces allows for mistakes and gives you options when decorating.
Creative Sugar Lace Applications: Beyond the Cake
Sugar lace isn't just for wedding cake tiers! Its versatility allows for creative uses on a wide range of desserts.
Decorating Cakes with Sugar Lace Borders and Accents
The most classic application of sugar lace is as a decorative border around the base or tiers of a cake. A common technique is to wrap a long strip of lace around the side of a cake, adhering it to buttercream, ganache, or fondant. For a 6-inch round cake that's 4 inches tall, you might need a lace strip roughly 19 inches long and 3-4 inches wide. To adhere it, brush the back of the lace lightly with edible glue or a tiny amount of water if applying to fondant. Press gently to secure.
Beyond borders, sugar lace can be used for elegant accents. Cut out individual motifs from your lace mat to create smaller decorations – perhaps a single floral element or a geometric shape. These can be placed strategically on the cake's surface, cascading down the side, or used to decorate the top edge. You can also layer different lace designs for a richer texture. Some bakers even use sections of lace to create unique cake toppers or wraps for cake pops, demonstrating the adaptability learned from a beautiful sugar lace tutorial.
Sugar lace is perfect for adding a touch of sophistication to smaller treats like cupcakes and cookies. For cupcakes, you can cut out small, round lace pieces to place directly on top of frosting or fondant discs. Mats with small, repeating patterns or individual medallion designs are ideal for this. A typical cupcake might use a lace piece 2-3 inches in diameter. Applying a delicate lace circle to a swirl of buttercream instantly elevates a simple cupcake.
Cookies, especially those covered in fondant or royal icing, provide a flat surface perfect for sugar lace application. Cut lace pieces to fit the shape of your cookies, or use smaller lace elements as accents. A simple heart-shaped cookie with a delicate lace pattern adhered to its surface becomes a beautiful edible gift. For a batch of two dozen cookies, you might use 10-15 grams of dried lace, depending on the size and intricacy of the design. The contrast between the smooth cookie surface and the intricate lace texture is visually appealing.
Innovative Sugar Lace Designs for Unique Desserts
Don't limit yourself to traditional uses. Sugar lace can be molded into three-dimensional shapes while it's still slightly pliable after drying. For example, you can drape a strip of lace over a rolling pin or curved surface to create a curved lace piece perfect for wrapping around a sphere or placing on top of a domed dessert. You can also gently fold or pleat the lace to add volume and texture.
Consider using sugar lace to create edible bowls or containers for small desserts like mousse or panna cotta. By carefully shaping larger pieces of lace over inverted bowls or molds while they dry, you can create stunning, edible vessels. Another innovative idea is using lace as a stencil or impression tool before it's dried – though this is less common than using it in its final form. Experimenting with different mat designs and application methods is key to unlocking the full potential of this beautiful sugar lace tutorial.
Tips and Tricks for Perfect Sugar Lace Every Time
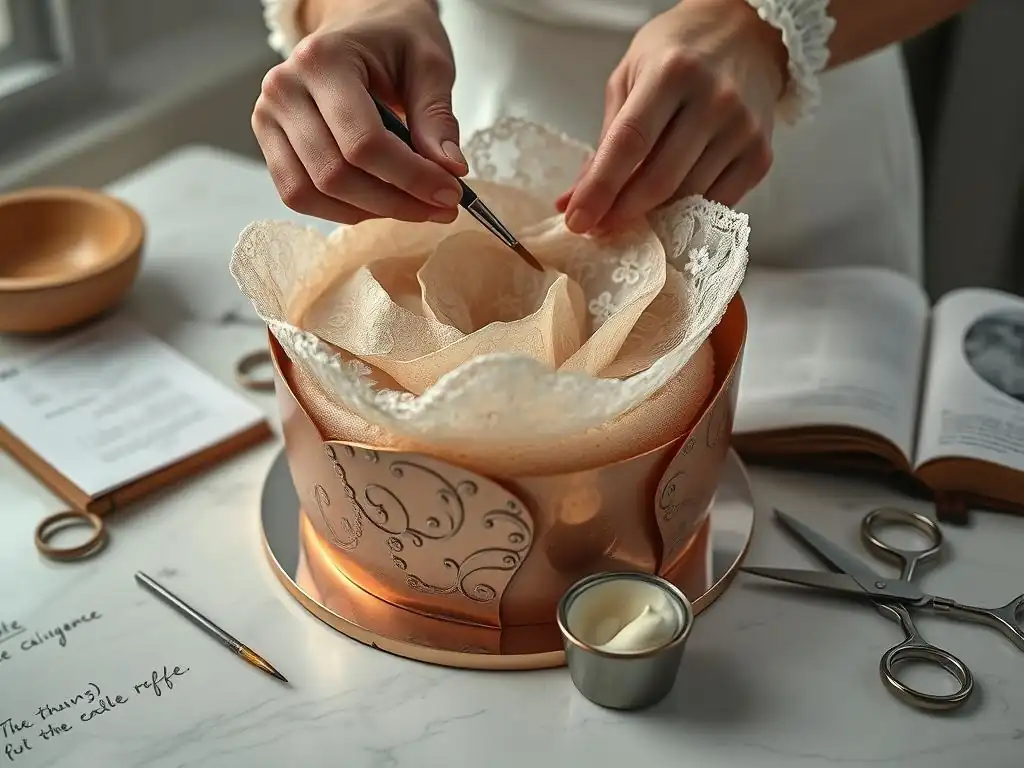
Achieving consistent, beautiful sugar lace involves more than just following steps; little tips can make a big difference.
Achieving Different Colors and Flavors in Your Sugar Lace
Most sugar lace mixes dry to an off-white or ivory color. To color your lace, add a small amount of high-quality gel or powder food coloring to the liquid before mixing it with the dry ingredients. Start with a tiny amount, as the color will intensify slightly as it dries. For vibrant colors, you might need a bit more. Avoid liquid food colorings, as they can affect the consistency too much. Mix the color thoroughly into the liquid until uniform, then proceed with combining wet and dry.
Adding flavor is also possible, though less common as the flavor can dissipate upon drying. You can add a few drops of clear, oil-based flavoring extract to the liquid before mixing. Water-based extracts can sometimes interfere with the drying process or cause brittleness. Popular flavorings include vanilla, almond, or citrus extracts. Be mindful that adding flavor might slightly alter the drying time or texture, so experiment in small batches first.
Experimenting with Textures and Patterns
While the mat design dictates the primary pattern, you can influence texture slightly. The thickness of the mixture you spread can affect the final pliability and appearance. A slightly thicker spread might result in a more robust, less fragile lace, while a very thin spread will yield extremely delicate lace. Don't deviate too much from the recommended consistency, but slight variations can be explored.
You can also combine different lace patterns on a single dessert. Layering a fine lace over a bolder design, or using different patterns for different tiers of a cake, adds visual complexity. For example, you could use a wide floral lace border at the base of a cake and a narrower geometric pattern on the tier above. Cutting out specific elements from one mat and combining them with a border from another mat allows for truly bespoke designs, enhancing the value derived from a beautiful sugar lace tutorial.
Sealing Sugar Lace for Enhanced Durability
While sugar lace is relatively durable once dried, it can still be susceptible to moisture and breakage, especially in humid conditions or during transport. For added protection, particularly for pieces that will be handled or exposed to air for extended periods, you can apply a very thin coating of edible glaze spray or a clear confectionery glaze.
Apply the glaze spray lightly from a distance, following the product instructions. A single, thin coat is usually sufficient. Be careful not to apply too much, as it can make the lace look unnaturally shiny or even compromise its flexibility. This sealing step is particularly useful for larger pieces, intricate cutouts, or elements that need to stand upright. It provides an extra layer of defense against humidity and makes the lace slightly more resistant to accidental bumps, helping your beautiful sugar lace last longer on display.
Conclusion: Unleash Your Creativity with Sugar Lace
The Enduring Appeal of Exquisite Sugar Lace
Sugar lace holds a unique place in the world of dessert decoration. Its ability to mimic the delicate beauty of fabric lace with edible materials provides a level of sophistication and intricate detail that is hard to match with other techniques. From the fine filigree of a vintage pattern to the bold lines of a modern design, sugar lace adds an immediate 'wow' factor to any baked creation. It transforms simple cakes and cookies into works of art, making them perfect for special occasions where visual impact is desired.
The enduring appeal lies not just in its appearance but also in its versatility and relative ease of use once the technique is mastered. Unlike time-consuming hand-piping or complex fondant sculpting, creating panels of sugar lace can be done in batches ahead of time, allowing for efficient workflow, especially for professional bakers or those preparing for large events. The range of colors, patterns, and applications means sugar lace will continue to be a popular choice for adding elegance and artistry to desserts for years to come.
Your Journey to Sugar Lace Mastery with BakeWithEase
Embarking on the path to creating beautiful sugar lace is a rewarding endeavor that significantly expands your decorating repertoire. This beautiful sugar lace tutorial has provided you with the foundational knowledge, from understanding the ingredients and tools to mastering the spreading, drying, and handling techniques. Like any baking skill, perfection comes with practice. Your first few attempts might not be flawless, but each try will teach you more about the consistency, drying time, and handling needed for your specific environment and materials.
At BakeWithEase.com, we encourage you to experiment and have fun with this versatile medium. Try different mat designs, play with colors, and explore innovative ways to incorporate sugar lace into your desserts. Whether you're adding a classic border to a tiered cake or creating unique lace elements for cupcakes, the skills learned here will help you achieve stunning results. Keep practicing, keep creating, and enjoy the process of adding exquisite sugar lace to your beautiful baked goods.
Frequently Asked Questions
How difficult is it to make sugar lace for a beginner baker?
Sugar lace can seem intimidating, but with our easy-to-follow tutorial, even beginners can achieve beautiful results. The key is to be patient and follow the step-by-step instructions carefully.
What are the essential tools I need for creating sugar lace?
You'll need a sugar lace mat, a spreader or spatula, a sugar lace mix, and a small offset spatula for release. Optionally, you can use a dehydrator for faster drying.
How long does it typically take for sugar lace to dry properly?
Drying time depends on the humidity and method. Air drying can take several hours or overnight, while a dehydrator can significantly reduce the drying time to around 30-60 minutes.
Can I color my sugar lace to match my dessert theme?
Yes! You can easily color your sugar lace by adding gel food coloring to the sugar lace mix before spreading it onto the mat. Be sure to add coloring a little at a time to achieve the desired shade.
How do I store leftover sugar lace once it's dried?
Store dried sugar lace in an airtight container at room temperature, away from direct sunlight and moisture. It's best to use it within a few days for optimal flexibility and taste.
Final Reflection: The Enduring Allure of Edible Art
The delicate beauty of sugar lace, once a confectionery skill reserved for the elite, is now within everyone's reach. This accessibility, fueled by readily available resources and the growing popularity of visually stunning desserts, makes mastering this technique more relevant than ever. The intricate patterns and the sheer elegance of sugar lace elevate any dessert from simple to spectacular, offering a unique touch of artistry to both home bakers and professional pastry chefs.
The impact of sugar lace extends beyond mere aesthetics; it represents a connection to a rich culinary history and a celebration of creativity. It's a testament to the power of simple ingredients transformed into something truly extraordinary. The process itself is meditative, requiring patience and precision, qualities that are increasingly valued in our fast-paced world. The details are not the details. They make the design.
– Charles Eames. This quote perfectly encapsulates the importance of the meticulous work involved in creating beautiful sugar lace, highlighting how the seemingly small elements contribute to the overall masterpiece.
Now, it's your turn. Don't be intimidated by the seemingly complex process. Pick up your sugar, your brush, and your courage. Experiment with different designs, explore your creativity, and let the delicate art of sugar lace transform your desserts and, perhaps even more importantly, your perspective on the beauty found in meticulous detail and patient creation. The journey of mastering this skill is as rewarding as the final, breathtaking result.
Unleash Your Inner Pastry Artist: Craft Stunning Sugar Lace!
Thanks for joining us on this sweet journey into the world of sugar lace! We hope you've gained the confidence to create truly elegant desserts. Now it's time to put your new skills to the test!
- Master the Art: Try experimenting with different cookie cutters and food coloring to create your own unique sugar lace designs. This is your chance to really personalize your baking!
- Share Your Creations: Show off your beautiful sugar lace creations on social media using #BakeWithEaseSugarLace – we’d love to see your masterpieces!
- Challenge Yourself: Try incorporating your new sugar lace skills into a complex dessert – maybe a tiered cake or intricately decorated cupcakes?
What amazing dessert will you adorn with your stunning, handmade sugar lace? Let us know in the comments!